
If you’re using Google Sheets to work on a collaborative project then you’ll understand the frustration of having your work accidentally deleted or altered by another user.
Fortunately, Google Sheets allows you to lock cells, which means editors can still access and edit your spreadsheet but won’t be able to edit any locked cells.
Keep reading to learn how to lock cells in Google Sheets and prevent editors from being able to change your data.
What you’ll need:
- Google Sheets access and Editing privileges
The short version:
- Open your document in Google Sheets
- Select the cell or cells you want to lock, then right-click
- Hover over View more cell actions
- Click Protect range
- Select Add a sheet or range
- Name or describe your cell then select Set permissions
- Confirm your permission preference
- Select Done
Step
1Open your document in Google Sheets
You can either start a new blank document or open an existing document.
Step
2Select the cell or cells you want to lock, then right-click

To select multiple cells, simply press and hold the left mouse button against all the desired cells. Then right-click over the selected cell or cells.
Step
3Hover over View more cell actions
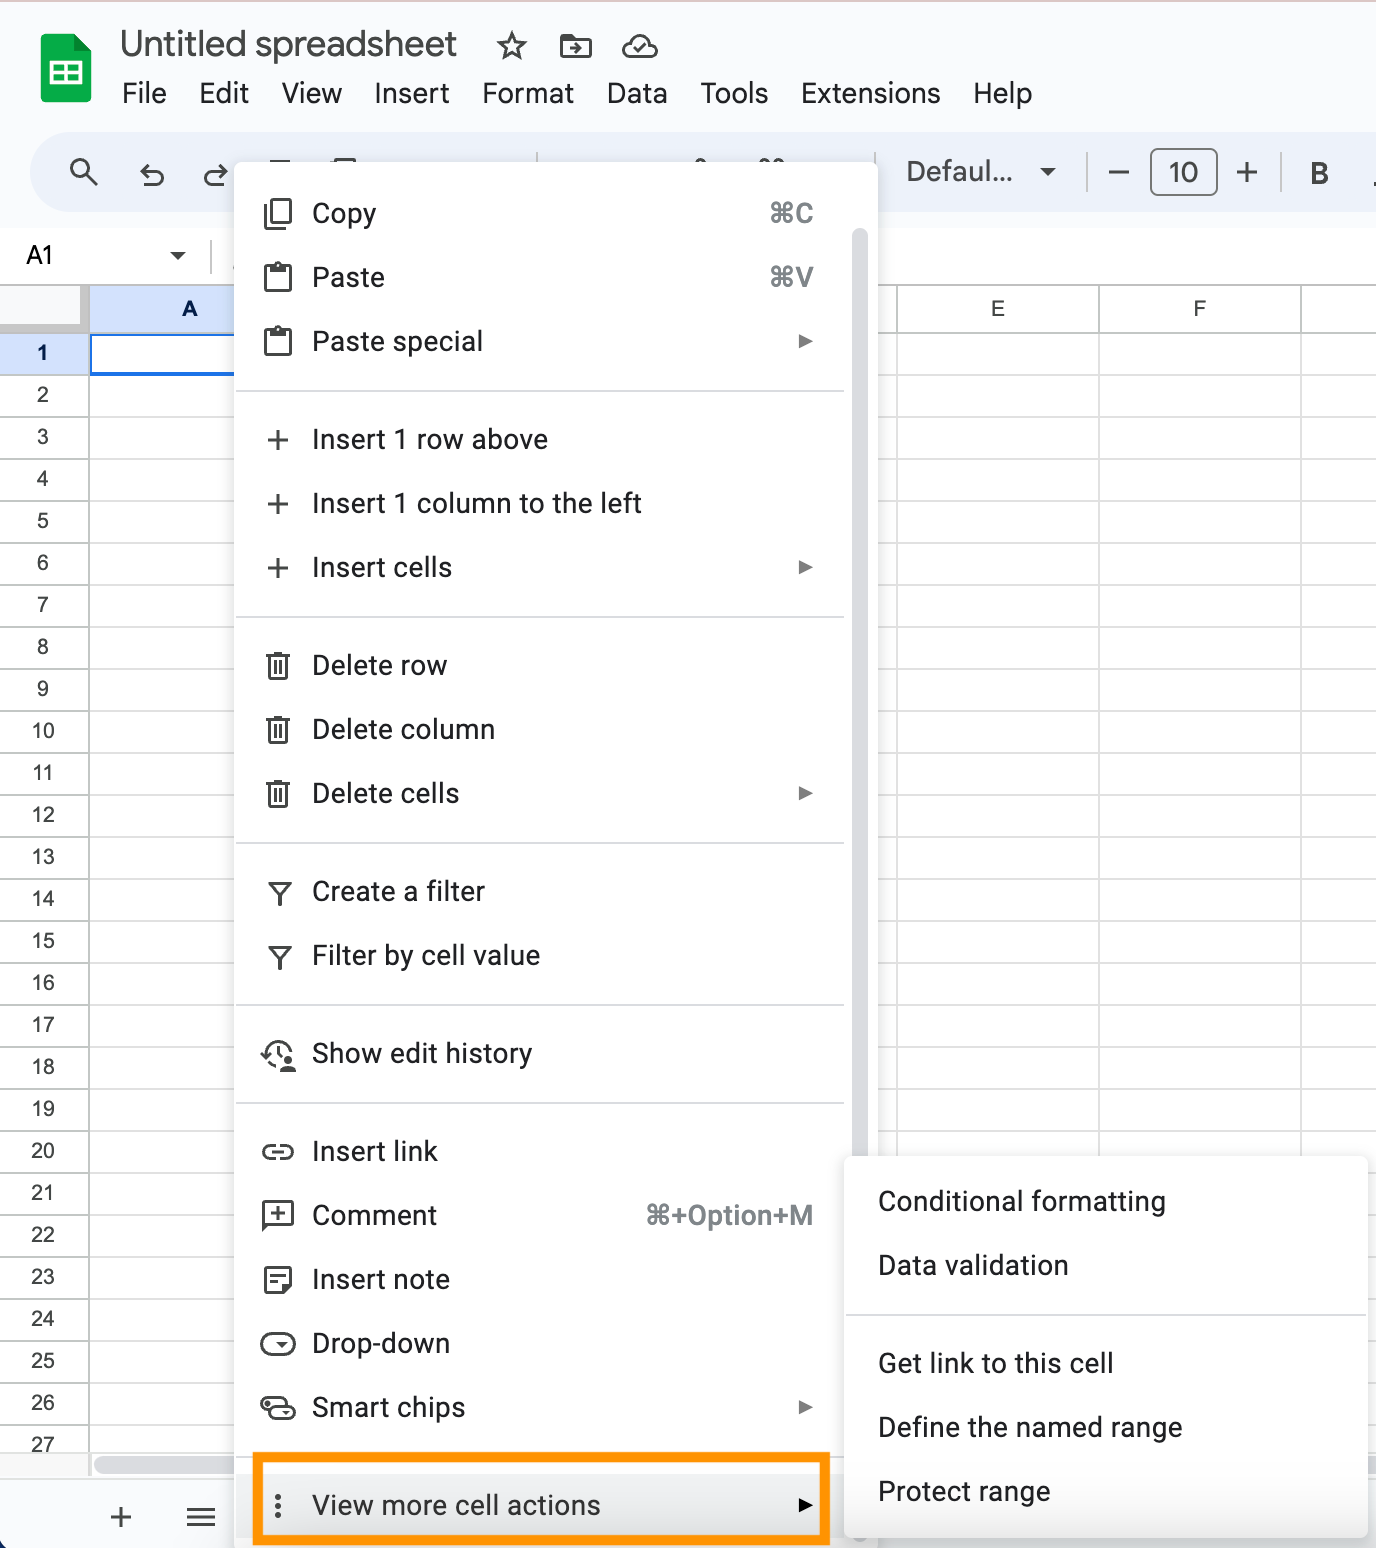
Once you right-click, you’ll see a menu. You may need to scroll down to find the View more cell actions option.
Step
4Click Protect range

After hovering over View more cell actions, click on Protect range. A side panel will then appear.
Step
5Select Add a sheet or range
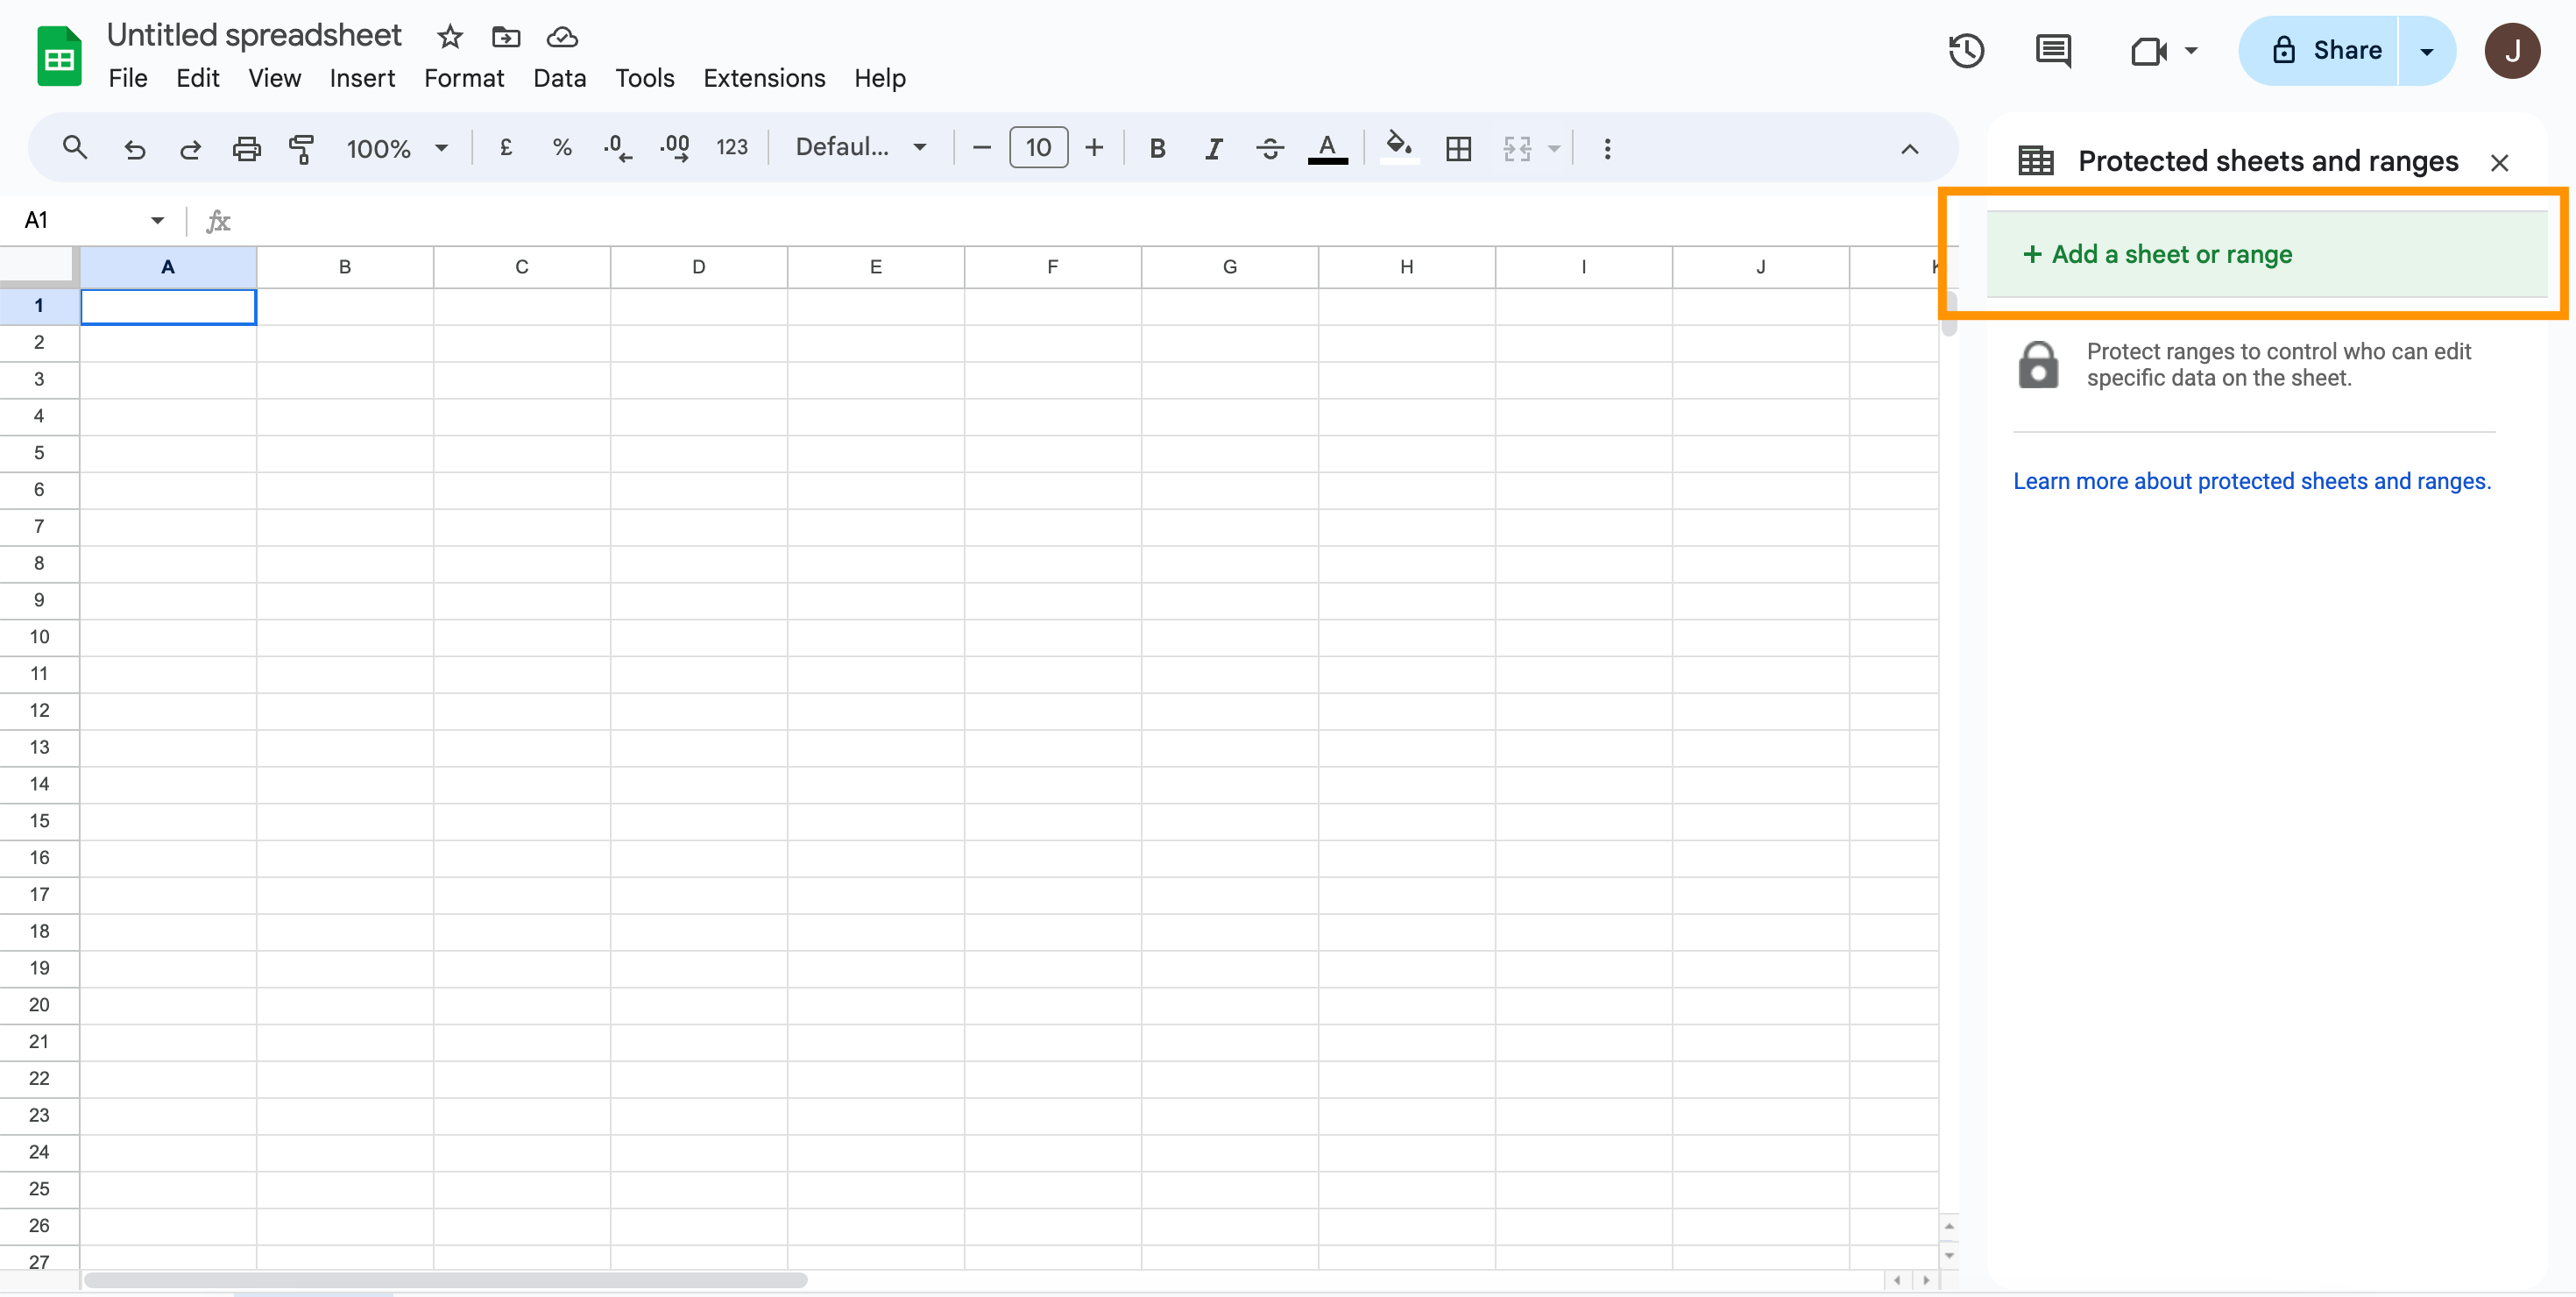
The previous step will bring up this side panel.
Step
6Name or describe your cell, then select Set permissions

Naming the cell is optional but useful if you want to lock multiple cells for different users. Otherwise you can skip this and go straight for Set permissions.
Step
7Confirm your permission preference

Here you can choose who can edit the cell. You can set it as ‘only you’ or, by choosing Custom, you can choose which users are able to edit the cell.
Step
8Select Done

Your choices will be saved.
Troubleshooting
To edit existing locked cell permissions, select Data on the top menu panel. Then Protect Sheets and ranges, which will bring up the side panel that lists all the locked cells. Choose which one you would like to edit and select Change permissions.
Unfortunately, you can only lock cells by using a computer.
You might like…


Editorial independence
Editorial independence means being able to give an unbiased verdict about a product or company, with the avoidance of conflicts of interest. To ensure this is possible, every member of the editorial staff follows a clear code of conduct.
Professional conduct
We also expect our journalists to follow clear ethical standards in their work. Our staff members must strive for honesty and accuracy in everything they do. We follow the IPSO Editors’ code of practice to underpin these standards.