
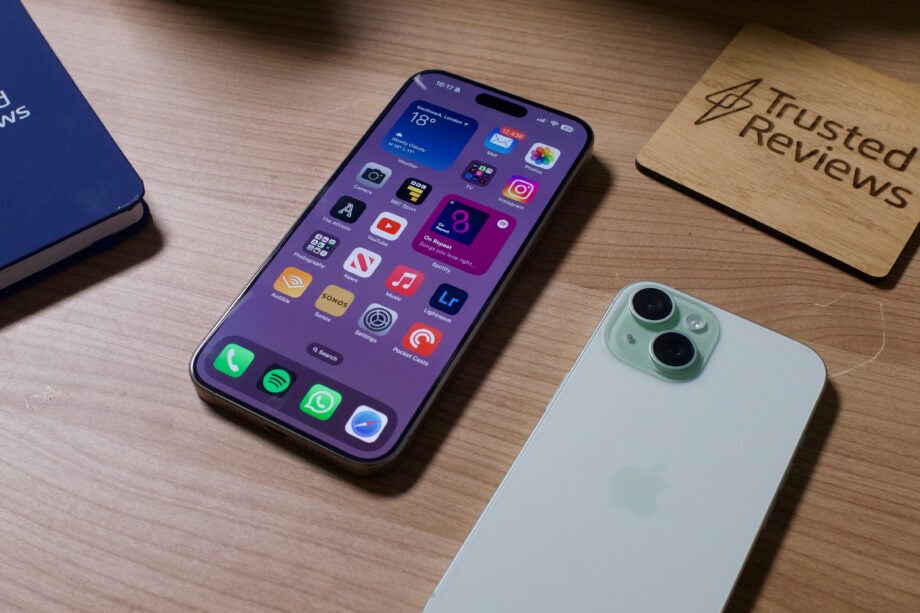
Introduced with iOS 17.3, Stolen Device Protection is a new measure that adds an extra layer of security to the content on your phone. Here’s how to get it going.
Stolen Device Protection is an additional iOS security measure designed to prevent those who have become aware of your iPhone’s PIN. The protection focuses on the times you’re able to use your passcode rather than biometrics like Face ID and, on the iPhone SE, Touch ID.
Once enabled, Stolen Device Protection will jump into action when your iPhone is in an unfamiliar location, limiting the amount of things that can authenticated with a PIN or passcode, forcing you to use Face ID or Touch ID instead. Certain big changes made to device settings, like altering an iCloud password, will also require multiple authentication if you’re in an unknown location.
What you’ll need:
- An iPhone running iOS 17.3
The Short Version
- Open Settings
- Scroll down to Face ID & Passcode
- Enter your passcode
- Find Stolen Device Protection
- Turn on
Step
1Open Settings
To begin, open up the Settings app on your iPhone. Remember, your iPhone must be running iOS 17.3 for this feature to appear.
Step
2Scroll down to Face ID & Passcode
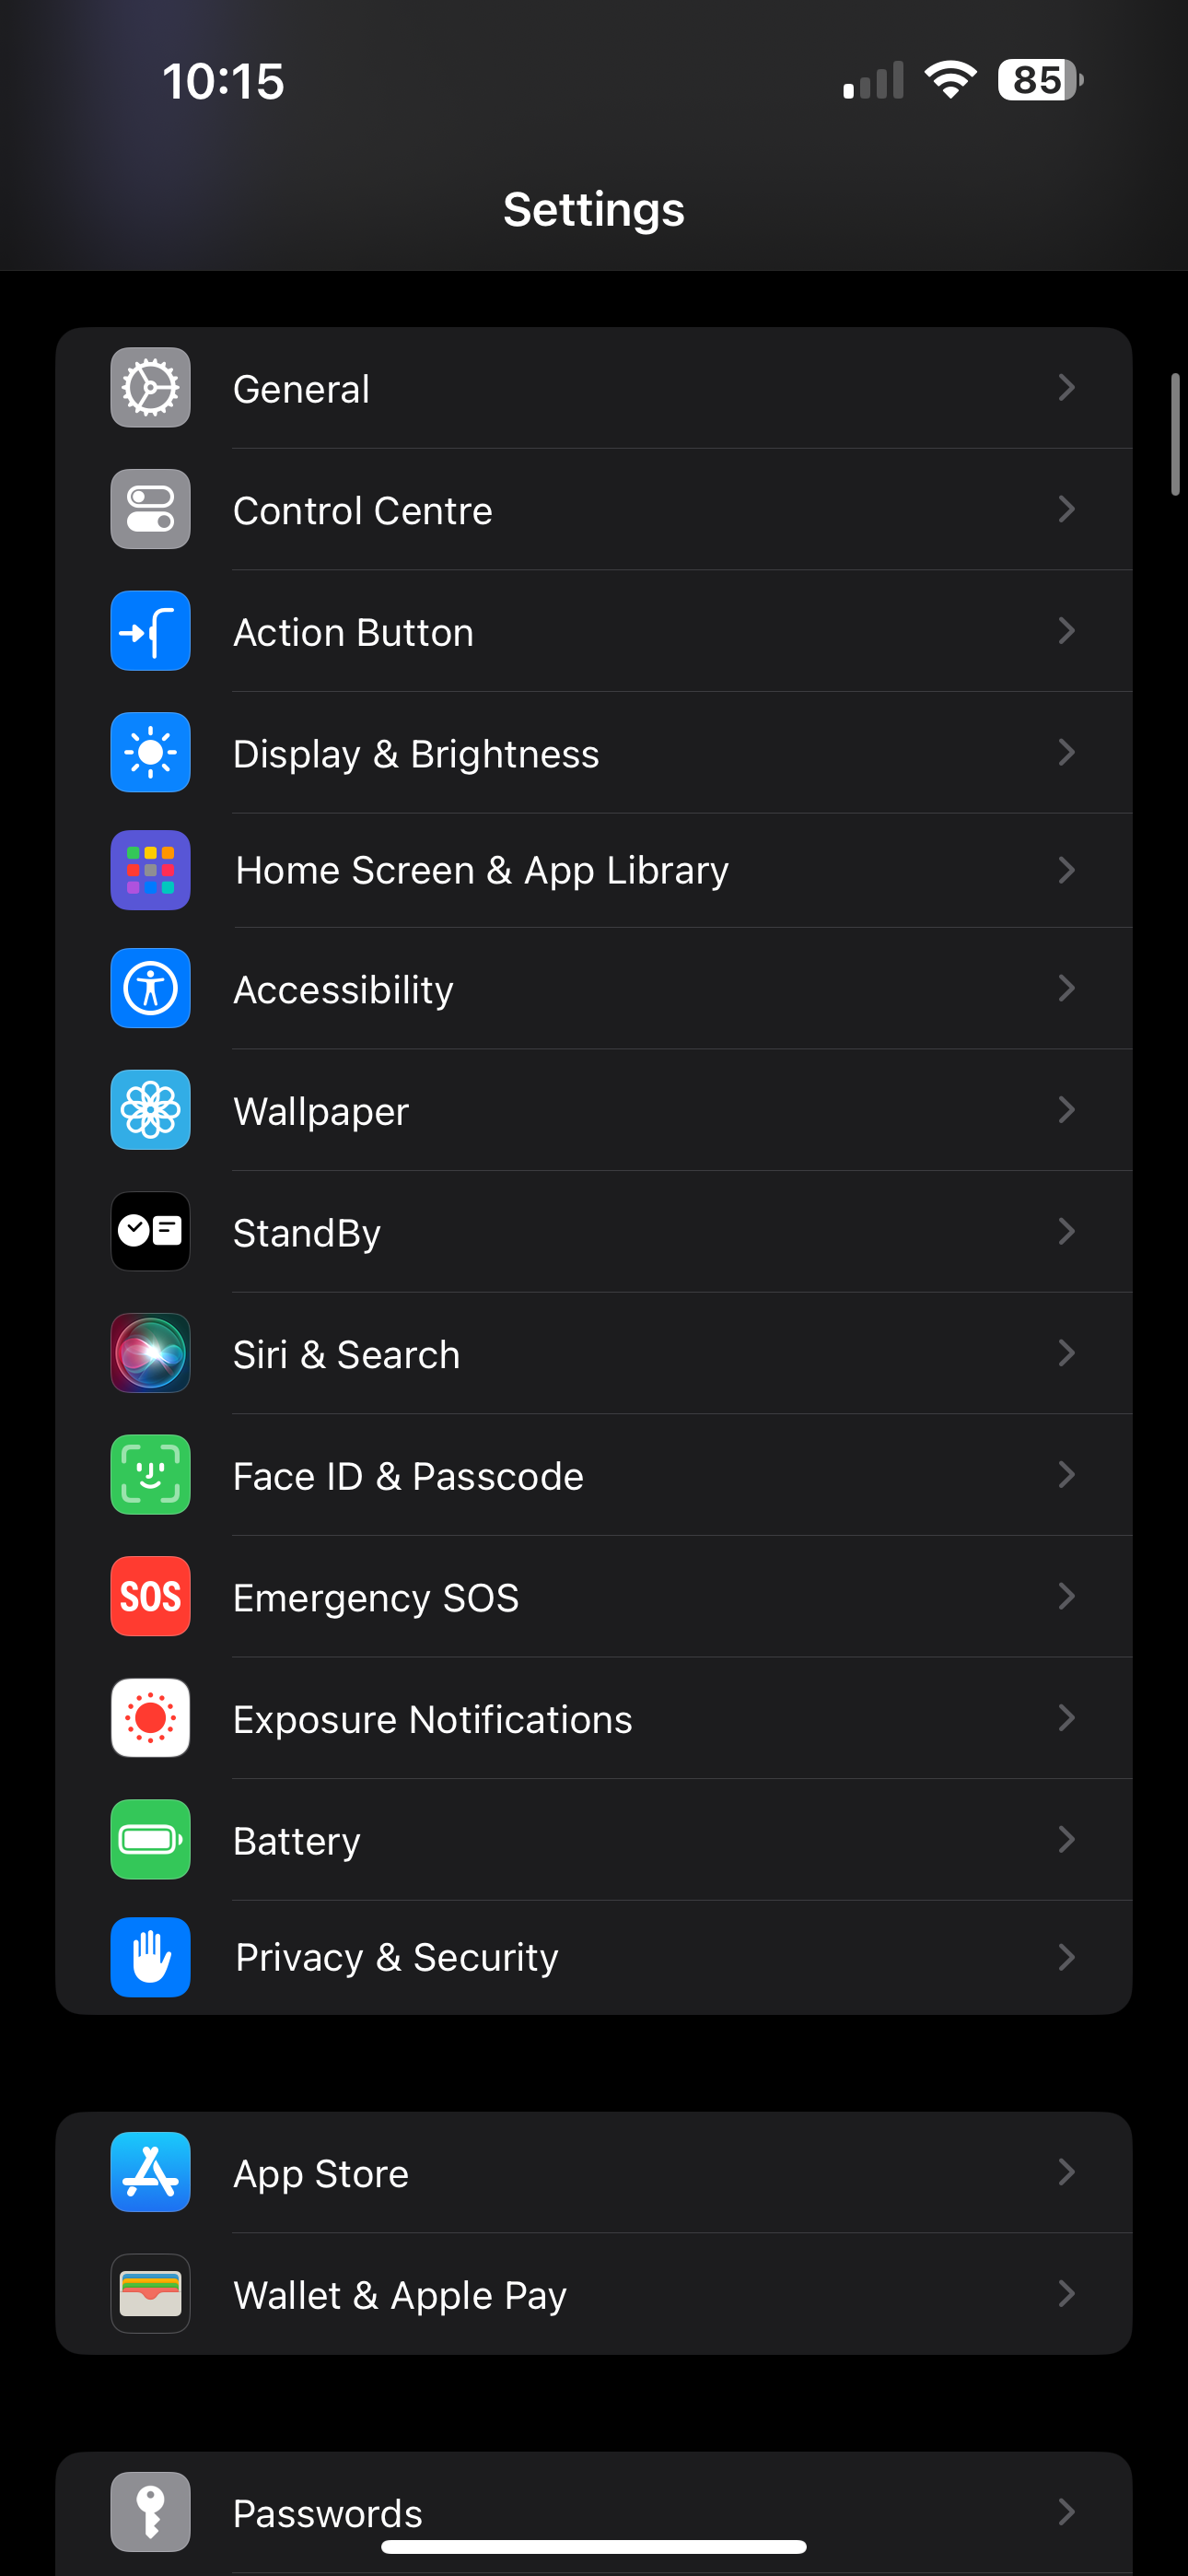
Once in Settings, scroll down to the Face ID & Passcode option and tap it.
Step
3Enter your code

Before you’ll be able to enter this area of Settings, you’ll need to input your passcode. Enter it and you’ll be let in.
Step
4Find Stolen Device Protection
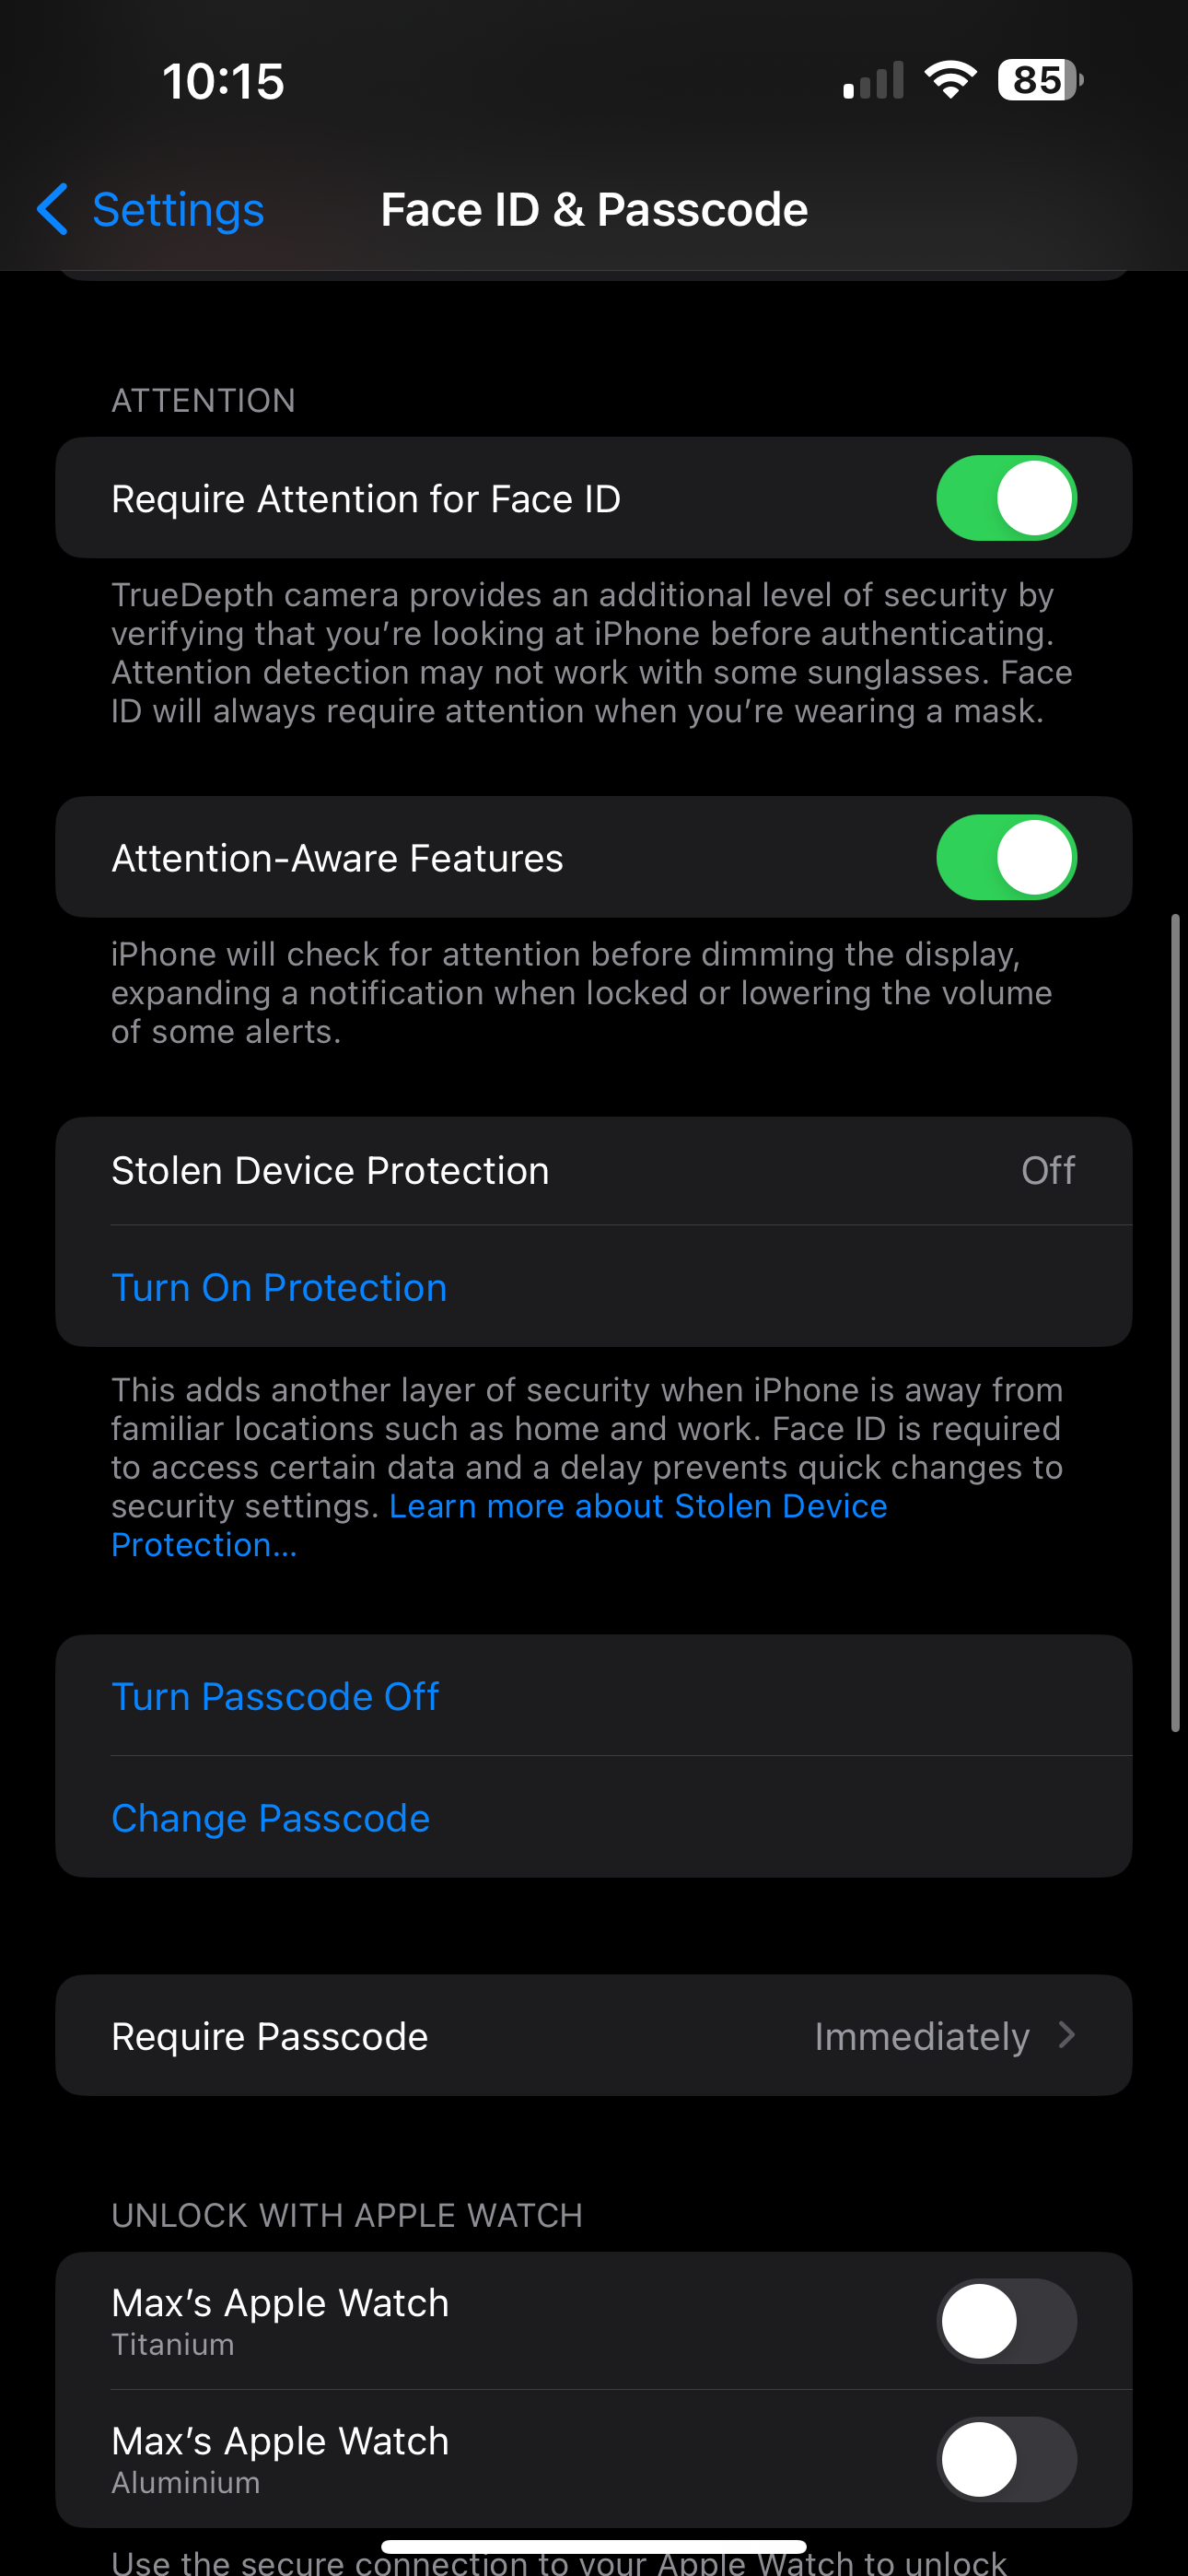
Inside the Face ID & Passcode menu there will be an option for Stolen Device Protection. Scroll down until you find it.
Step
5Turn on
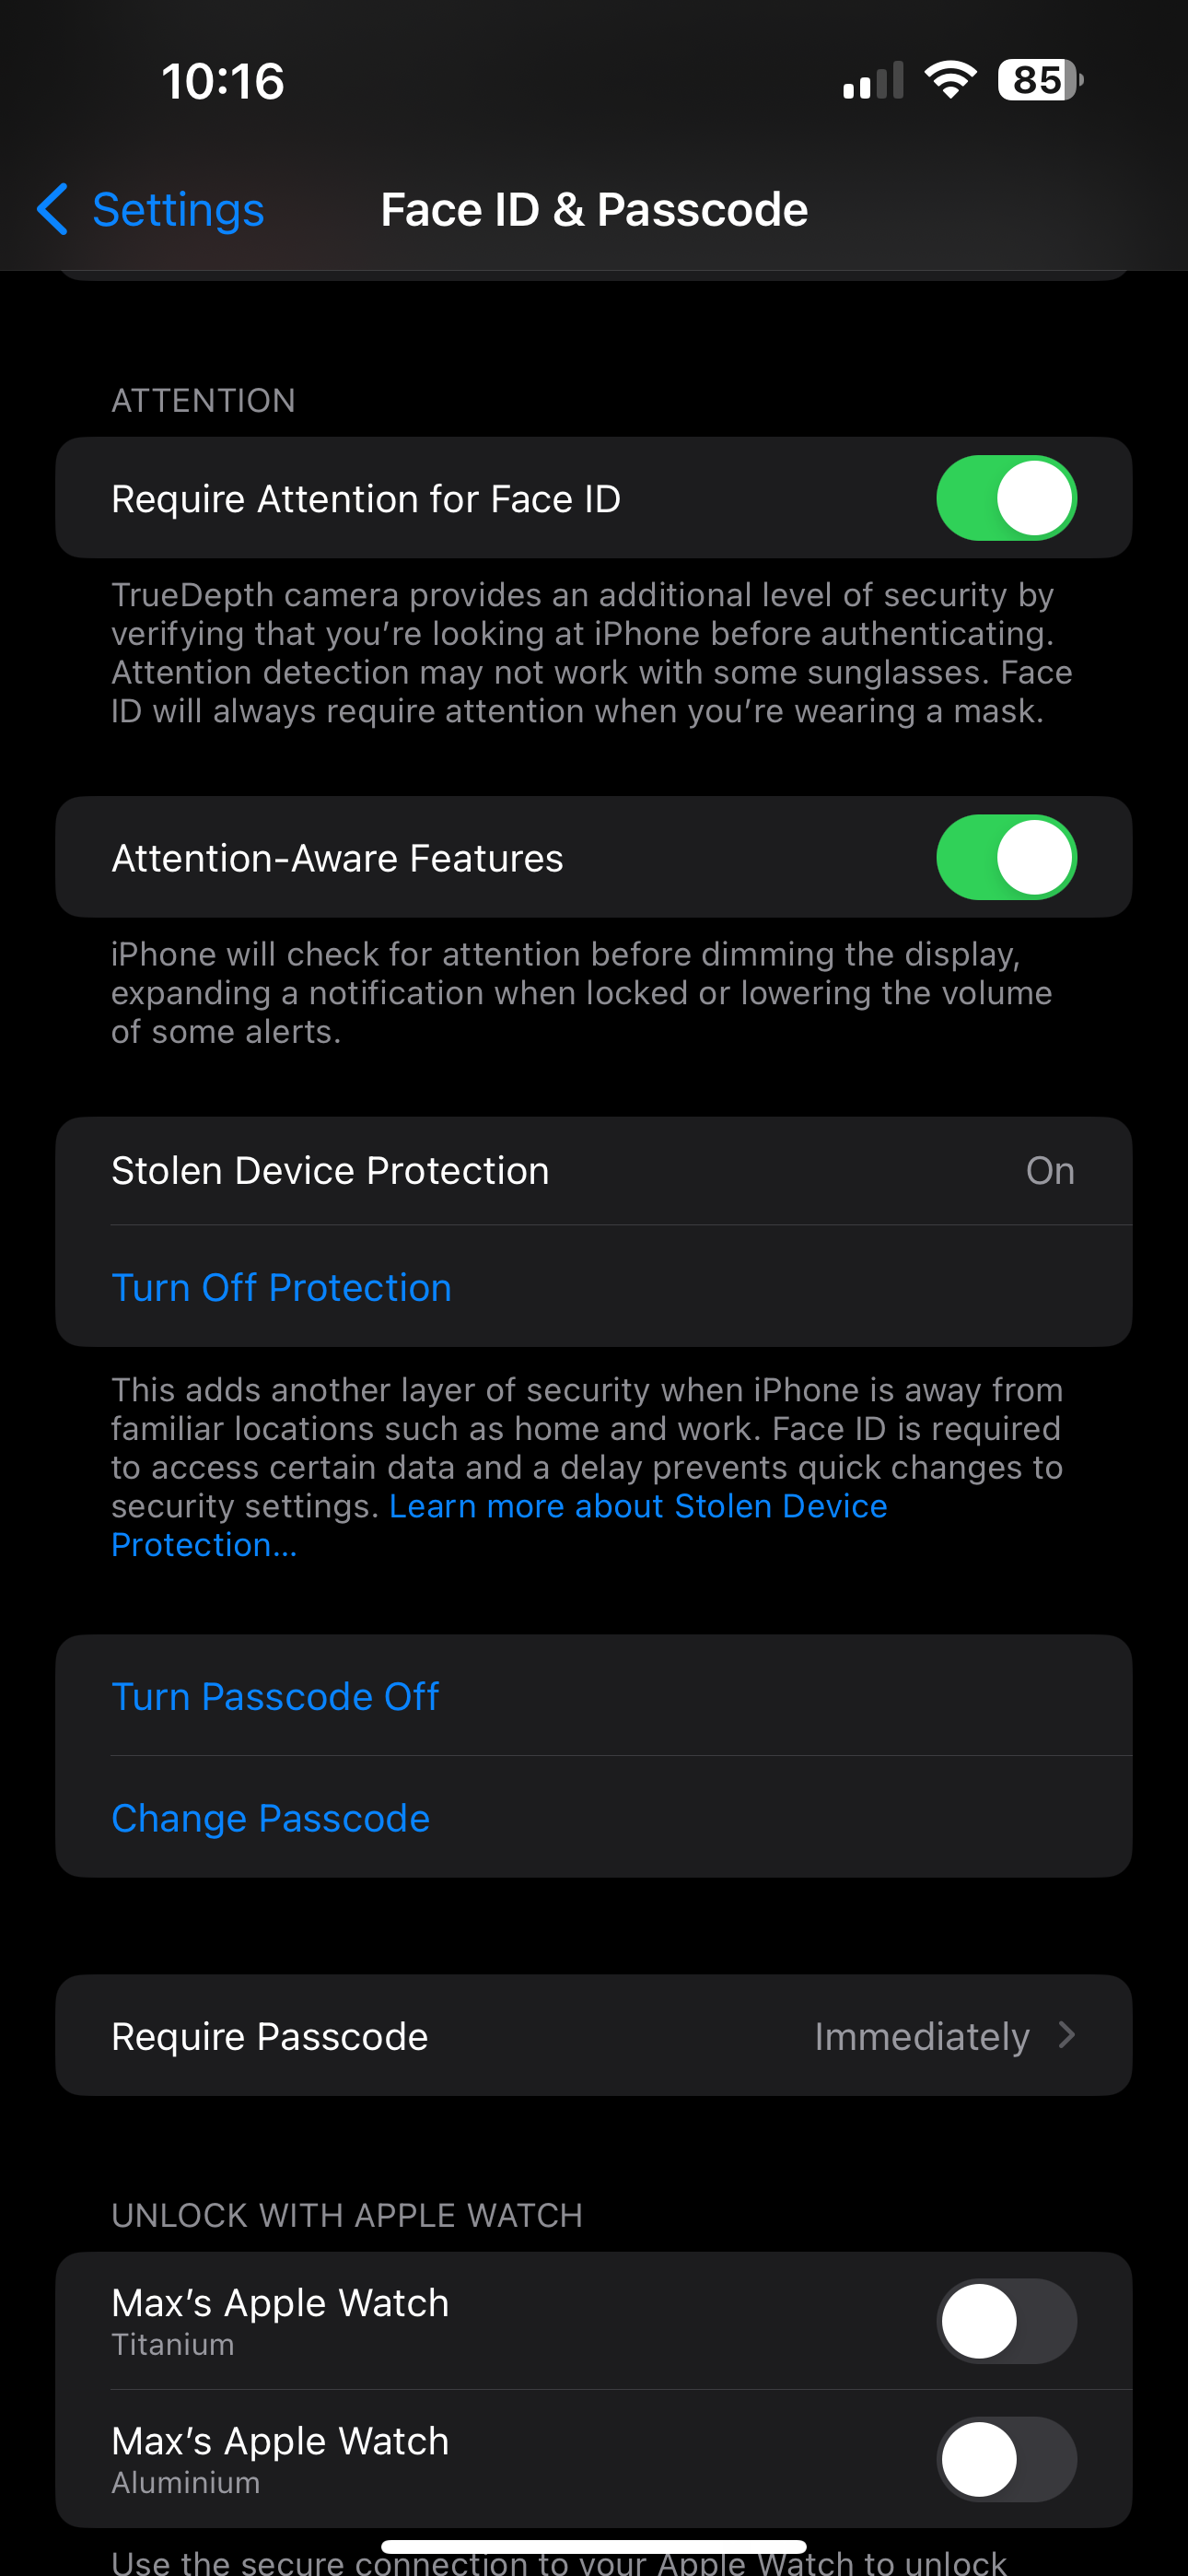
To enable the feature, simply tap the Turn On Protection option. To turn it off, simply press it again.
Troubleshooting
For a full rundown of what this new security feature is and how it works, see our in-depth ‘What is Stolen Device Protection‘ explainer which highlights everything you need to know.
You might like…


Editorial independence
Editorial independence means being able to give an unbiased verdict about a product or company, with the avoidance of conflicts of interest. To ensure this is possible, every member of the editorial staff follows a clear code of conduct.
Professional conduct
We also expect our journalists to follow clear ethical standards in their work. Our staff members must strive for honesty and accuracy in everything they do. We follow the IPSO Editors’ code of practice to underpin these standards.