
Razer Blade laptops bring luxury and high-end gaming power into one device, that’s clear. But, what might be clear, is how to ensure your gaming laptop is appropriately updated with the latest Razer software. Here’s how.
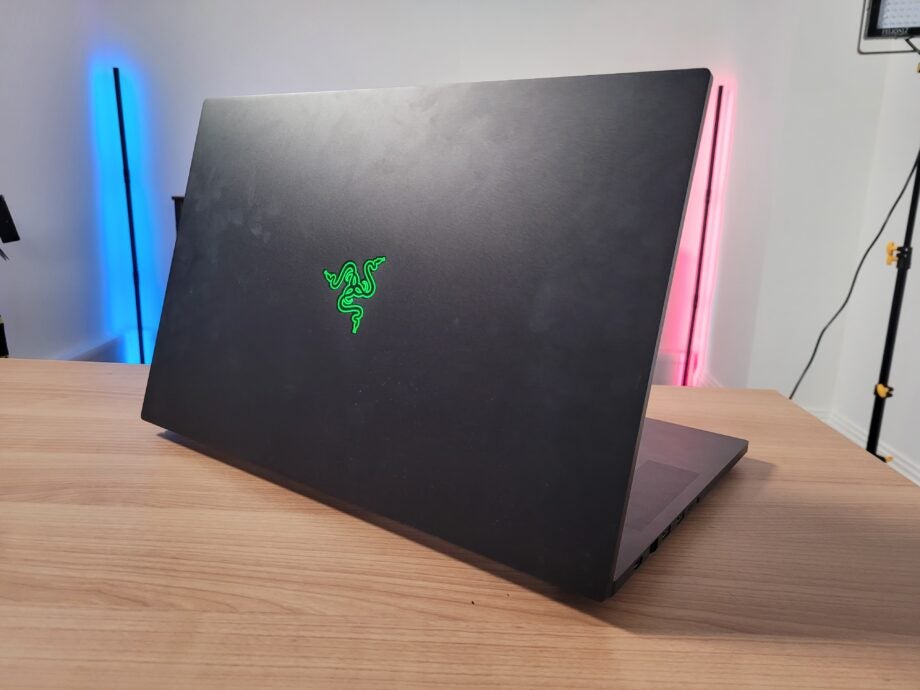
From the Razer Blade 17 (2022) to the range of other laptops and peripherals that the swanky gaming and lifestyle brand offers, it’s a company that makes some impressive products. Admittedly, not everyone is a fan of their integrated software. Nevertheless, it can be useful for customisation and tailoring your system to your performance needs.
What it can also do is ensure you’ve got the latest Razer software and apps. This is our straightforward guide on how to do just that, with some handy troubleshooting at the bottom too if you’ve got any further queries.
What you’ll need:
- A Razer Blade laptop
The Short Version
- Open System Tray
- Right-click on Razer Central
- Click Check for Updates
- Install updates or apps
Step
1Open System Tray

Click on the upward pointing arrow towards the bottom-right of your screen to open the System Tray
Step
2Right-click Razer Central
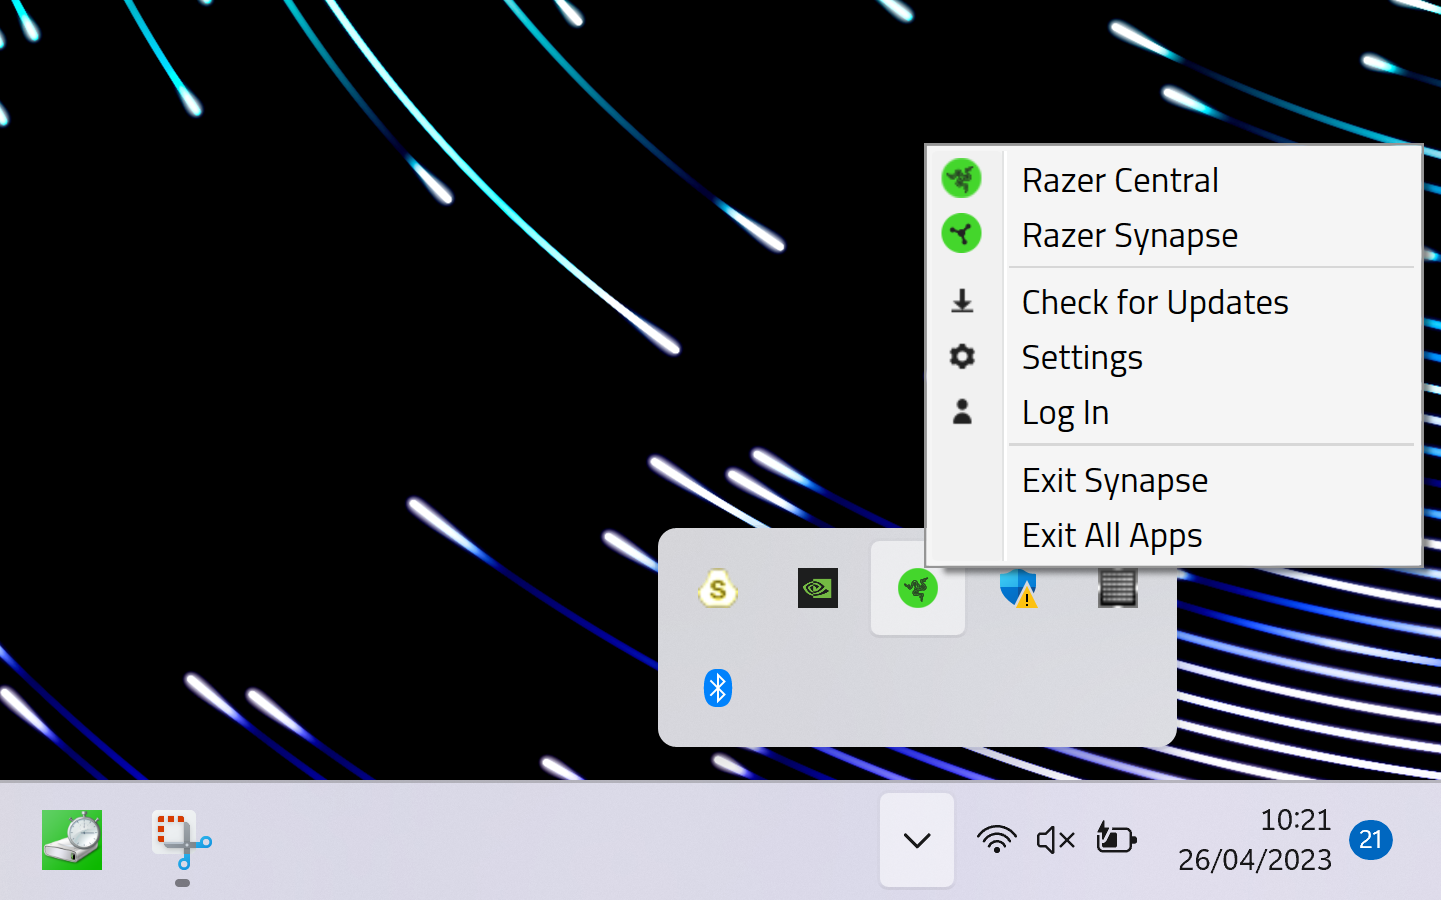
In the System Tray, right-click the green logo for Razer Central
Step
3Click Check for Updates
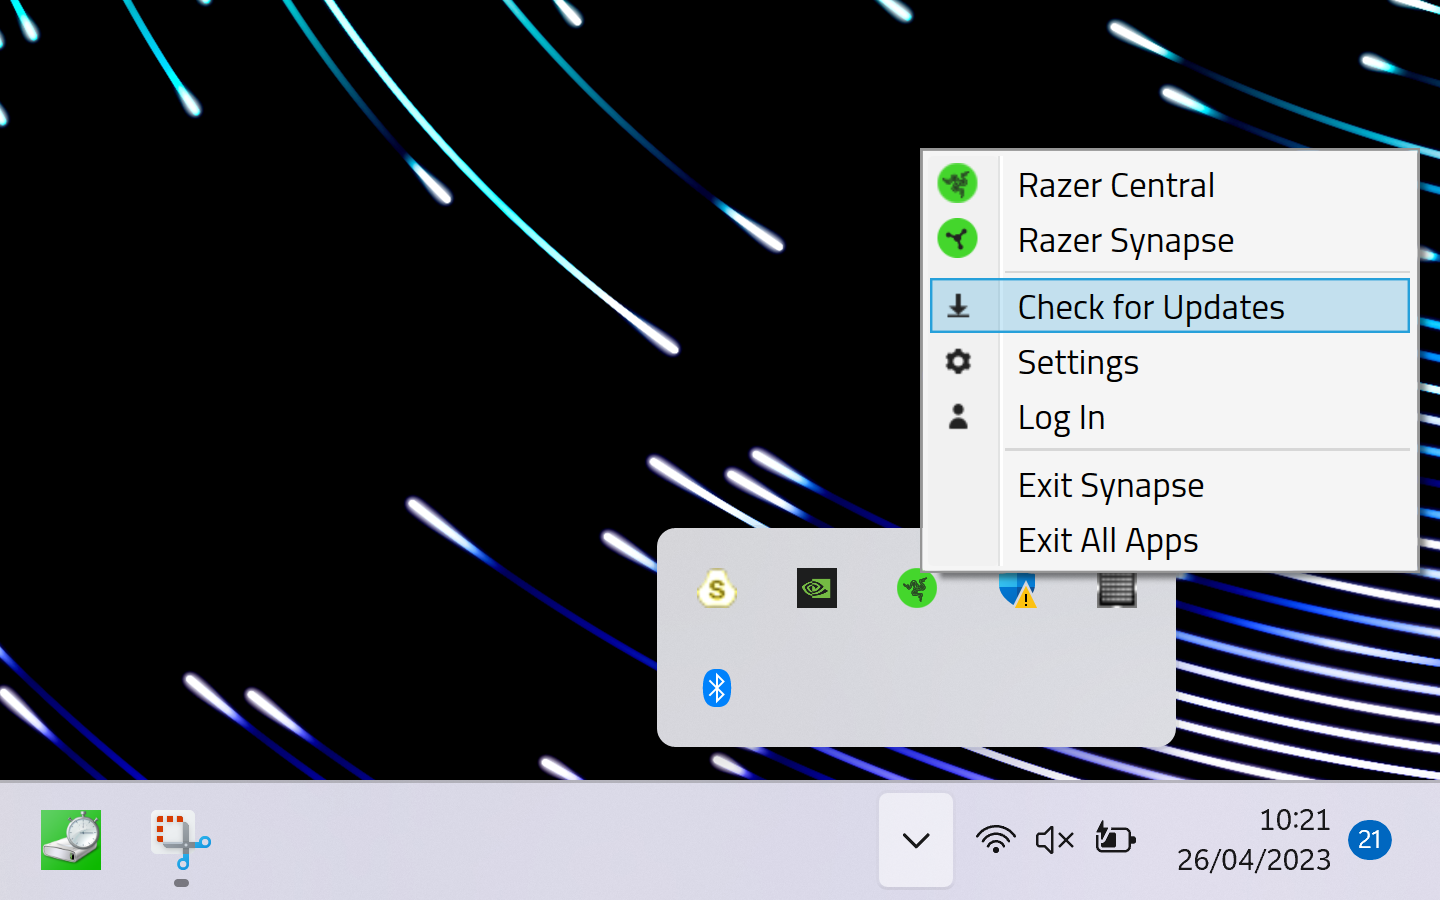
After right-clicking, select the Check for Updates option
Step
4Install updates or apps
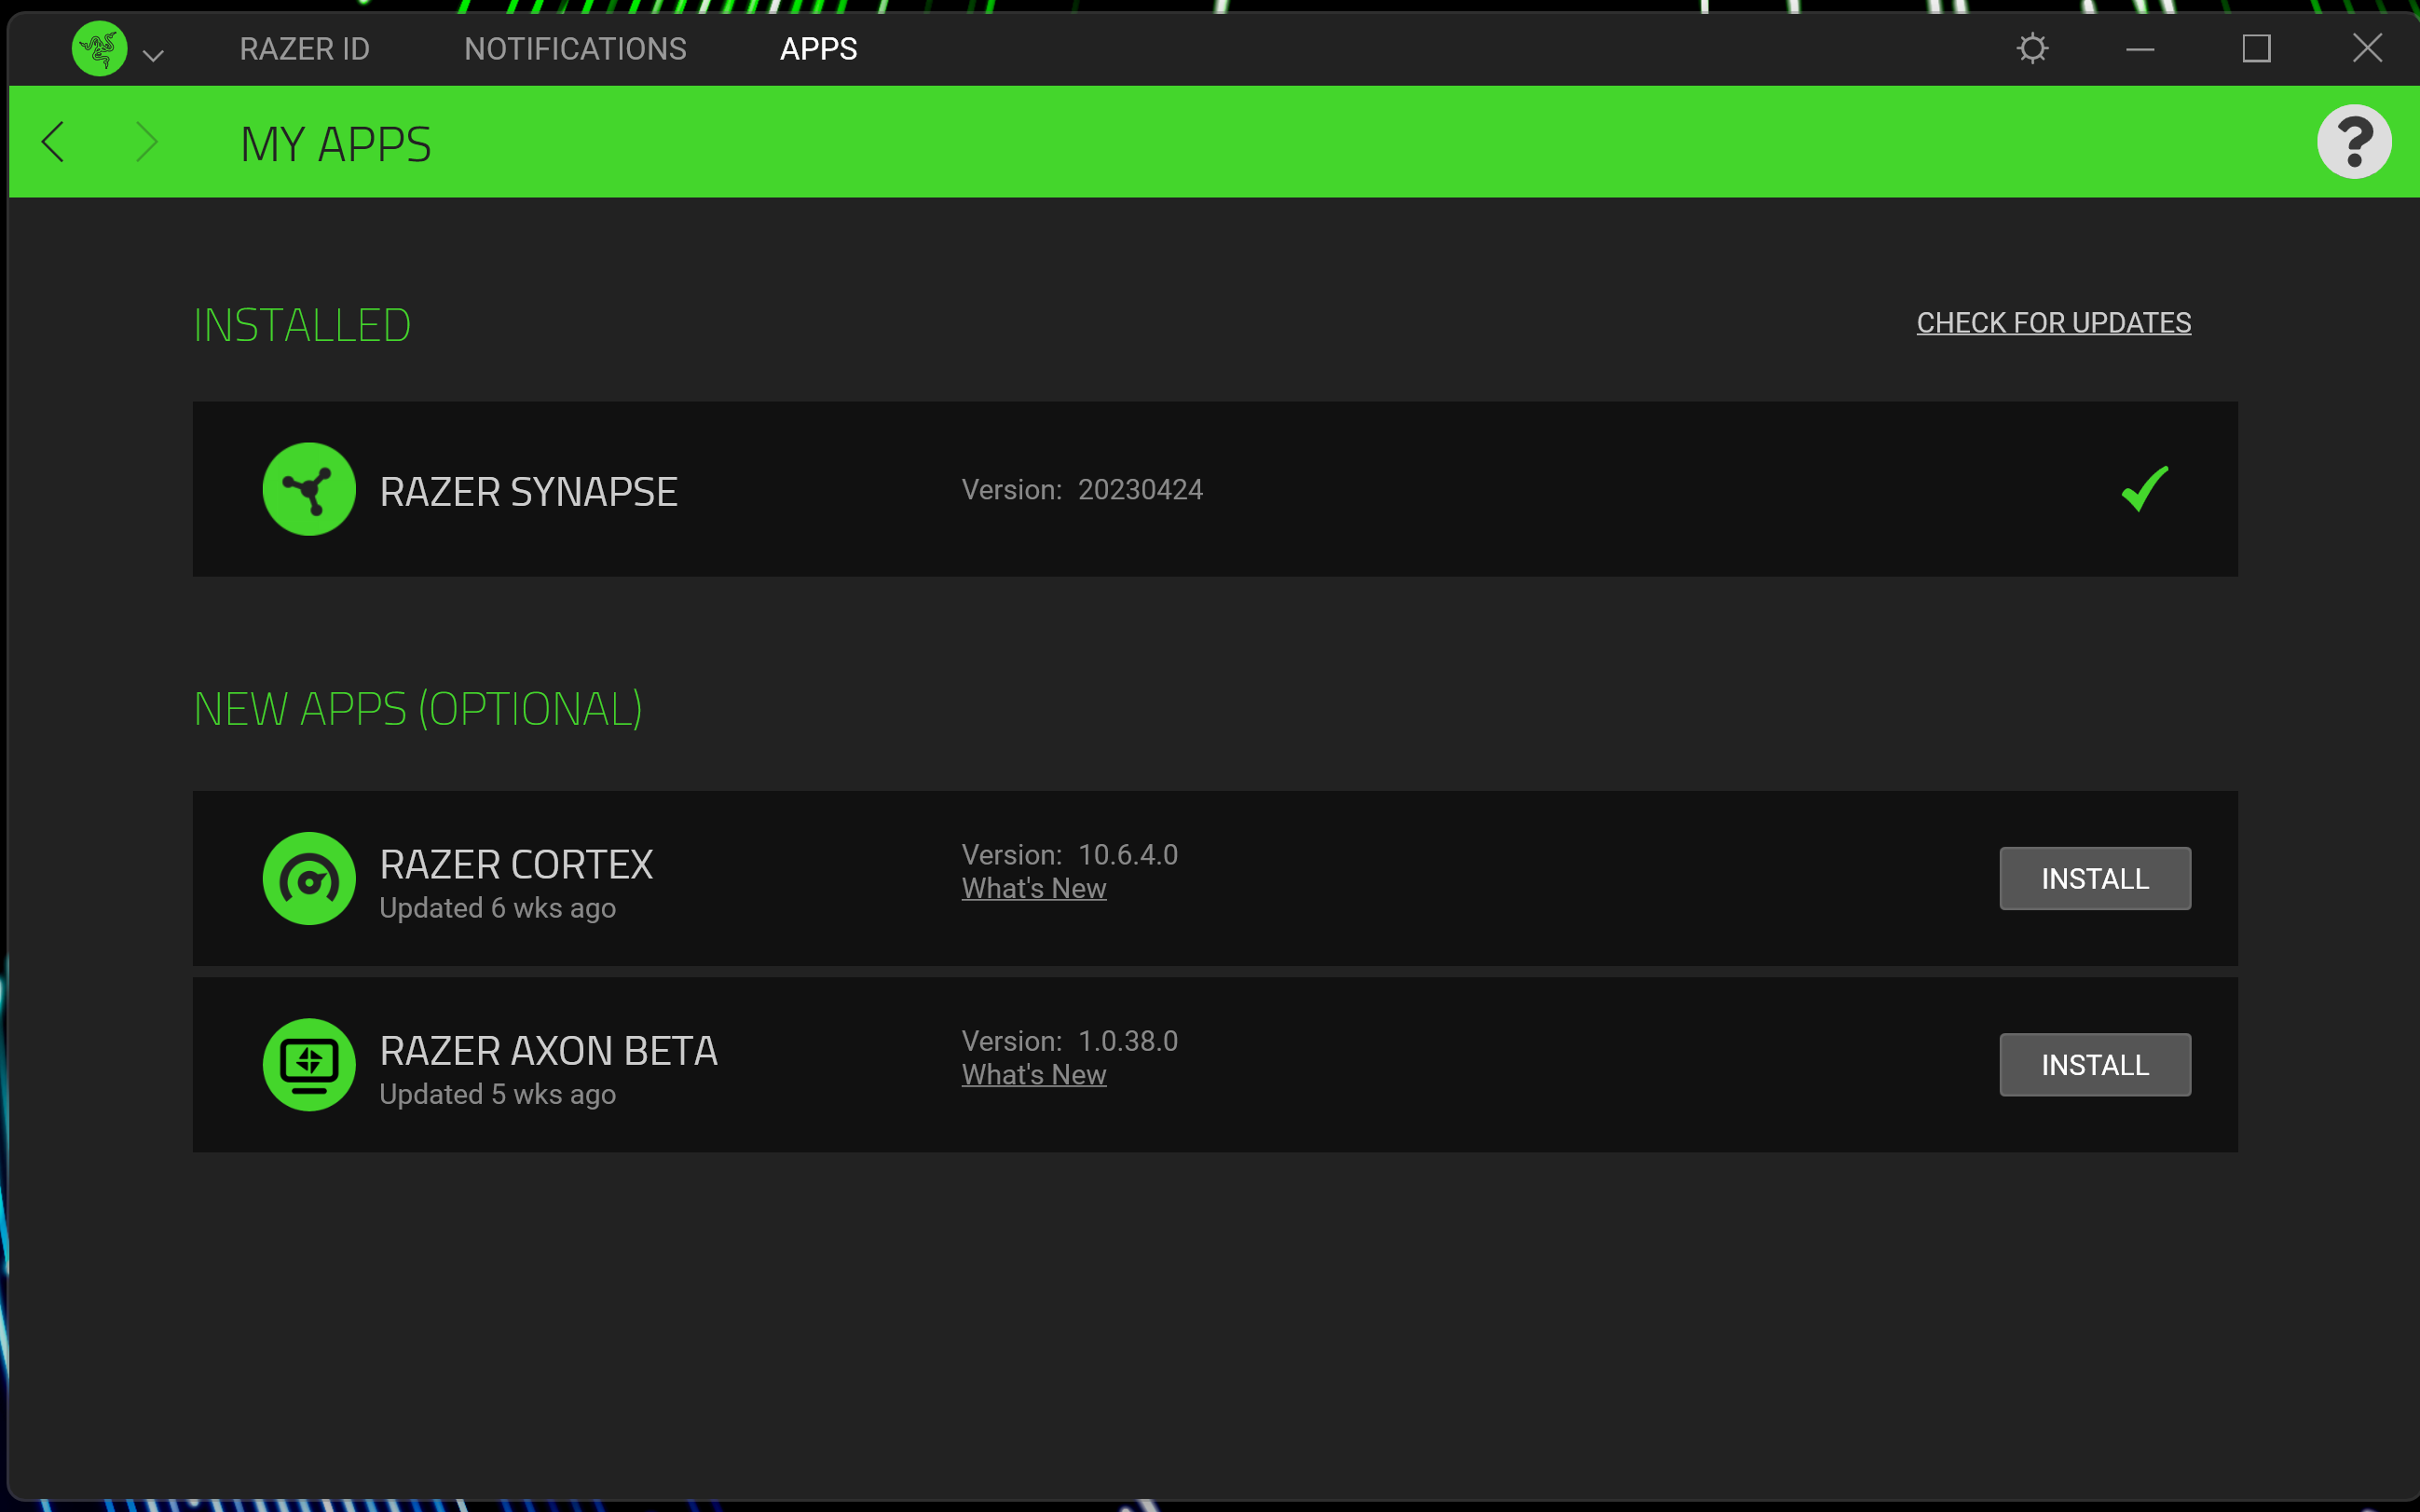
You’ll now see any available Razer updates or apps for you to download
Troubleshooting
Open Settings and head to Windows Update to see if there are any updates available for your Razer Blade.
Open Start and search for Device Manager. Expand Display Adapters then right-click on your GPU and select Properties. Select Driver, now see your driver version and select Update Driver if you wish.
You might like…


Editorial independence
Editorial independence means being able to give an unbiased verdict about a product or company, with the avoidance of conflicts of interest. To ensure this is possible, every member of the editorial staff follows a clear code of conduct.
Professional conduct
We also expect our journalists to follow clear ethical standards in their work. Our staff members must strive for honesty and accuracy in everything they do. We follow the IPSO Editors’ code of practice to underpin these standards.