There’s nothing more frustrating than repeatedly drawing the same line over and over again in the hopes of it coming out perfectly straight. Thankfully, there’s a quick and easy fix for this in Photoshop.
If you’re looking to draw straight lines in Adobe Photoshop you’ve come to the right place. Keep reading to learn how to sketch pin straight lines with this fast keyboard shortcut.
What you’ll need:
- Adobe Photoshop
- A creative cloud subscription
The Short Version
- Open Photoshop
- Select the brush tool
- Click where you want your line to start
- Hold shift and click where you want your line to end
How to draw straight lines in Photoshop
Step
1Open Photoshop

You can open a blank document or any file you wish to draw a straight line on.
Step
2Select the brush tool

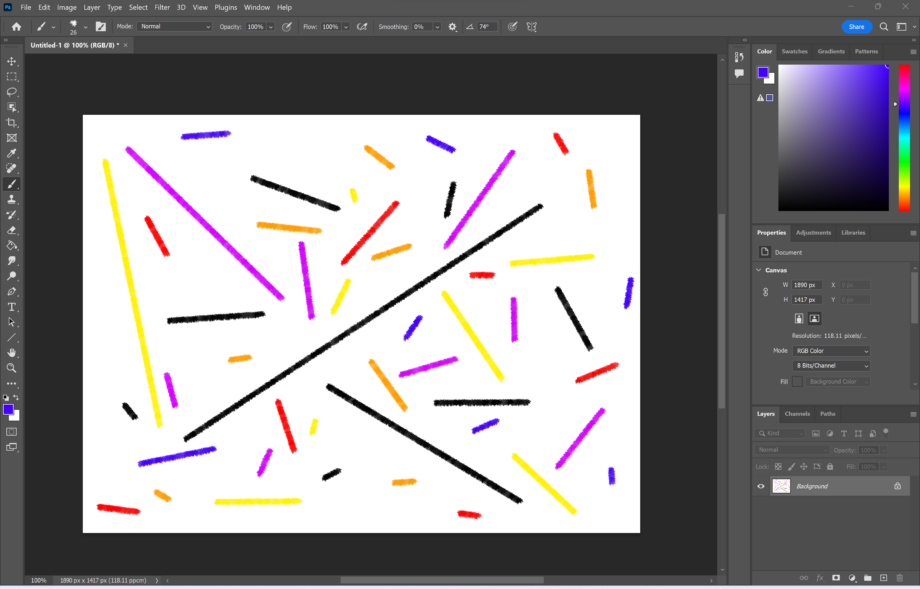
You can change your brush, brush size, opacity and more using the options at the top of the screen. There’s also the option to change the colour using the colour picker on the right.
Step
3Click where you want your line to start

This can be anywhere on your document.
Step
4Hold shift and click where you want your line to end

You can also continue to hold the shift key and click elsewhere to draw more straight lines connected to your first one. This is a great way to draw shapes freehand.
Troubleshooting
If you draw a straight line in Photoshop and change your mind you can easily delete it by clicking Ctrl+Z/Cmd+Z once to remove the line and a second time to delete the dot.
Alternatively, you can use the marquee tool to select your line and press Ctrl+T/Cmd+T to move the line or adjust the size, length, width or positioning of it.
If you’re looking to reduce shake when you draw but aren’t necessarily wanting to draw straight lines, this answer is for you.
Click the brush tool, select Smoothing and adjust the percentage to smooth out any brushstrokes you make and help lines appear more stable.
You might like…


Editorial independence
Editorial independence means being able to give an unbiased verdict about a product or company, with the avoidance of conflicts of interest. To ensure this is possible, every member of the editorial staff follows a clear code of conduct.
Professional conduct
We also expect our journalists to follow clear ethical standards in their work. Our staff members must strive for honesty and accuracy in everything they do. We follow the IPSO Editors’ code of practice to underpin these standards.