

Apple revealed the future of macOS at WWDC, showing off the upcoming Ventura update for the first time. That software, which should get a final release later in the year, is now available as a beta and here’s how to install it.
Before you get started with this process, it’s worth understanding what a piece of beta software is. This is very much a work in progress and not the final release; there will be bugs and issues. We highly recommend you don’t install this on an important Mac you rely on every day.
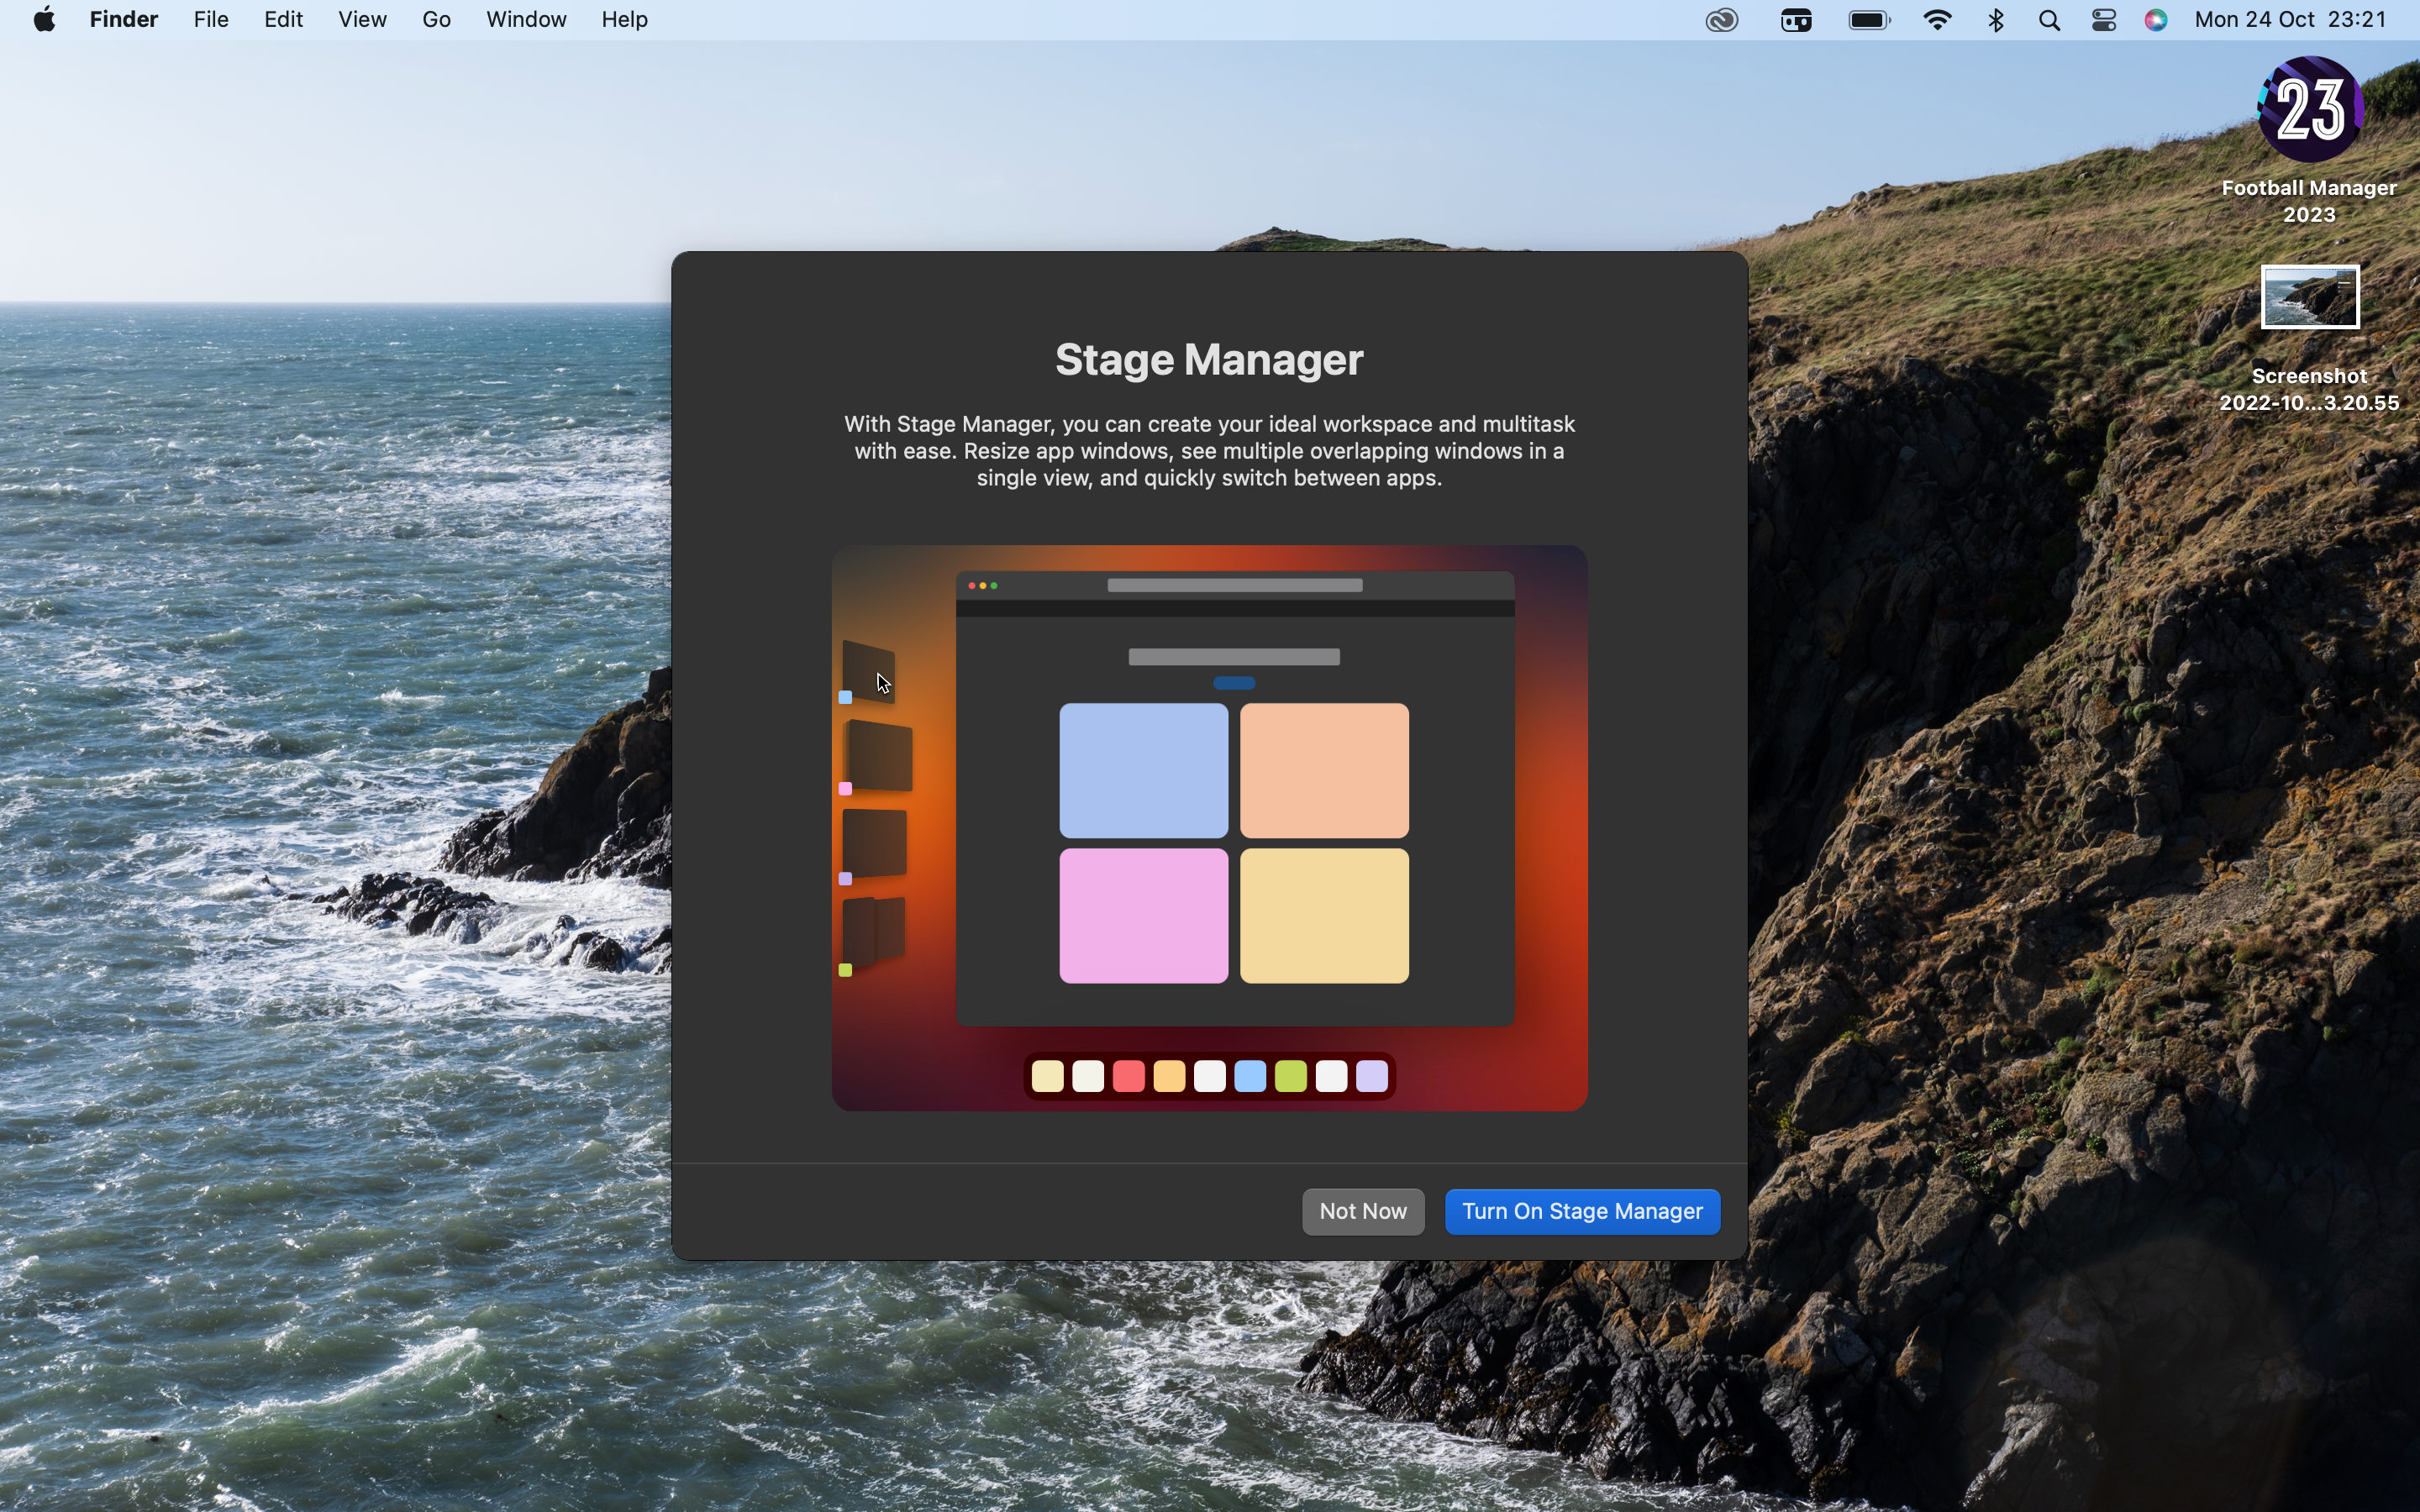
But if you’re happy with any risks associated with the beta and you’ve properly backed up your machine then here’s how to get all the new features, including the big Stage Manager additions, without having to be a registered developer.
What you’ll need:
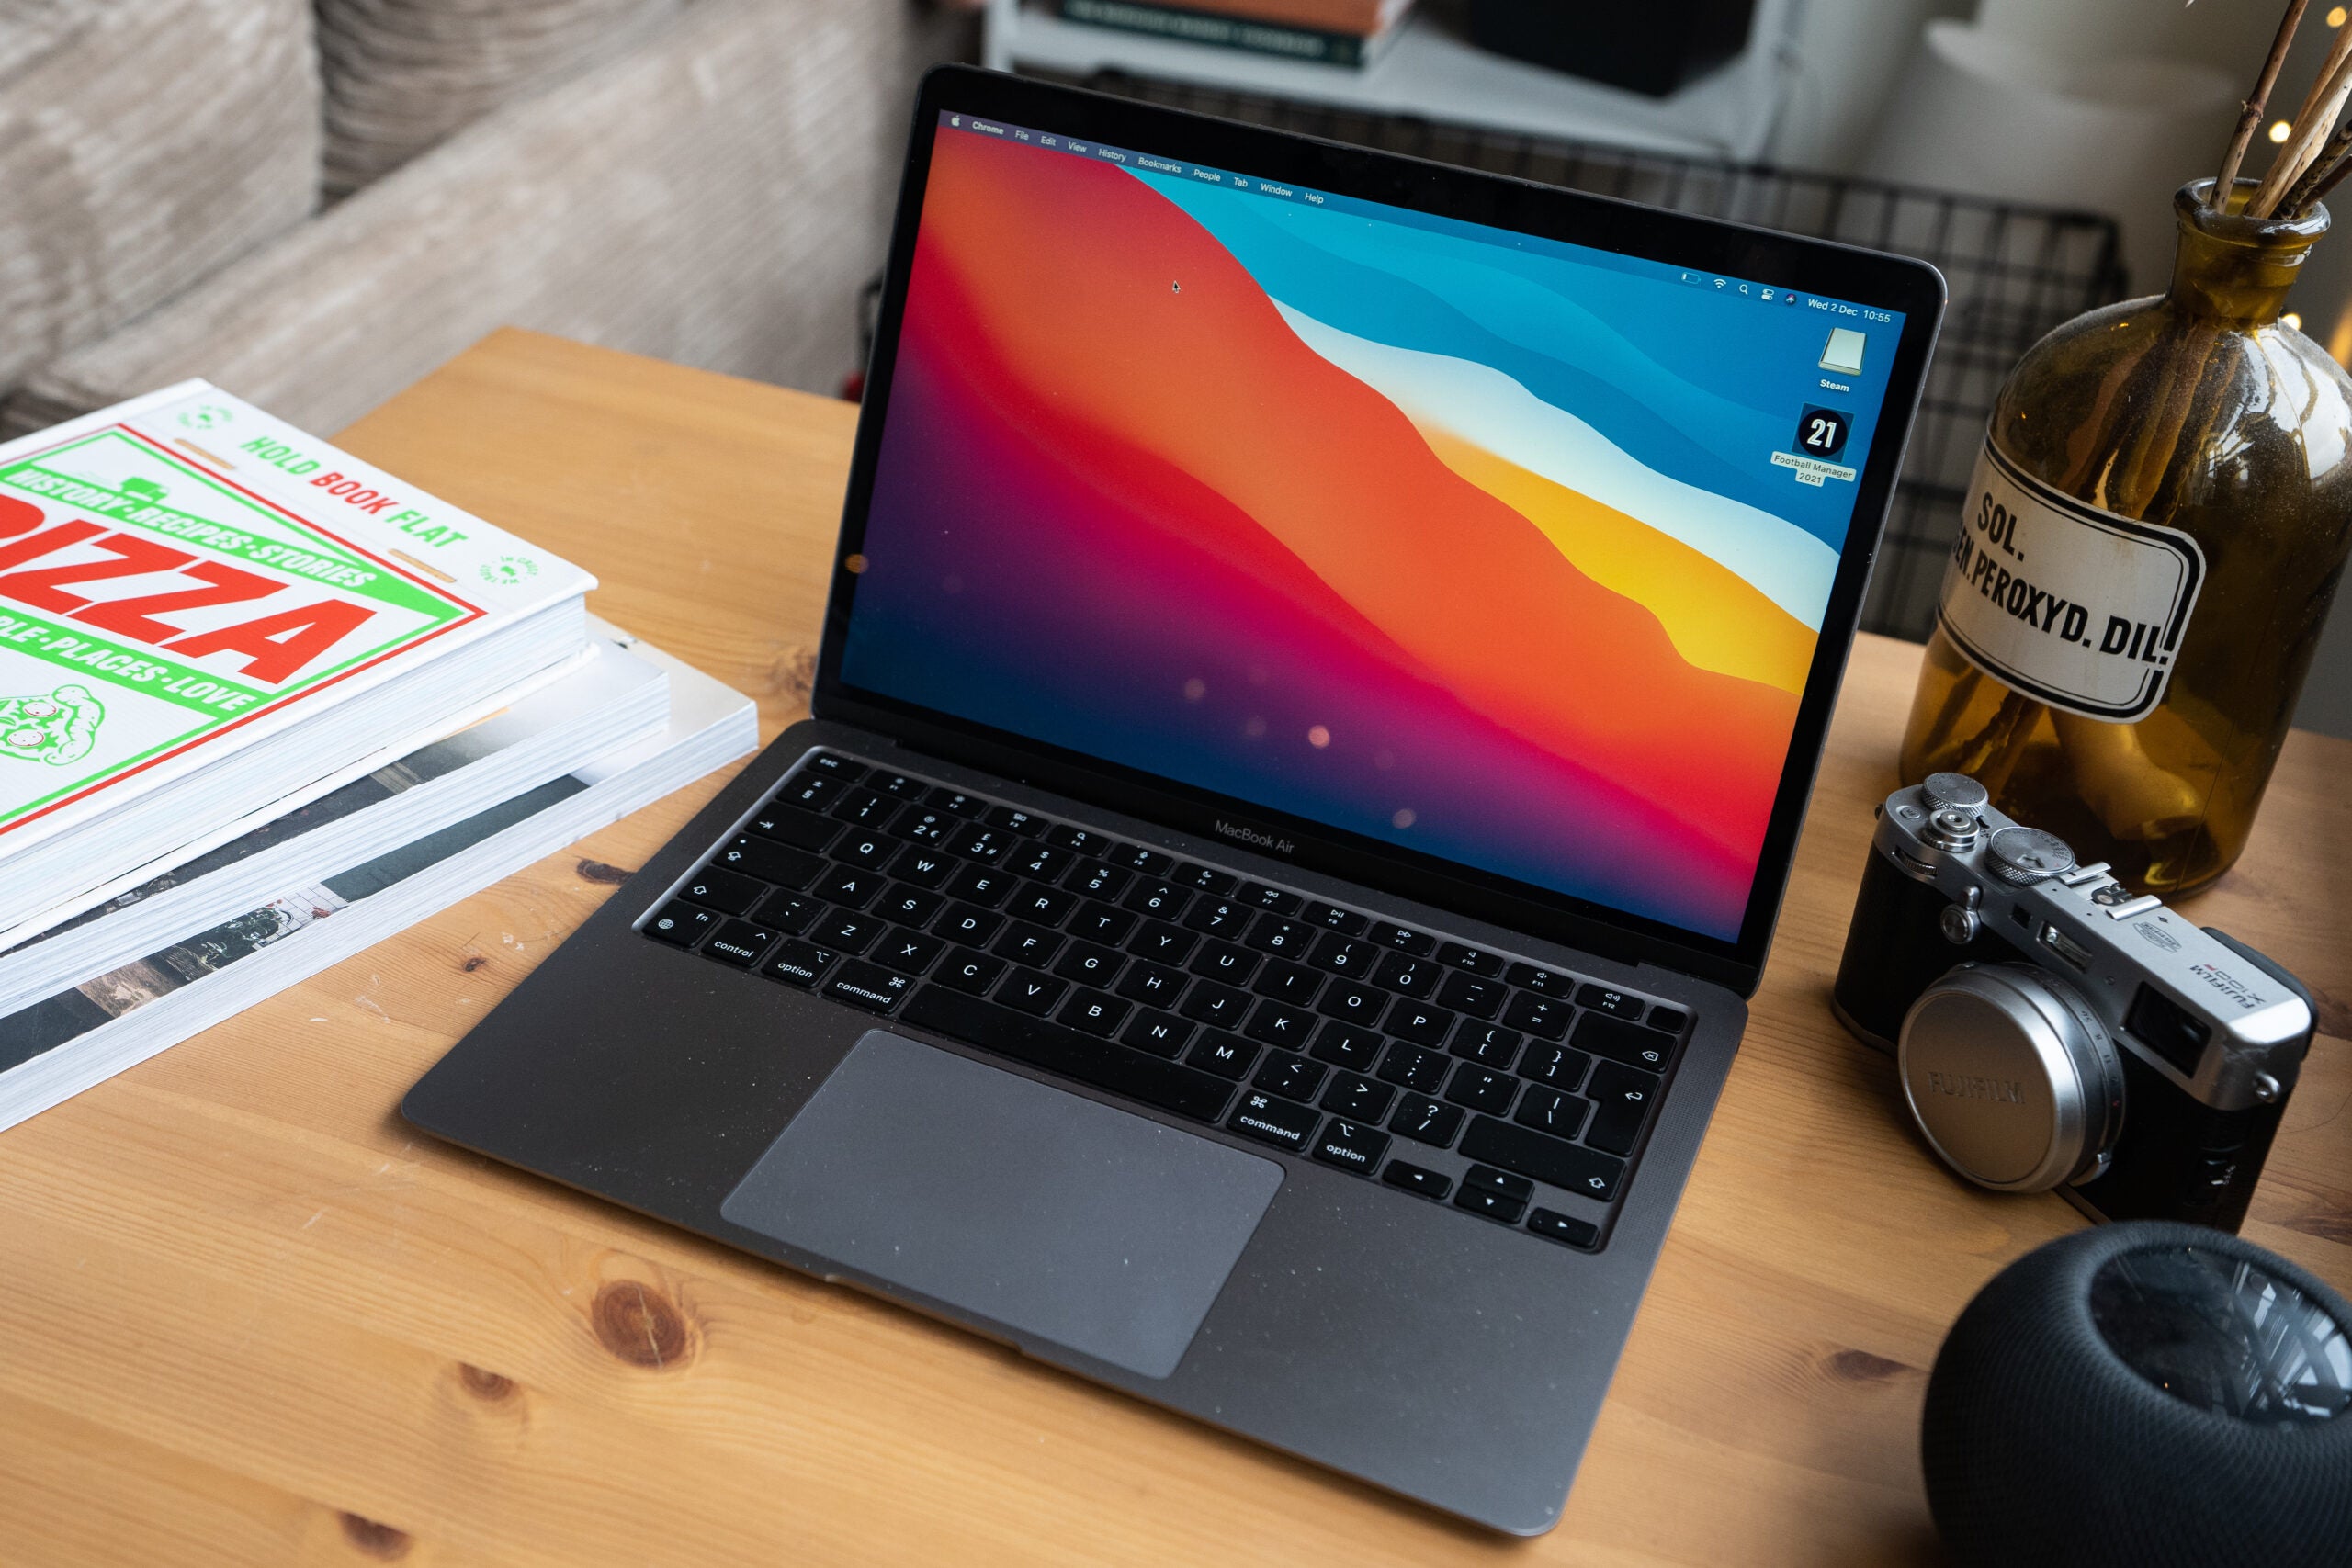
- A Mac or MacBook that supports Ventura. We used a MacBook Air M2
The Short Version
- Head to the Apple Beta Software site
- Sign in and enroll
- Download the Utility
- Download and install the Ventura beta
Step
1Head to the Apple Beta Software site

On the Mac you want to update to the Ventura beta head to Apple’s Beta Software website. You’ll find the link here.
Step
2Sign in with your Apple ID
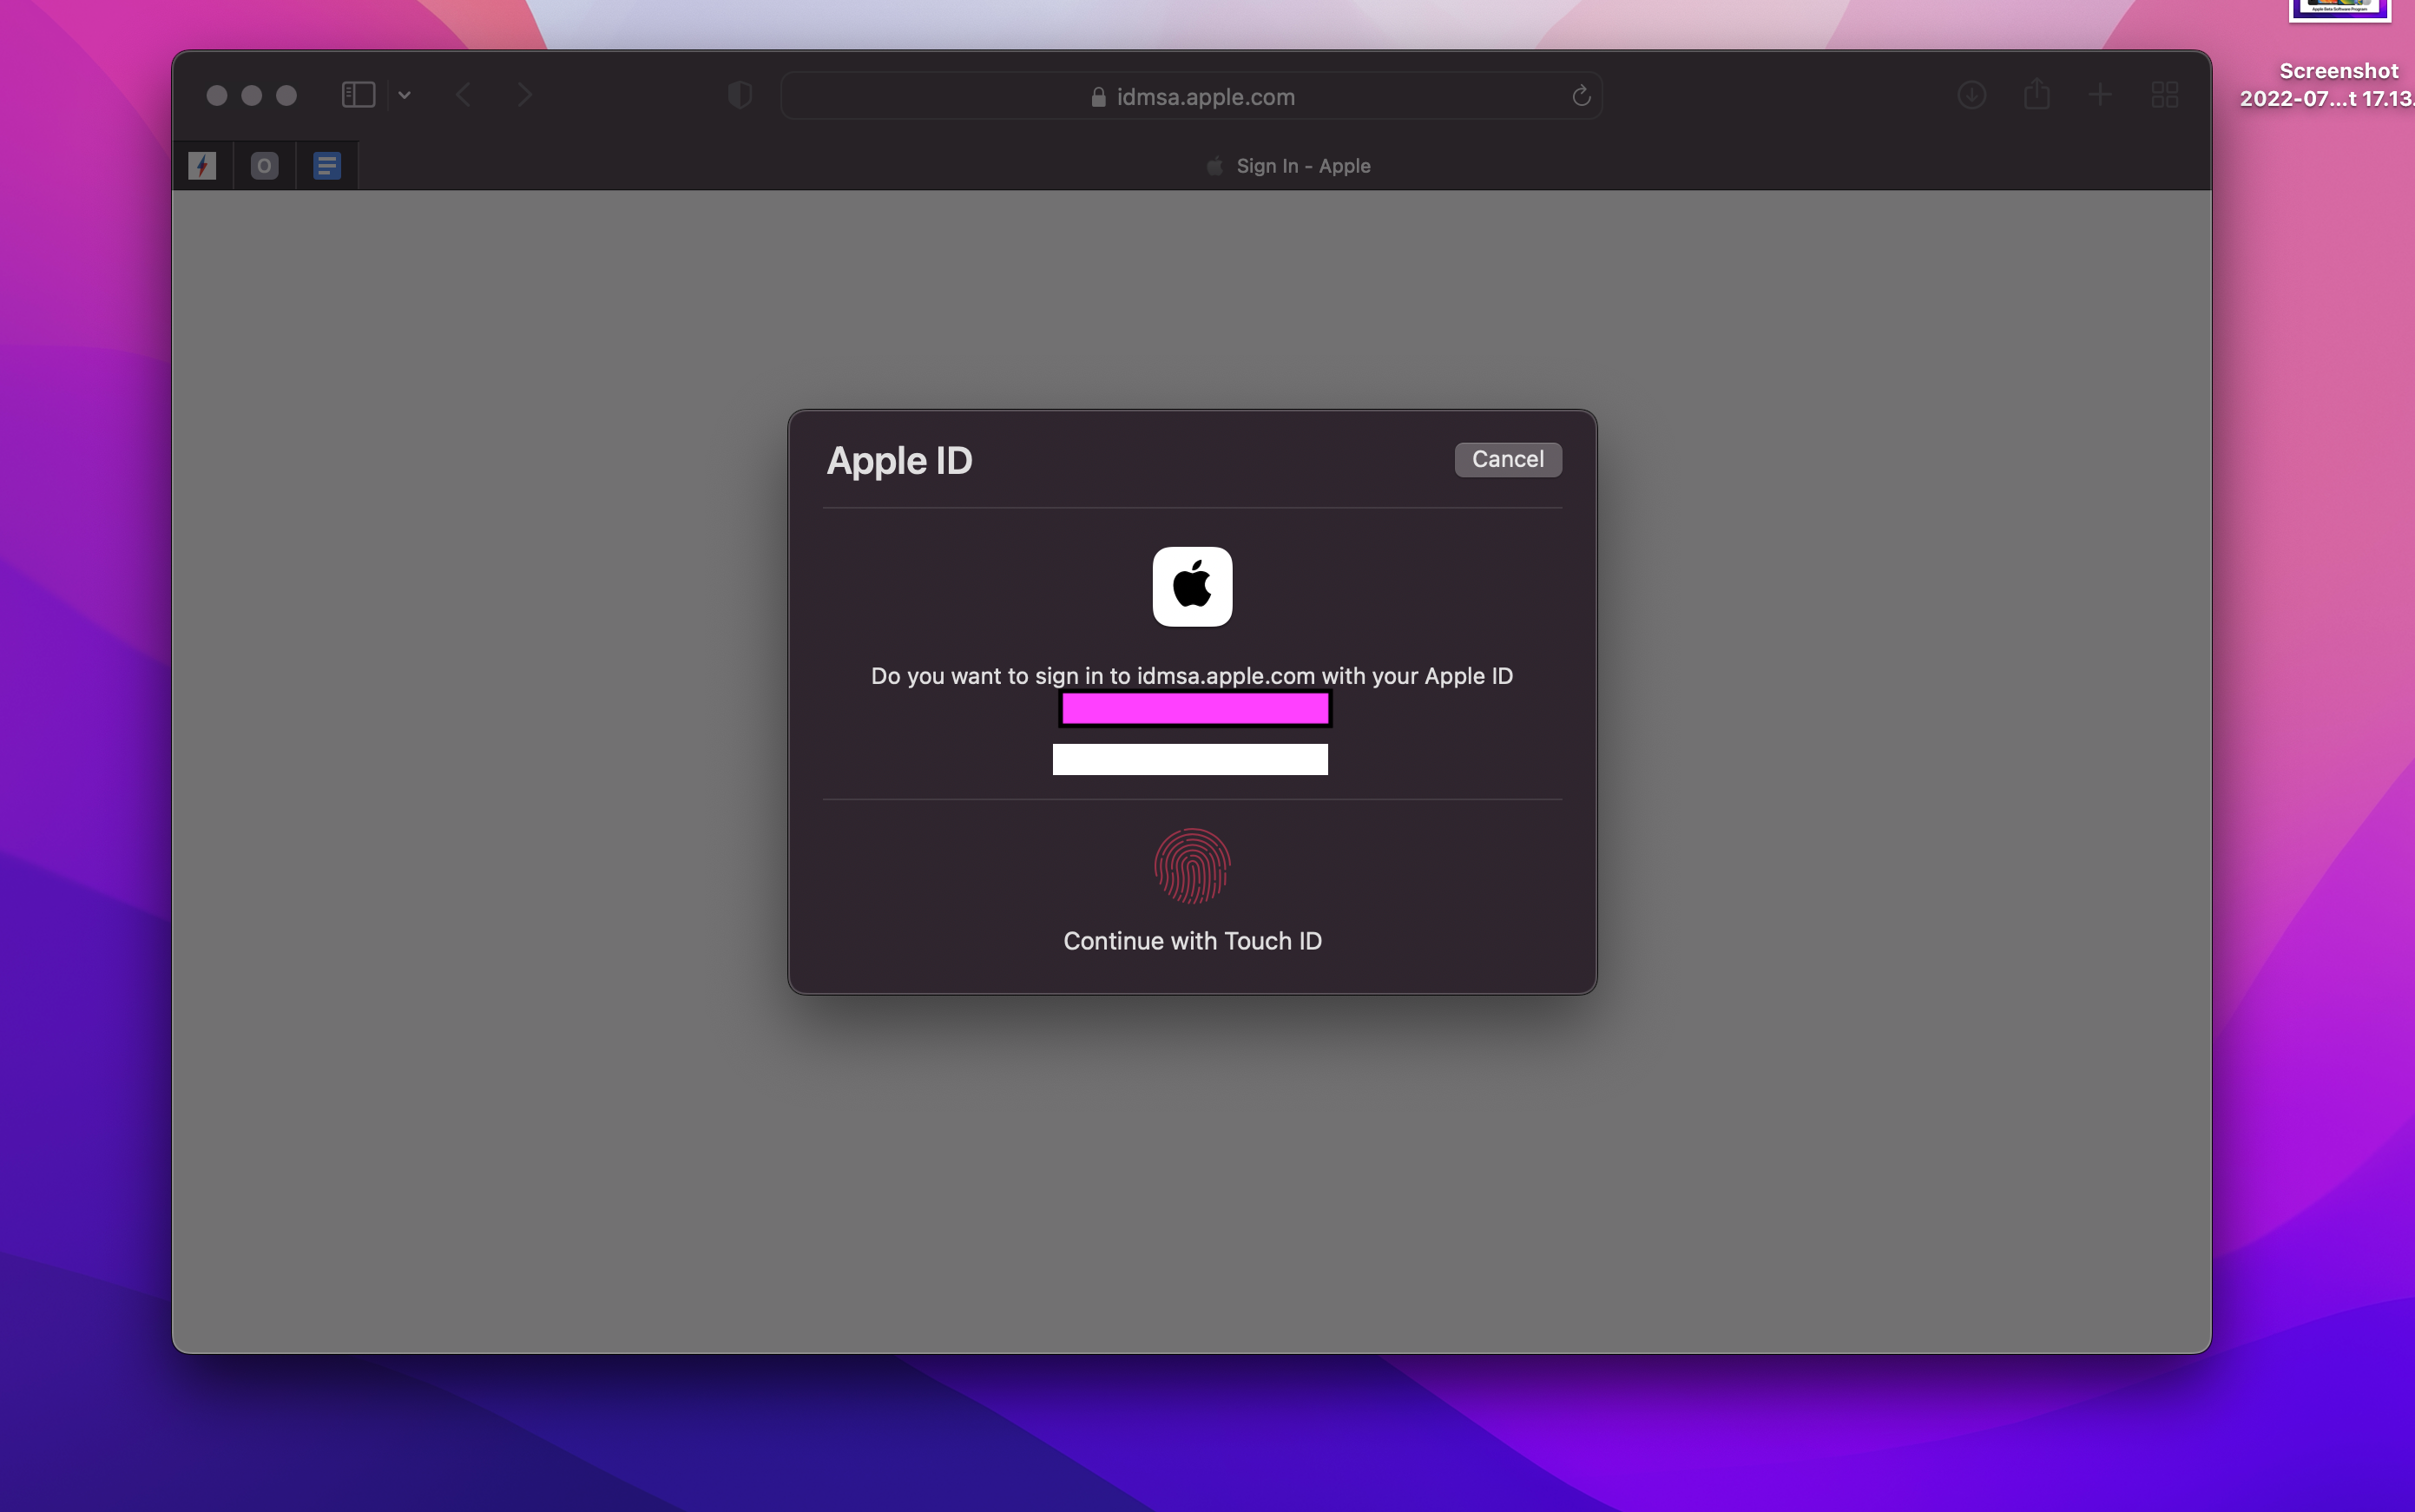
Scroll down slightly and you’ll see an option to Sign in. Click it and sign in with your Apple ID. If you’re on a Mac with Touch ID you should be able to authenticate with your fingerprint.
Step
3Enroll your Mac
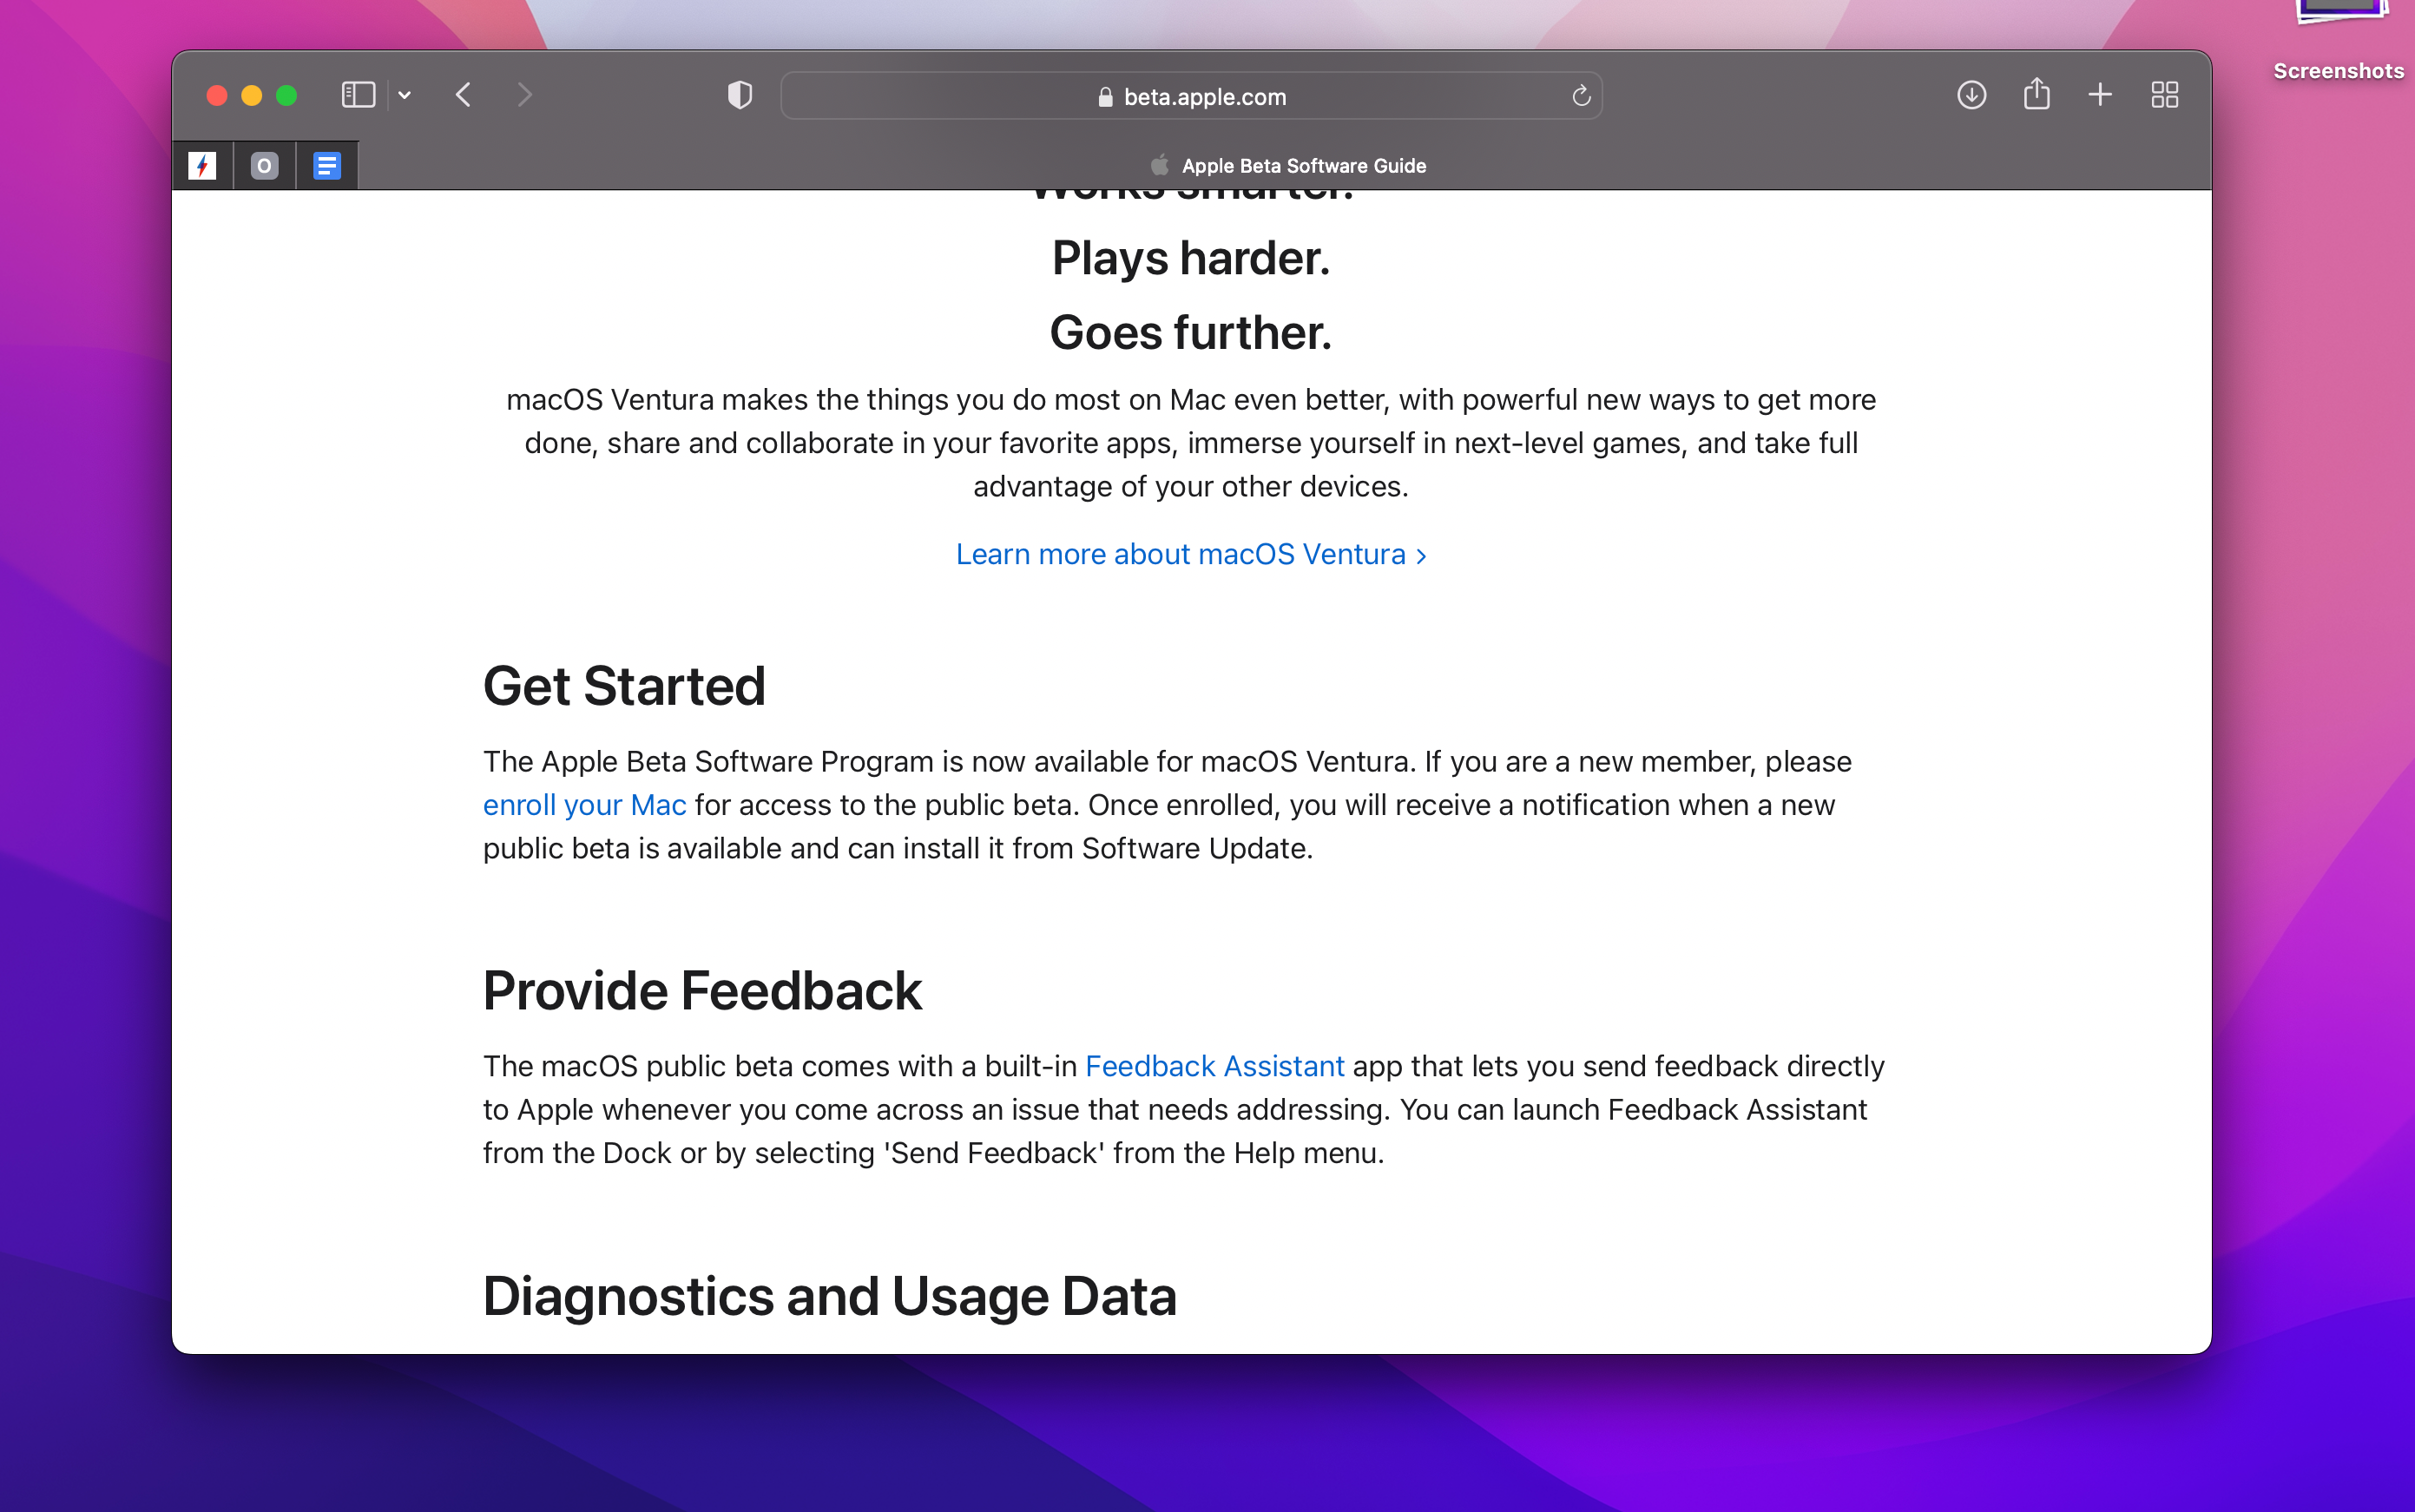
Once you’ve logged in, navigate to the macOS Ventura section and scroll down slightly. You’ll see an option to Enroll your Mac. Click this and you’ll be taken to a new page.
Step
4Download the Utility
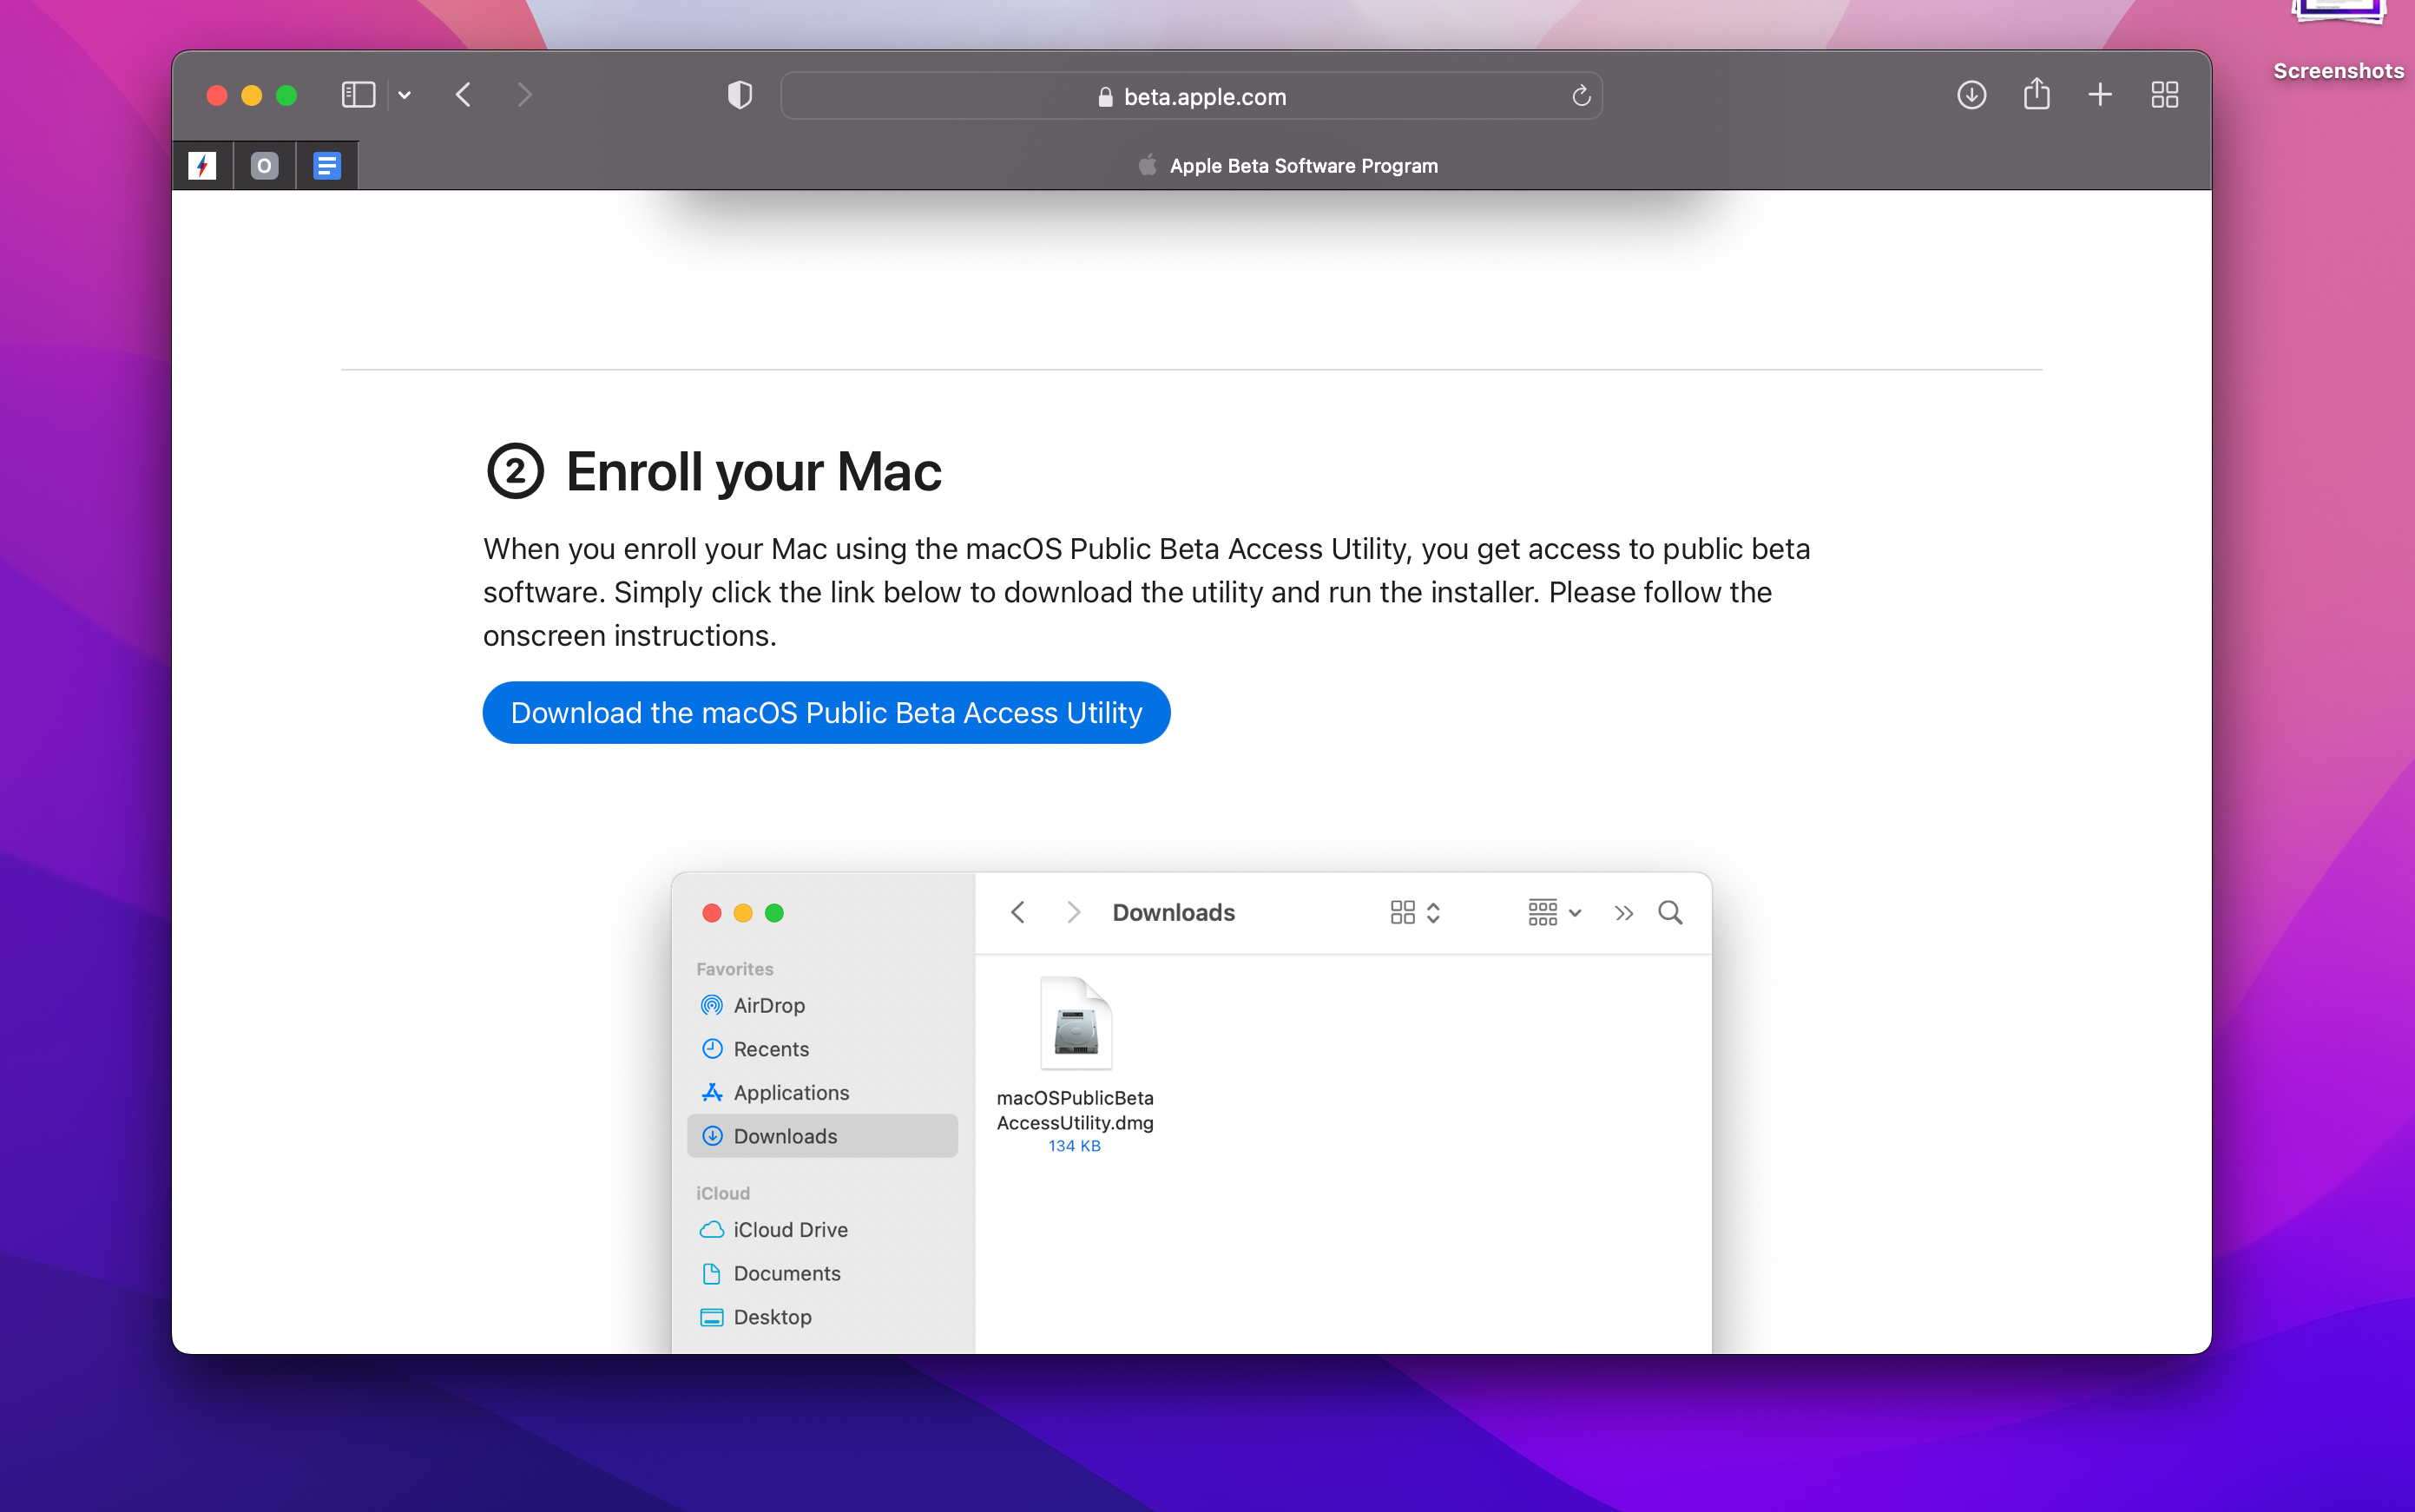
Next up you need to download a small utility that’ll enable you to download and install the beta. Click the option that says Download the macOS Public Beta Access Utility. Once you’ve clicked it, the download should begin.
Step
5Install the Utility

Once installation is complete, click the package and it’ll begin to install. You’ll have to read and agree to terms and conditions for this to complete,
Step
6Download and install Ventura
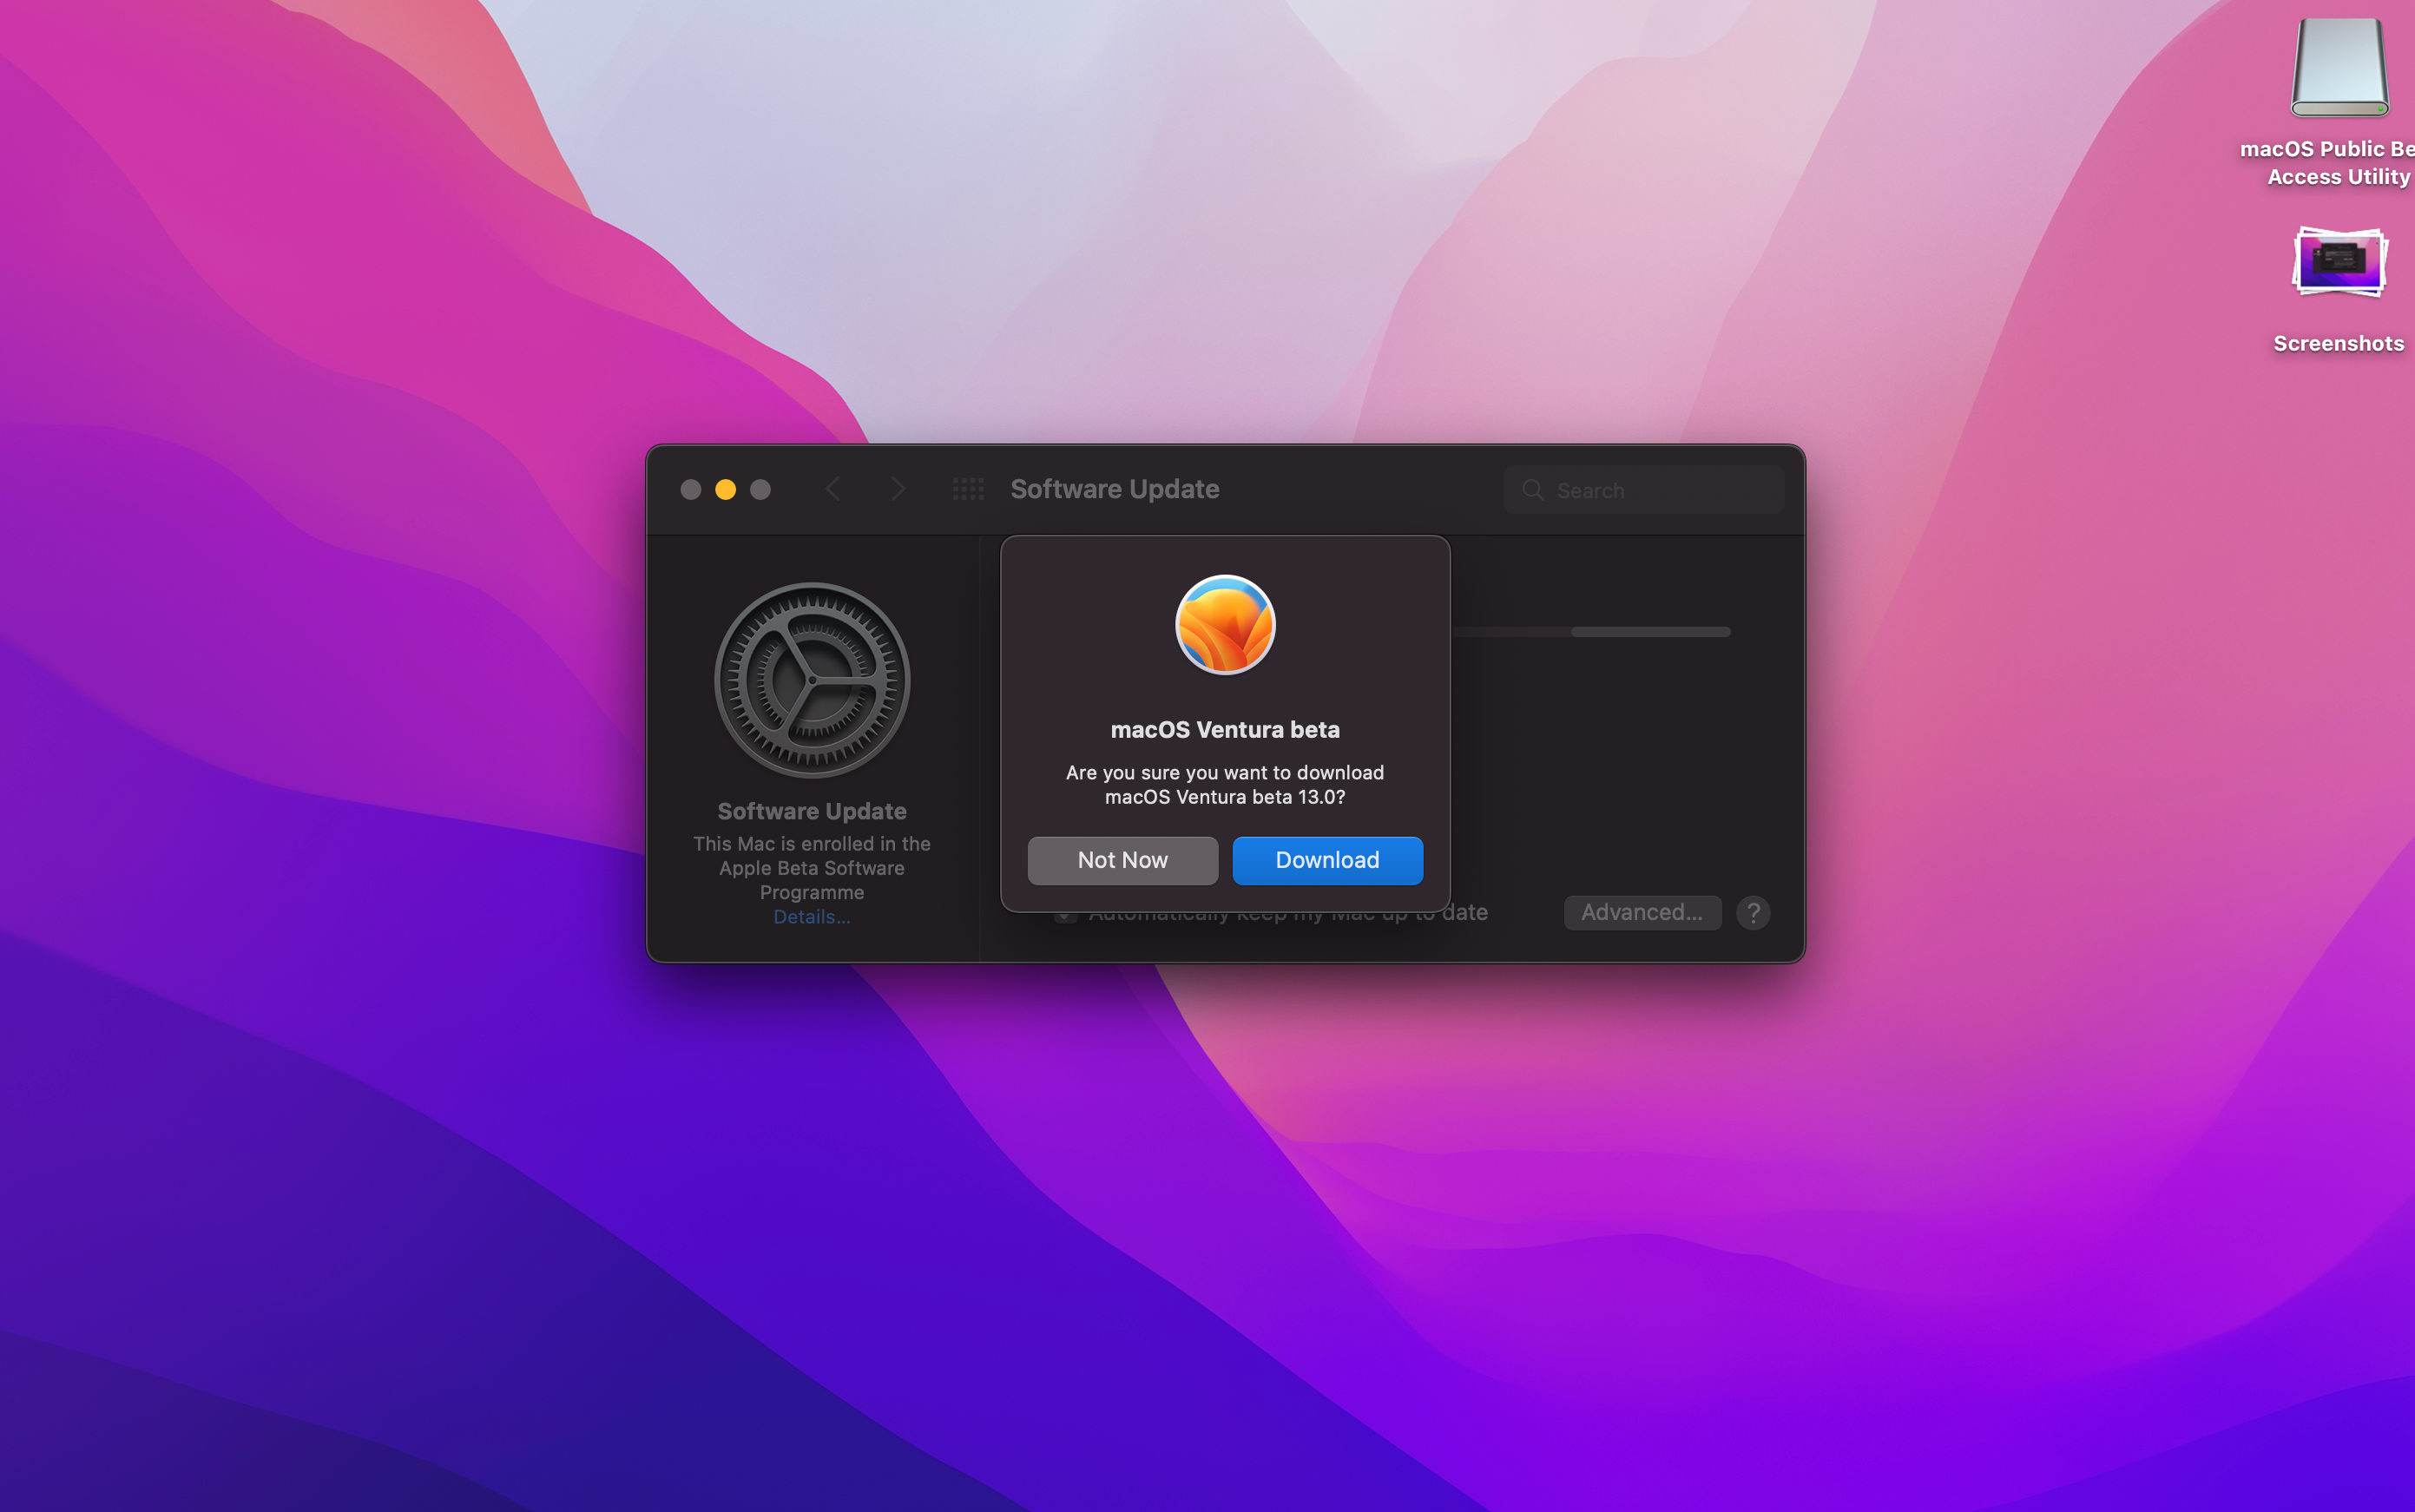
Once the installation has been completed, you’ll be taken to the Software Update area of macOS. It’ll now search for an update and, if the above steps have worked correctly, allow you to download Ventura. Click Download and the process will start. Once the download has finished, it’ll begin the installation process which can take a few hours.
Troubleshooting
The following machines will support Ventura, both for the beta and for the upcoming full release: iMac (2017 or later), iMac Pro (2017), Mac Mini (2018 or later), MacBook (2017 or later), Mac Pro (2019 or later), Mac Studio, MacBook Air (2018 or later), MacBook Pro (2017 or later).
You might like…


Editorial independence
Editorial independence means being able to give an unbiased verdict about a product or company, with the avoidance of conflicts of interest. To ensure this is possible, every member of the editorial staff follows a clear code of conduct.
Professional conduct
We also expect our journalists to follow clear ethical standards in their work. Our staff members must strive for honesty and accuracy in everything they do. We follow the IPSO Editors’ code of practice to underpin these standards.