
NordVPN is one of the most popular VPN services across the world, but that doesn’t mean that you won’t sometimes need a break from it.
Using a service like NordVPN is one of the best ways to ensure that you’re staying safe online; not only can it mask your device’s IP address so internet service providers can’t track your activity, but it can also stop you from engaging with websites or links that seem suspicious.
NordVPN is currently running a fantastic deal on its standard package at just £2.69 per month with three months extra thrown in for free. Simply click on the link prior or the deal widget below to take advantage of this fantastic offer before it’s gone;
However, there are some occasions when you won’t want to be using NordVPN, like if you’re noticing that your internet speed is slowing down when it’s on. That’s why we’re going to be running through the easiest way to turn off the auto-connect feature on NordVPN, just read on to find our simple step-by-step guide.

Save 81% on a VPN with SurfShark
Surfshark has dropped the price of its VPN to £1.94 a month. Head over to Surfshark now to pay a one time price of £46.44 for 24 months of Surfshark and save 81%.
- NordVPN
- 81% off
- £1.94 a month
What you’ll need:
- An active NordVPN subscription
The Short Version
- Open the NordVPN app
- Go to Settings
- Click on Connection
- Click on Auto-connect
- Deselect all the options
Step
1Open the NordVPN app
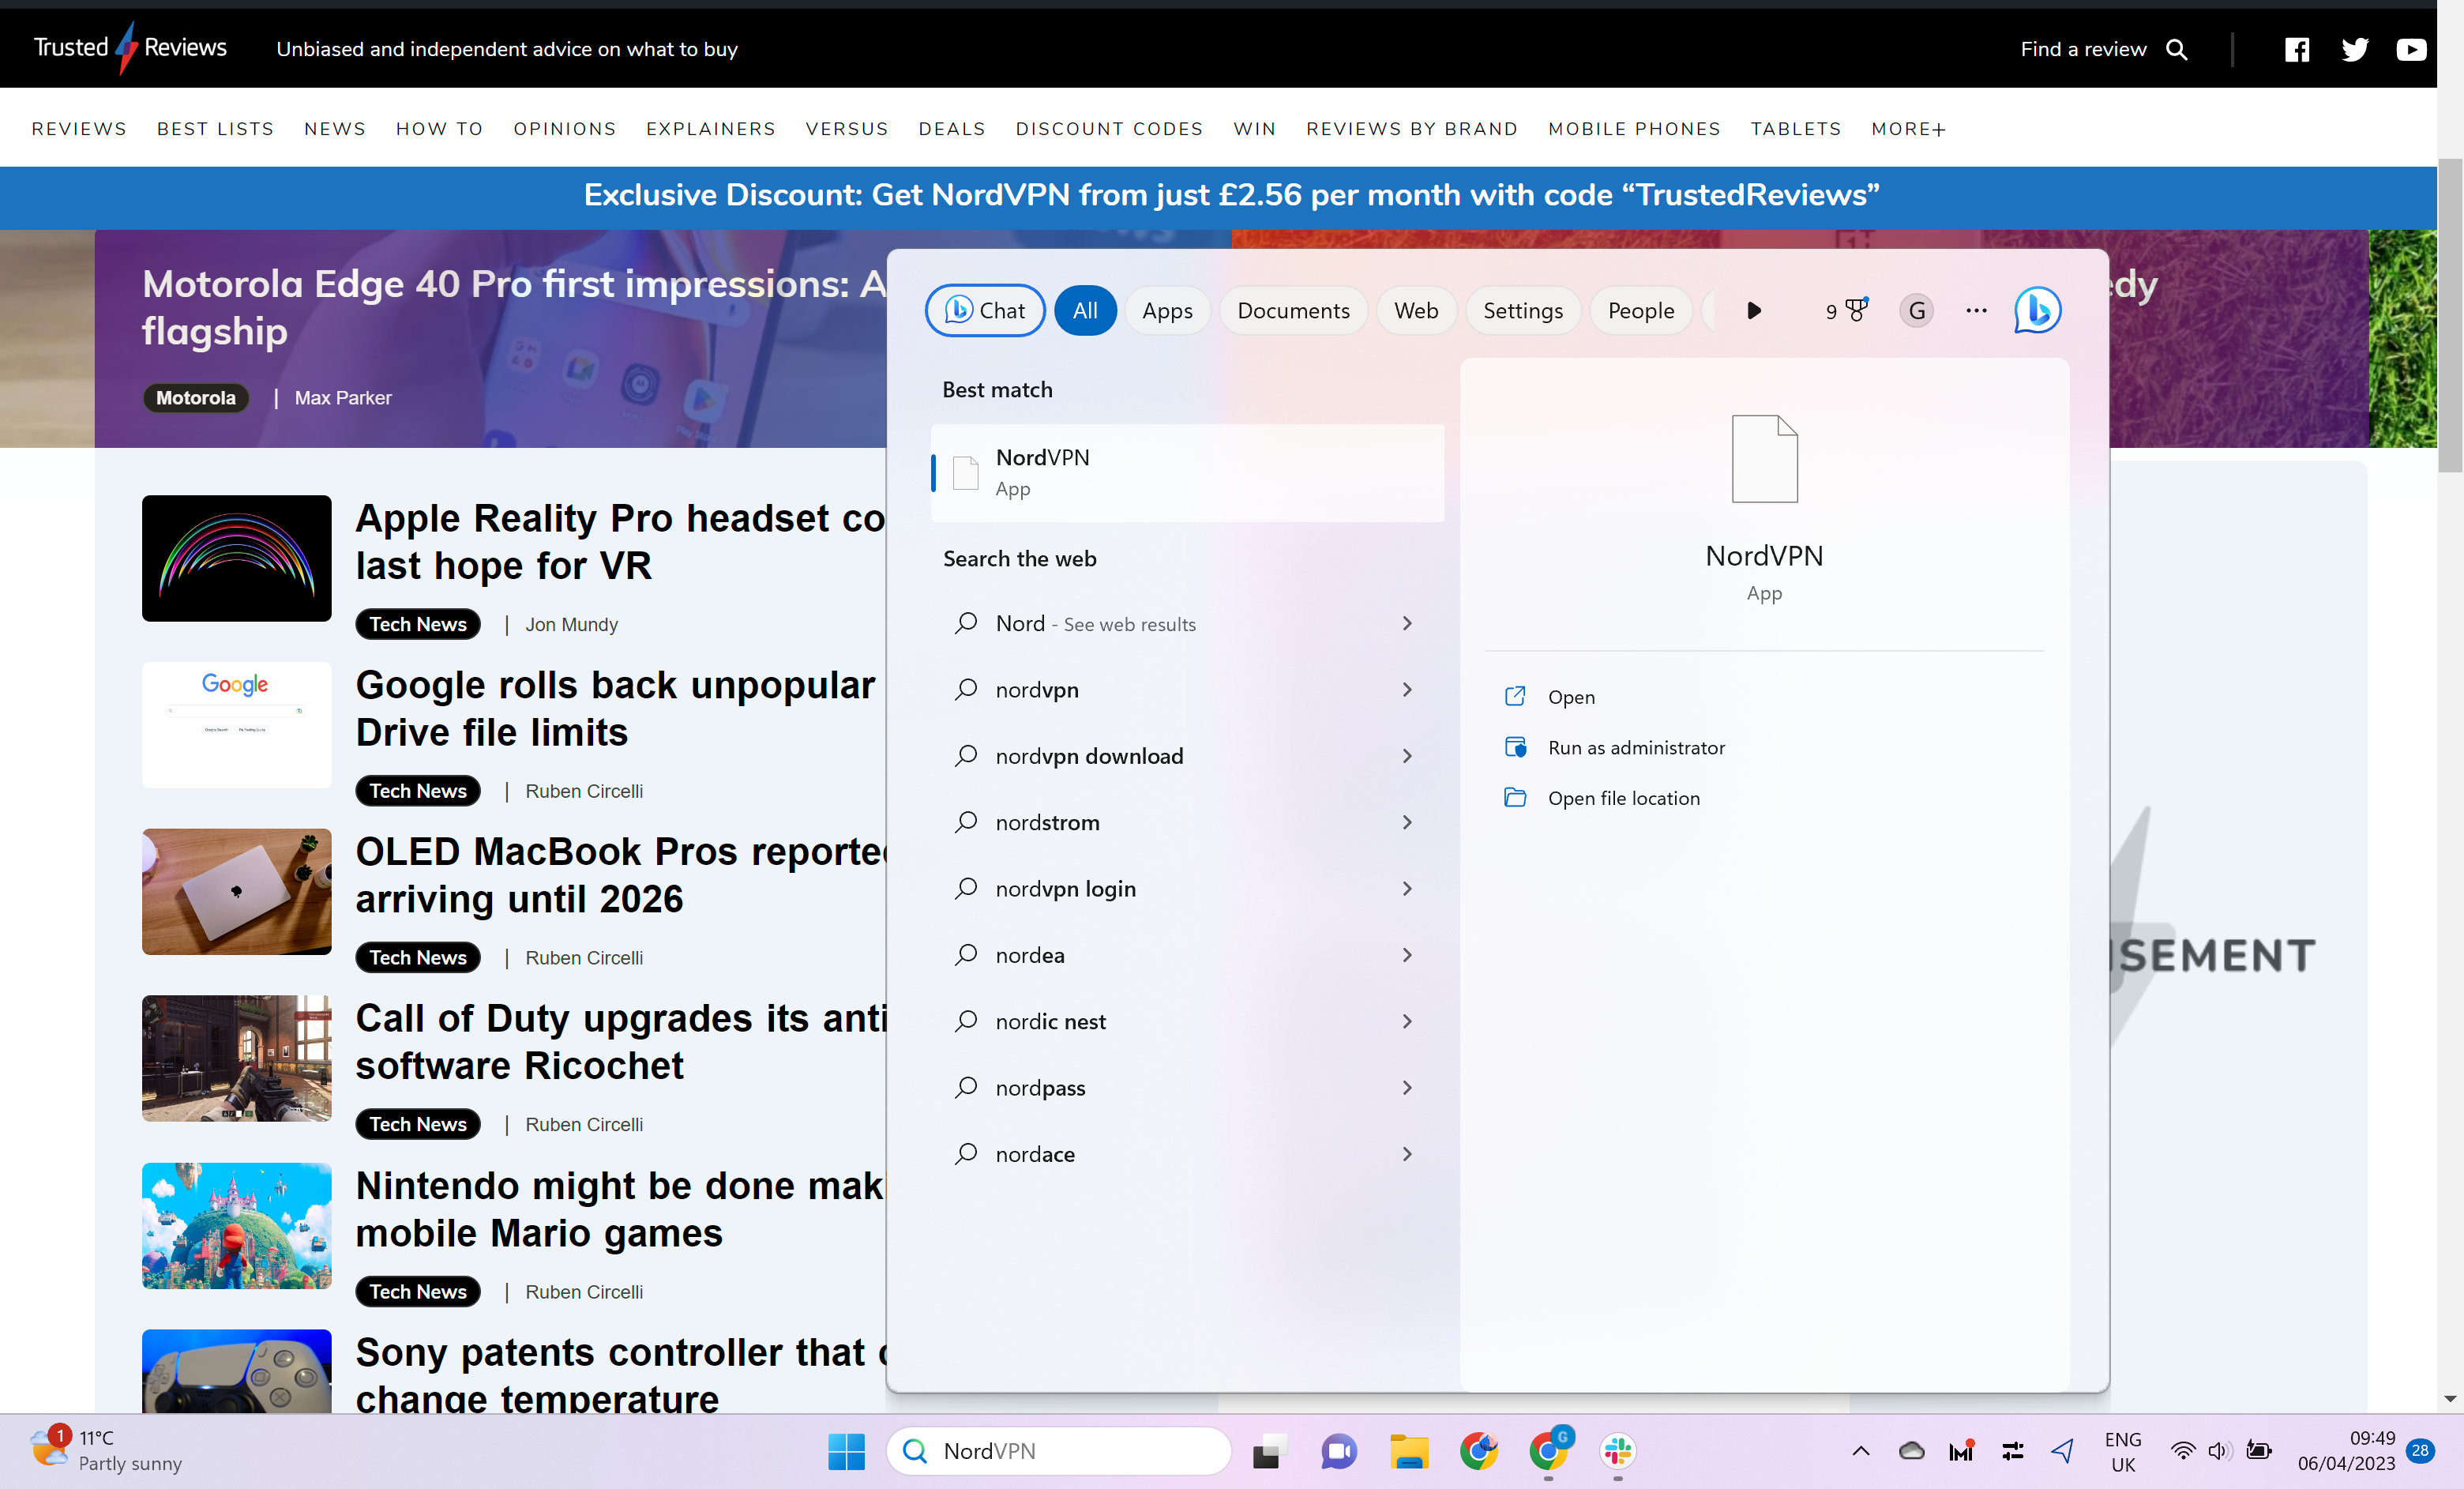
You can use this same method on a phone, tablet or laptop – we used a laptop. Firstly, open up the NordVPN app.
Step
2Go to Settings

Click on the Settings button in the bottom left-hand corner of the screen.
Step
3Click on Connection
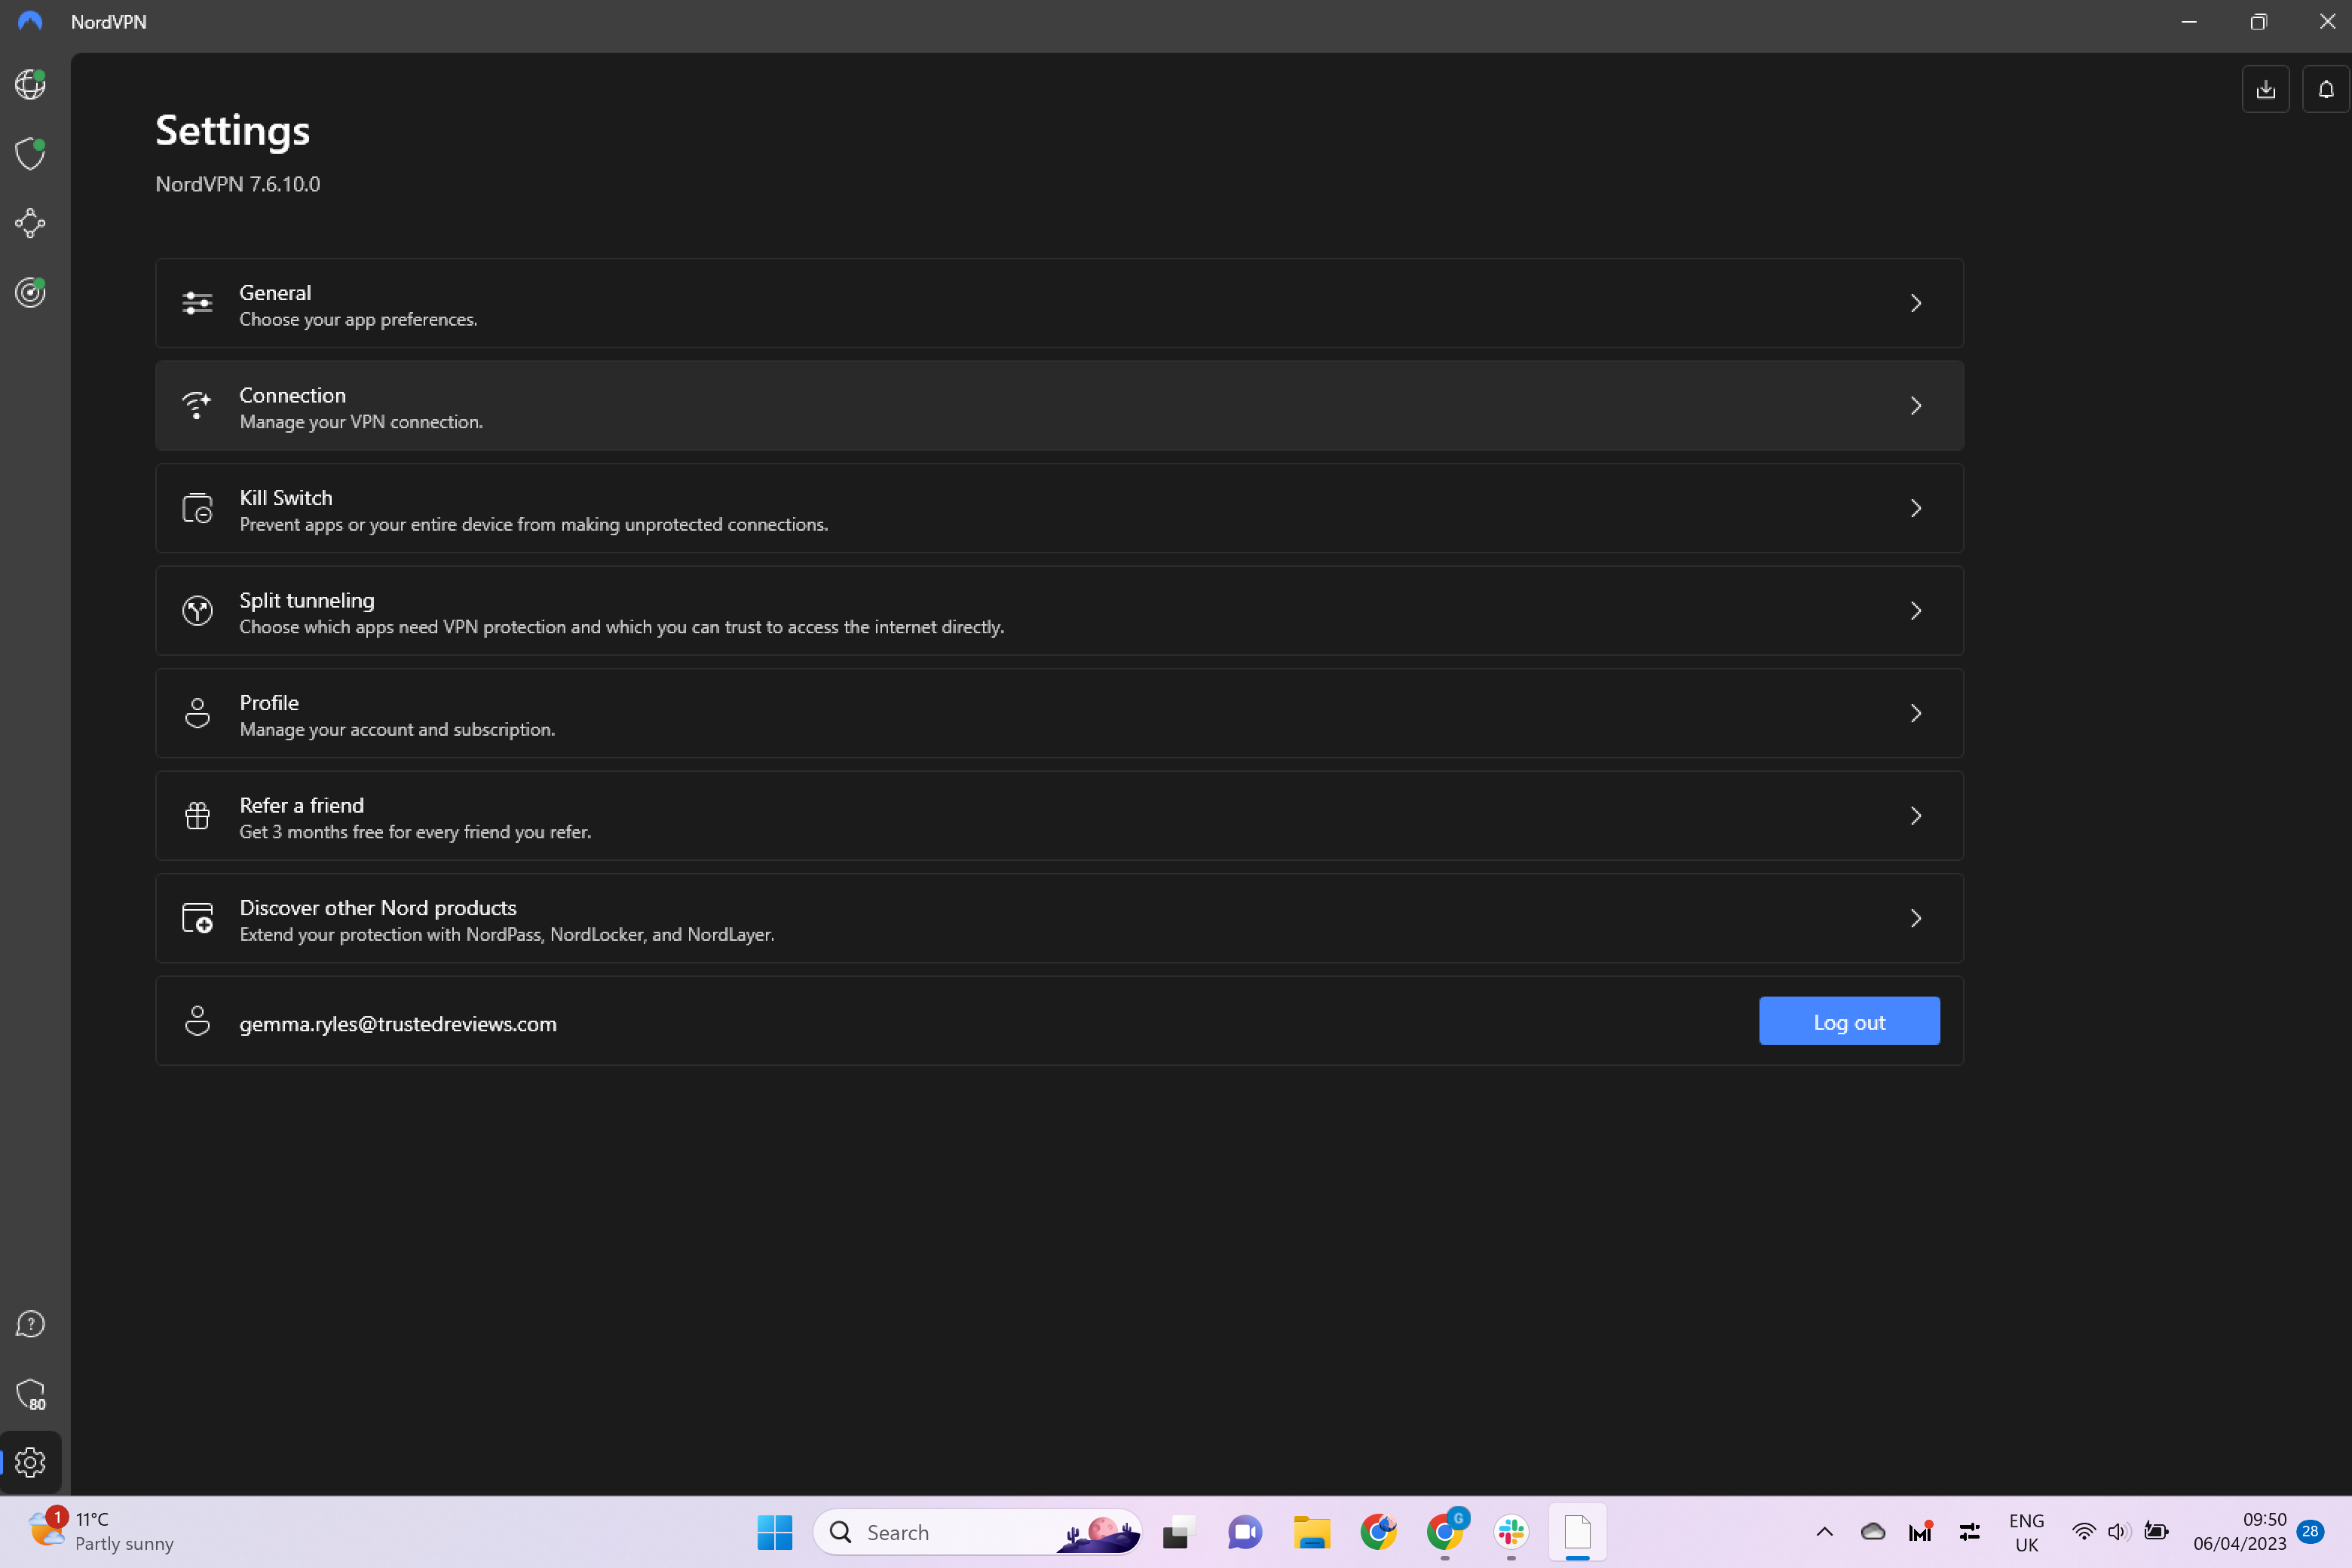
From the menu presented, click on Connection.
Step
4Click on Auto-connect
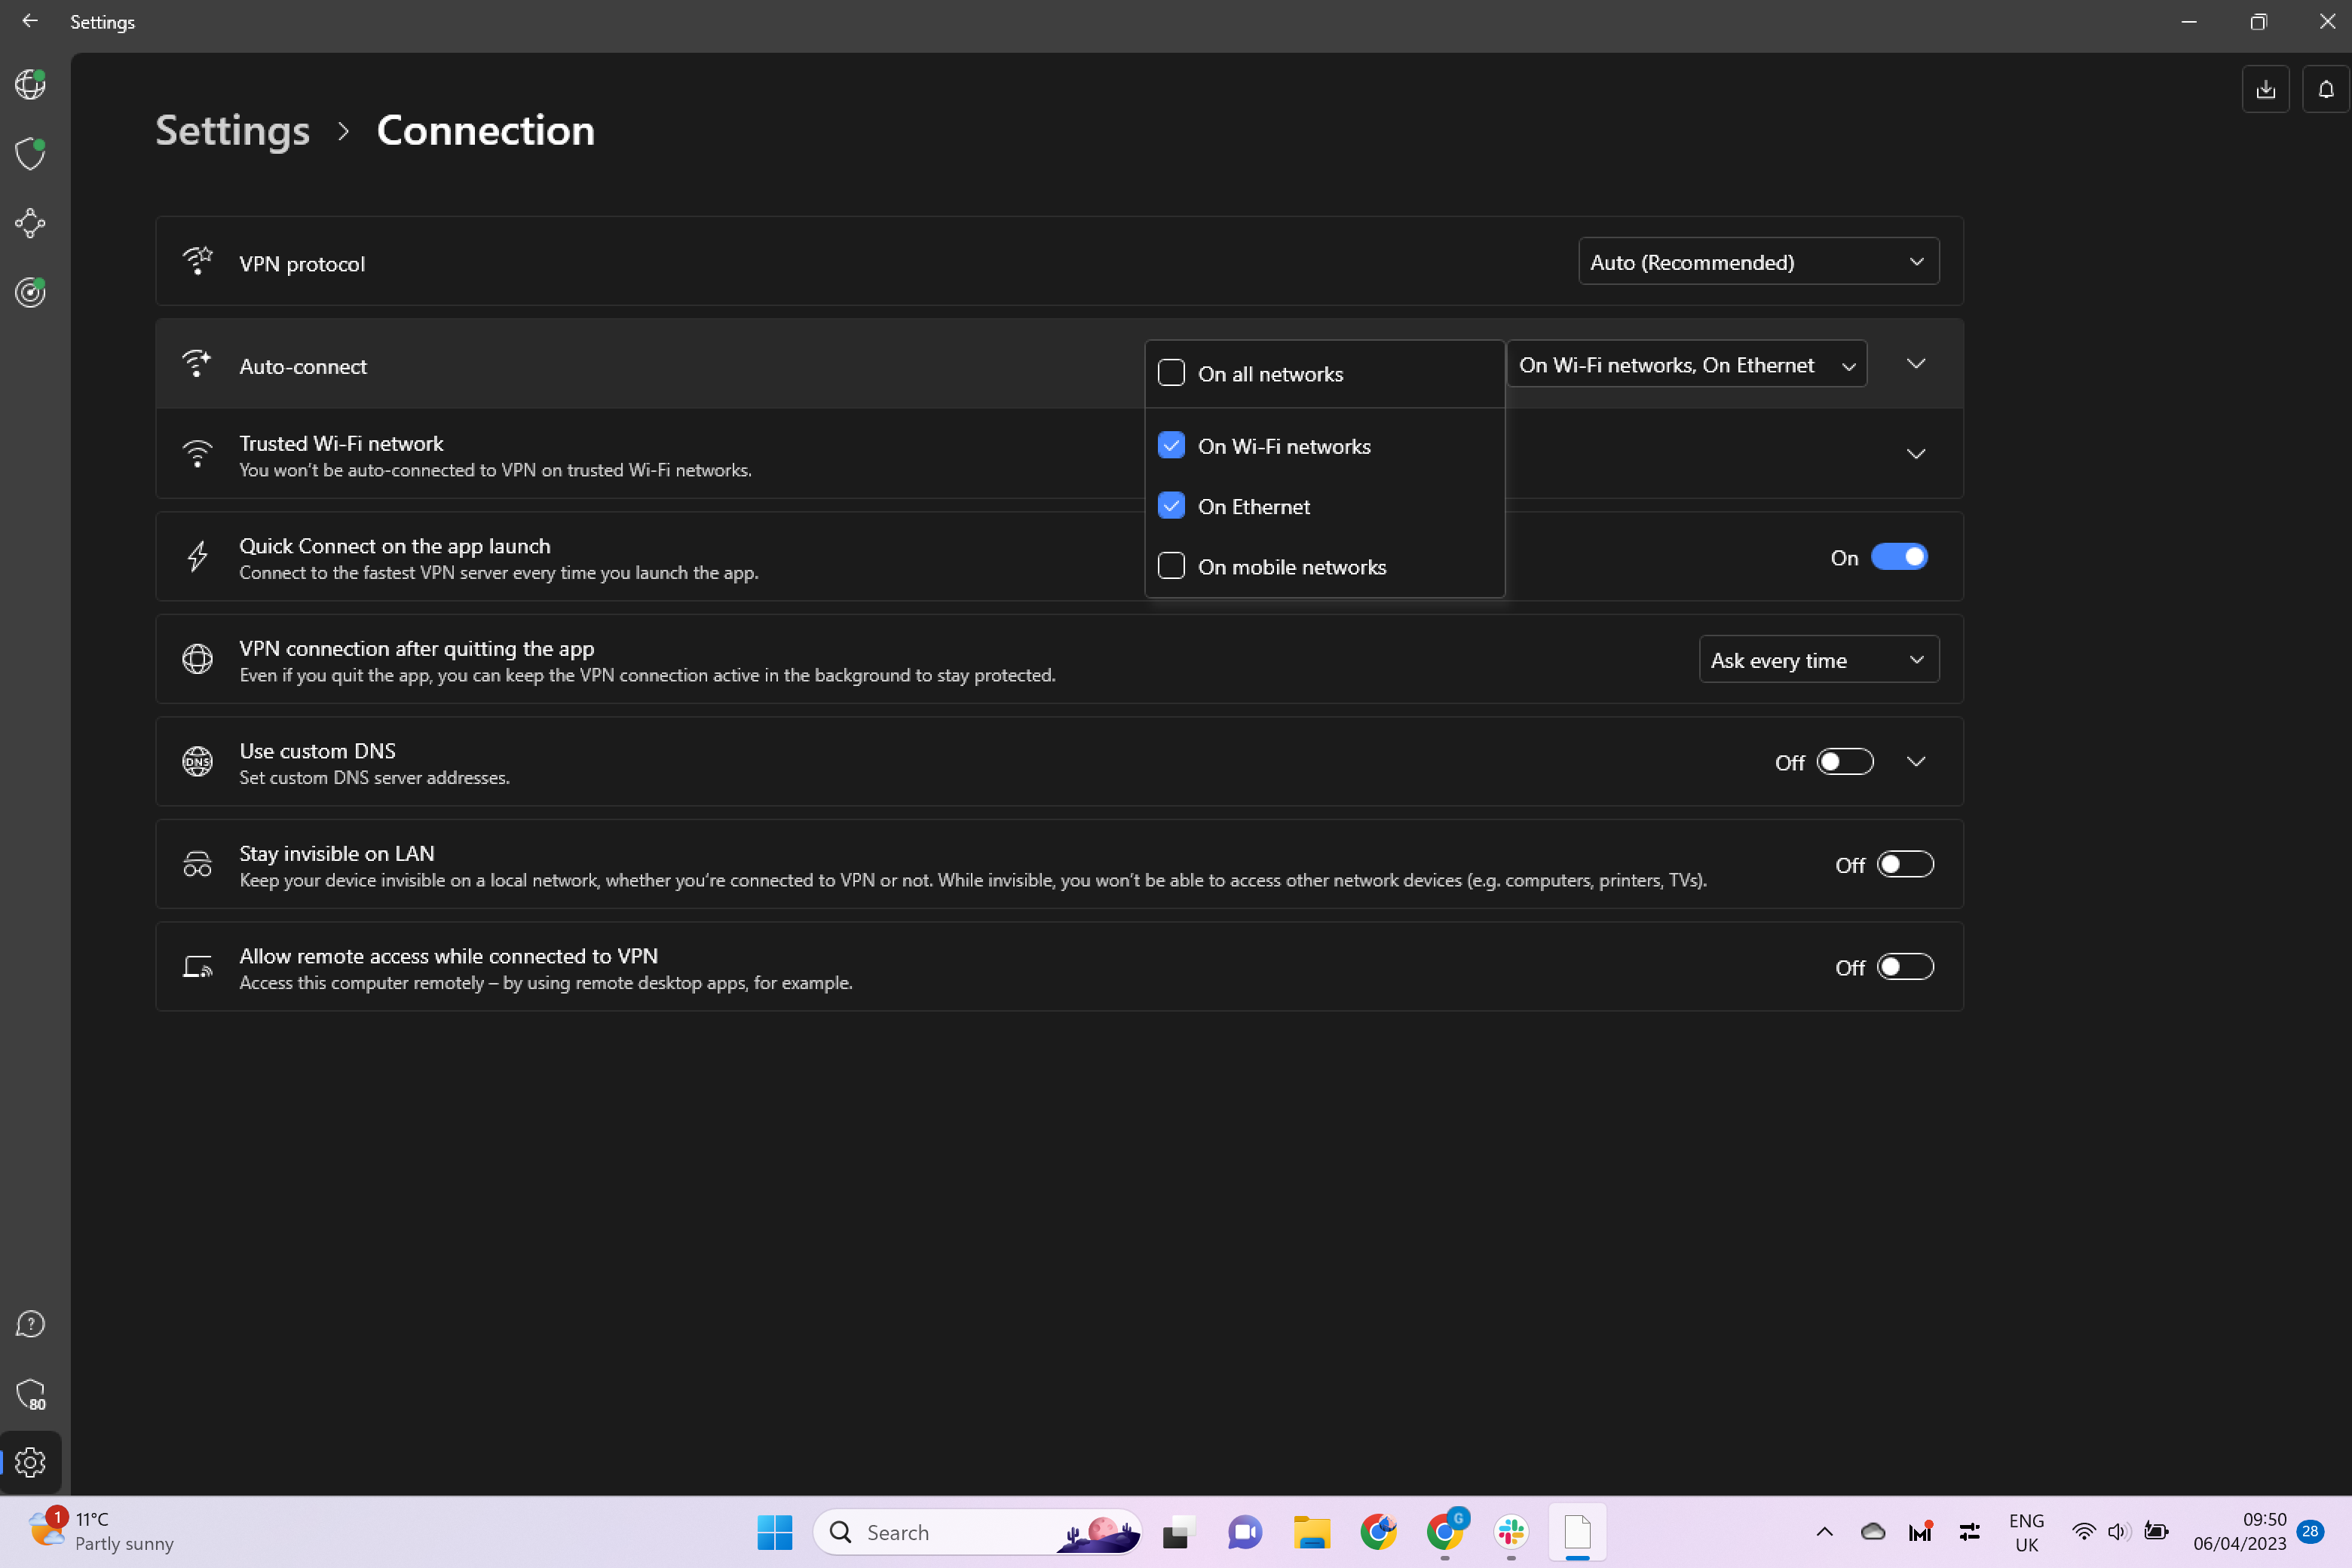
From the new menu, click on the small drop-down menu in the Auto-connect section.
Step
5Deselect all the options
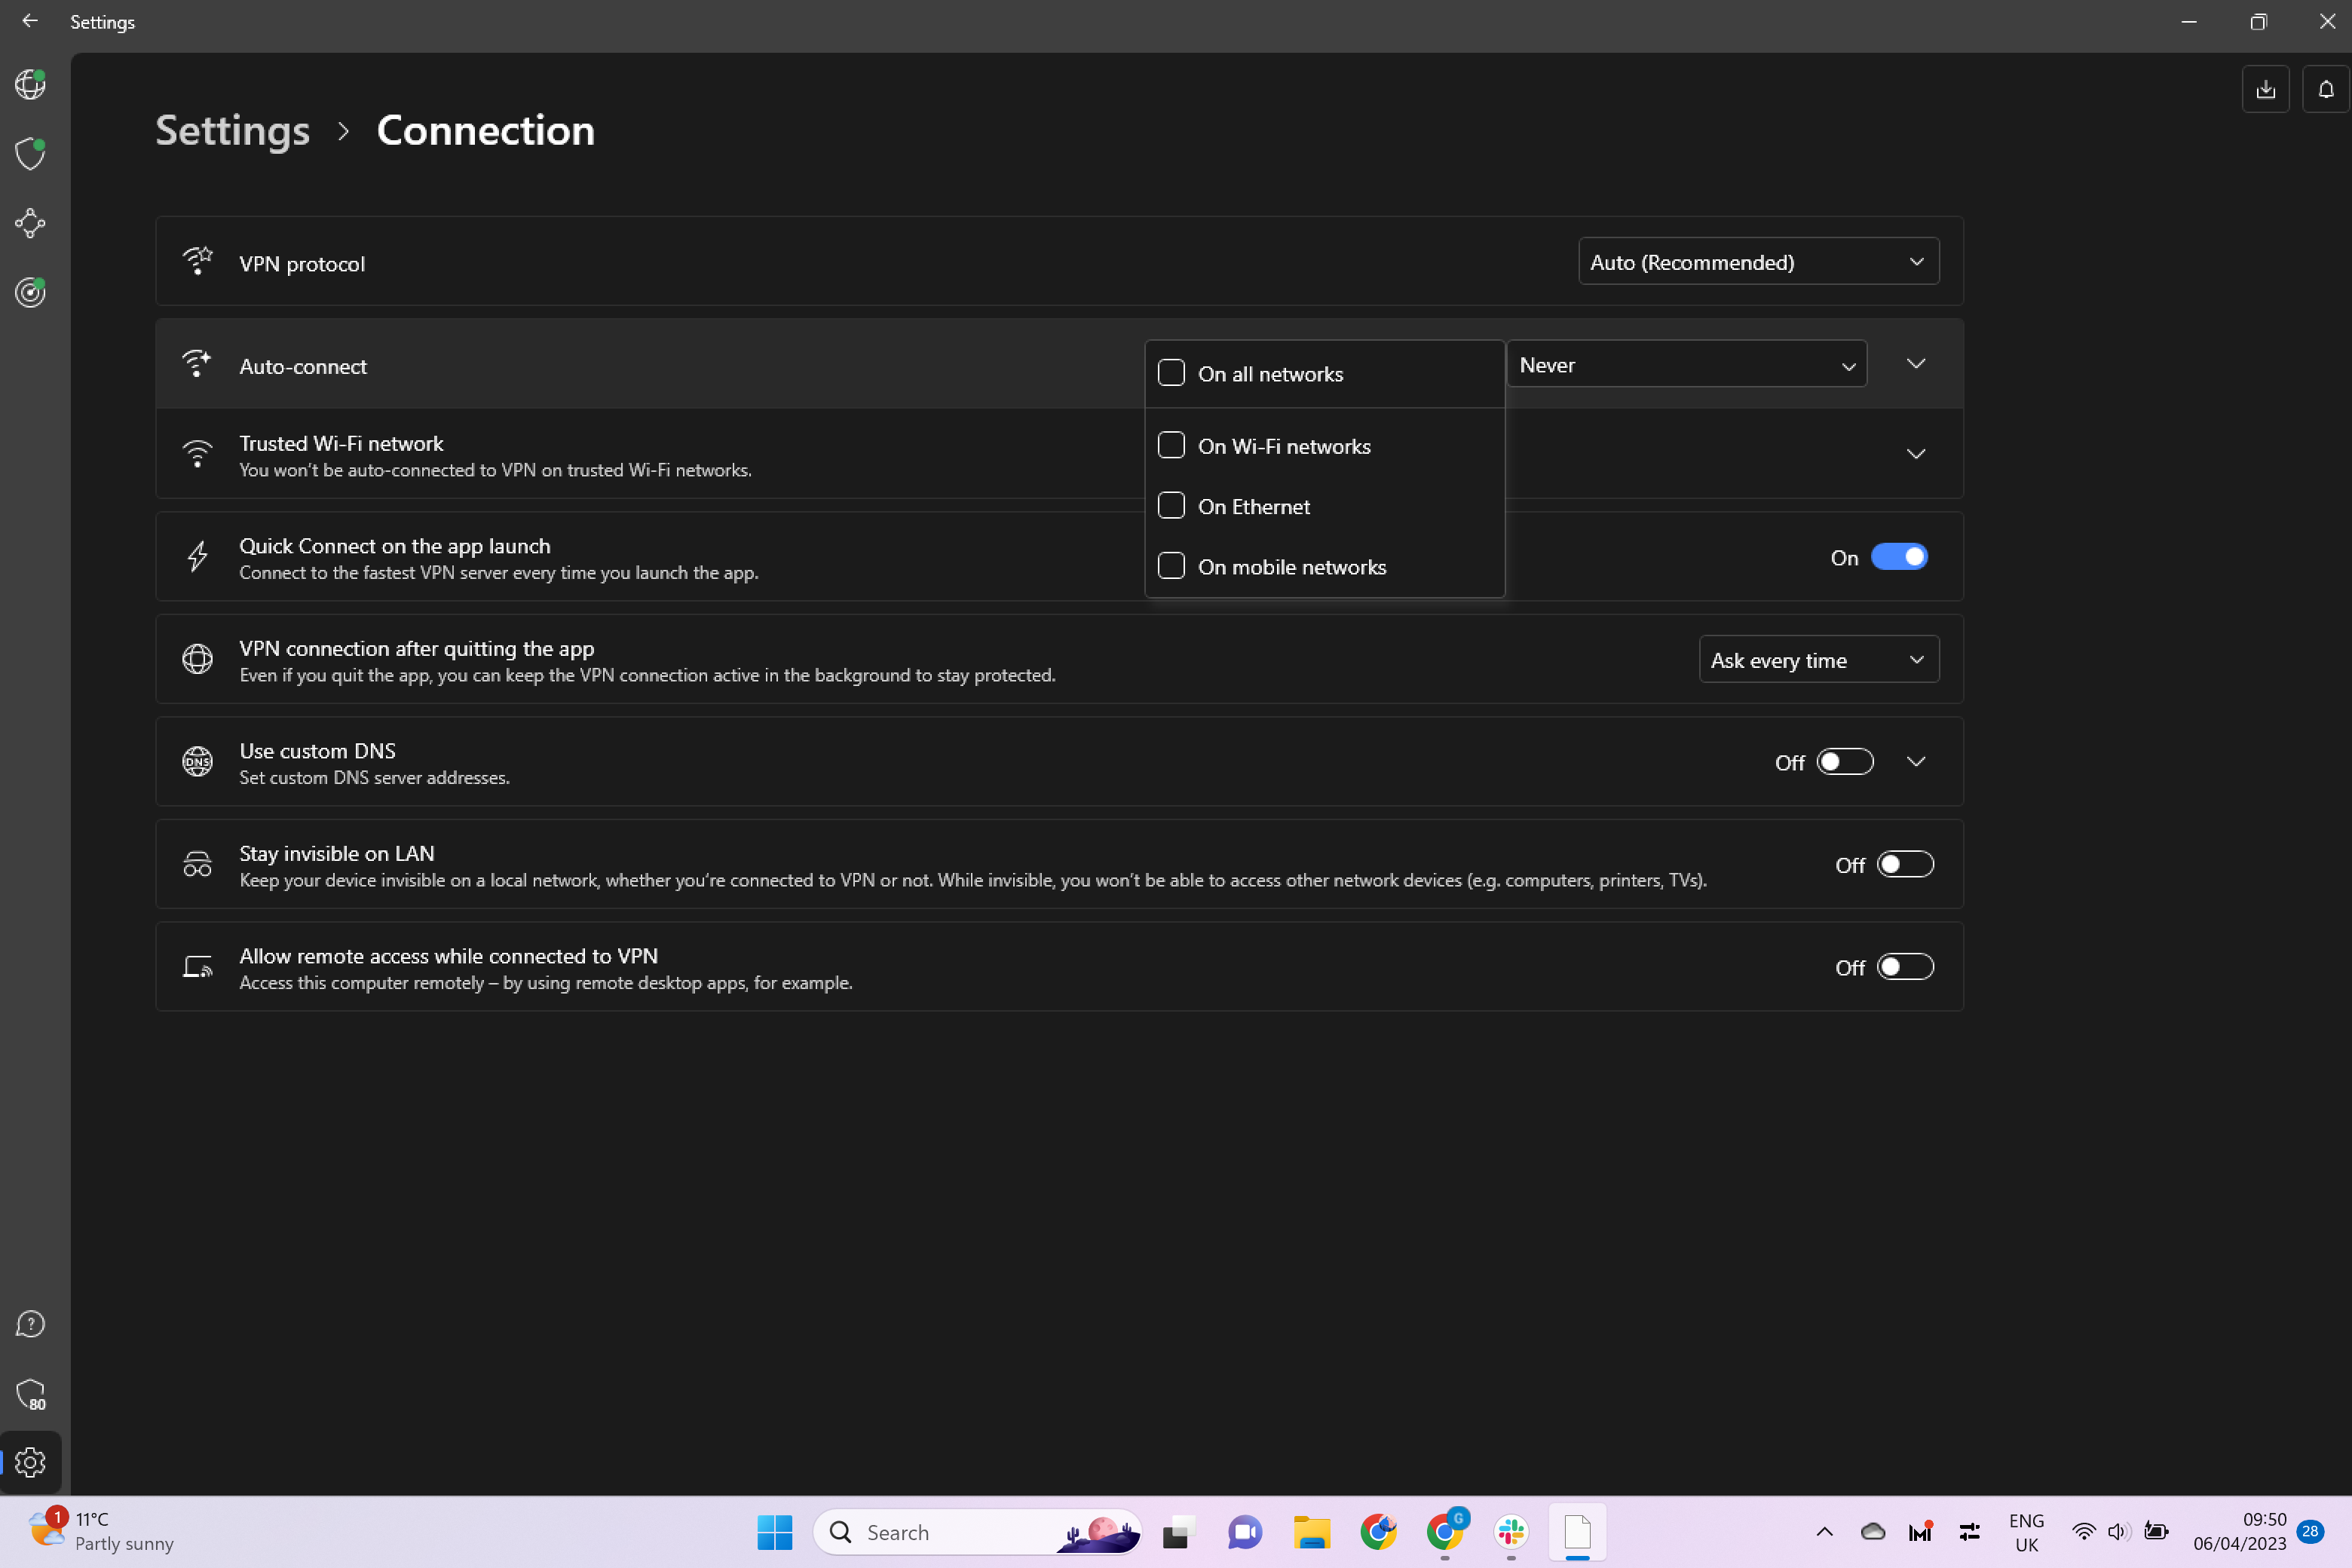
Deselect all of the boxes to disable auto-connect. You can leave some on still selected, such as Ethernet for example, if you do want to still auto-connect with certain internet connections.
Troubleshooting
Yes, you can pause your connection for a short period of time or pause it for your current session if you don’t want to have to manually reconnect each time.
Yes, simply follow the same steps in this How to and select all of the sources that you want to automatically reconnect to.
You might like…


Editorial independence
Editorial independence means being able to give an unbiased verdict about a product or company, with the avoidance of conflicts of interest. To ensure this is possible, every member of the editorial staff follows a clear code of conduct.
Professional conduct
We also expect our journalists to follow clear ethical standards in their work. Our staff members must strive for honesty and accuracy in everything they do. We follow the IPSO Editors’ code of practice to underpin these standards.