How to take a screenshot on a Samsung phone
Taking a screenshot is a handy way to save what’s on your display for future reference, and here’s how you can do it if you’ve got a Samsung phone.
Whether you’re using a screenshot to take a quick note of something that’s appeared on your display, or you’d like to share a baffling or amusing occurrence on a messaging app with your friends, they can be a highly useful tool for communication, jogging your memory, and more.
This quick guide explains all you need to know about taking a screenshot on a Samsung smartphone.
What we used
- We used the Samsung Galaxy S22 Plus, but this method will work for any Samsung smartphone
The short version
- Choose the shot you’d like to take
- Press down the power button or Bixby button and the lower volume key at the same time
- If you’re using an older device with a home button, press this down instead along with the lower volume key
- Edit or share your screenshot as you wish
- You can find all of your screenshots in your phone’s Gallery app
Step
1Choose the shot you’d like to take
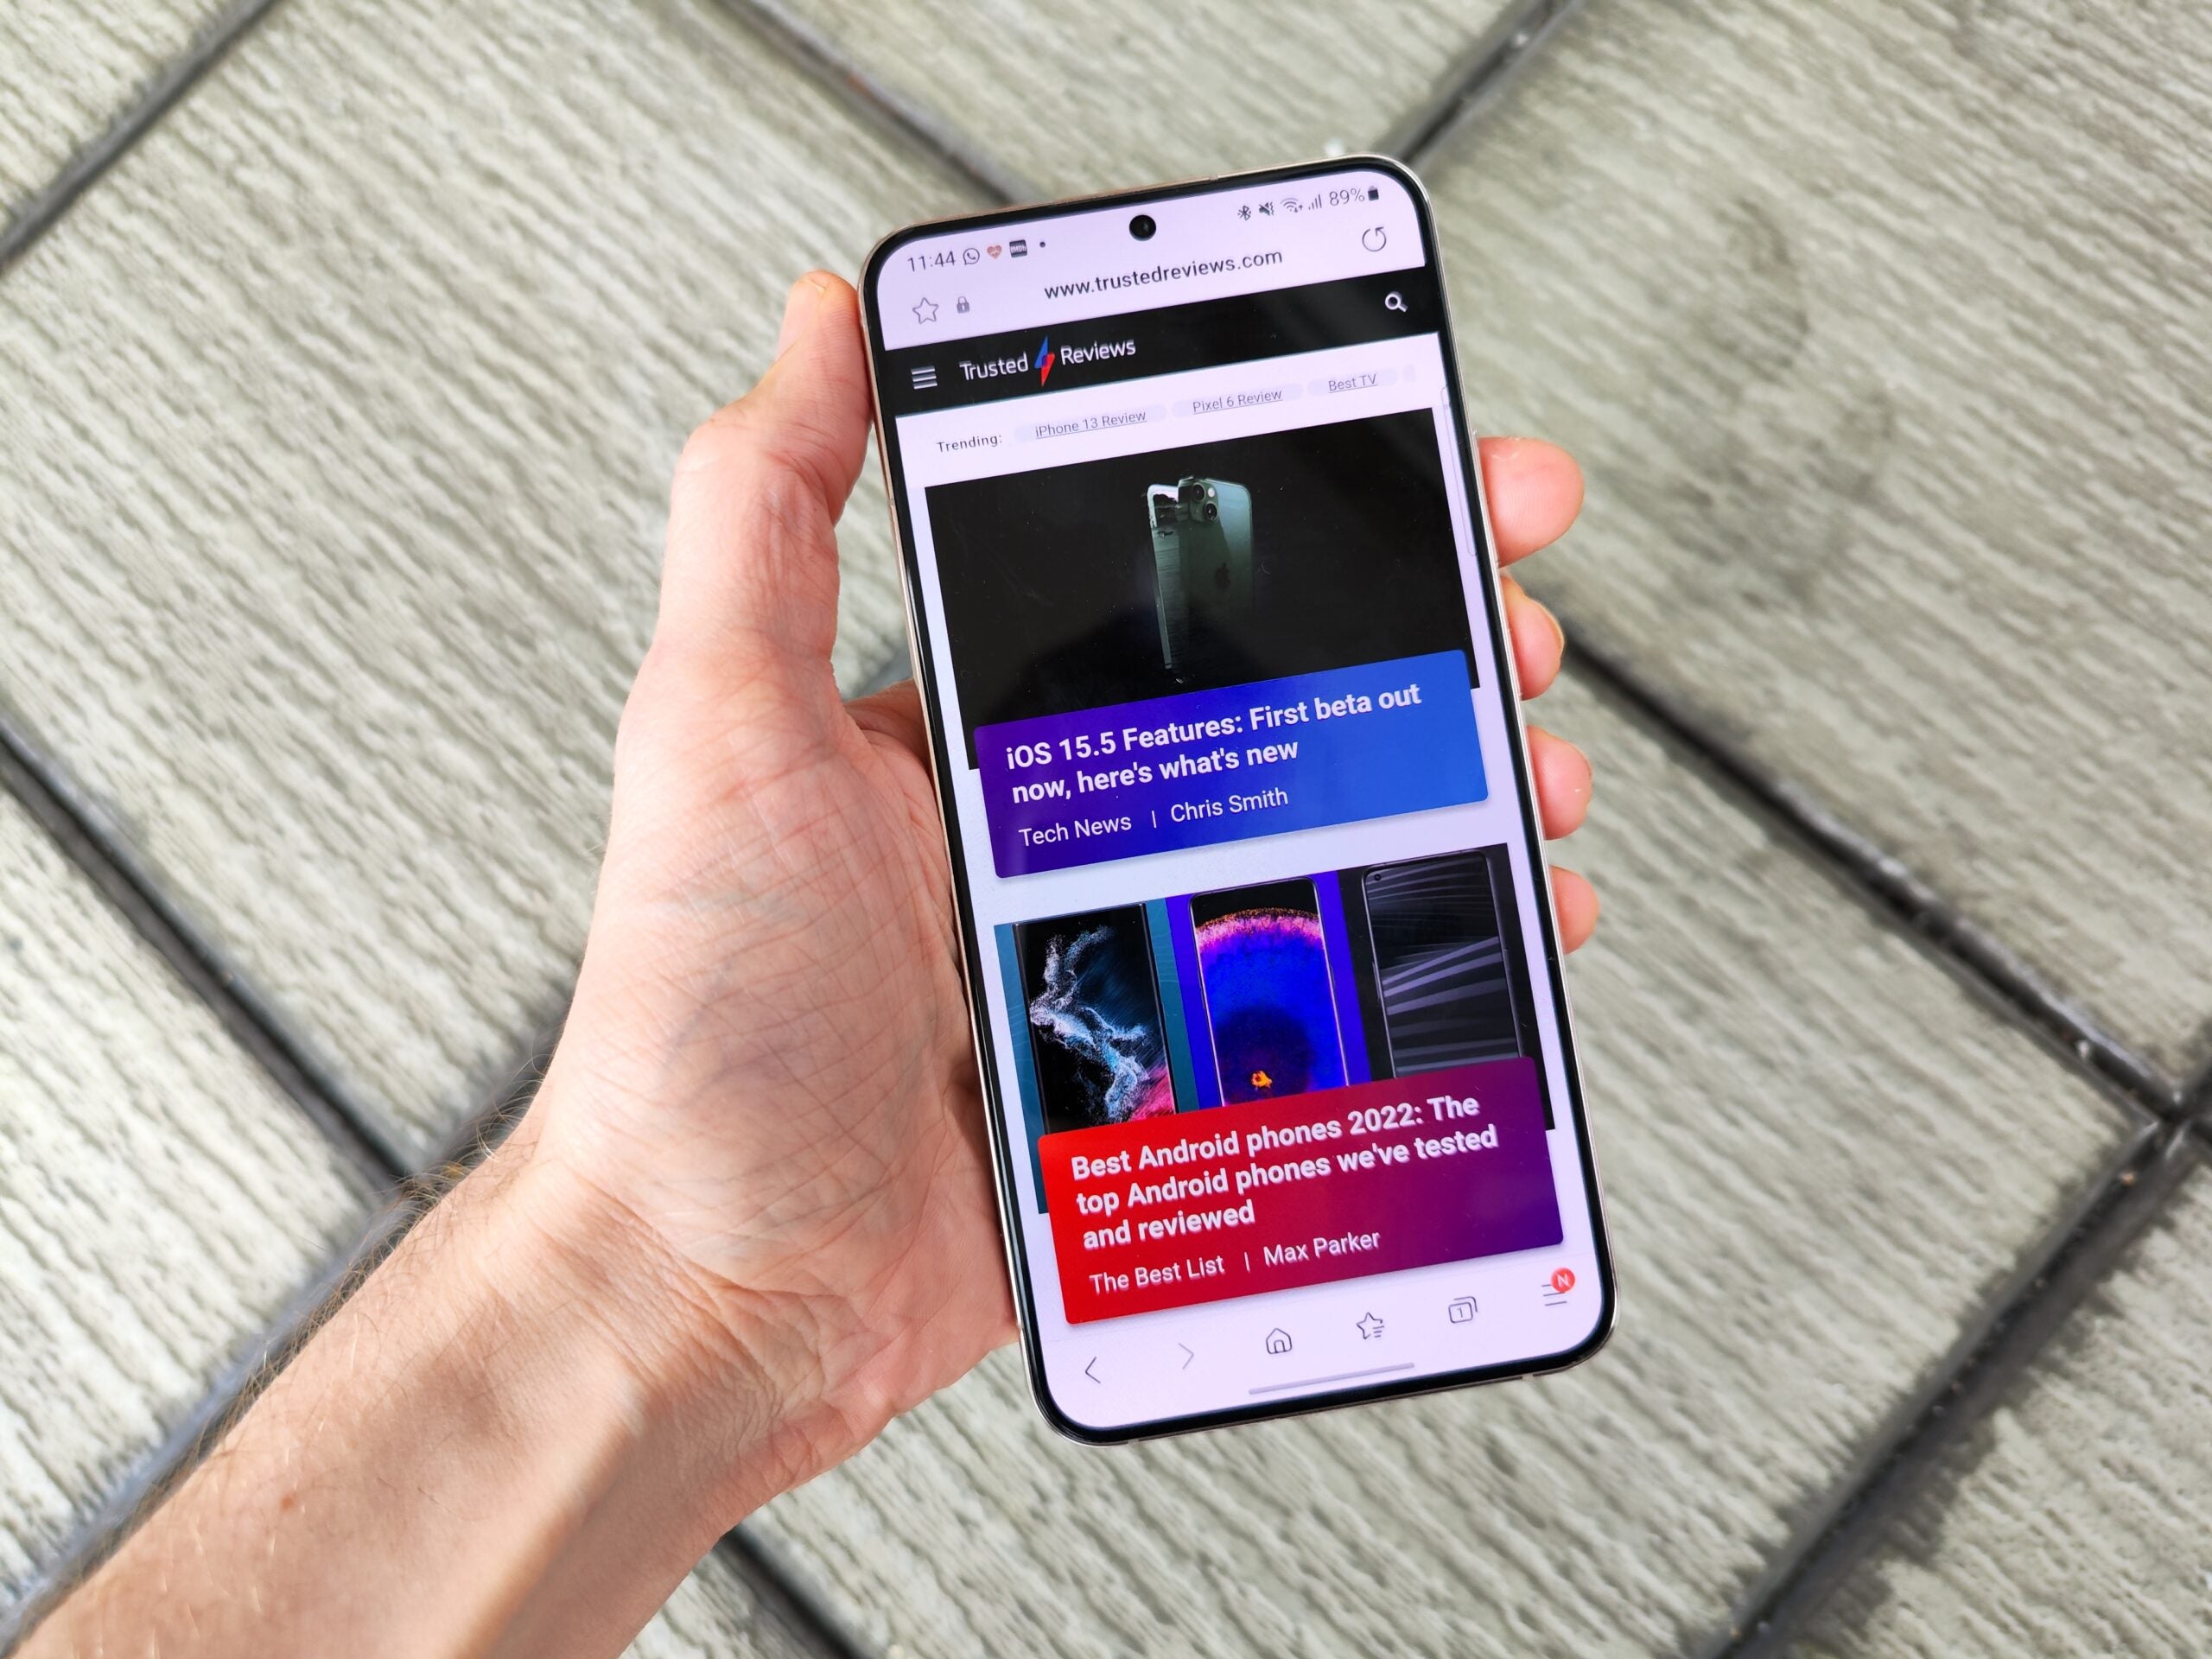
First of all, you’ve got to be looking at the screenshot that you want to take; once the process is complete, you will have saved an image of exactly what’s on your display at that moment. This might sound obvious, but do care take not to accidentally capture a part of the screen you wouldn’t like to share, especially if it reveals private information.

Step
2Press down the power button and the lower volume key at the same time
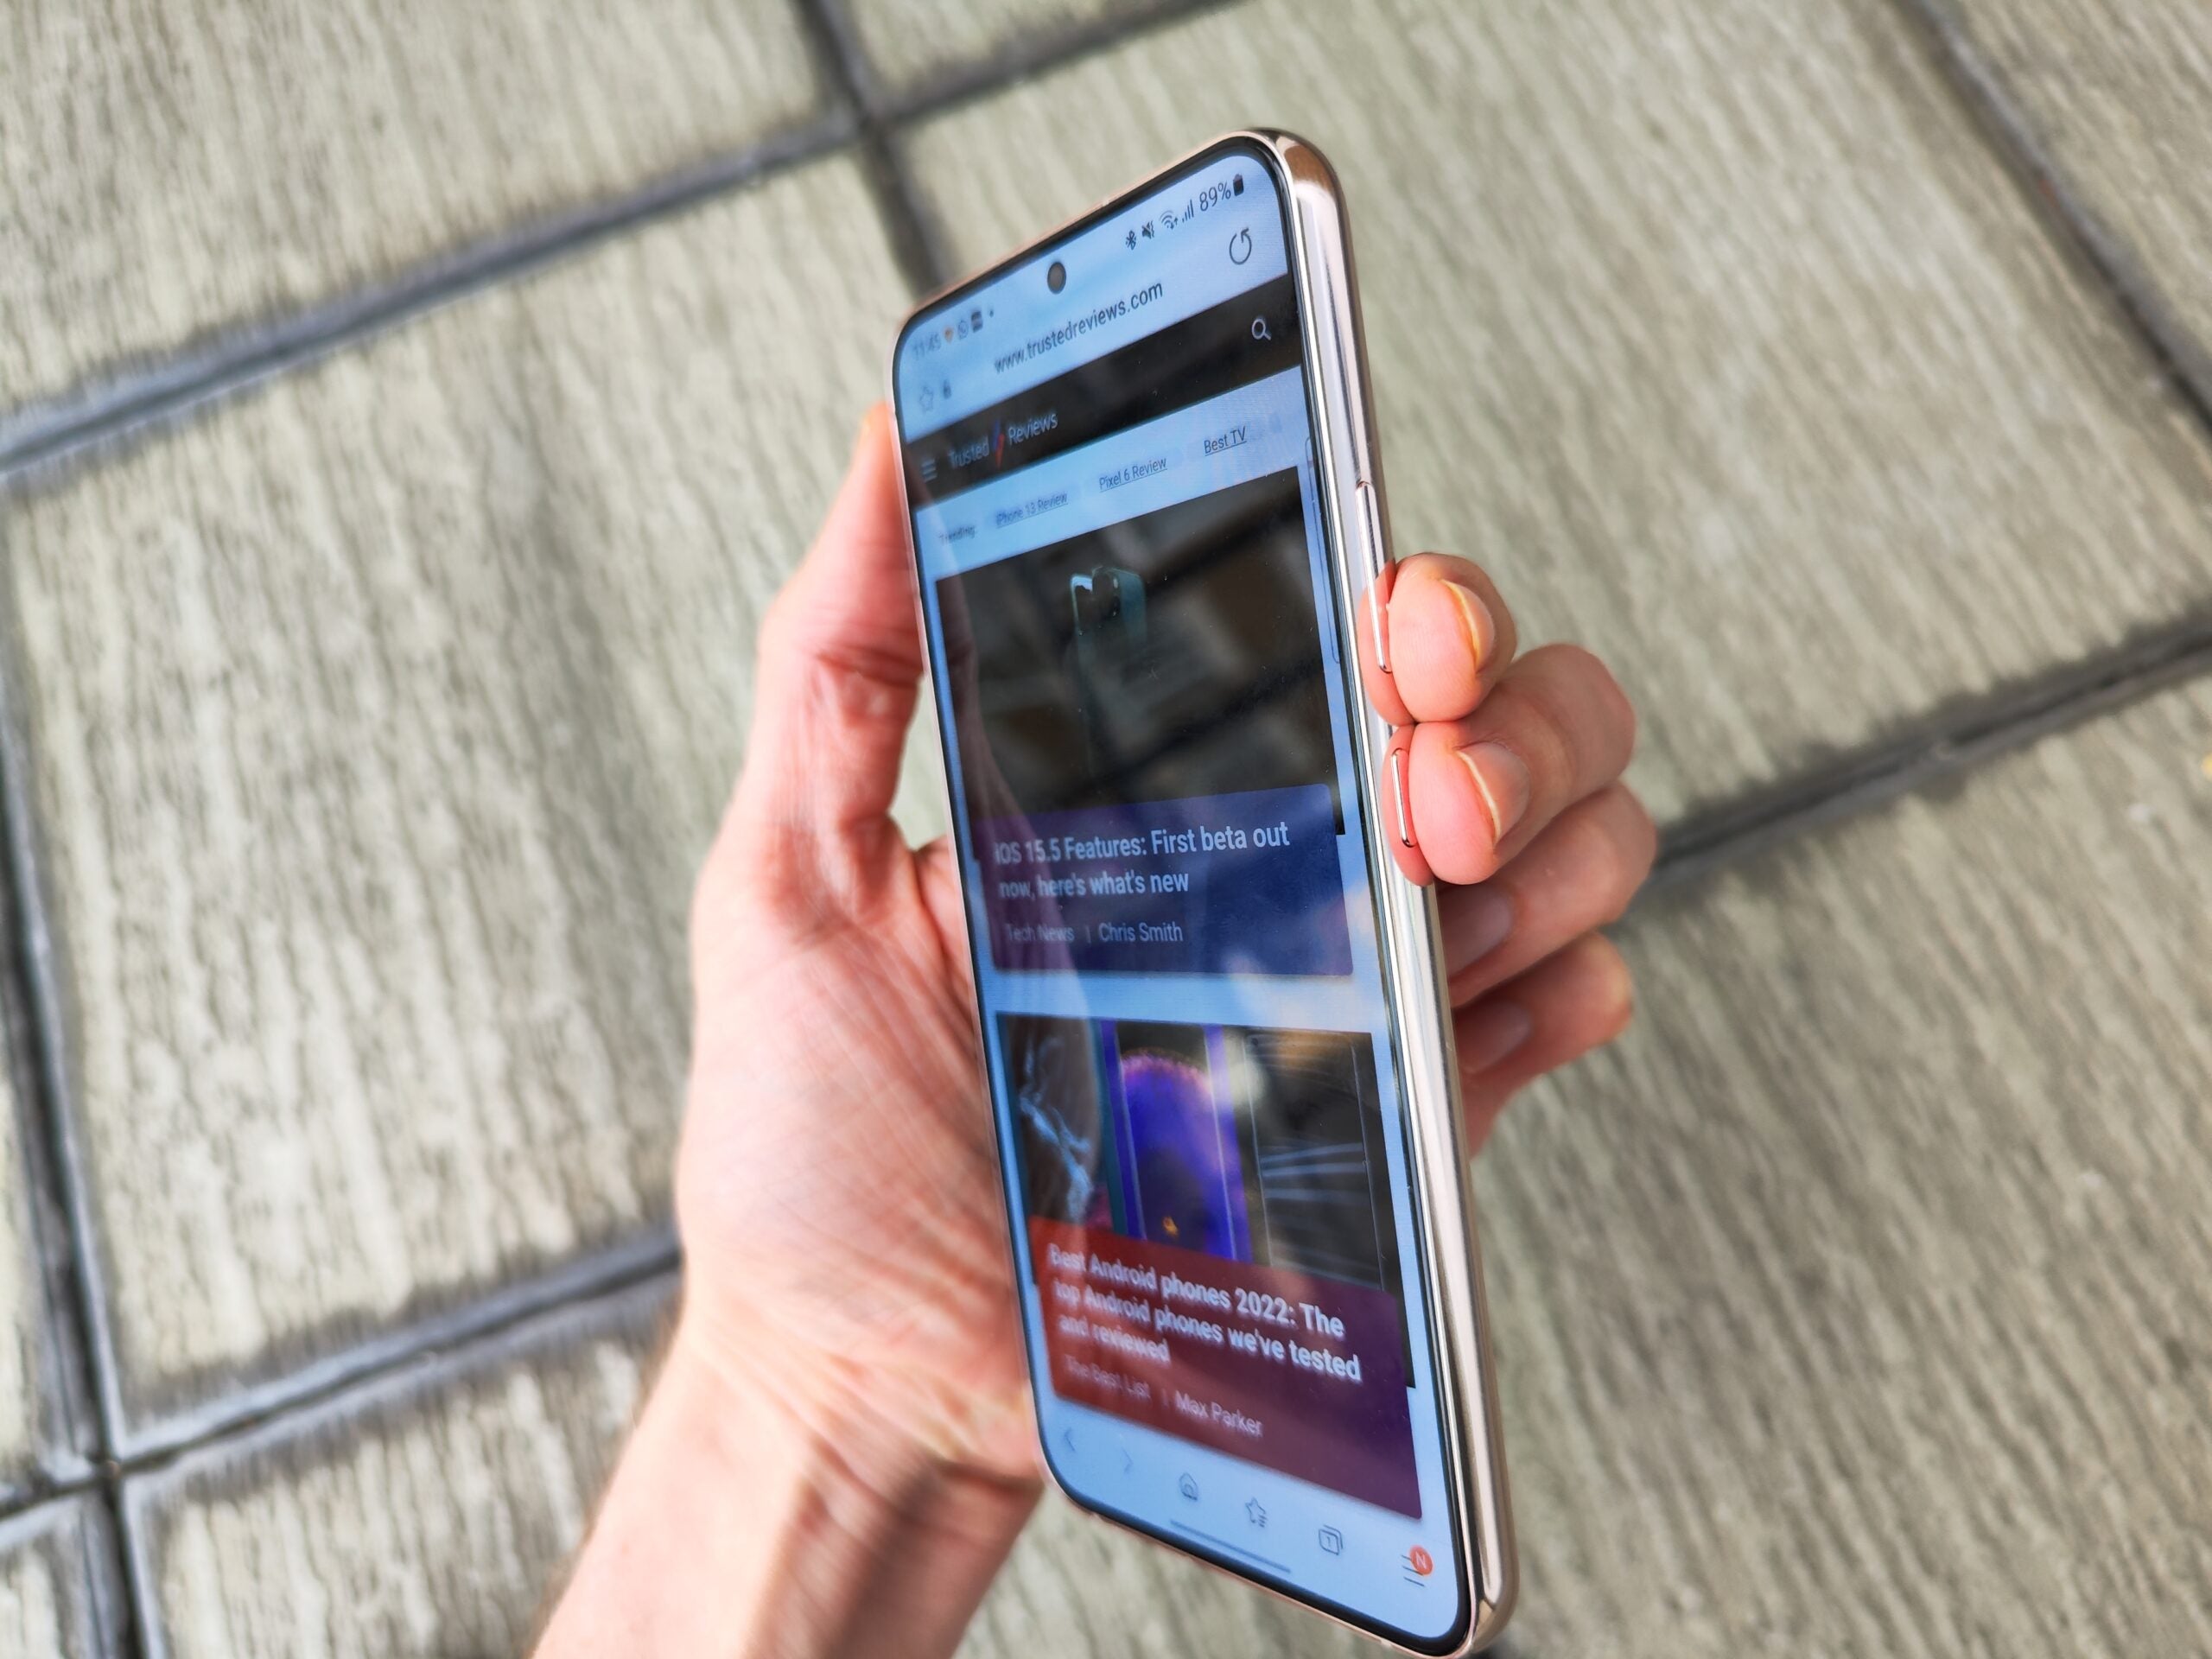
If you’ve got a Samsung phone from the last few years, press down the power button (or Bixby button), and the lower volume key at the same time. Depending on your phone, they might be on the same side or opposing sides of the screen. You don’t have to keep this position held for very long; simply click them at the same time for a second, and your shot should be captured.

Step
3If on an older handset, press the home button and the power button at the same time
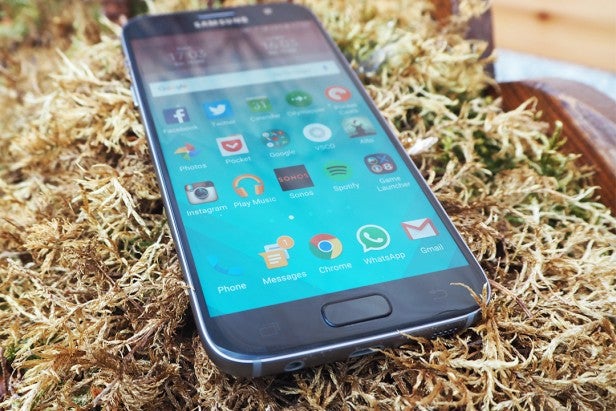
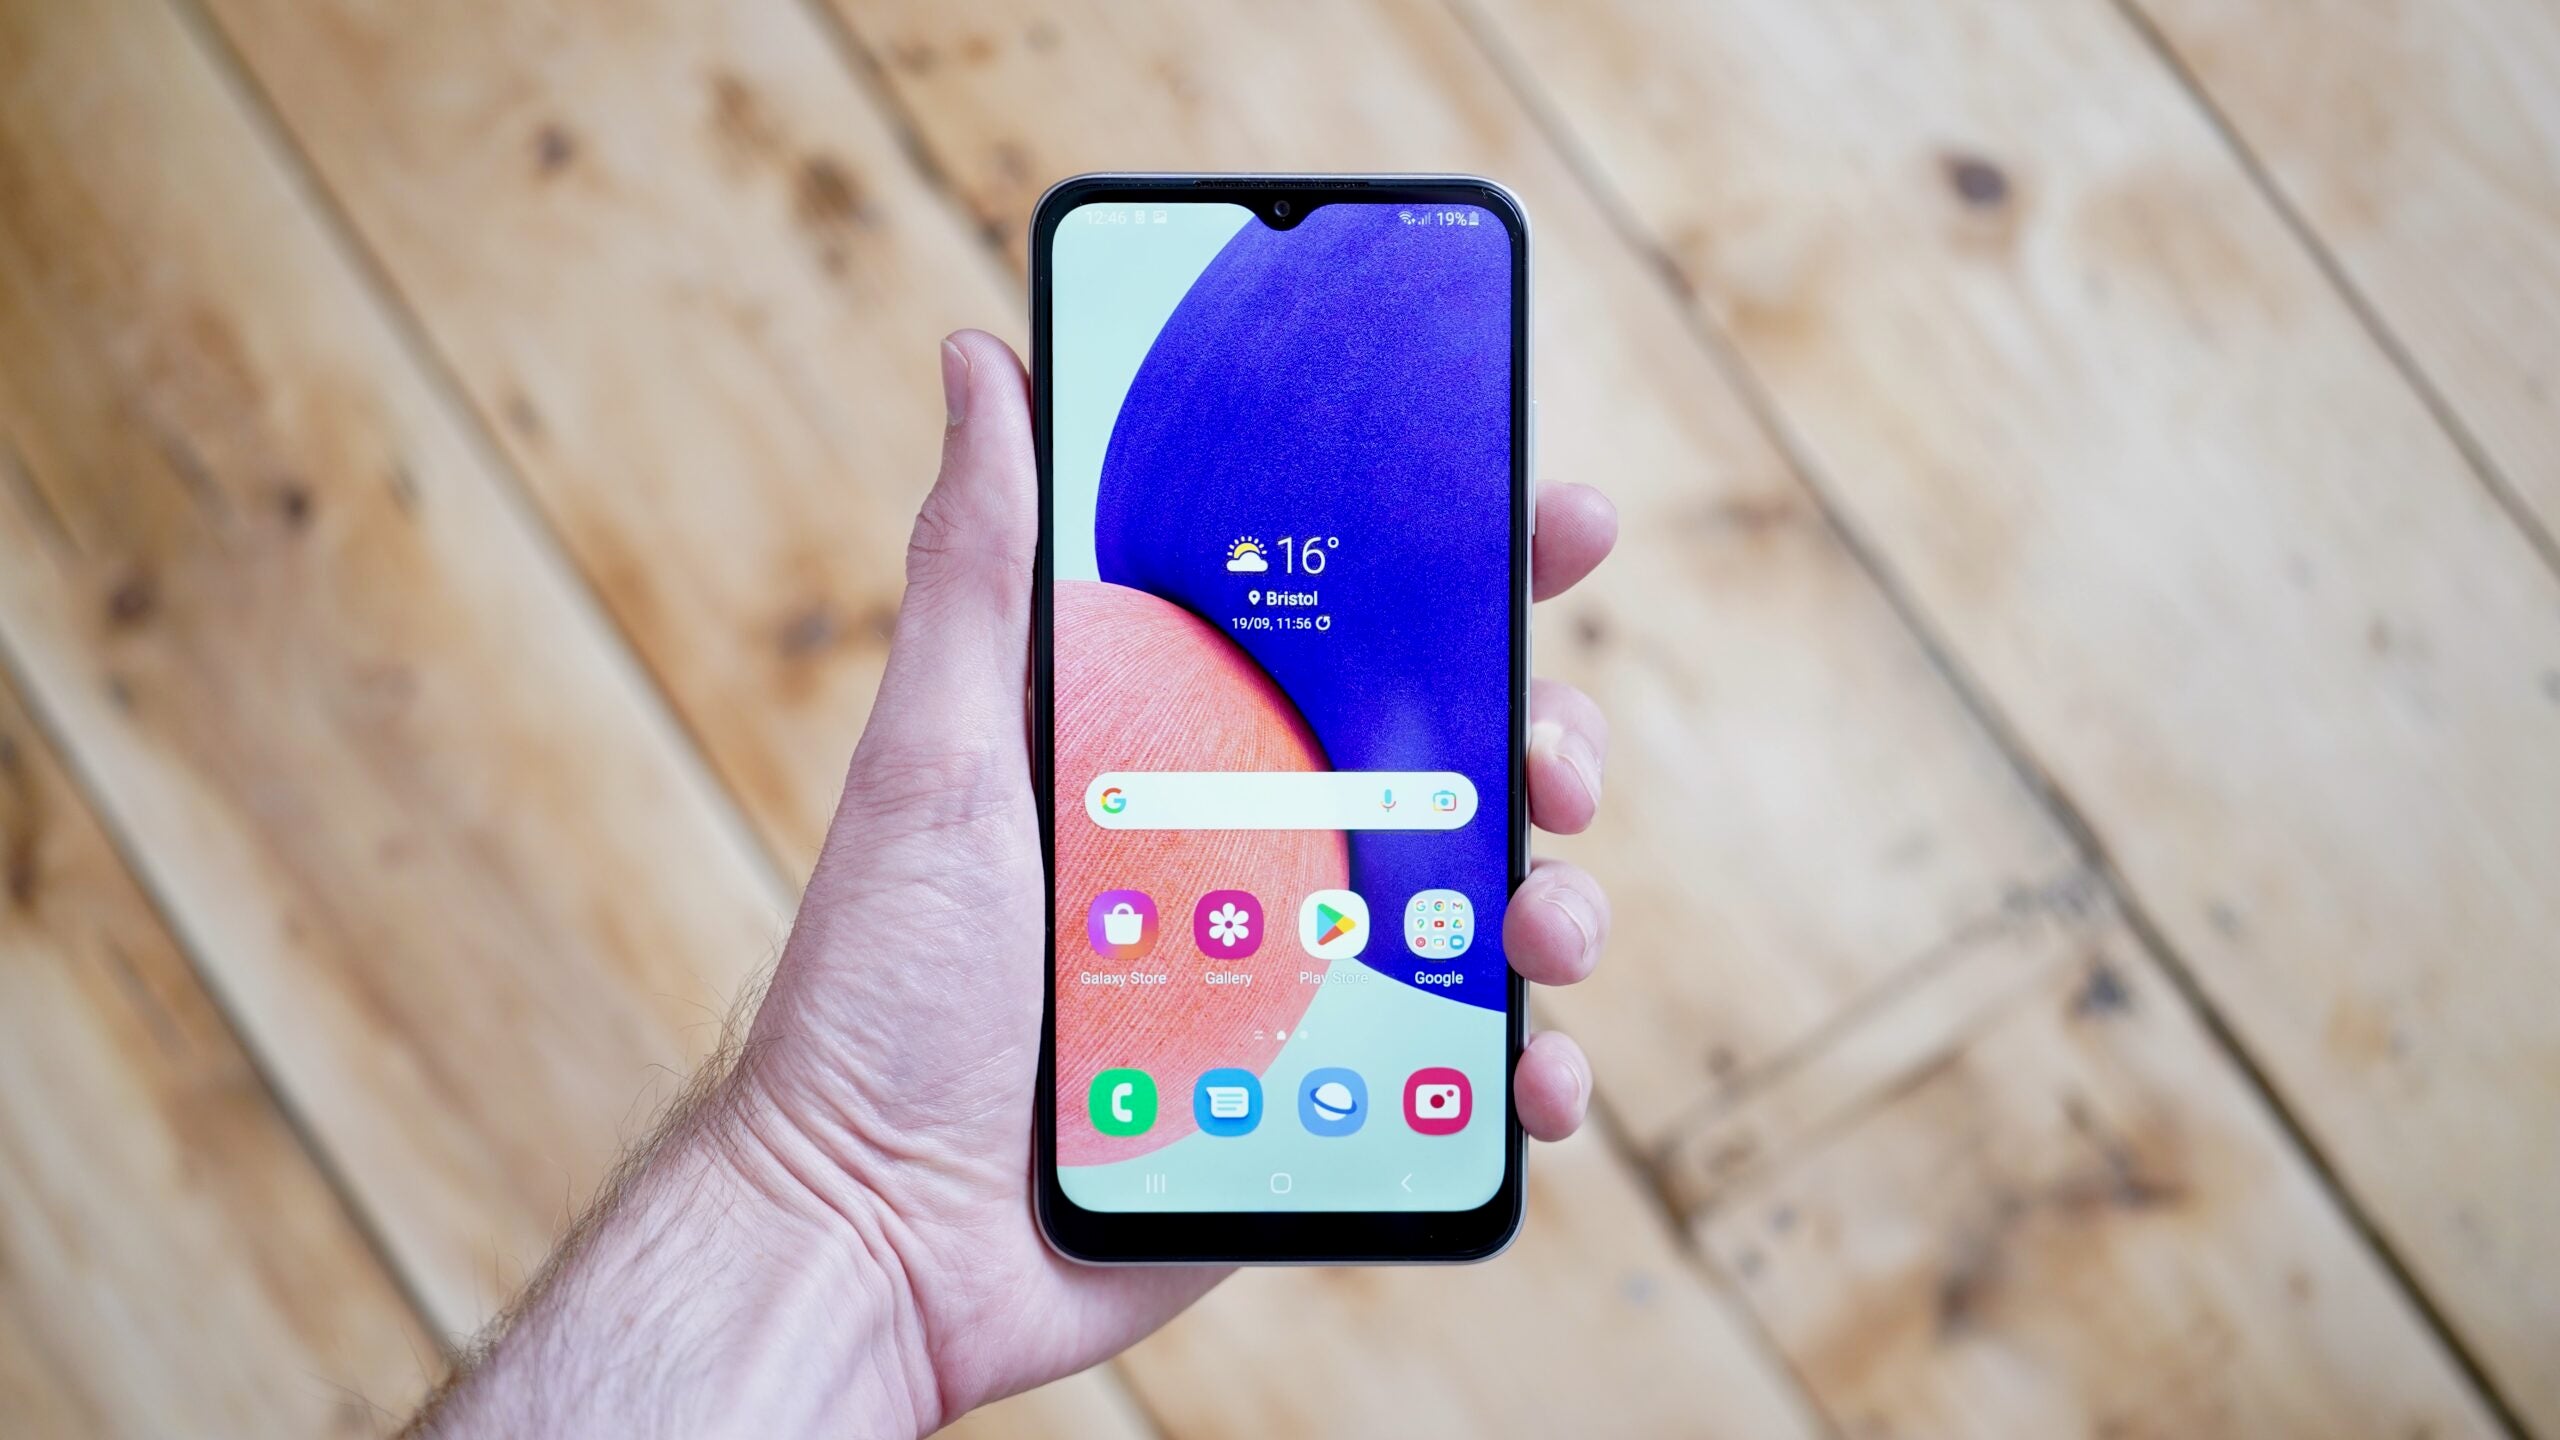
If your Samsung phone is a bit older and has a home button below the screen (resembling the image below) then the process is slightly different.
Press down the home button and the lower volume slider in the same manner – both at the same time, for just a second – and you will have taken a screenshot.
Step
4Edit or share your screenshot as you wish

You’ll know that the screenshot has been taken because you’ll see either a notification at the top of the screen (on an older phone) or else a floating window towards the bottom, which prompts you to edit or share the screenshot you’ve just taken.
It’s often advisable to make a couple of changes, especially such as cropping the shot in order to better frame a certain part of the image or remove potentially sensitive information from the notifications bar at the top, and then you can share it via a messaging app if you wish.
Step
5You can find screenshots in the Gallery app
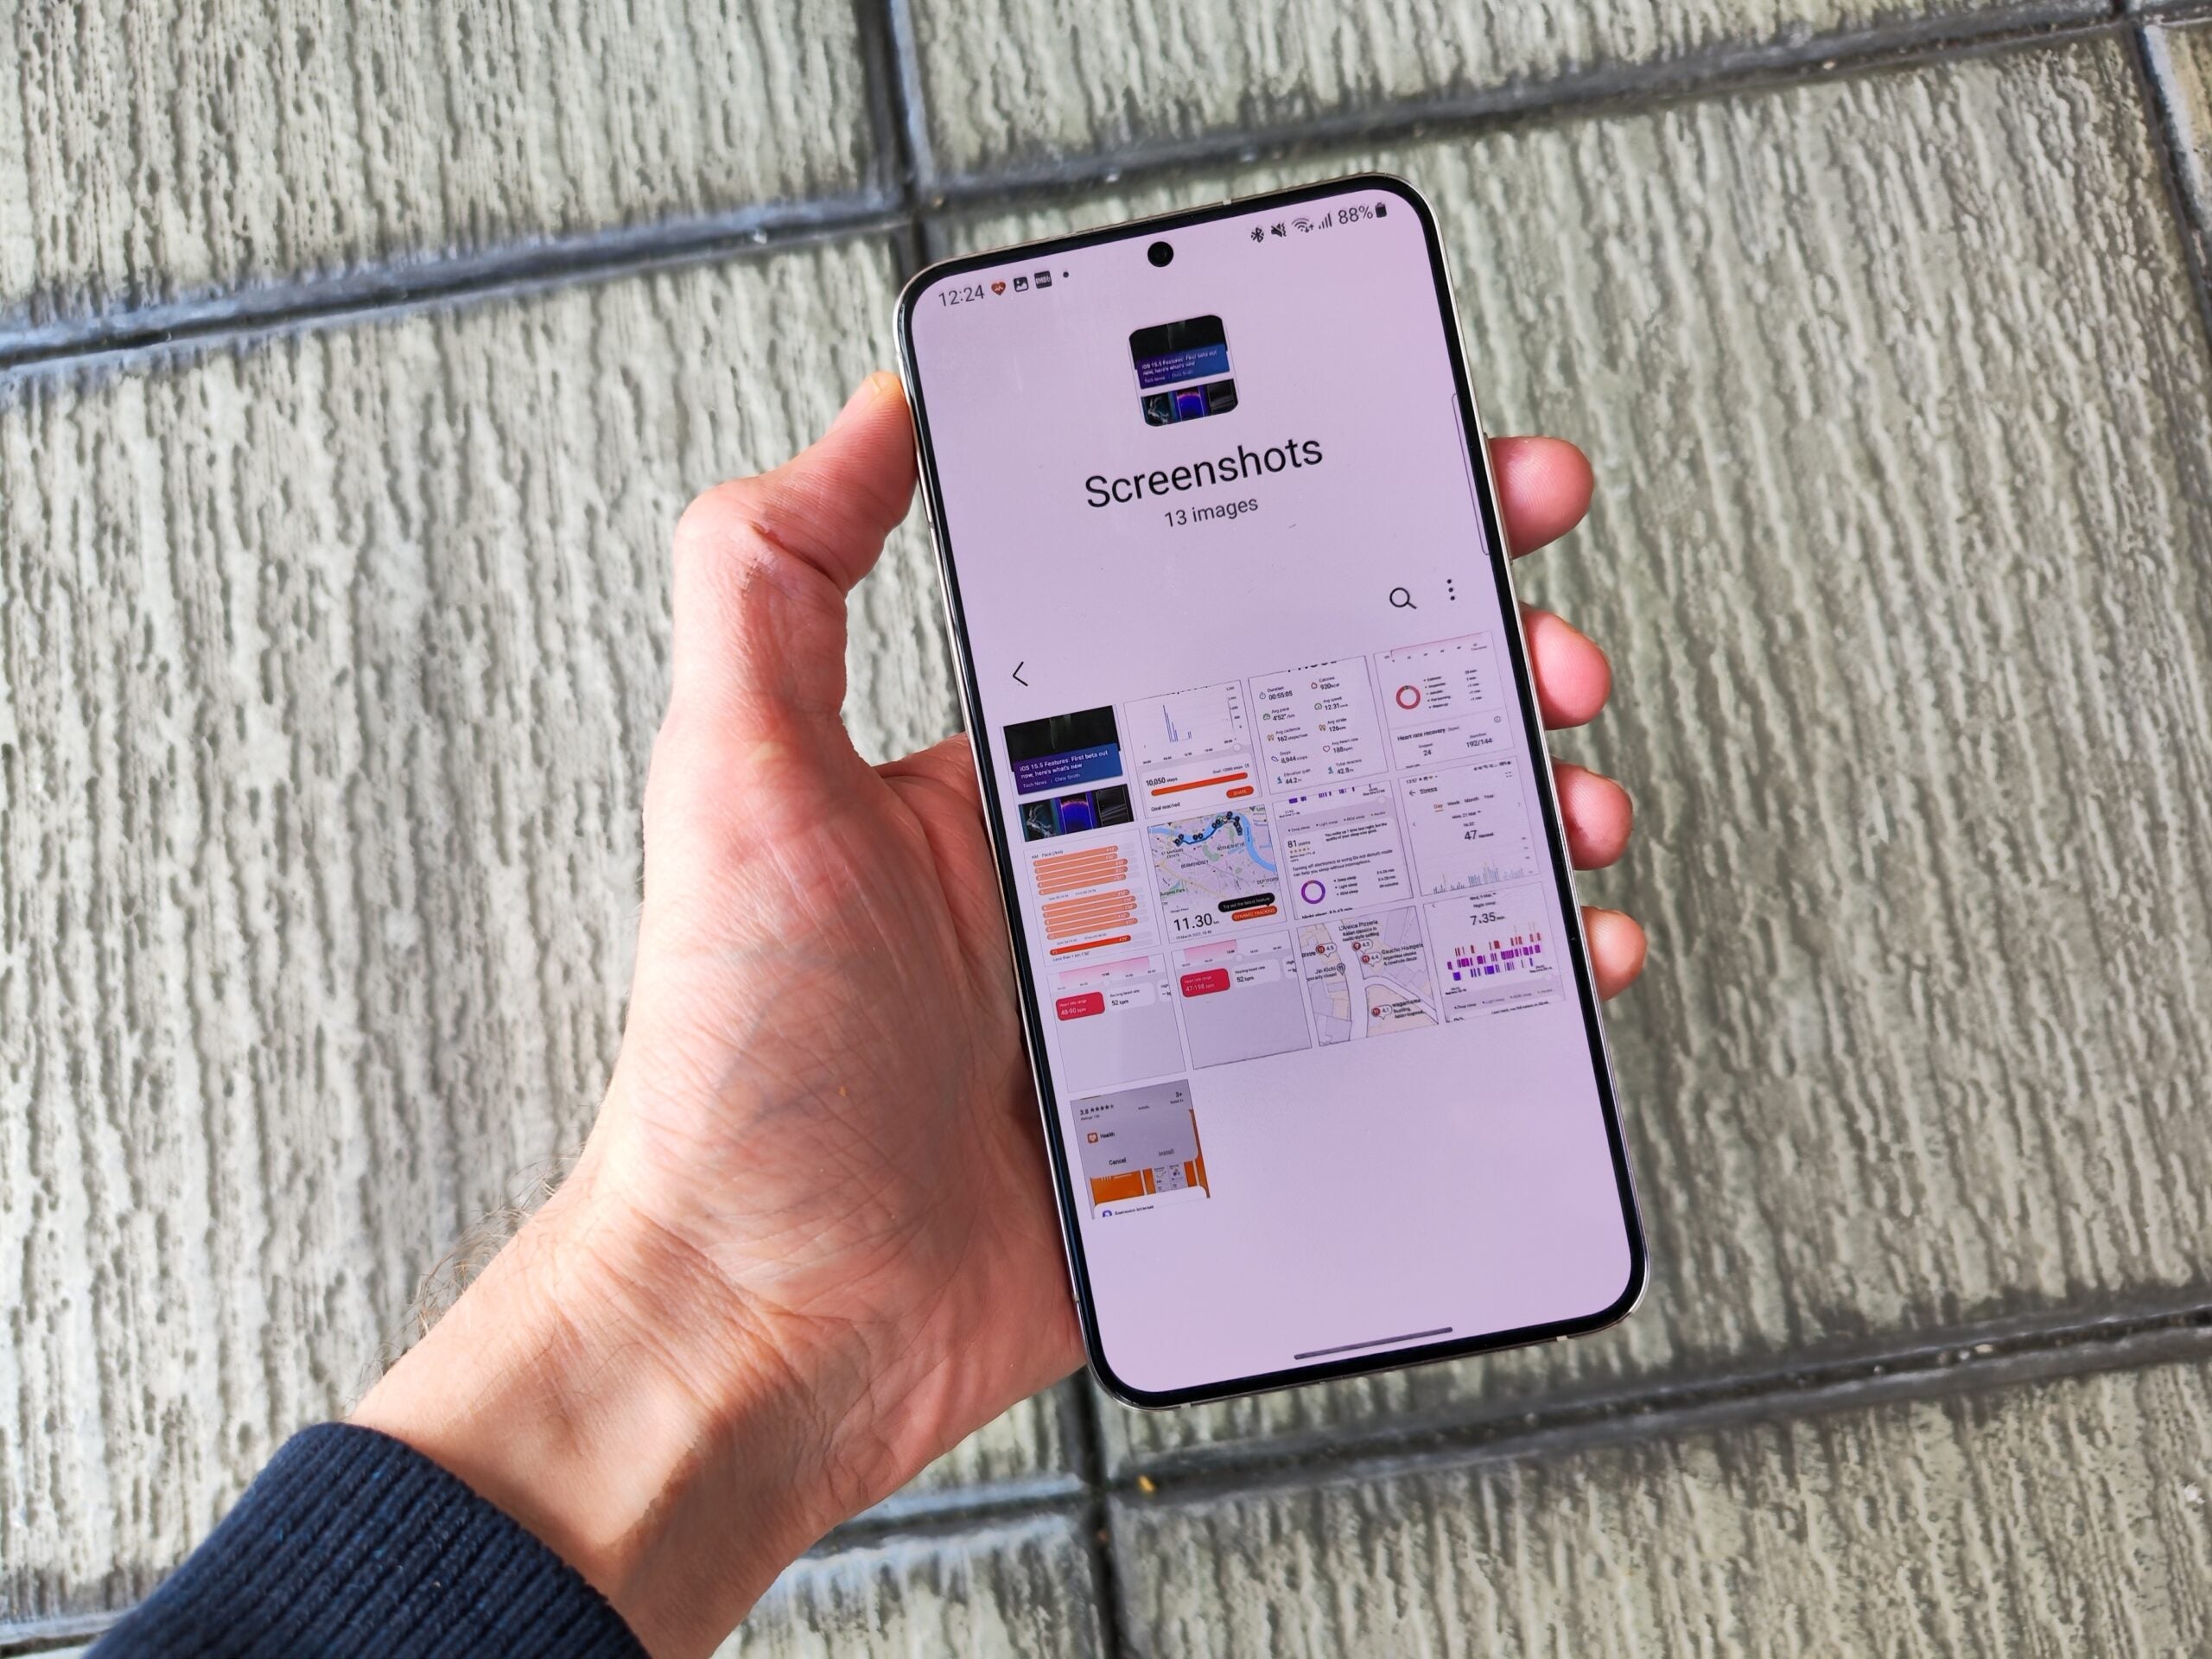
If you took a screenshot to save for later rather than sending right away, then you can find it (along with previous screenshots that you’ve taken) in the Gallery app of your phone, in a dedicated folder that is aptly named Screenshots.

FAQs
No, the action itself just takes a second.
Always make sure not to send information that you don’t want others to see, especially if personal information is present on the display that you are sharing (including in the notifications bar at the top).
Go into your phone’s Gallery app, click the Albums tab, and you should find an automatically-created folder named Screenshots that contains all of the screenshots that you have taken on this phone.


