How to share your photos with iCloud
Here is the easiest way to share your photos with family and friends using iCloud.
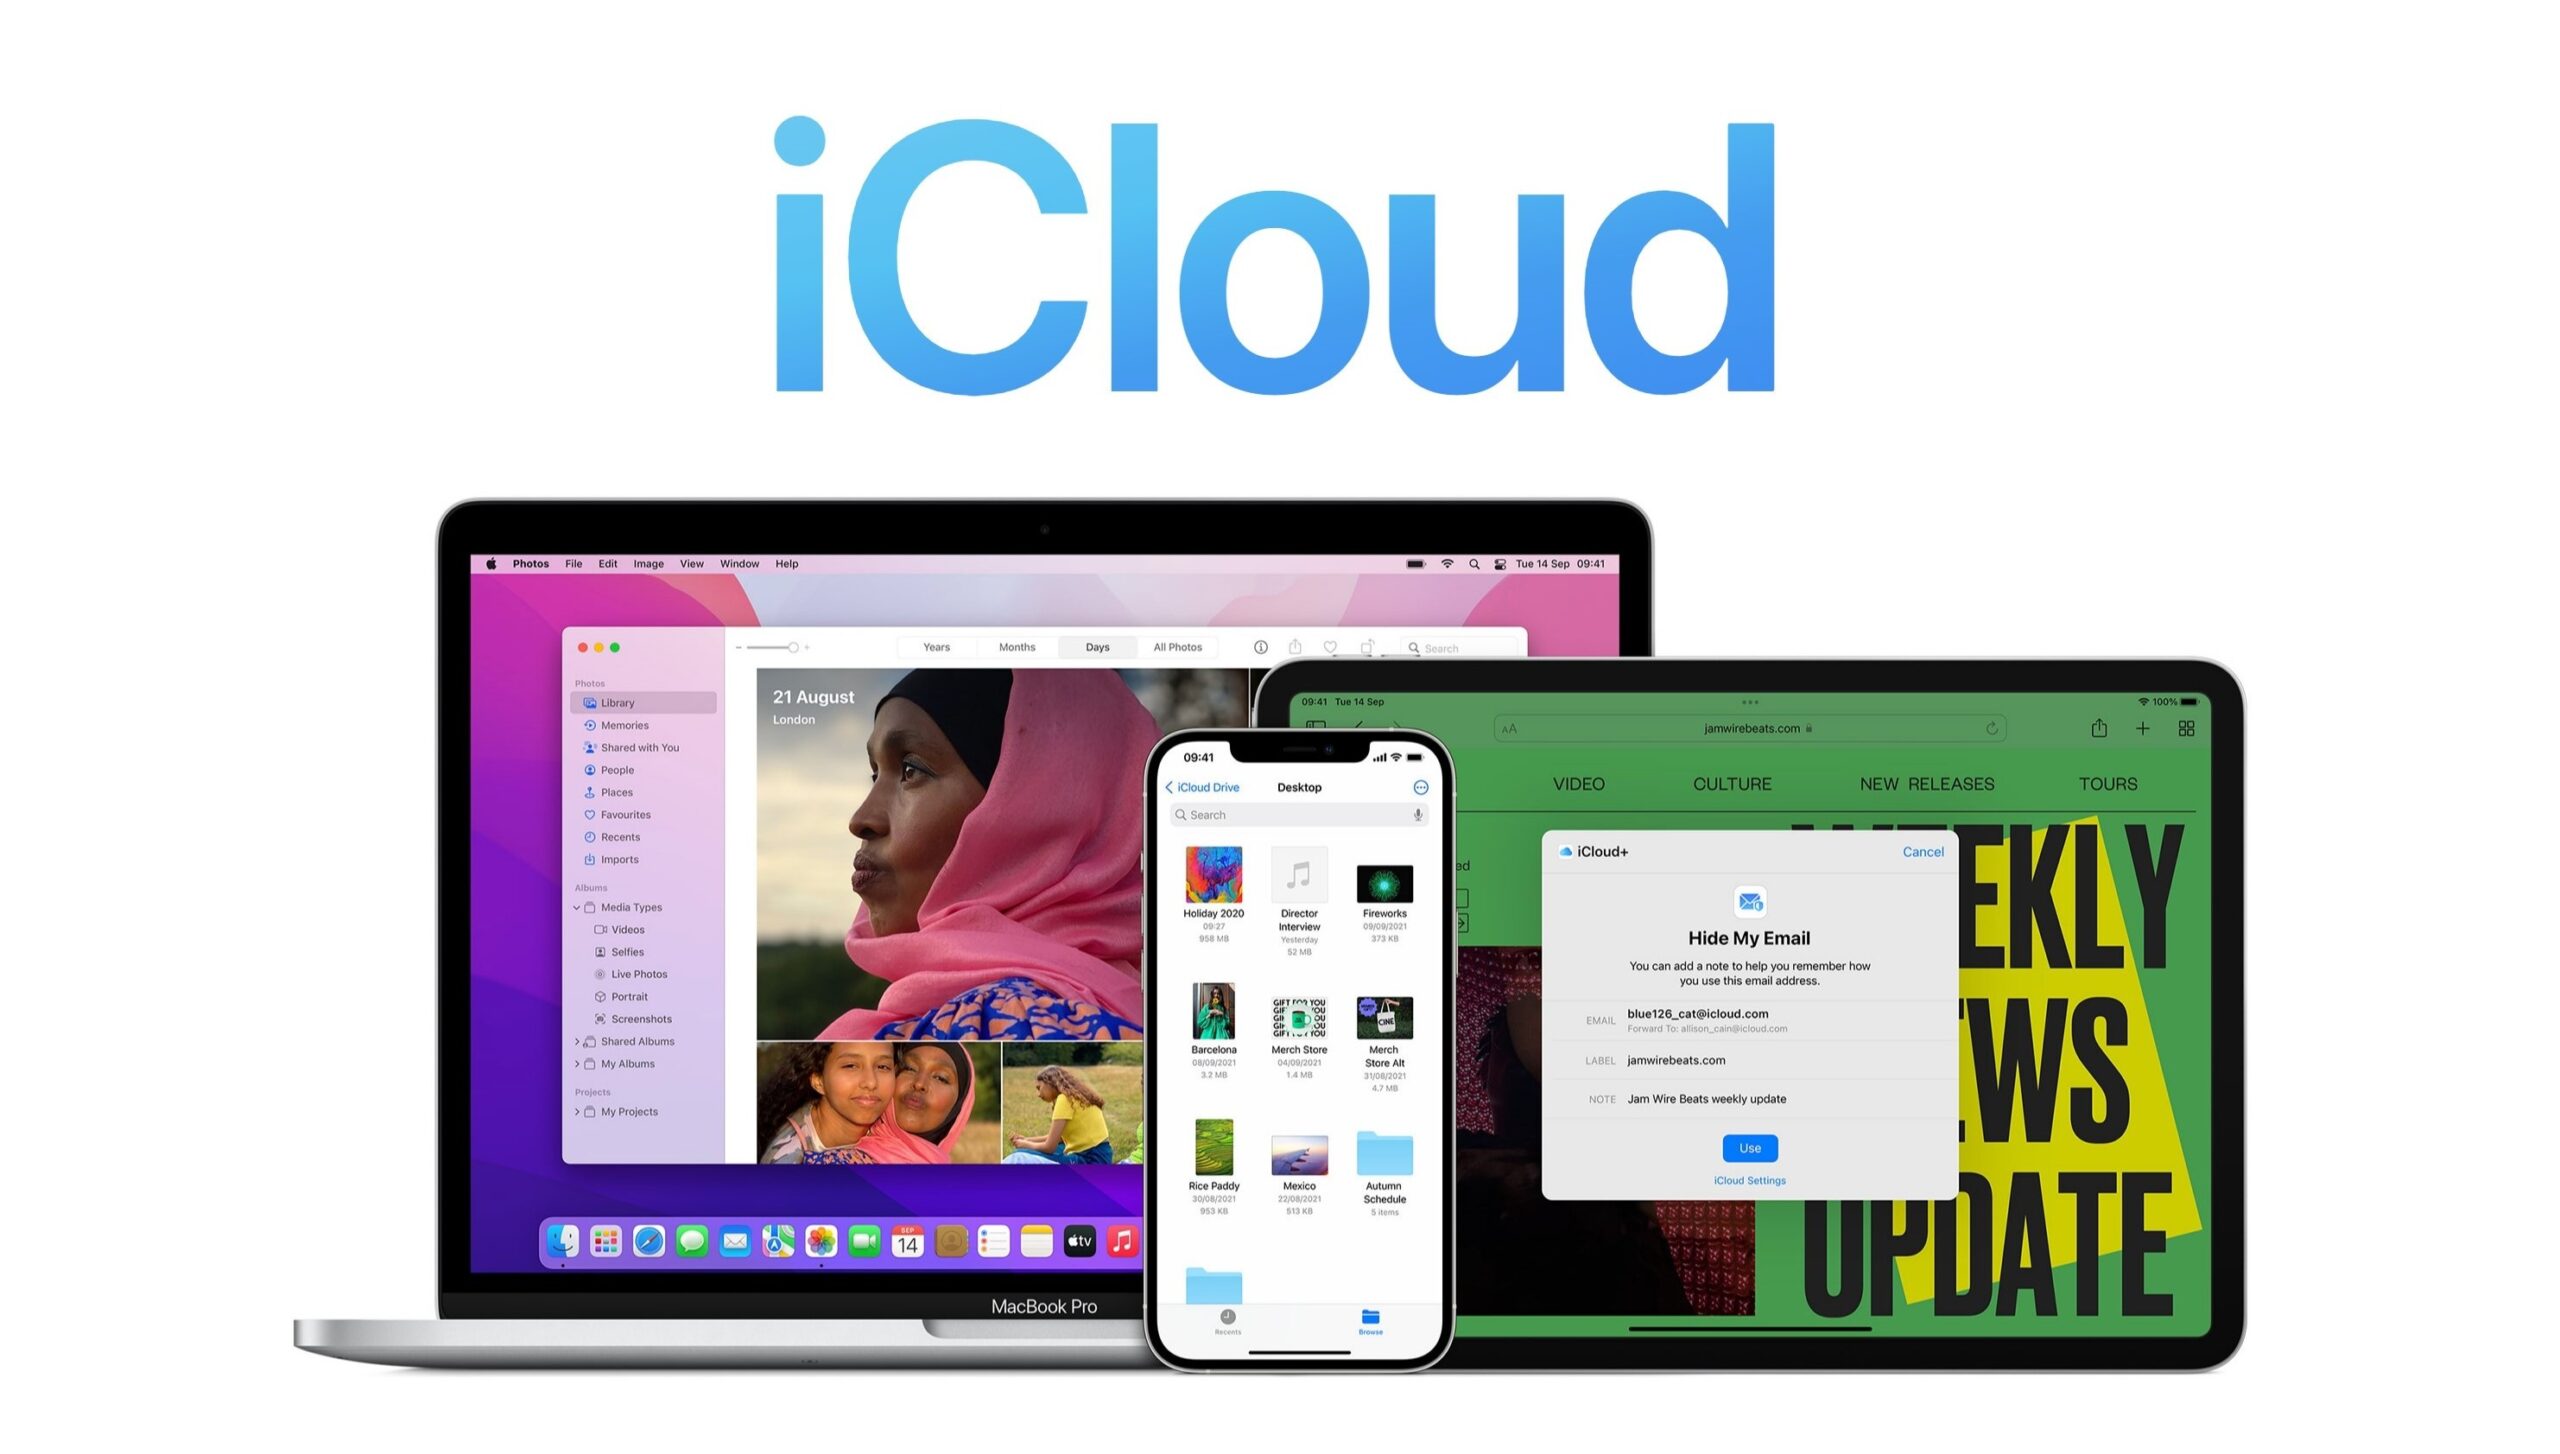
If there is one thing that Apple users will be familiar with it’s iCloud, the cloud storage and cloud-computing service developed by the company that allows users to save and store photos, notes, passwords and other data in a secure location.
And one of the other benefits of iCloud is that users can utilise it to send photos and data to each other, making it easy for Apple users to communicate. It’s worth noting that for this to work users will need to make sure that Shared Albums is turned on. To access Shared Albums, simply go into Settings, click on your User ID and then select Photos from within the iCloud section.
If you’re interested in learning how you can share photos with friends and family over iCloud, make sure you keep reading.
What you’ll need:
- We used an iPhone 12 Mini running iOS 15
The Short Version
- Open up the Photos app
- Click on the Plus symbol
- Tap New Shared Album
- Name the album
- Press Next
- Add in the contacts you want to send it to
- Click Create
- Press on the album you just created
- Tap on the large Plus symbol
- Select the photos you want to share
- Type in a message
- Press Post
Step
1Open up the Photos app
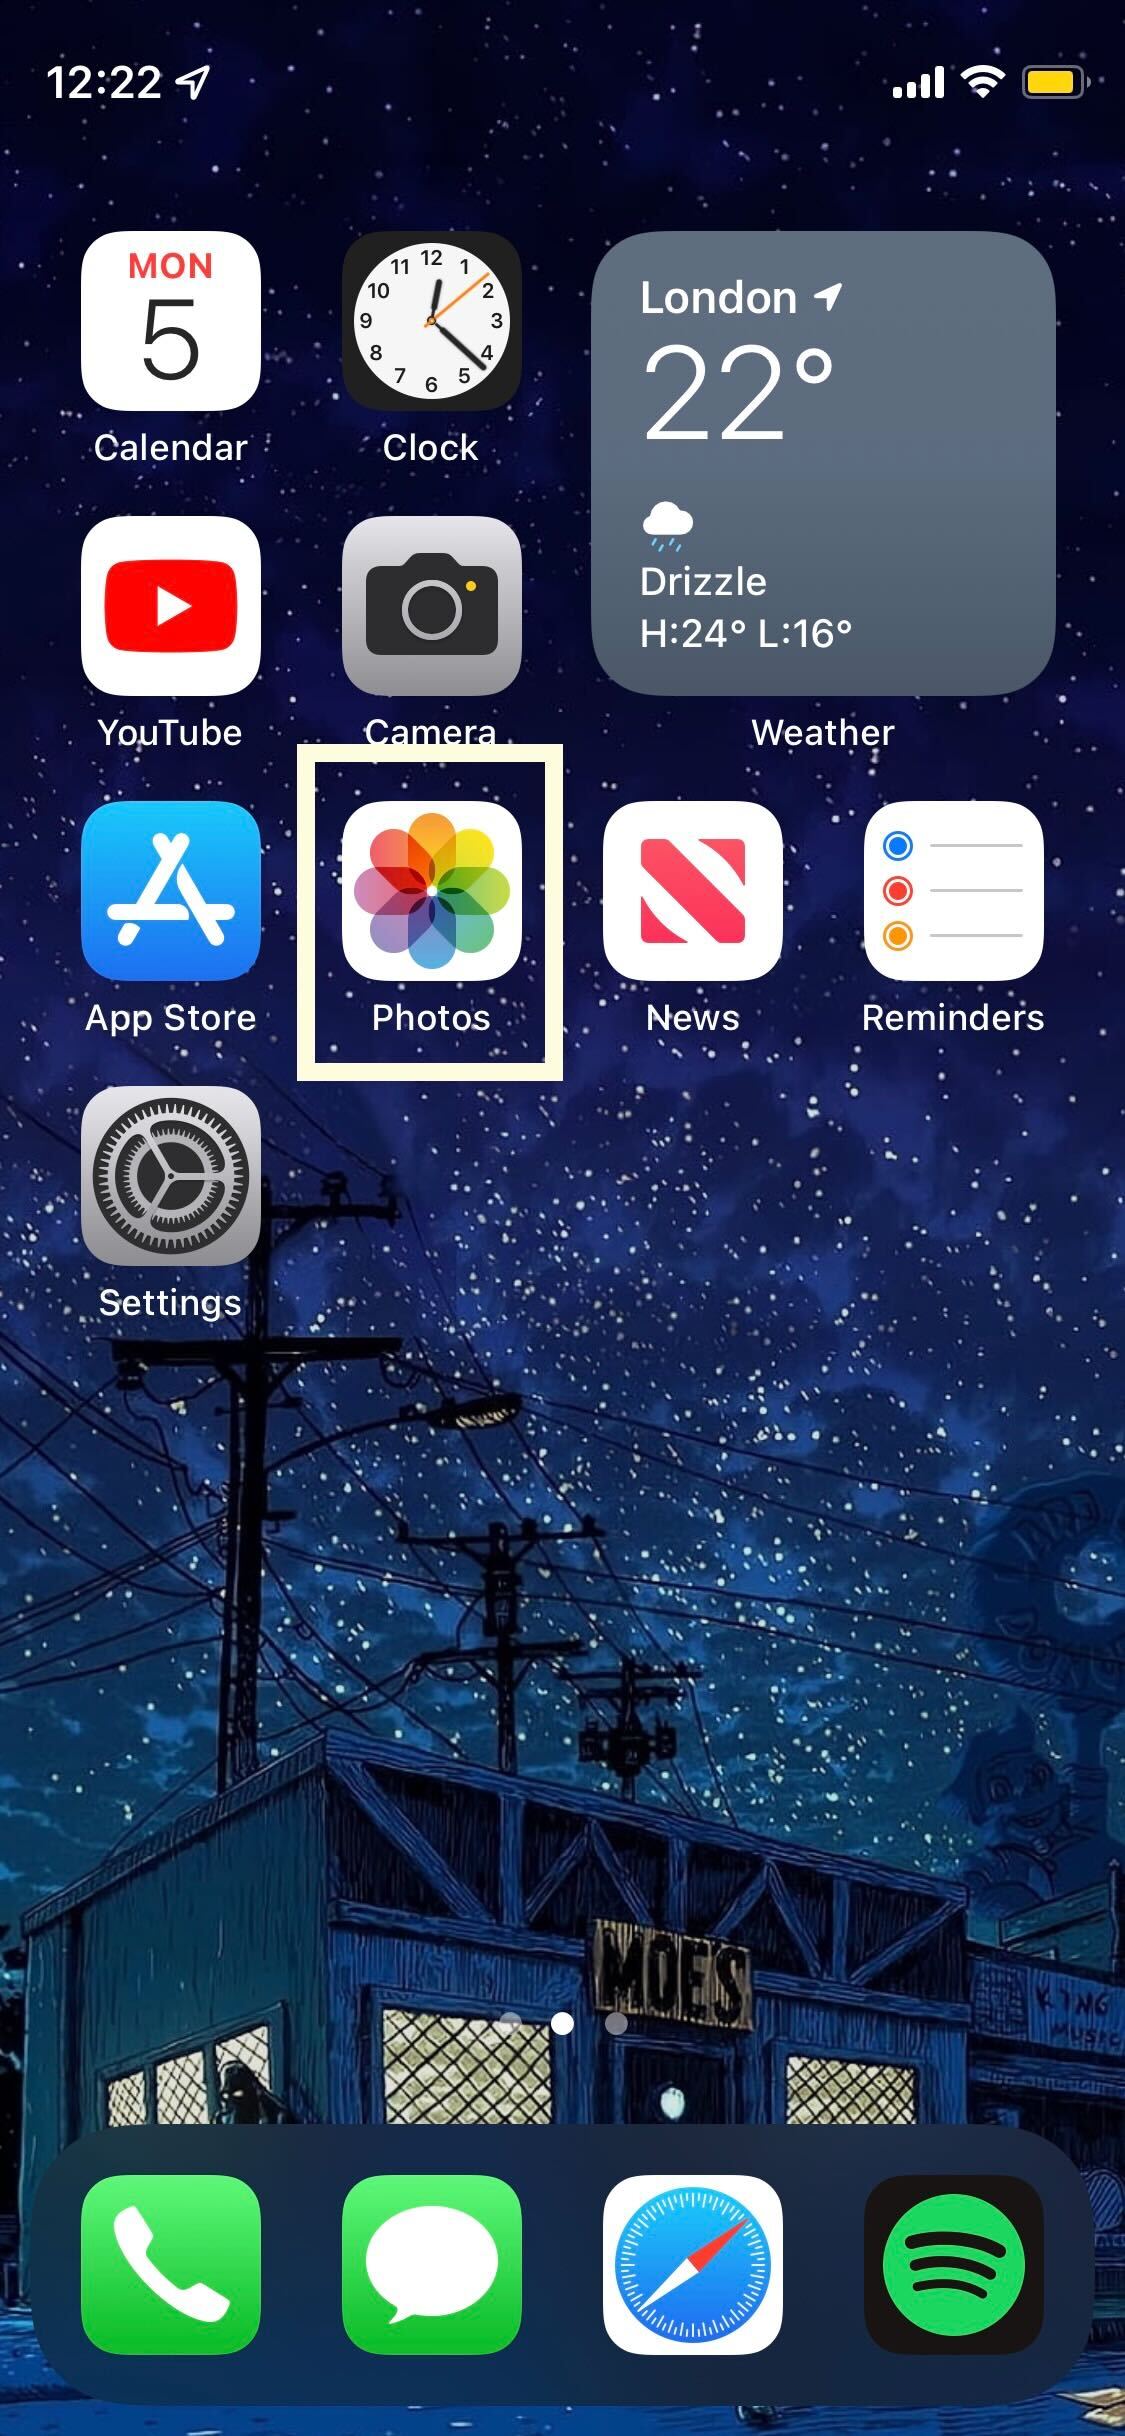
Unlock your iPhone and click on your Photos app to start the process.

Step
2Click on the Plus symbol
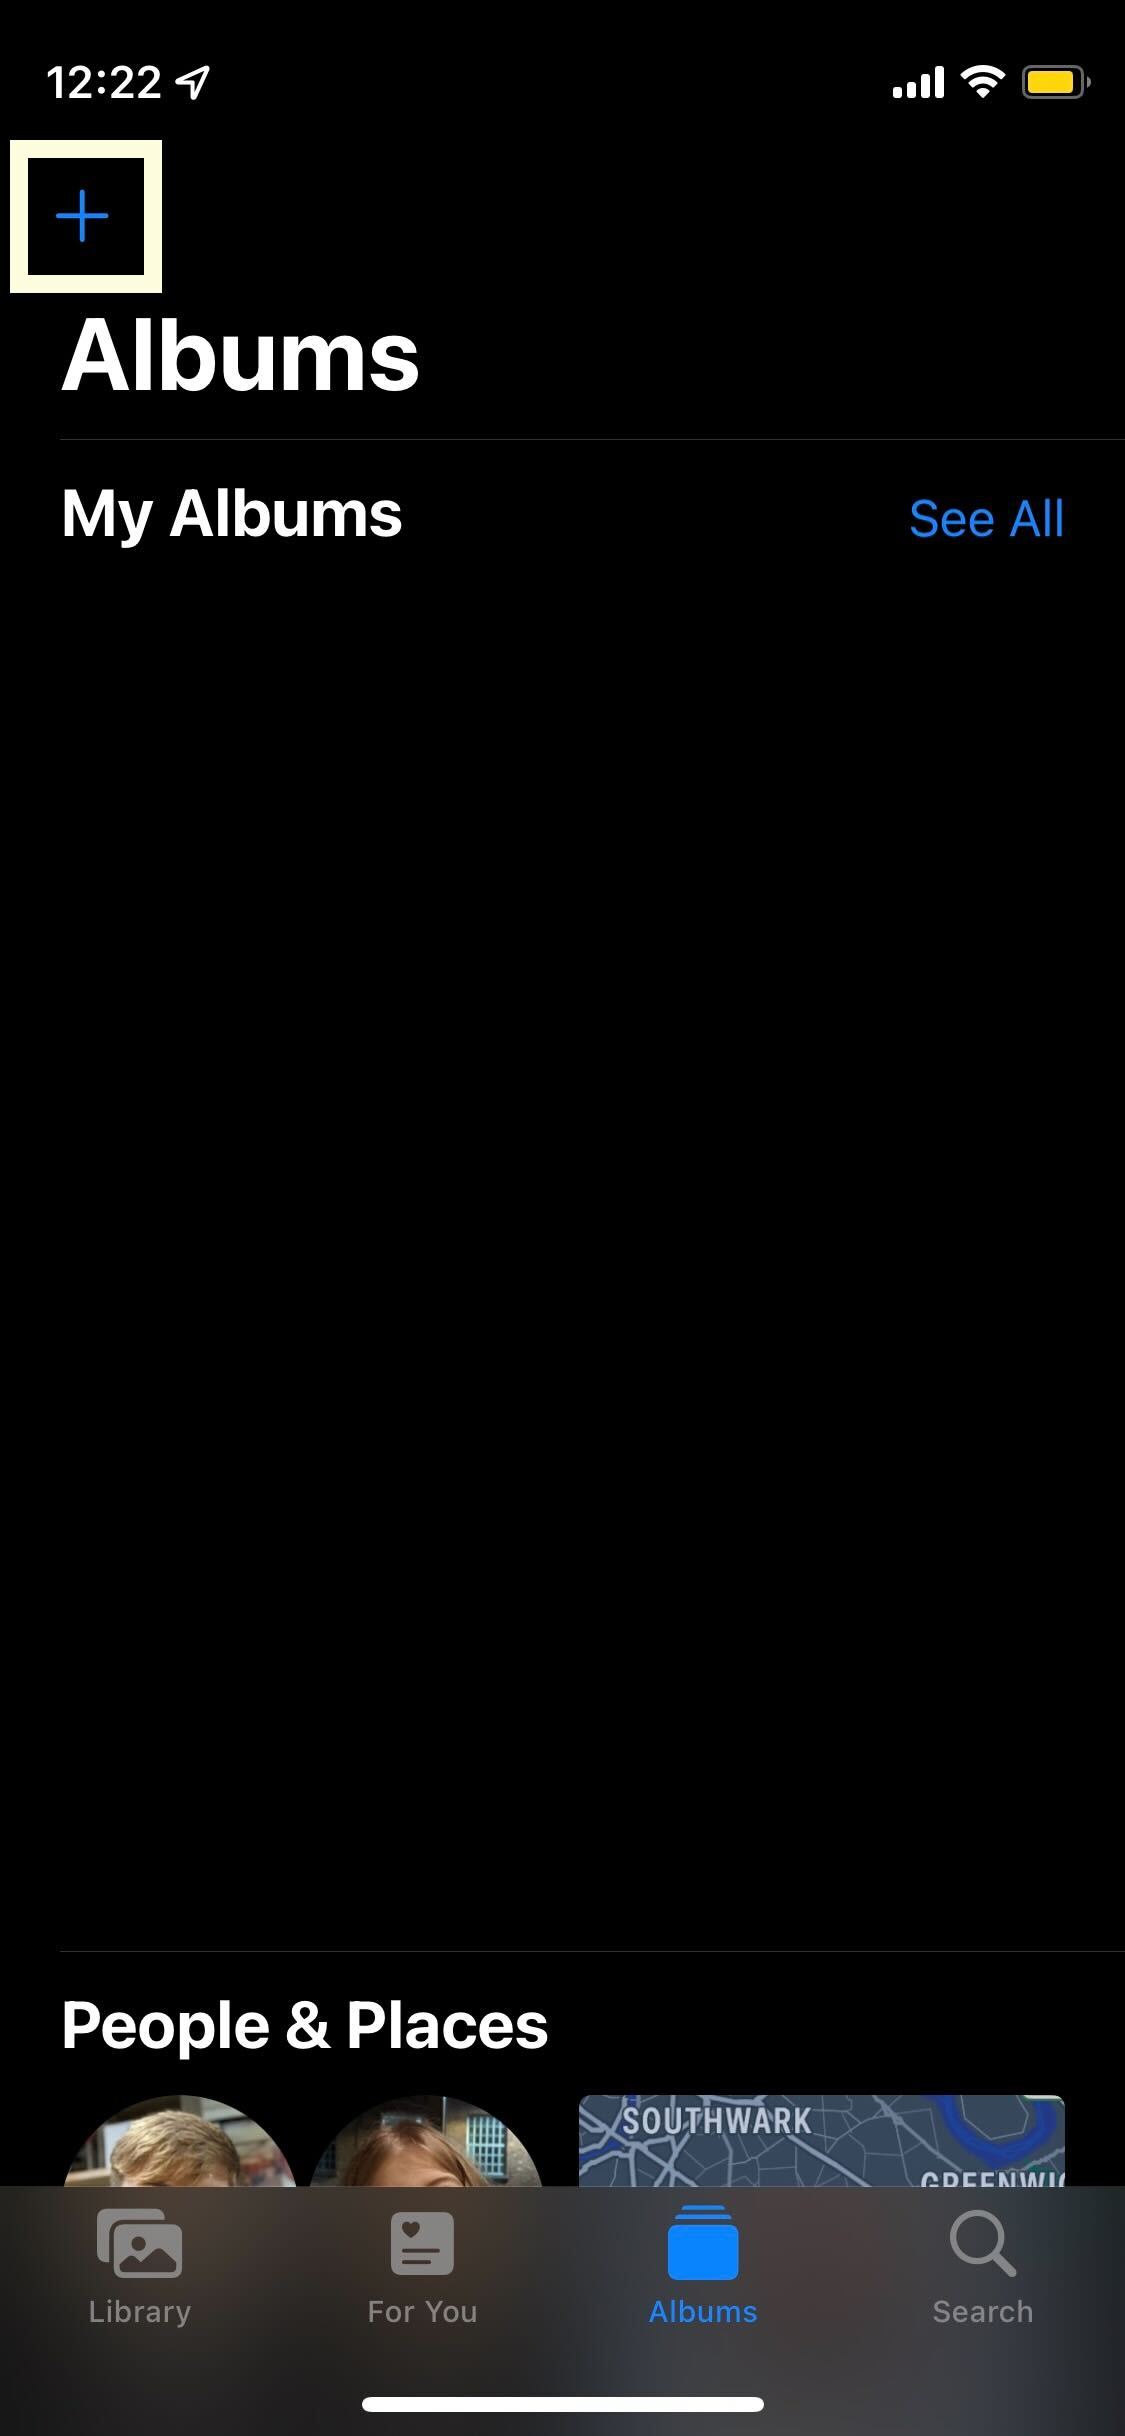
Click on the blue Plus symbol, it’s housed in the top left-hand corner of the screen.

Step
3Tap New Shared Album
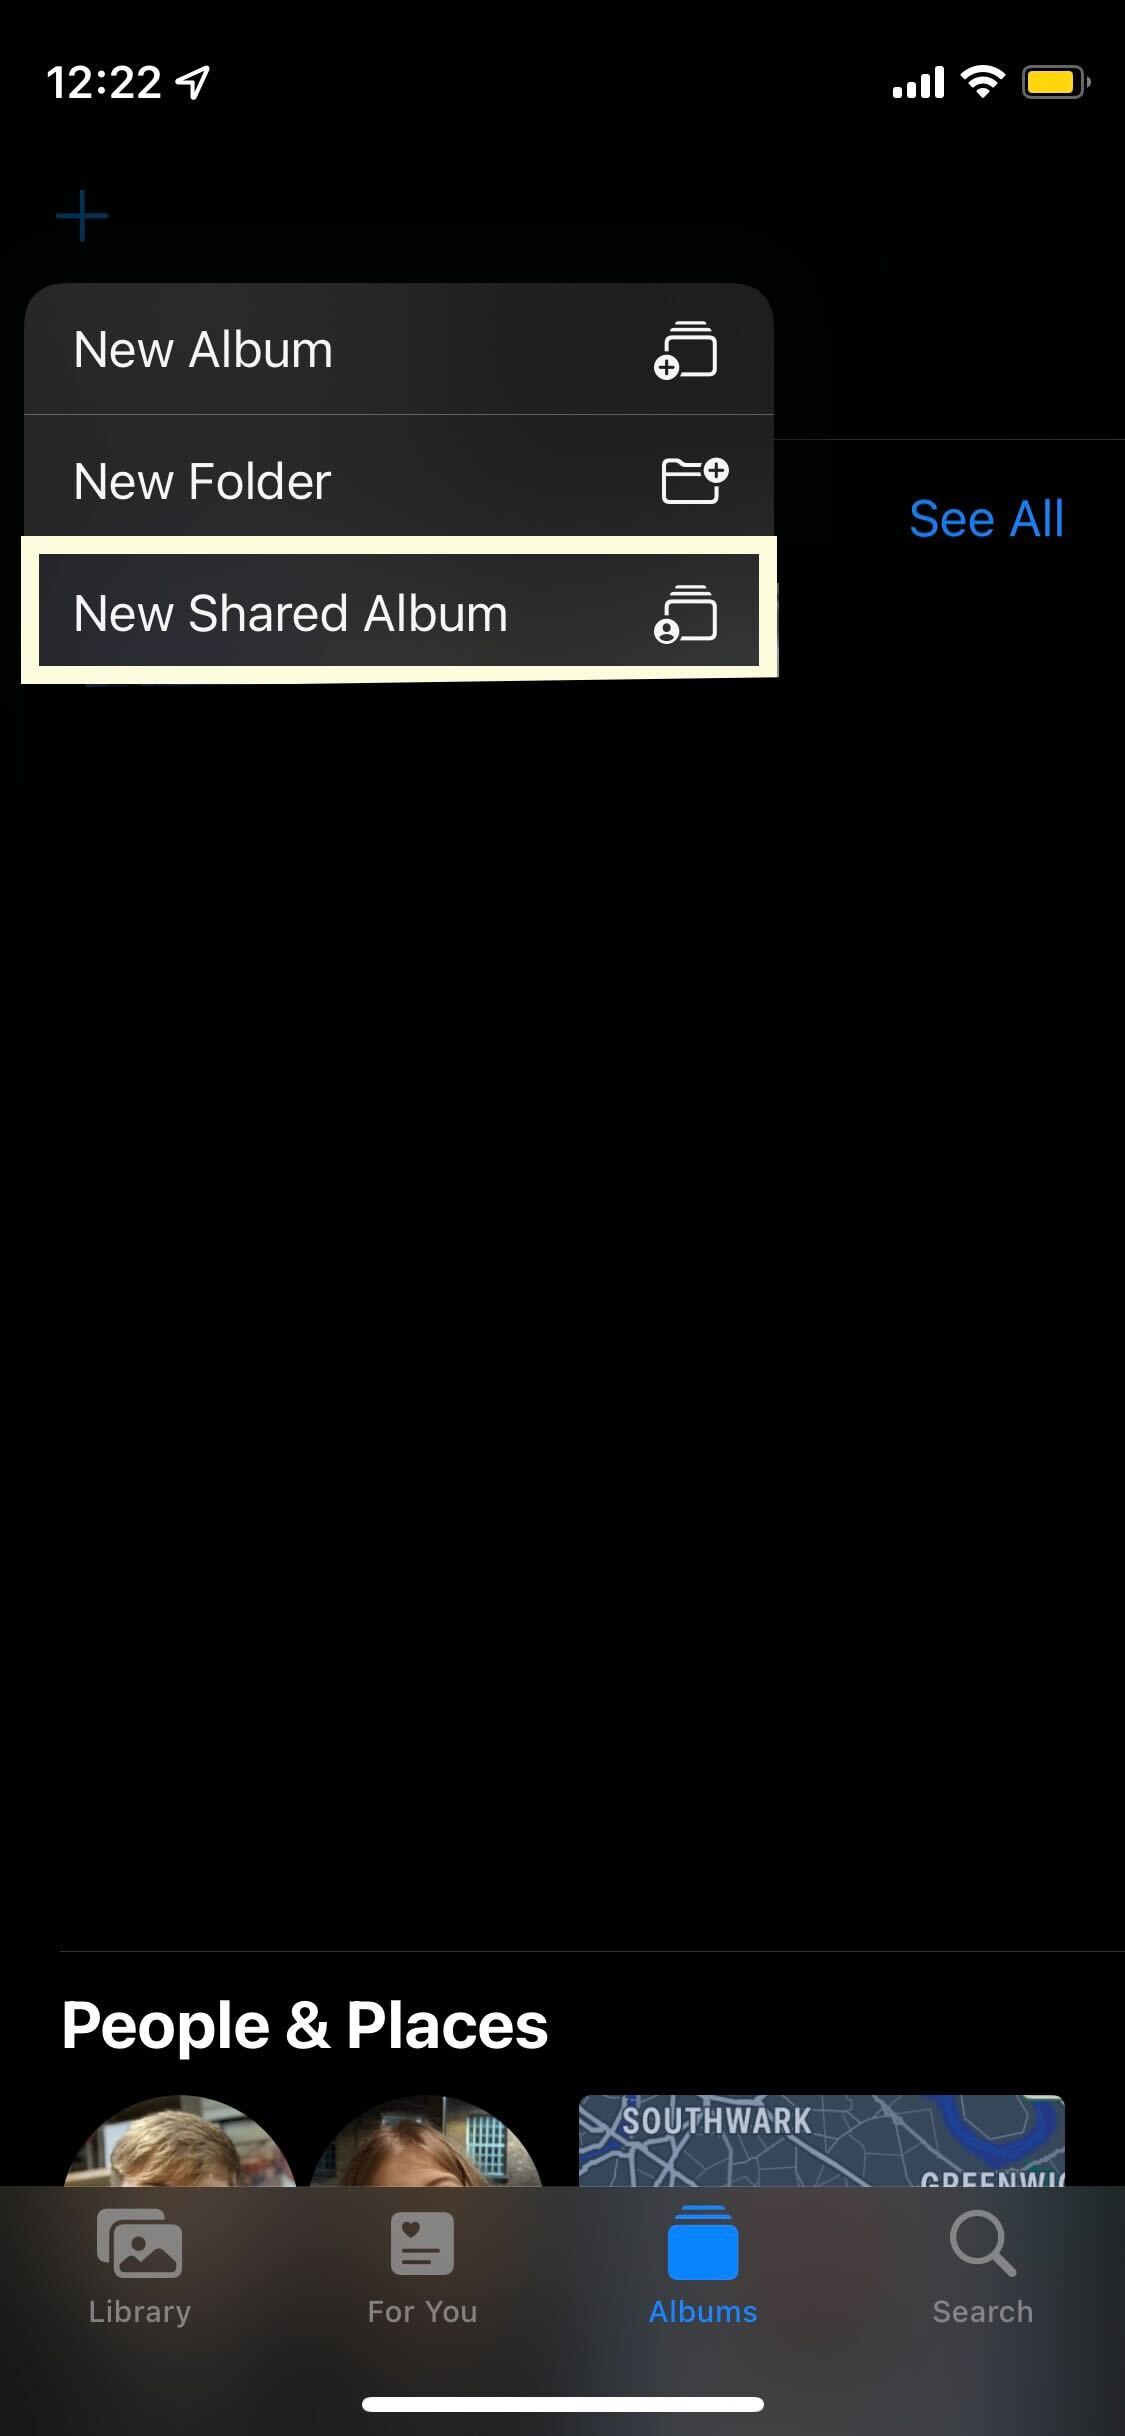
From the three options presented in the drop-down menu, click on New Shared Album.

Step
4Name the album
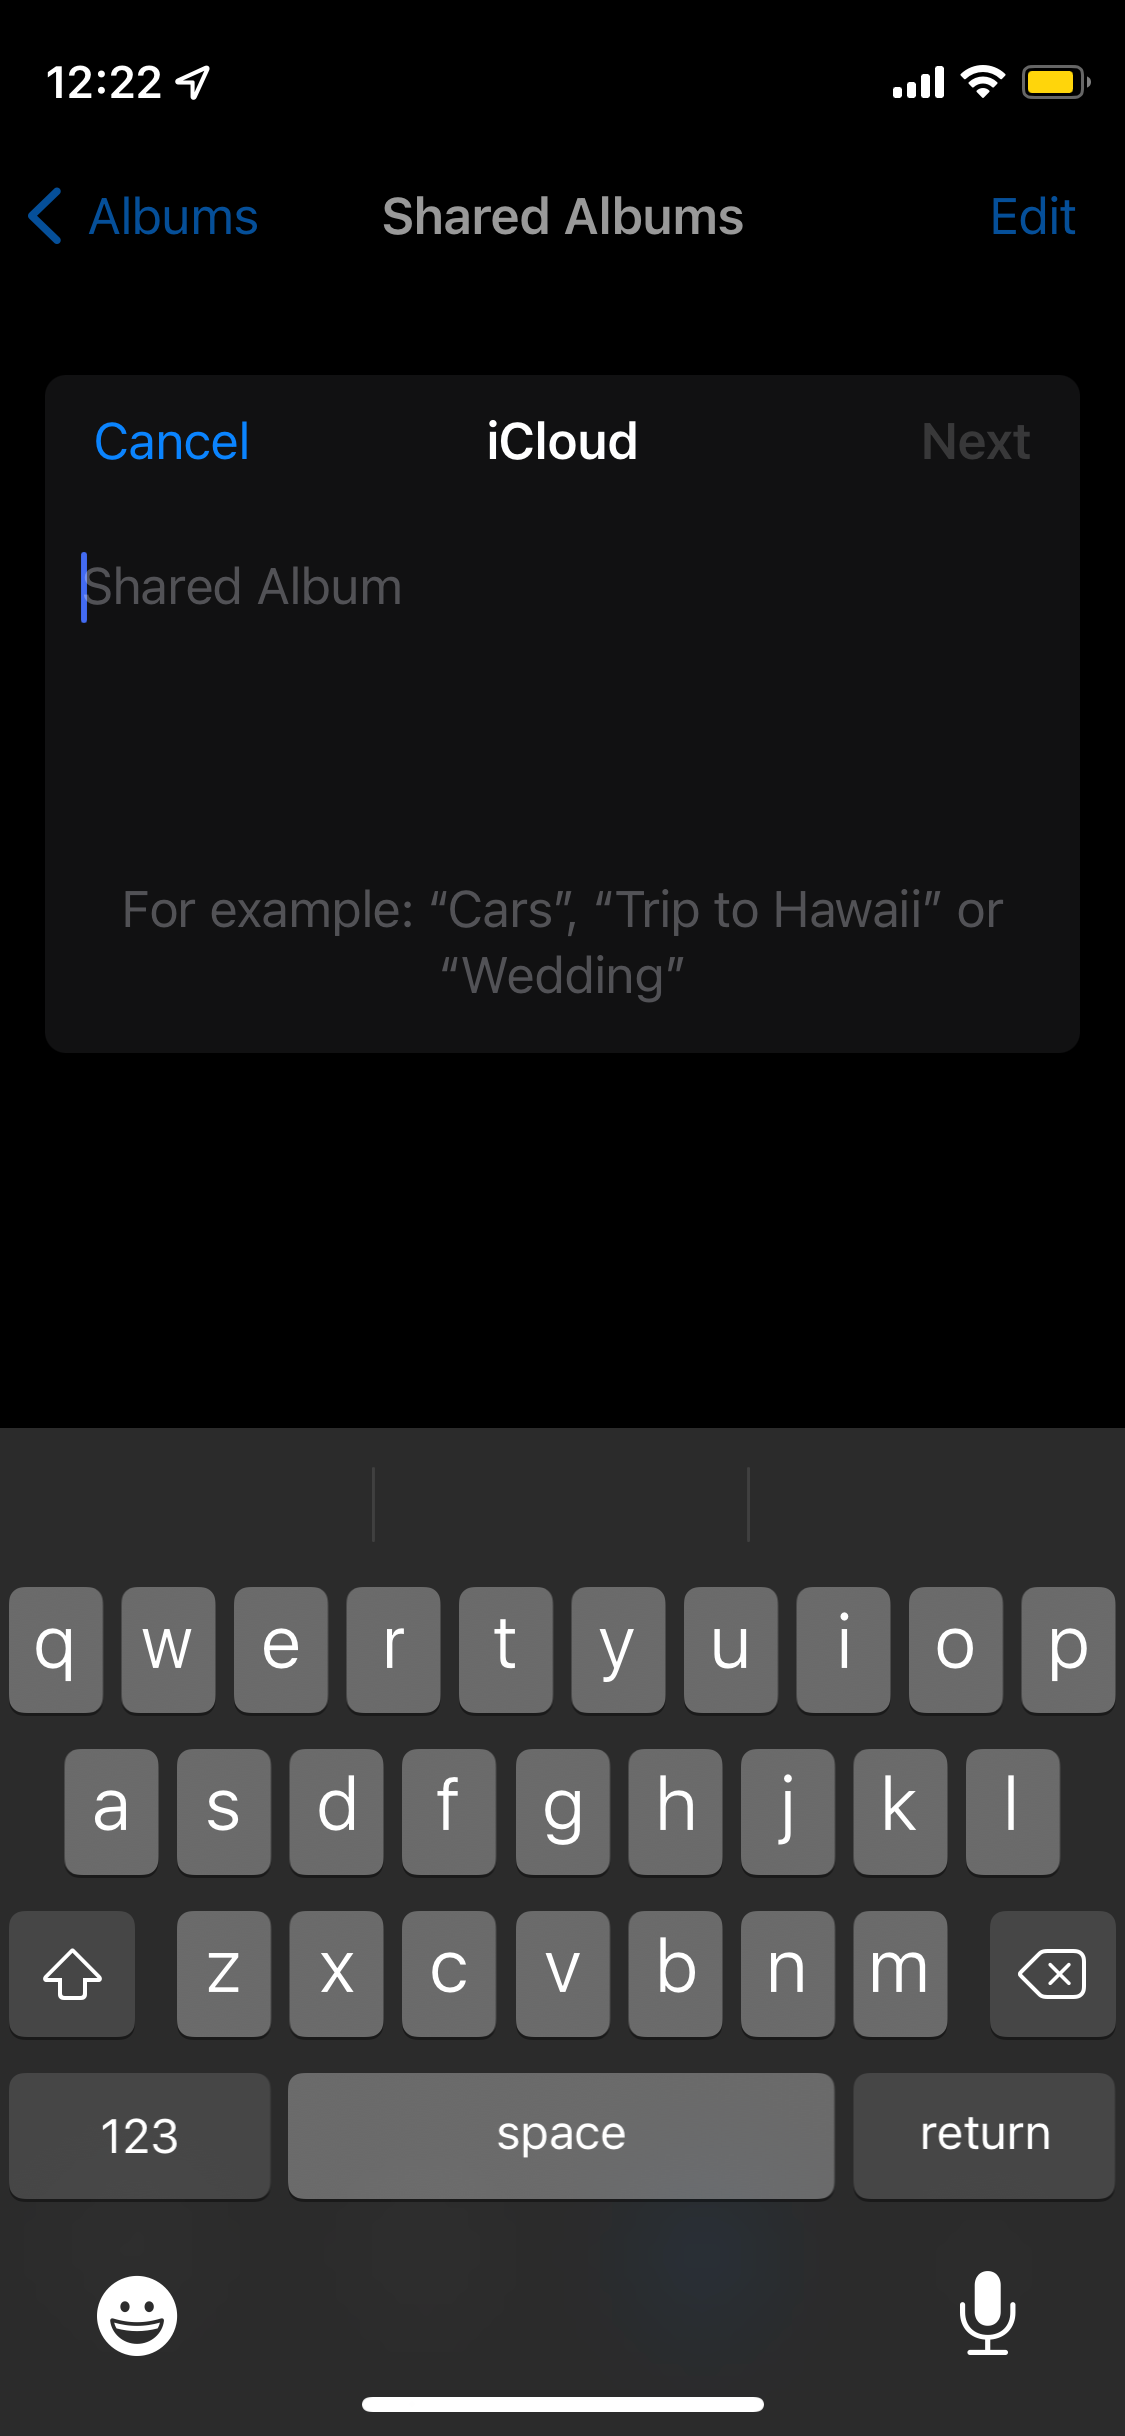
Name the album that you are creating as this will help you keep your photos organised, and it shows friends and family what the album will ential.

Step
5Press Next
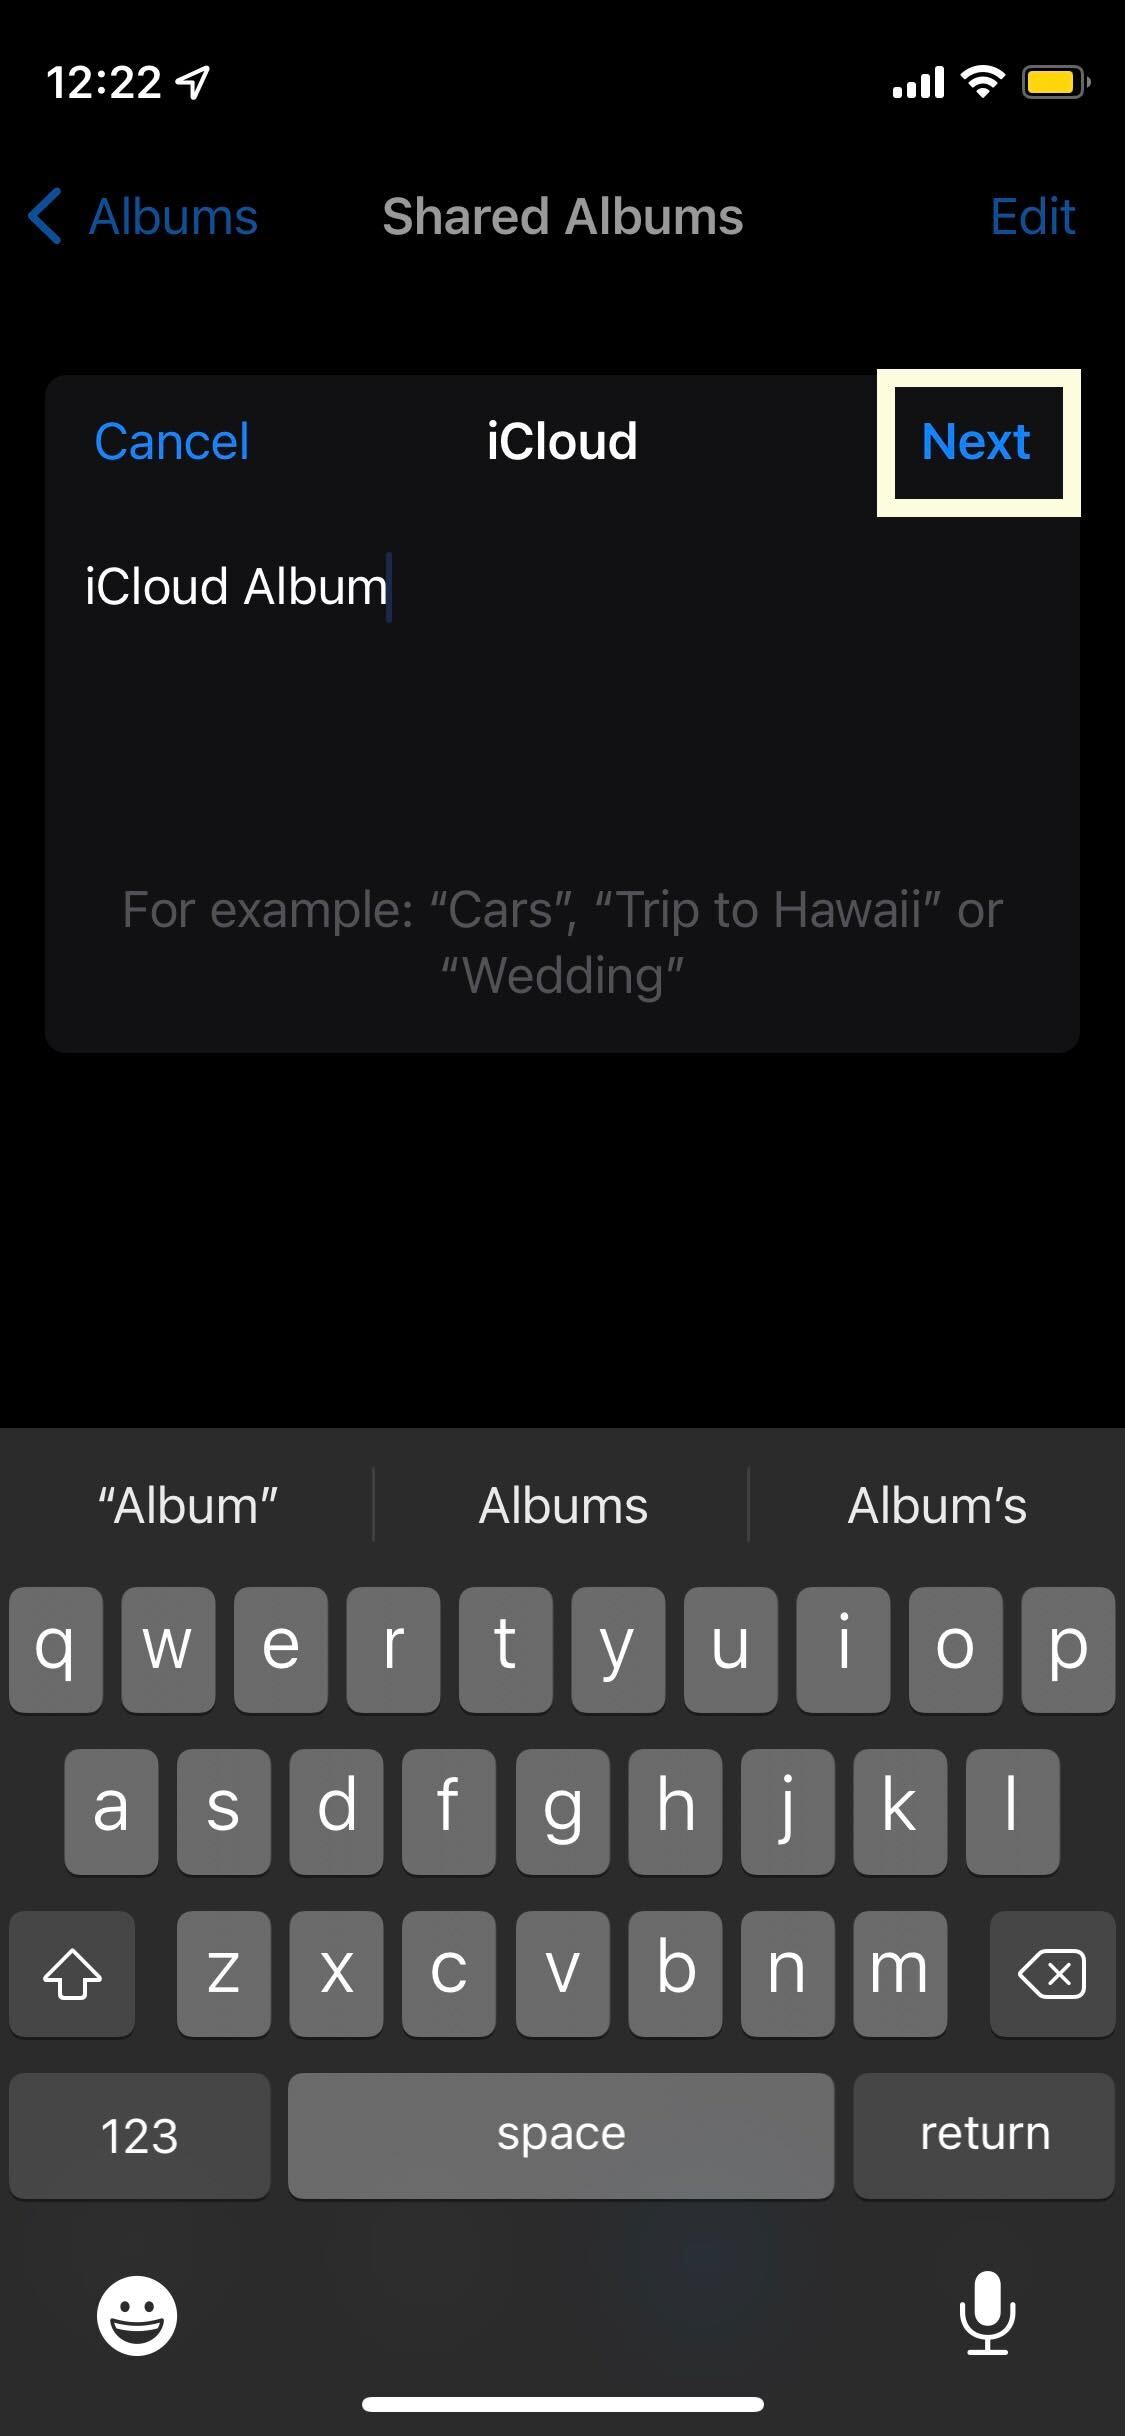
Once you have named the album, click on the blue Next button.

Step
6Add in the contacts you want to send it to
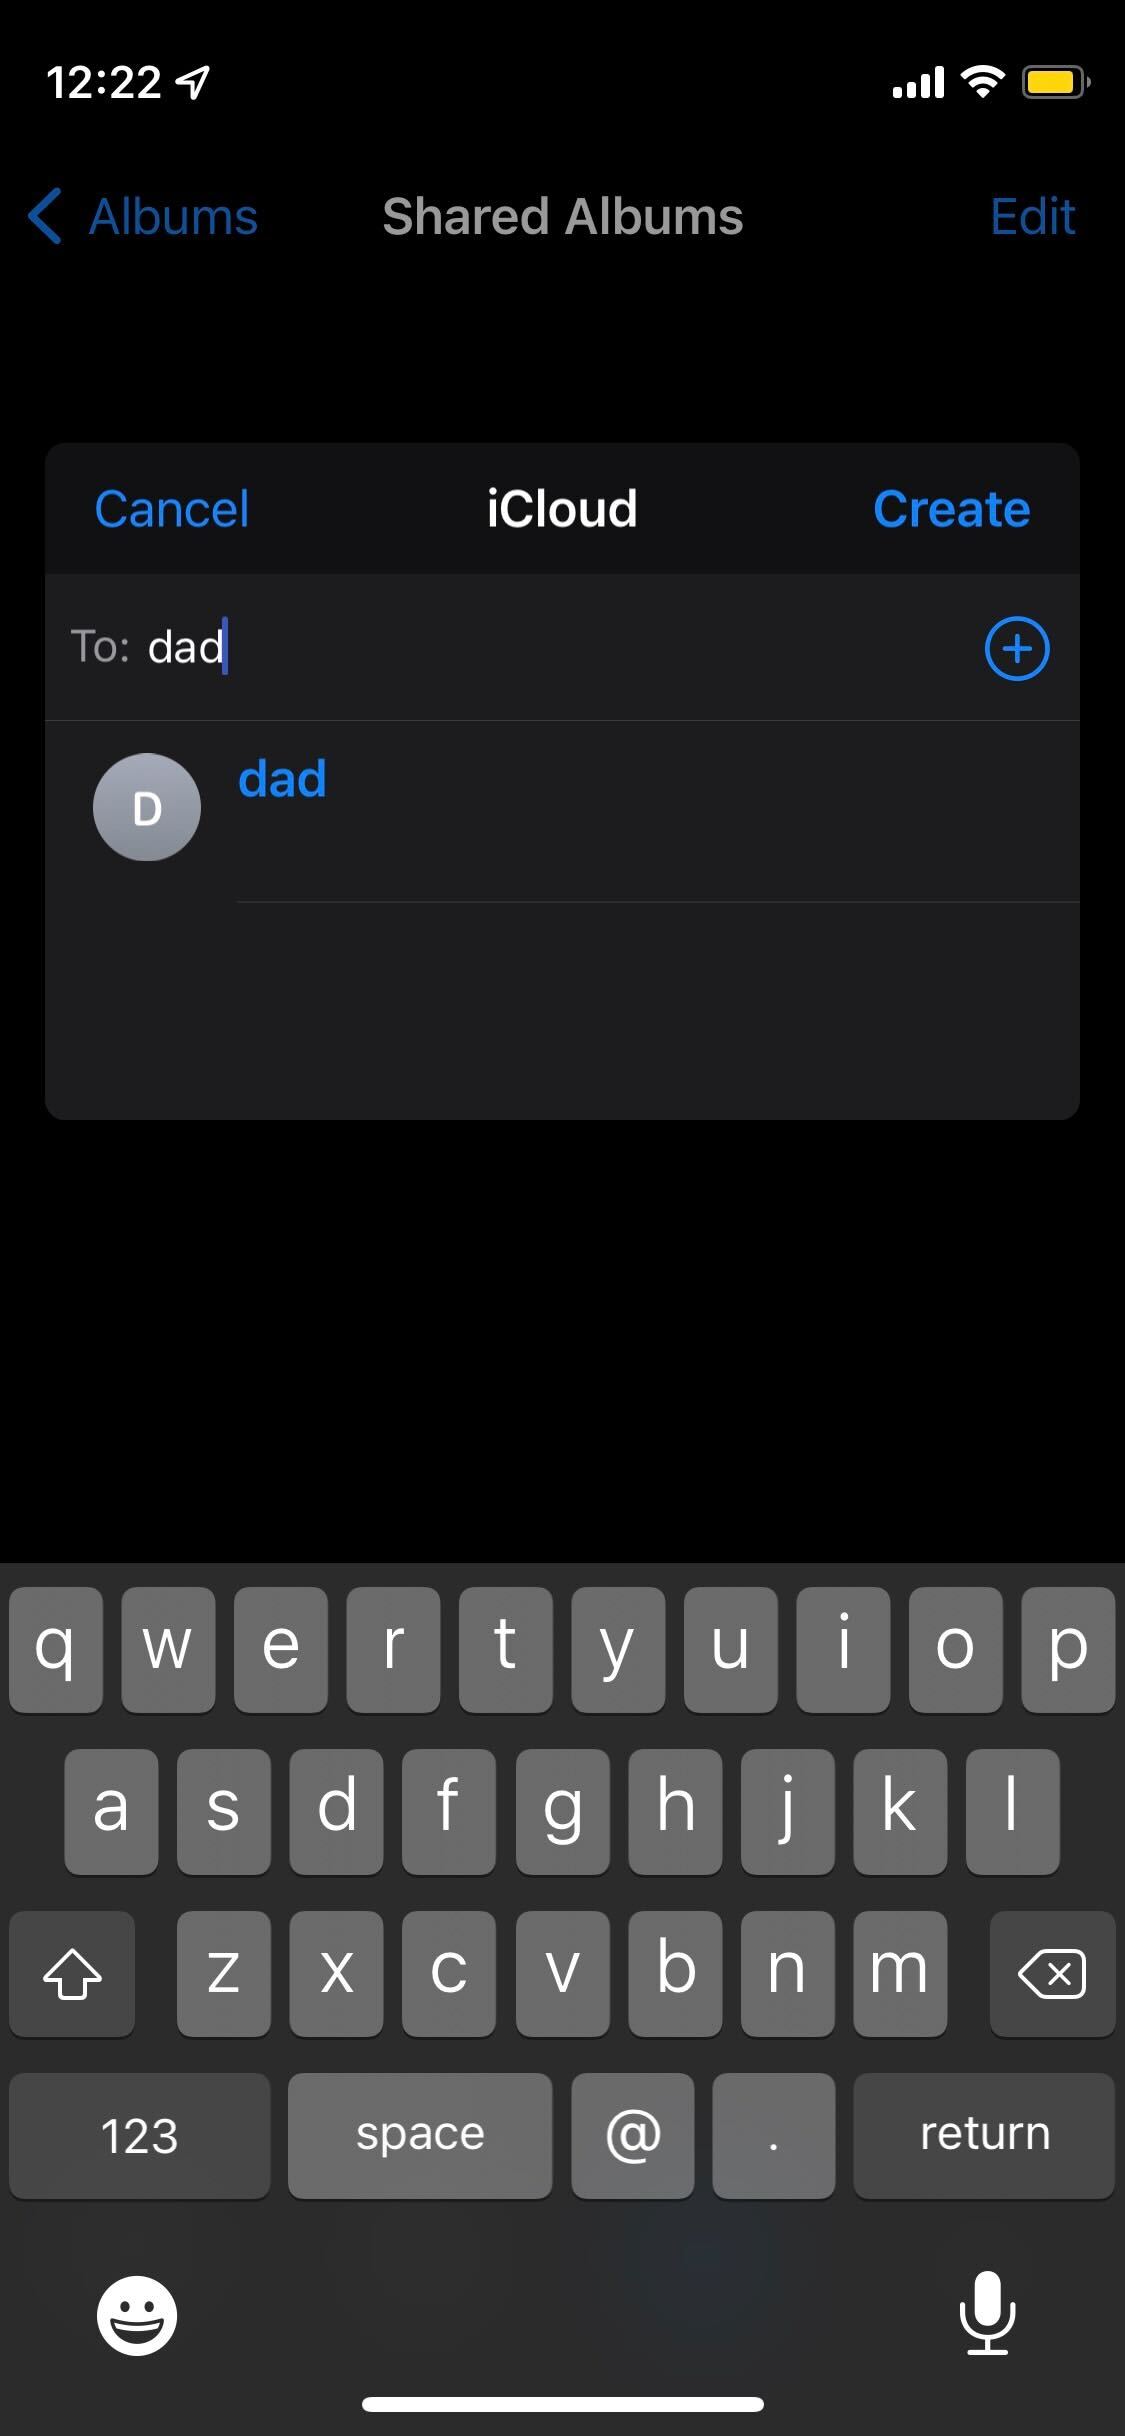
Type in the name of the contacts you want to add to this album. You can add as many people as you want, though for the message to send you will need to make sure that you are adding people who are Apple users, as it won’t work for Android users.

Step
7Click Create
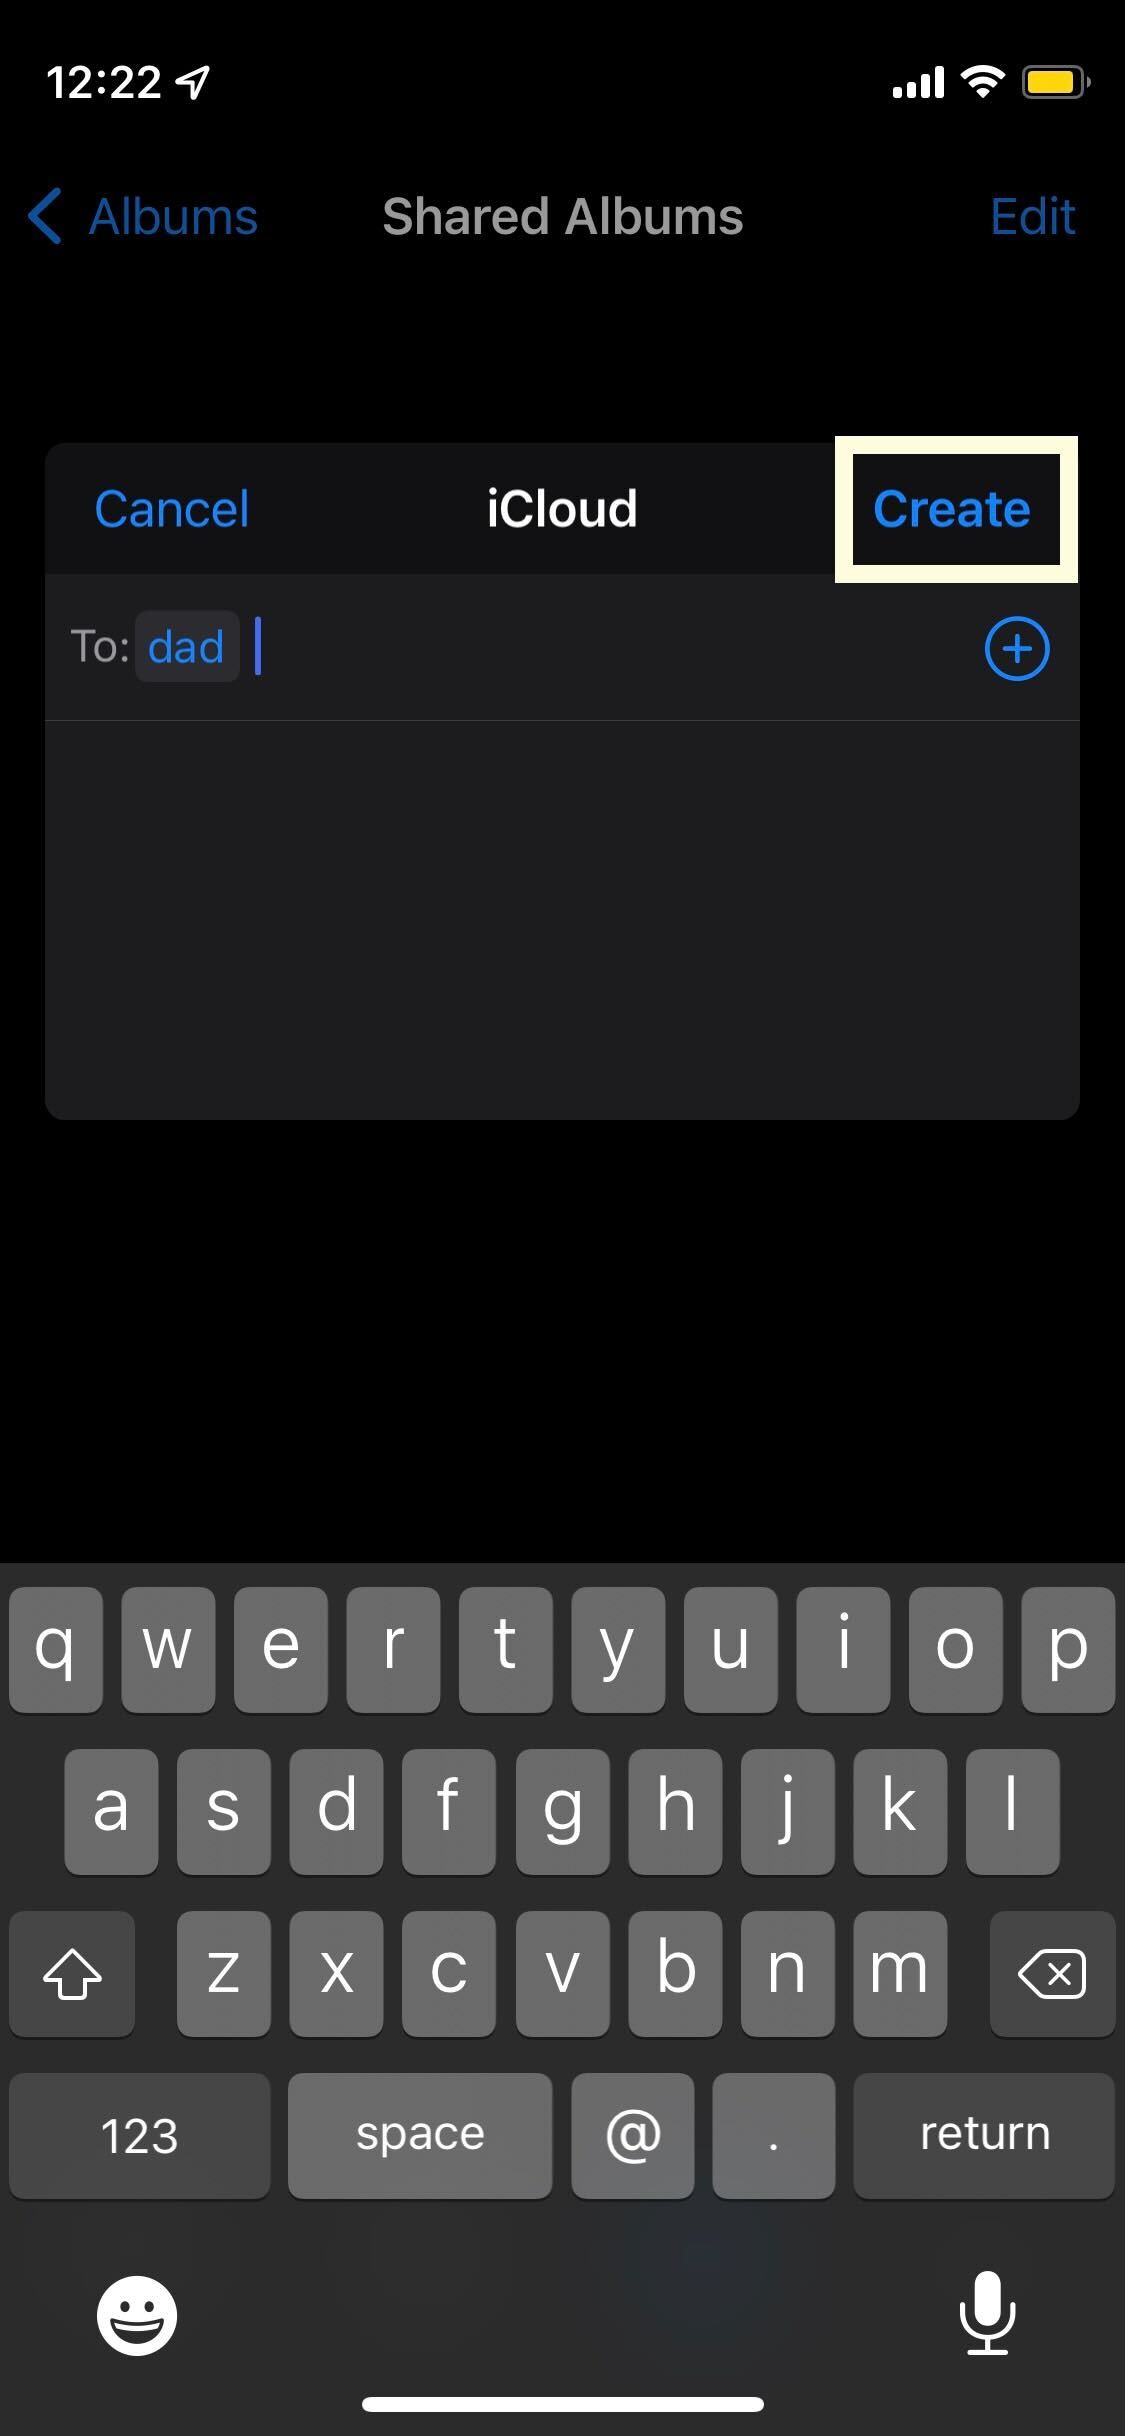
Click on the blue Create button to continue.

Step
8Press on the album you just created
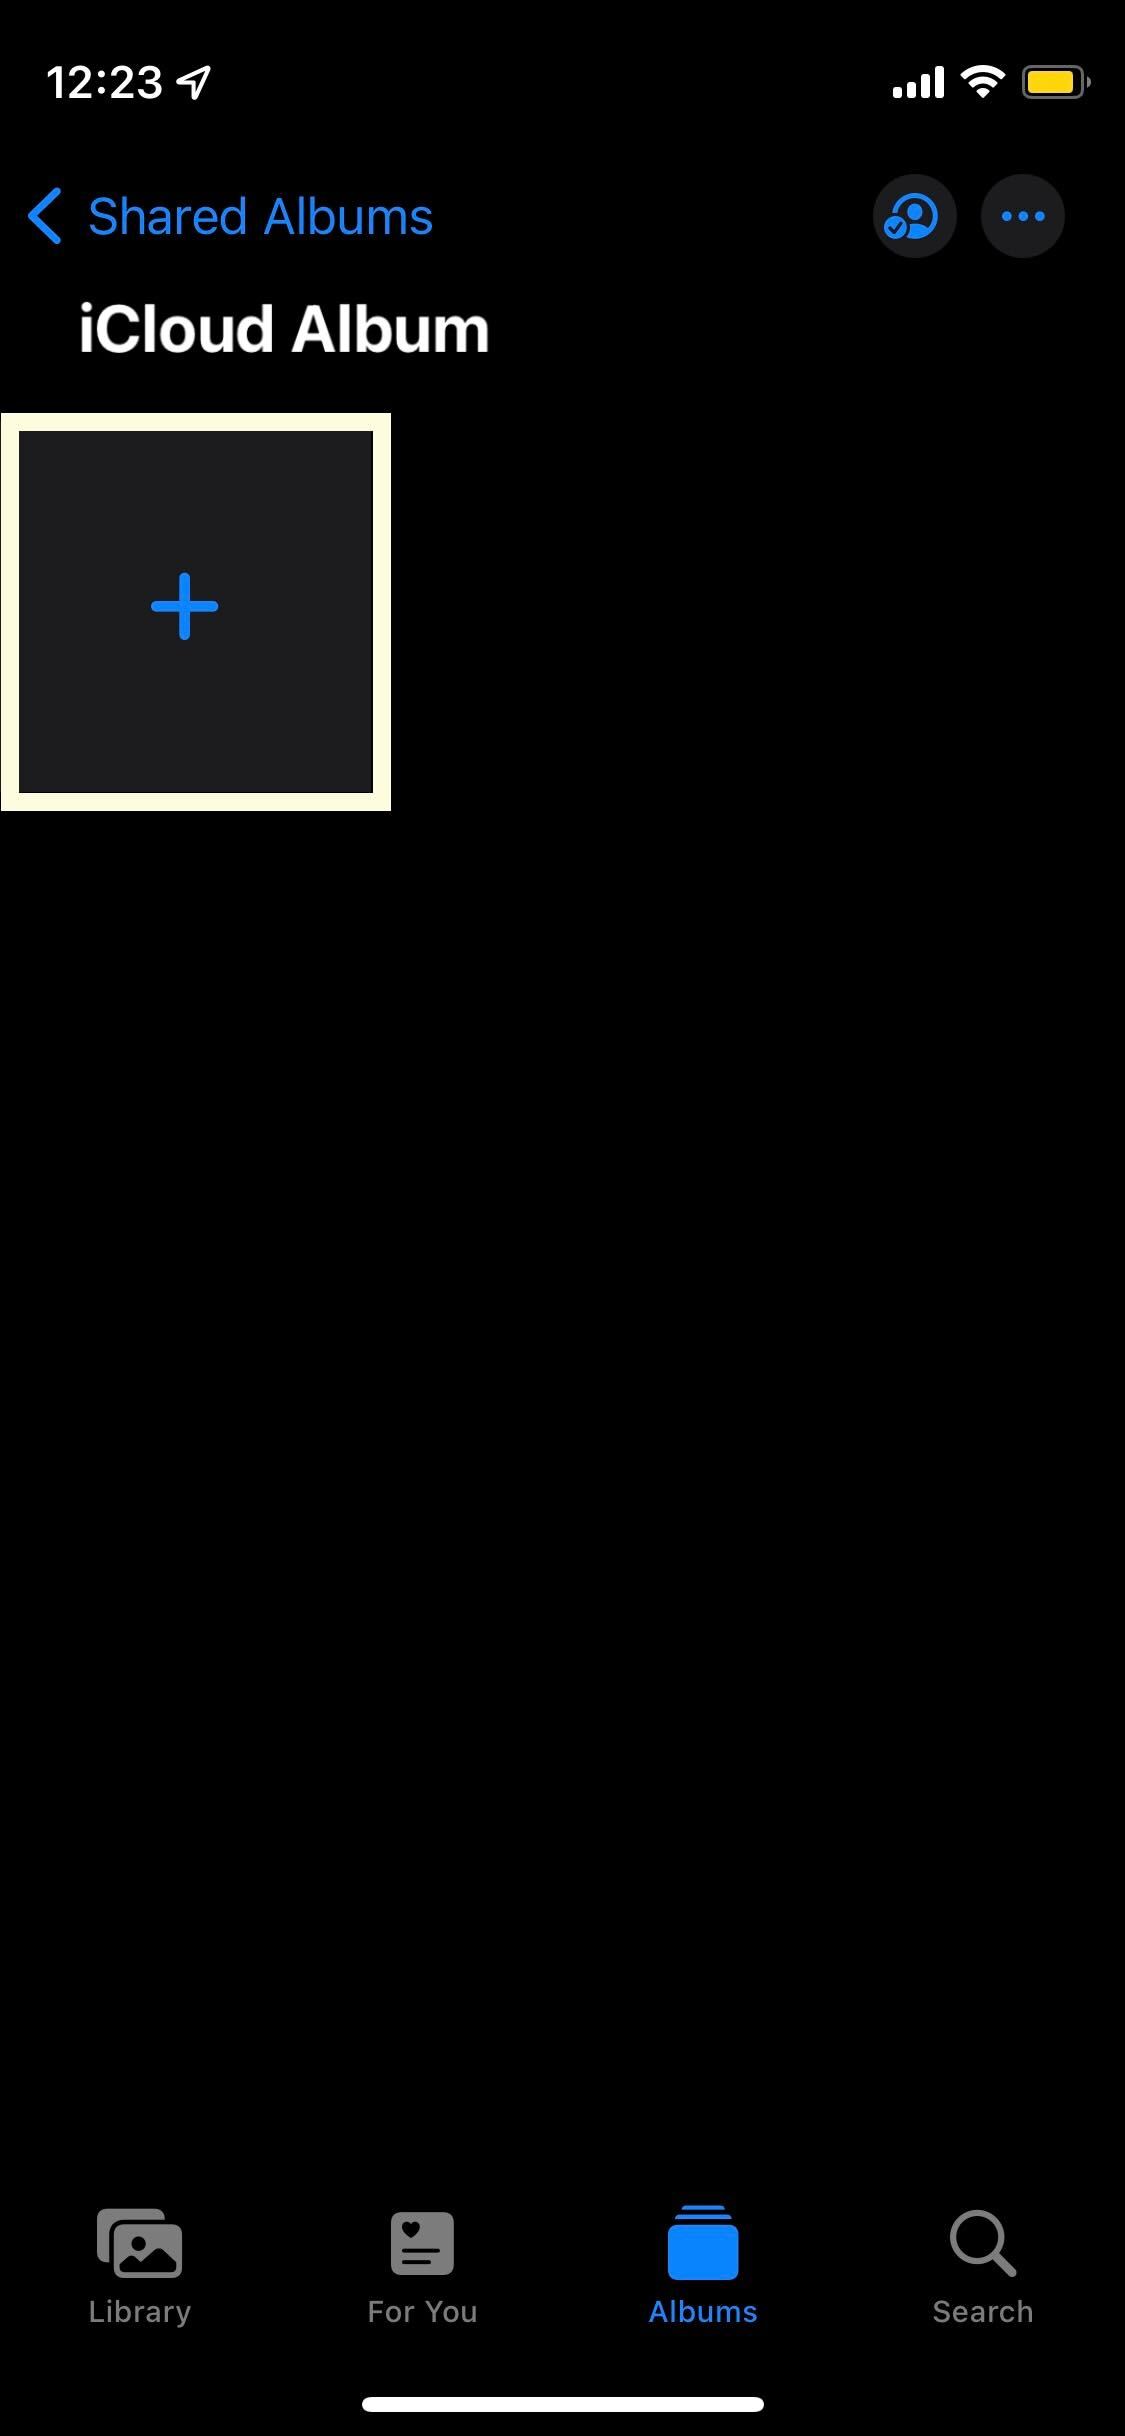
Click back on the album that you just created to add photos to it.

Step
9Tap on the large Plus symbol

Click on the large blue Plus symbol on screen.

Step
10Select the photos you want to share
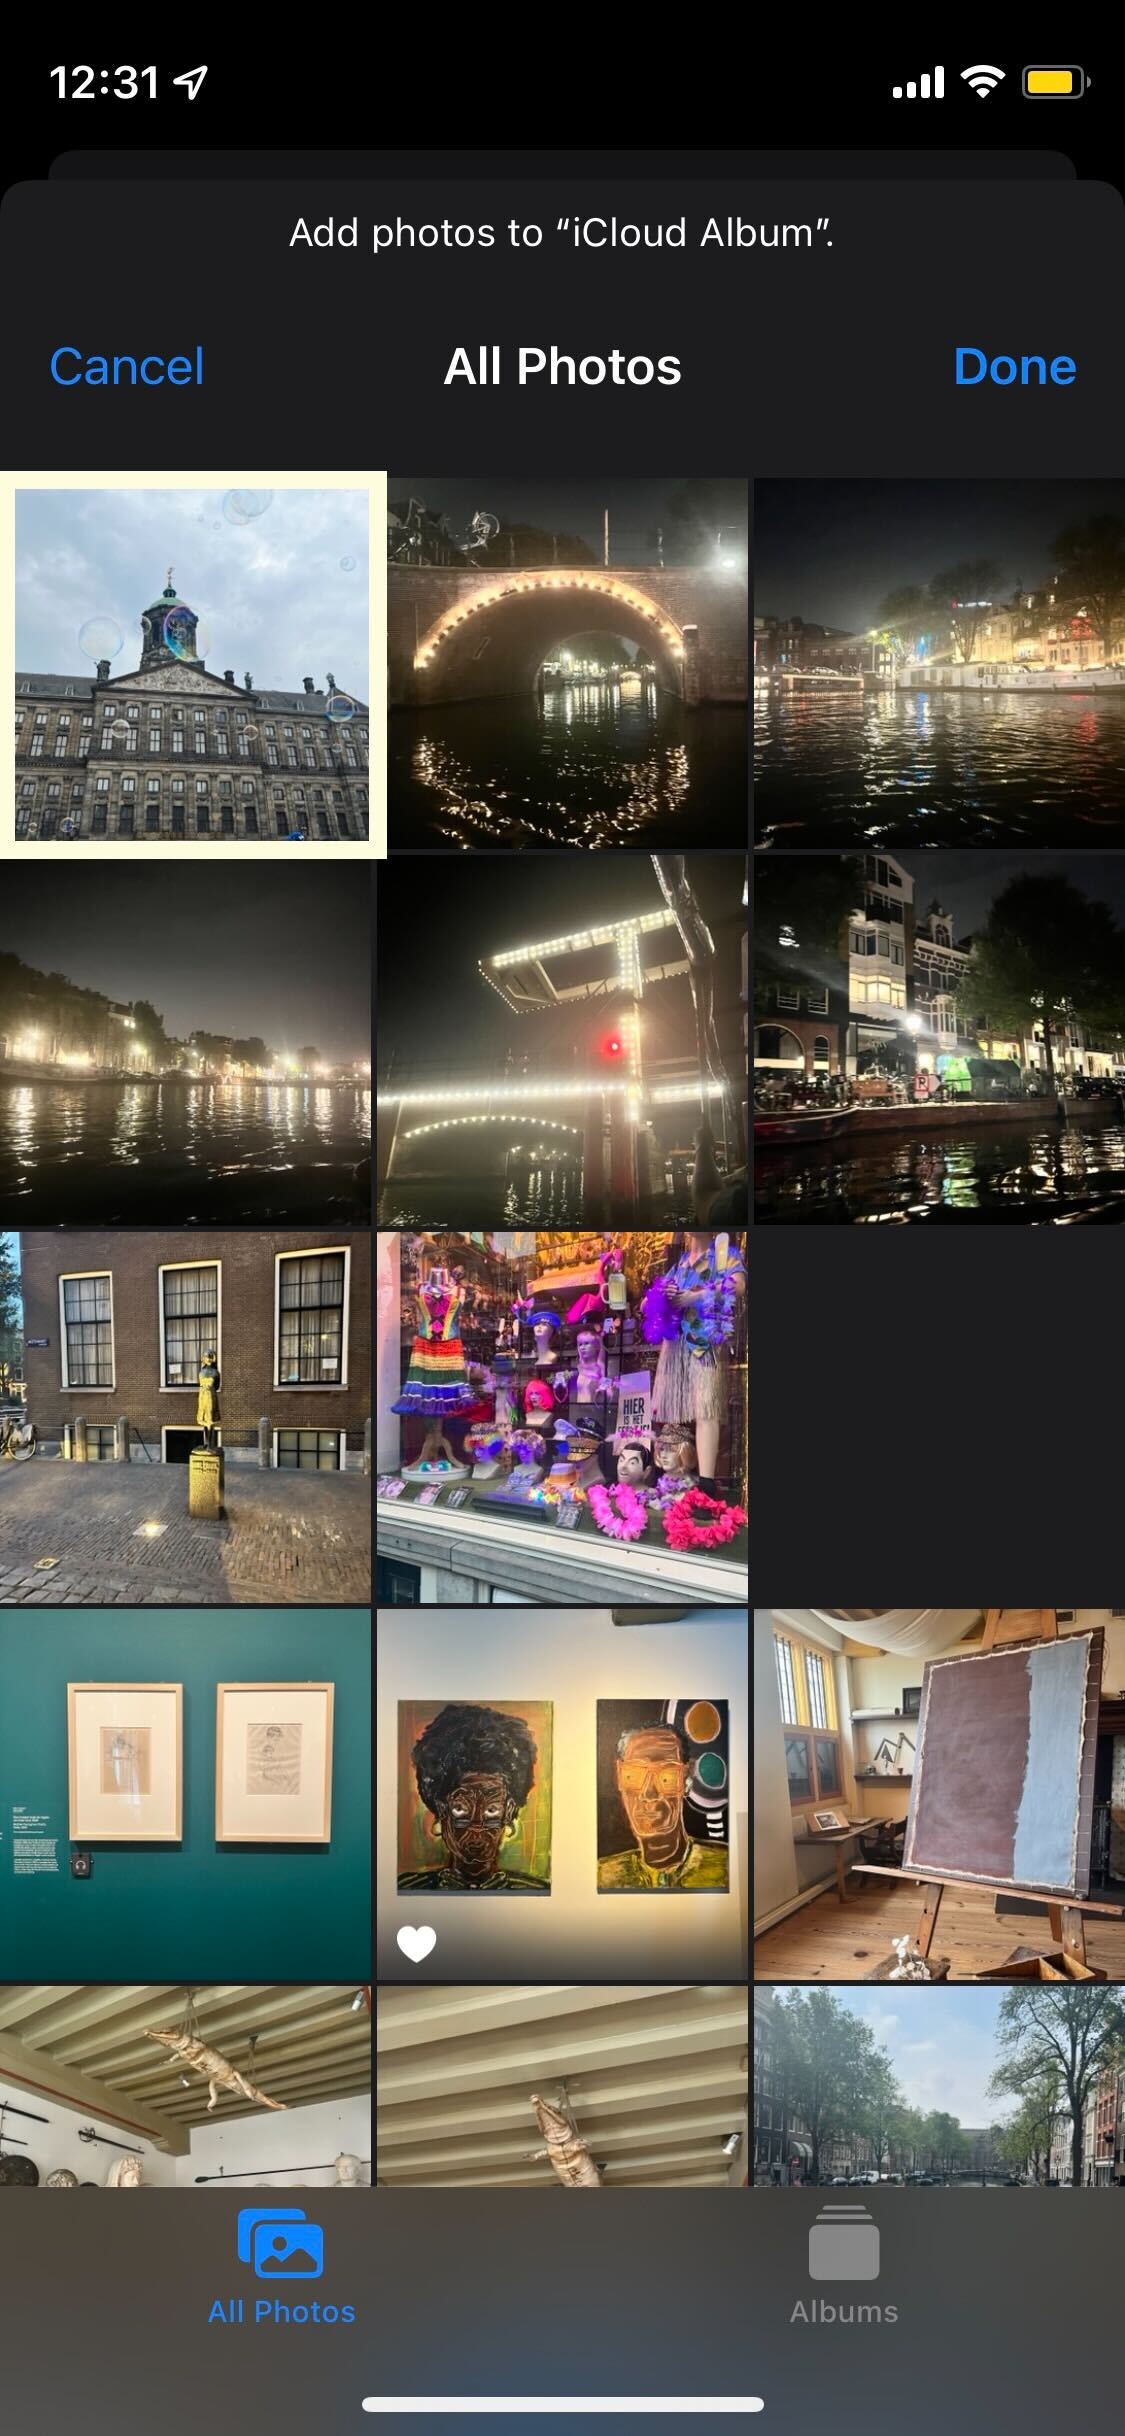
Select all of the photos you want to share in your new album.

Step
11Type in a message
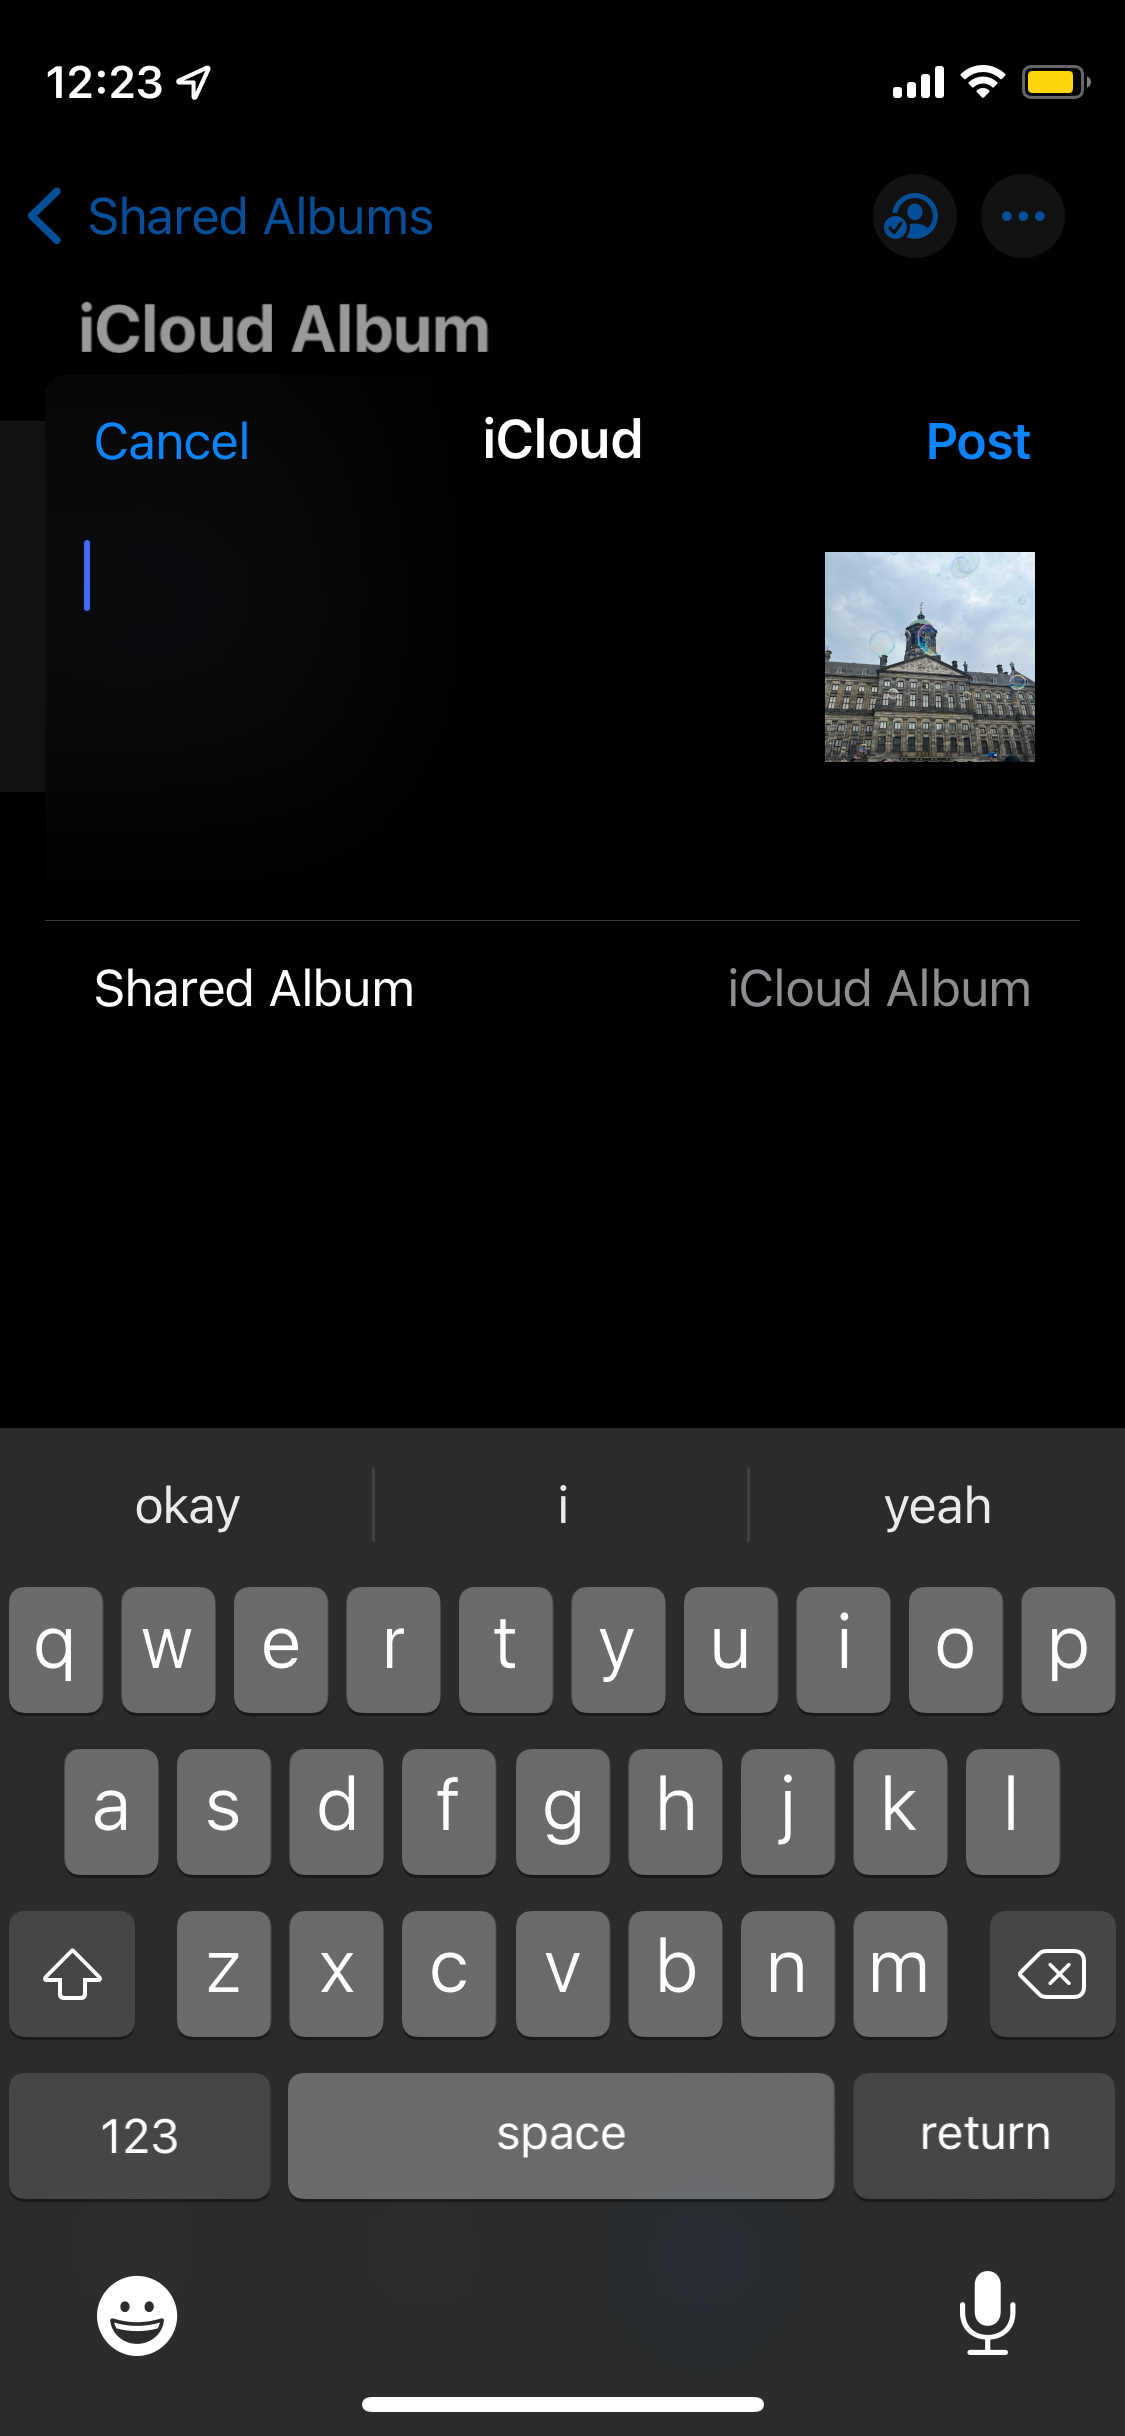
Type in a message to accompany your photos if you want. You can leave this space blank if you don’t want to write anything.

Step
12Press Post
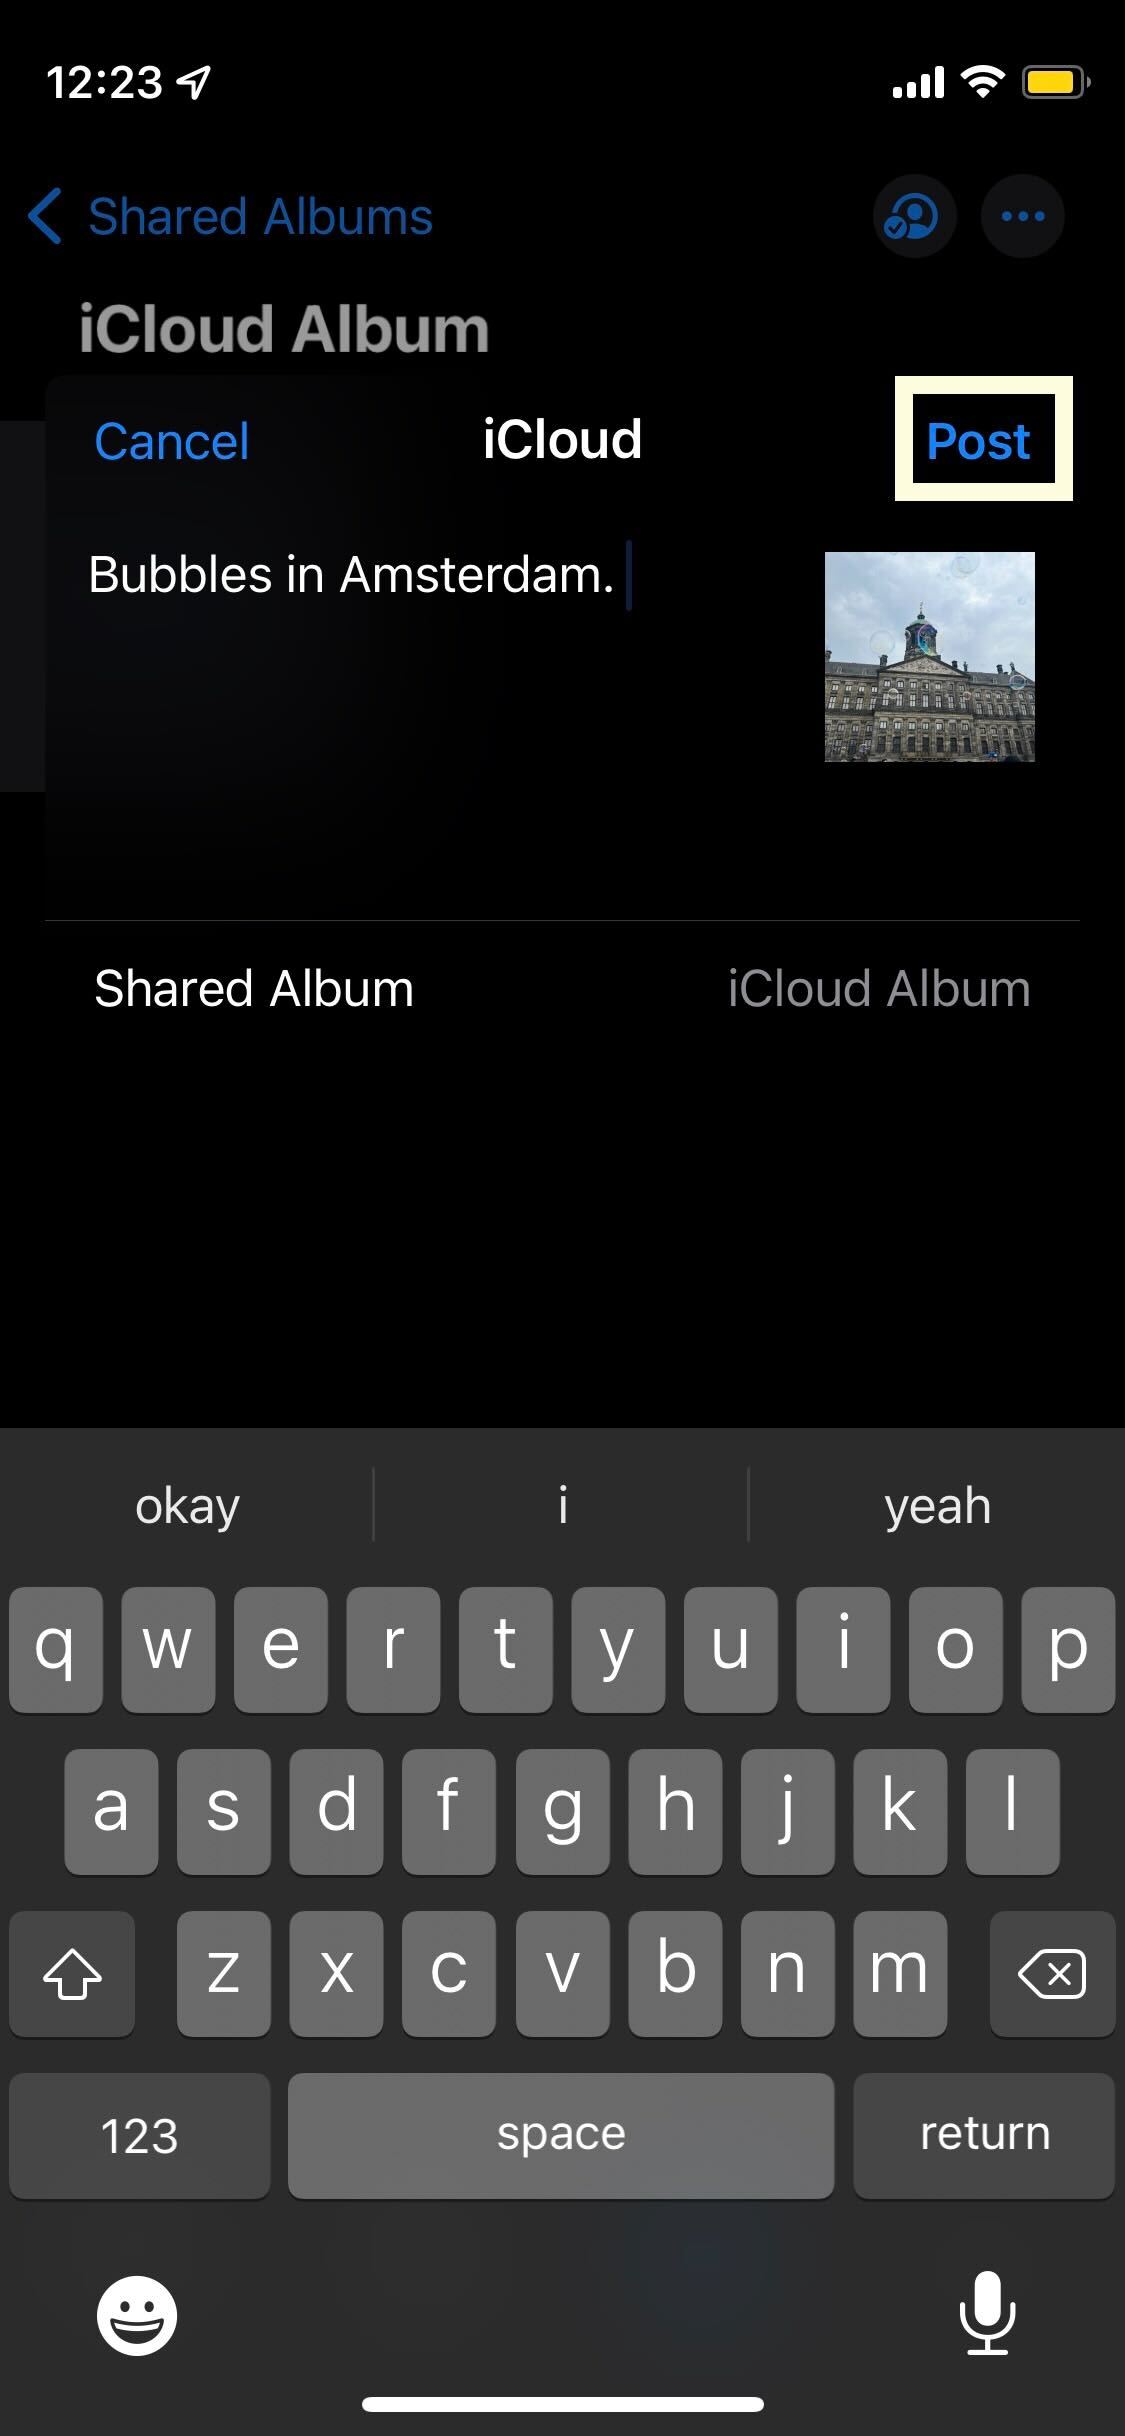
Press the blue Post button to post and share your album with the people in the contact list.

Troubleshooting
You can share iCloud photos with people not using an Apple device, though the method will look different to what is shown here, since iCloud was built with the idea of sharing via Apple devices and not Android.


