How to install an M.2 SSD in your PS5: Expand your storage with these simple steps

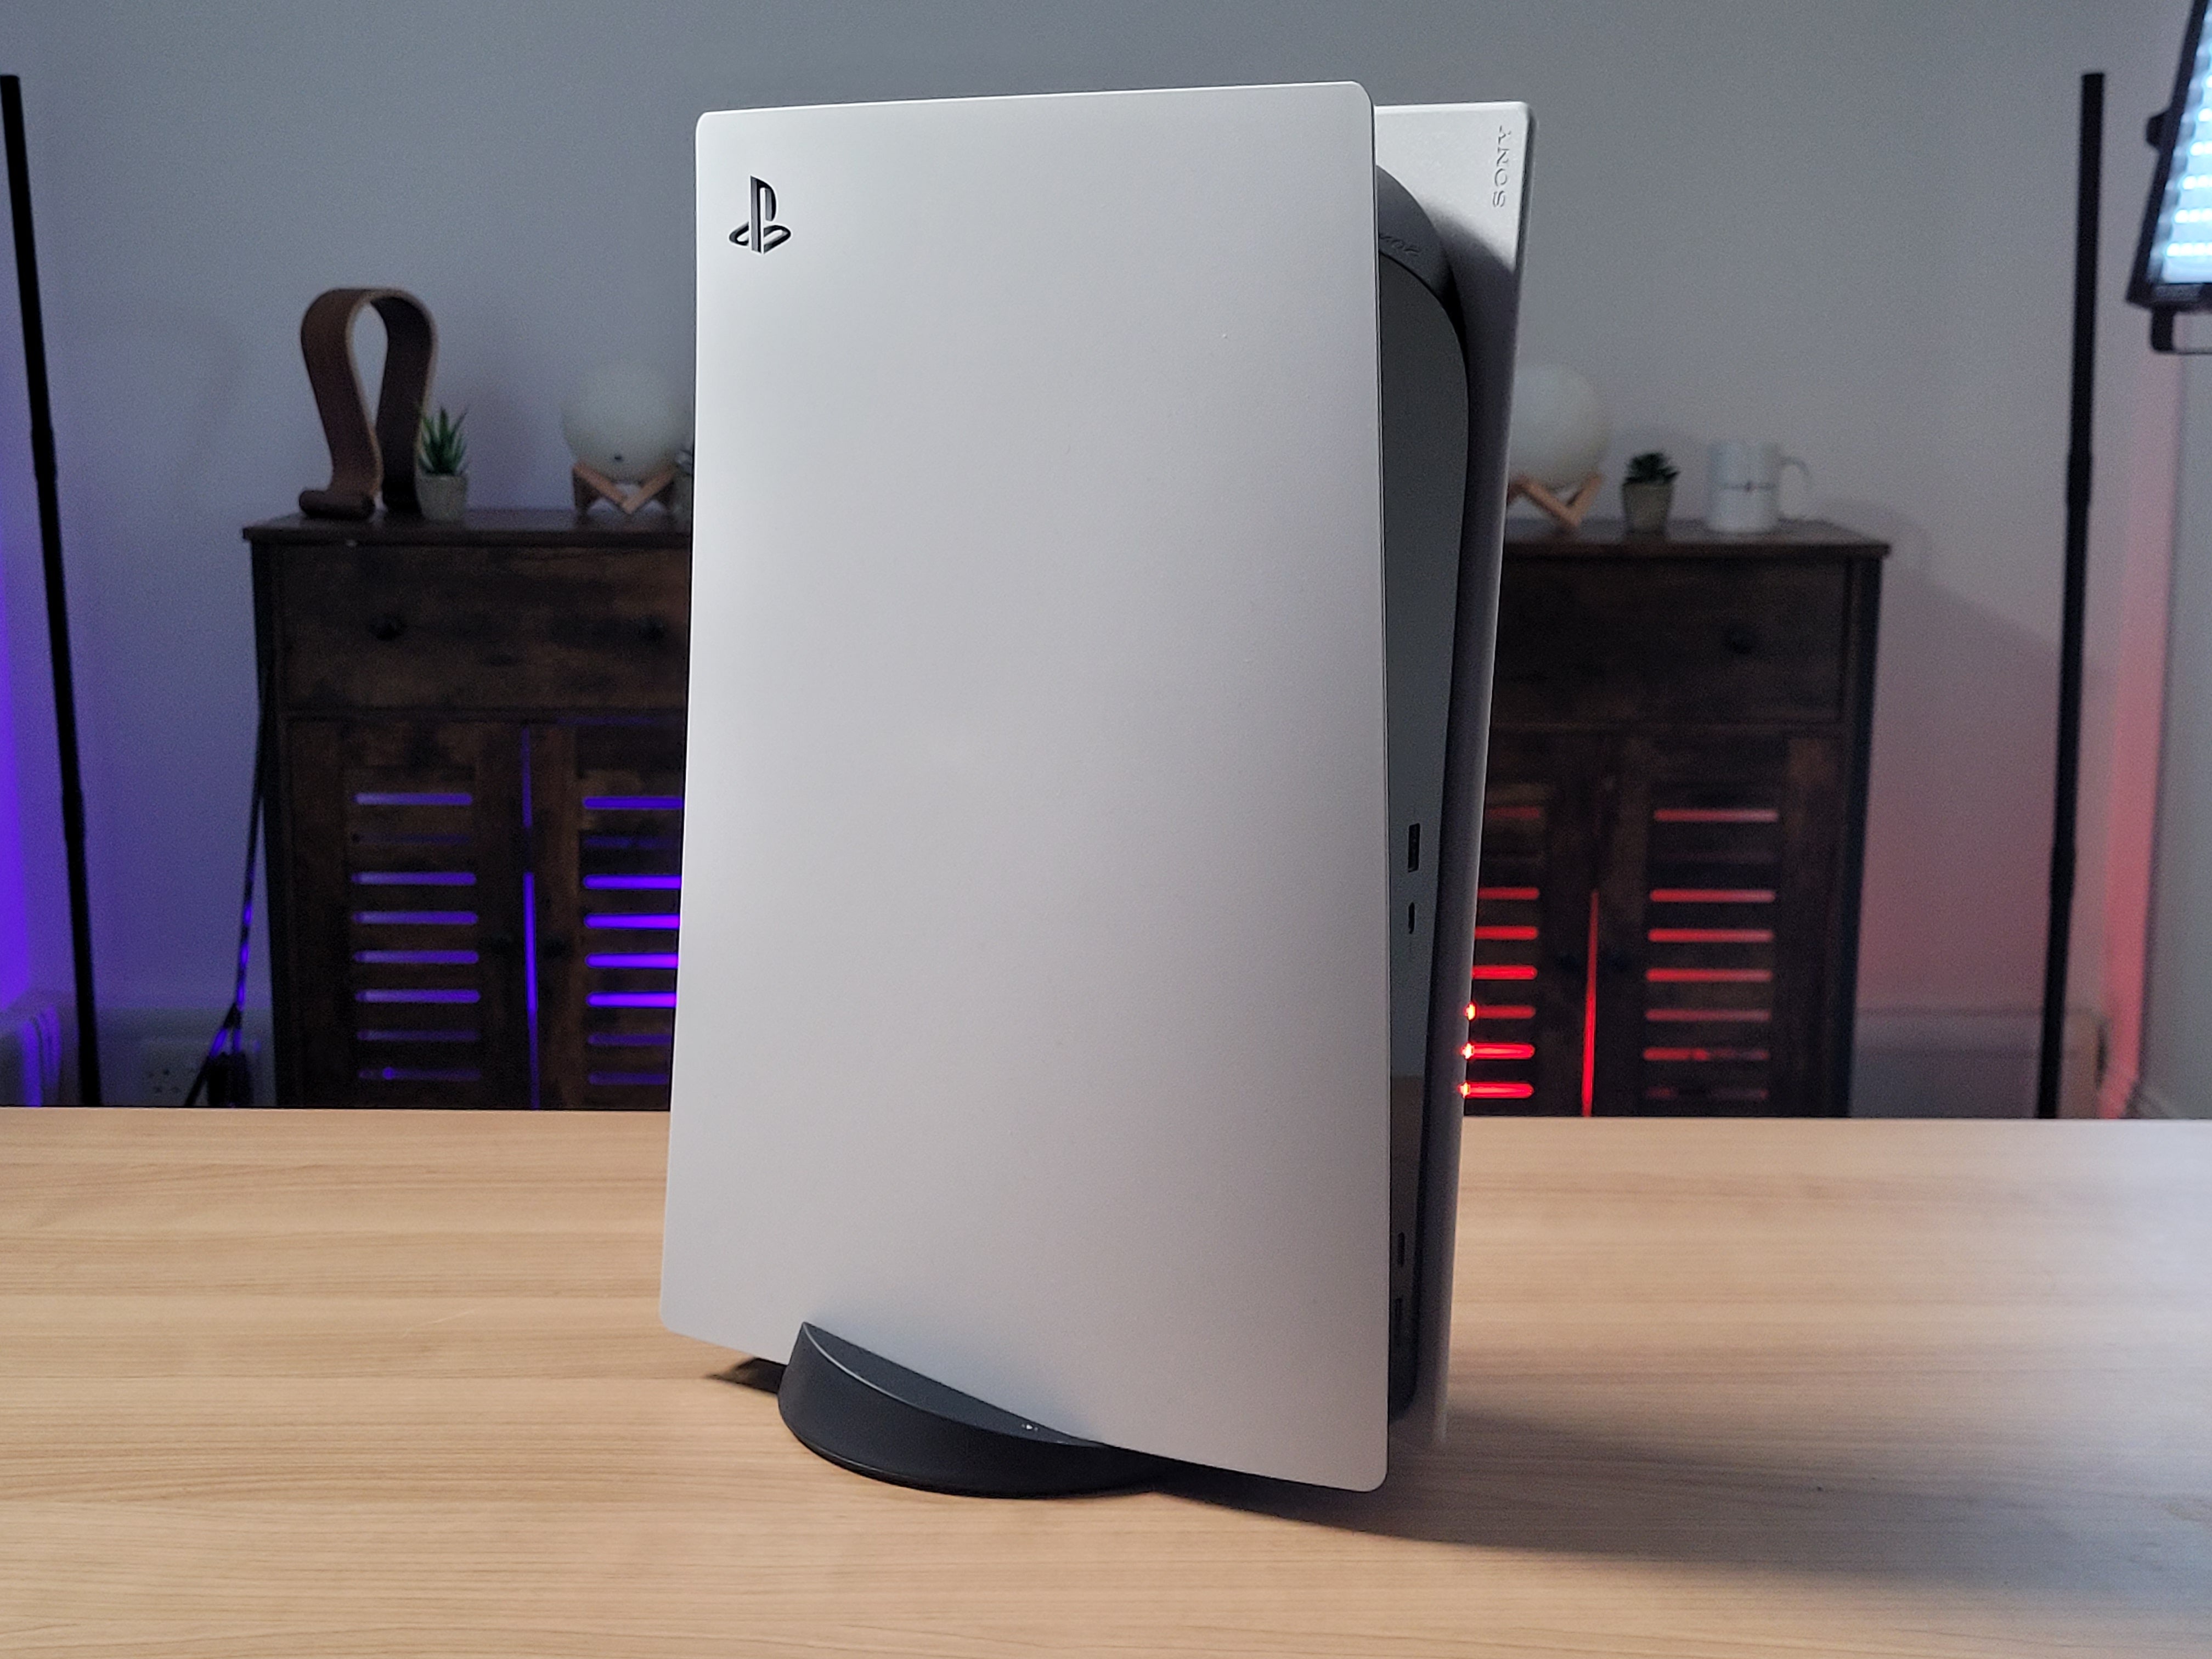
The PlayStation 5 doesn’t ship with a lot of storage space, with just over 800GB reserved for your games. With God of War Ragnarok taking up around 84GB alone, you’ll likely be running out of storage space very quickly.
While you can overcome this by simply deleting games whenever you’re not actively playing them, you can fortunately install an SSD instead to avoid such hassle.
Installing an SSD into the PS5 isn’t quite as simple as plugging in a memory card, so it’s understandably an intimidating process for those not experienced with building PCs. Fortunately, the process isn’t too complicated, and we’ve created this guide to help you out.
BT Shop slashes the PS5 price
BT Shop currently has a cracking deal on the PS5, which gets you the console for £469, that’s a tasty £10 saving off the £479 RRP.
- BT Shop
- £469.99
You’ll need to purchase an SSD (with at least a 5500 MB/s performance) alongside a heatsink beforehand. Check out our Best SSD guide for our top recommended options.
Once you’ve got a shiny new SSD to install inside your PS5, follow the steps below to complete the installation.
What you’ll need:
- A PS5
- An M.2 SSD with a heatsink
- A Phillips screwdriver
The Short Version:
- Check SSD compatibility
- Turn off the PS5
- Unplug power and HDMI cable
- Place PS5 on flat surface with logo facing down
- Pull the faceplate up to detach
- Remove screw from white rectangular panel
- Remove panel to reveal the SSD expansion slot
- Remove the screw and spacer on right-hand side
- Slot your SSD (with attached heatsink) into the left-hand port
- Fix the SSD to the spacer and screw to lock it into place
- Rescrew the white panel into place
- Slide the PS5 faceplate back into place
- Reconnect the PS5 to power and HDMI cables
- Turn your PS5 on
- Format your newly installed SSD
- Press OK
Step
1Check SSD compatibility
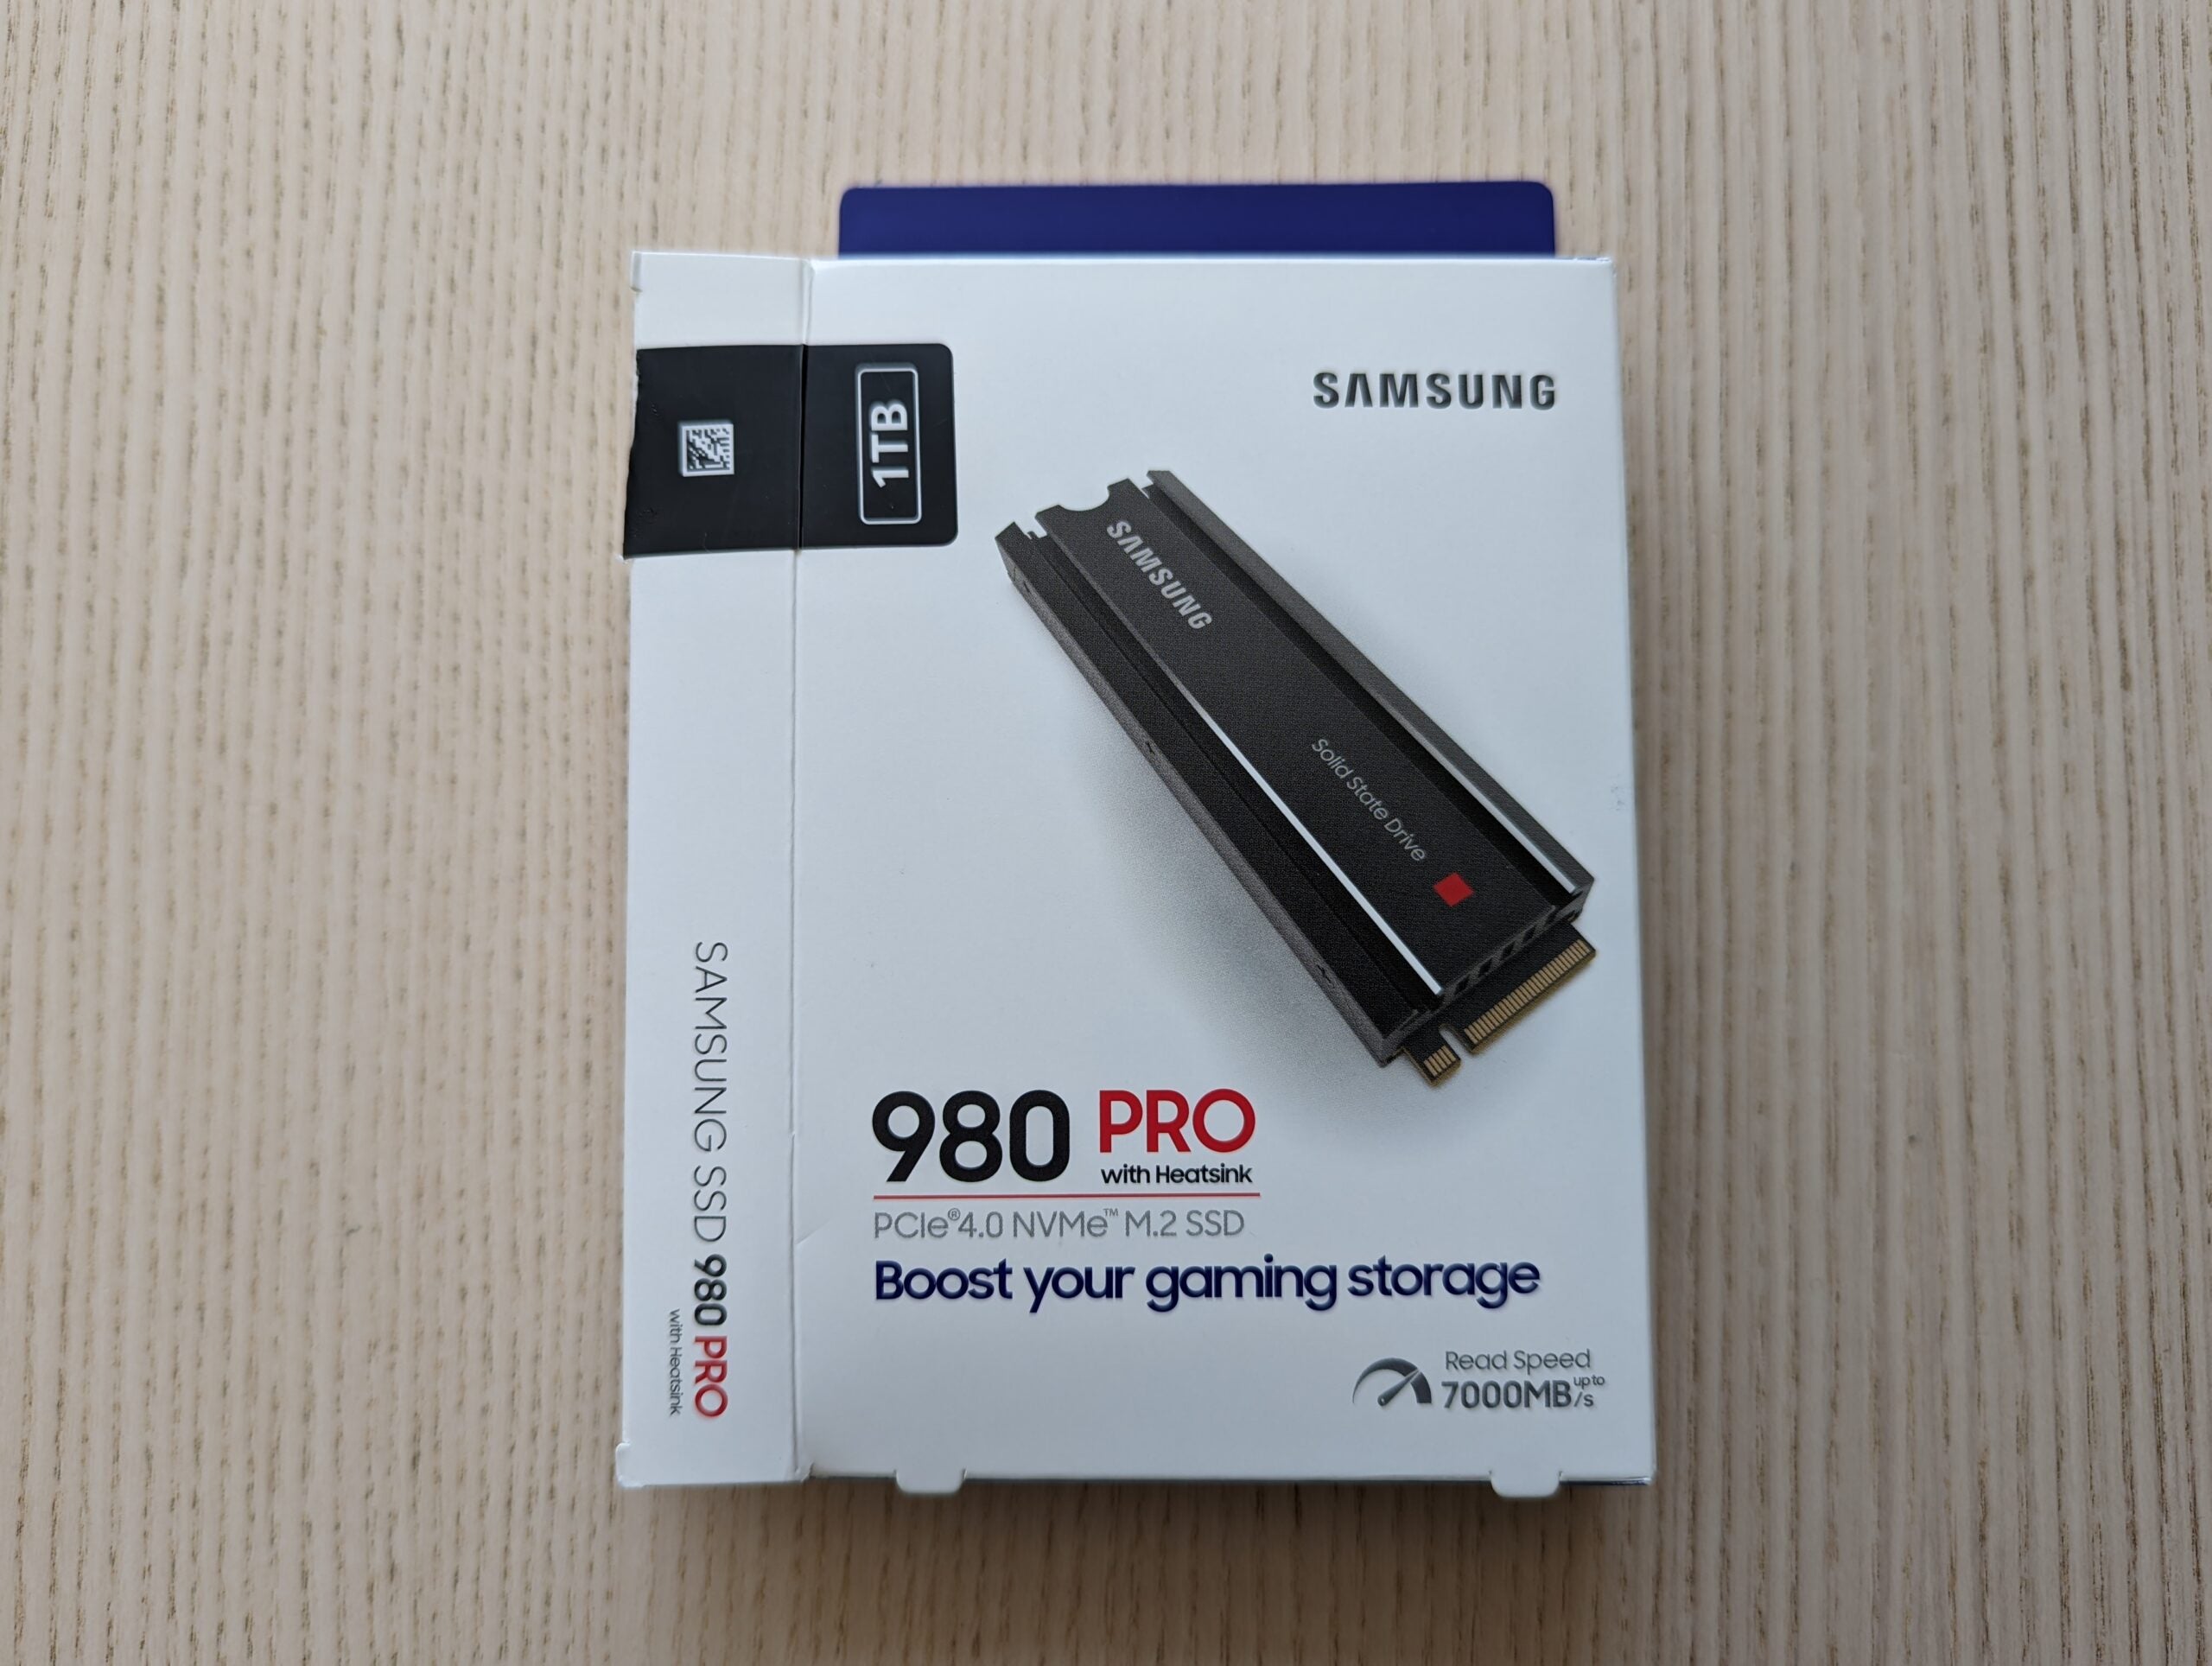
Before we get started, you’ll need to make sure your SSD is compatible with the PS5. You’ll need an M.2 SSD with a width of up to 25mm and thickness up to 11.25 mm. Sony also recommends a read speed of at least 5500MB/S.
Most SSD manufacturers will highlight PS5 compatibility on their website, so it’s worth doing a little research beforehand. For this guide, we used the Samsung 980 Pro PCIE 4.0 NVMe M.2 SSD.Step
2Turn off the PS5
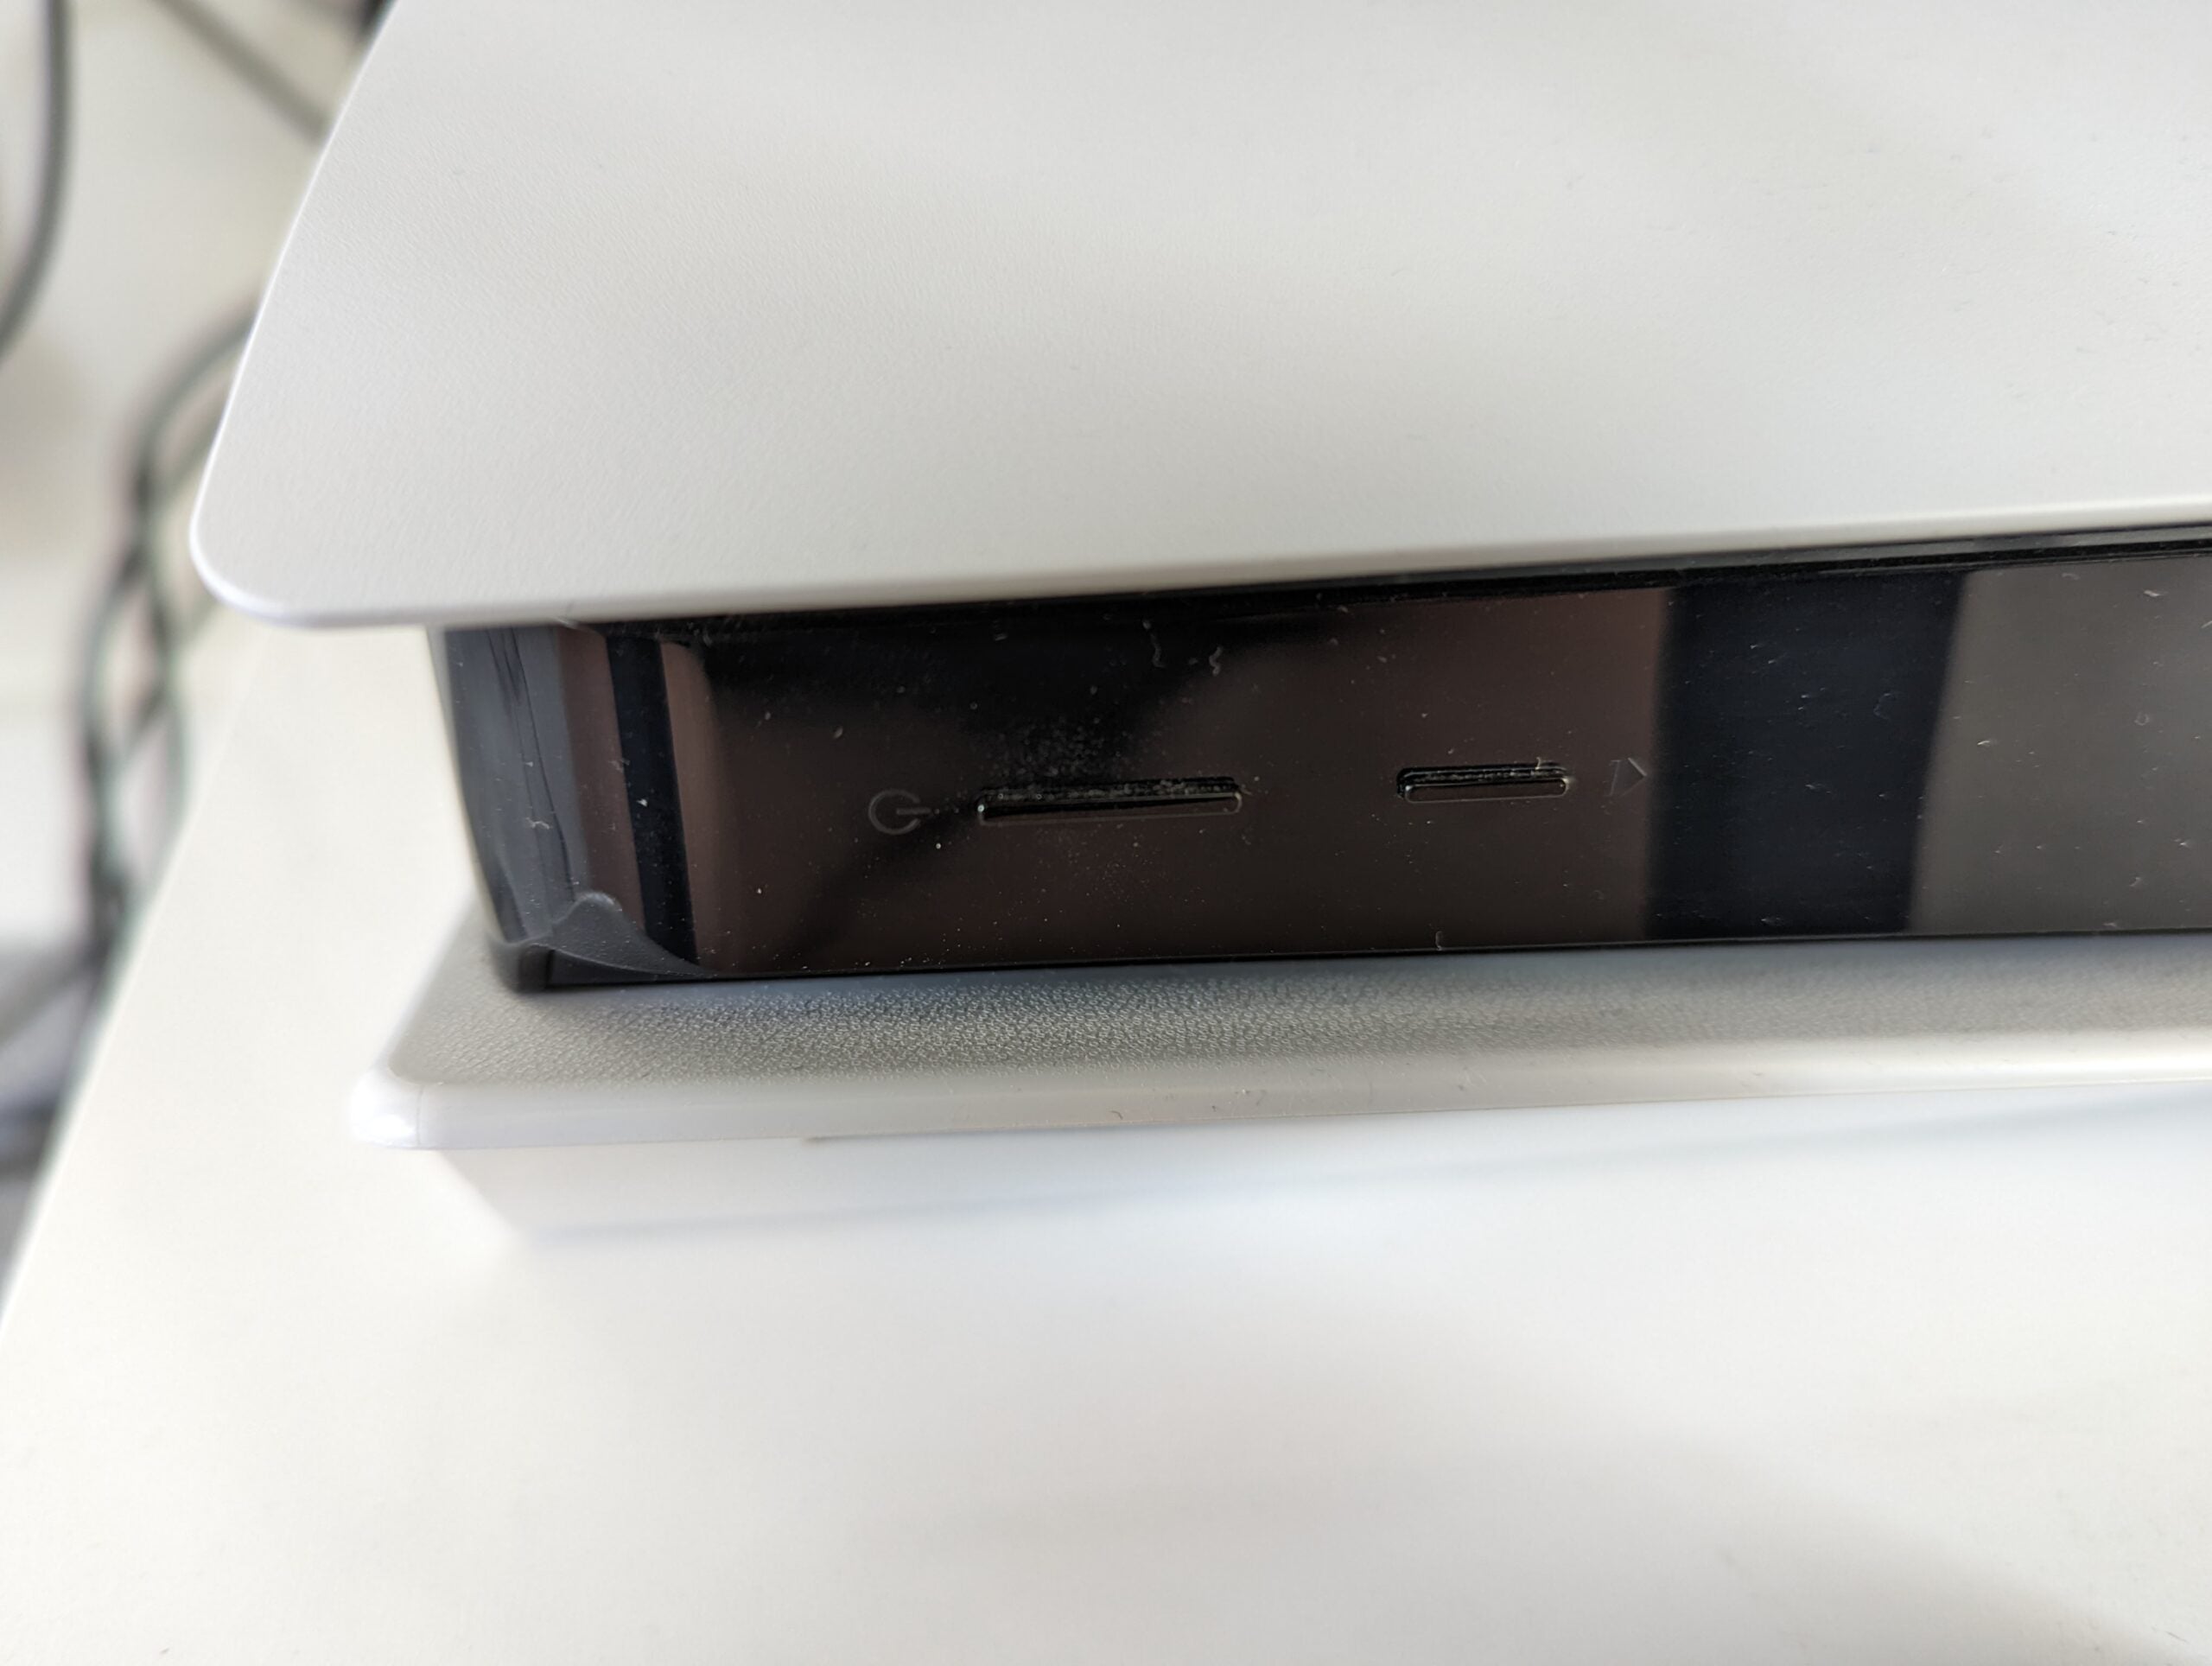
If your PS5 isn’t already turned off, you can shut it down by holding down on the power button at the front. Unplugging a PS5 in standby mode will cause the console to display an angry message upon reboot.
Step
3Unplug power and HDMI cable

Once the PS5 has powered down, you can unplug both the HDMI and power cables at the rear.
Step
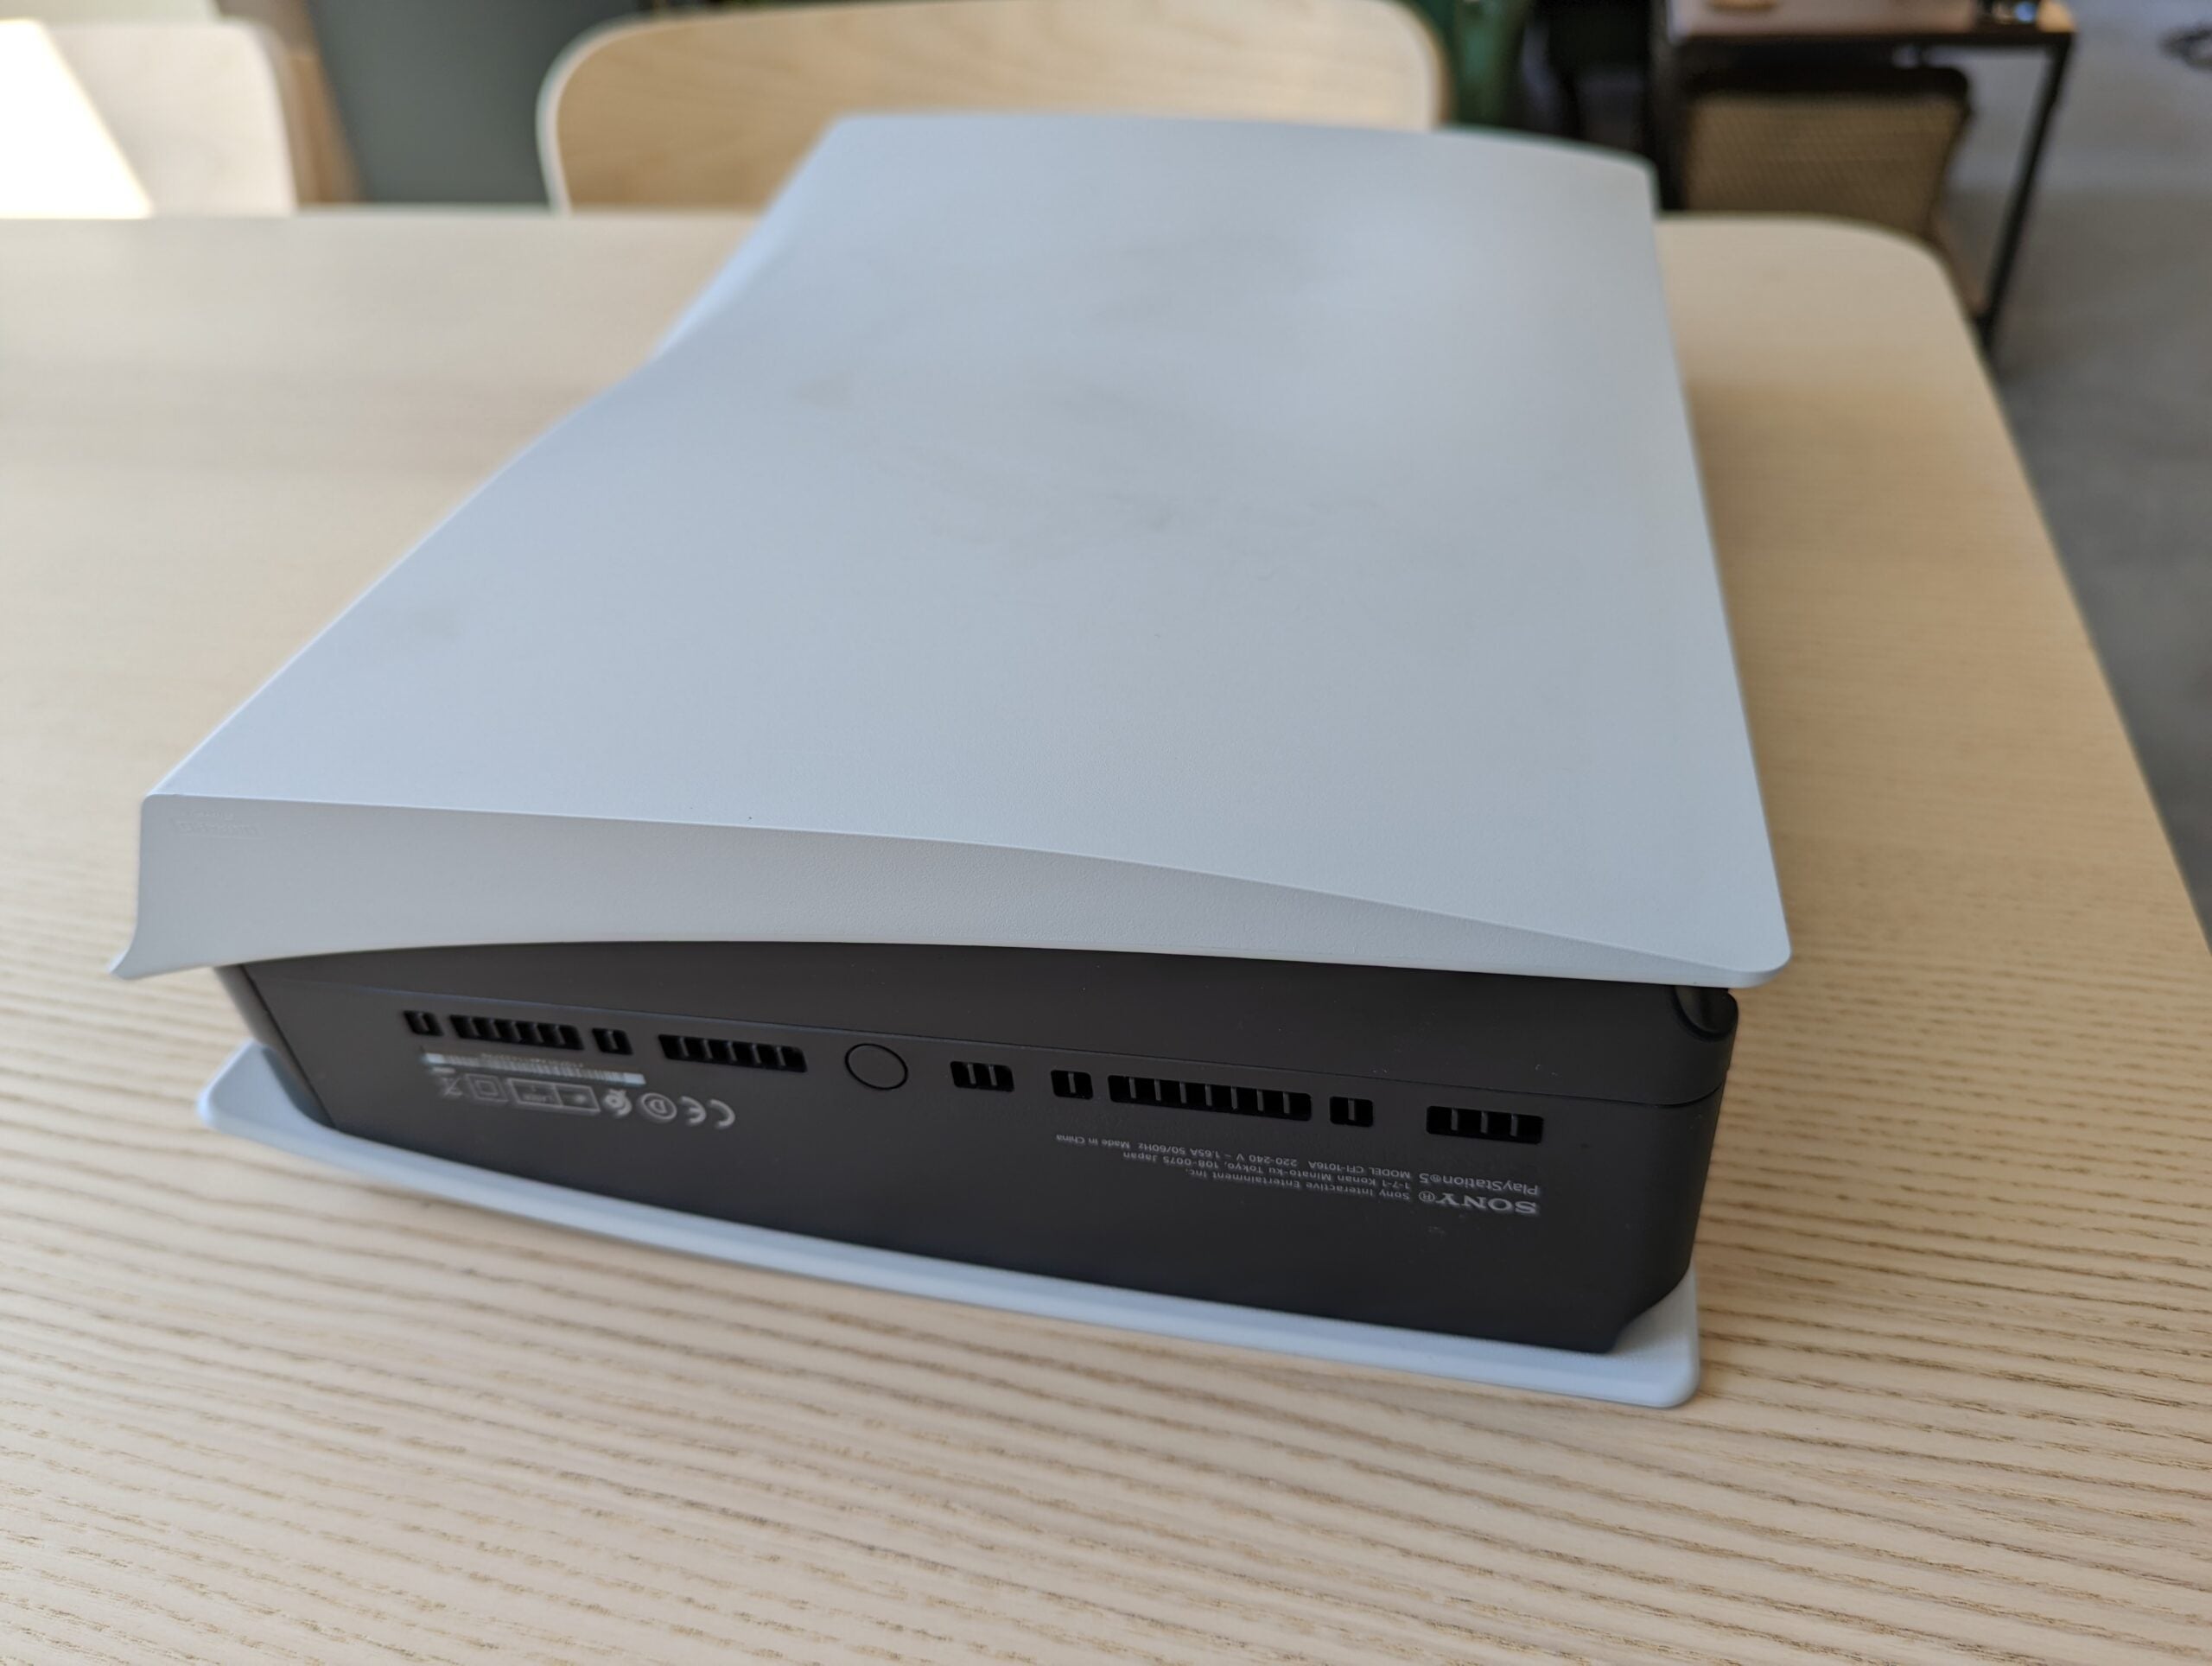
4Place PS5 on flat surface with logo facing down
Find a flat surface to place the PS5 on. The logo should be facing down, while the rear ports (HDMI etc) should be facing towards you, and disk drive and power button facing away.
Step
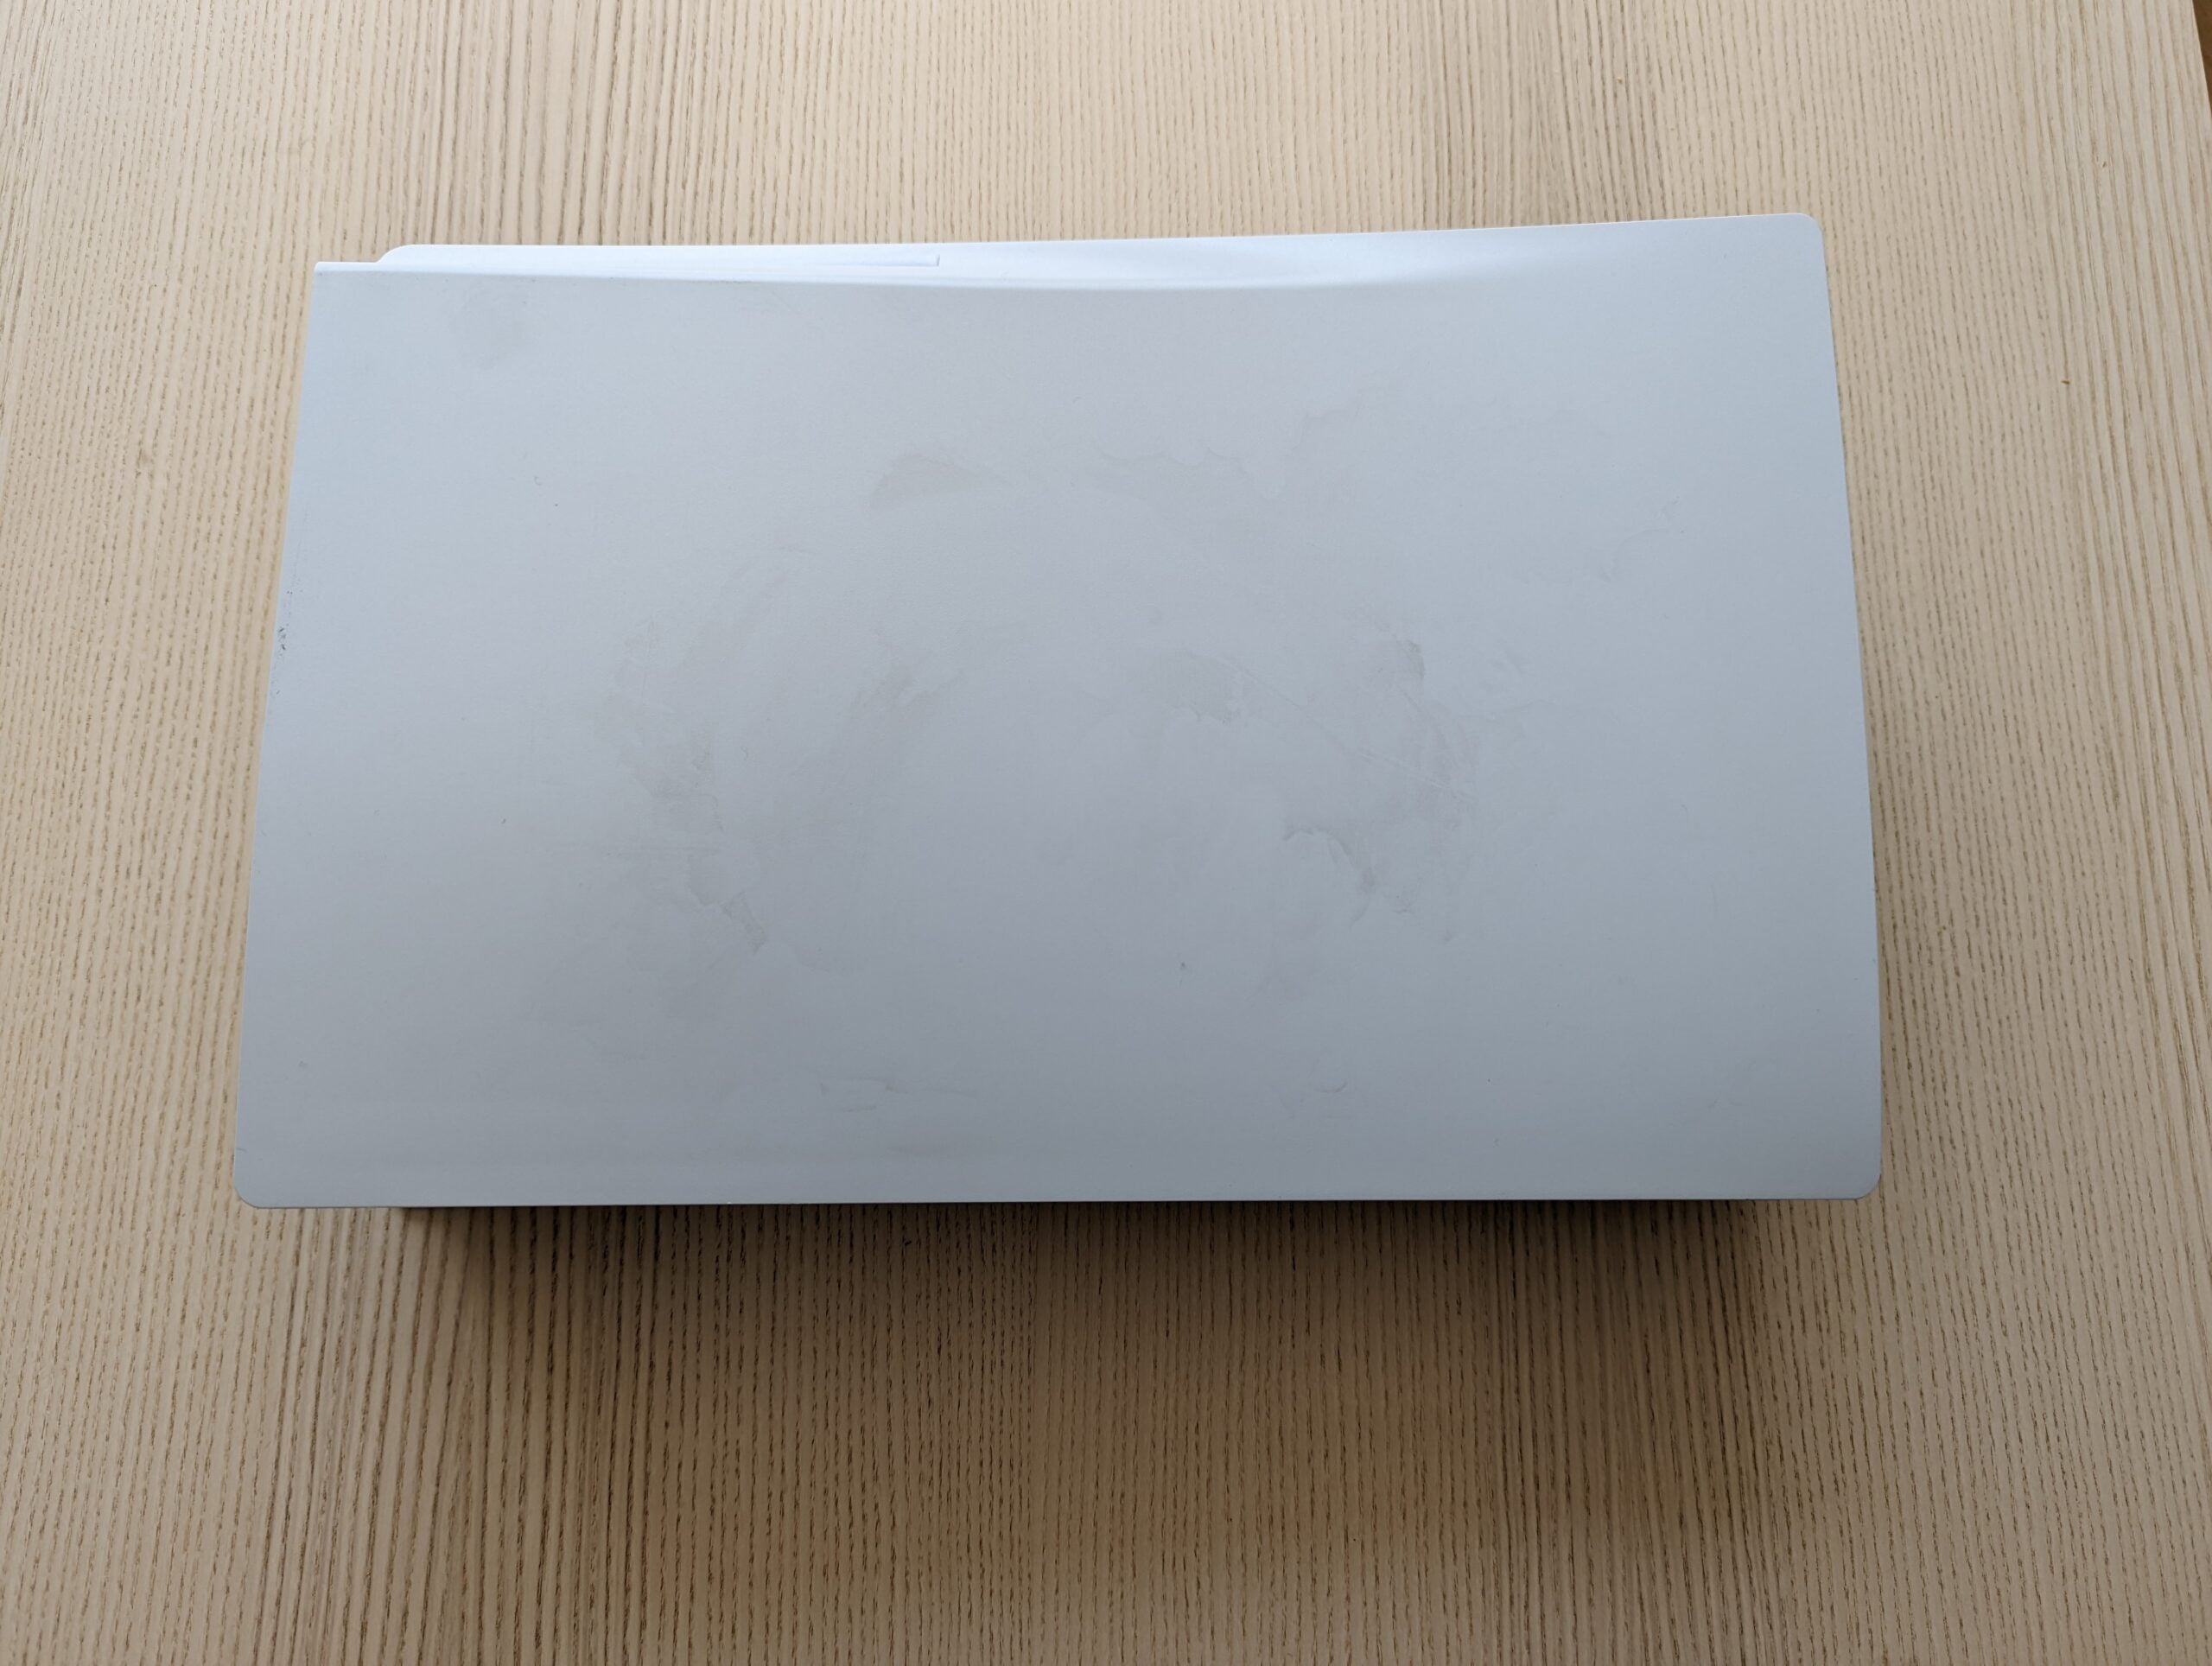
5Pull the faceplate up to detach
Hold the bottom-right corner of the PS5’s faceplate, as well as the top-left corner, and then gently pull up. After you hear a ‘click’ the faceplate should come away to reveal the internals.
Step
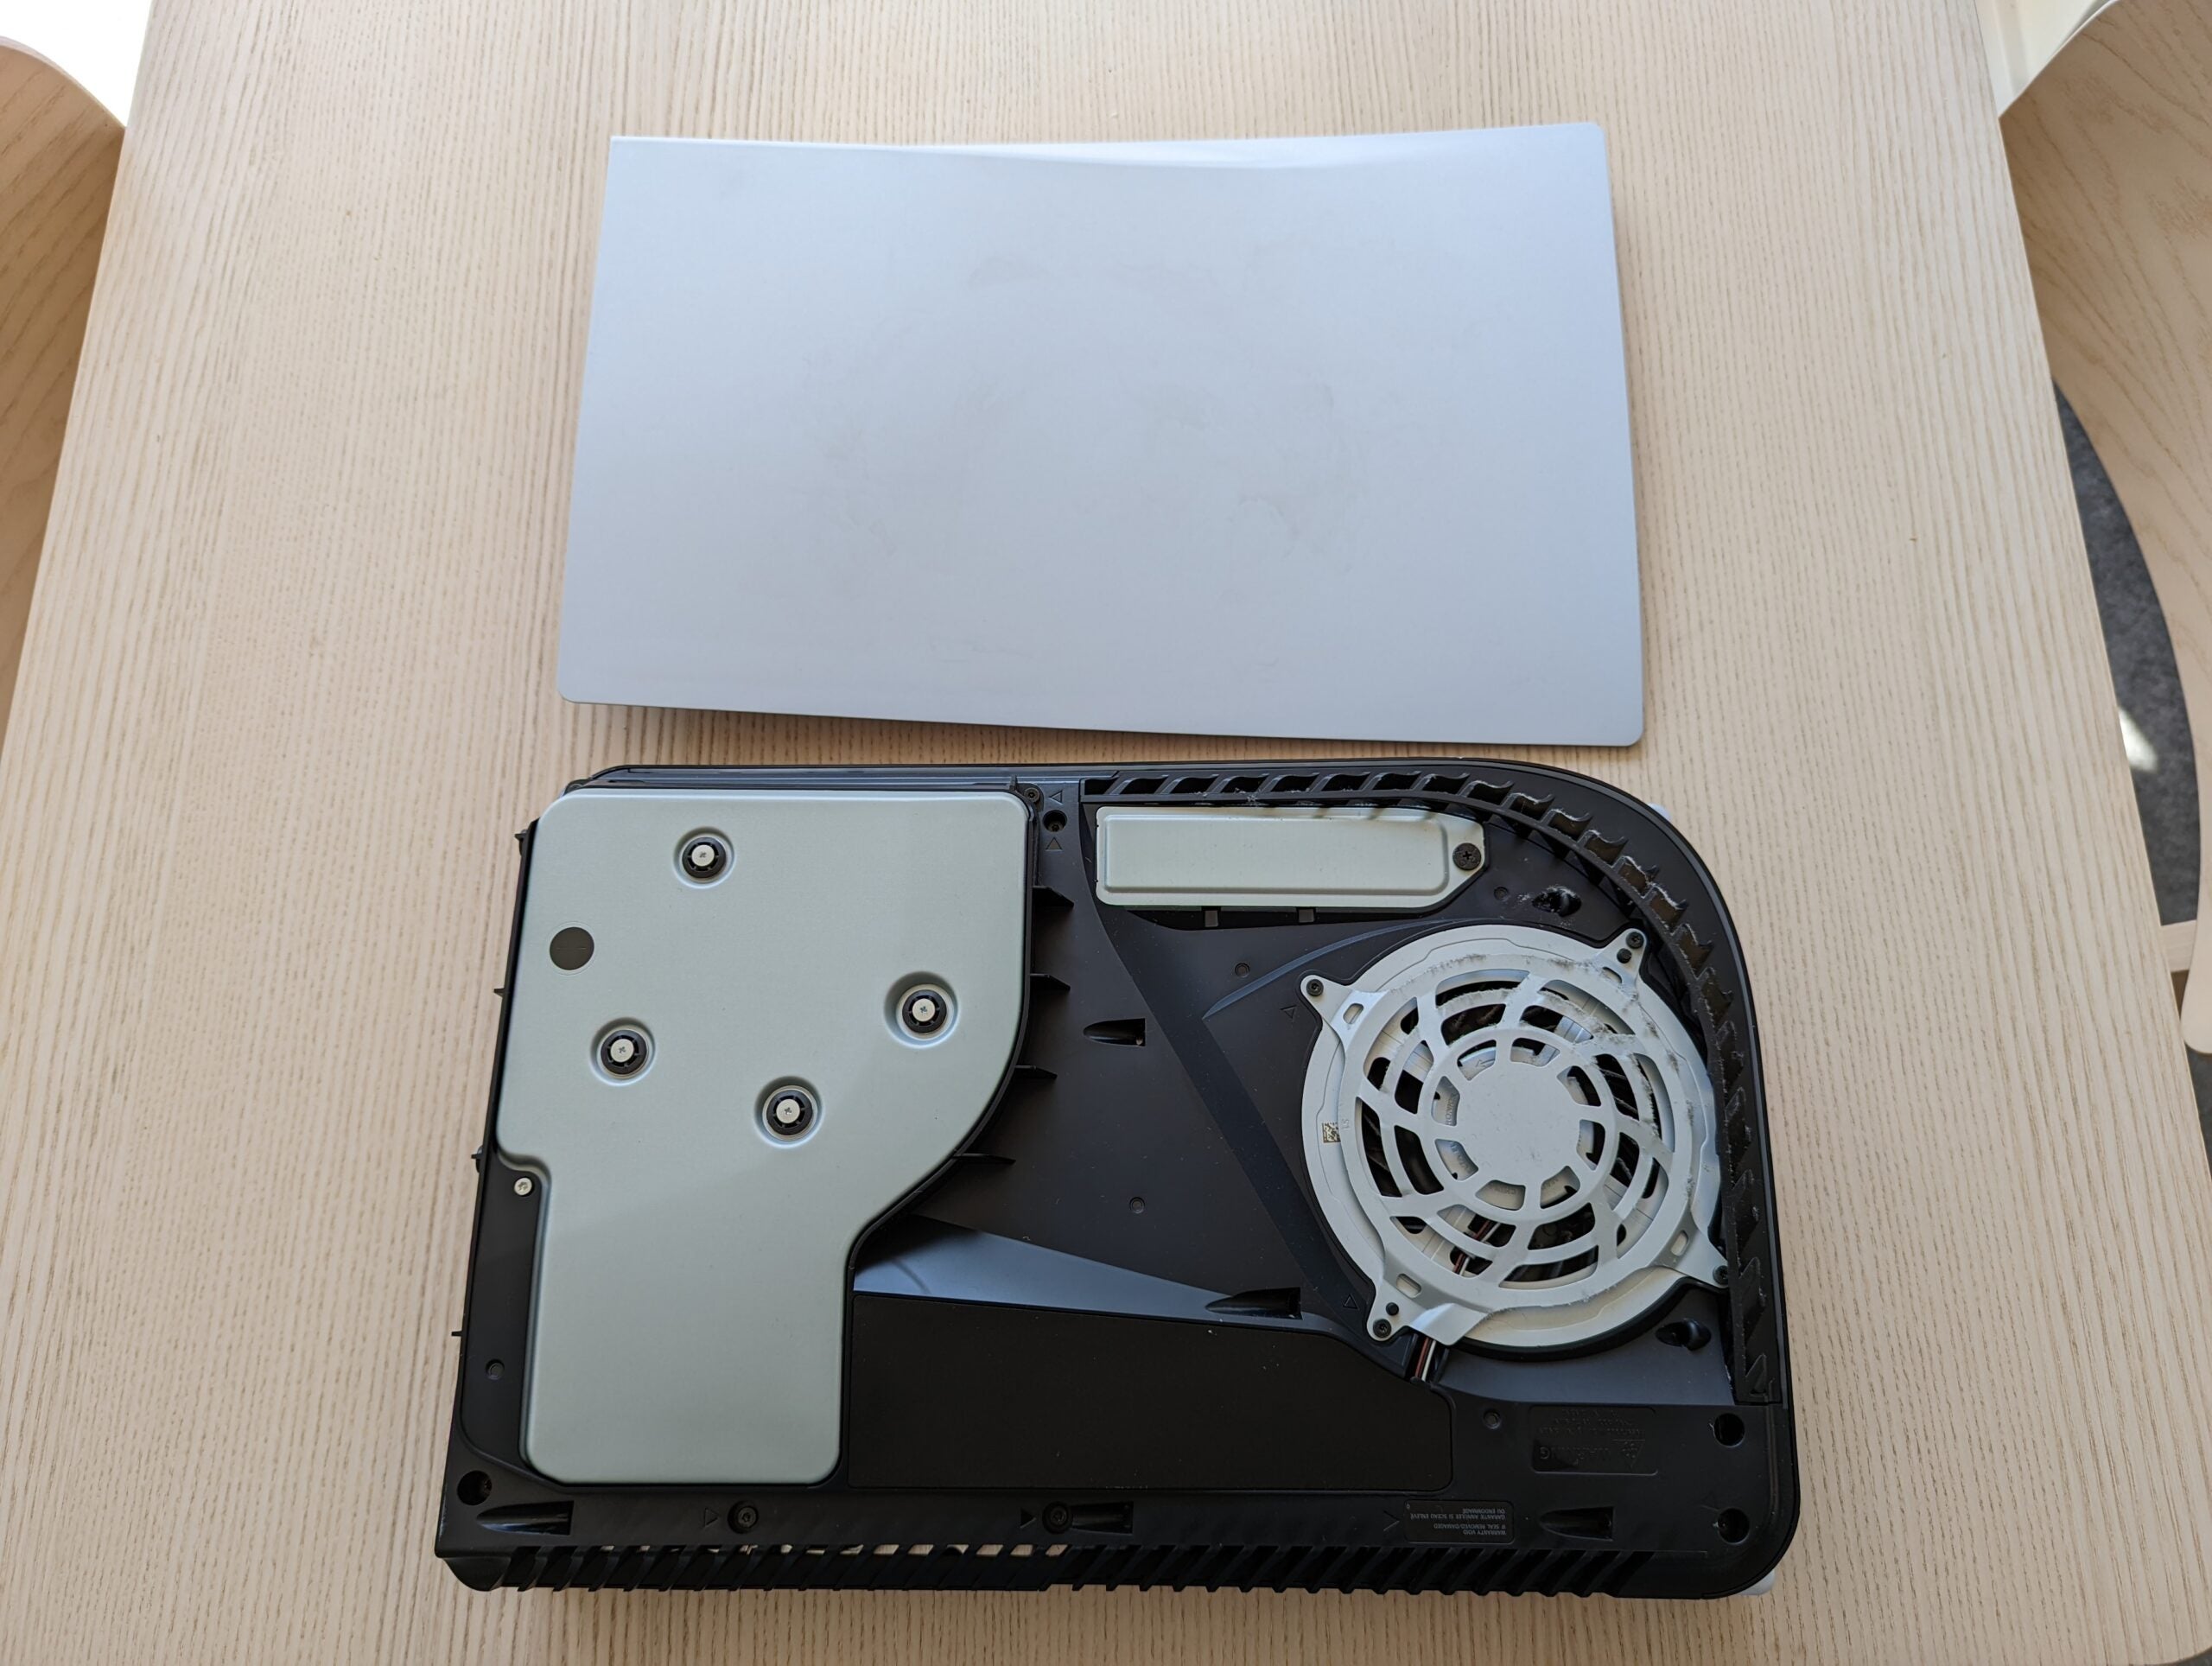
6Remove screw from white rectangular panel

At the furthest edge of the PS5, you should see a white rectangular panel. Remove its screw with a Phillips screwdriver.
Step
7Remove panel to reveal the SSD expansion slot

Once the screw has been removed, you’ll be able to lift the white panel to reveal the SSD expansion slot.
Step
8Remove the screw and spacer on right-hand side
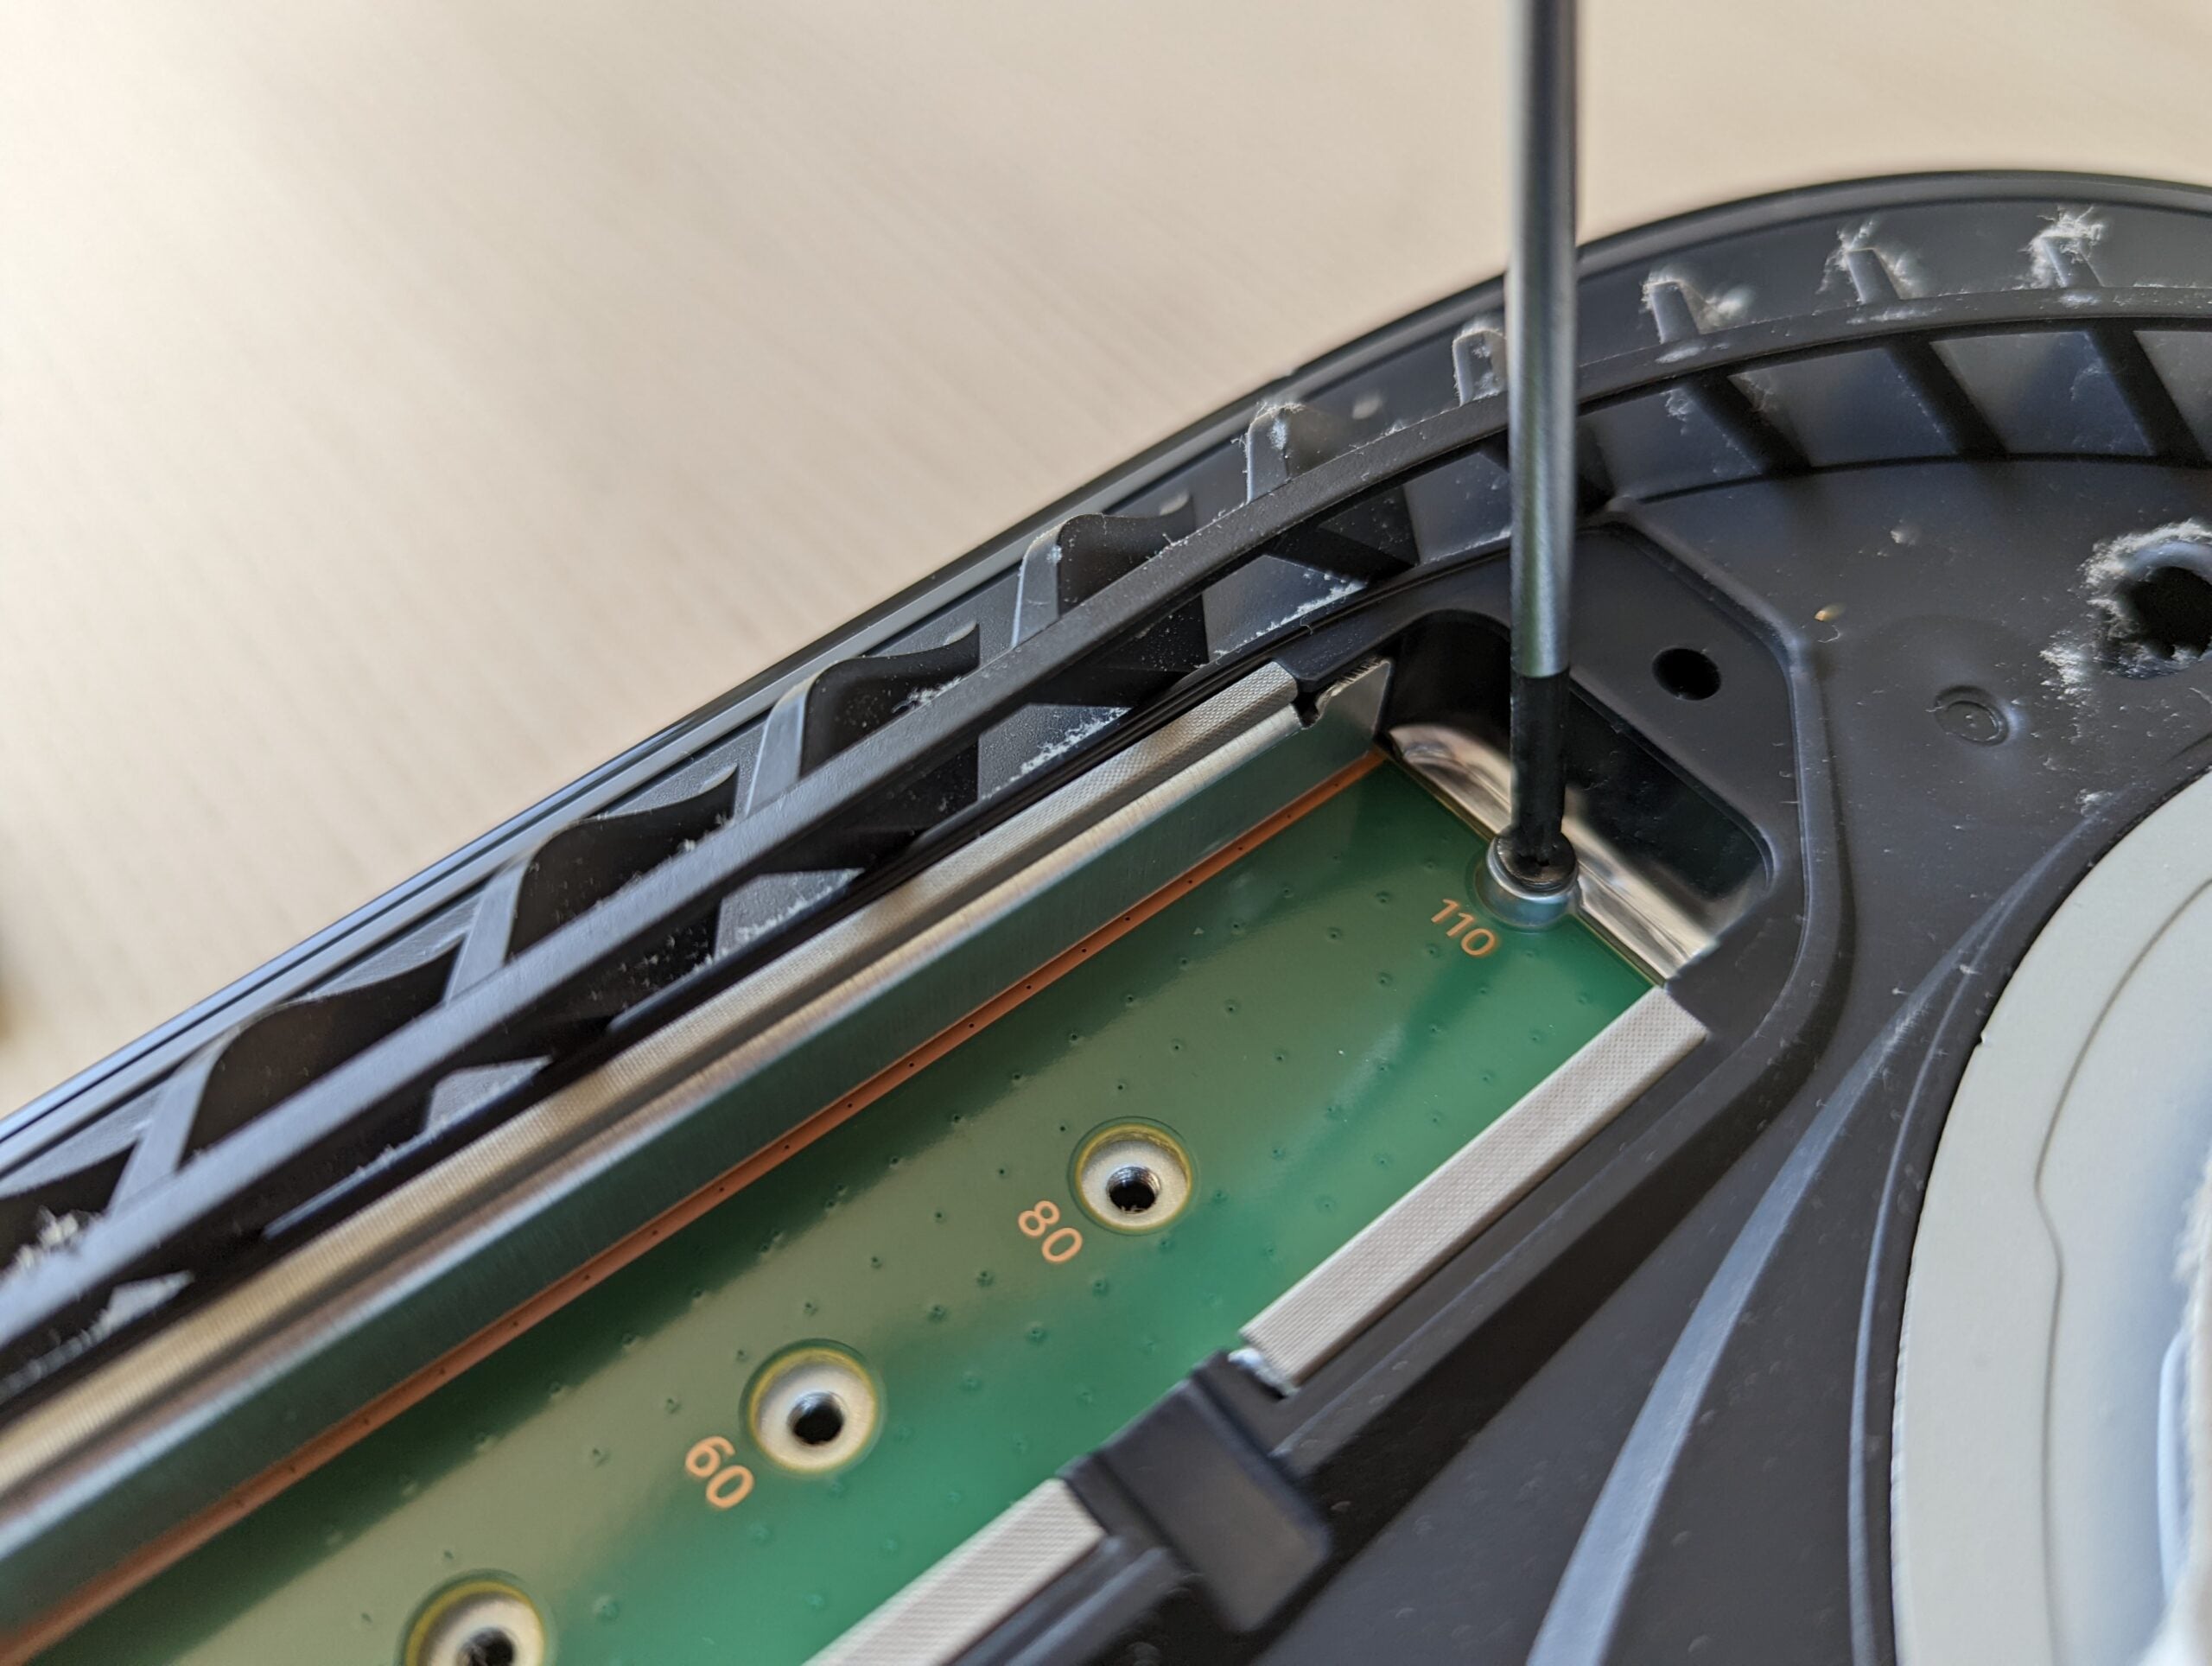
On the right-hand side of the expansion slot, you should see a lone screw. Unscrew it to remove both the screw itself and a spacer (a small metal ring).
Step
9Slot your SSD (with attached heatsink) into the left-hand port
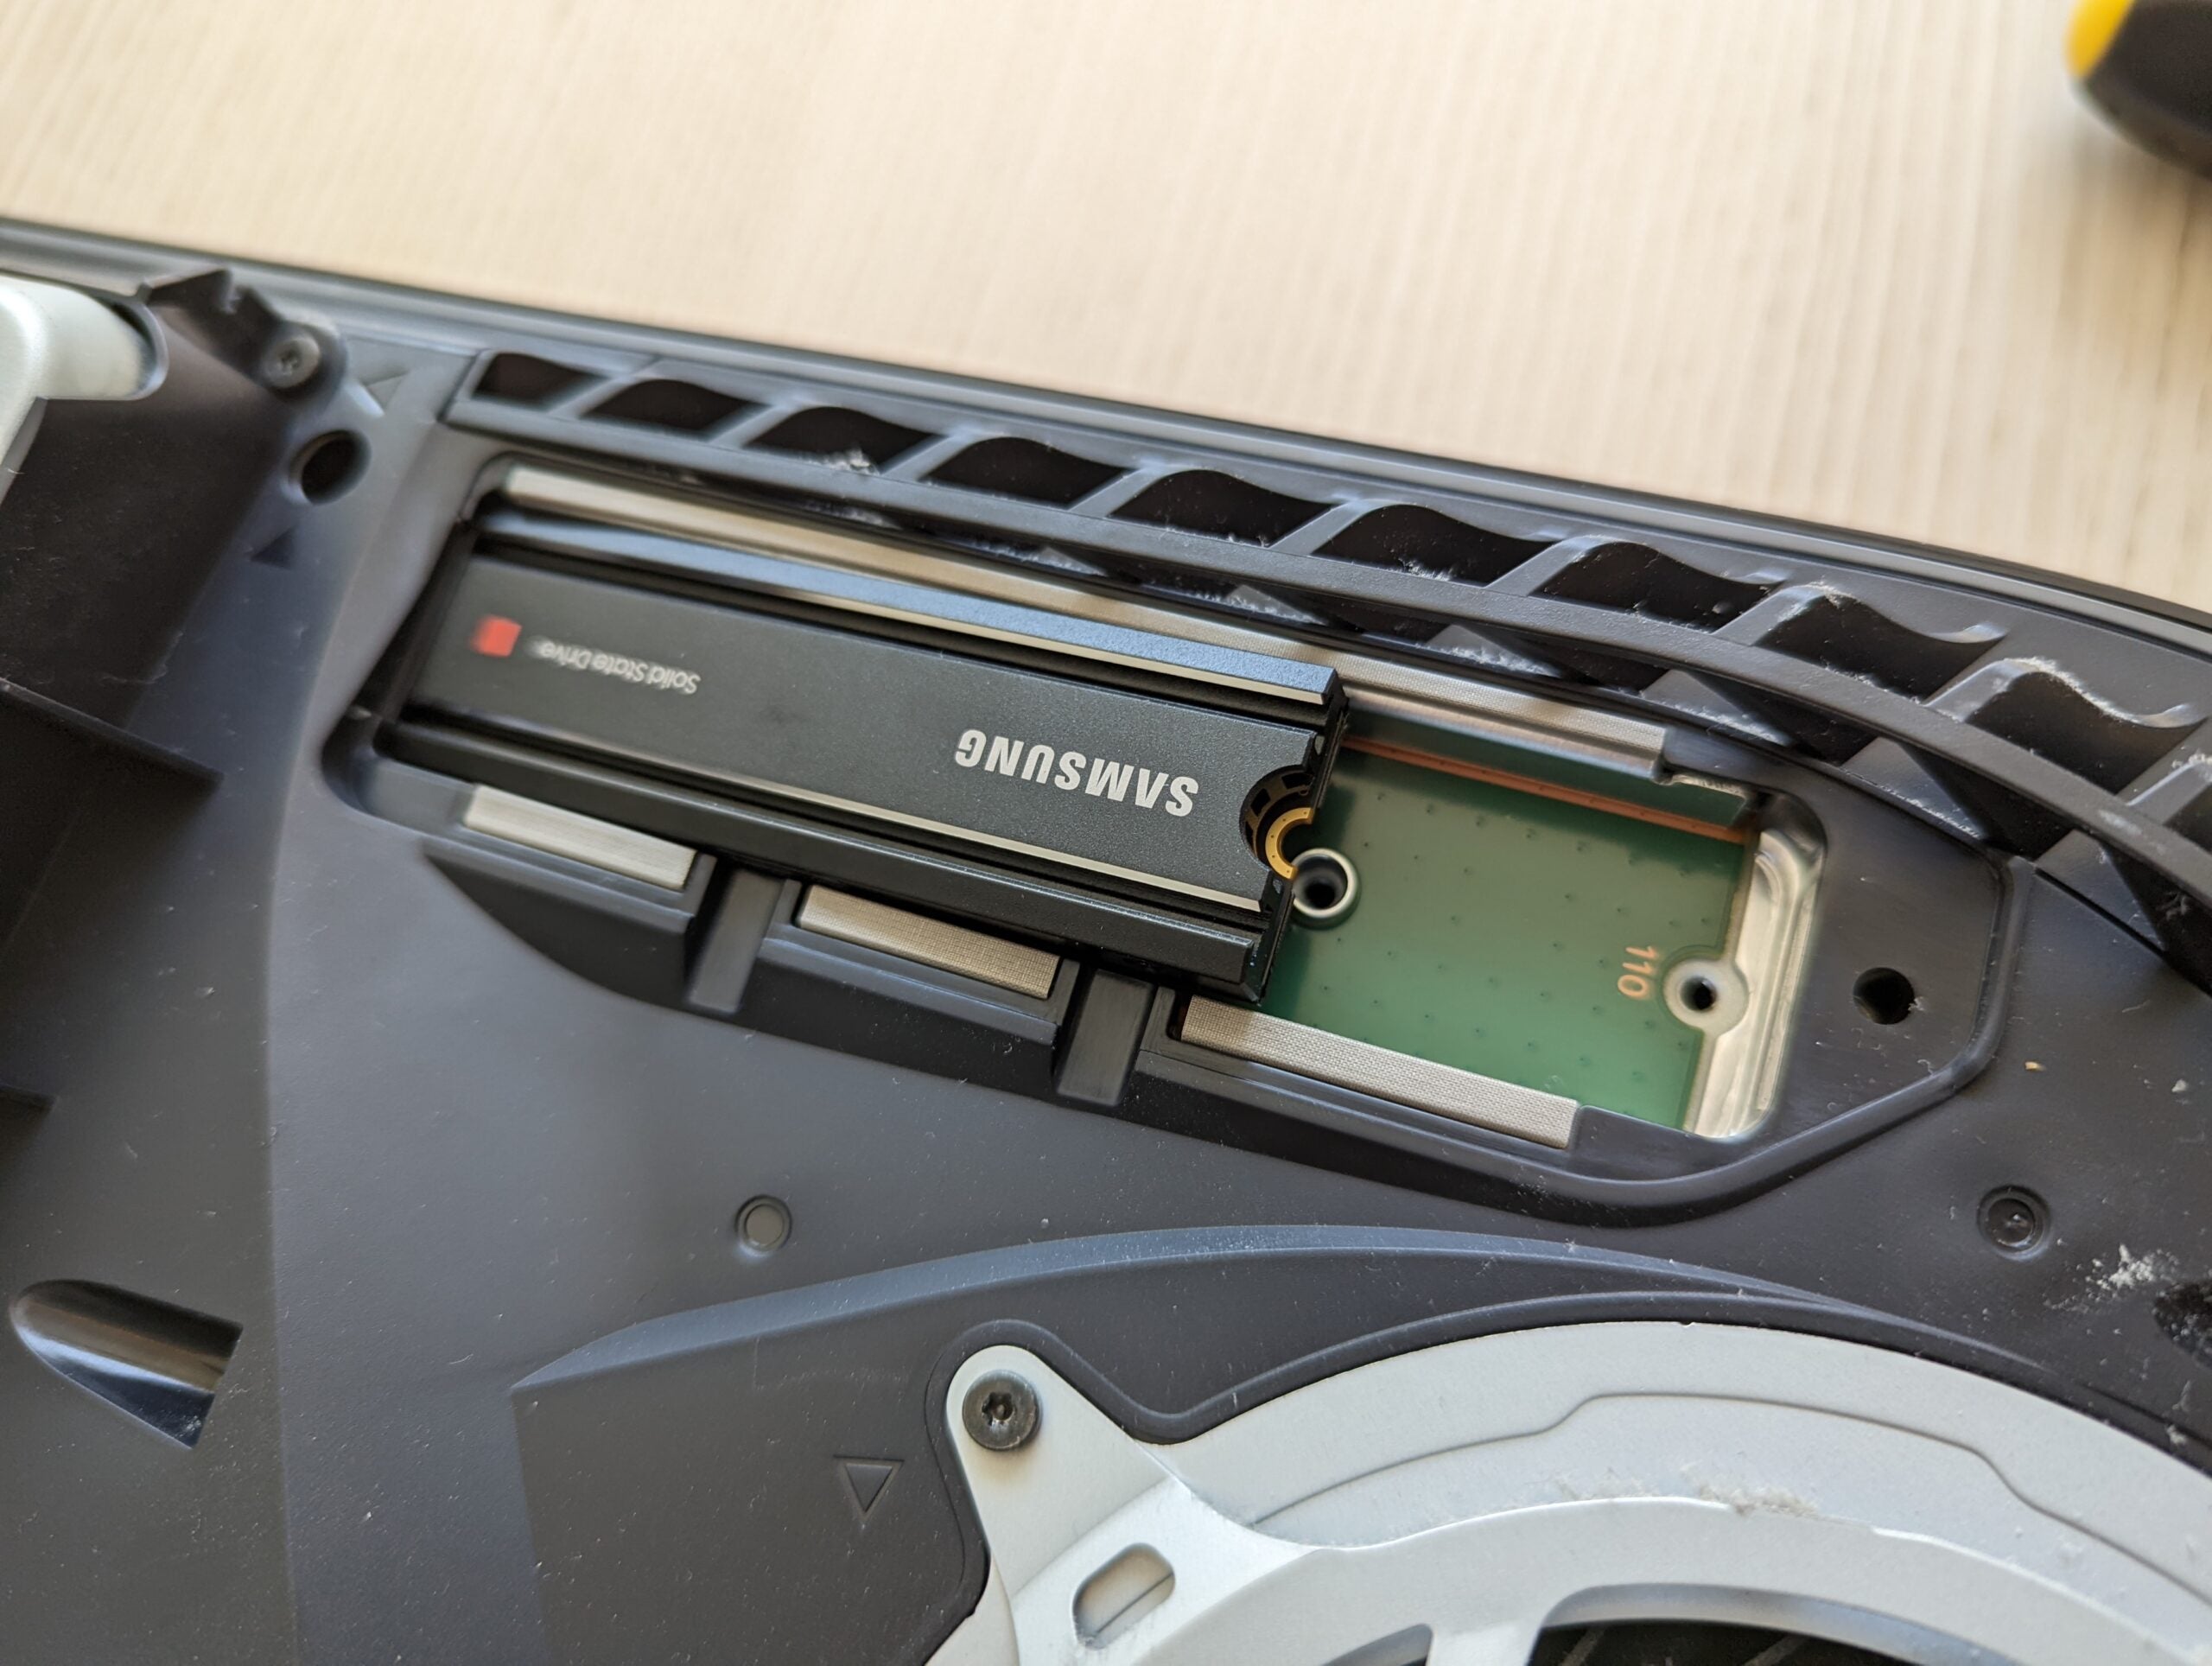
On the left side of the expansion slot, you should notice a connection port. Your M.2 SSD should be slotted into here, with its top side facing up. You’ll hear a clicking sound once it’s fixed into place.
Step
10Fix the SSD to the spacer and screw to lock it into place
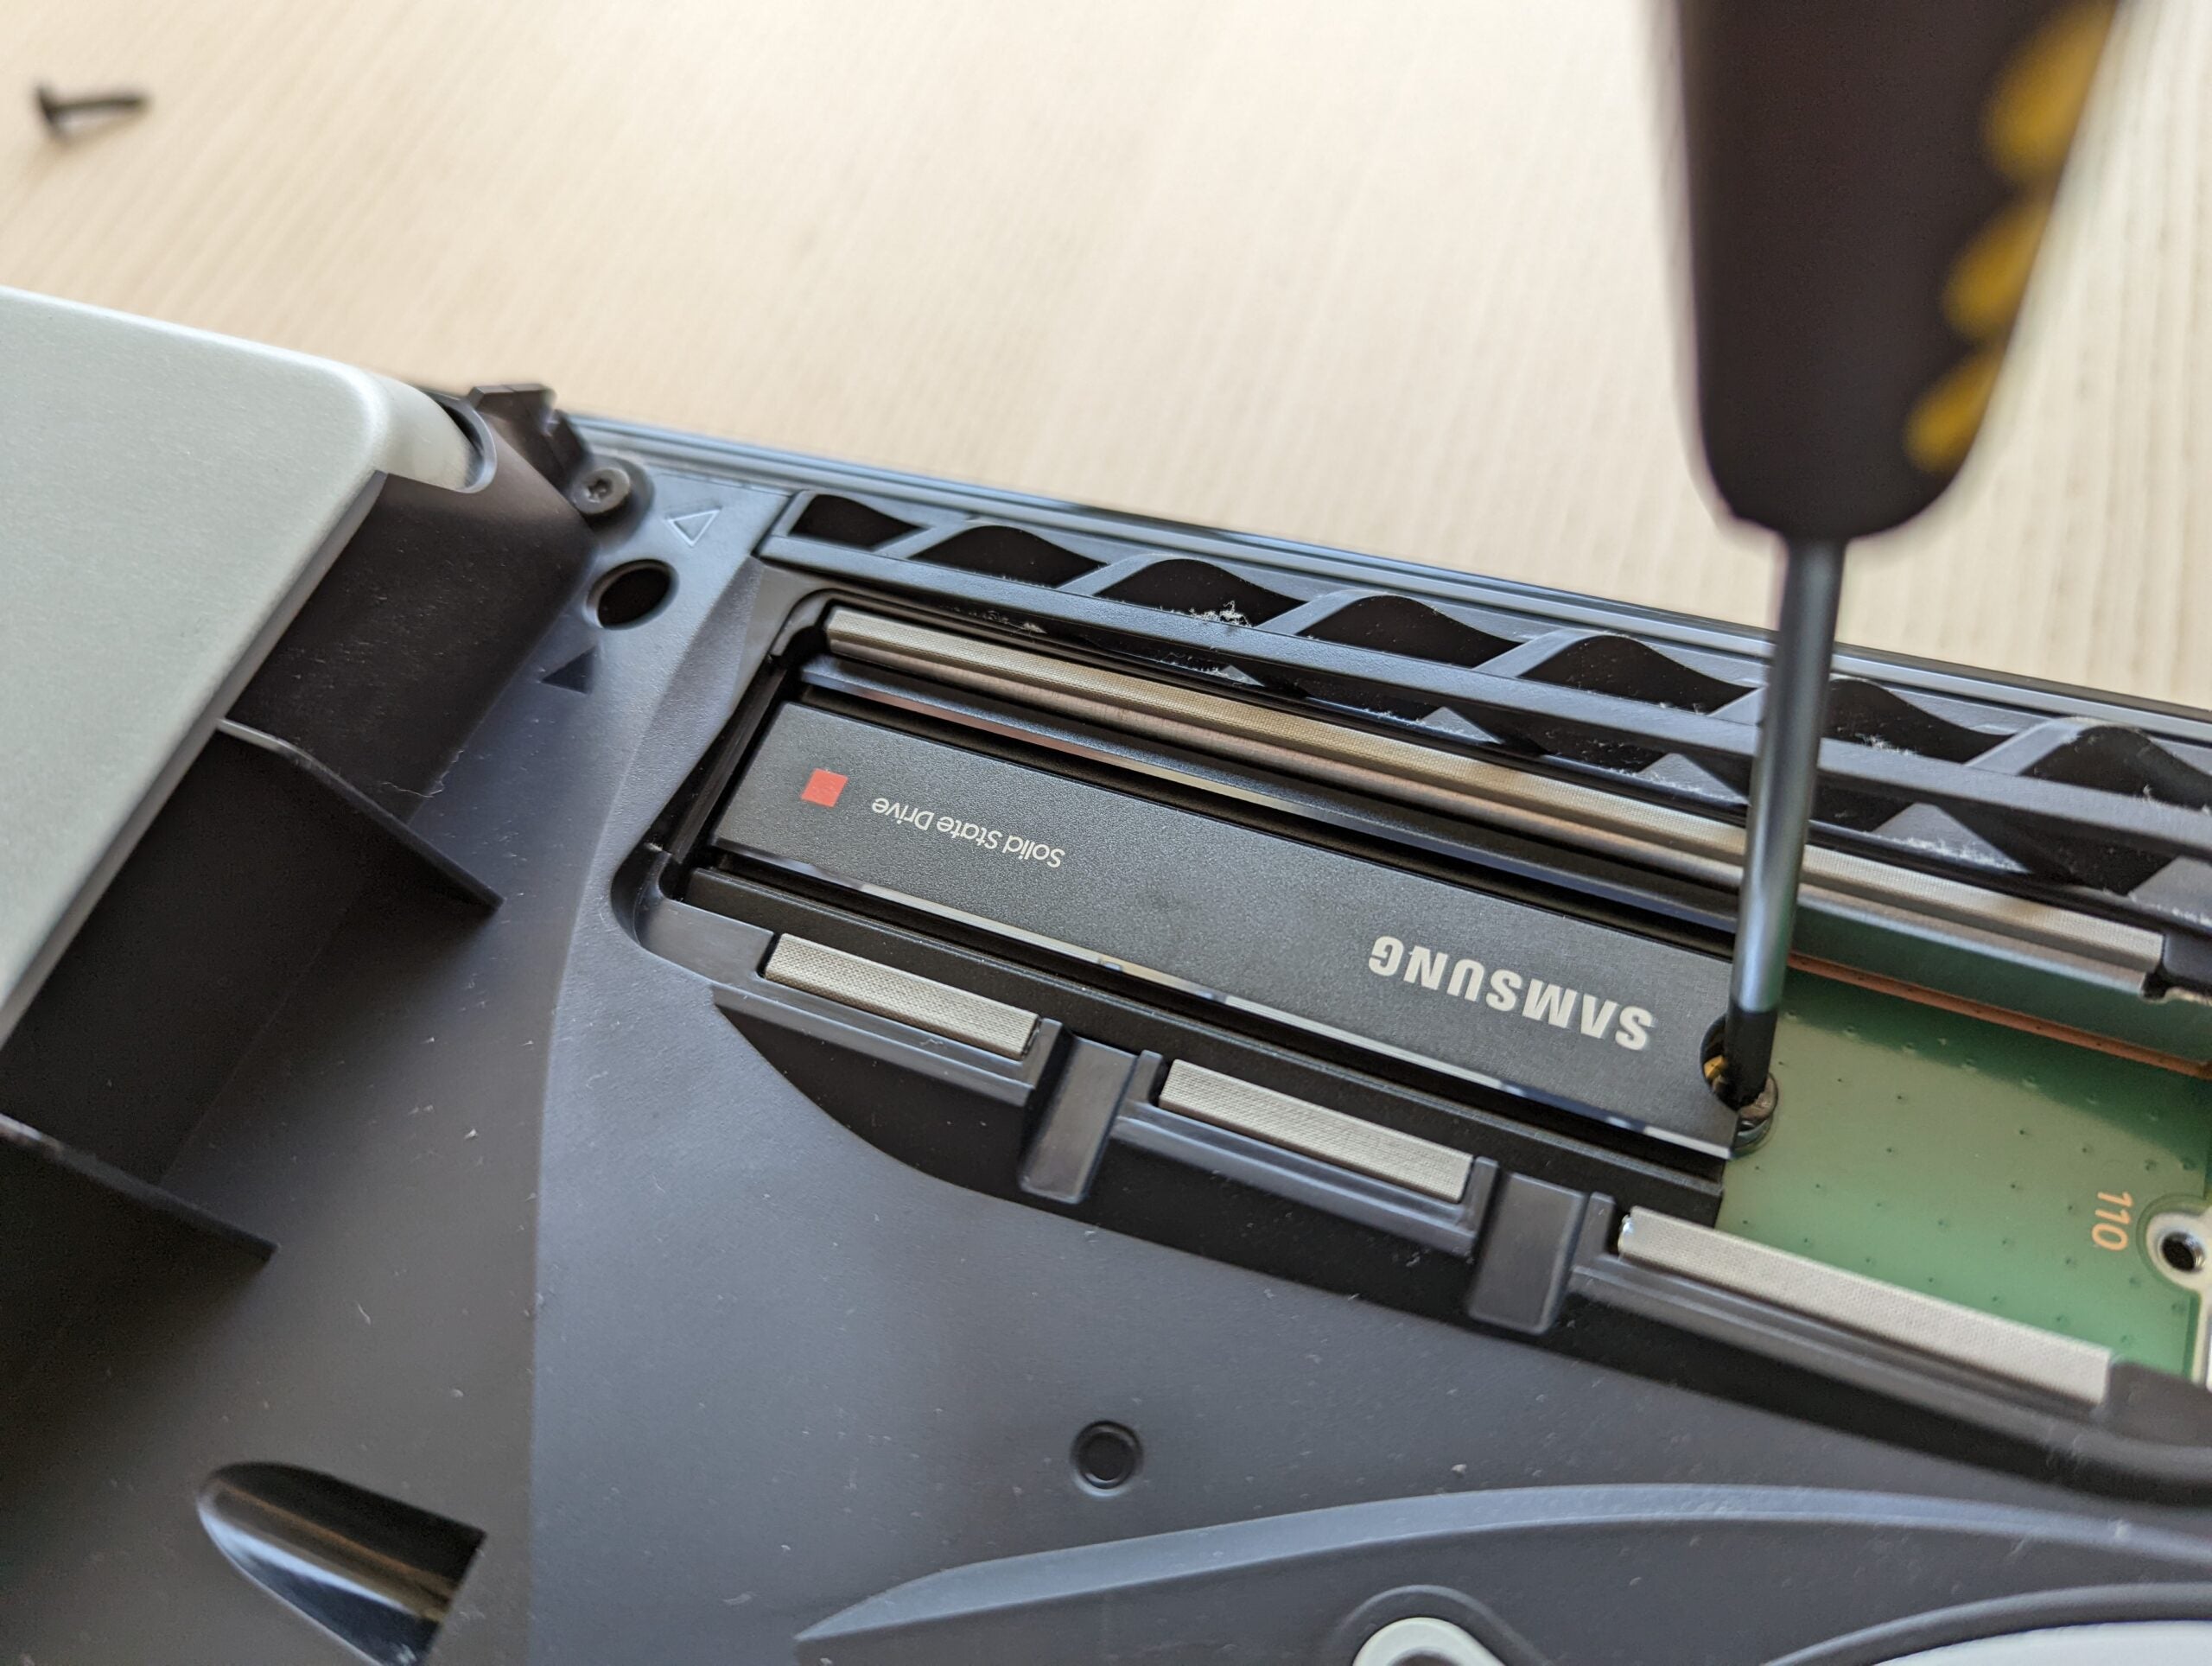
Use the screw and spacer to fix the right side of your SSD down onto the PS5 so it’s no longer angled up in the air. Give the SSD a little wiggle to make sure it’s securely in place.
Step
11Rescrew the white panel into place
With the SSD installed, you can now put the white panel back into place, securing it with the screw you previously removed.
Step
12Slide the PS5 faceplate back into place
This can be a little fiddly to do. Set it onto your PS5, about 2cm to the left, and then slide into place. Make sure the faceplate is secured in place before continuing.
Step
13Reconnect the PS5 to power and HDMI cables

You can now reconnect your PS5 to your power and HDMI cables. Also make sure to refasten the PS5 to its stand if in a horizontal position.
Step
14Turn your PS5 on
Press the power button at the front to boot up the PS5.
Step
15Format your newly installed SSD

If the SSD installation was successful, you’ll be greeted by a window asking you to format the SSD. This will wipe all storage space currently found on the SSD, so make sure you haven’t got any important data if you’ve previously used it for a PC. The formatting should only take a few seconds.
Step
16Press OK
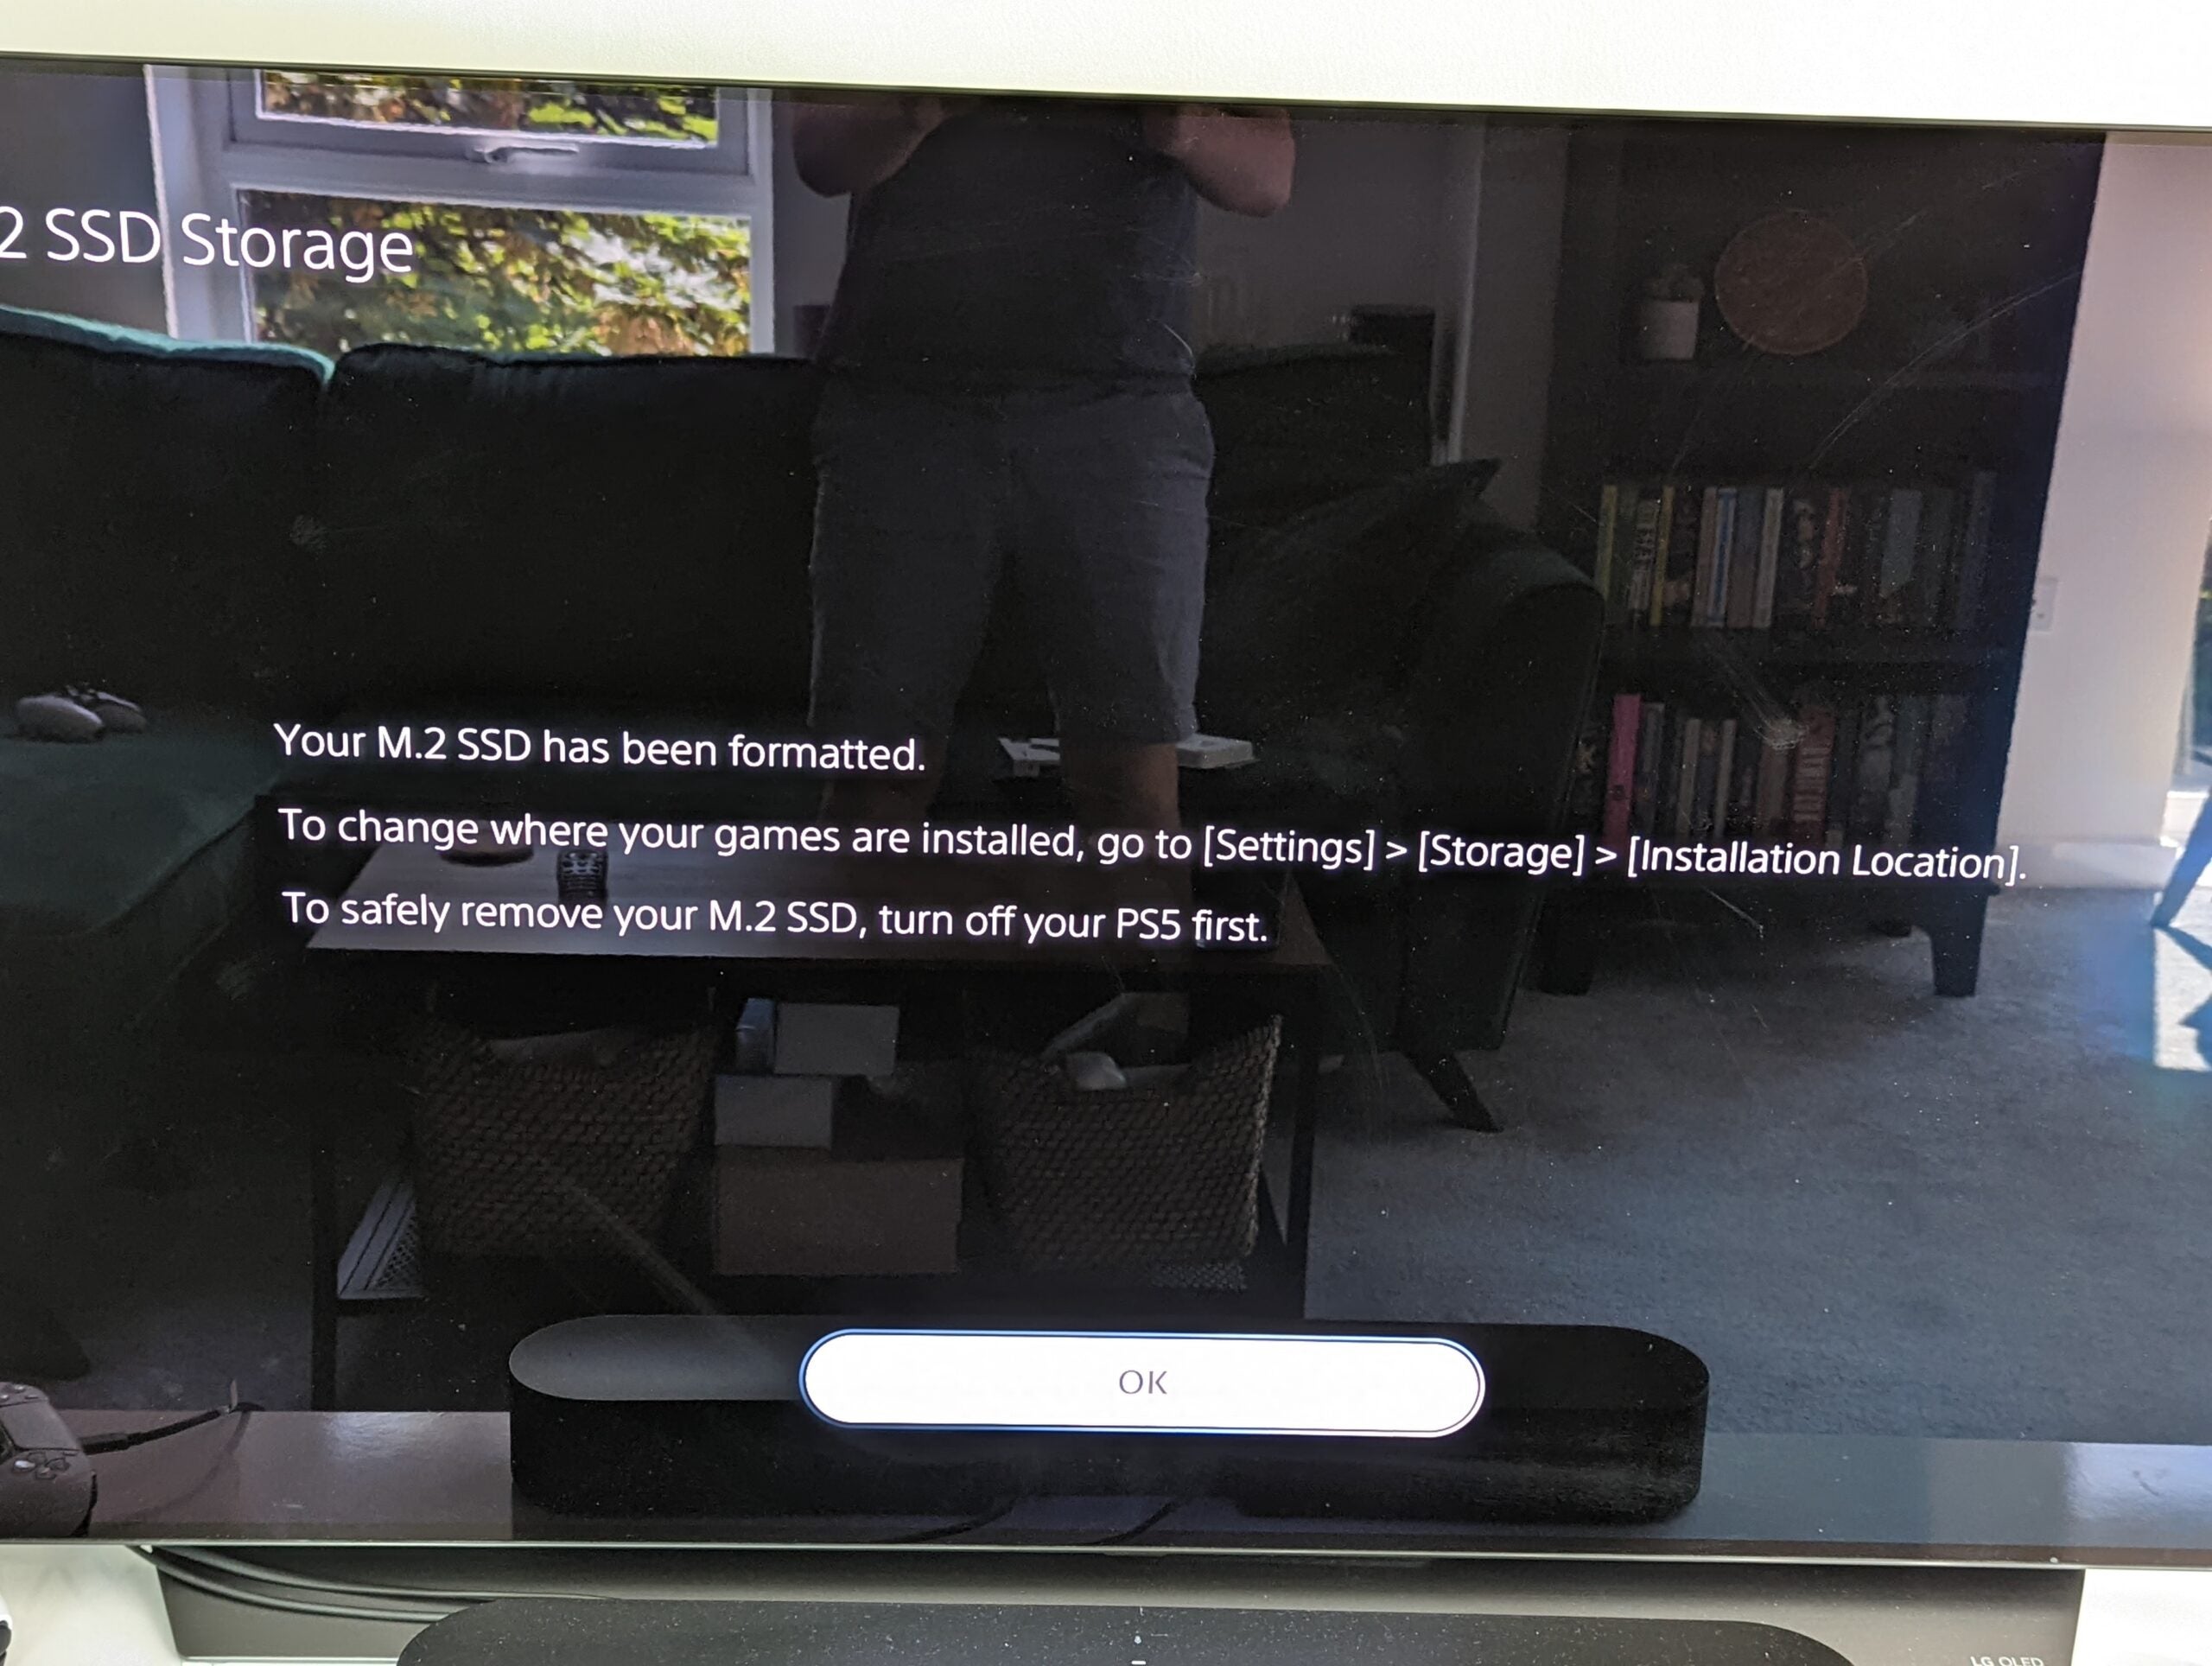
Once completed, you can press OK on the next couple of windows, which will notify you of the read speed of your SSD and explain that you can transfer installed games and save data to the SSD via settings > storage > installed location.
FAQs
No, you specifically need an M.2 SSD (shaped like a slender rectangle), so SATA drives won’t work here. Sony also says the M.2 SSD must have a width up to 25mm, thickness up to 11.25 mm, and length of either 30/40/60/80/110 mm.
Read speeds of at least 5500 MB/s are recommended for optimal performance. If you’re unsure about compatibility, visit the product website, as the manufacturer will likely highlight support for PS5.
Sony says 4TB is the max storage option. But to be perfectly honest, 1TB and 2TB drives should be comfortably enough for most gamers.
You might like…


Editorial independence
Editorial independence means being able to give an unbiased verdict about a product or company, with the avoidance of conflicts of interest. To ensure this is possible, every member of the editorial staff follows a clear code of conduct.
Professional conduct
We also expect our journalists to follow clear ethical standards in their work. Our staff members must strive for honesty and accuracy in everything they do. We follow the IPSO Editors’ code of practice to underpin these standards.