
Keeping your keyboard clean is an important part of PC hygiene. A clean keyboard is also more likely to operate without error. Below, we look at some ways to clean your keyboard to make sure it is not spreading germs and is operating in tip-top condition.
If you are a particularly messy or accident-prone person, there are spill-resistant keyboards available, which could save you some money and down-time. However, most people will hardly notice the slow build-up of dust, fluff and crumbs in a keyboard until performance is impacted or it becomes evident that a cleaning job can’t be put off any longer.
There are several ways to clean a keyboard. You can use a desktop vacuum cleaner if it is suffering from purely dust build-up. At the other end of the scale, you can take off all the keys and wash them in hot soapy water, clean the chassis, and then you have a very fresh keyboard. We will take a middle route; vacuuming, taking off the dirtiest keys, and eliminating dust and greasy marks, where visible. Here’s how to do it.
Equipment used
- A PC keyboard
- A keycap removal tool
- Alcohol wipes
- A microfiber cloth
- A soft toothbrush
- A vacuum cleaner with detail nozzle
Short version
- Thoroughly wipe the keyboard
- Take off keys, a cluster at a time, for cleaning using wet/dry cloths
- With keys off, you can also clean behind by brush and vacuum
- Use alcohol wipes and a soft brush to remove any engrained dirt in the keyboard surround
Step
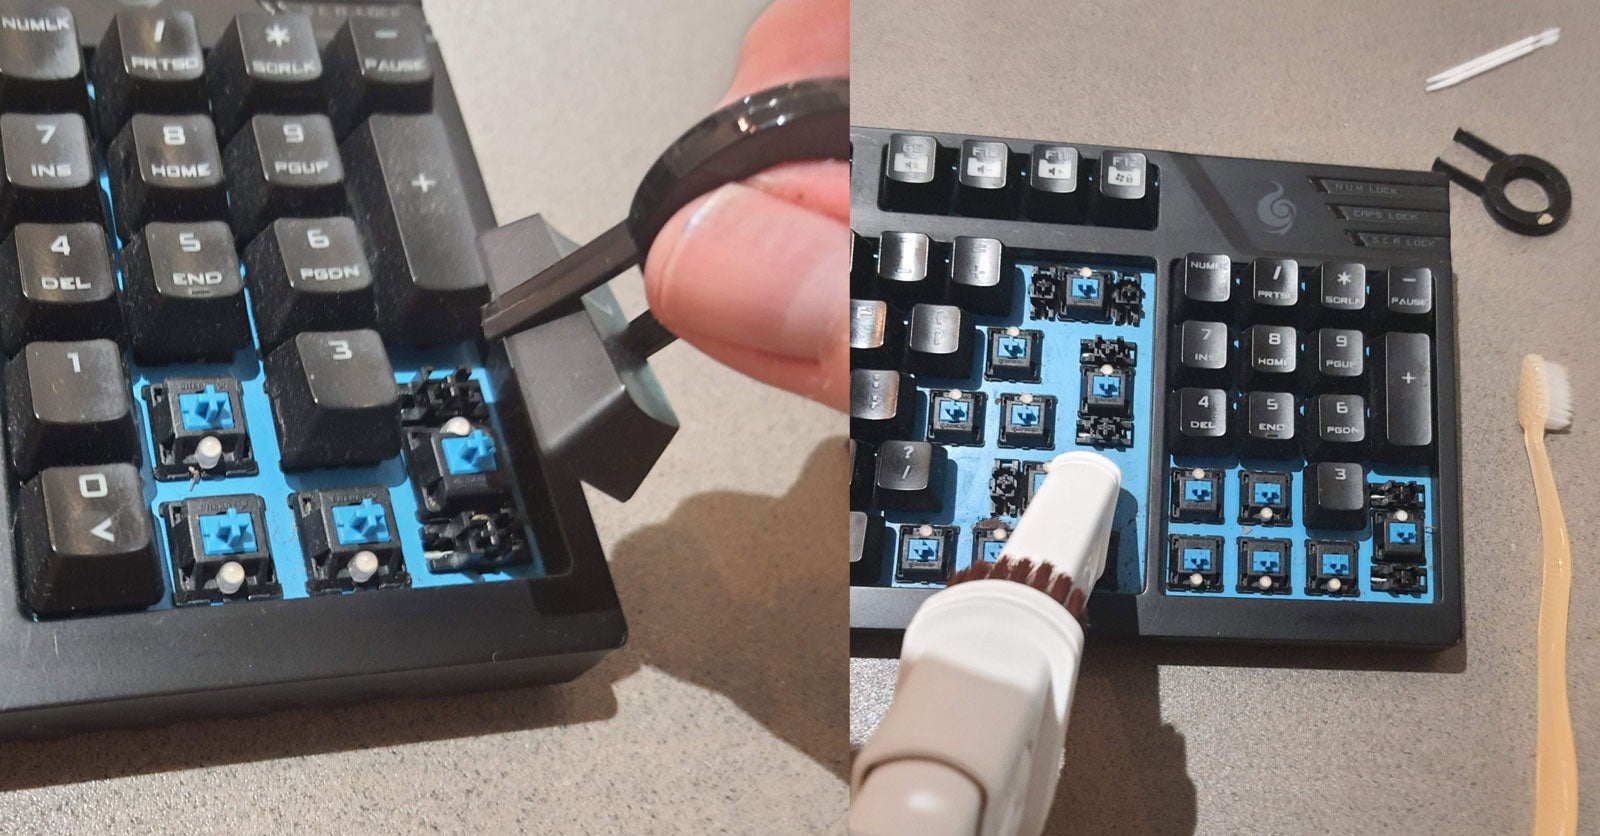
1Pull keys from a section of the keyboard for cleaning
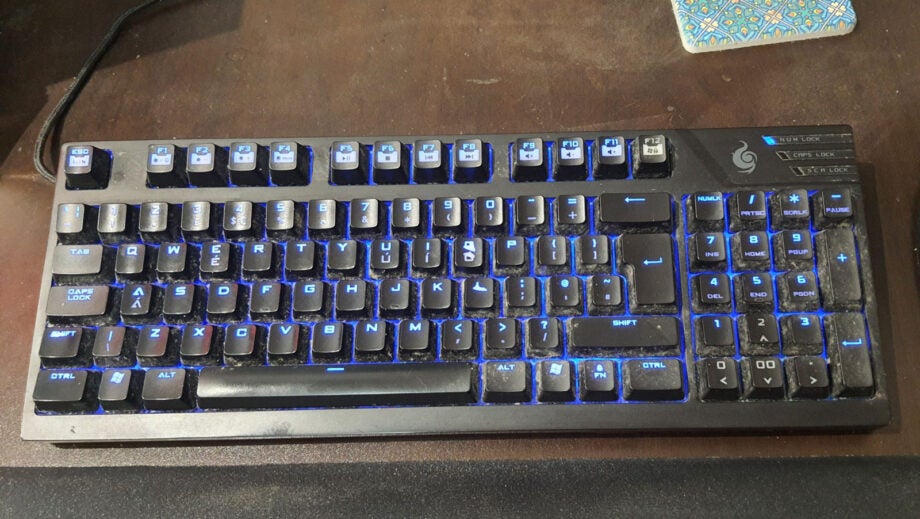
Unplug your keyboard from the computer and take it to the area you have prepared for the cleaning task. Take a photo of your keyboard before you start removing any keys, for replacement reference later.
After a quick wipe with a microfiber cloth, we started to take groups of keys off, in areas which showed evidence of grime on their hard-to-reach edges. However, we worked on groups of keys, about 10 at a time, to make the job a rolling-replacement task which is more difficult to mess up.
Removing the keys gives you very easy access to the mounting plate where the key switches reside and join via their cross-mounts to the keycap. You can tilt and tap the keyboard to get any dust and crumbs to fall to this exposed area and quickly vacuum it up.Step
2Wet wipe, dry wipe

Take the dirty keys and rub them all around with an alcohol wipe, then a microfibre cloth – they should look nice and clean. You should work in groups of switches, and put them aside in the same arrangement on the desk as they had on the keyboard. Work on as many sections of the keyboard and keys as you wish.
Step
3Some brushing and wiping of the keyboard surround

Some other areas of the keyboard probably need attention. In our example, the top-right logo and LED status light area had engrained dust wiped with alcohol then lightly brushed. Some oily / greasy surfaces around the keyboard deck were also wiped and cleaned.
Step
4Final dry wipe
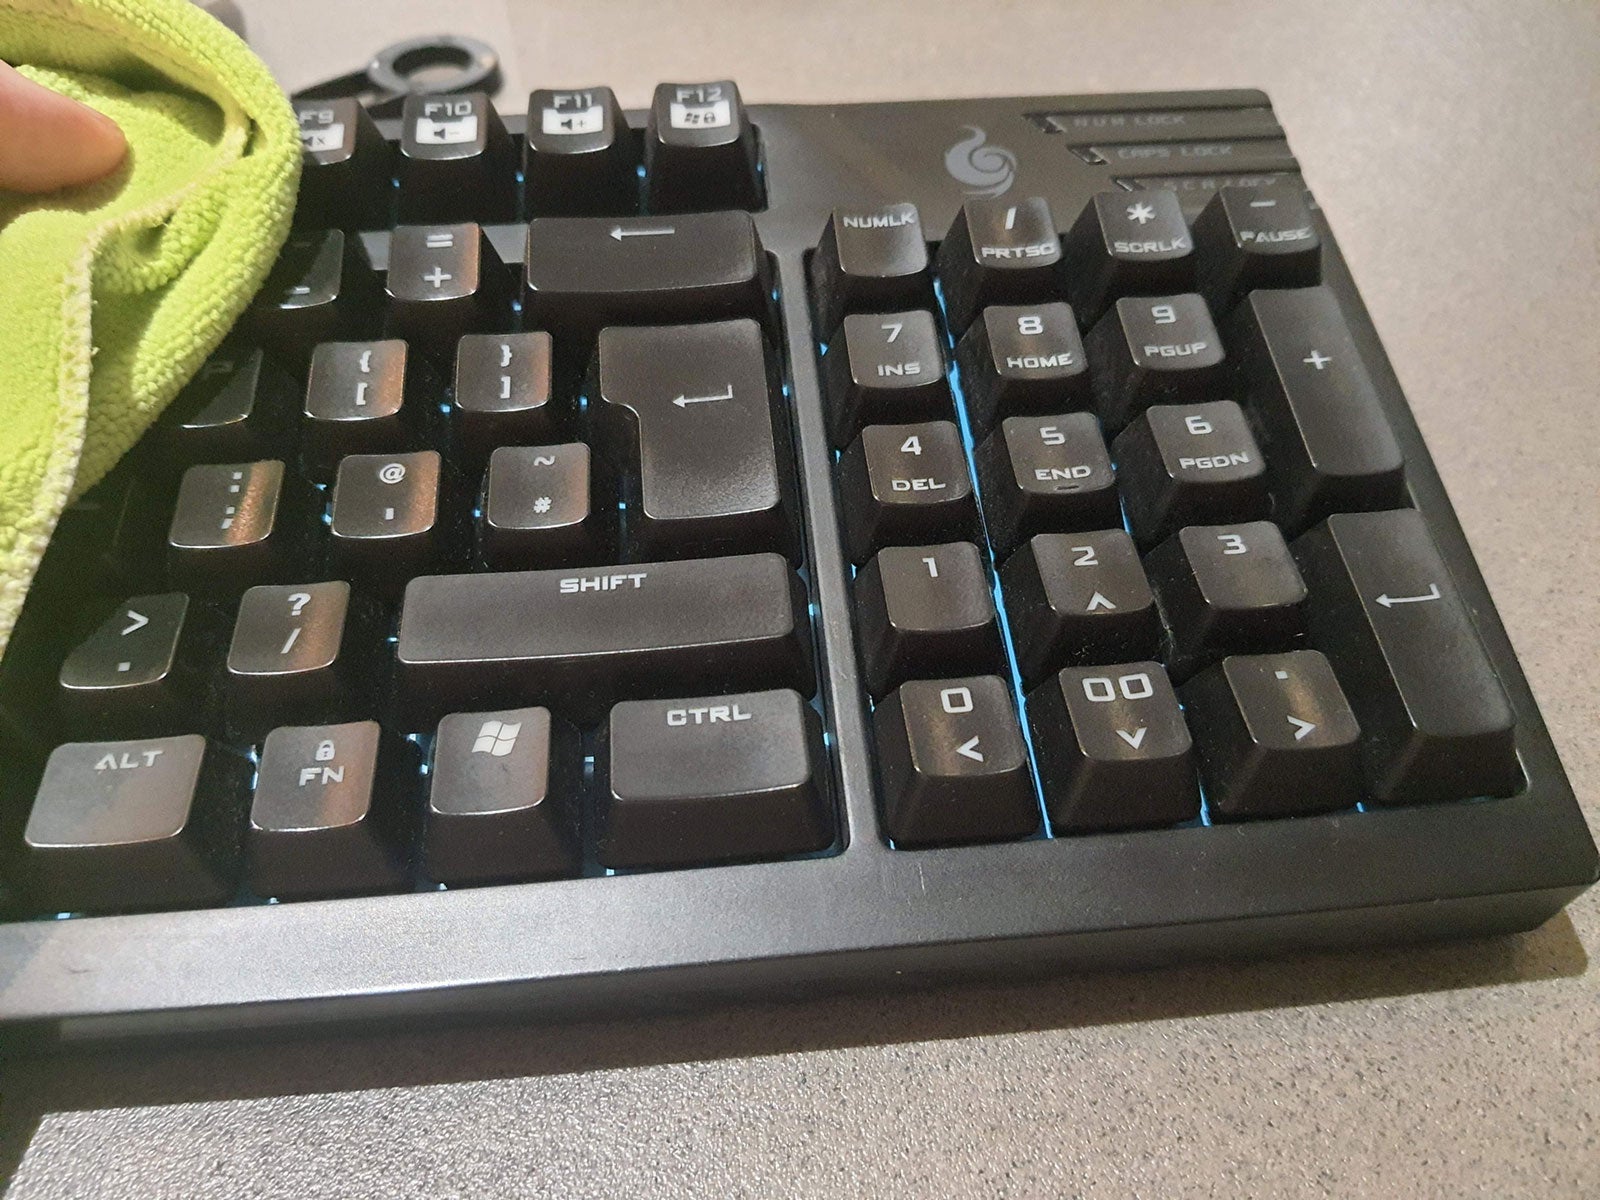
When you have worked across all the areas of your keyboard that need attention, the keyboard should look a lot cleaner and fresher. We wiped down the whole finished job with the microfibre cloth one more time. This wasn’t really necessary, but there were still some ‘wet’ areas from the alcohol, and it made the finished photo look better.
FAQs
The mechanical keyboard we used came with the key puller tool shown, so it is easy to remove the keycaps for cleaning all around and underneath. If your keyboard is the same, you will be able to follow the same process. Lease note there are some very different keyboards out there, so please check with your keyboard vendor / manual / website to see how to remove keys for cleaning.
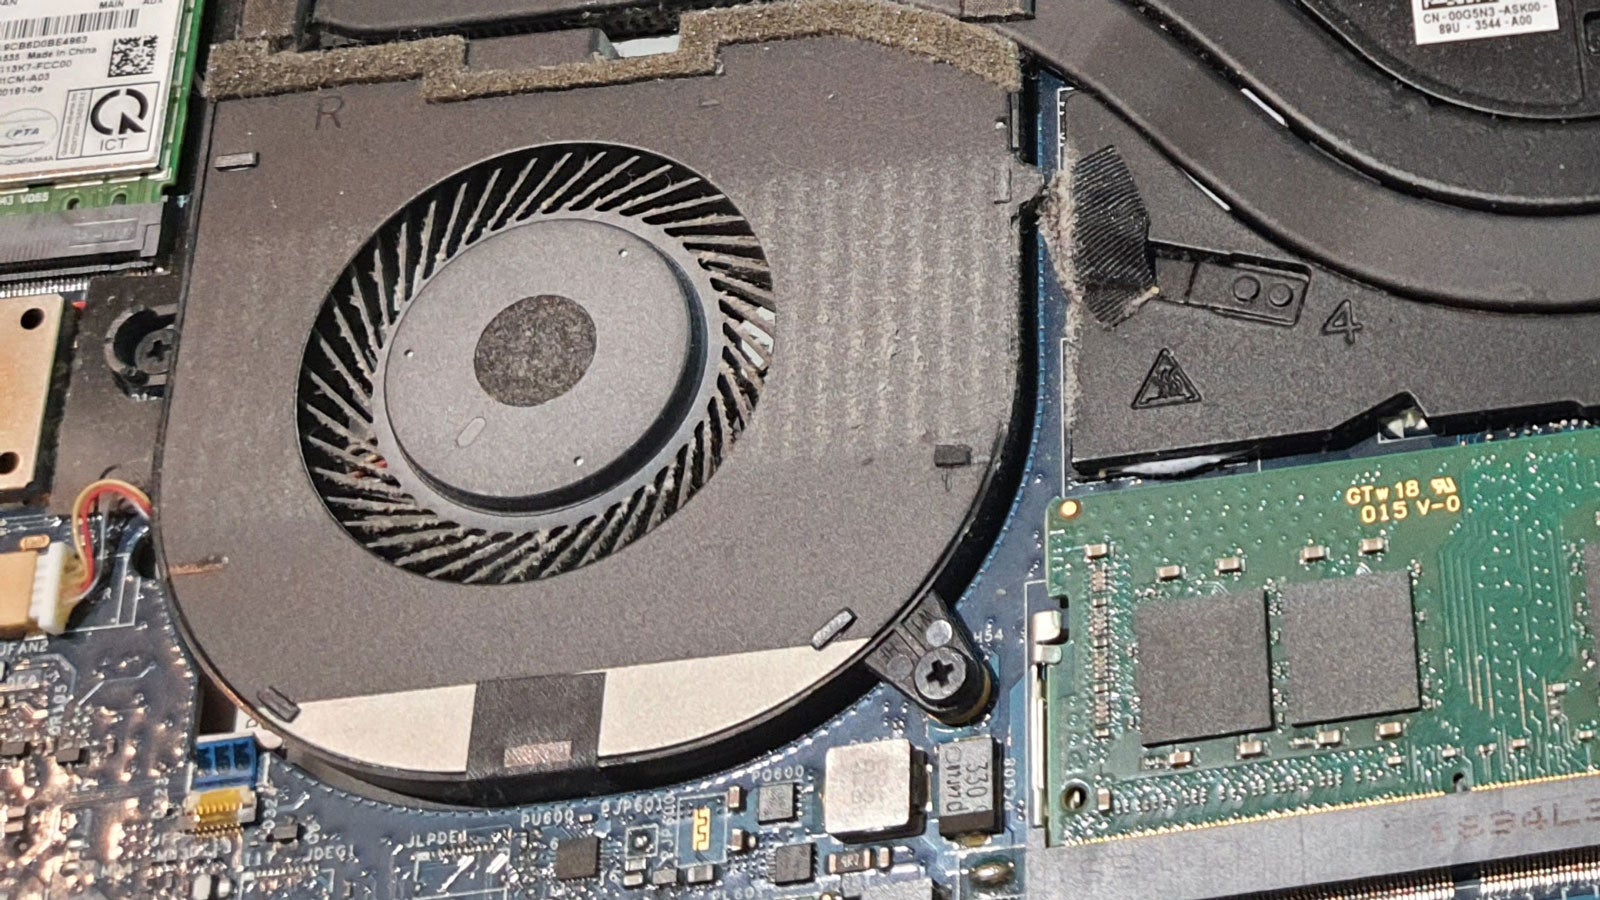
Laptops are also sometimes very different, and you should check with any documentation regarding your particular laptop model before ding anything more than a quick wipe with a microfiber cloth.
If you forgot to take a photo of your keyboard before you started, check for an image of your keyboard on a website; from the maker or retailer, perhaps.
There are many retailers online which sell keysets, especially for ‘standard’ cross mount key stems. If you are lucky, your keyboard will have come with some spares in the box. For the two mechanical keyboard in the writer’s possession, both came with a selection of extra blank keys – not ideal, but better than a missing key. If your keyboard is quite old, but you are fond of it, it might be worth grabbing a cheap used one from your local auction site(s) – then you will have spares.
You might like…


Editorial independence
Editorial independence means being able to give an unbiased verdict about a product or company, with the avoidance of conflicts of interest. To ensure this is possible, every member of the editorial staff follows a clear code of conduct.
Professional conduct
We also expect our journalists to follow clear ethical standards in their work. Our staff members must strive for honesty and accuracy in everything they do. We follow the IPSO Editors’ code of practice to underpin these standards.