
With the bloat of applications and operating systems over recent years, a memory upgrade can provide a welcome tonic for your laptop.
Some vendors still sell laptops with 4GB or 8GB of random access memory (RAM), which is a bit tight in 2022. However, most (but not all) laptop makers will allow users to add RAM, either by adding an extra RAM stick (often called a SO-DIMM), or by swapping a memory stick which you already have with a larger capacity one.
If you are interested in upgrading your laptop RAM, then please investigate if such an upgrade is possible, and what type and quantity of memory you need. You will find guidance for this on your laptop manufacturer website, as well as guidance how to open up the laptop to access the memory slots.
For purchasing the right memory modules, there are also some third-party tools available online, like the Crucial laptop scanner, which is easy to use for RAM purchase recommendations.
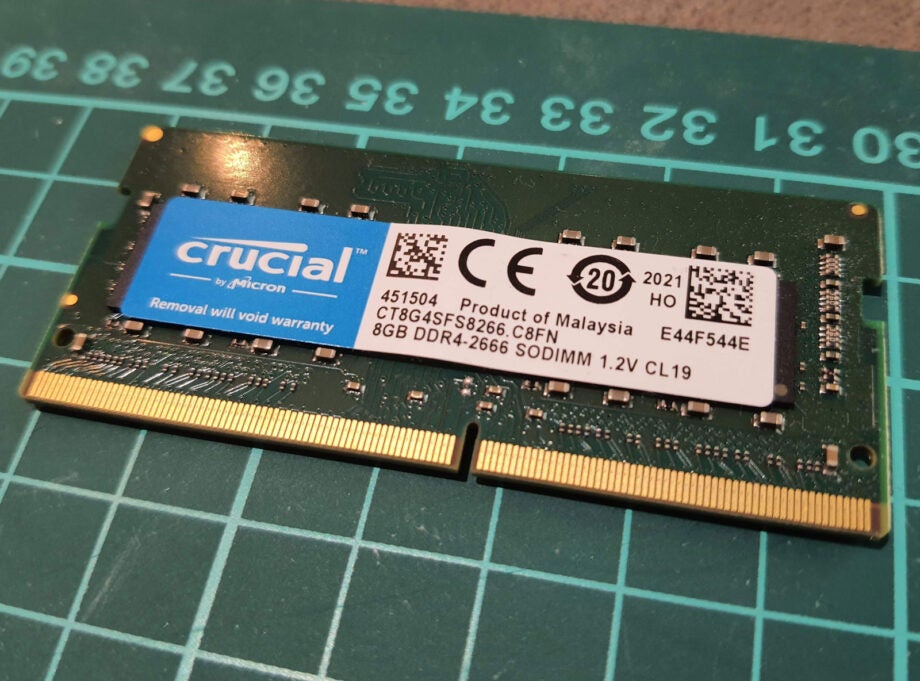
In our laptop which required an upgrade, there was 8GB already in one slot, with the other slot vacant. We bought a matching specification memory stick (from Crucial) to keep things simple and be assured the new memory stick would work. With the new memory installed, we would have a 16GB machine. As well as the greater memory capacity, memory access speeds should increase due to two matching sticks allowing dual-channel memory operation
Keep reading on to see how you can upgrade the RAM of a Windows laptop yourself.
Hardware used
- A laptop with a vacant (DDR4 SO-DIMM) memory slot
- A new memory module compatible with our laptop
- A set of precision screwdrivers (we needed both a T5 bit and mini Philips bit)
- A pry tool to open up the memory hatch or laptop back panel
Short version
- Open the laptop
- Check current situation with regard to memory and vacant slots
- Ground yourself to make sure you won’t damage your PC with static electricity
- Position the new memory module lining up the offset centre line
- Push the memory module into place to be secured by metal clips either side
- Check your system to see if the memory upgrade was a success
Step
1Turn off, unplug, get access
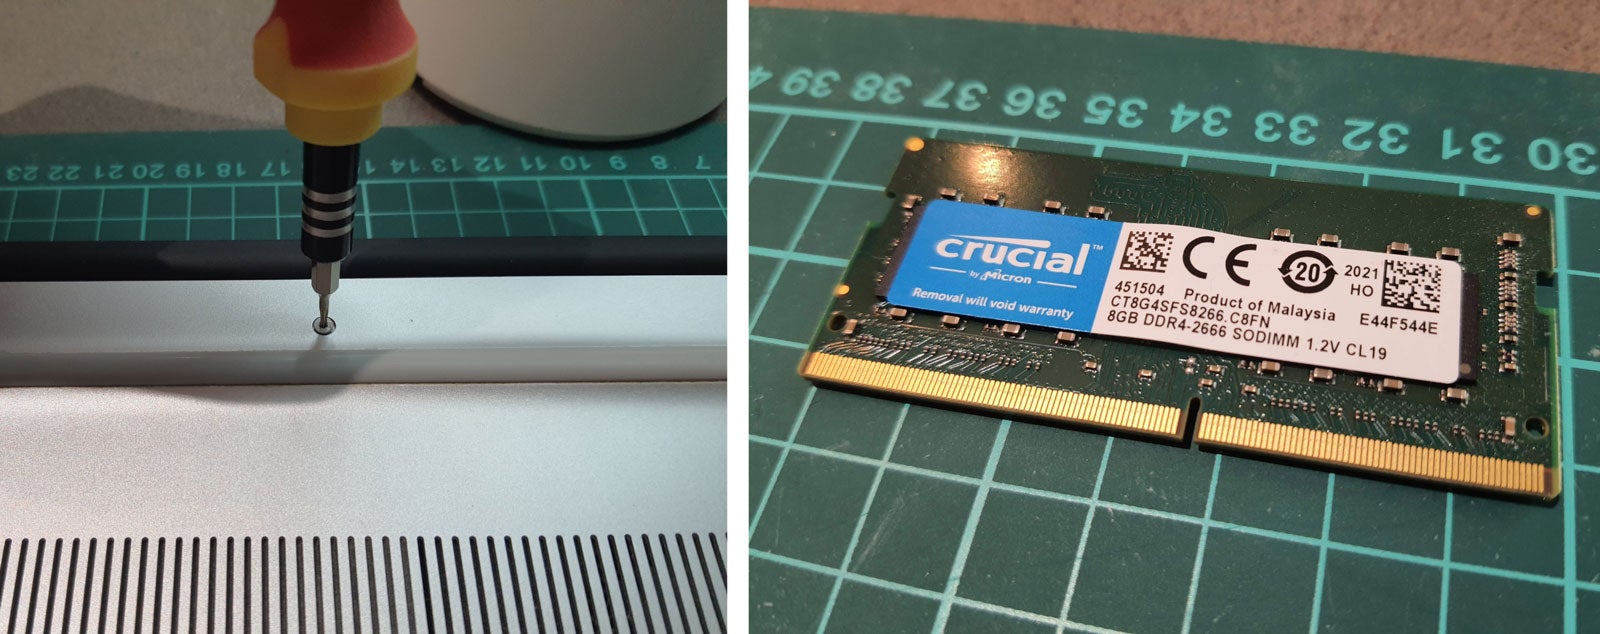
Turn off and unplug your laptop. Double check it is really off and not ‘sleeping’. Then open up any panel or remove any panel you need to get access to the RAM slots. For us, we had to simply turn the laptop over and remove a mix of T5 and mini Philips screws, which allowed for the whole bottom cover to be lifted off.
Step
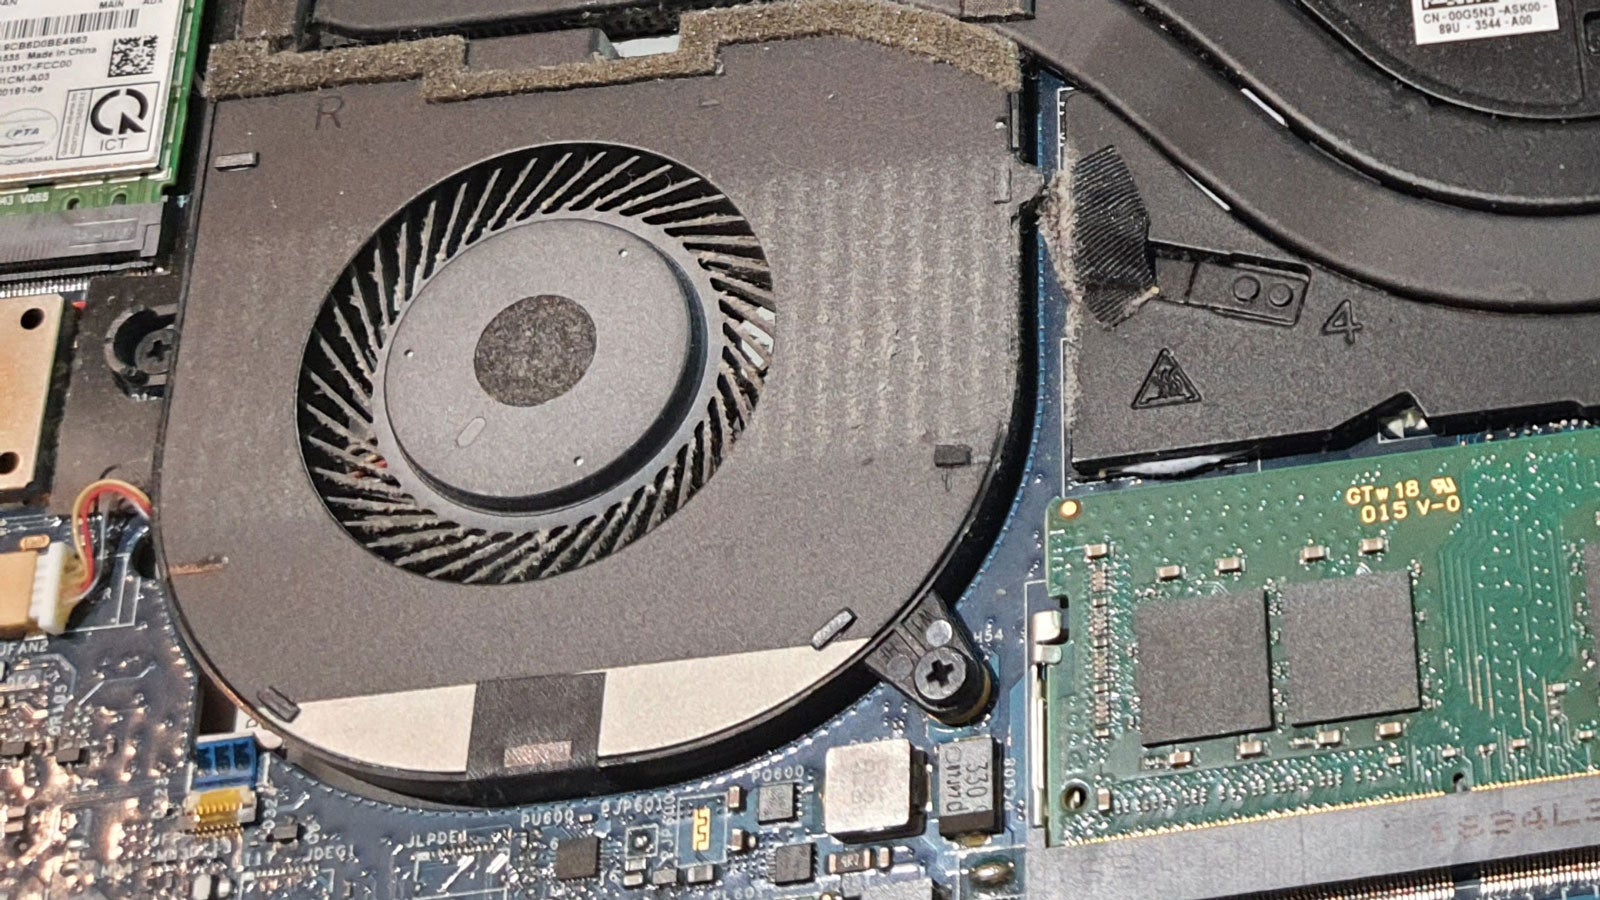
2Survey the memory slots area, ground yourself
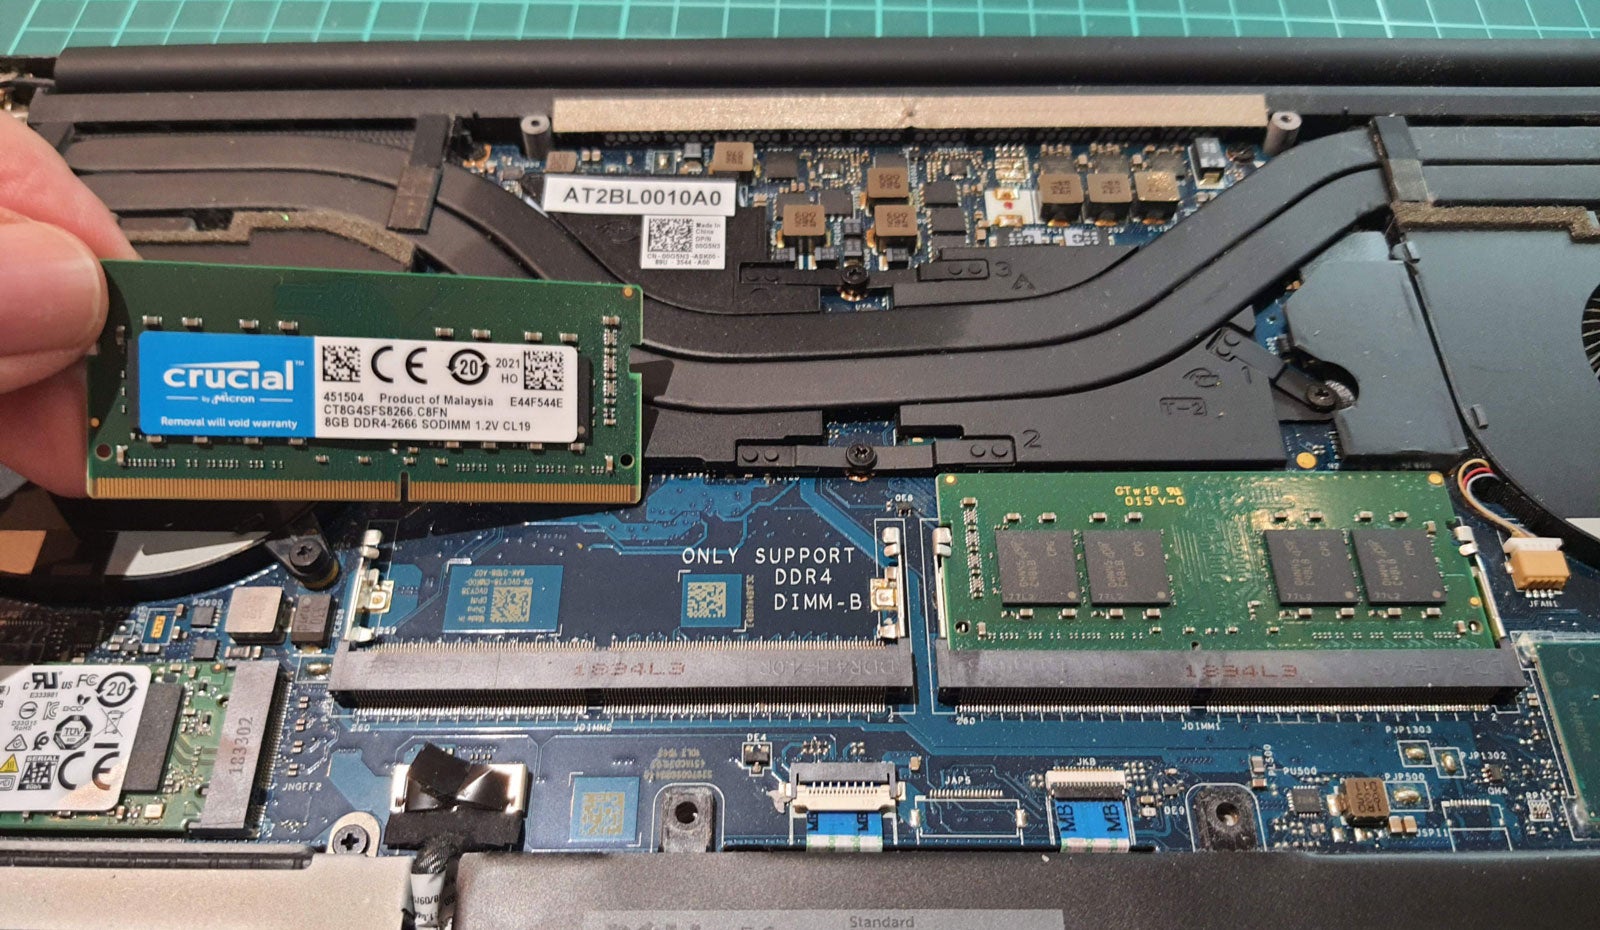
Once the laptop is open, familiarize yourself with the RAM situation. You should have known what to expect from your prior purchase research. In our laptop, slot A was populated with an 8GB DDR4-2666 module from crucial, so we bought a matching one for the vacant slot B. Make sure you are grounded – in the UK you can usually touch a radiator to discharge any static electricity you have.
Step
3Position new memory stick with correct orientation
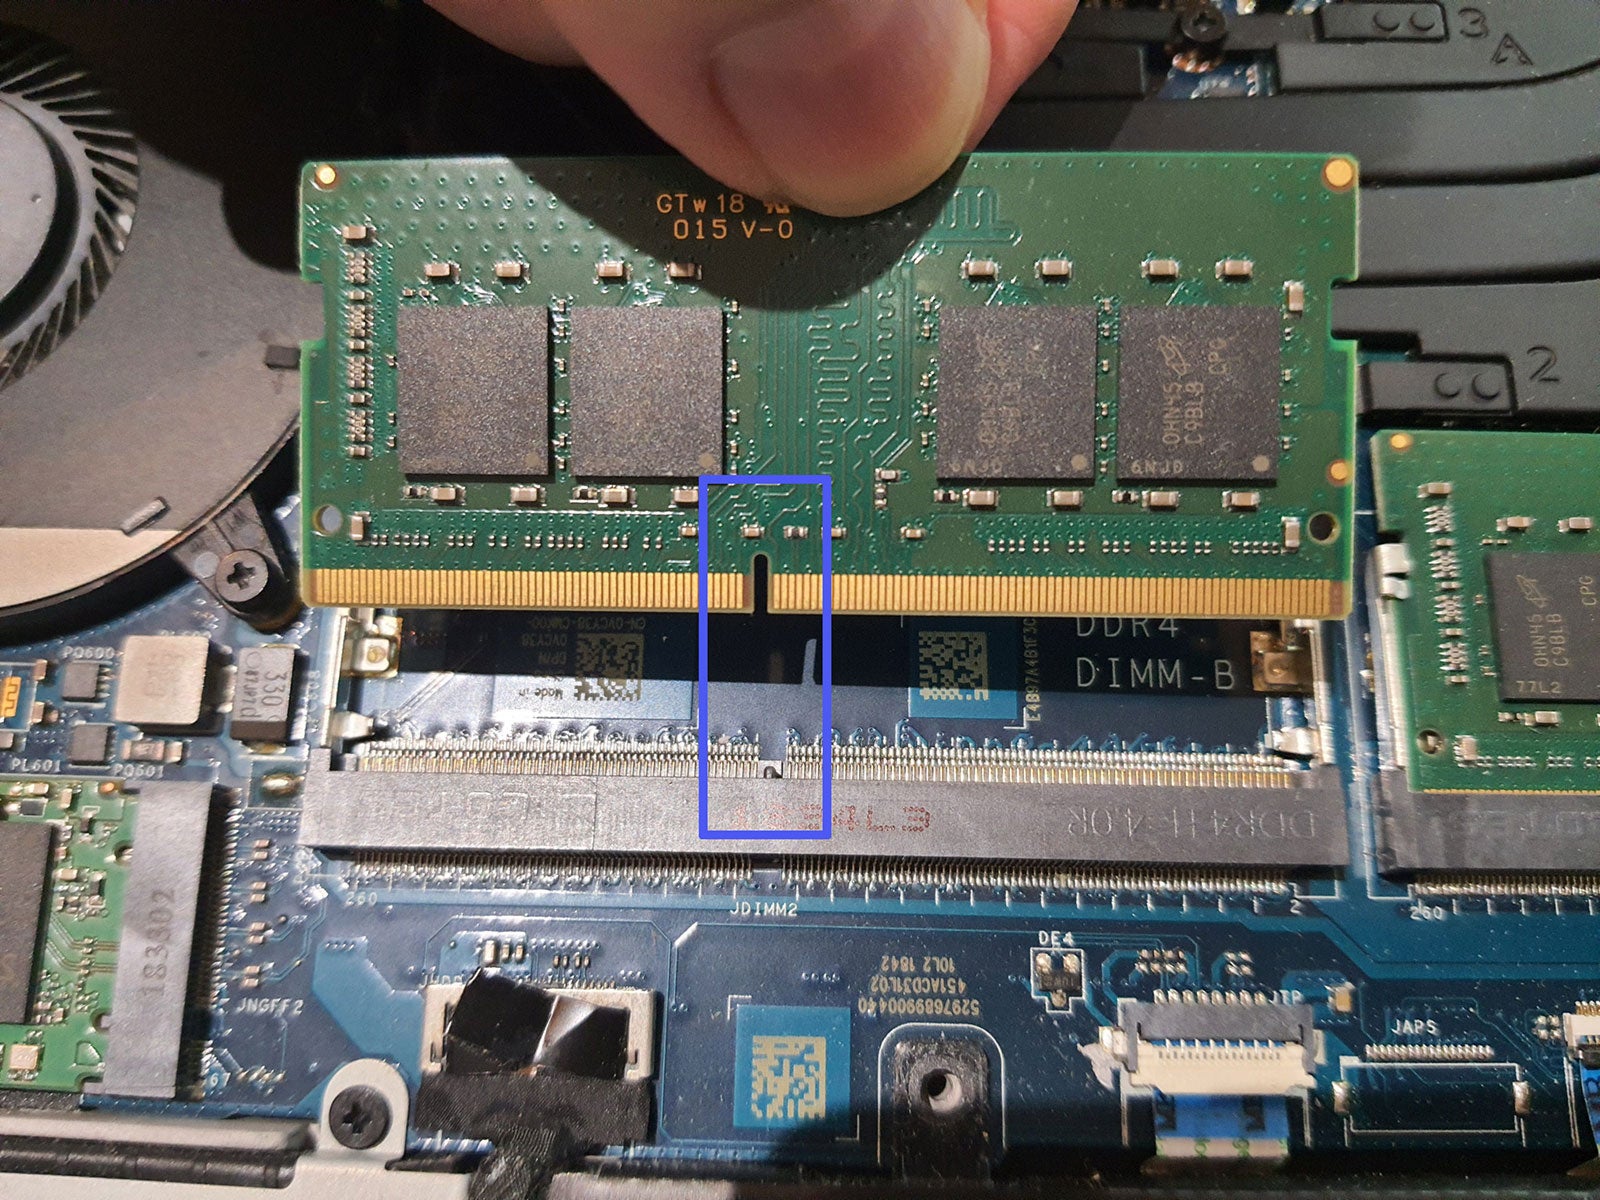
Now you are familiar with the memory slots and how one looks when correctly installed, position your new RAM stick into the slot as shown (angled into the slot at about 30 degrees). You will be sure the stick is orientated correctly as the slot and teeth are offset so will fit only one way.
Step
4Push memory to click into position
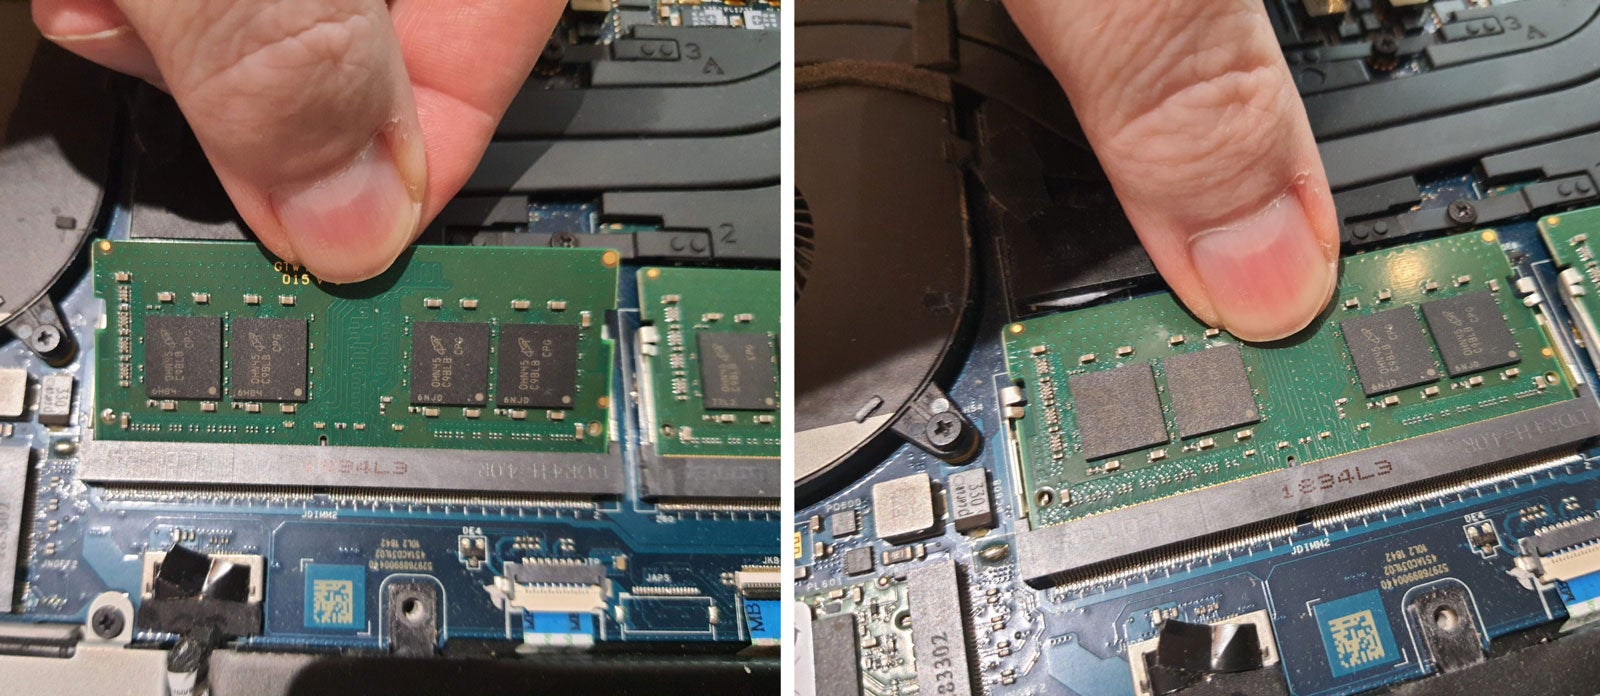
Now push the memory down from the side furthest away from the initial insert – like closing a door. You will probably hear and feel a click as you push down, and the module pushes past two retaining clips. When you let go, the memory module will bounce back a millimetre or two to be secured by metal clips either side.
Step
5Close up, tighten up, check memory configuration in Windows
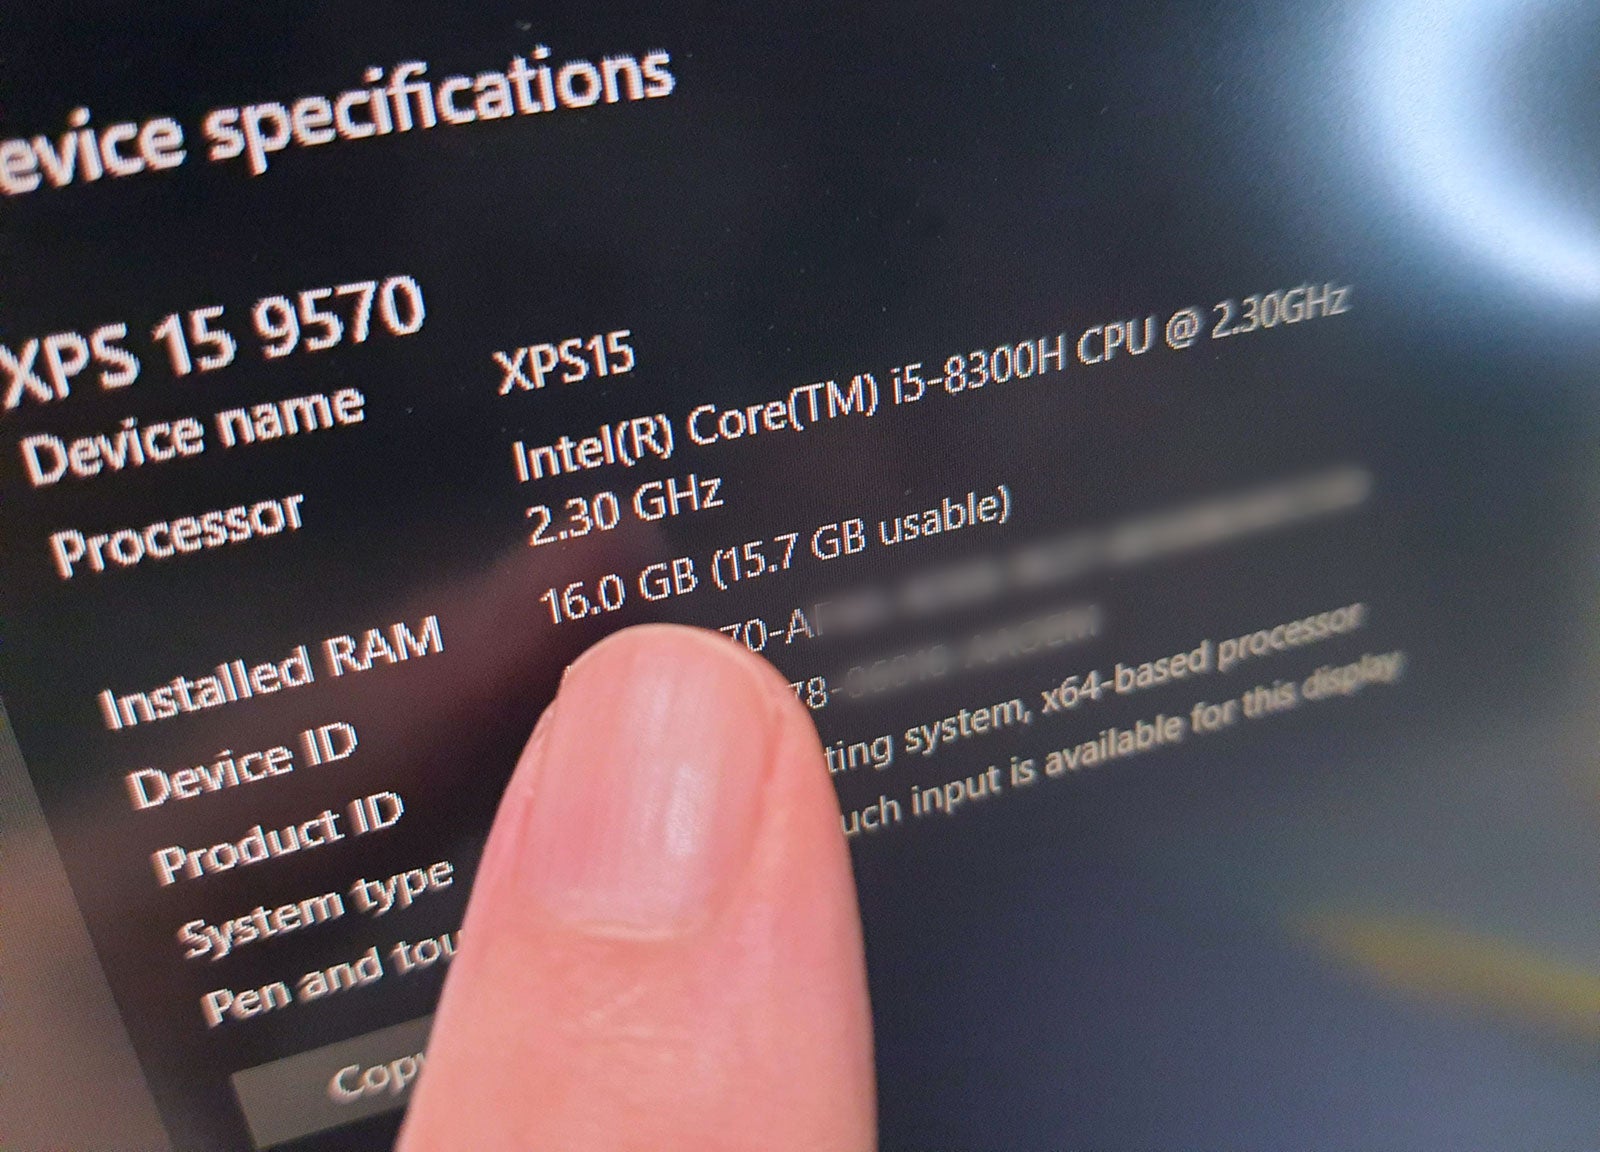
You are almost done, all you need to do now is replace the memory cover, or whole back cover of your laptop like in our first step. Turning on the laptop and checking system settings (right-click Start and move up to select ‘System’) will show you how much memory in total you have installed. You can also check RAM usage and overall quantity in Task Manager.
FAQs
You may not have seated the memory correctly, so please open up your computer and re-seat the memory module. If you did your research before buying the memory module, you shouldn’t run into compatibility problems, which would mean the new RAM isn’t recognized.
If your system stability takes a dive after your memory upgrade, there might be a problem with one or more of your memory modules. Whether this is manufacturing error or later damage is hard to determine, but you will have a warranty with the new memory. There are well known long-standing free utilities such as MemTest86 to run which will give you plenty of insight into your memory operation and if there are any inherent issues.
You might like…


Editorial independence
Editorial independence means being able to give an unbiased verdict about a product or company, with the avoidance of conflicts of interest. To ensure this is possible, every member of the editorial staff follows a clear code of conduct.
Professional conduct
We also expect our journalists to follow clear ethical standards in their work. Our staff members must strive for honesty and accuracy in everything they do. We follow the IPSO Editors’ code of practice to underpin these standards.