

Giving your Mac a recognisable name can be a useful feature for the sake of convenience, especially for tasks such as sharing files between your devices.
Luckily, the process is pretty simple, and we’re here to take you through it whether you’re using a MacBook, Mac Mini or iMac. Here’s everything you need to know.
Hardware used
- 2020 13-inch MacBook Pro
- macOS Big Sur
The Short Version
- Open System Preferences
- Select Sharing
- Enter name in the ‘Computer Name’ box
Step
1Open System Preferences
The first stage in this process is to open System Preferences. This can be done in a couple of ways.
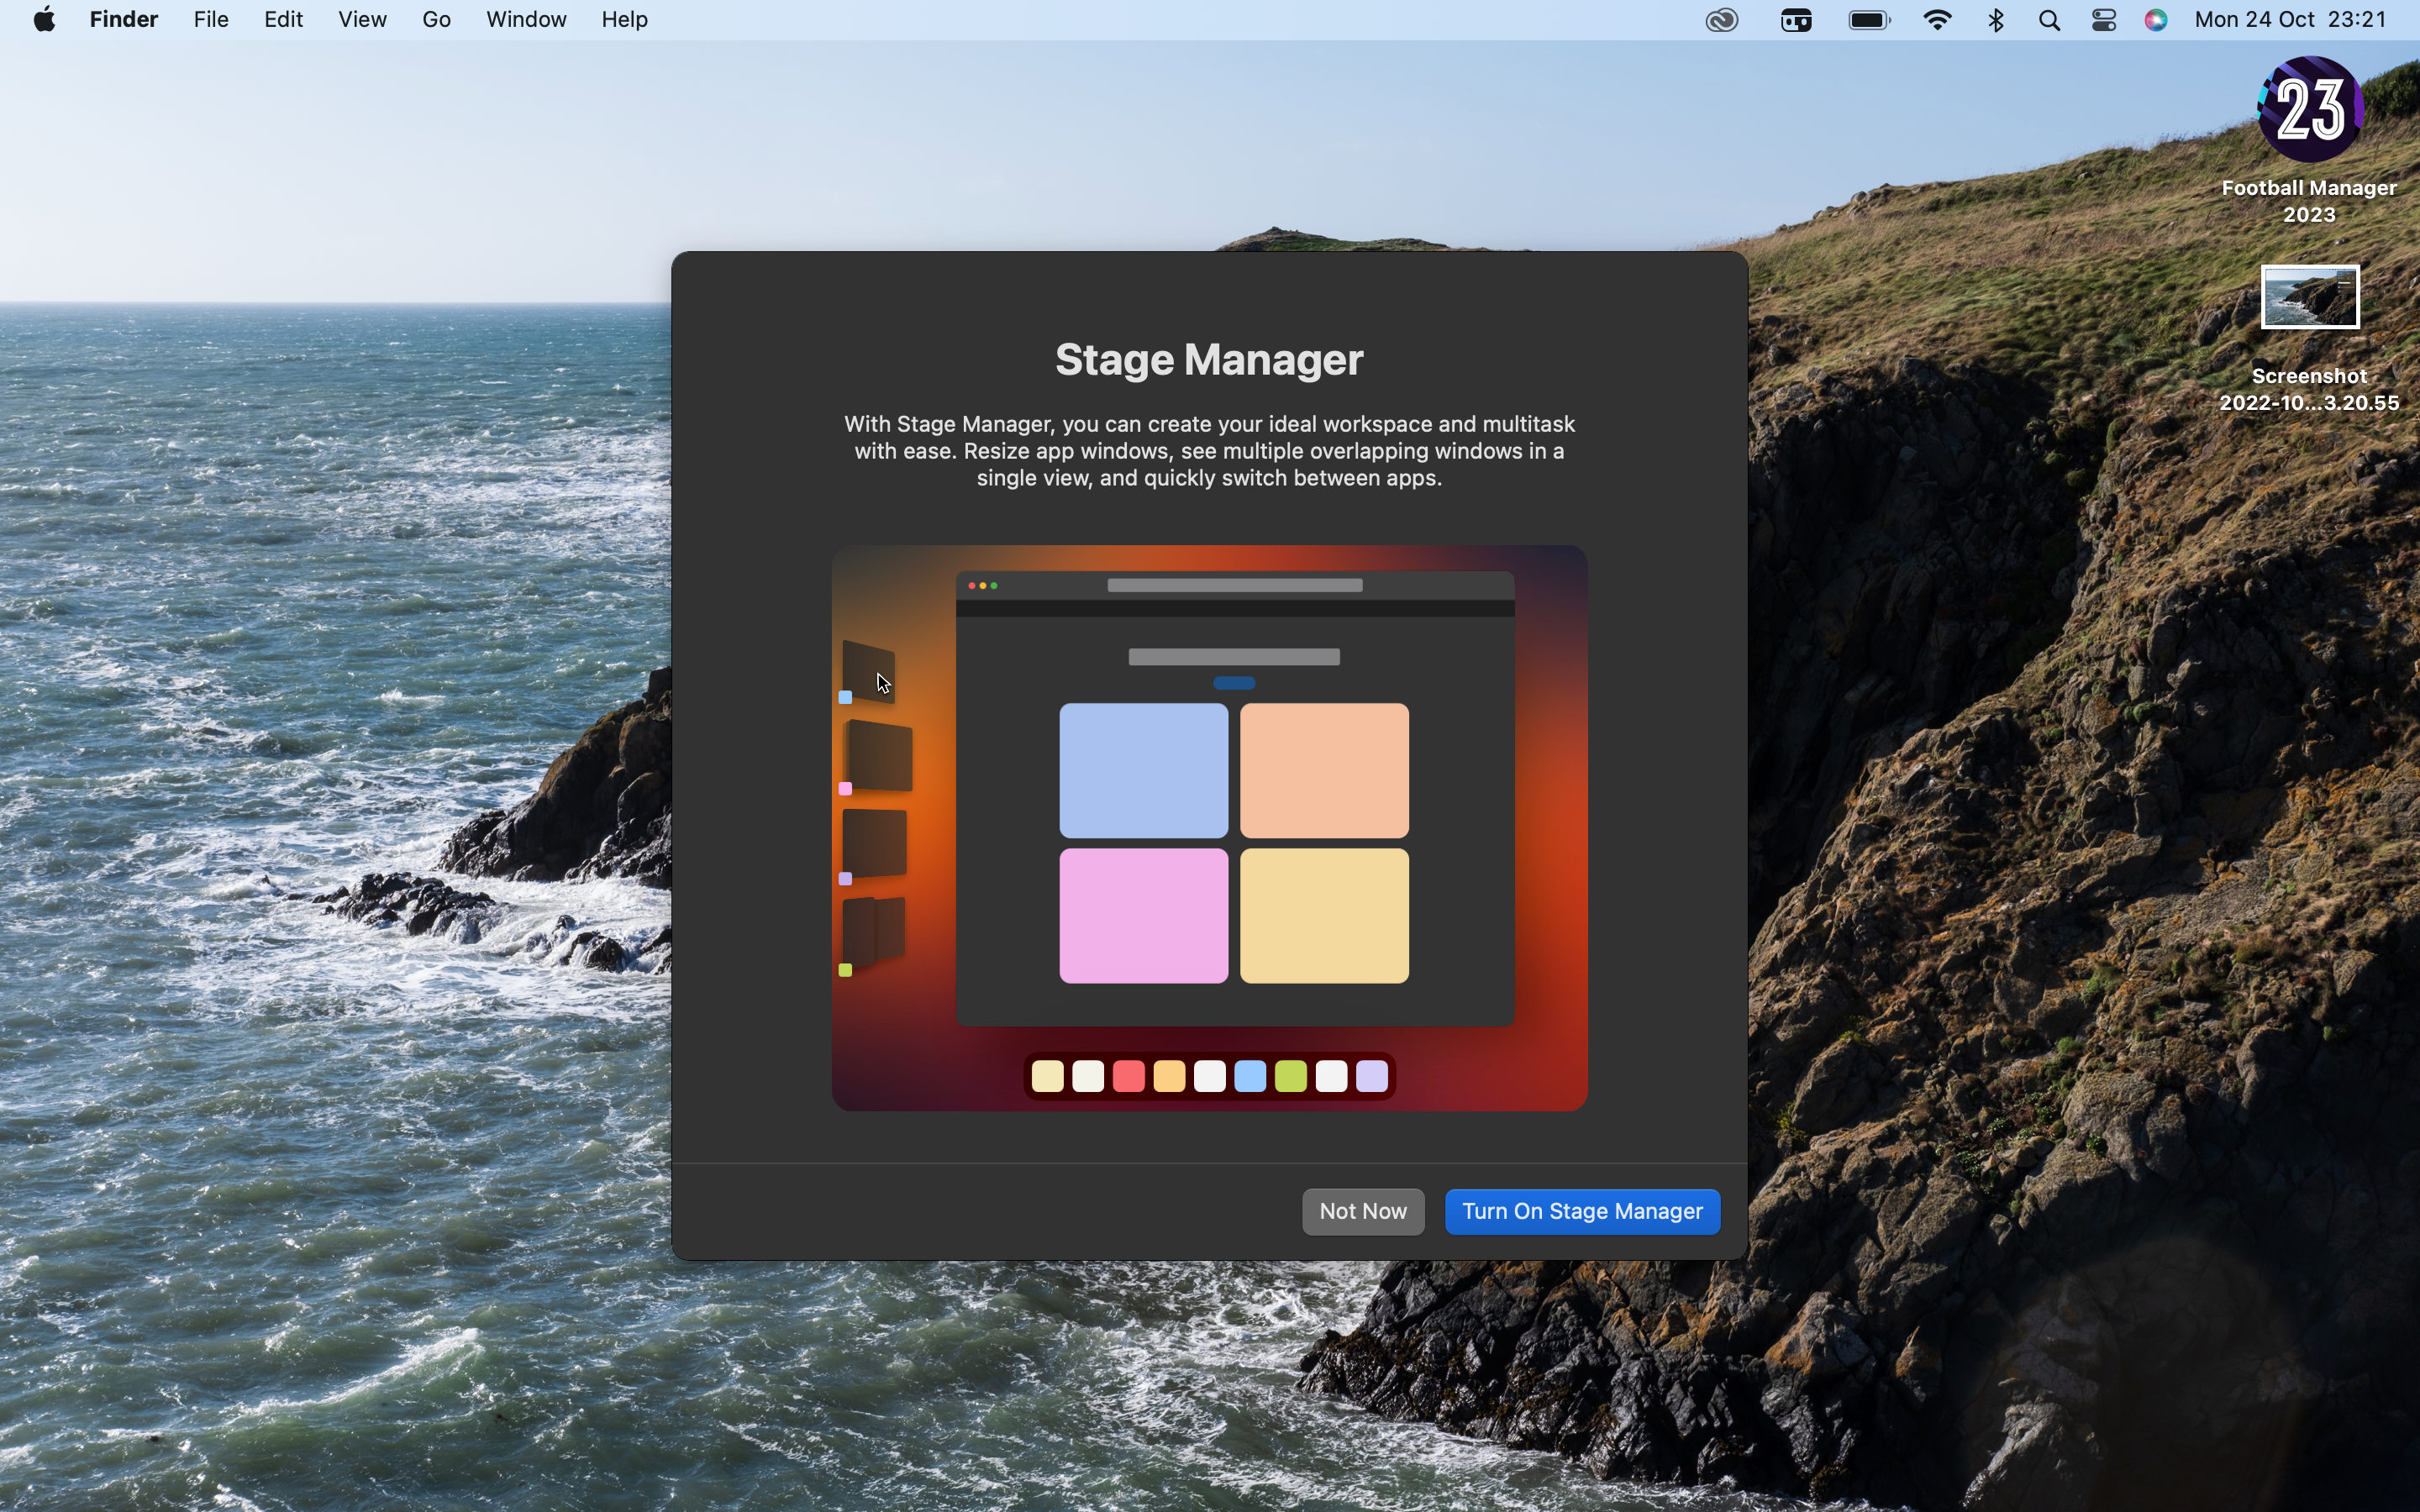
You can simply navigate to the gear icon along your Dock, and click on it to open.
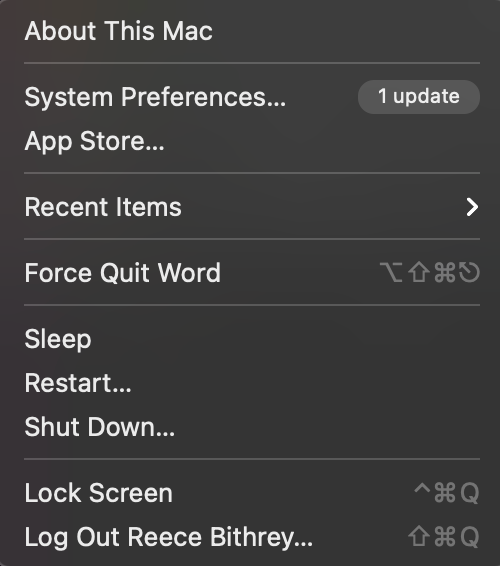
Or, you can go to the Apple logo in top left corner and click it to bring up a drop-down menu. From there, click ‘System Preferences’ to open it.Step
2Select Sharing
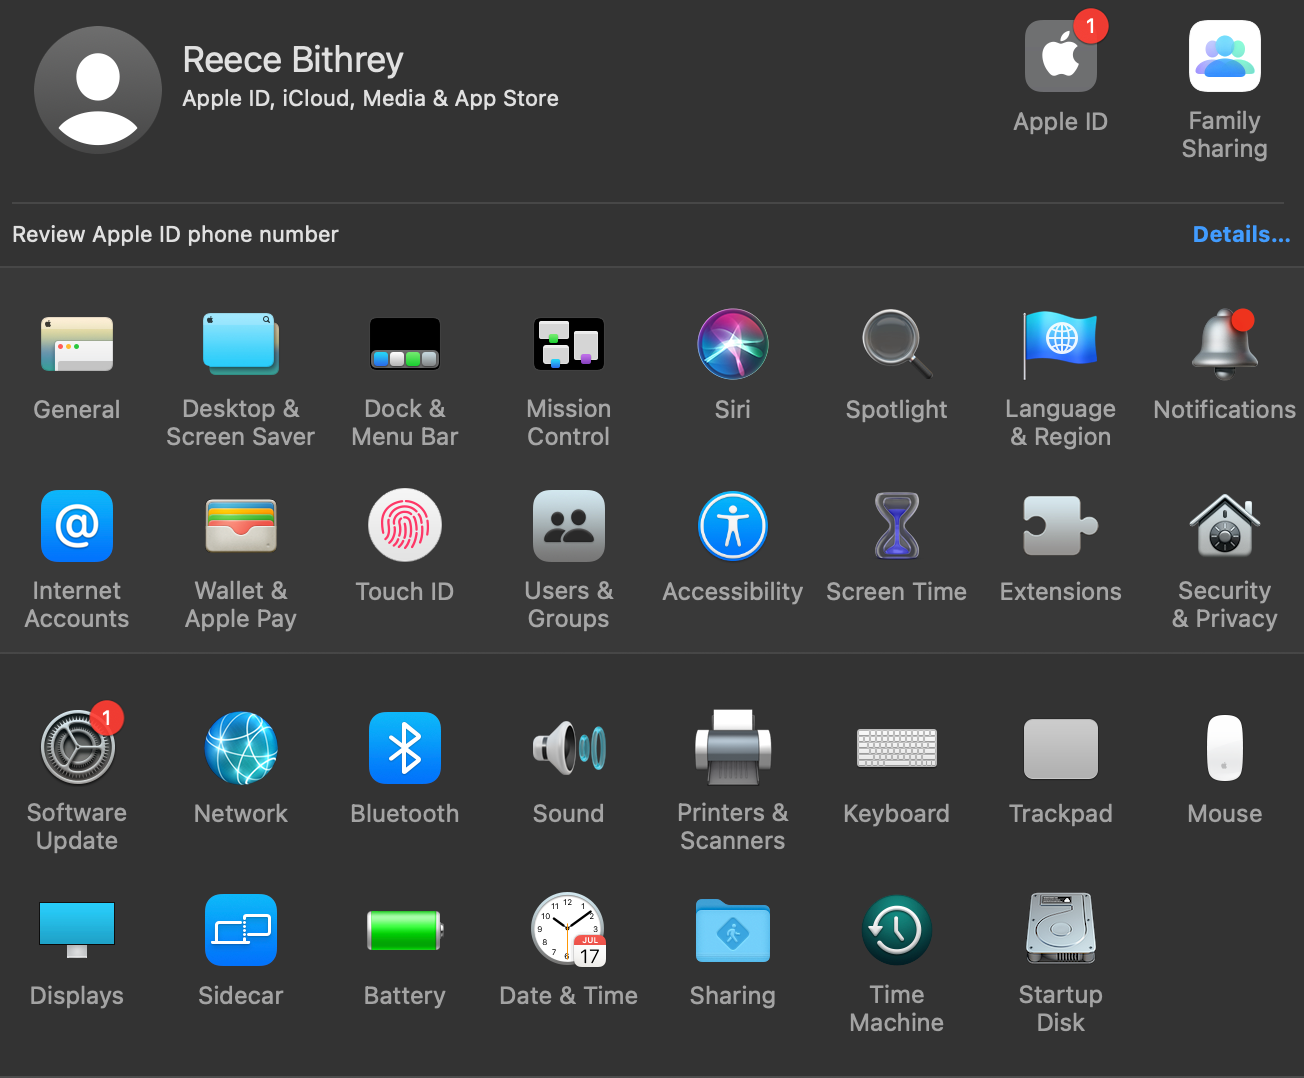
Once you’ve opened System Preferences, it’s a case of clicking on Sharing, which you should find near the bottom of the menu screen, within the same section as the Display settings, Sidecar and the Date & Time settings.
Step
3Enter name in the ‘Computer Name’ box
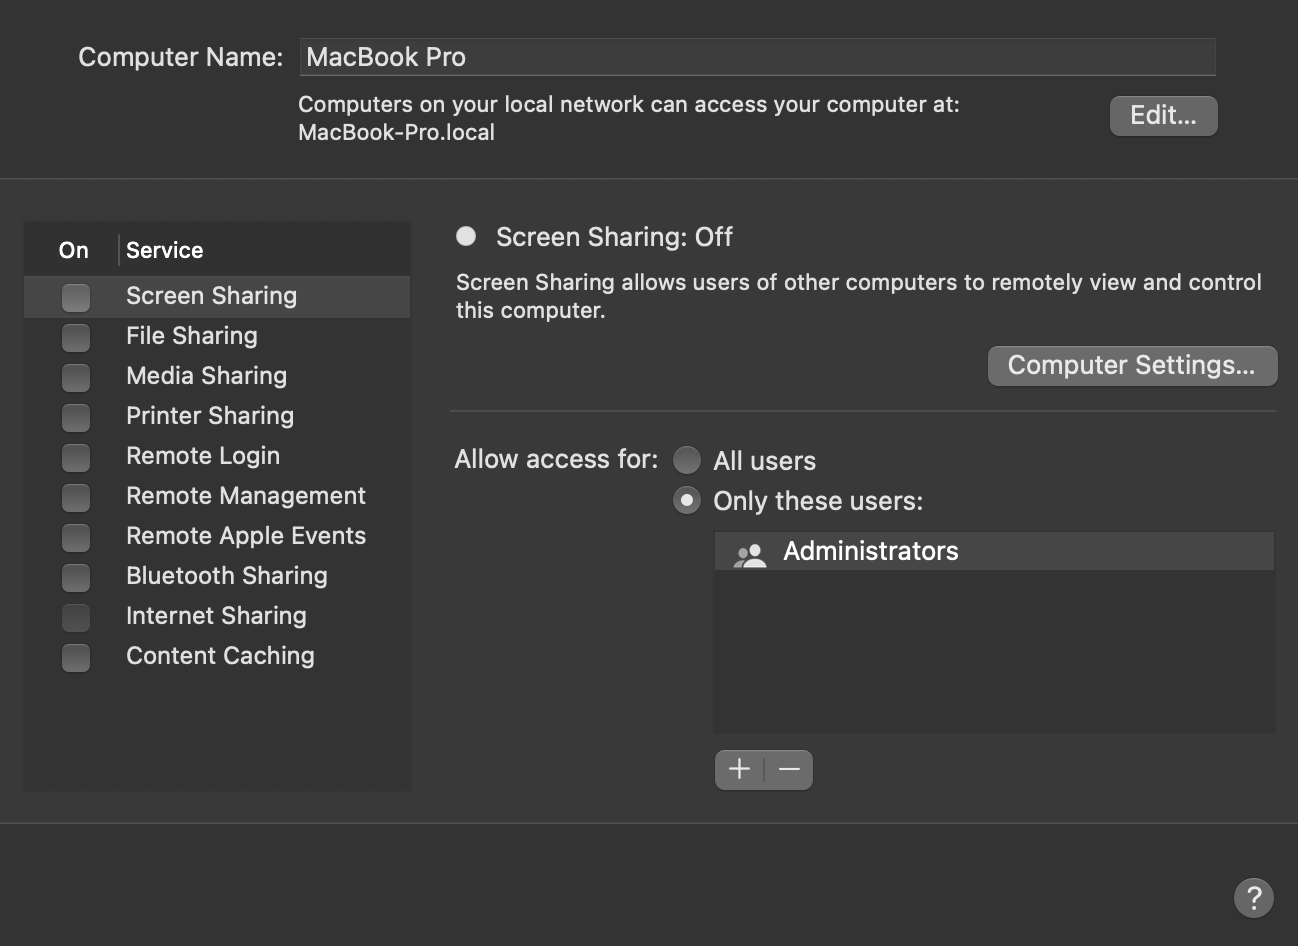
At the top of the menu, there’s a box where you can input your new name for your Mac, and you can call it anything you fancy. To confirm the name change, press Enter, or click anywhere outside the original menu.
FAQs
You can call your Mac anything, but we recommend making it personable and recognisable. If you’re going to be sharing files a lot via AirDrop for instance, you want to make your name stand out from the list so you know that it’s yours and don’t accidentally send files to the wrong person.
You might like…


Editorial independence
Editorial independence means being able to give an unbiased verdict about a product or company, with the avoidance of conflicts of interest. To ensure this is possible, every member of the editorial staff follows a clear code of conduct.
Professional conduct
We also expect our journalists to follow clear ethical standards in their work. Our staff members must strive for honesty and accuracy in everything they do. We follow the IPSO Editors’ code of practice to underpin these standards.