
Microsoft provides powerful parental controls in the form of its Family Safety settings, but both guardians and children have to be enrolled online. Here’s a how to set up a safe and secure managed account for your child.
While the set-up process is a little involved, once configured, Microsoft Family Safety makes it easy to set and agree clear, helpful and healthy limits on the computer and internet use of young people in your care.
However, just turning parental controls on and hoping for the best isn’t a winning long-term strategy. It has to go hand-in hand with evolving conversations about online safety. It’s also important to be honest and explain that you are using content filtering. Even young children can understand that not everything on the internet is for them and that you’re filtering out things that might scare, trick or upset them.

Save 81% on a VPN with SurfShark
Surfshark has dropped the price of its VPN to £1.94 a month. Head over to Surfshark now to pay a one time price of £46.44 for 24 months of Surfshark and save 81%.
- Surfshark
- 81% off
- £1.94 a month
The Short Version
- Search for your Microsoft account info
- Make sure you’re signed into your Microsoft account on Windows
- Sign in to Microsoft Family Safety
- Add another user
- Enter their email address
- Confirm the address
- Choose their role
- Click Next
- Confirm your humanity
- Click Invite
- Have your family member sign up
- They then click join on the website
- Sign into your member’s Microsoft account
- Optional: Create an account
- Click Next on the Create account screen
- Create a password
- Click next
- Enter their name
- Click Next
- Enter their date of birth
- Click Next
- Get an email verification code
- Paste it in
- Click Next
- Click Next when asked to prove you’re not a robot
- Solve the puzzle
- For under-thirteens: Parental consent required
- Click Continue
- Sign in to give your child consent
- Click Next
- Opt for them not to stay signed in
- Read the consent form
- Sign the consent form
- Click Yes, I agree
- Allow non-Microsoft apps
- Press Continue
- See default account settings and sign out
- For over-thirteens: Confirm that they want to join
- Take a look at their member account
- Open Windows user management
- Find your member in Family & other users
- Select them
- Click Allow
- Give your new family member access to Windows
- Log out of Windows
- Time to sign in as another user
- Select your new Windows user
- Have them sign in
- Configure their Windows account to use a PIN
- Allow OneDrive backups
- Click Next
- Deny app location sharing
- Click Accept
- Deny inking and typing diagnostic data
- Click Accept
- Refuse tailored experiences
- Accept and move one
- Deny apps the ability to use advertising ID
- Click Accept
- Click Start
- Open the user list
- Select your account from the list
- Log in
- Open your web browser
- Configure their access privileges
Save 81% on a VPN with SurfShark
Surfshark has dropped the price of its VPN to £1.94 a month. Head over to Surfshark now to pay a one time price of £46.44 for 24 months of Surfshark and save 81%.
- Surfshark
- 81% off
- £1.94 a month
Step
1Search for your Microsoft account info
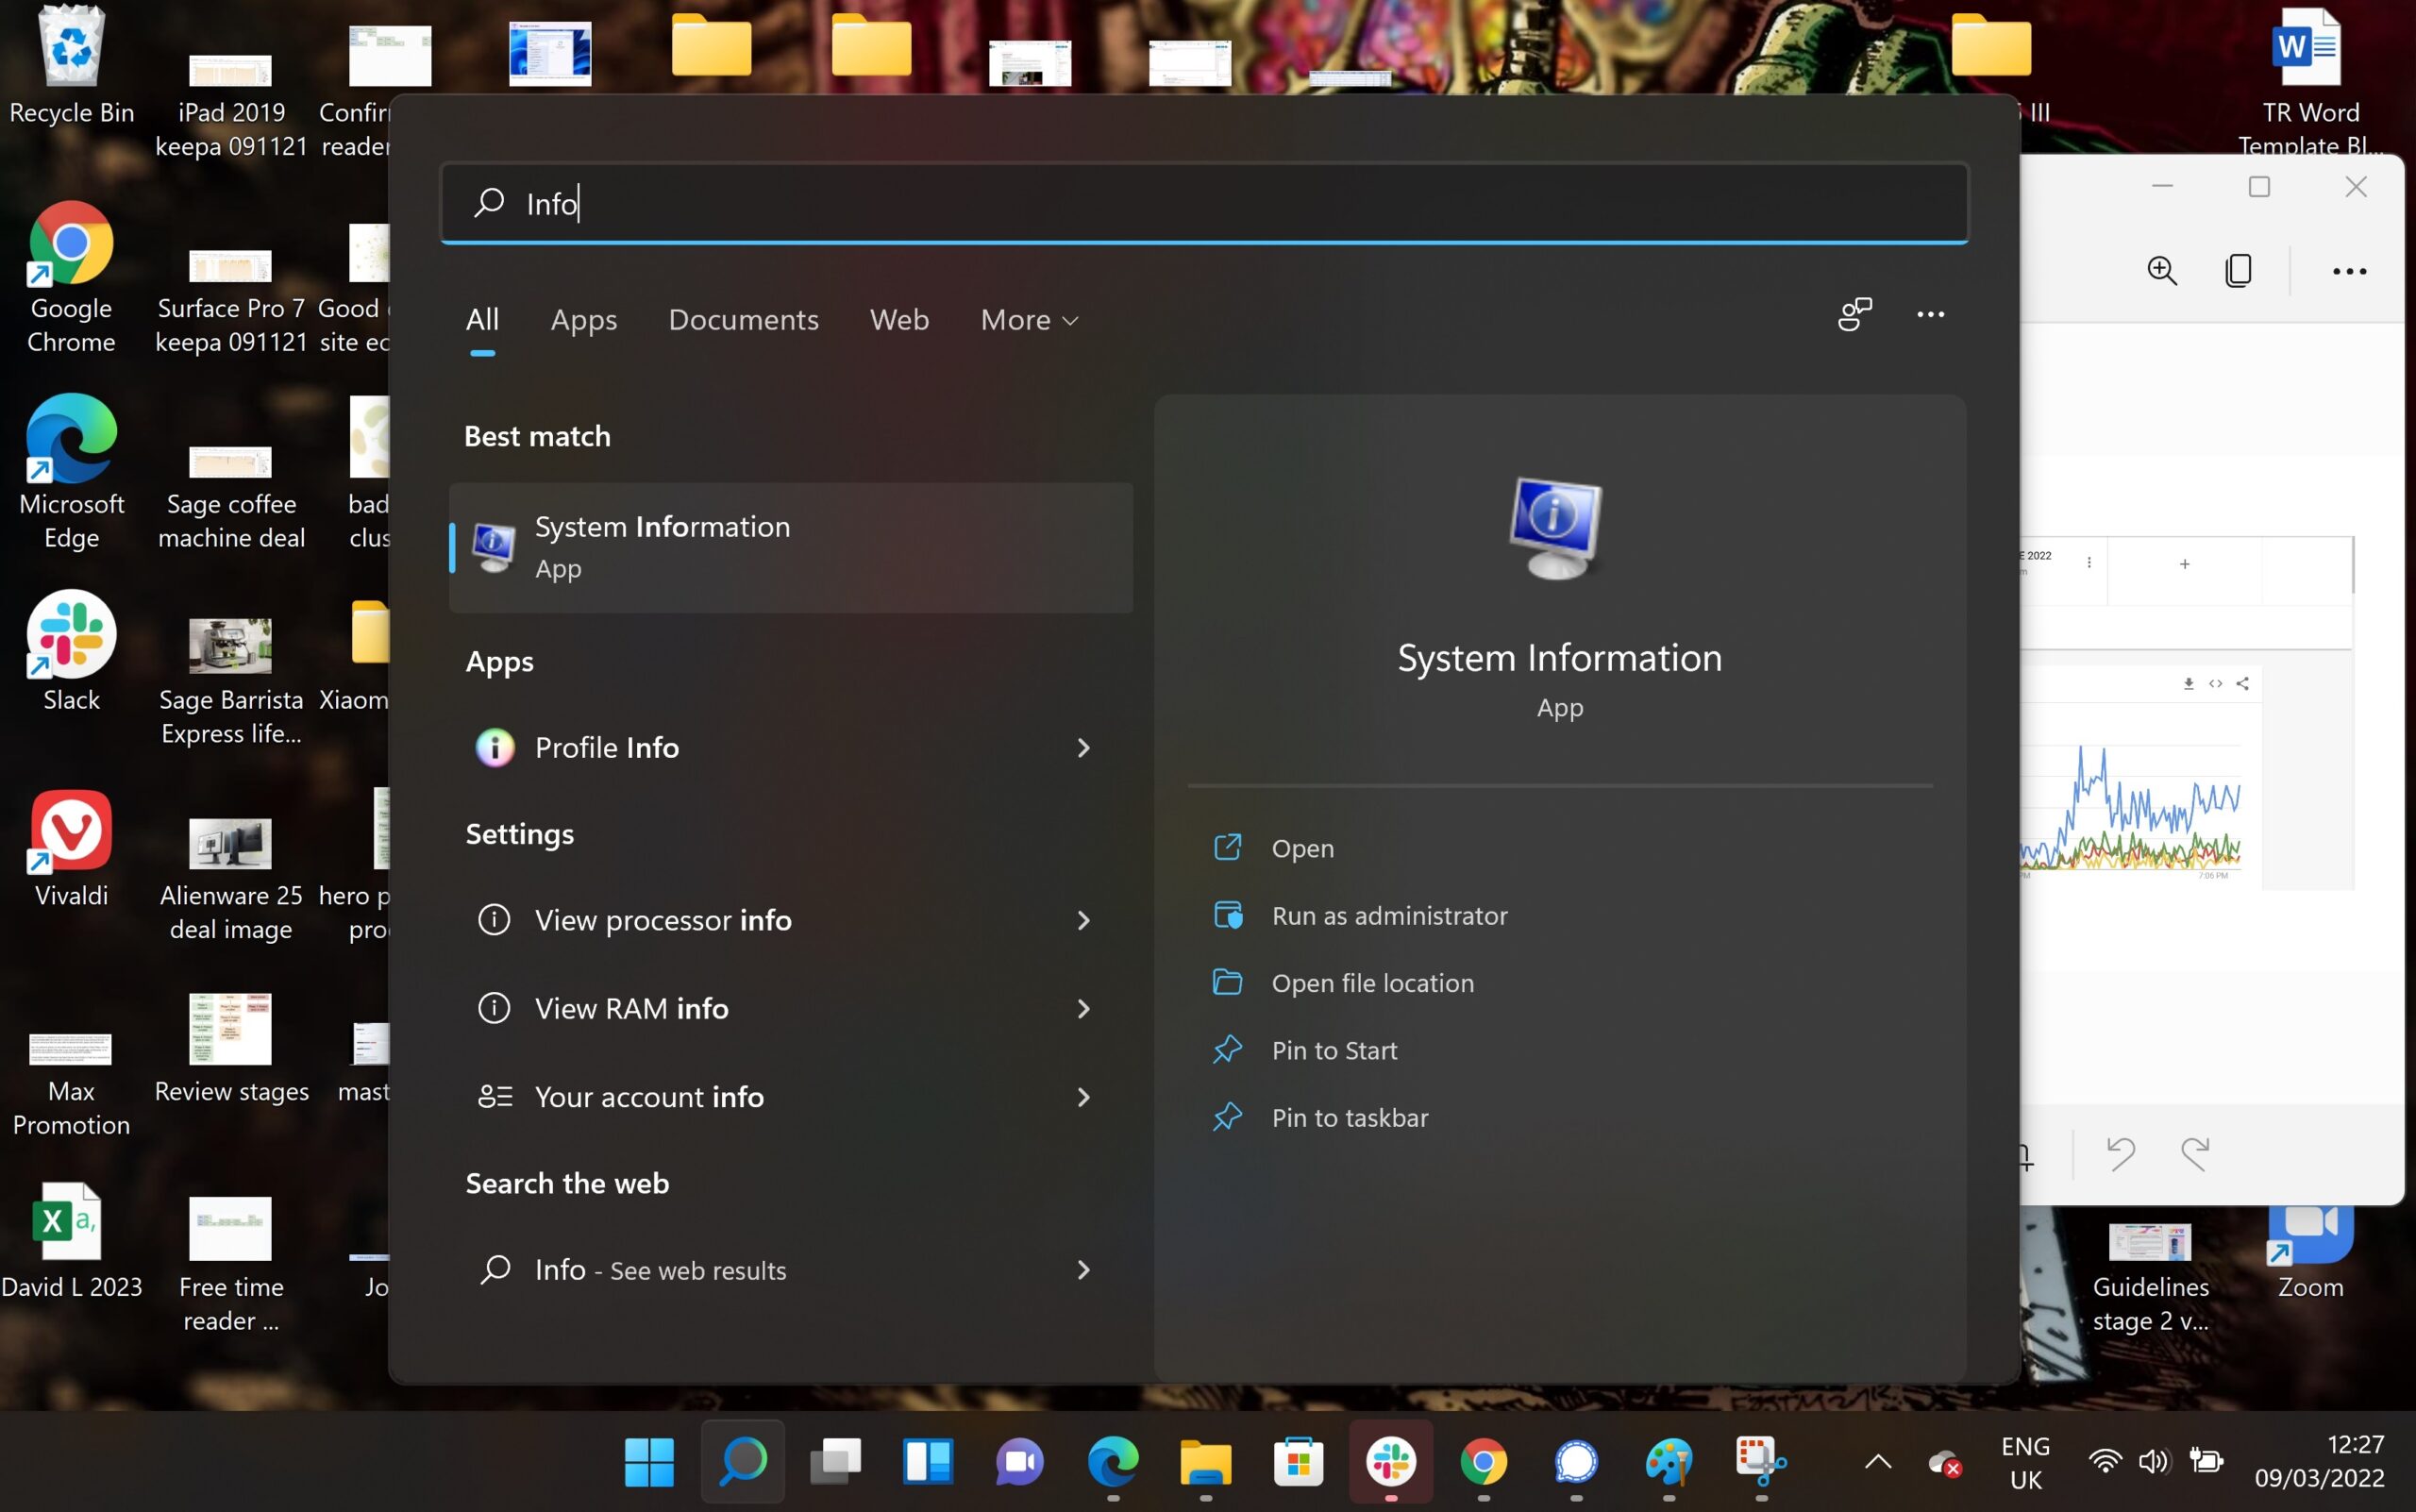
To start with, let’s make sure you’re logged into your Microsoft administrator account. Type “Your info” into the Windows search bar, click the “Your account info” result that shows up at the top.
Step
2Make sure you’re signed into your Microsoft account on Windows
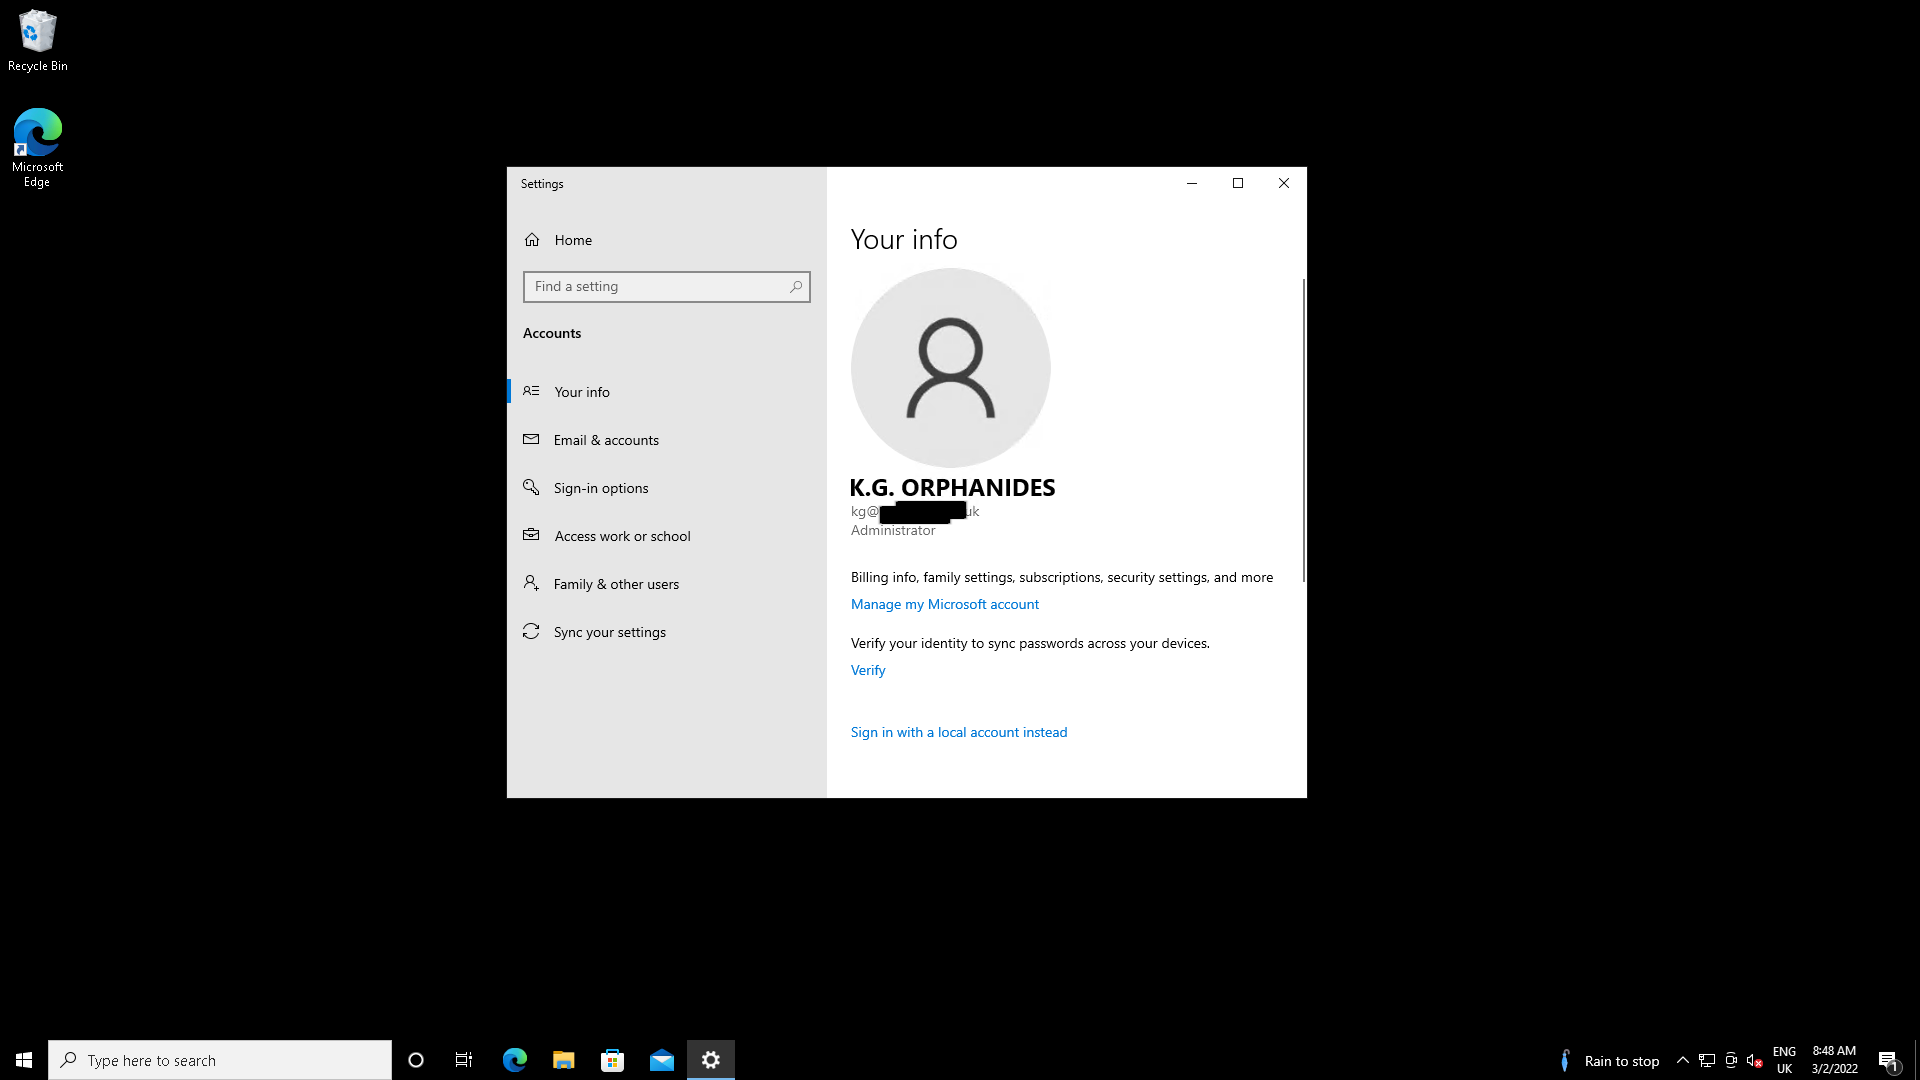
To check, and check that you’re signed in on the account you expect to be. Make sure it shows an email address – this tells you that you’re using an online Microsoft account to, and that it lists you as “Administrator”.
Step
3Sign in to Microsoft Family Safety
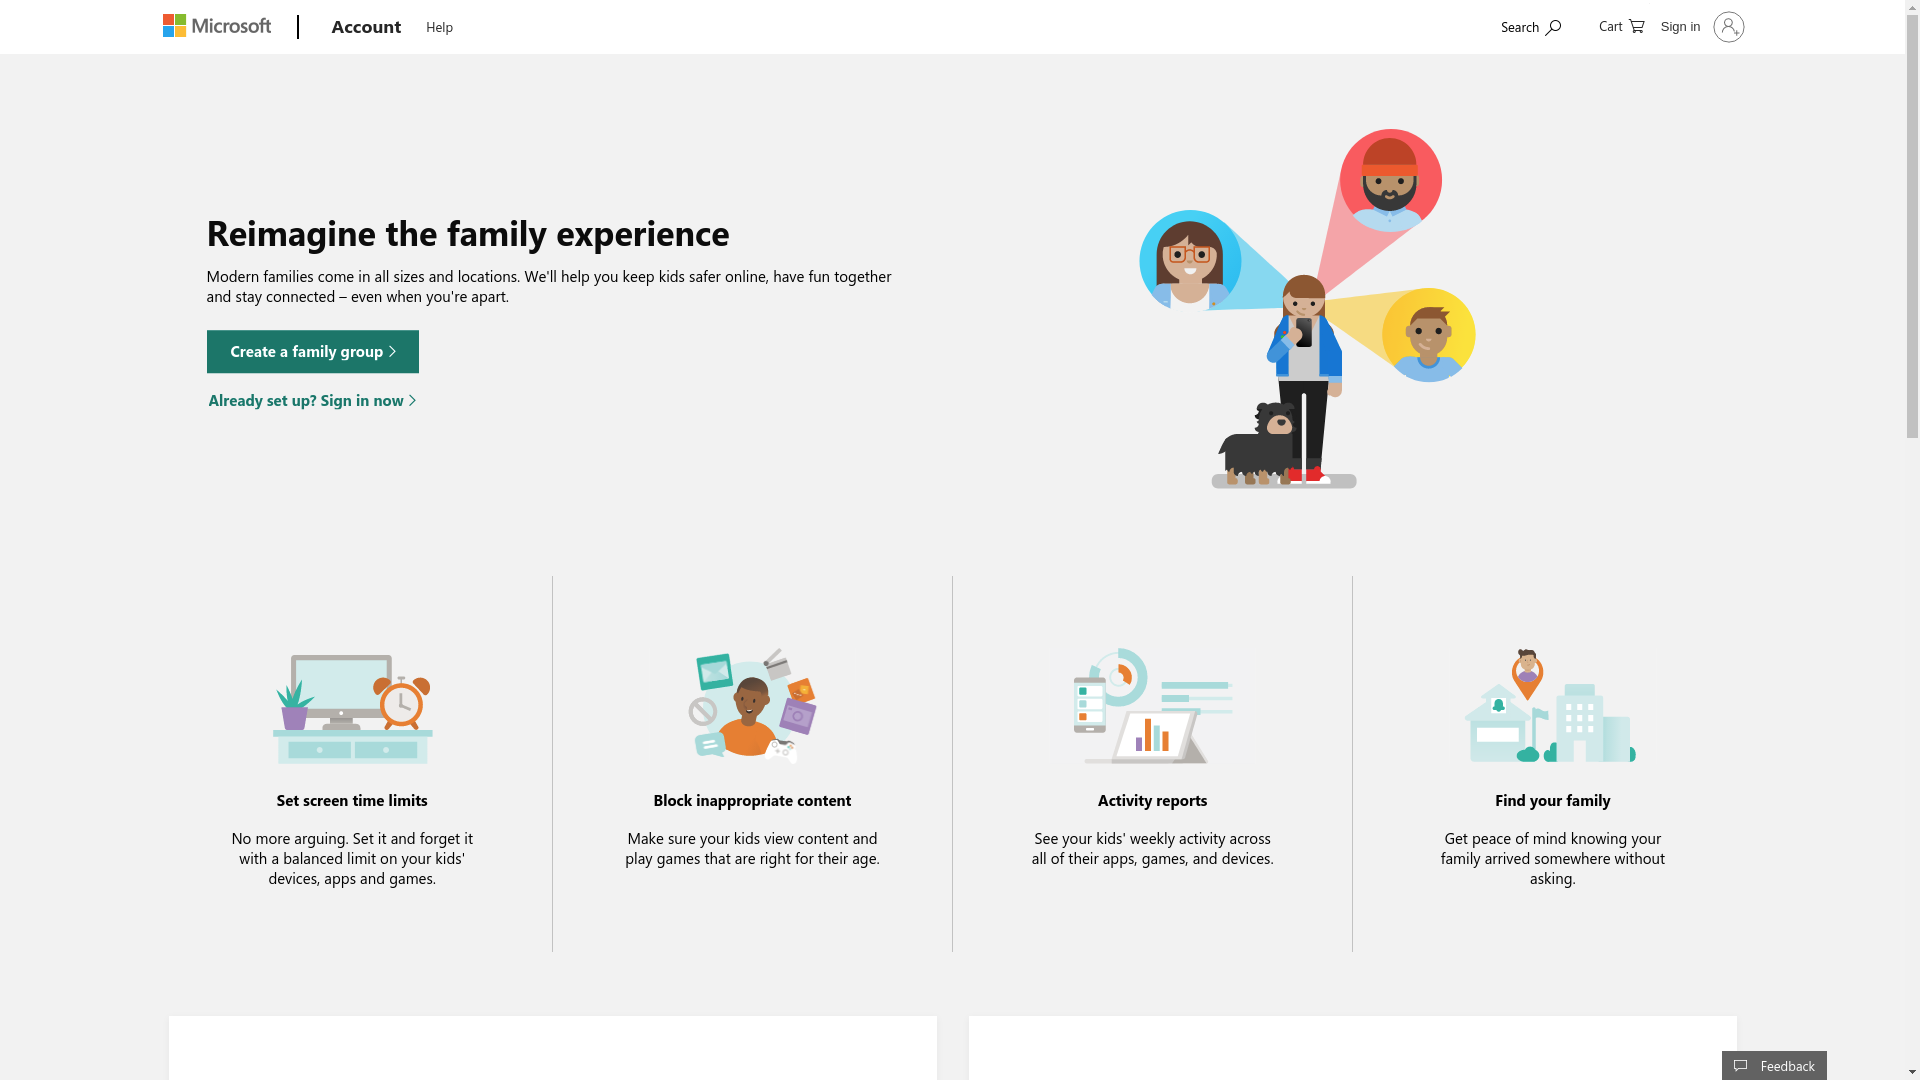
Go to https://family.microsoft.com/ and sign in using your Microsoft account – the one that your Windows license and is associated with, and which you use when signing in to Windows. If you have no associated family members, you’ll be prompted to create one immediately via a pop-up, but we’re going to take the conventional route – either close the pop-up or skip to step 3 to follow along with the tutorial.
Step
4Add another user
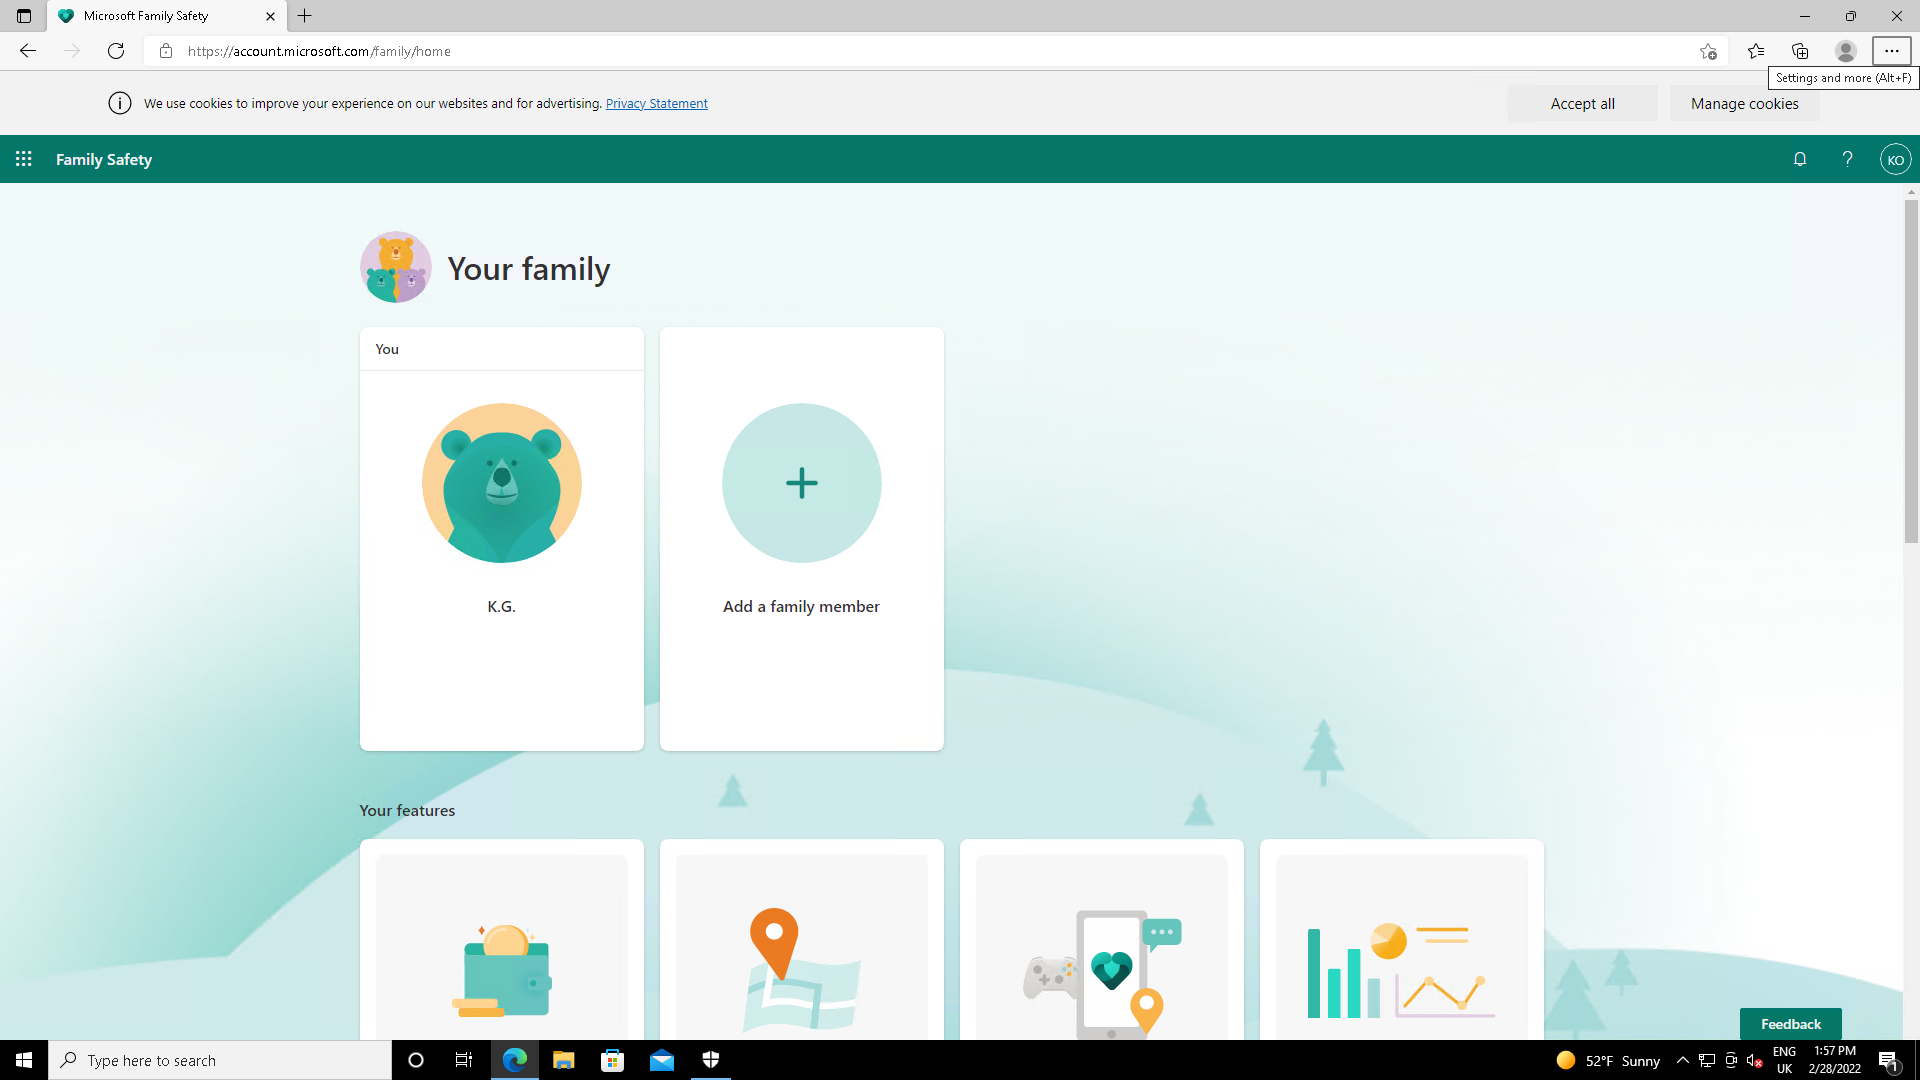
Click “Add a family member”, next to your own profile.
Step
5Enter their email address
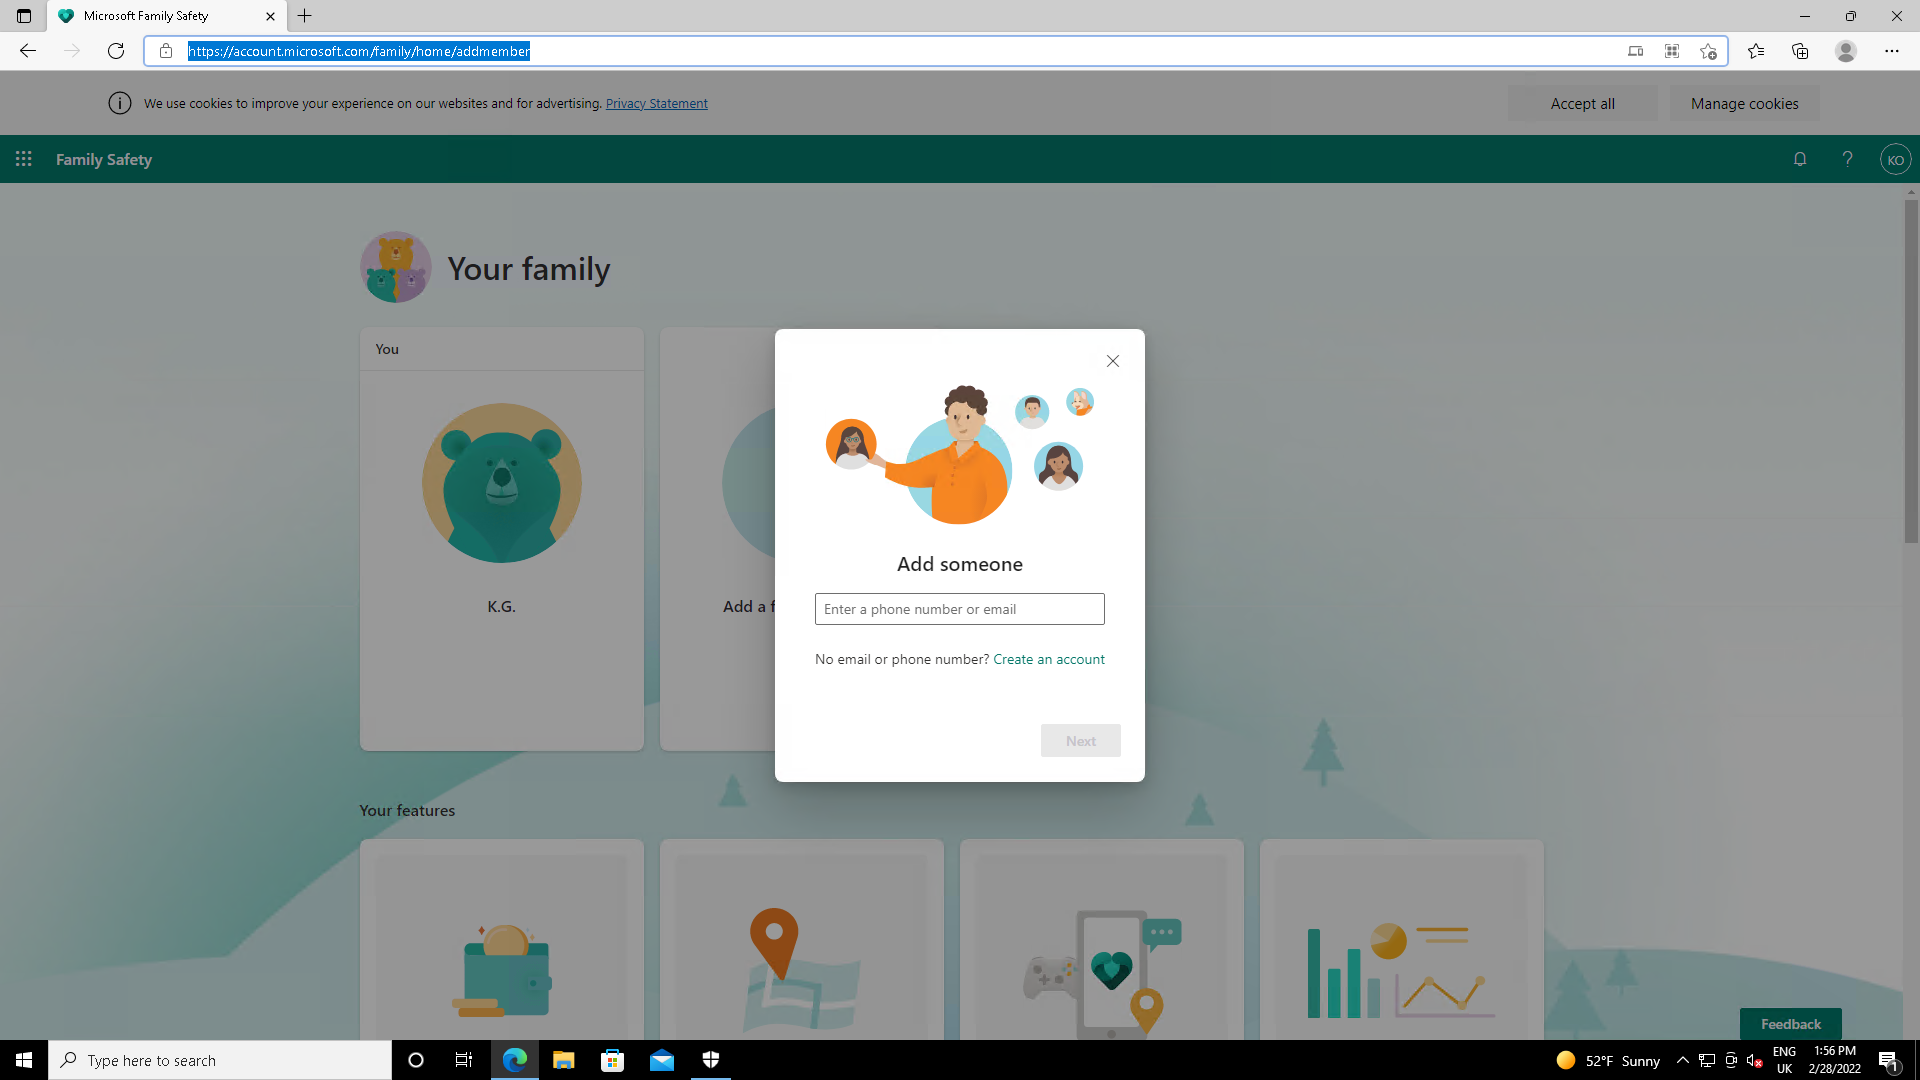
If they have a phone number or email address, enter it here. If not, you’ll be invited to create a Microsoft Outlook email account for them. Any email address or phone number can be used, however. If your kids already have Microsoft accounts, for example for Minecraft or Xbox, then you should use the address associated with these.
Step
6Confirm the address

Click Next.
Step
7Choose their role
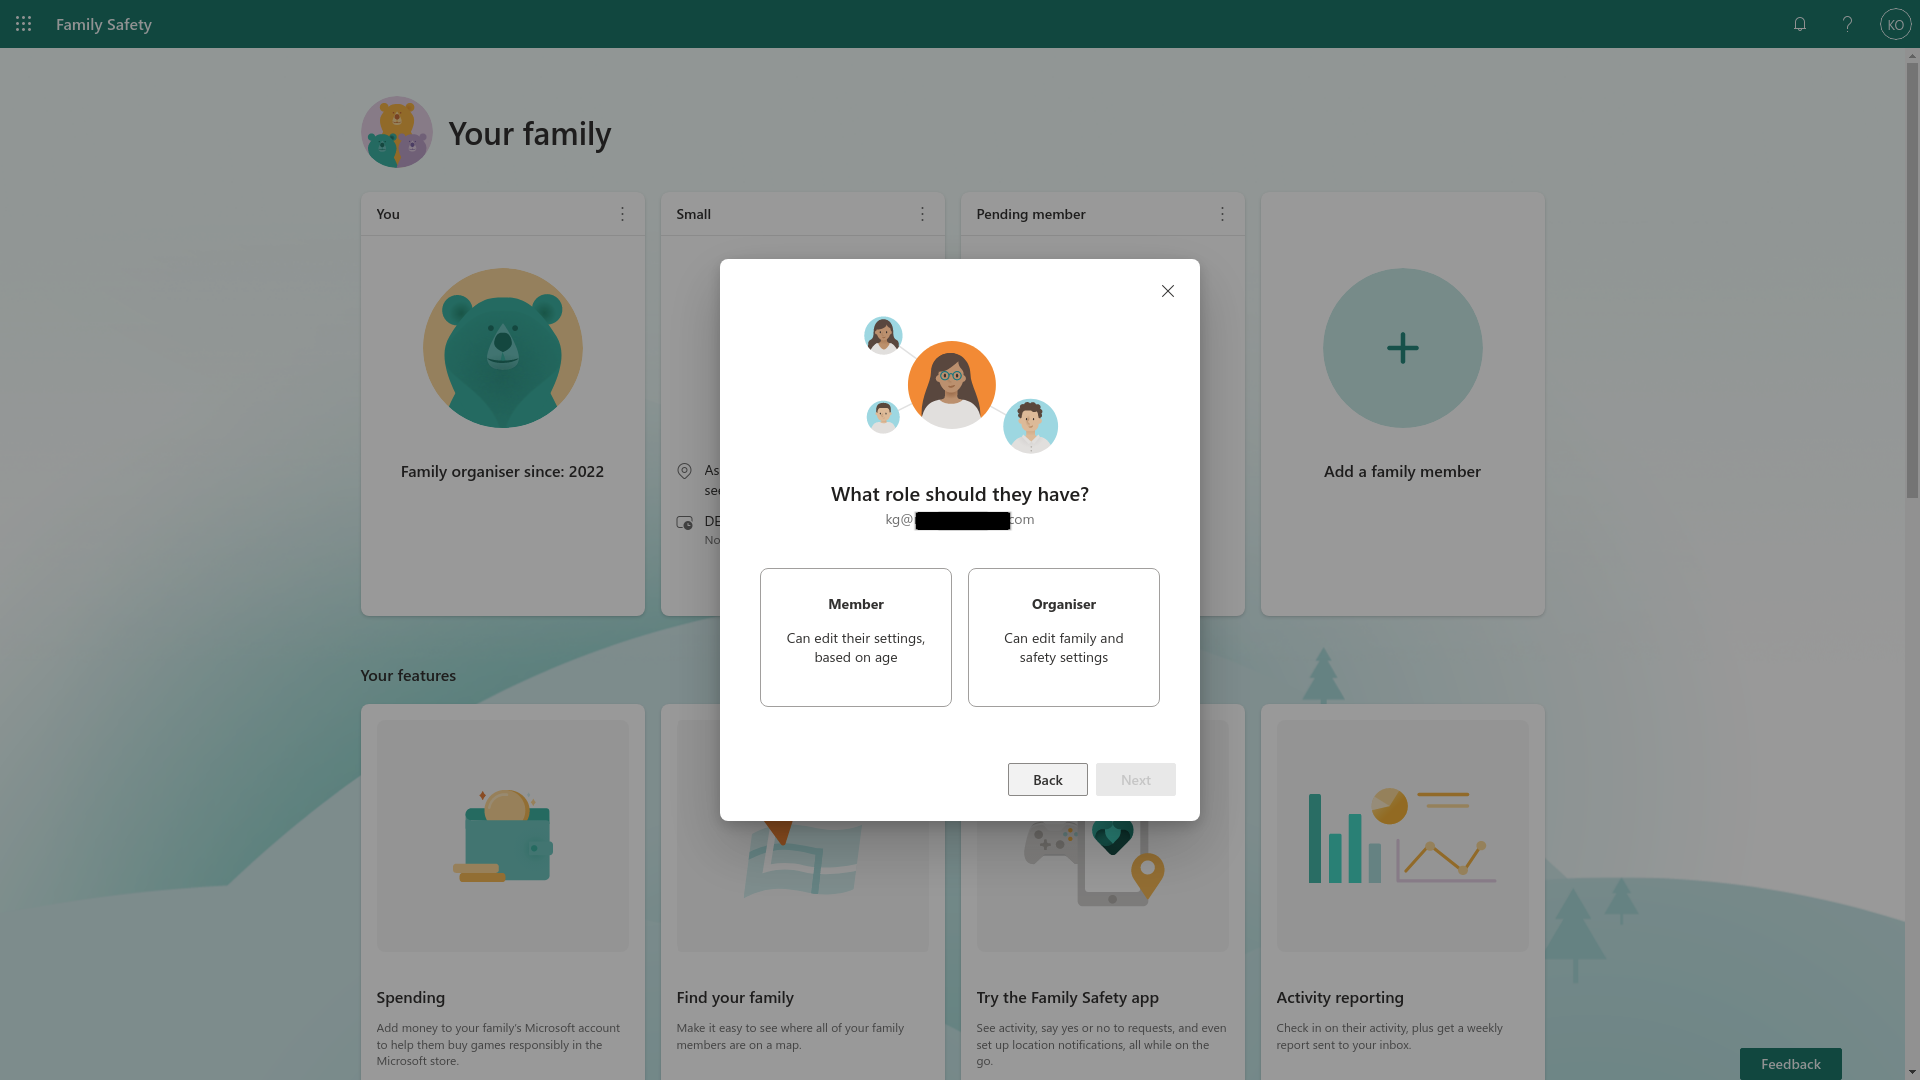
Set the user up a member or an organiser. If they’re a co-parent, guardian or other person you wish to give administrative powers to, they should be an organiser. Otherwise, select member here. I’m going to create a member account for child in the following steps.
Step
8Click Next

The Next button will turn green once you’ve chosen a role. Click it.
Step
9Confirm your humanity
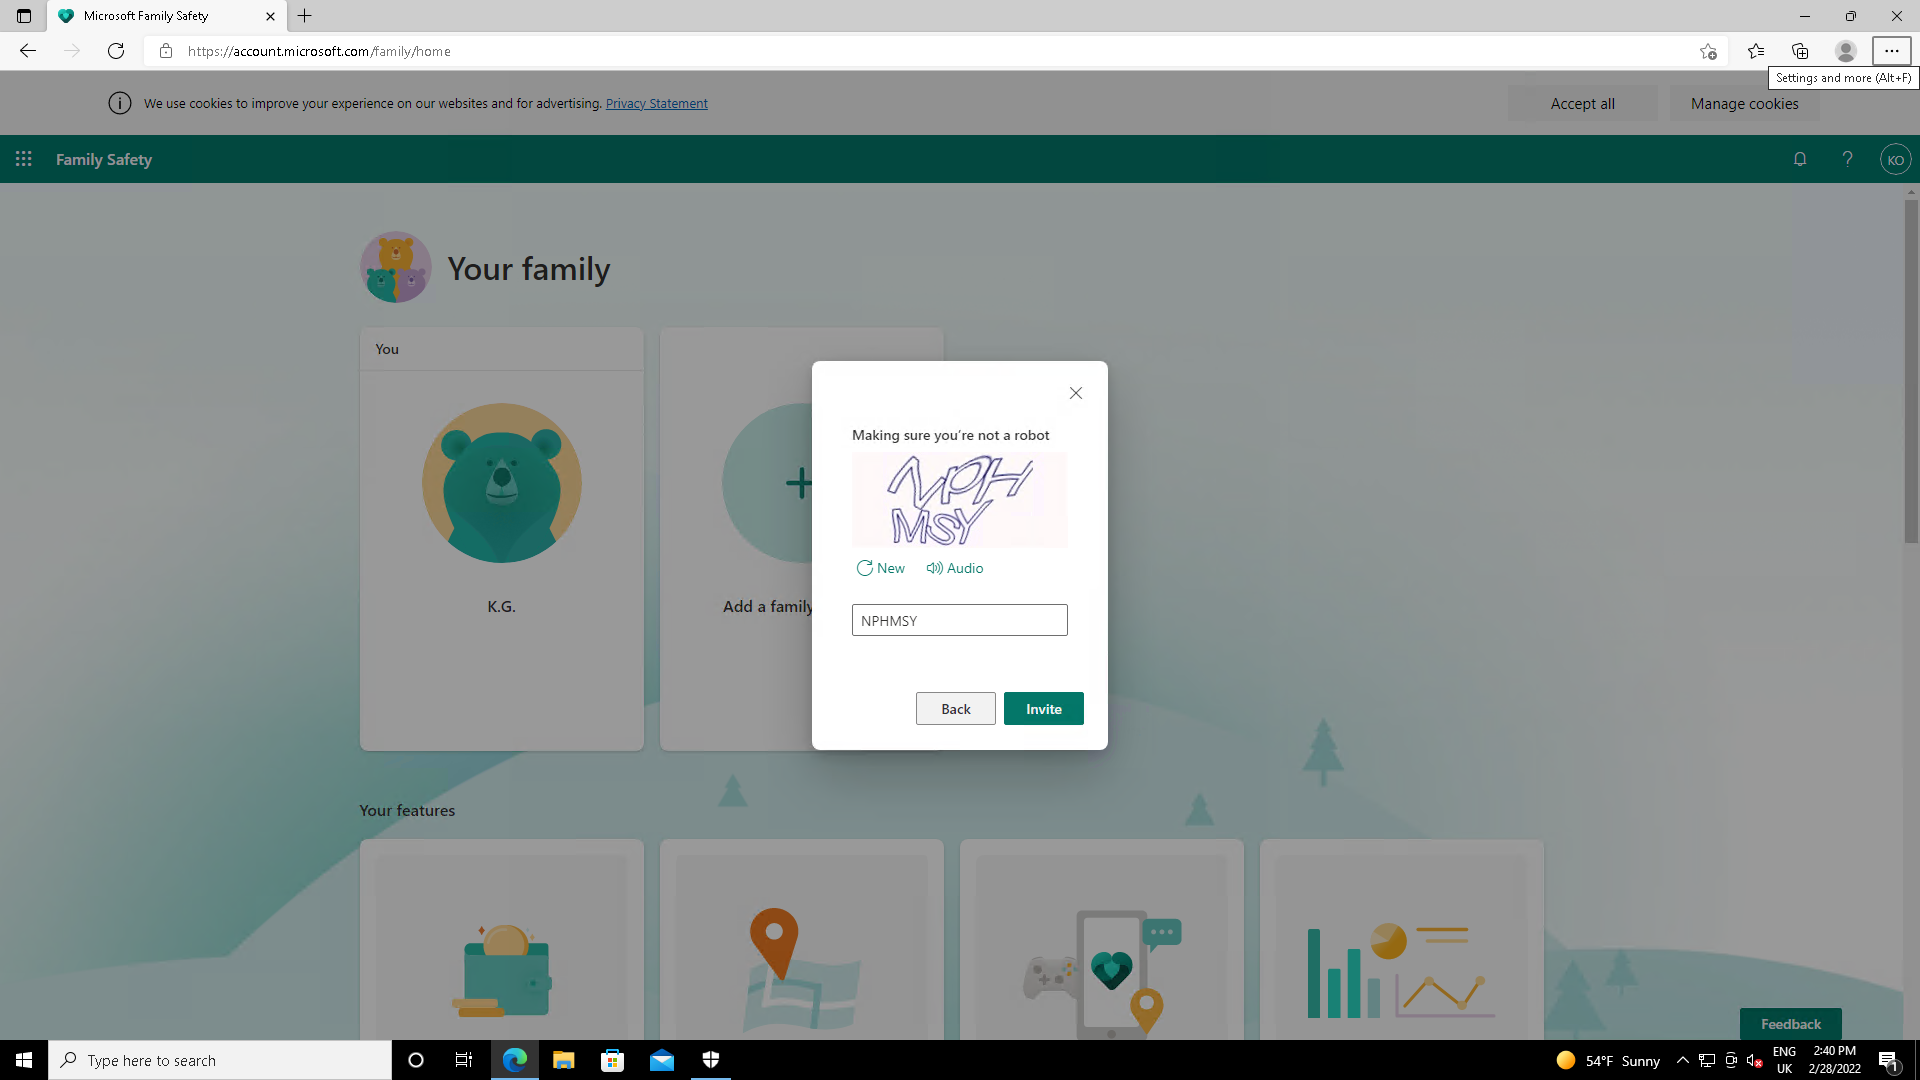
Enter the captcha
Step
10Click Invite
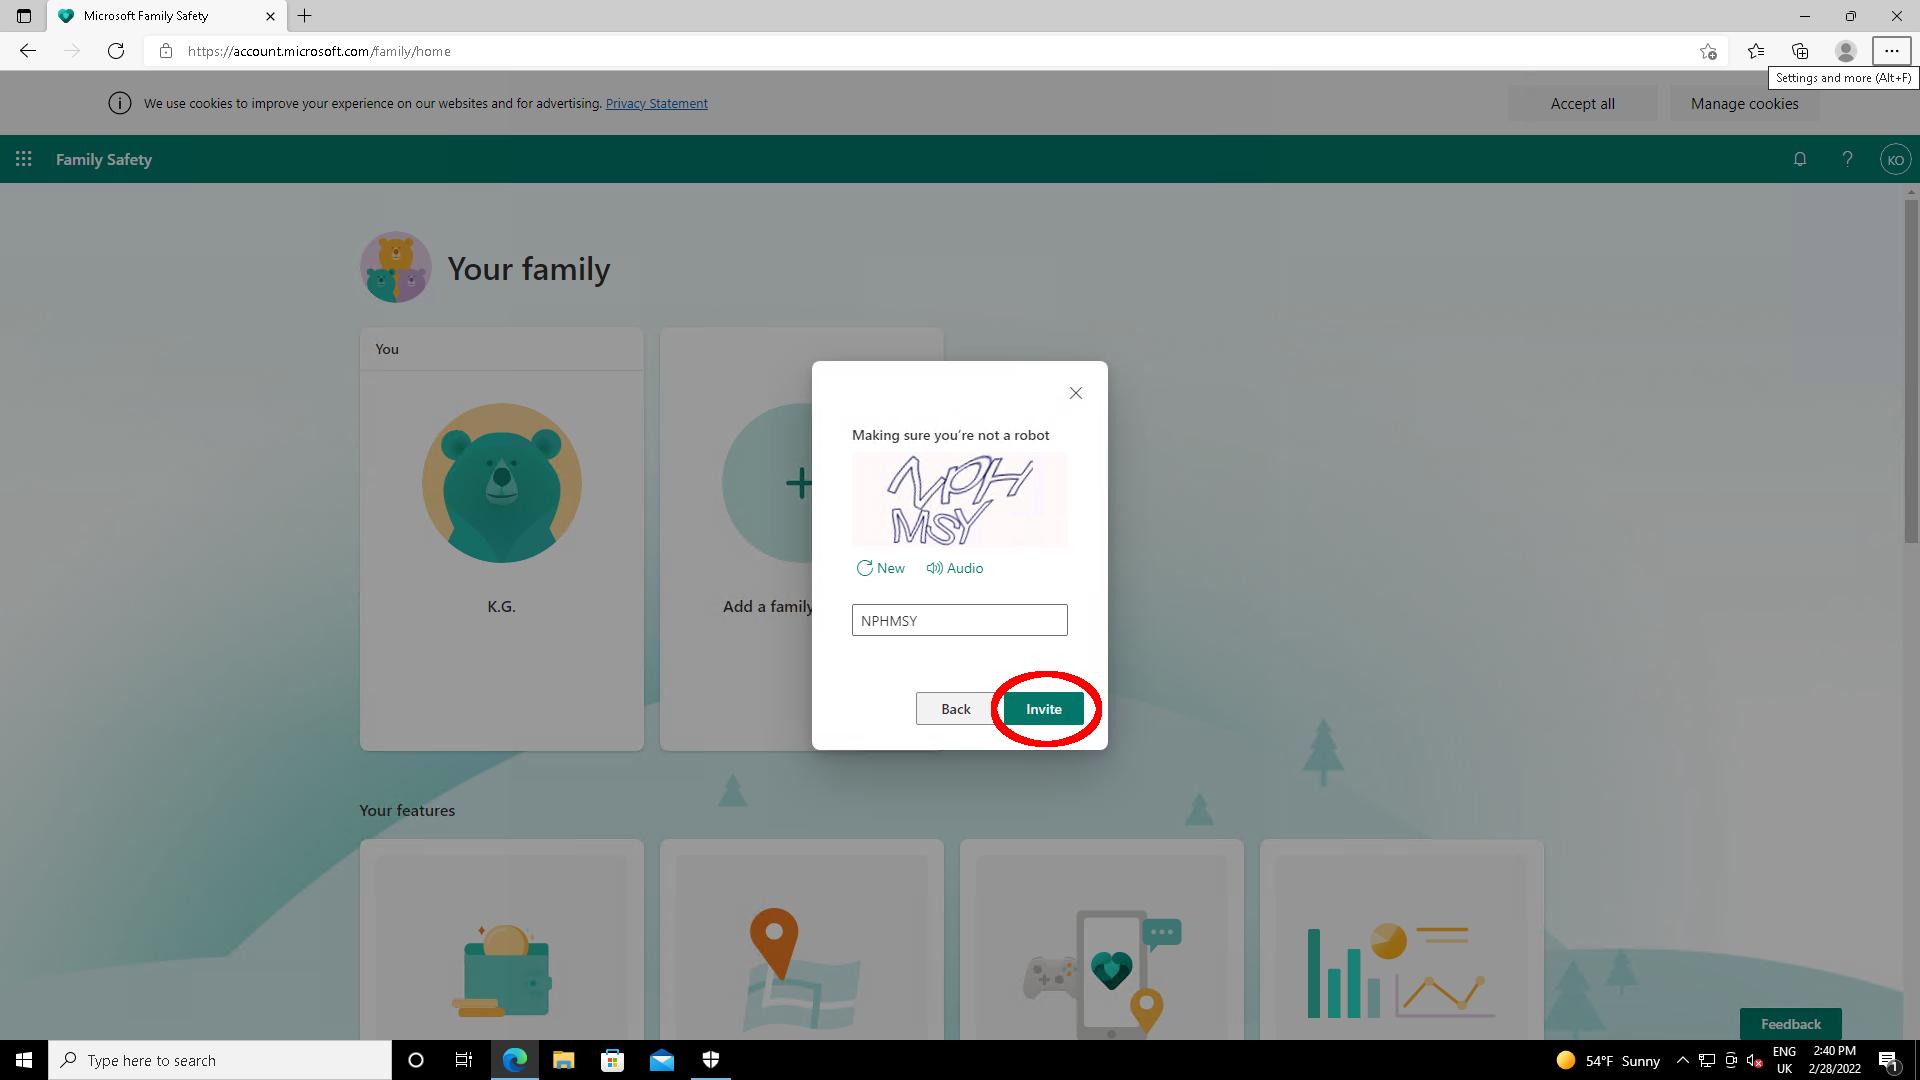
And then click the Invite button.
Step
11Have your family member sign up
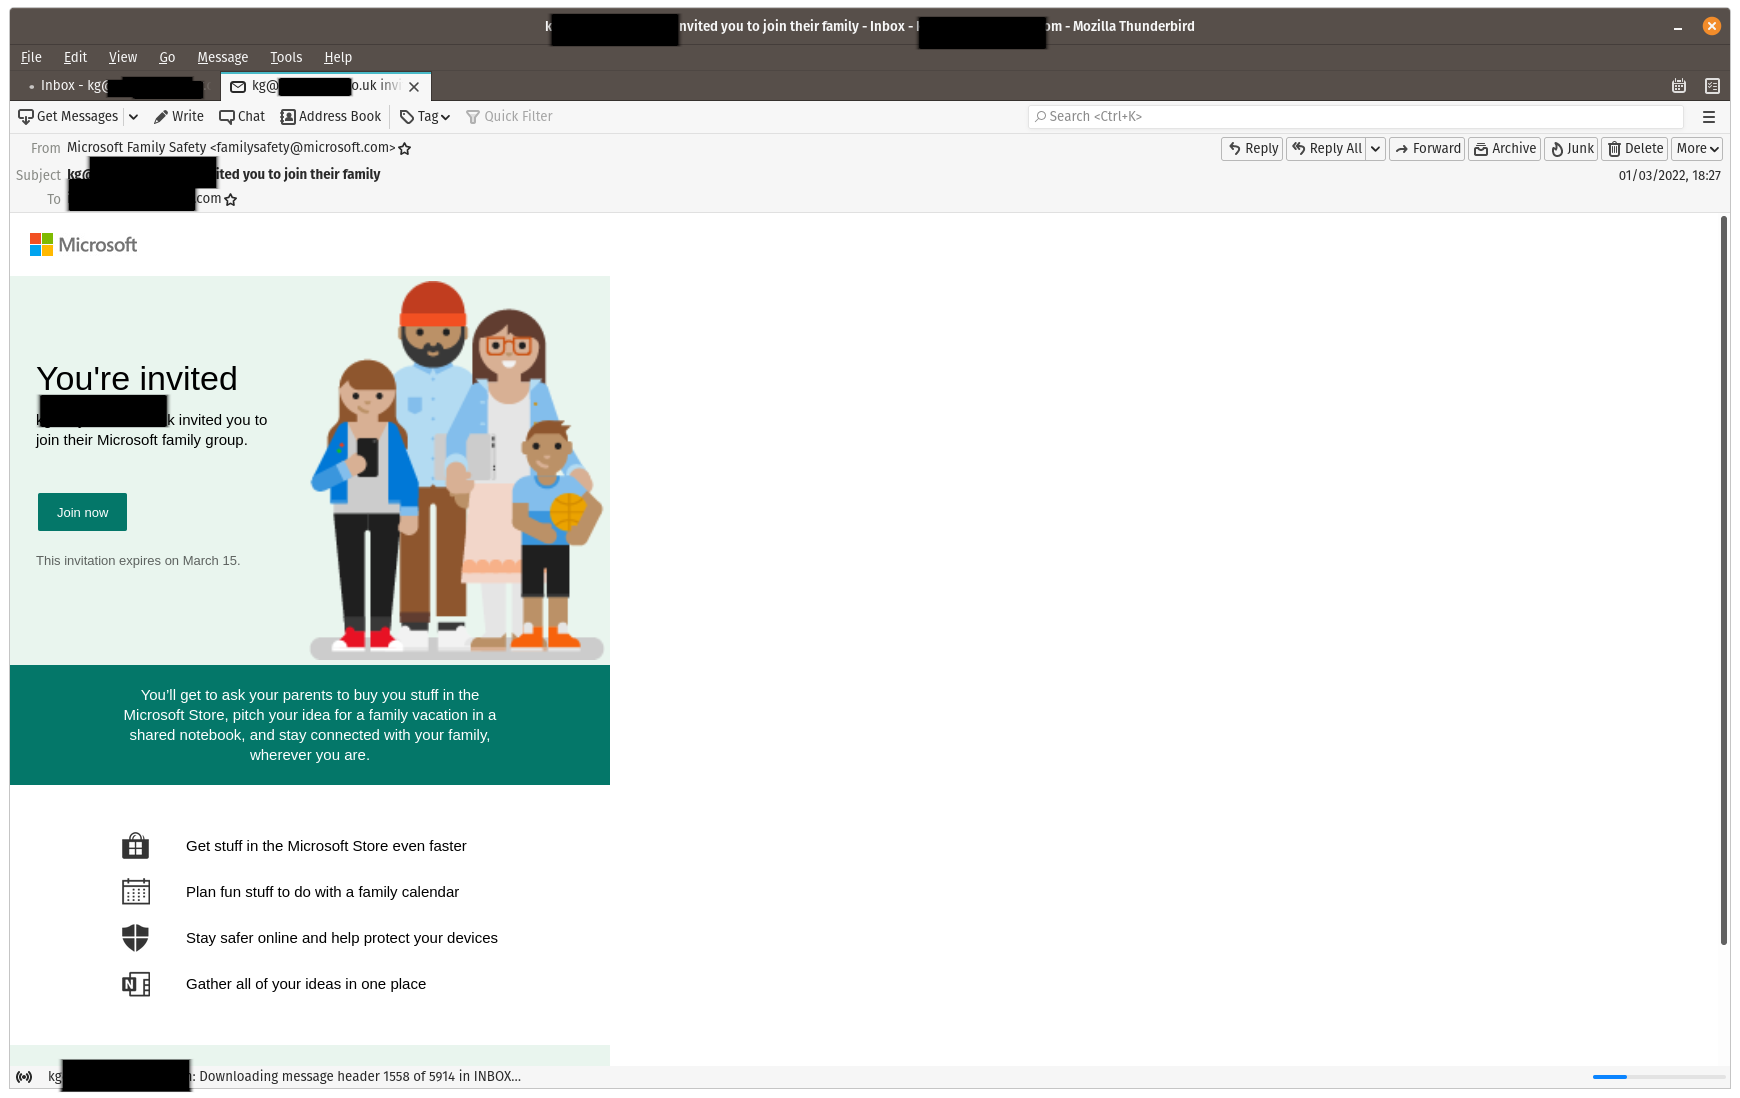
Your family member will receive an email at the account you added, inviting them to join Microsoft Family. They should click the Join now link.
Step
12They then click join on the website
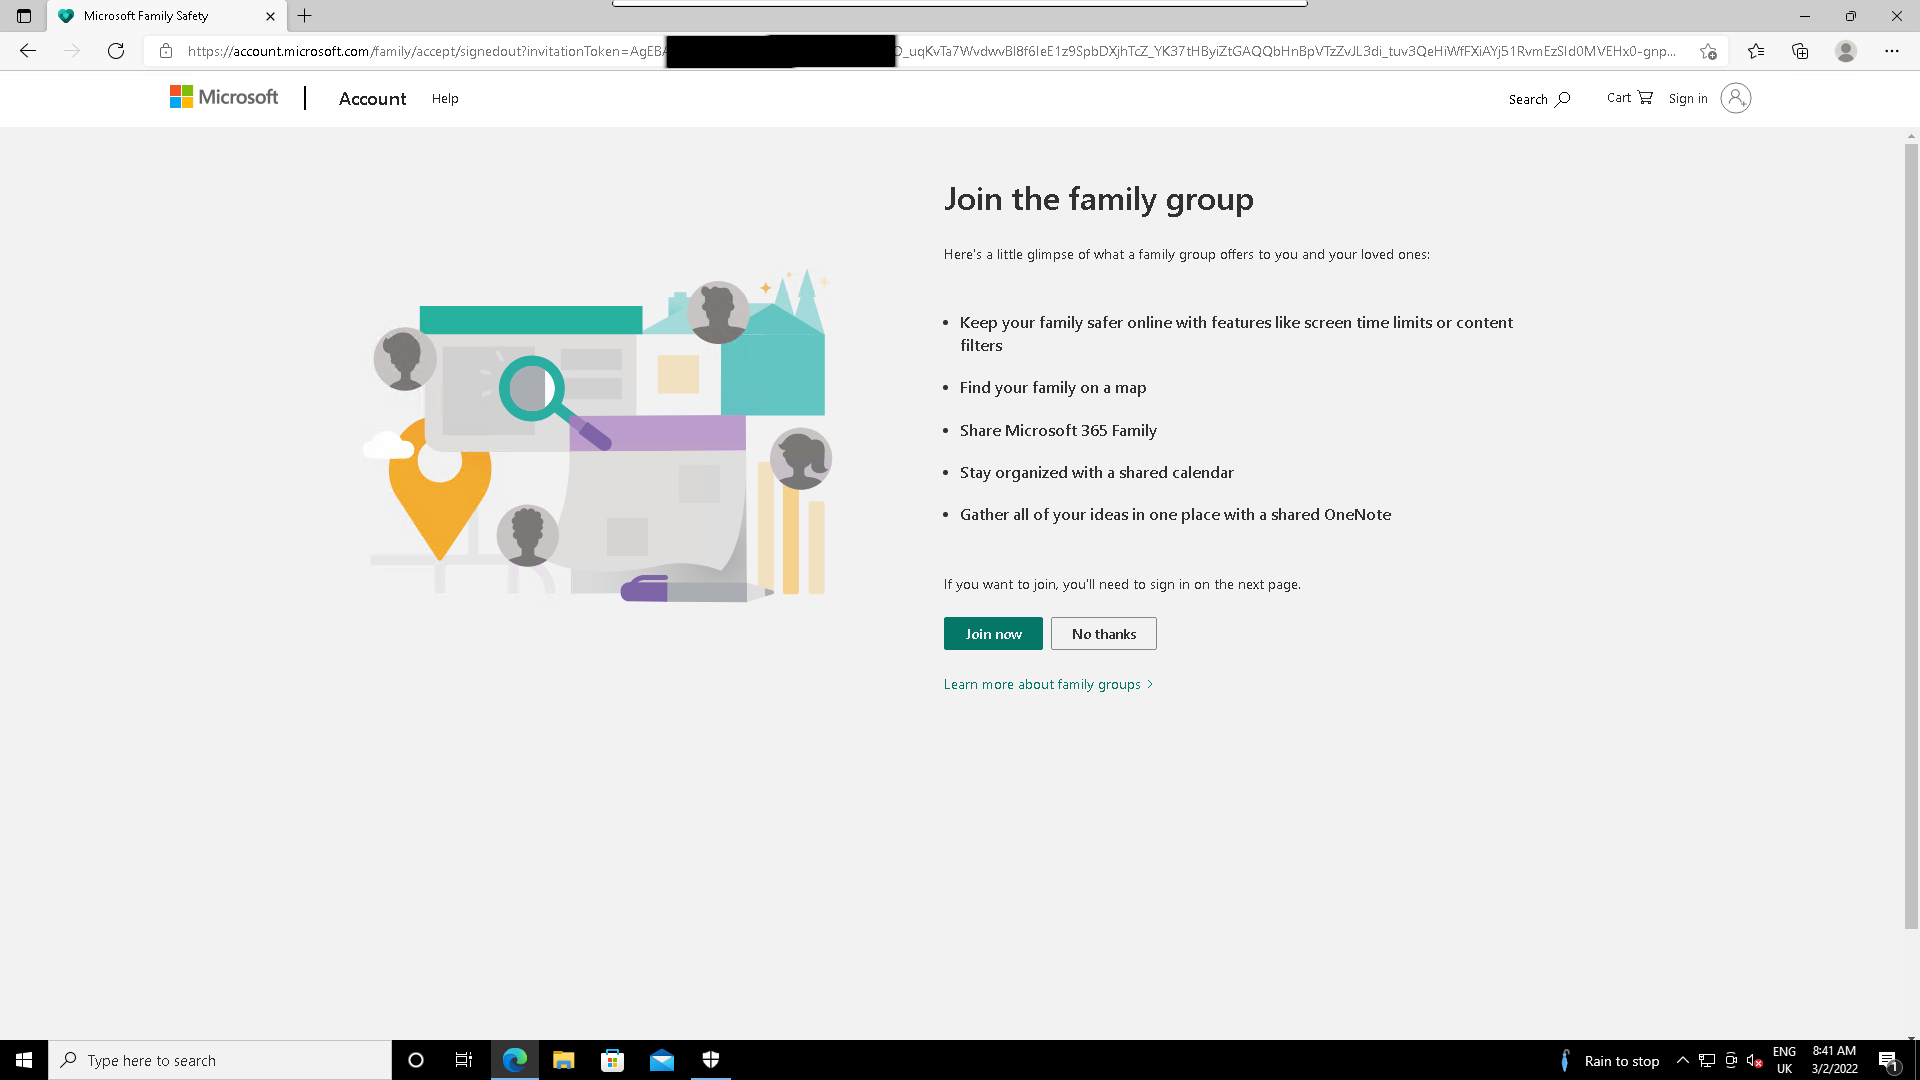
The “Join now” link in the email will take them to the Microsoft family group account creation website. They should click Join now here, too.
Step
13Sign into your member’s Microsoft account

If there’s a Microsoft account already associated with the email address you invited, they’ll be prompted to sign in. Click Next and enter the password when prompted. If they don’t already have a Microsoft account, they’ll be prompted to set one up – click “Create one!” and follow the on-screen instructions to do so – their account details should be saved in a password manager.
Step
14Optional: Create an account
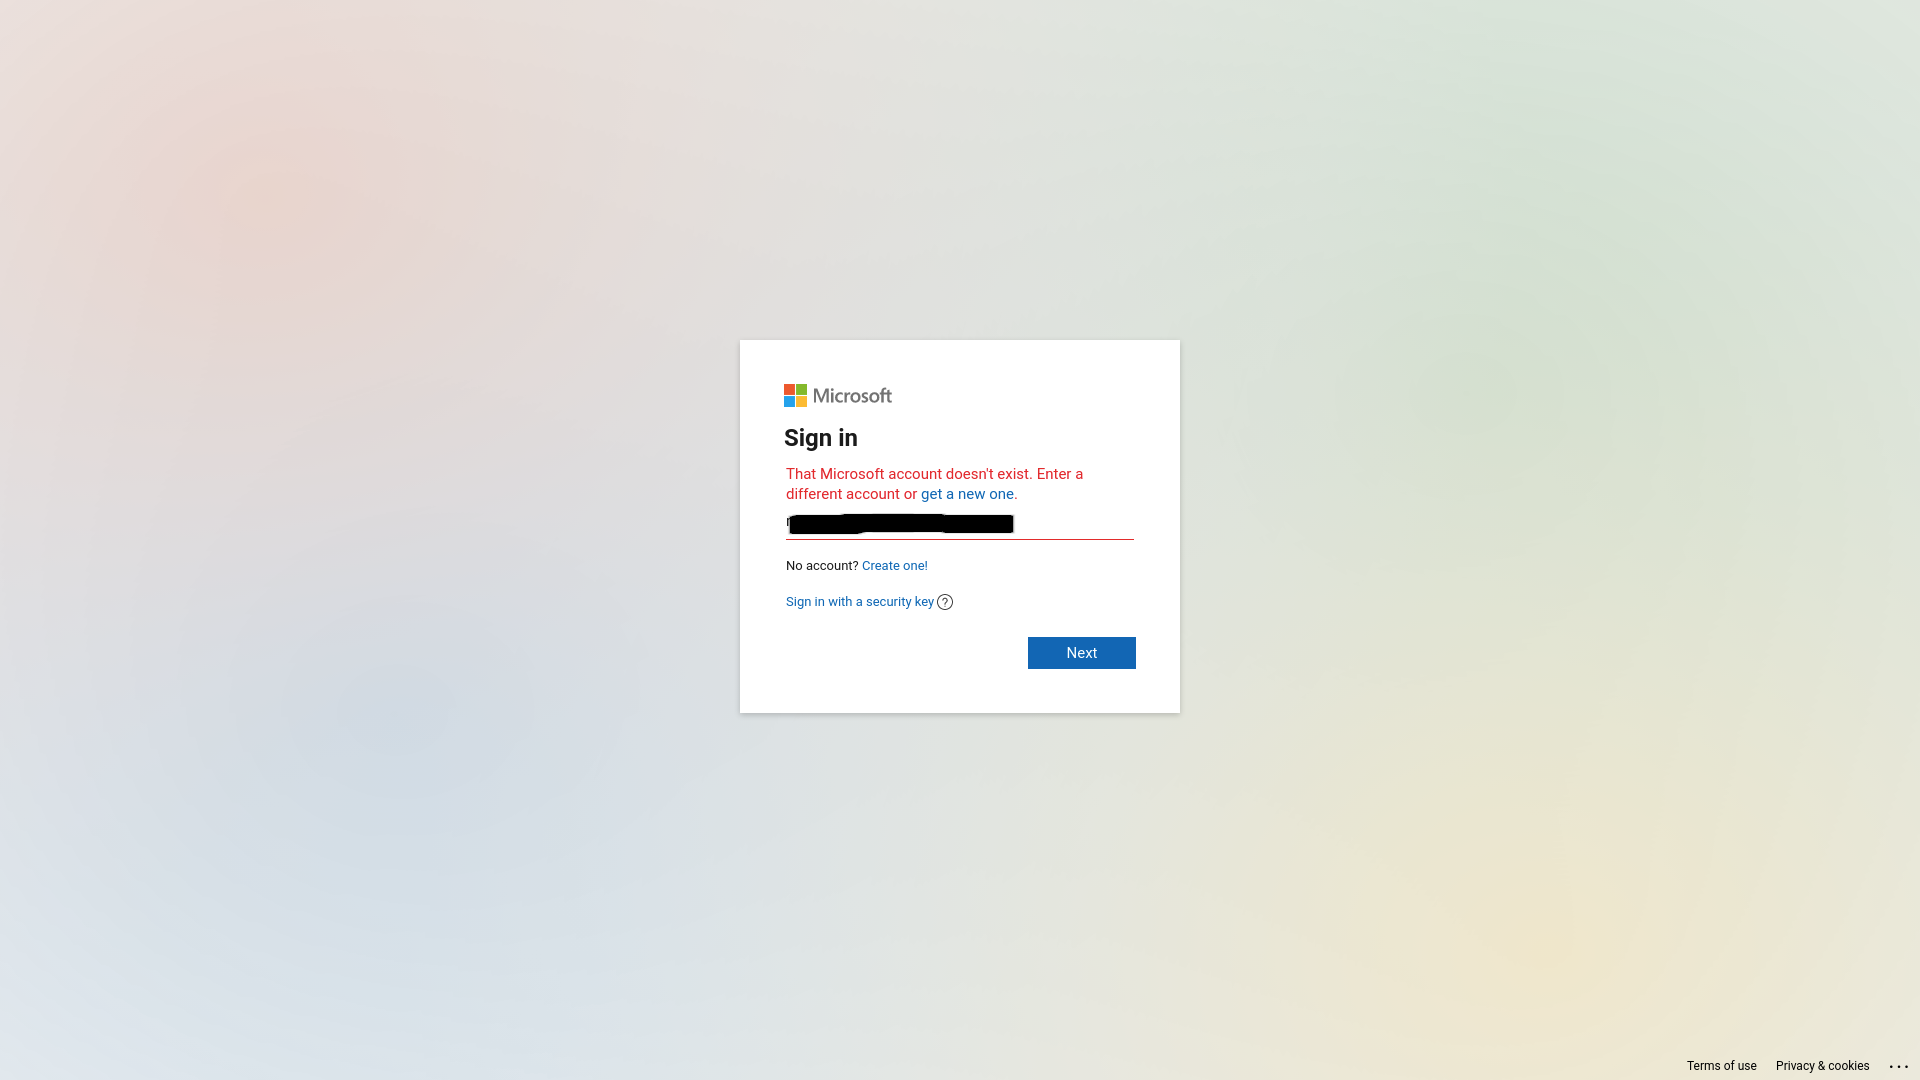
If they don’t have a Microsoft account they – or you – will have to create one. Click “Create one!”
Step
15Click Next on the Create account screen

Check that you have the address right and click Next
Step
16Create a password
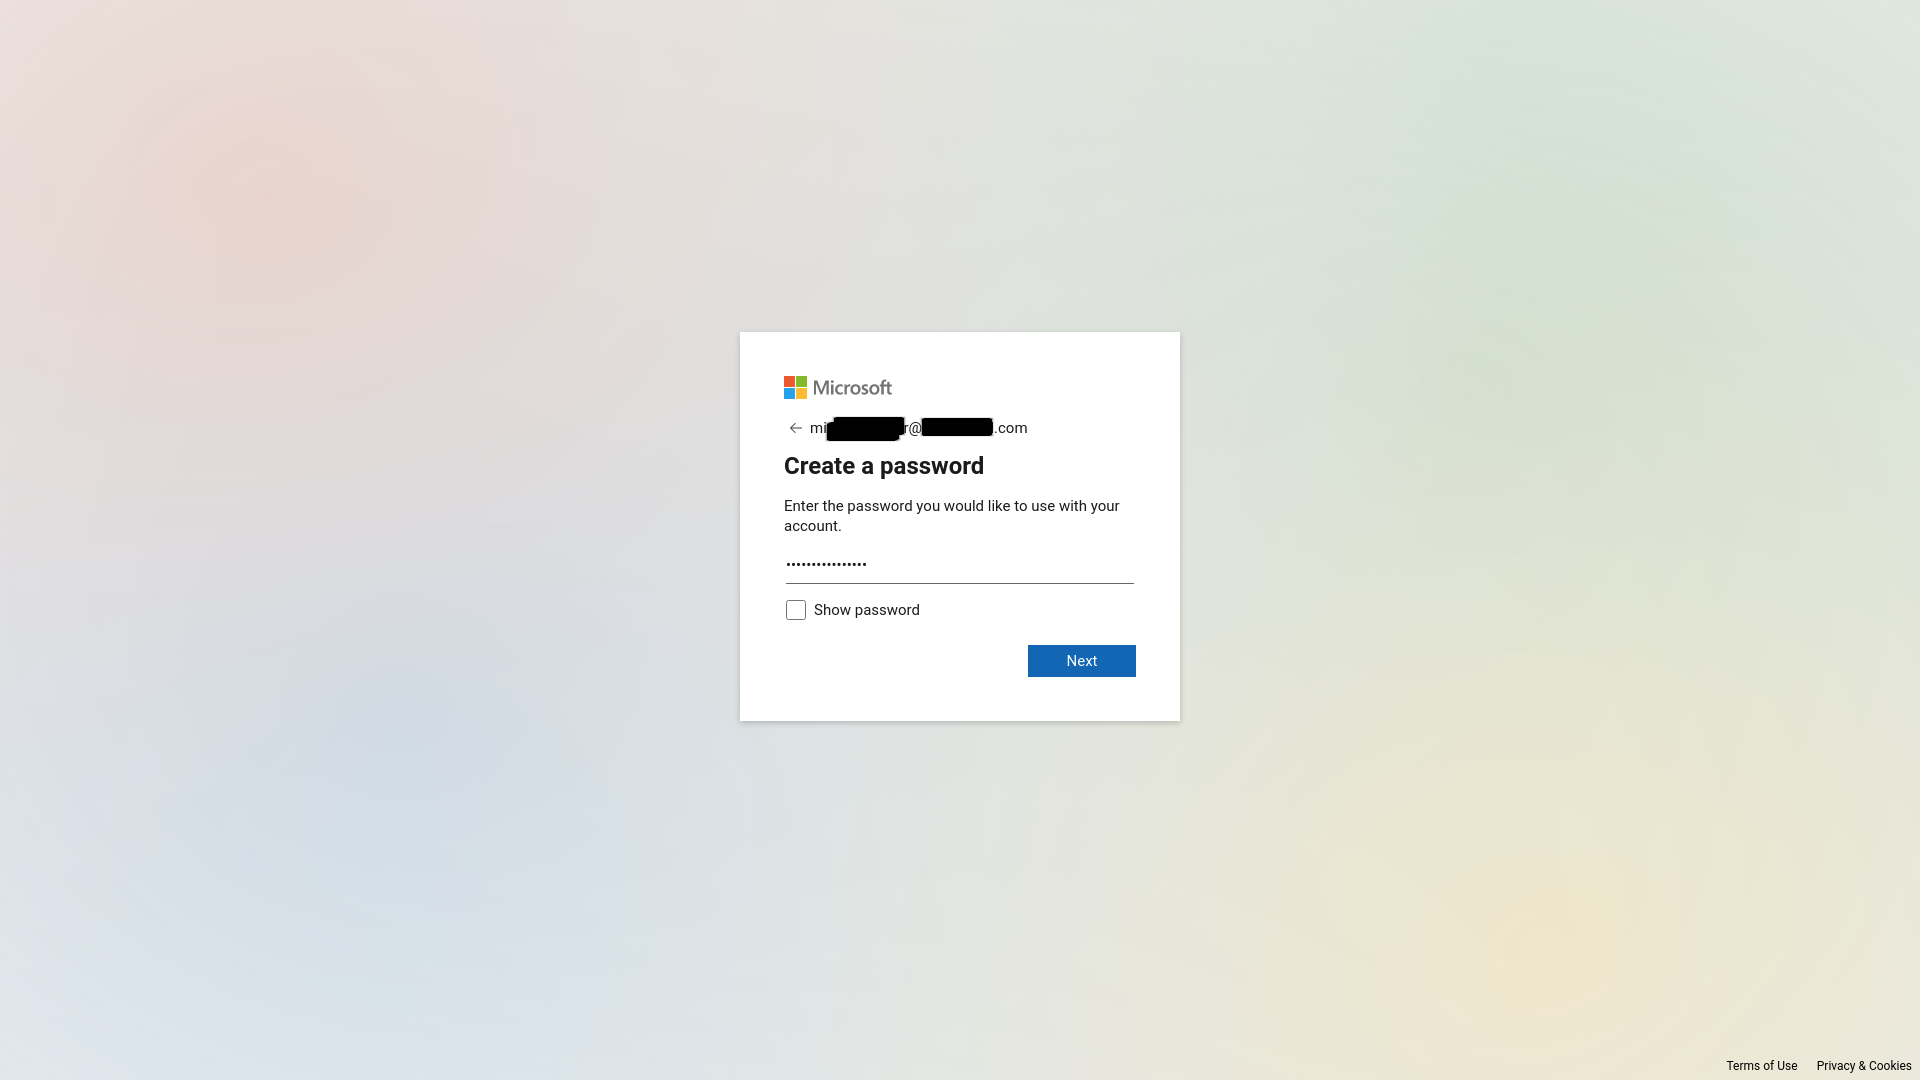
Create a strong and memorable password – this should ideally be stored in a password manager but you may need to write it down while you’re working through account creation.
Step
17Click Next
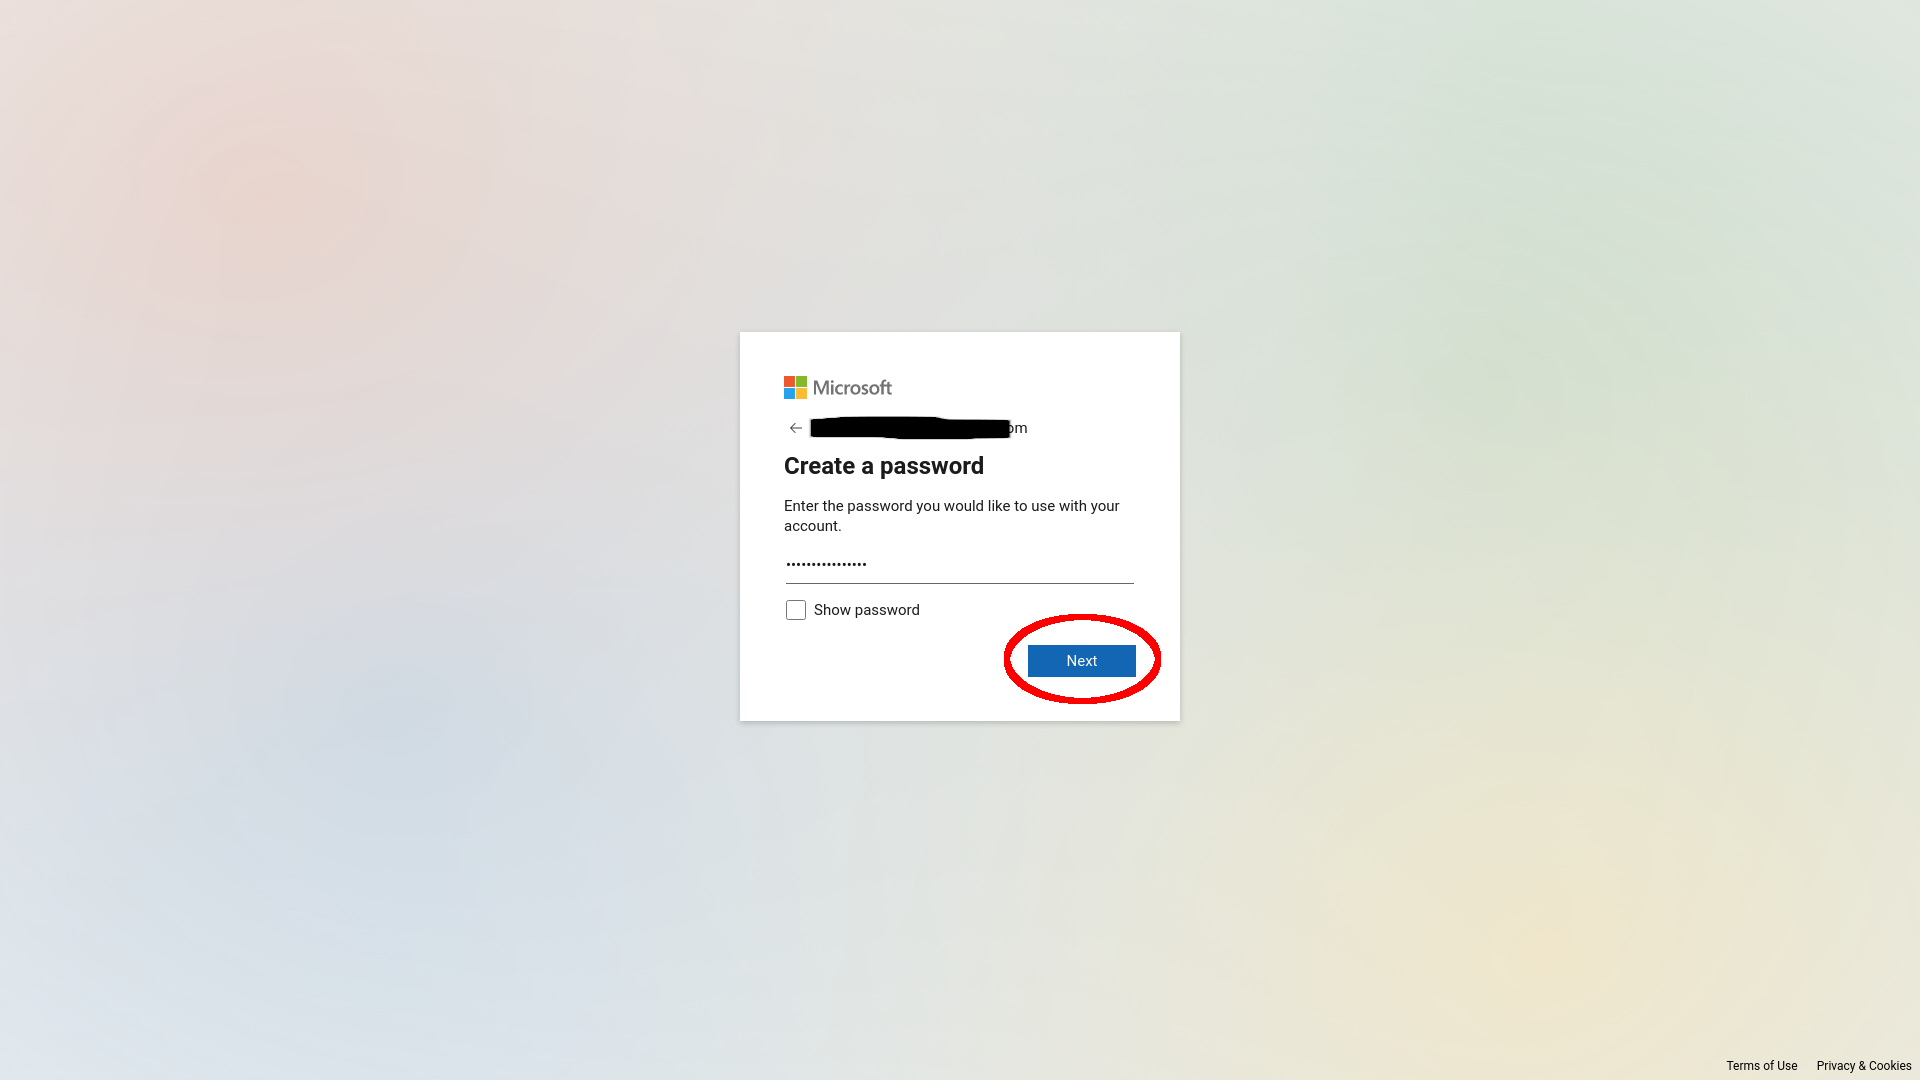
Once you’re entered the password you want, click Next to confirm it.
Step
18Enter their name

Enter your child’s first and last name here. You can use a pseudonym for extra privacy.
Step
19Click Next
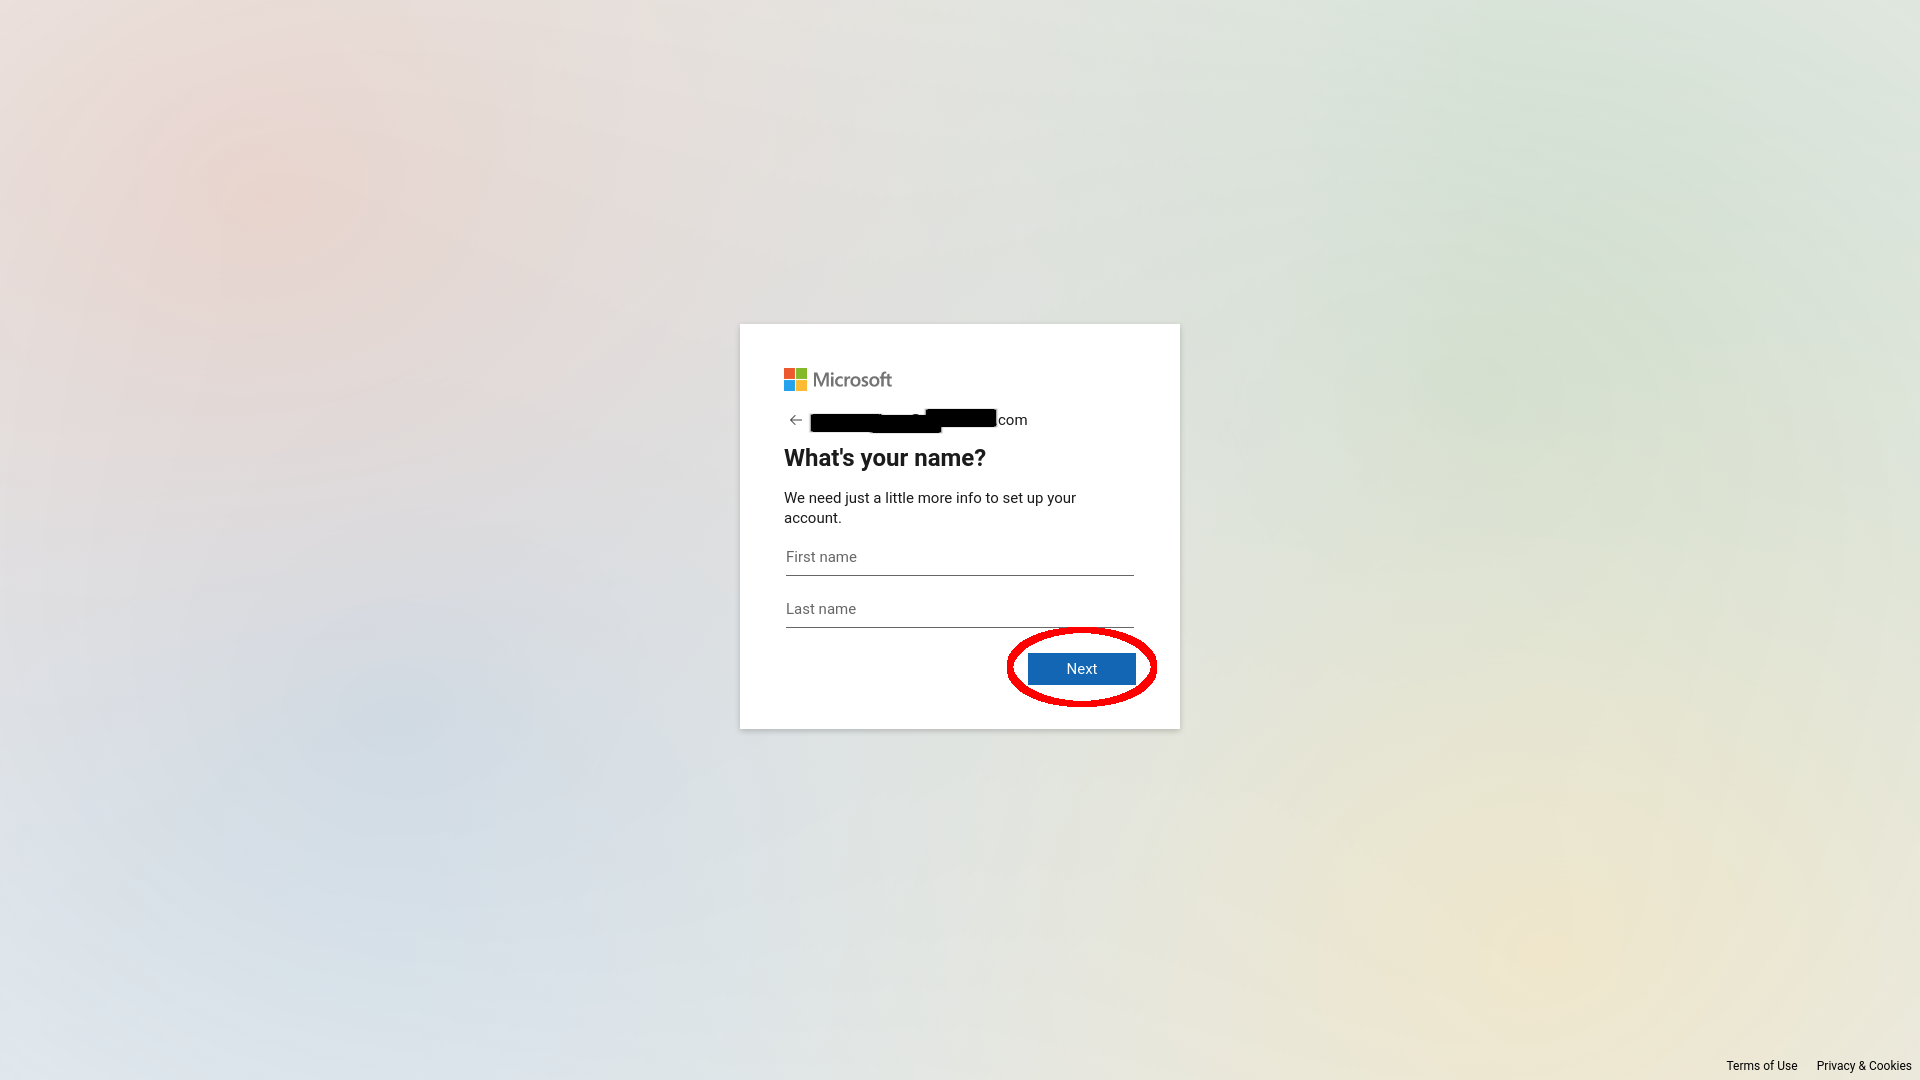
Once you’re happy with that, click Next.
Step
20Enter their date of birth
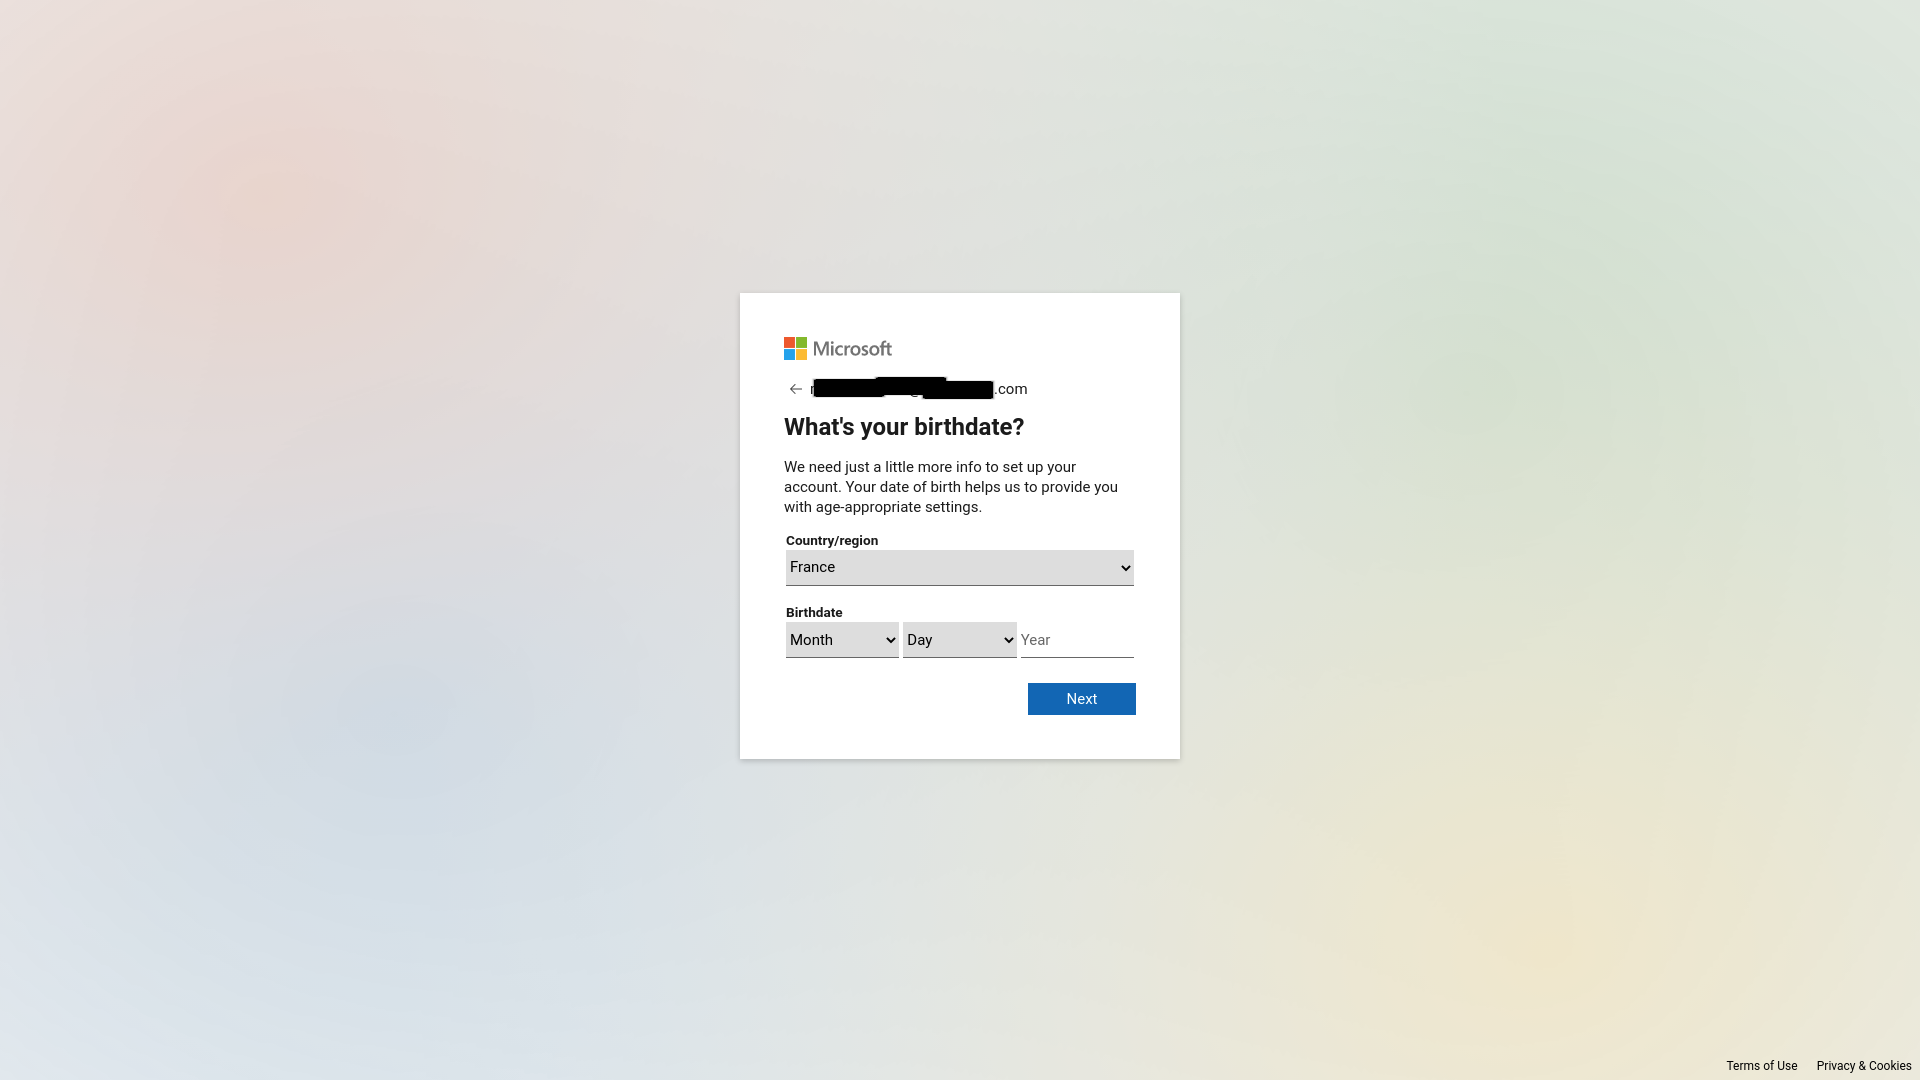
You’ll want to accurately enter your child’s date of birth here, as it affects both the content filtering options for their account and can appear as a security question if access to the account is lost.
Step
21Click Next

Once you’ve filled in their birthdate, click next.
Step
22Get an email verification code
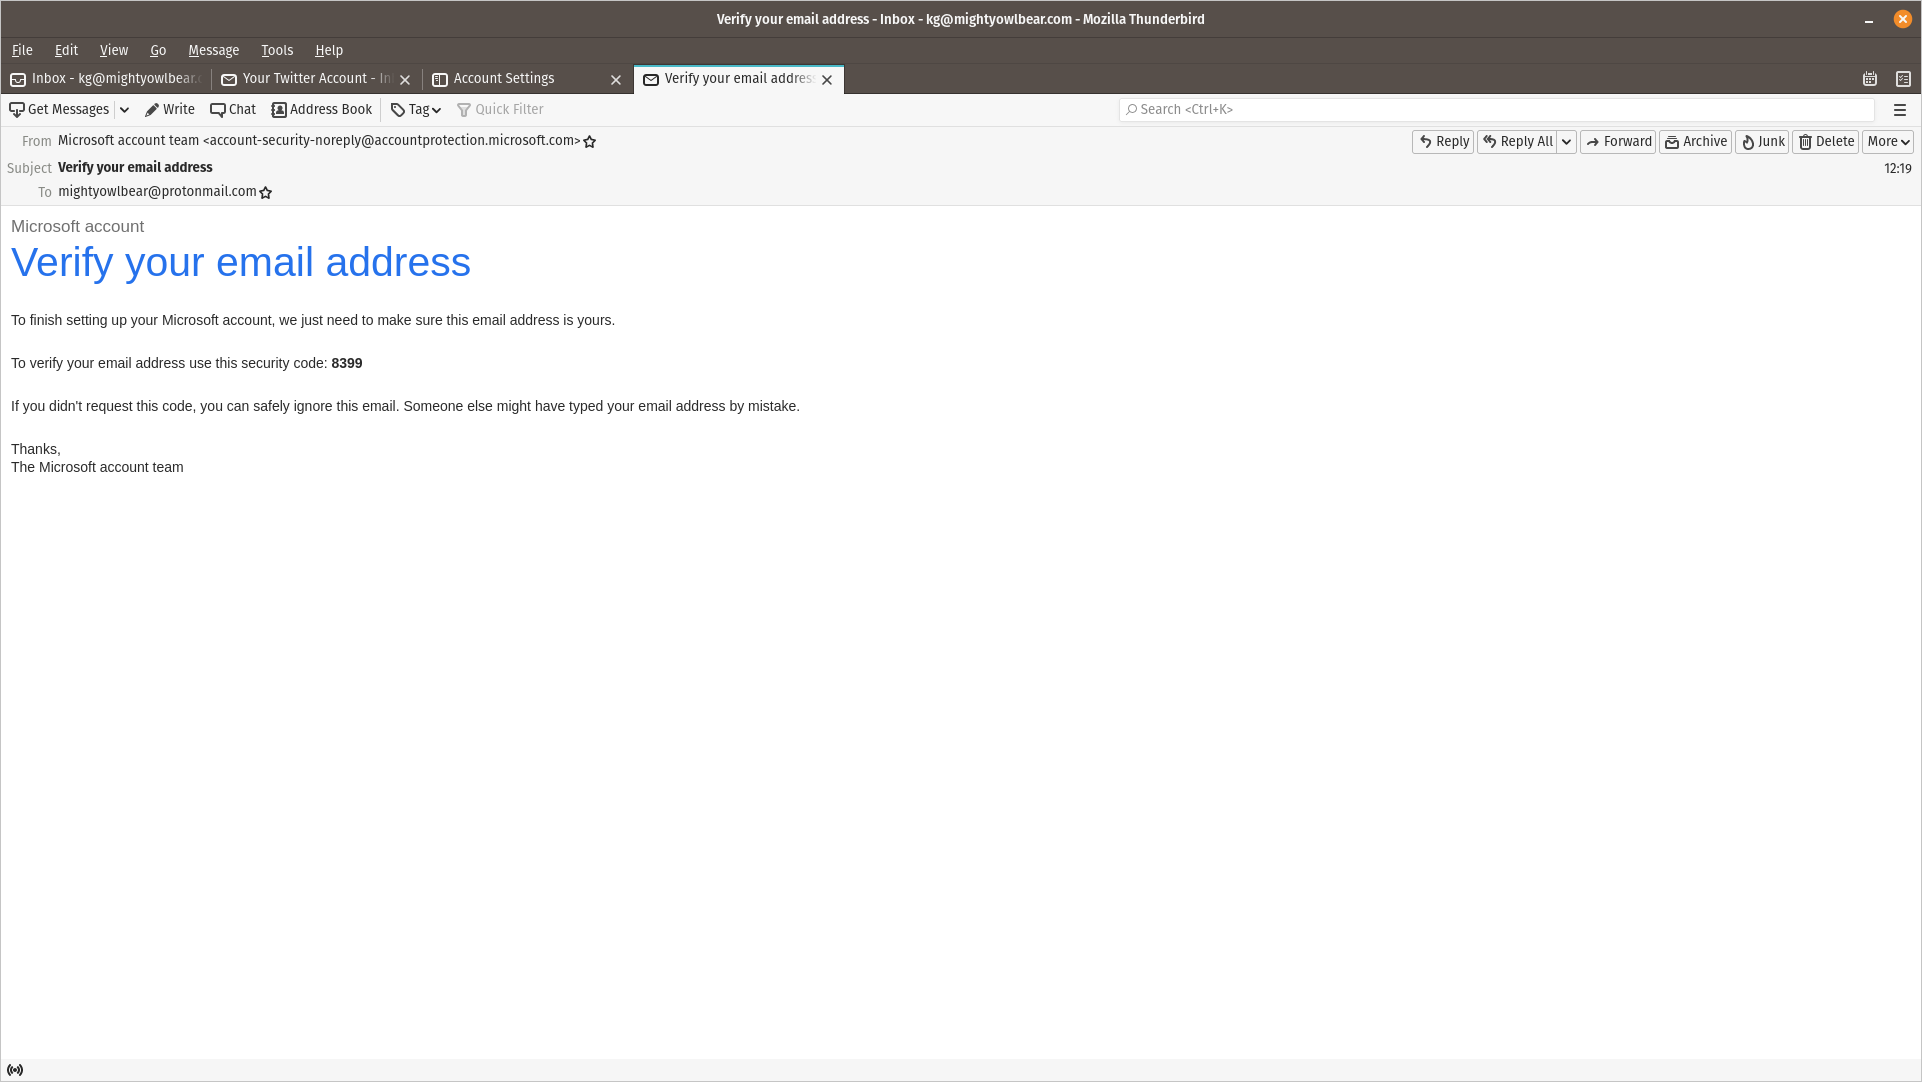
A four-digit code will be sent to the email address associated with the account you’re creating. Copy this number.
Step
23Paste it in
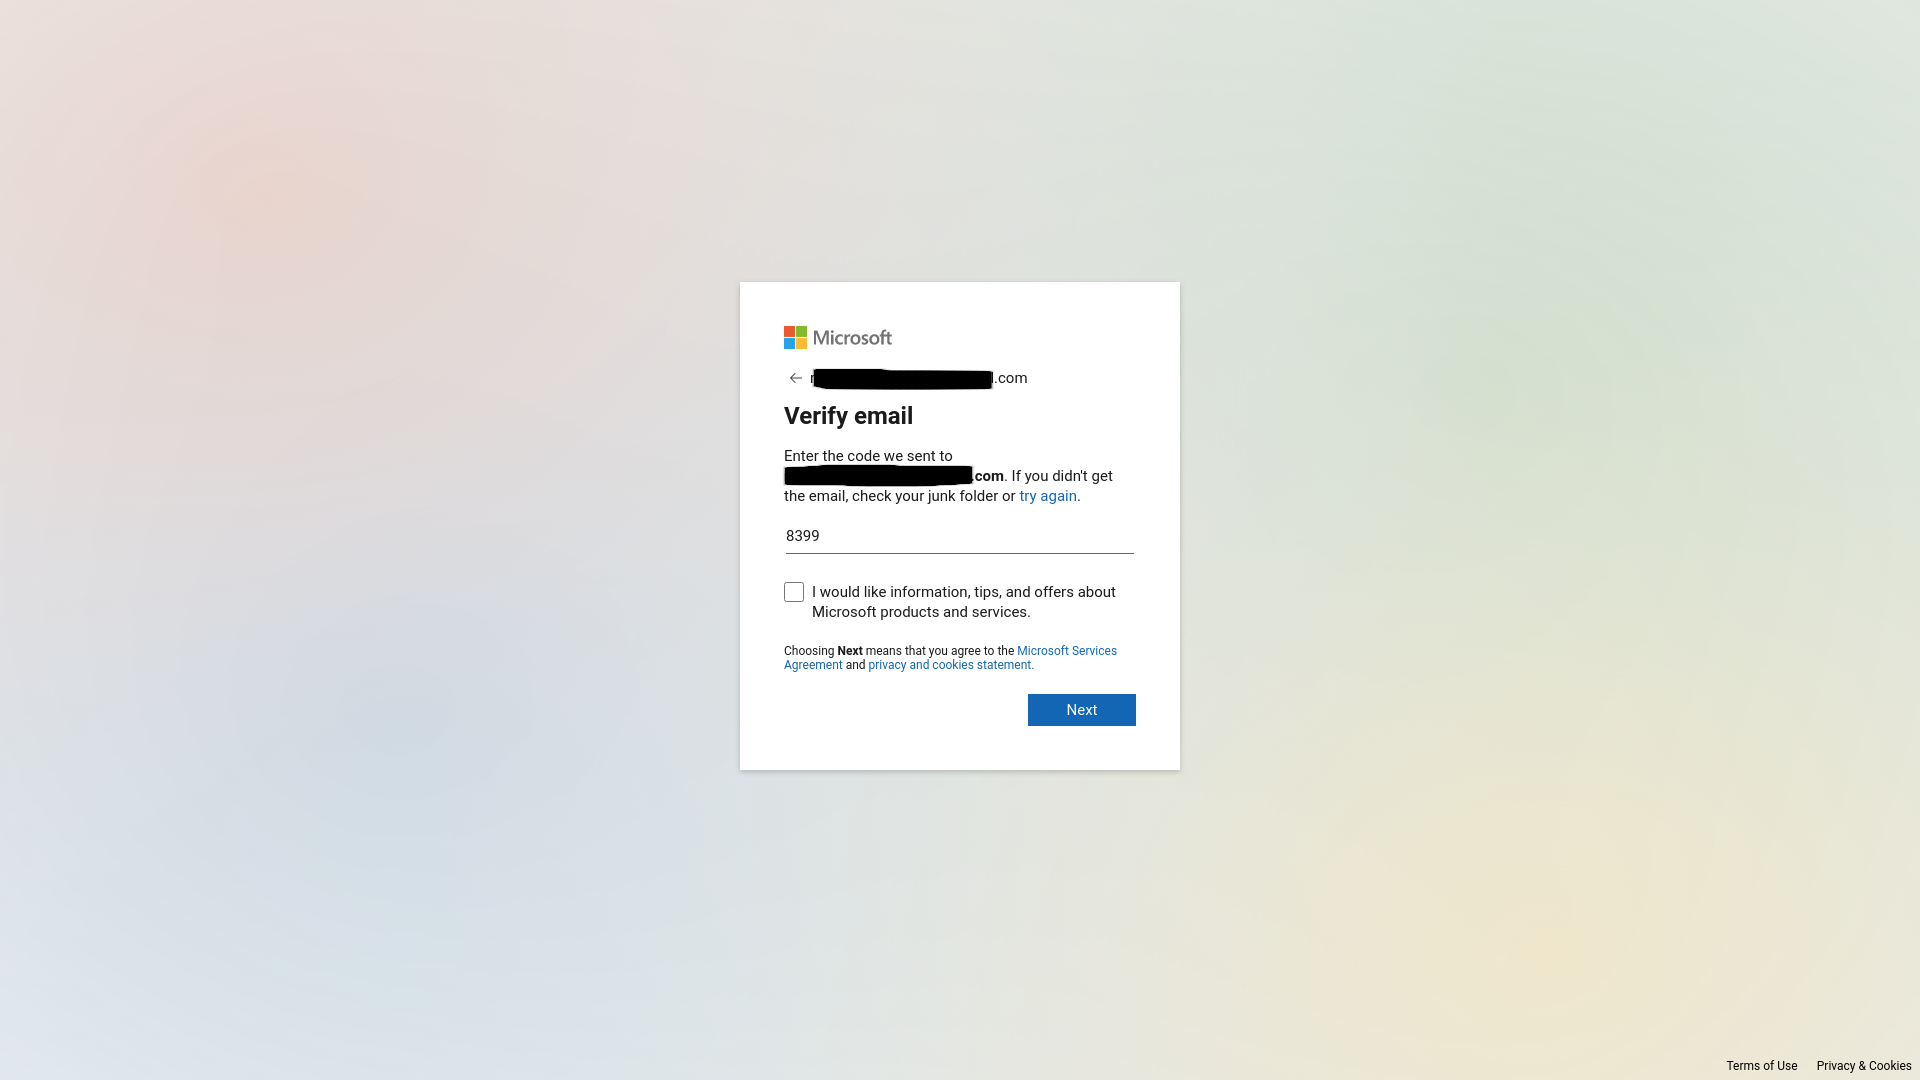
And paste or type it into the next sign-up step in your browser. Untick the “I would like information, tips and offers about Microsoft products and services” box while you’re here.
Step
24Click Next
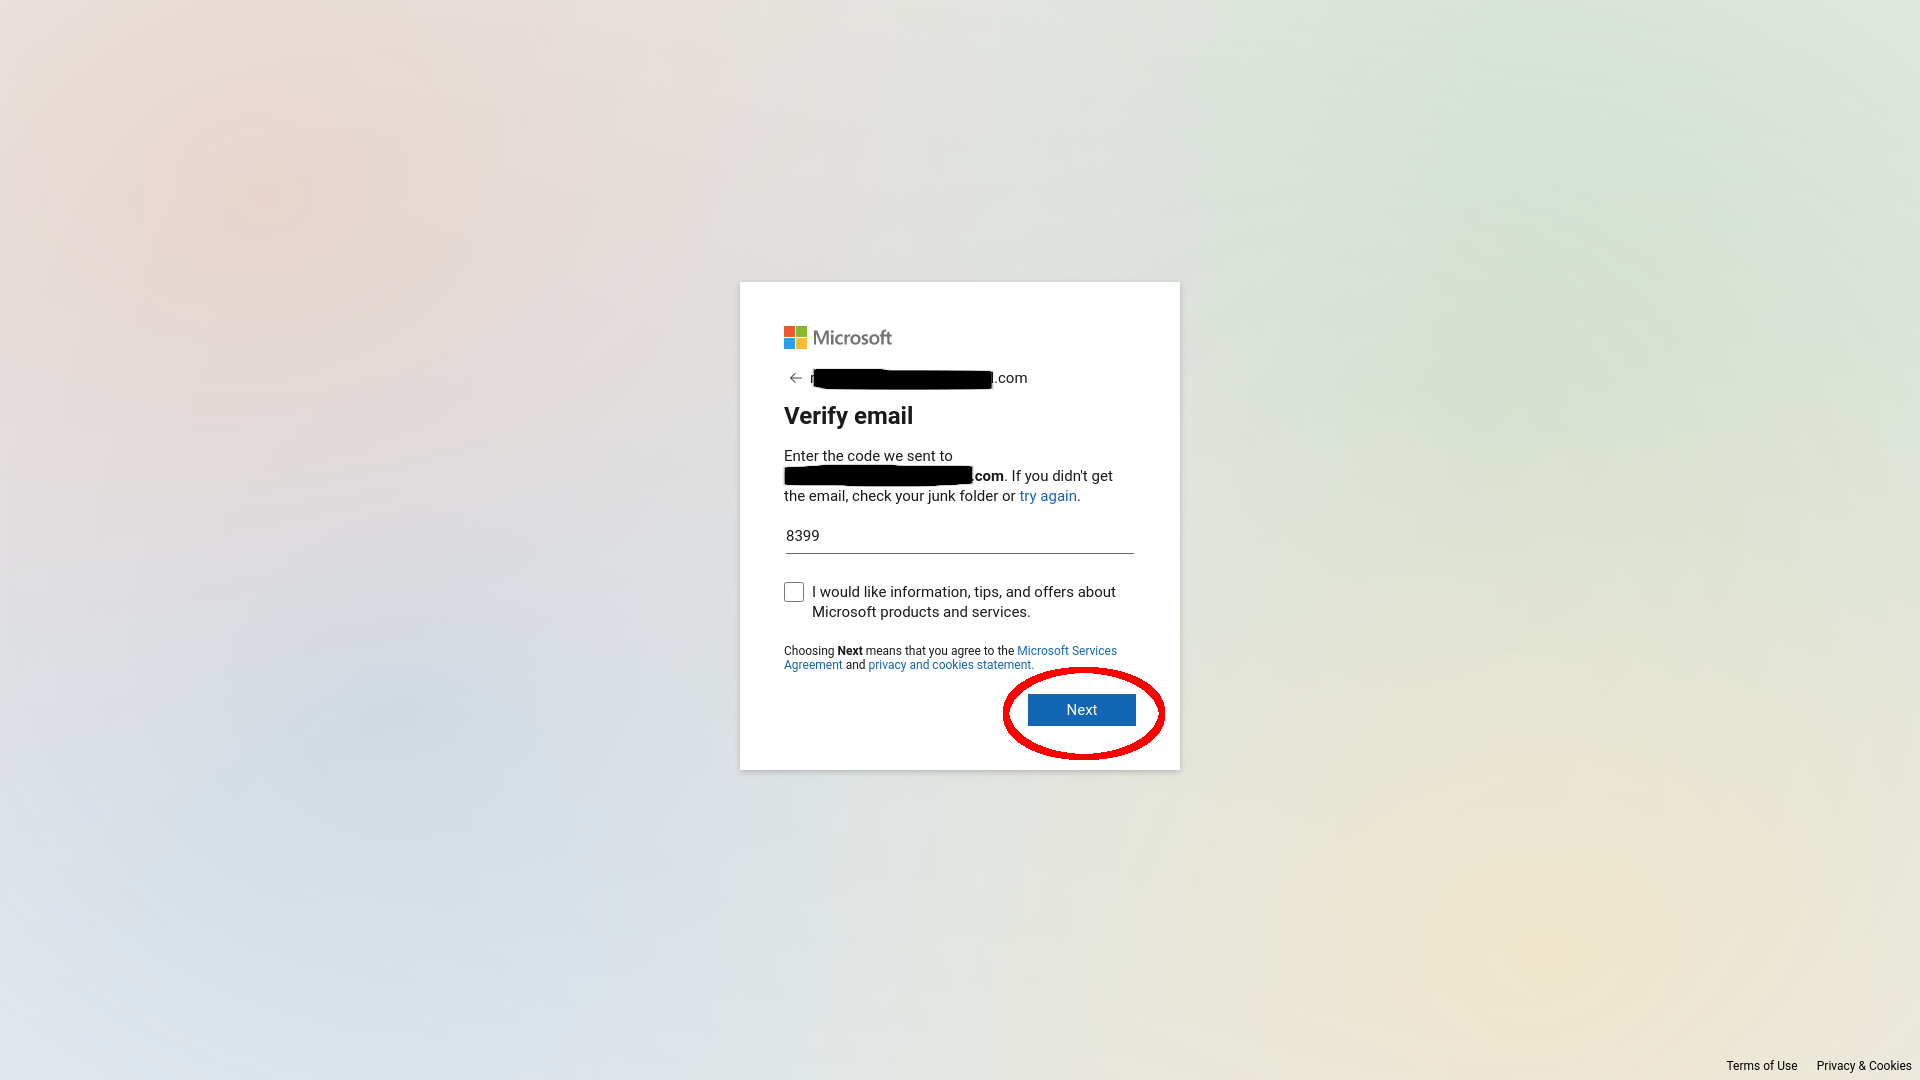
Tap the next button to verify.
Step
25Click Next when asked to prove you’re not a robot
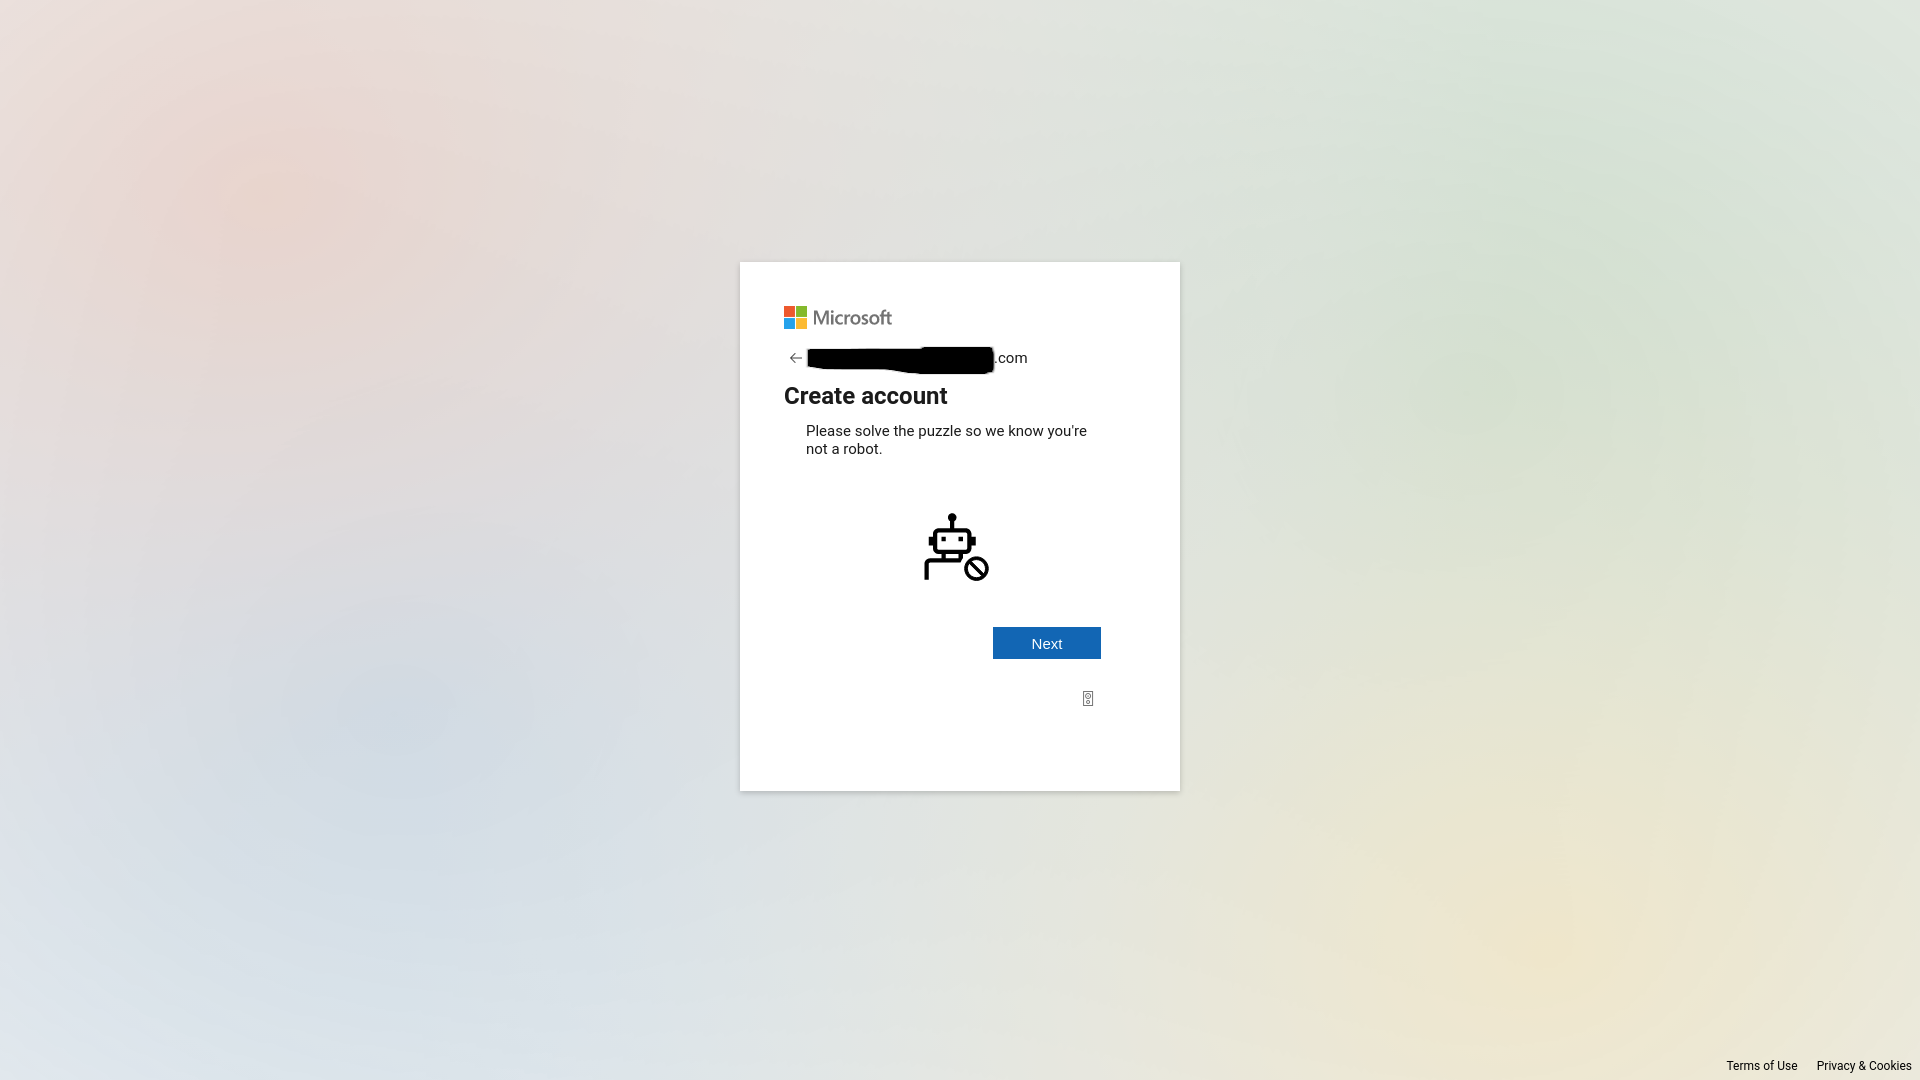
Your member will be informed that they should solve a puzzle to prove they’re not a robot. Click Next here.
Step
26Solve the puzzle
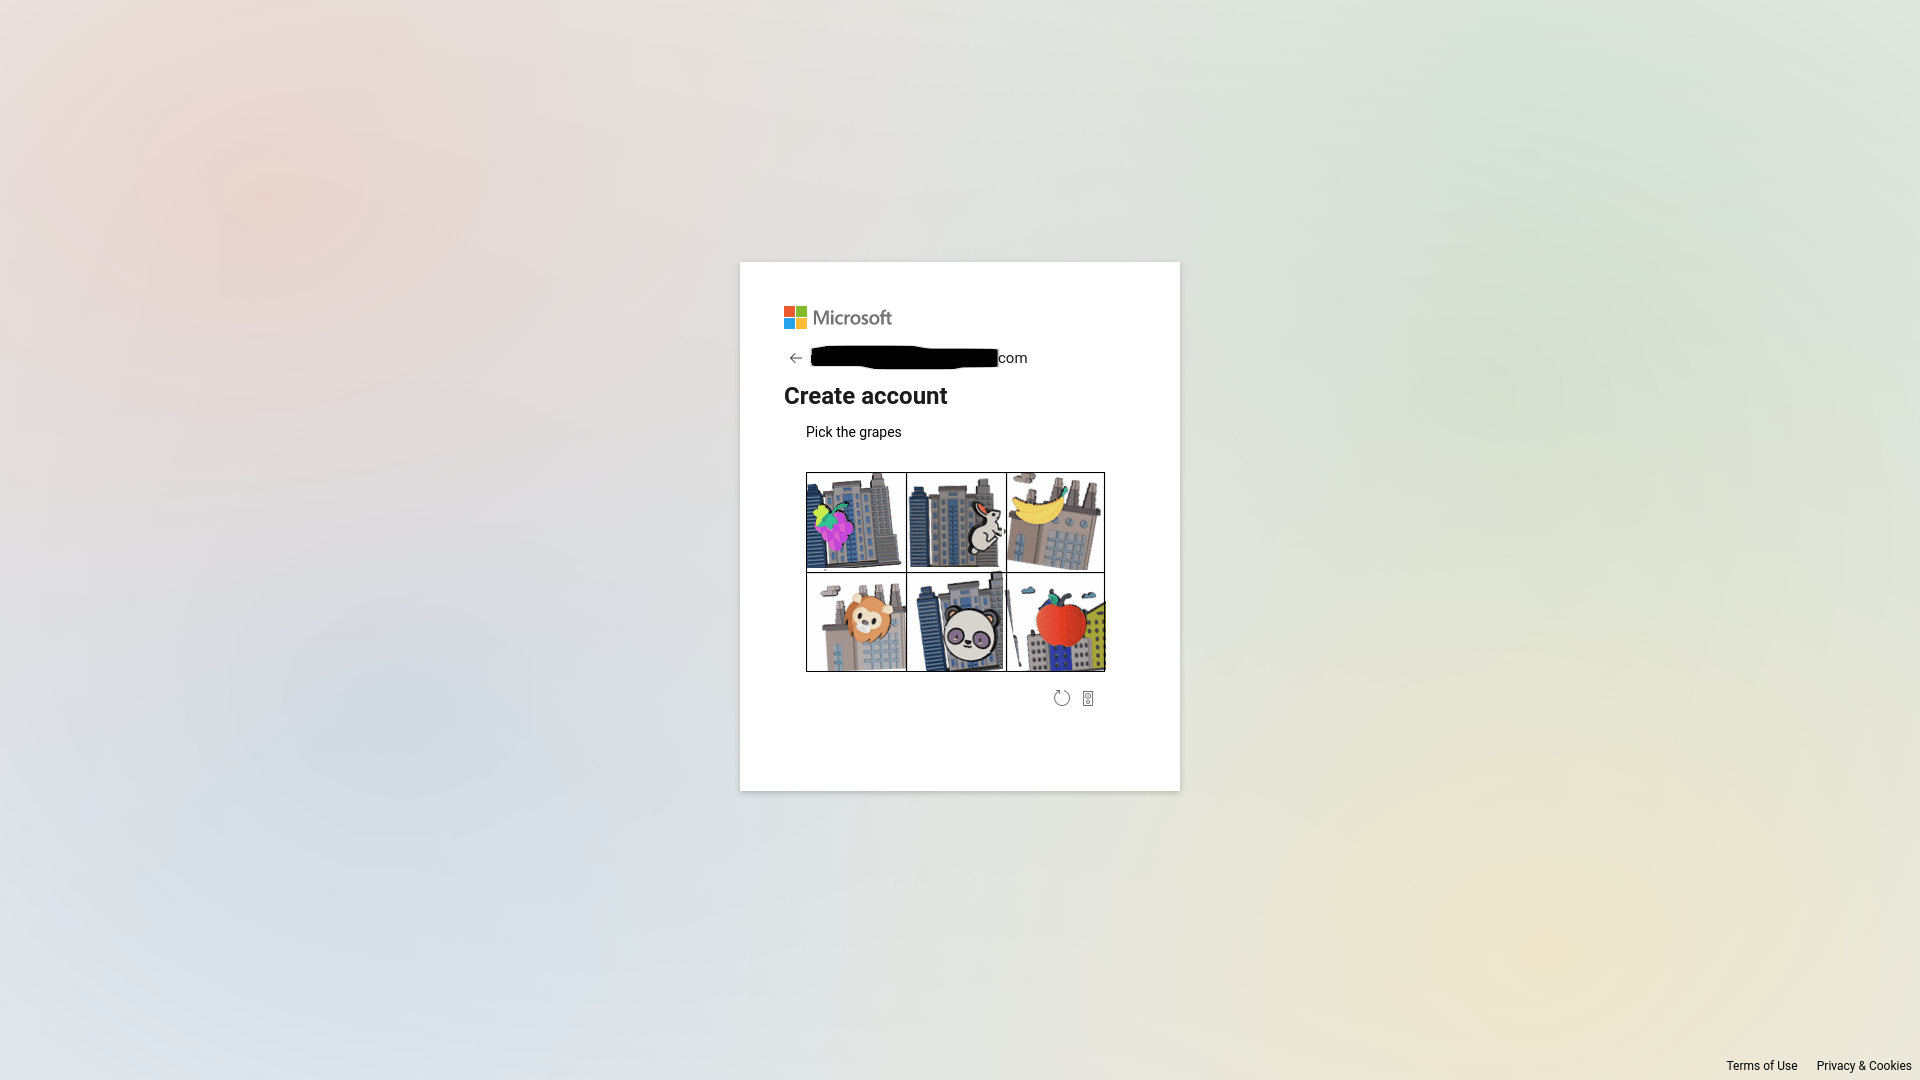
This kid-friendly captcha alternative will ask them to identify an animal, fruit or similar. If your child if over 13, they should be signed in after completing this step. Go to step 36.
Step
27For under-thirteens: Parental consent required
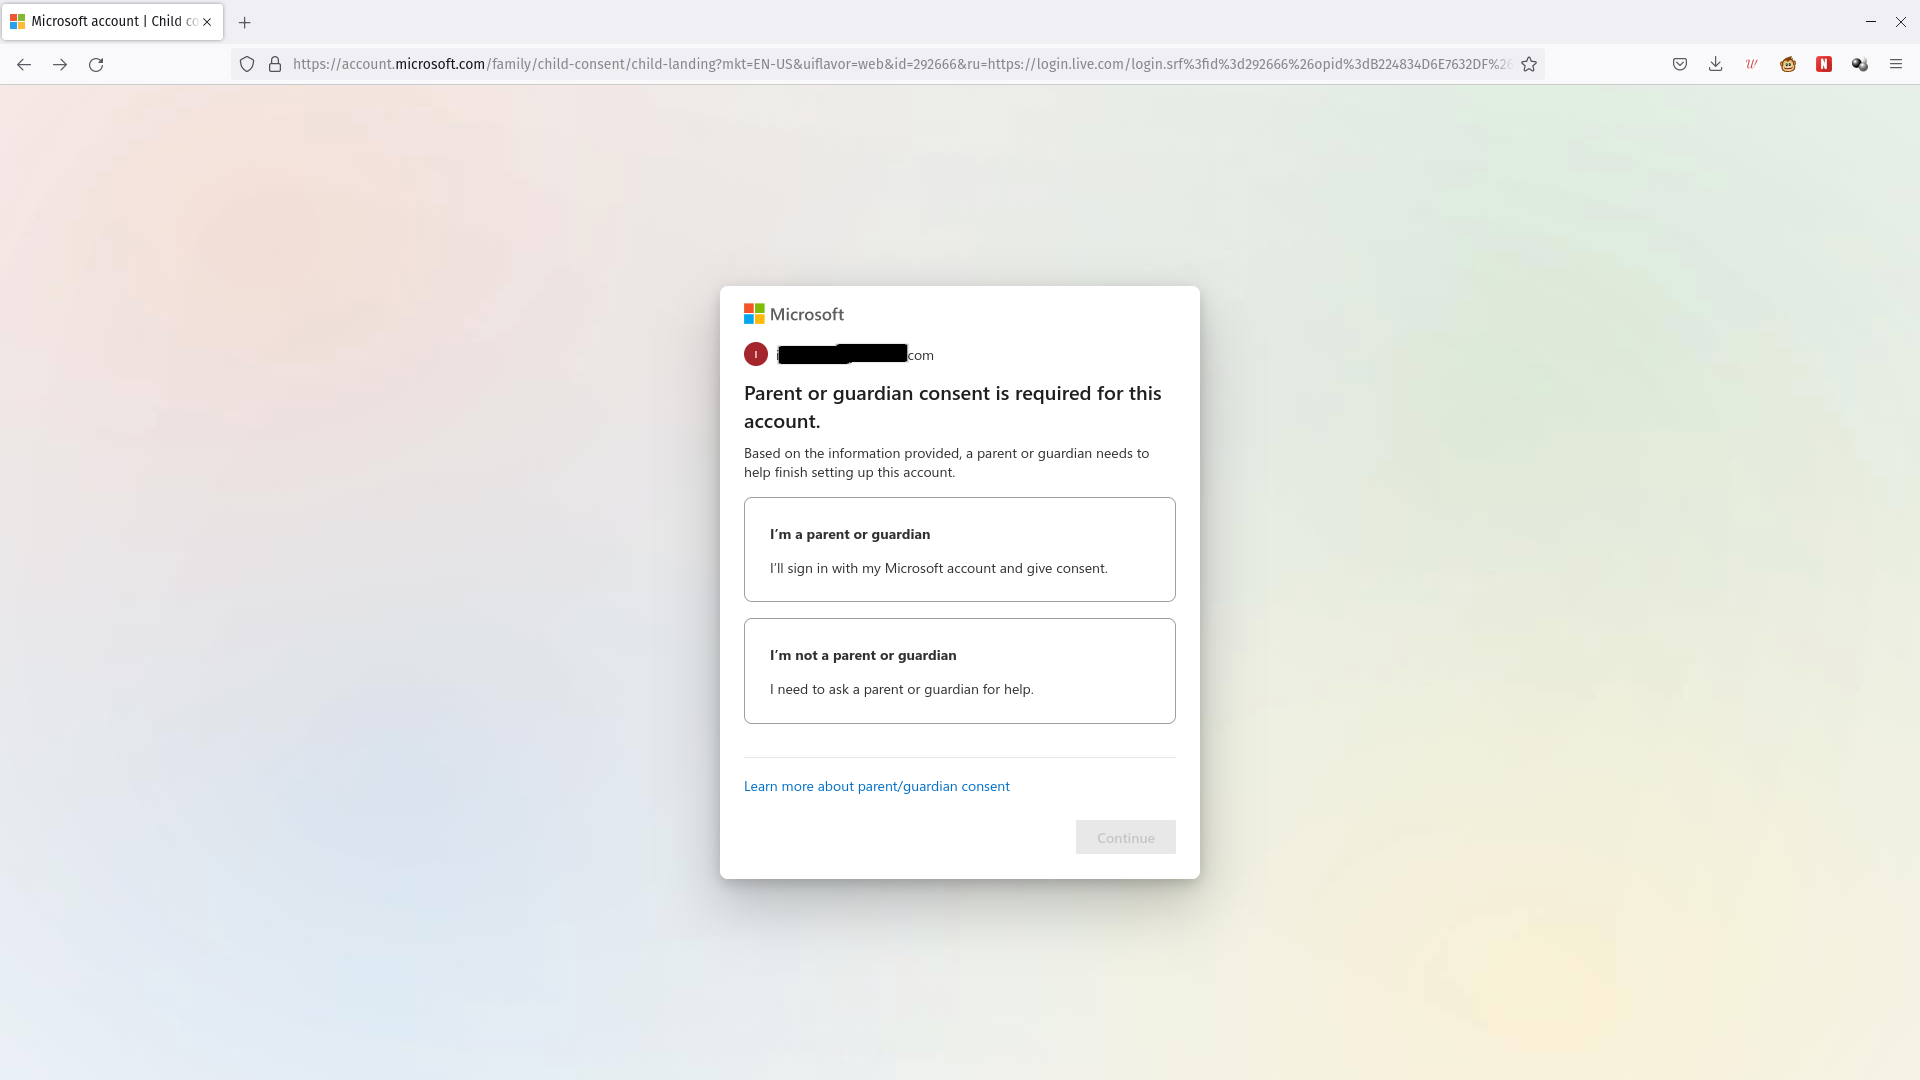
If your child is under 13, they’ll be asked to have you provide consent for their account. Click “I’m a parent or guardian”.
Step
28Click Continue

Once you’ve made a choice, you’ll be able to click Continue. Do do.
Step
29Sign in to give your child consent
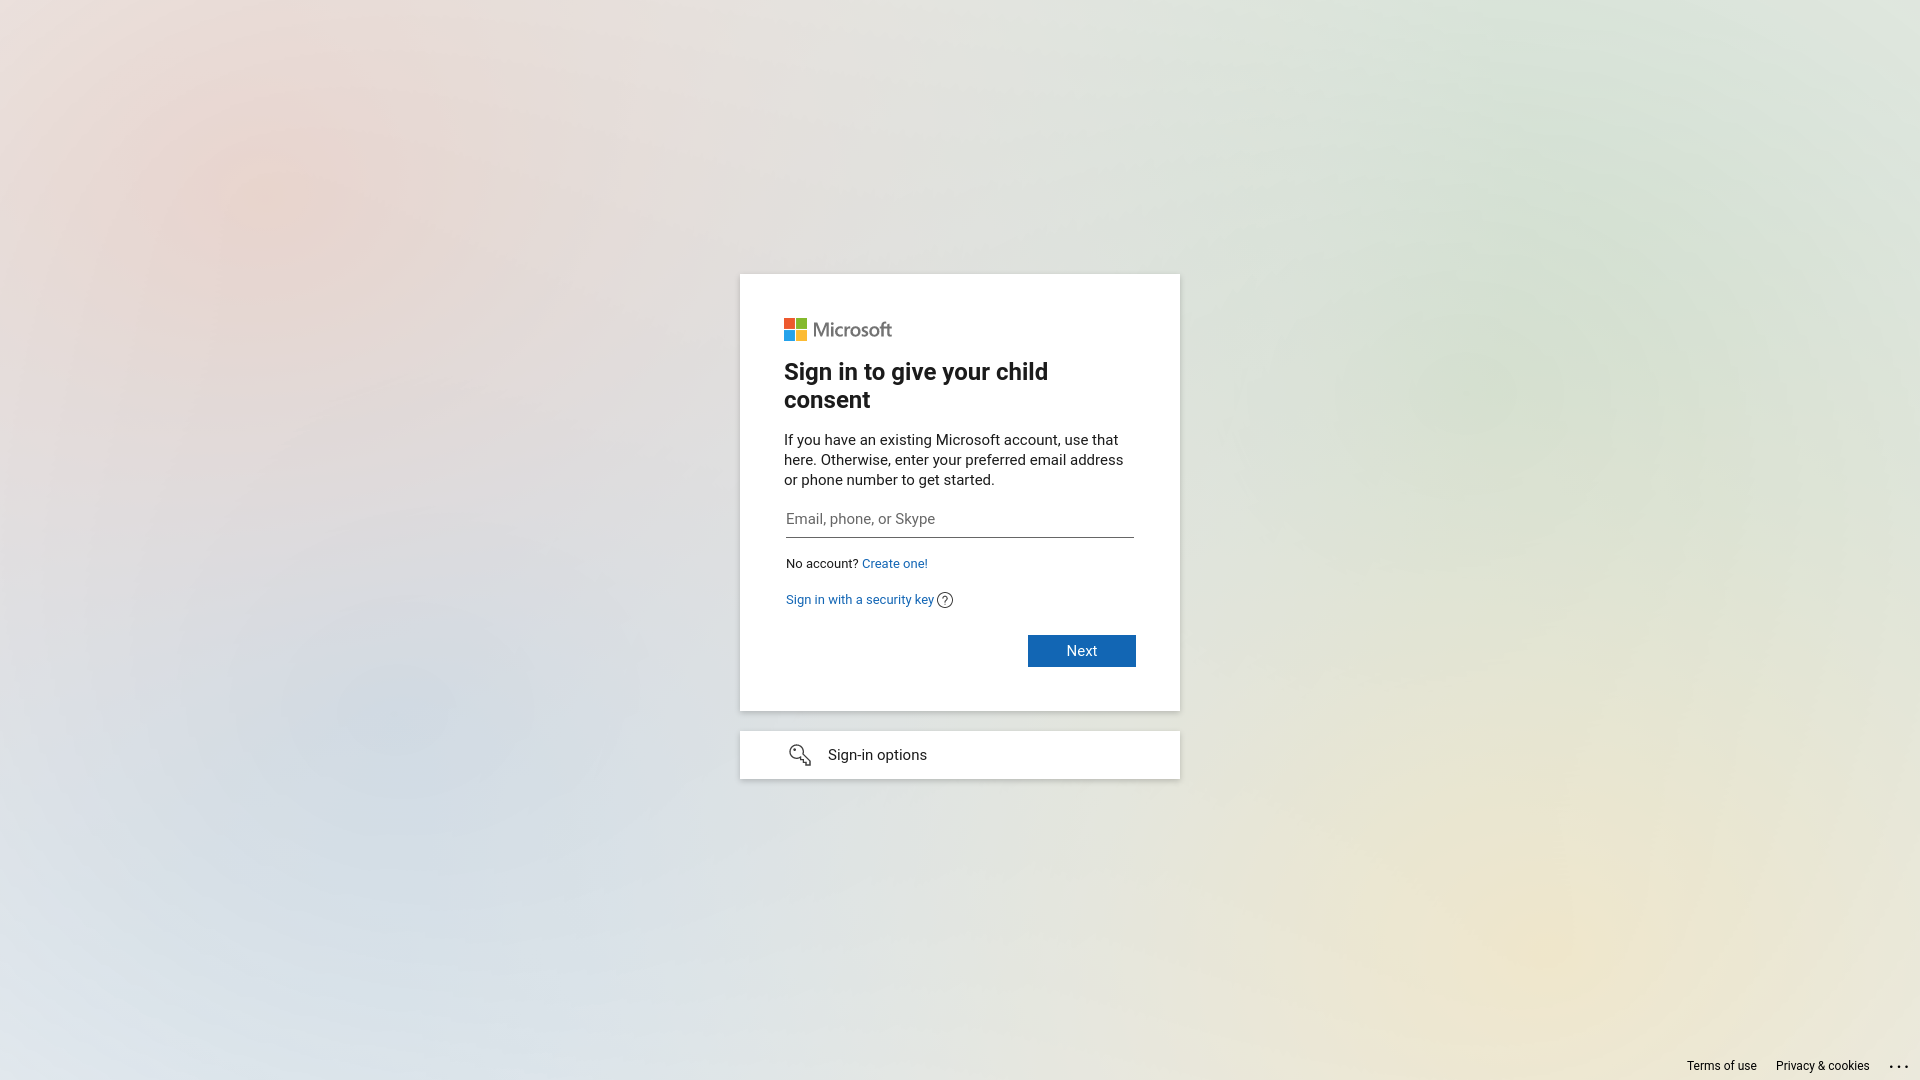
Enter your own Microsoft account email address
Step
30Click Next
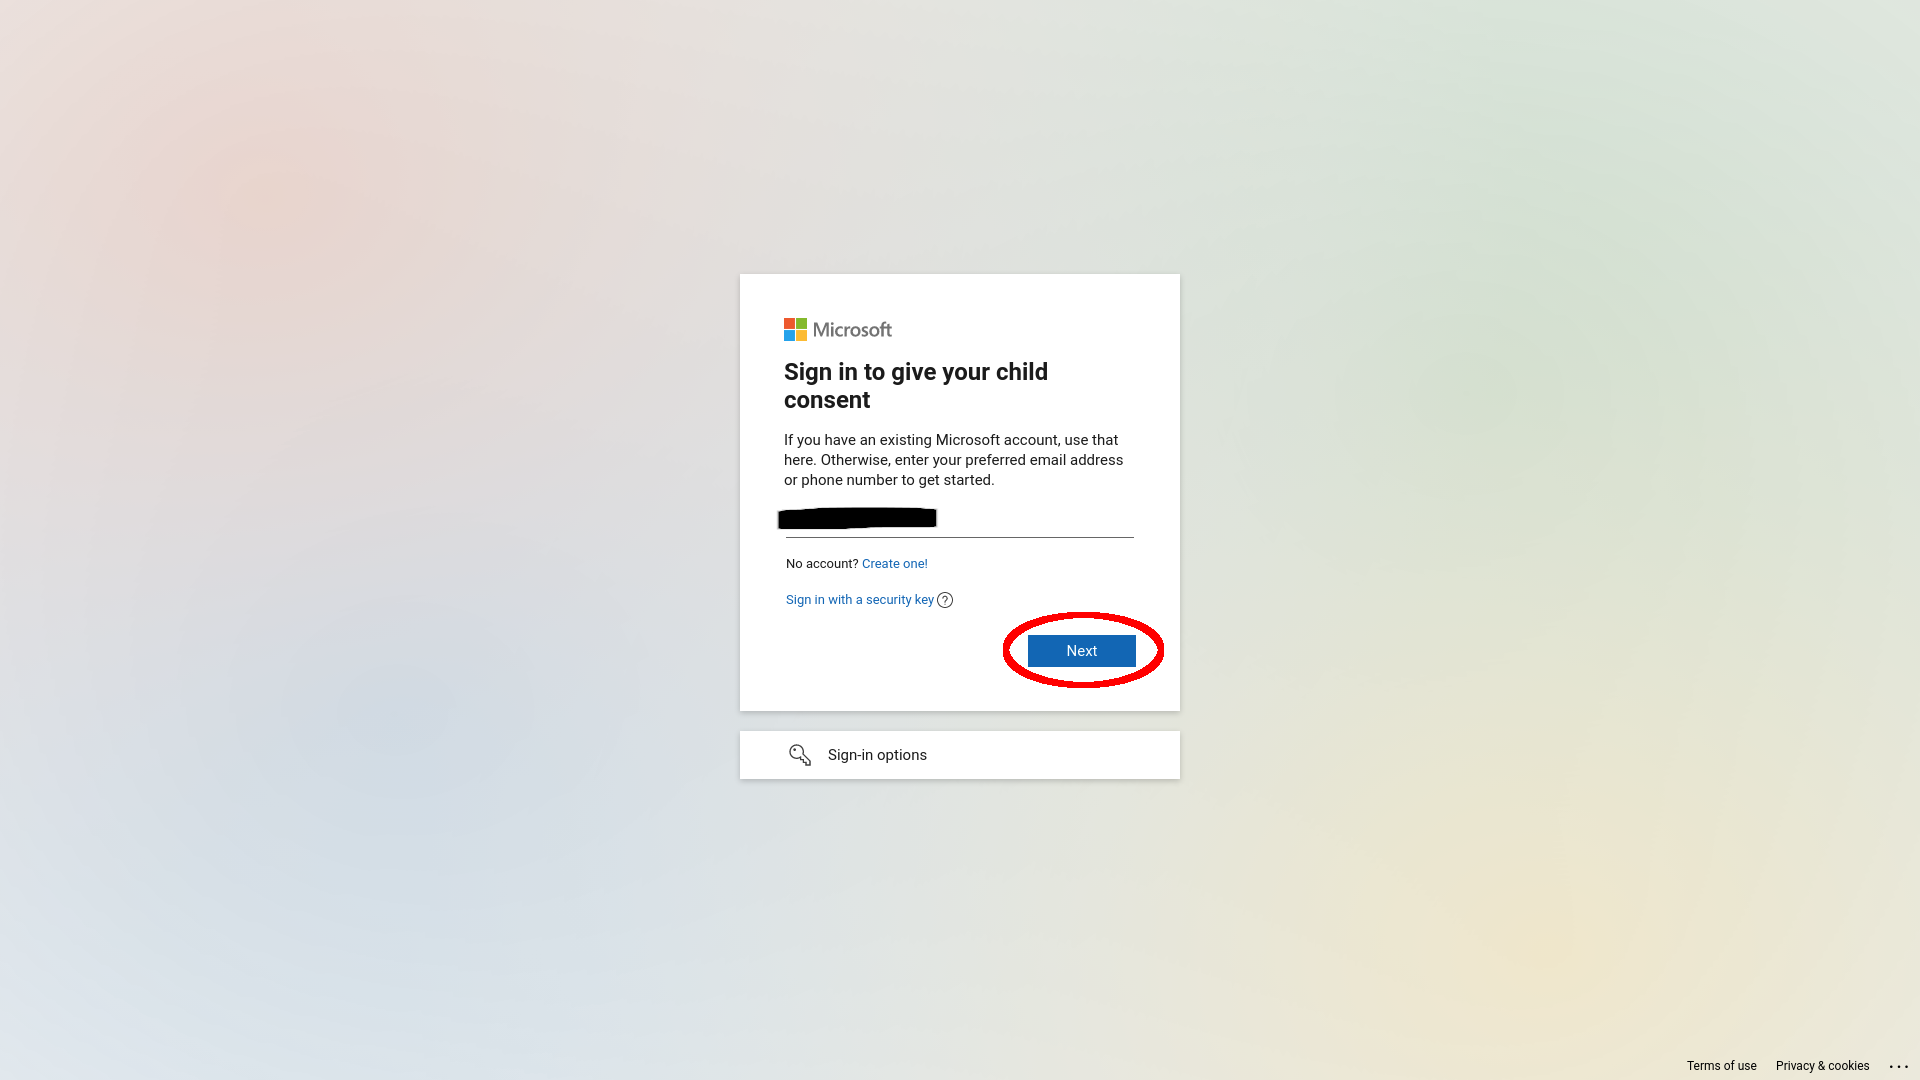
Once you’ve done that, you’ll be able to click Next. Do so.
Step
31Opt for them not to stay signed in

They’ll be asked if they want to stay signed in. If you’re doing this set up via your account, click No.
Step
32Read the consent form
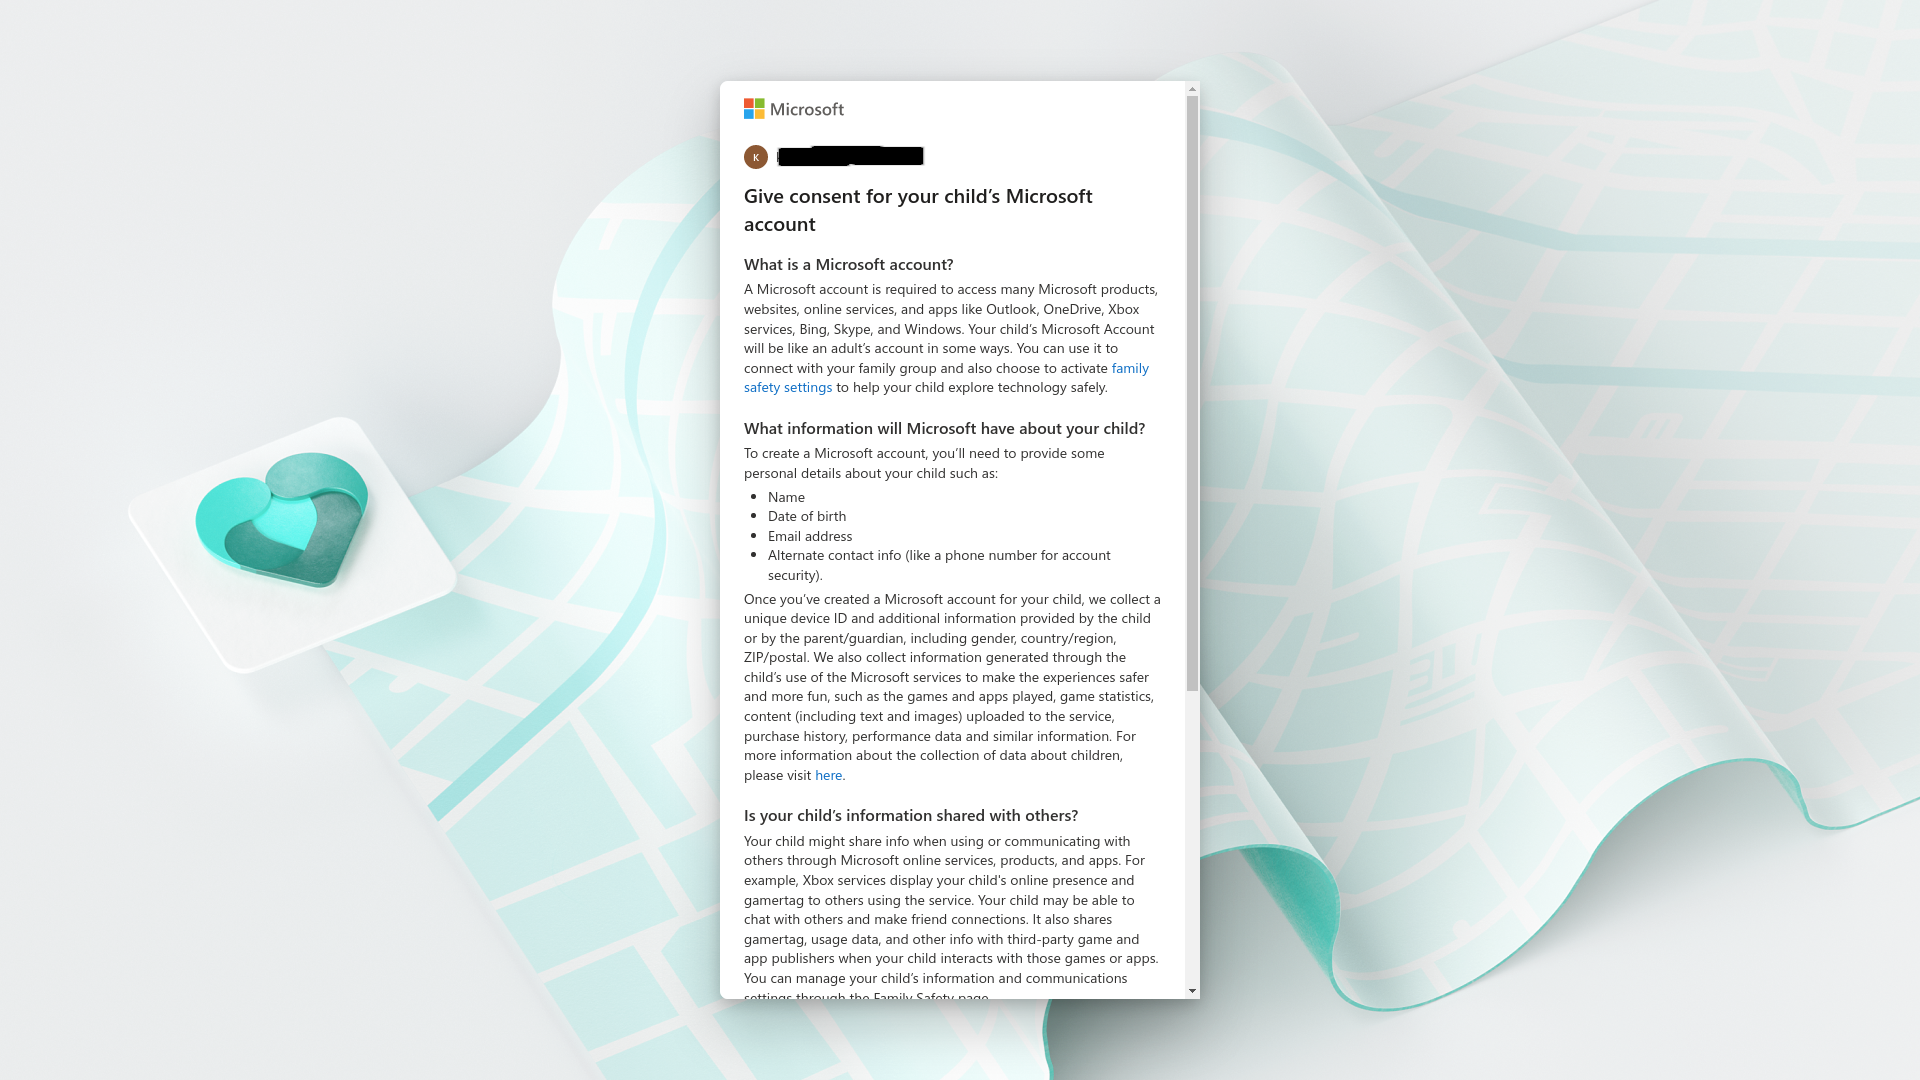
Read the consent form. It’s short, informative and details exactly what information Microsoft will have and hold about your child.
Step
33Sign the consent form
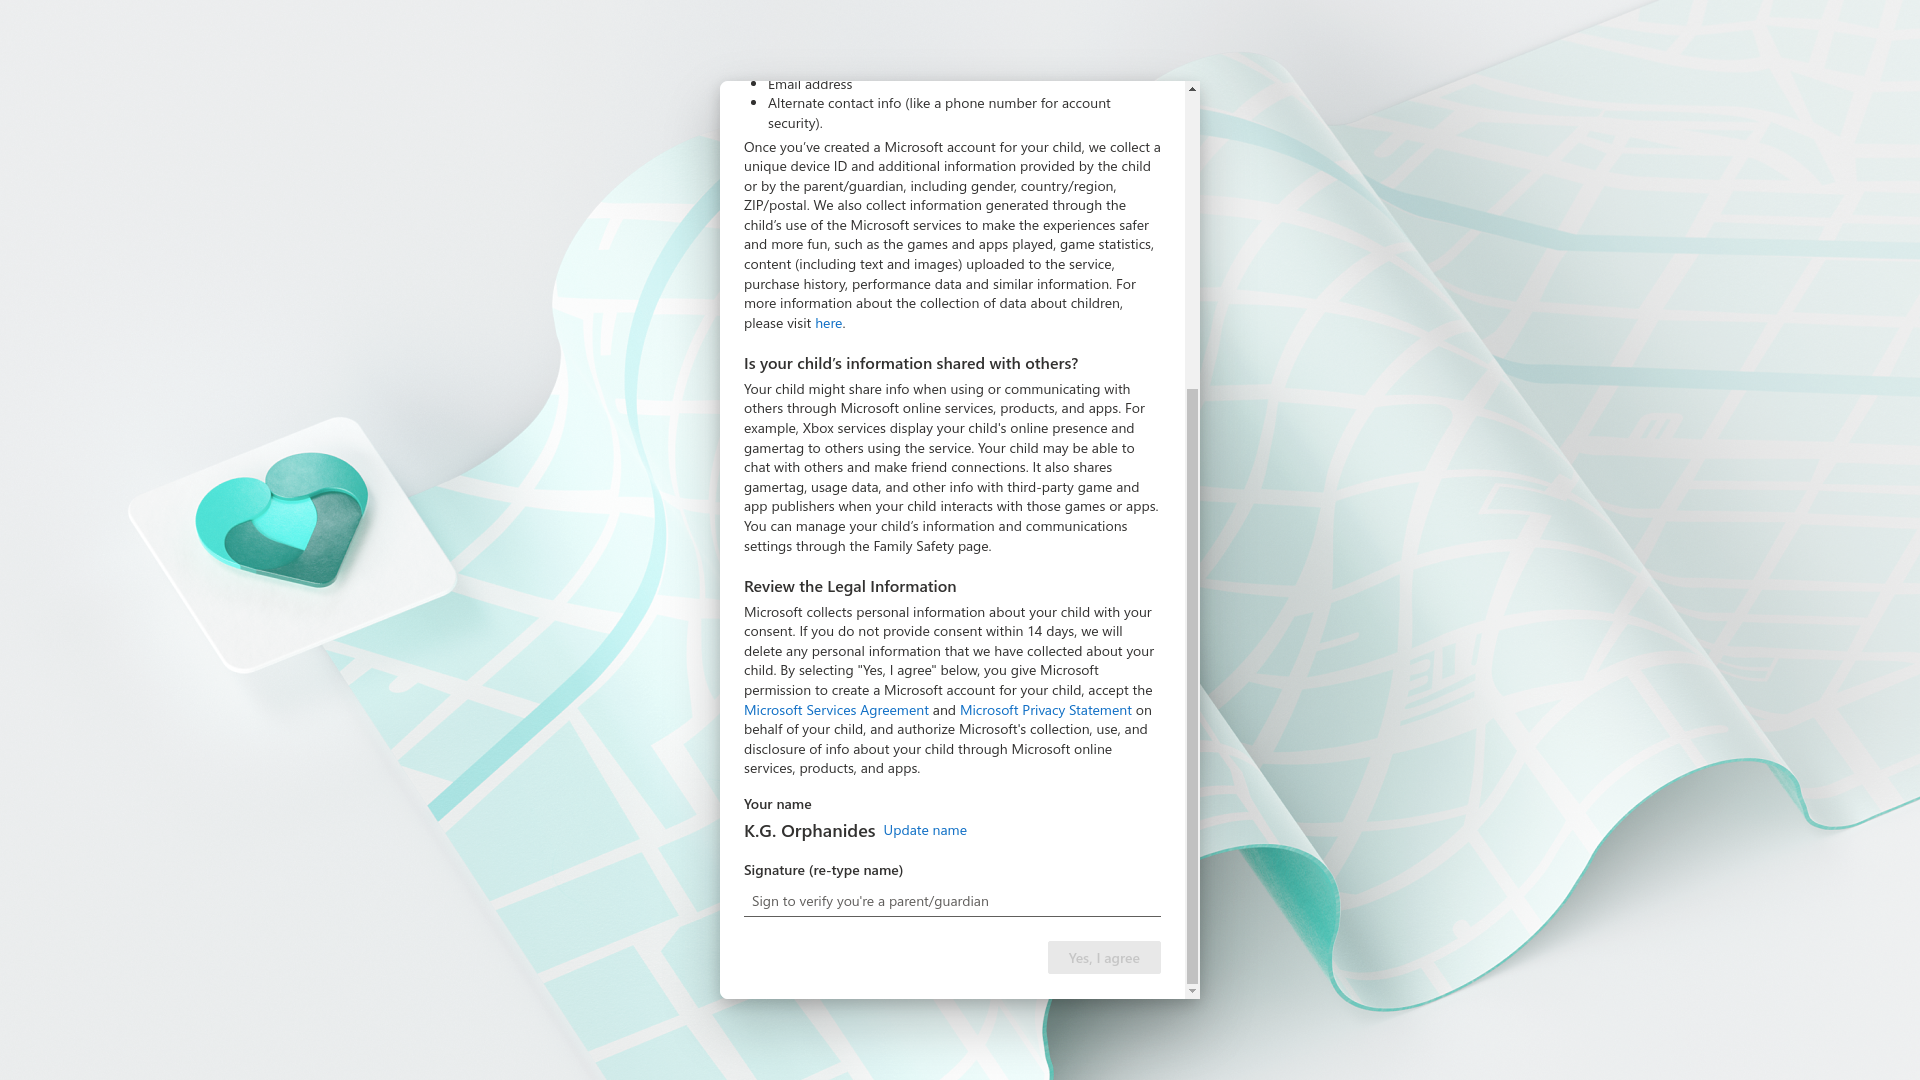
Scroll to the second page, read it and, if you agree, type your name into the signature field.
Step
34Click Yes, I agree

Click the Yes, I agree button to give your consent to Microsoft holding data about your child.
Step
35Allow non-Microsoft apps
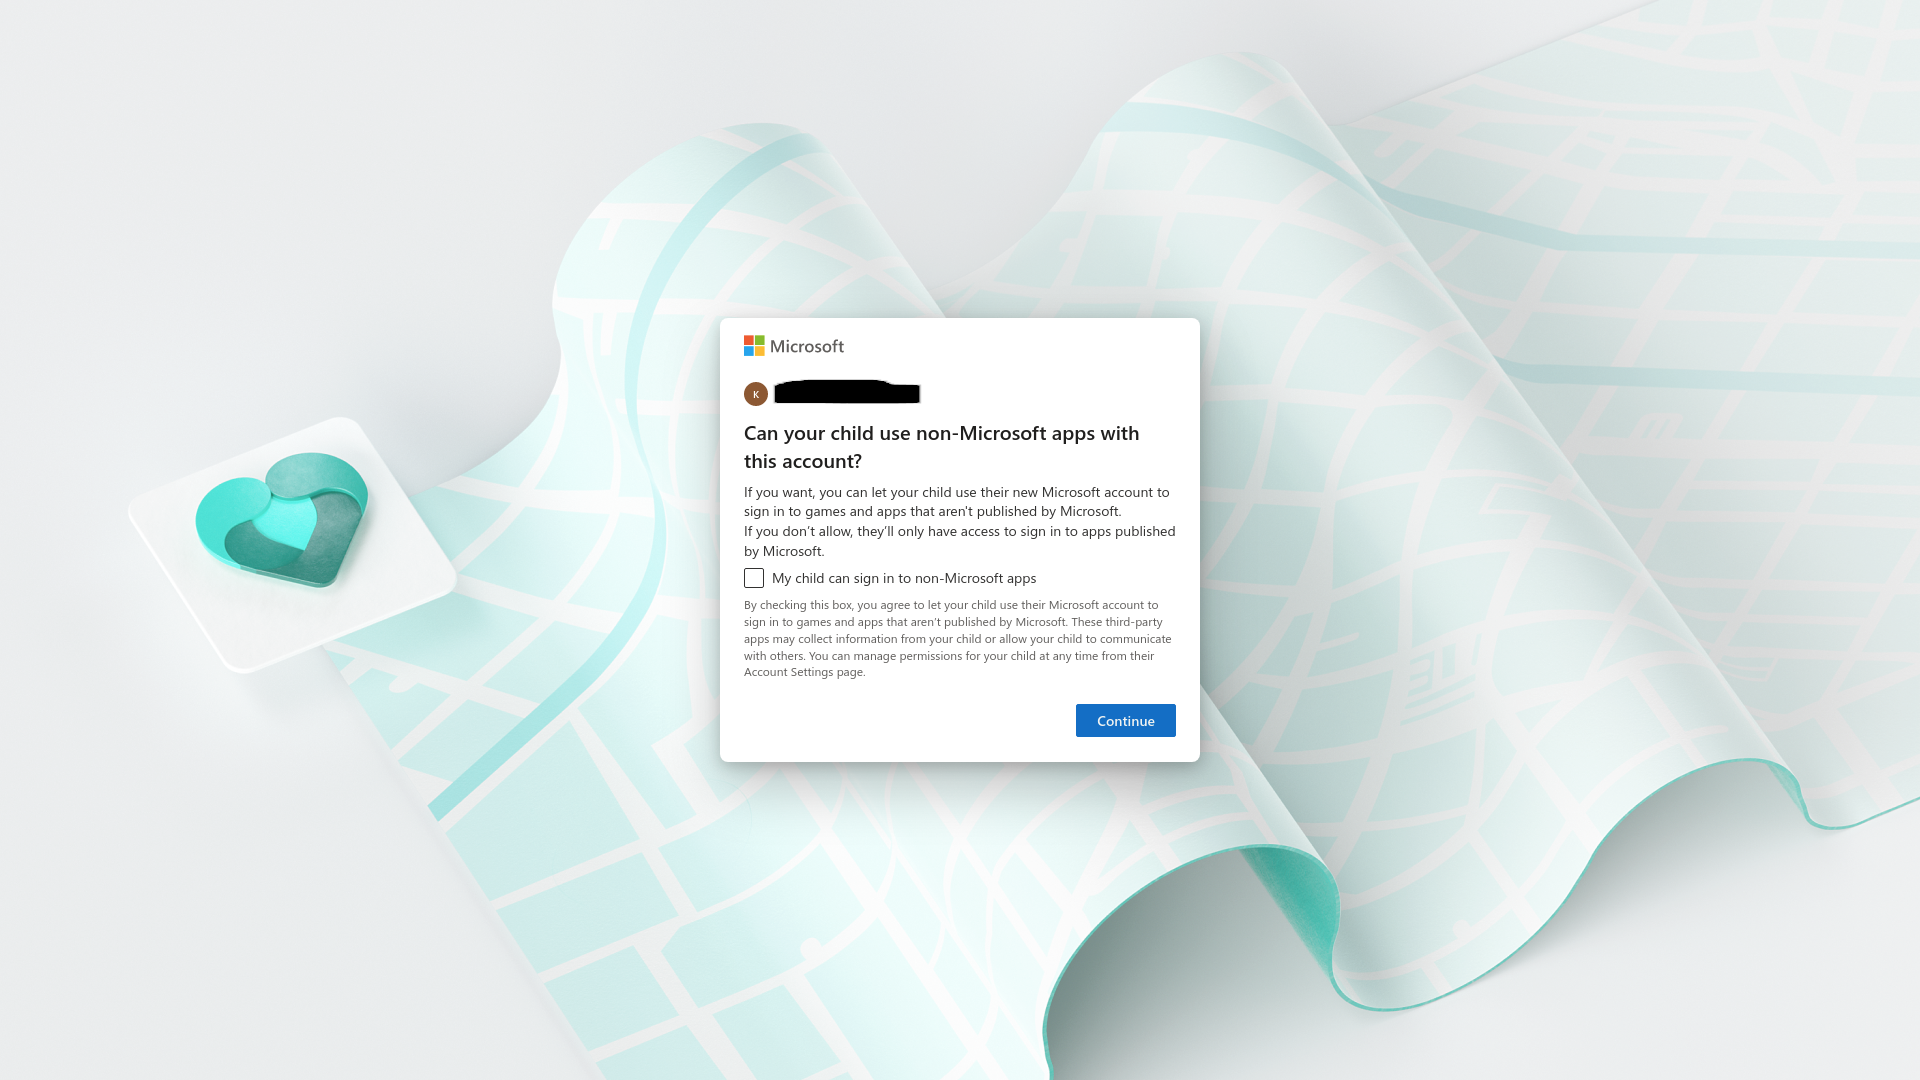
You’ll next be asked if you want to allow your child to be able to sign into non-Microsoft apps with their account. While this may allow some third parties to collect data as described in the box, it provides a better users experience. Tick the box.
Step
36Press Continue
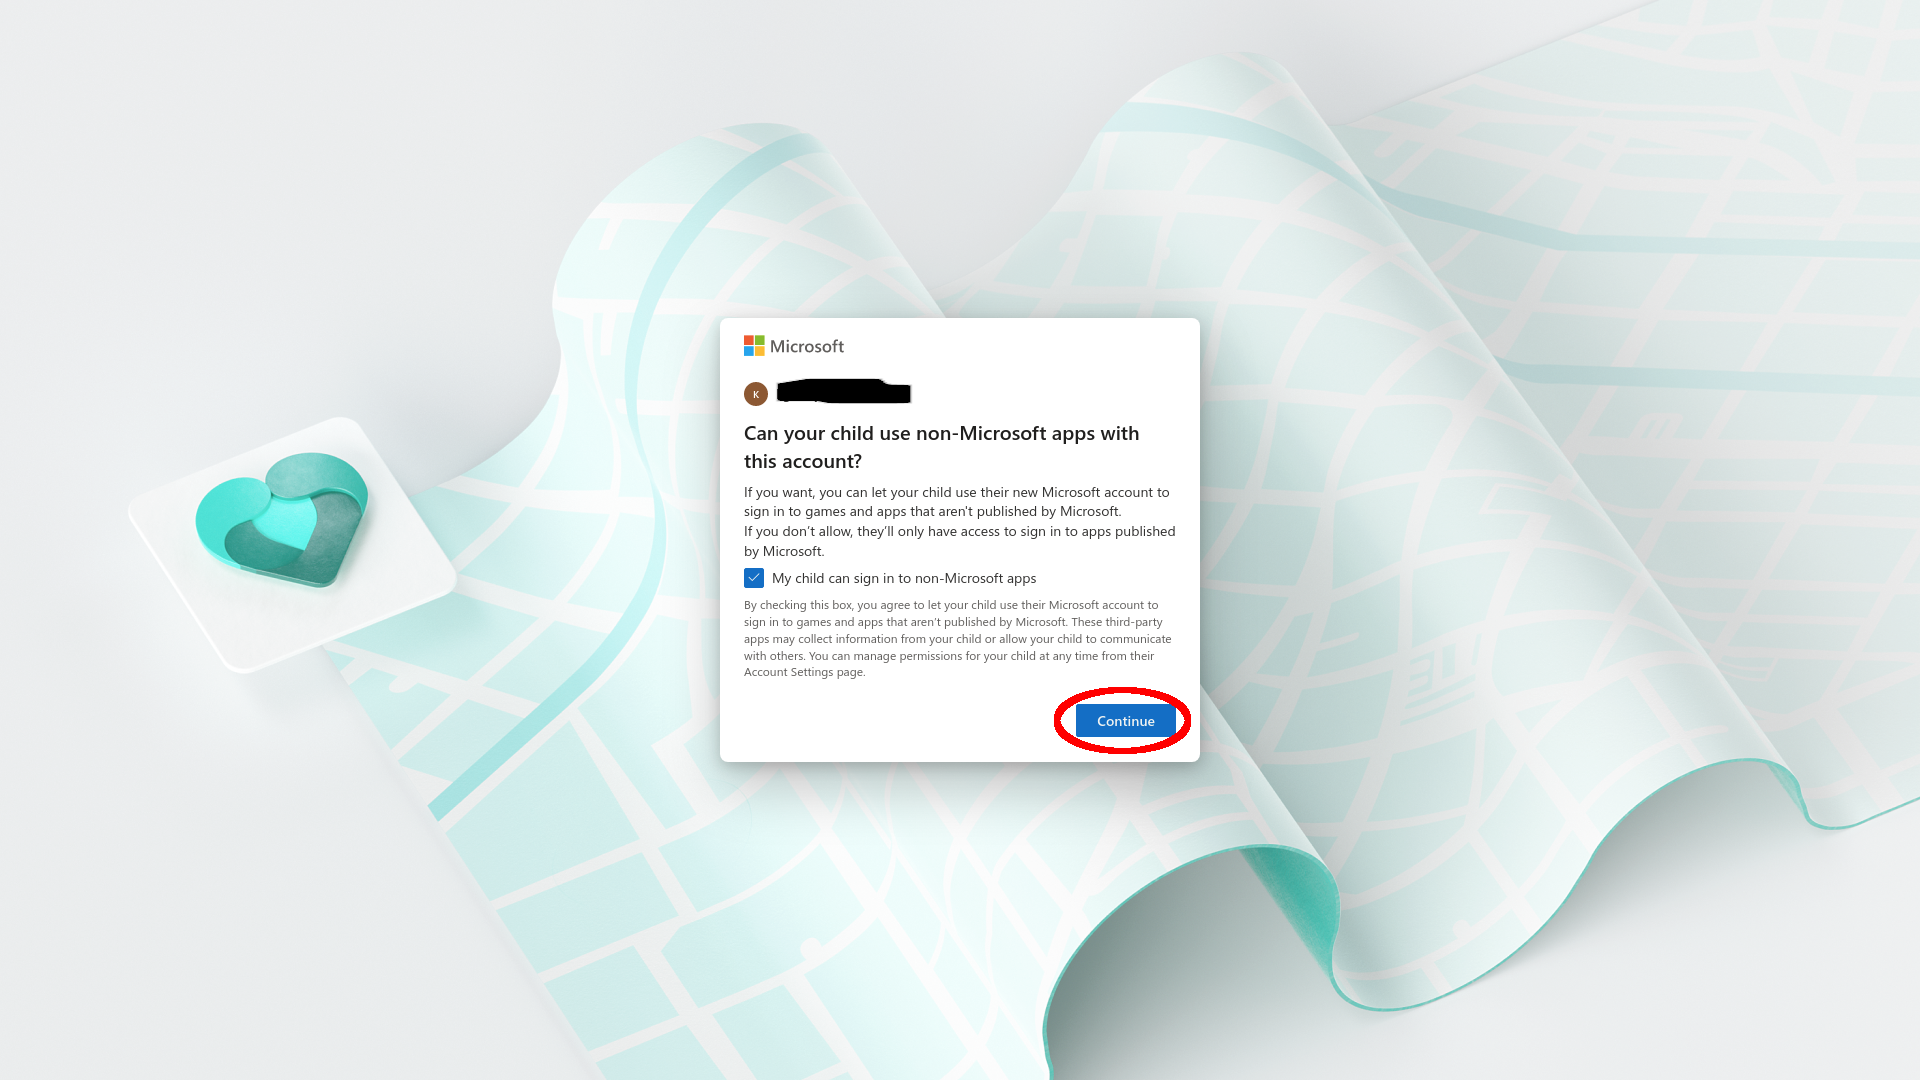
The Continue button will now be clickable. Click it.
Step
37See default account settings and sign out
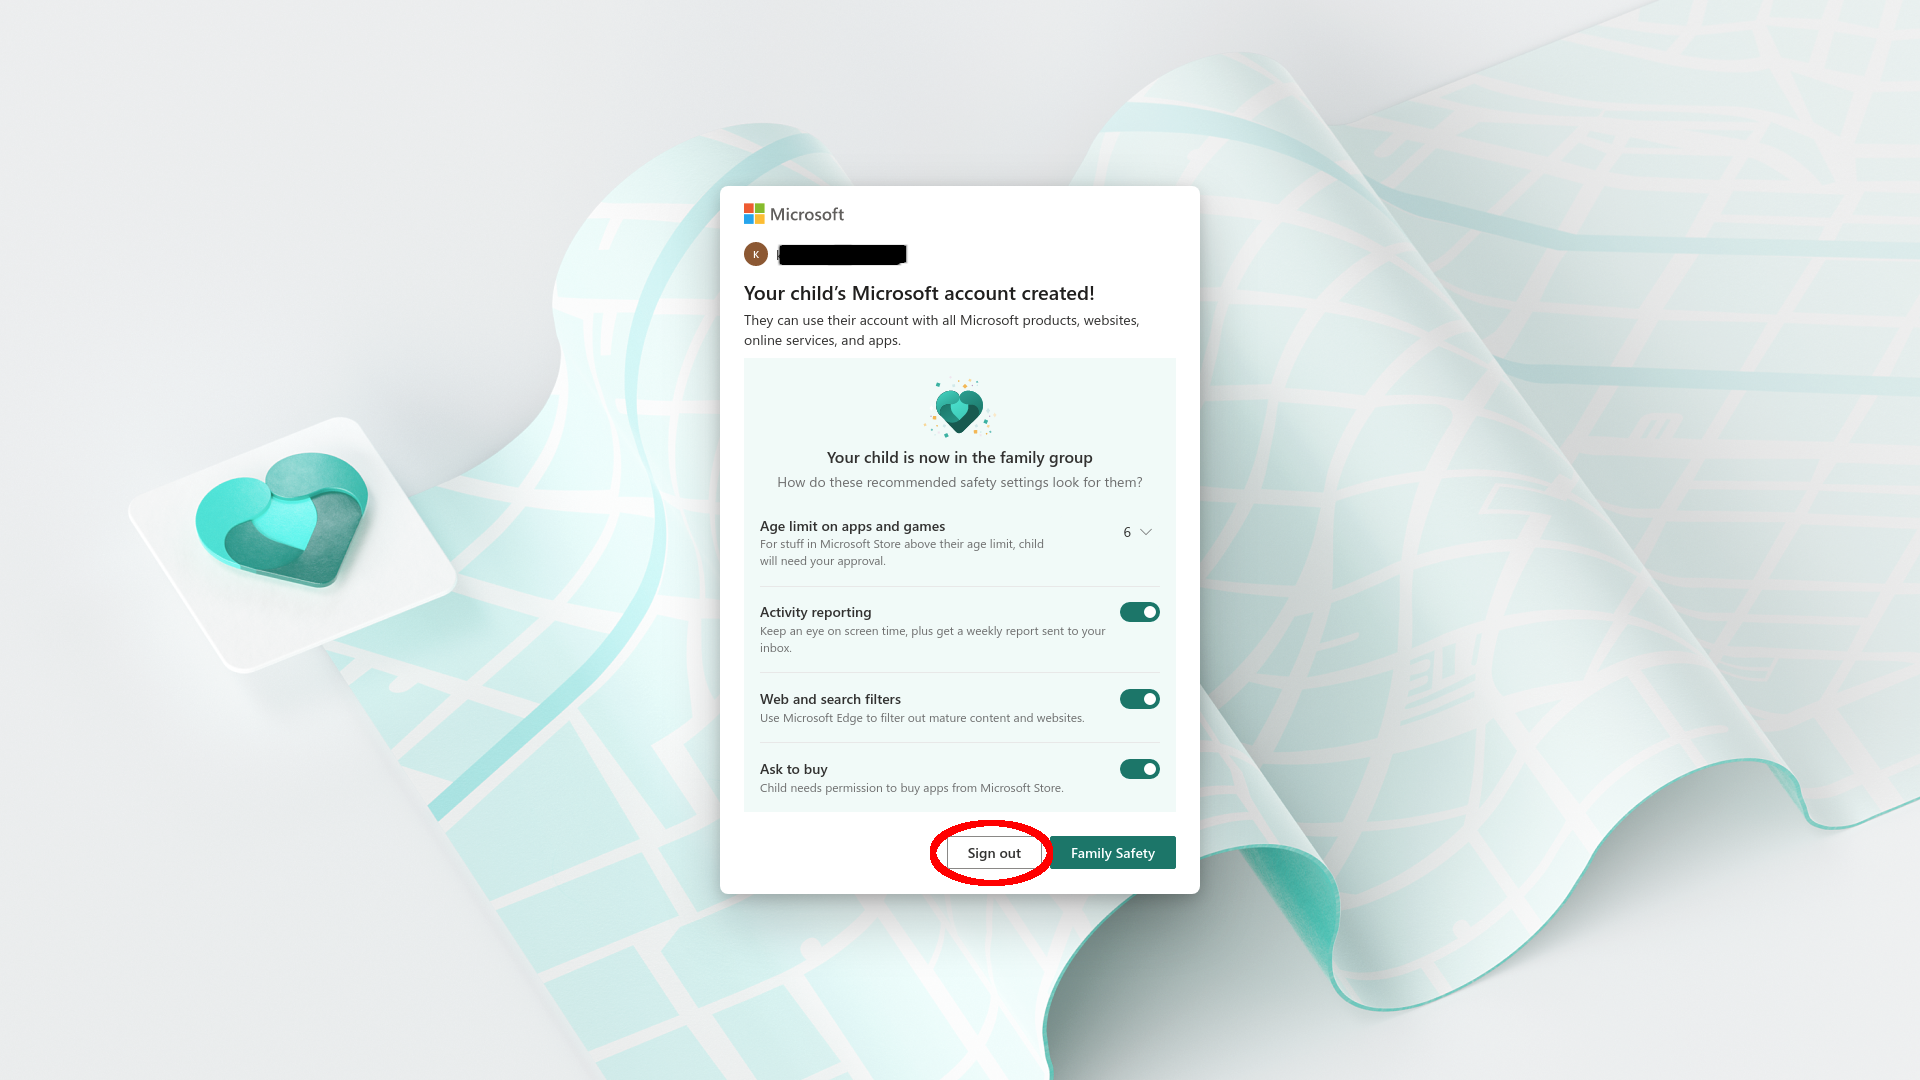
Your under-thirteen now has a Microsoft account and is part of your Family Safety group. Click Sign out to sign out of your own account and go to to Step 38.
Step
38For over-thirteens: Confirm that they want to join

Finally, Family Safety explains some of the things they’ll be able to do with their account, such as requesting that an adult buy them Microsoft Store software, opt to share their activity or location with family members, and have content filters and screen time limits set for them. They should click Join now, but there’s still time to switch to a different account if you need to.
Step
39Take a look at their member account

Your new user will be logged into their member account. Any Microsoft devices your member’s account is already logged into will appear here. If there are none, the next step is to connect a device. We’re going to use a Windows PC, but Windows PCs, Xbox consoles, and Android and iOS drives can all be connected to Microsoft Family Safety.
Step
40Open Windows user management
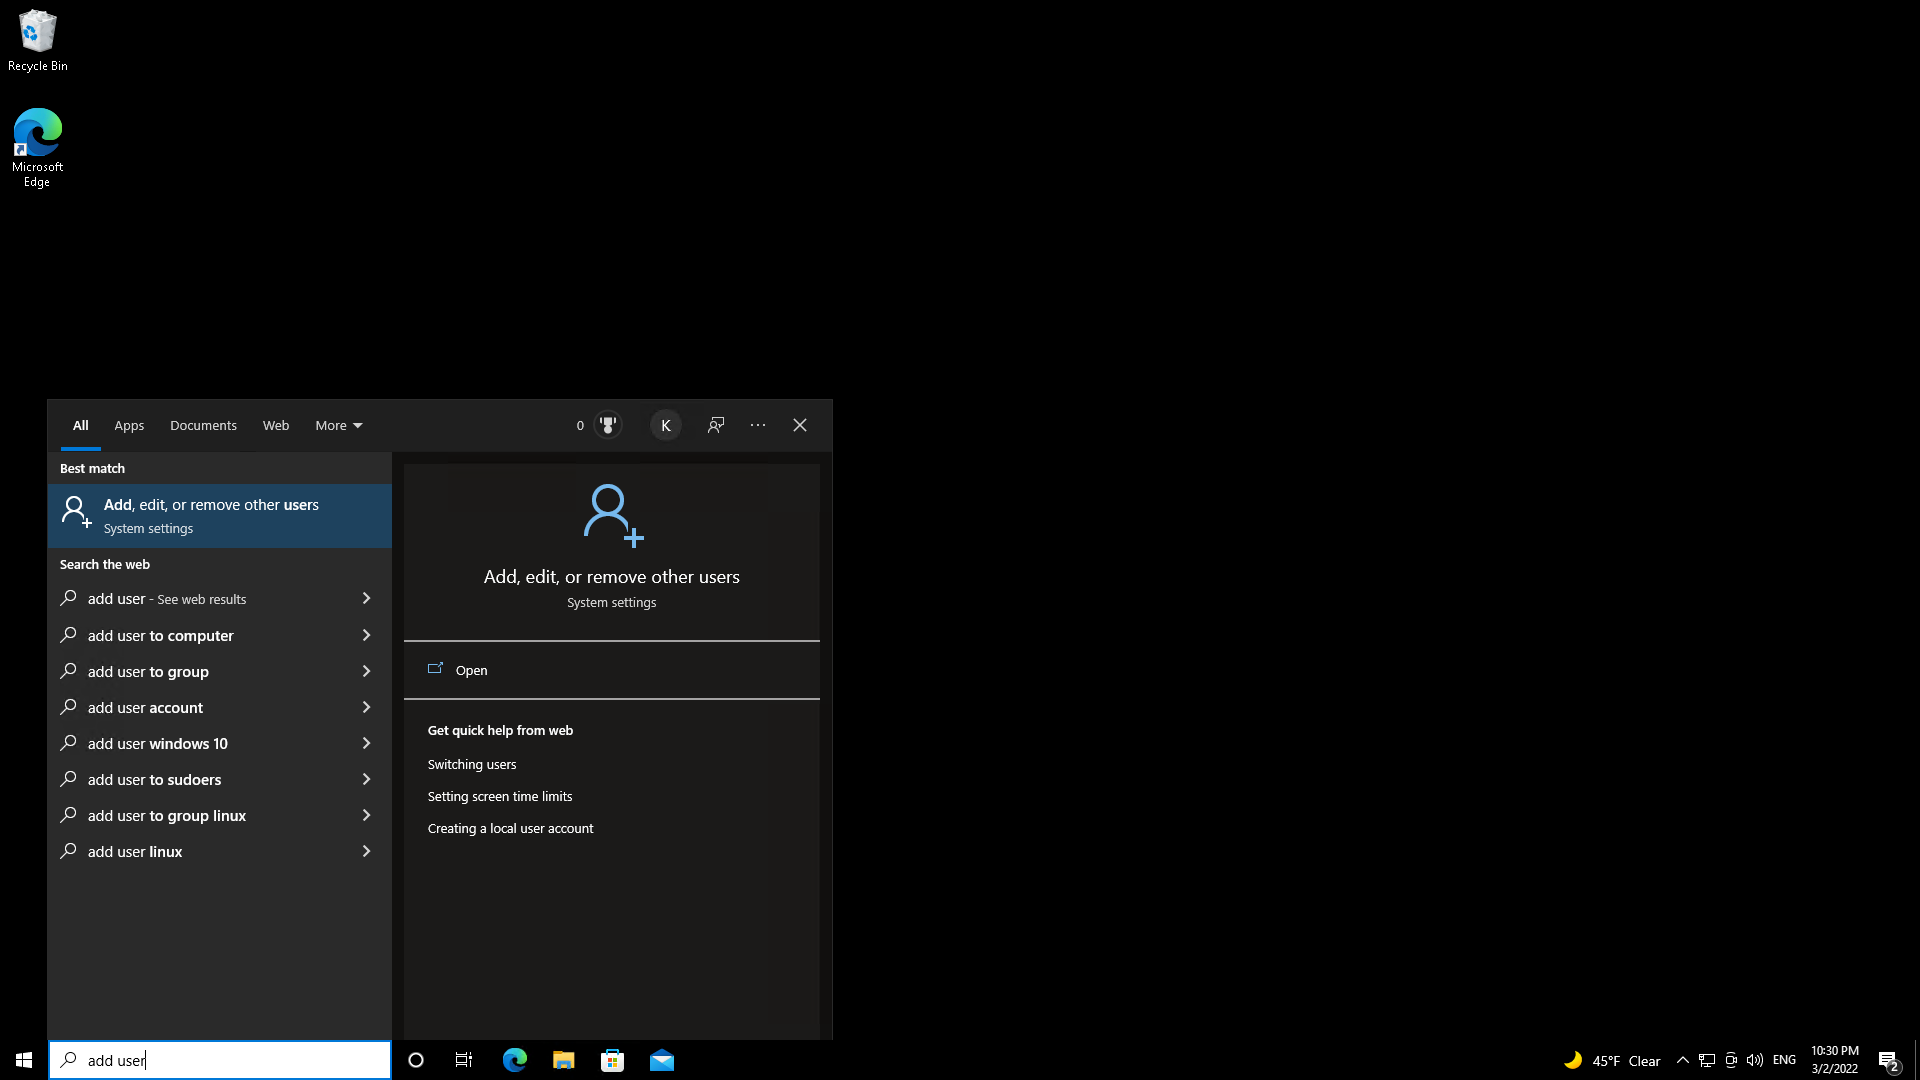
In Windows, use the taskbar search box to search for “add user”, then click on “Add, edit, or remove other users” in the results.
Step
41Find your member in Family & other users
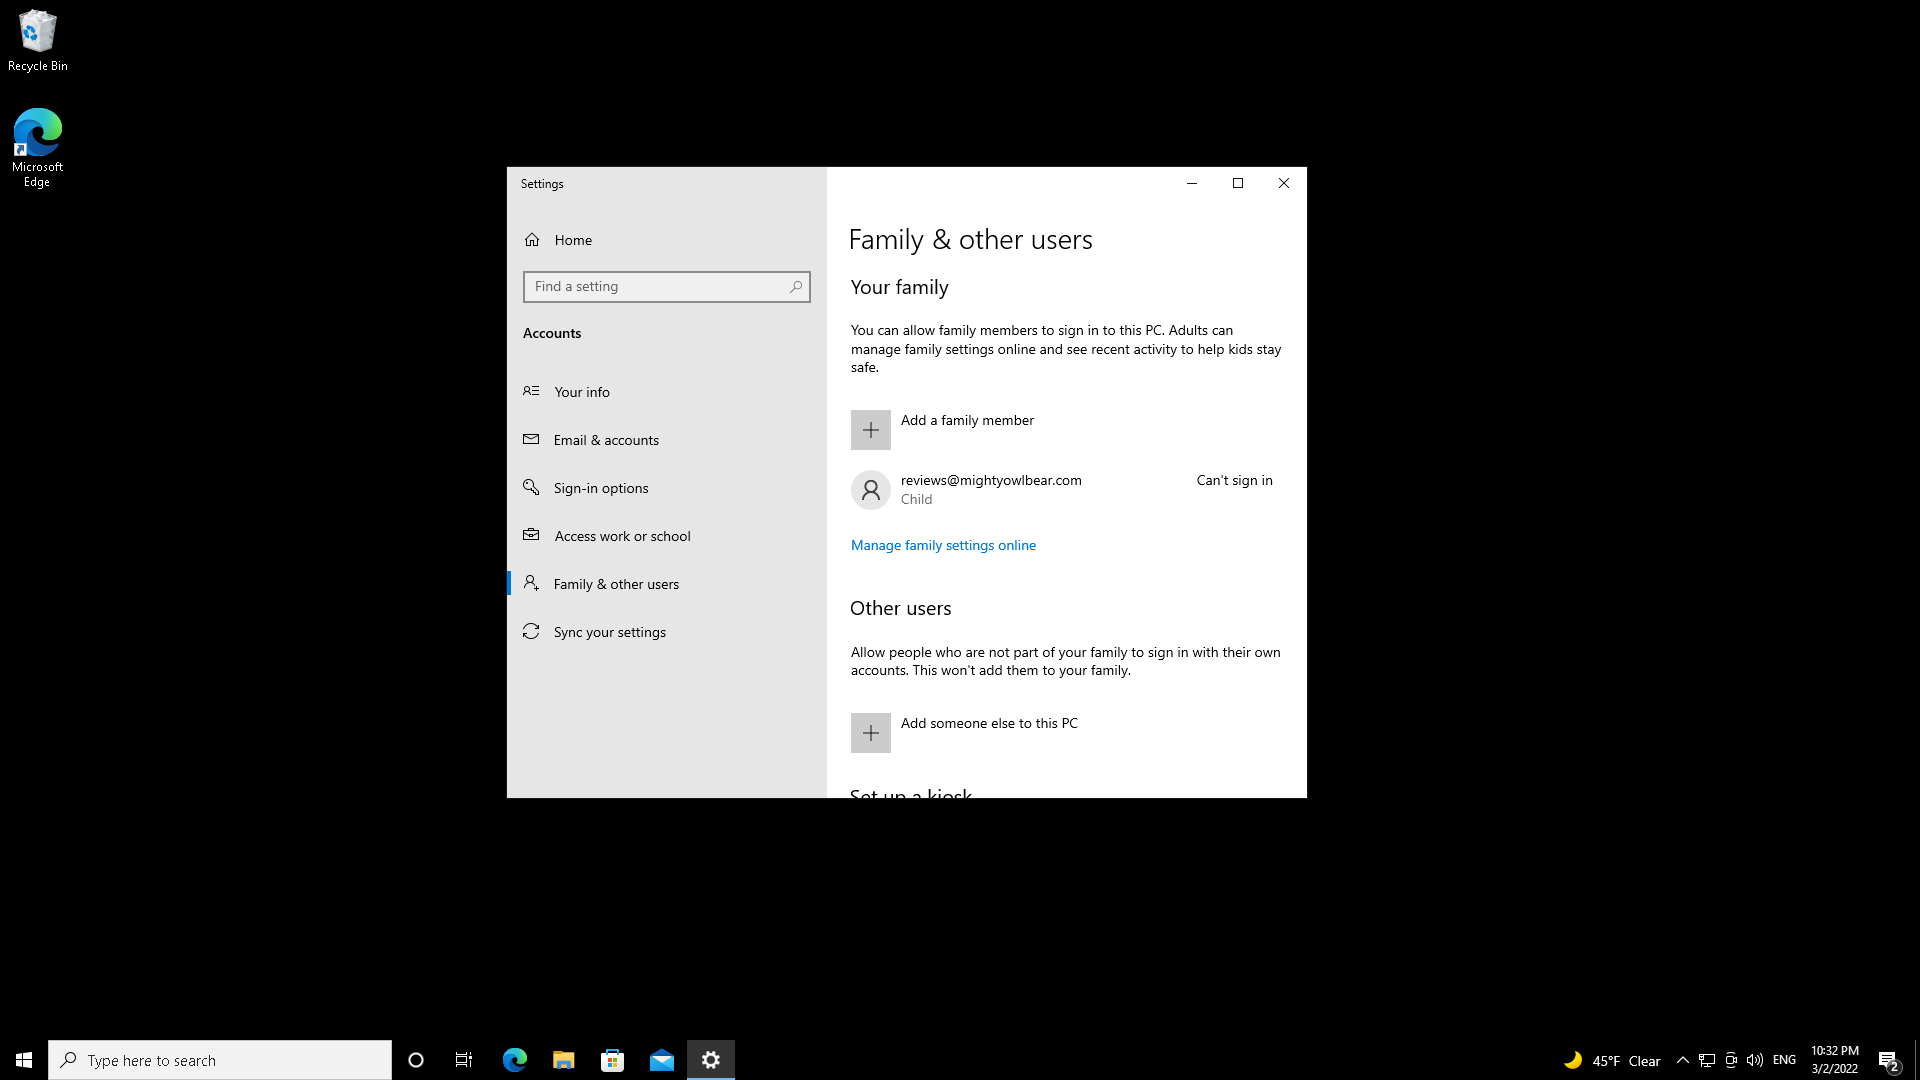
Your new family member’s account name or email address should appear in your user list with text reading “can’t sign in” next to it.
Step
42Select them
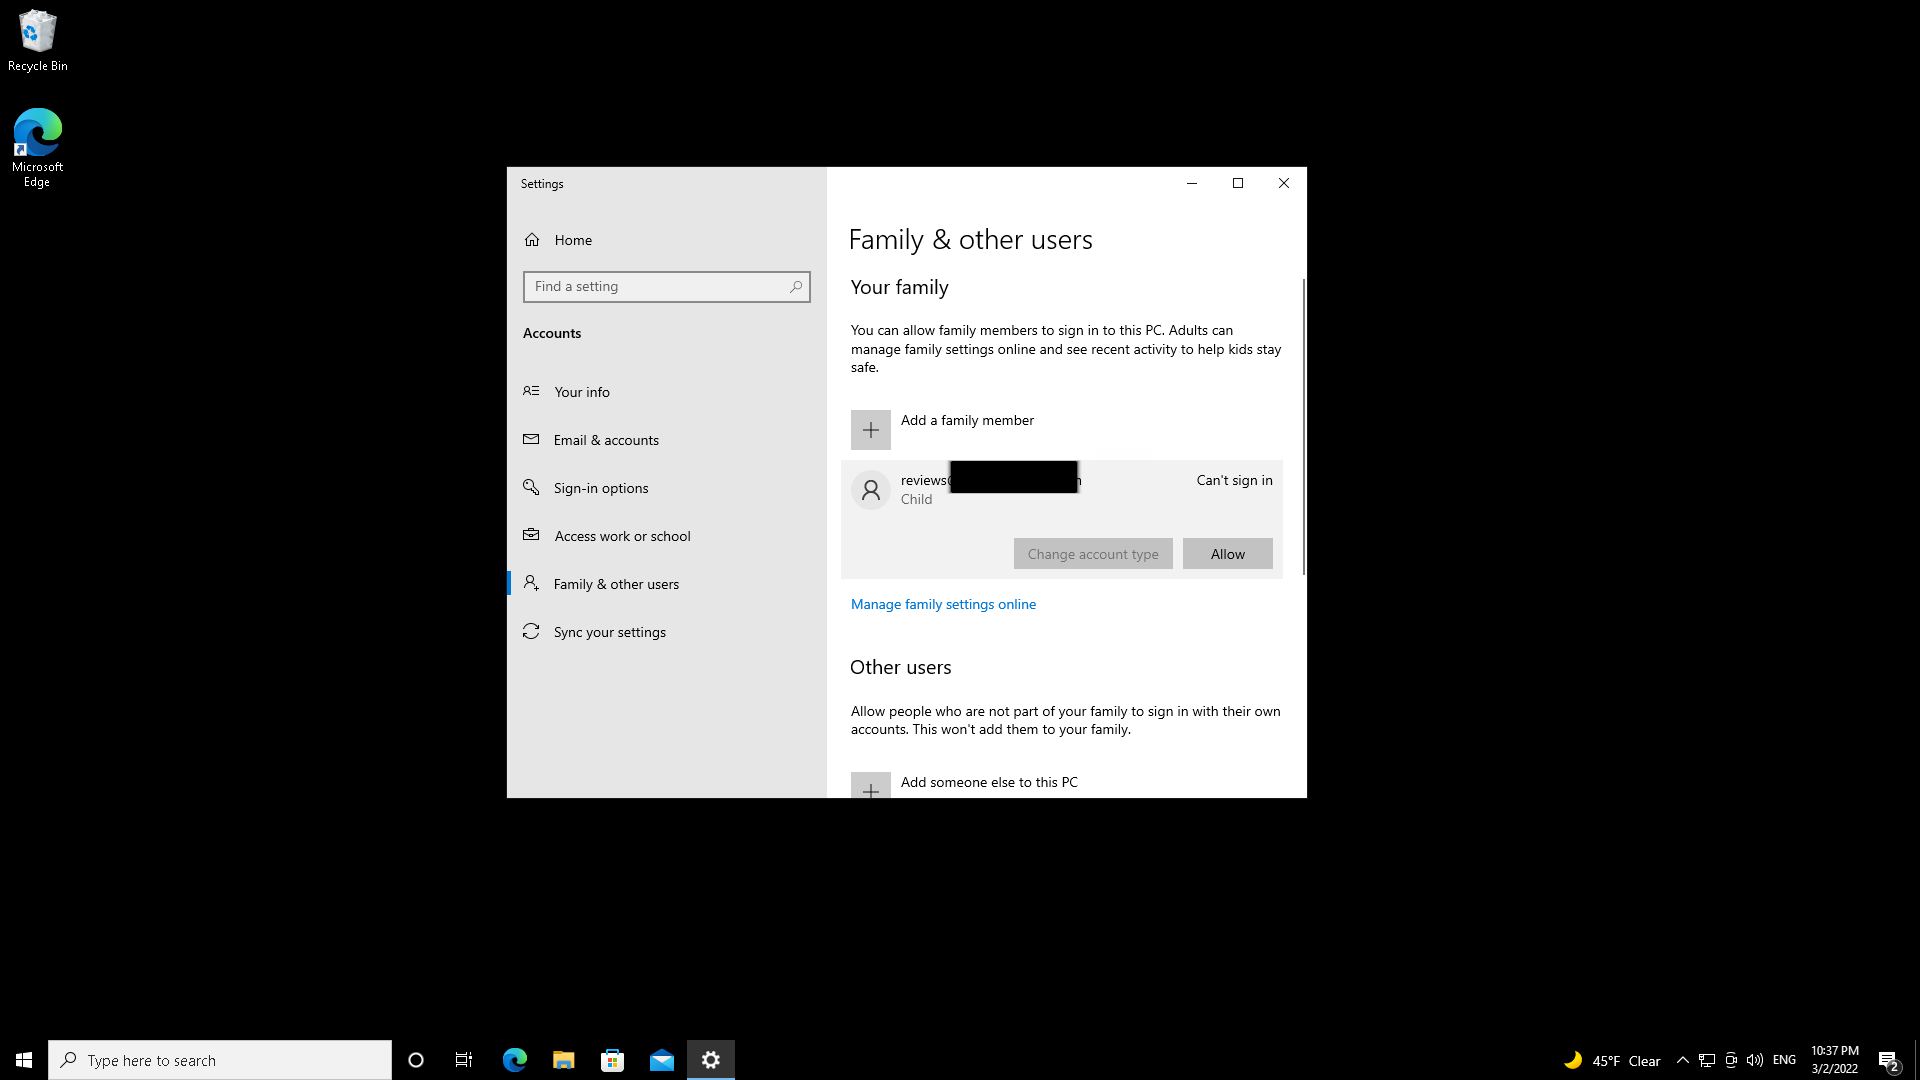
Click on their account name.
Step
43Click Allow
Now click the Allow button that appears below their account name
Step
44Give your new family member access to Windows
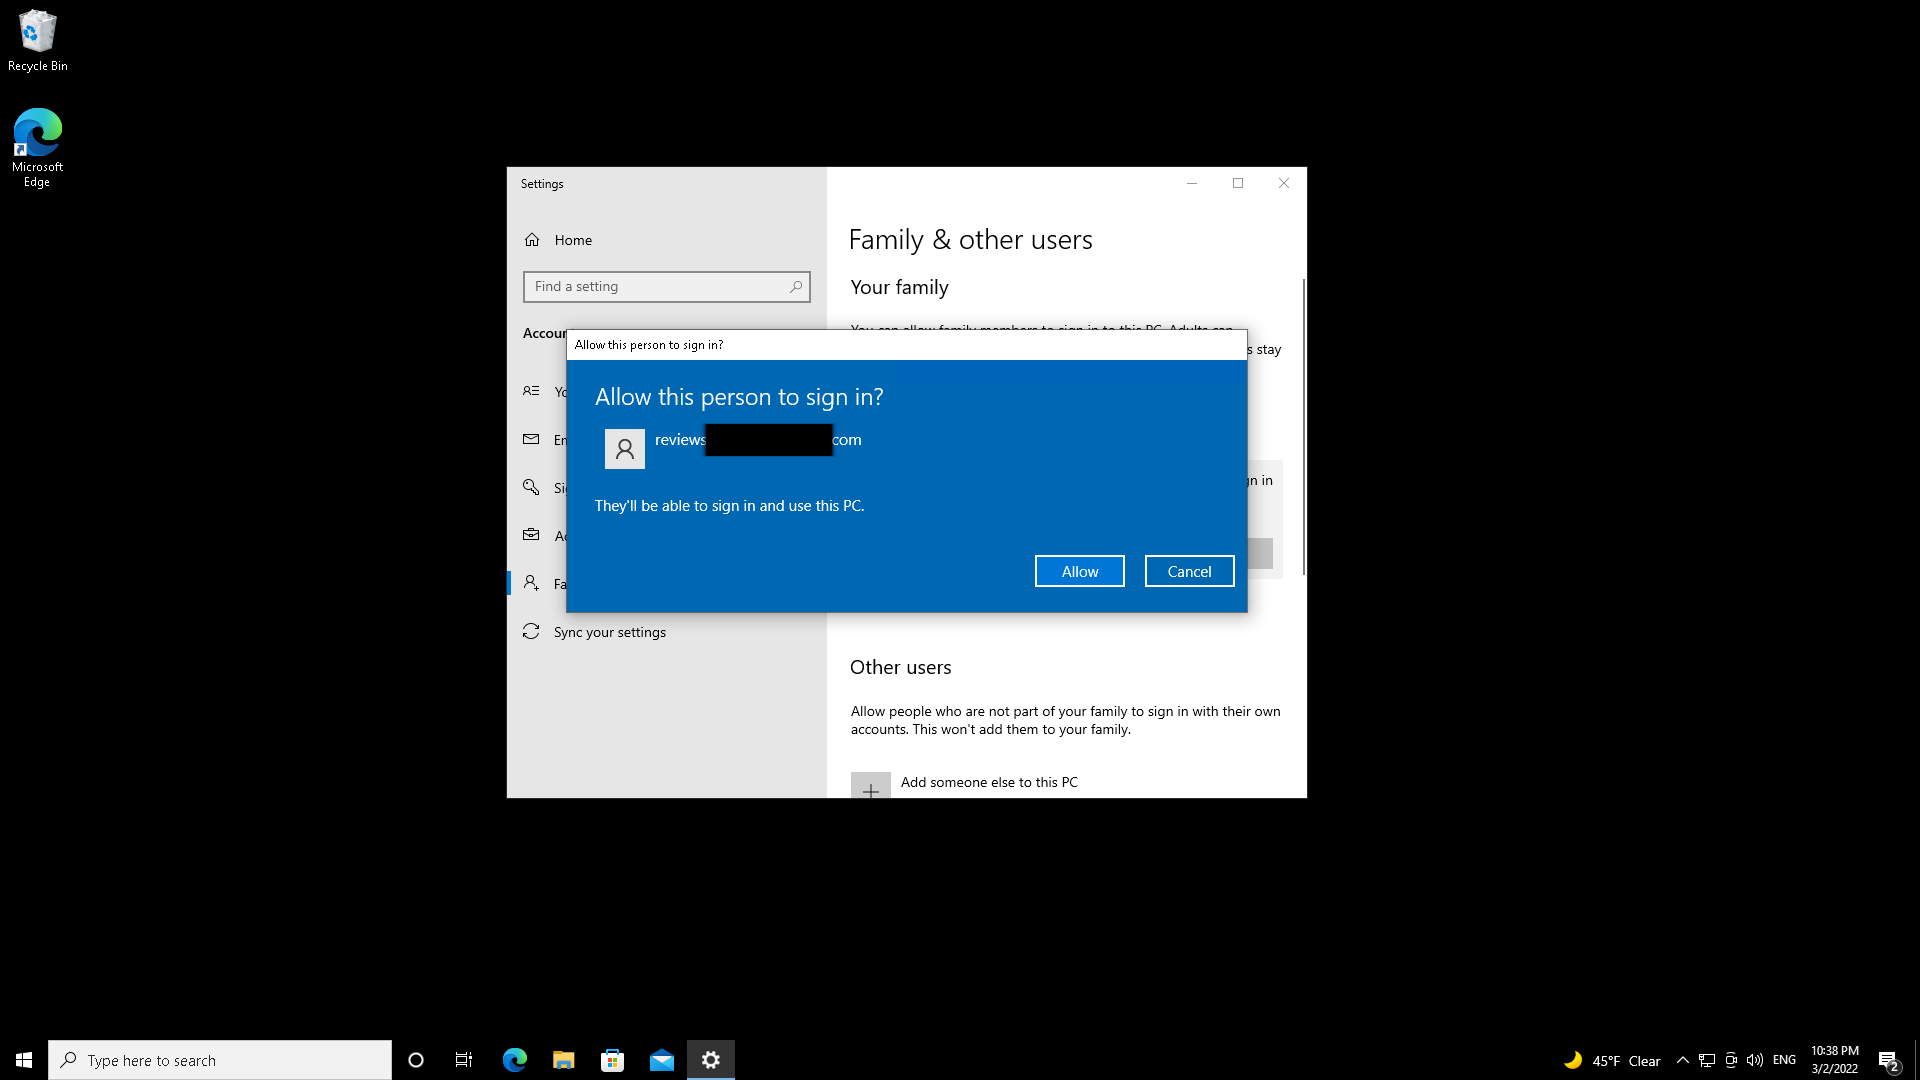
Click allow again when asked to confirm that they should be allowed to sign in.
Step
45Log out of Windows

Press Ctrl-Alt-Delete and click “Sign out”.
Step
46Time to sign in as another user

You’ll find yourself at the Windows sign-in screen.
Step
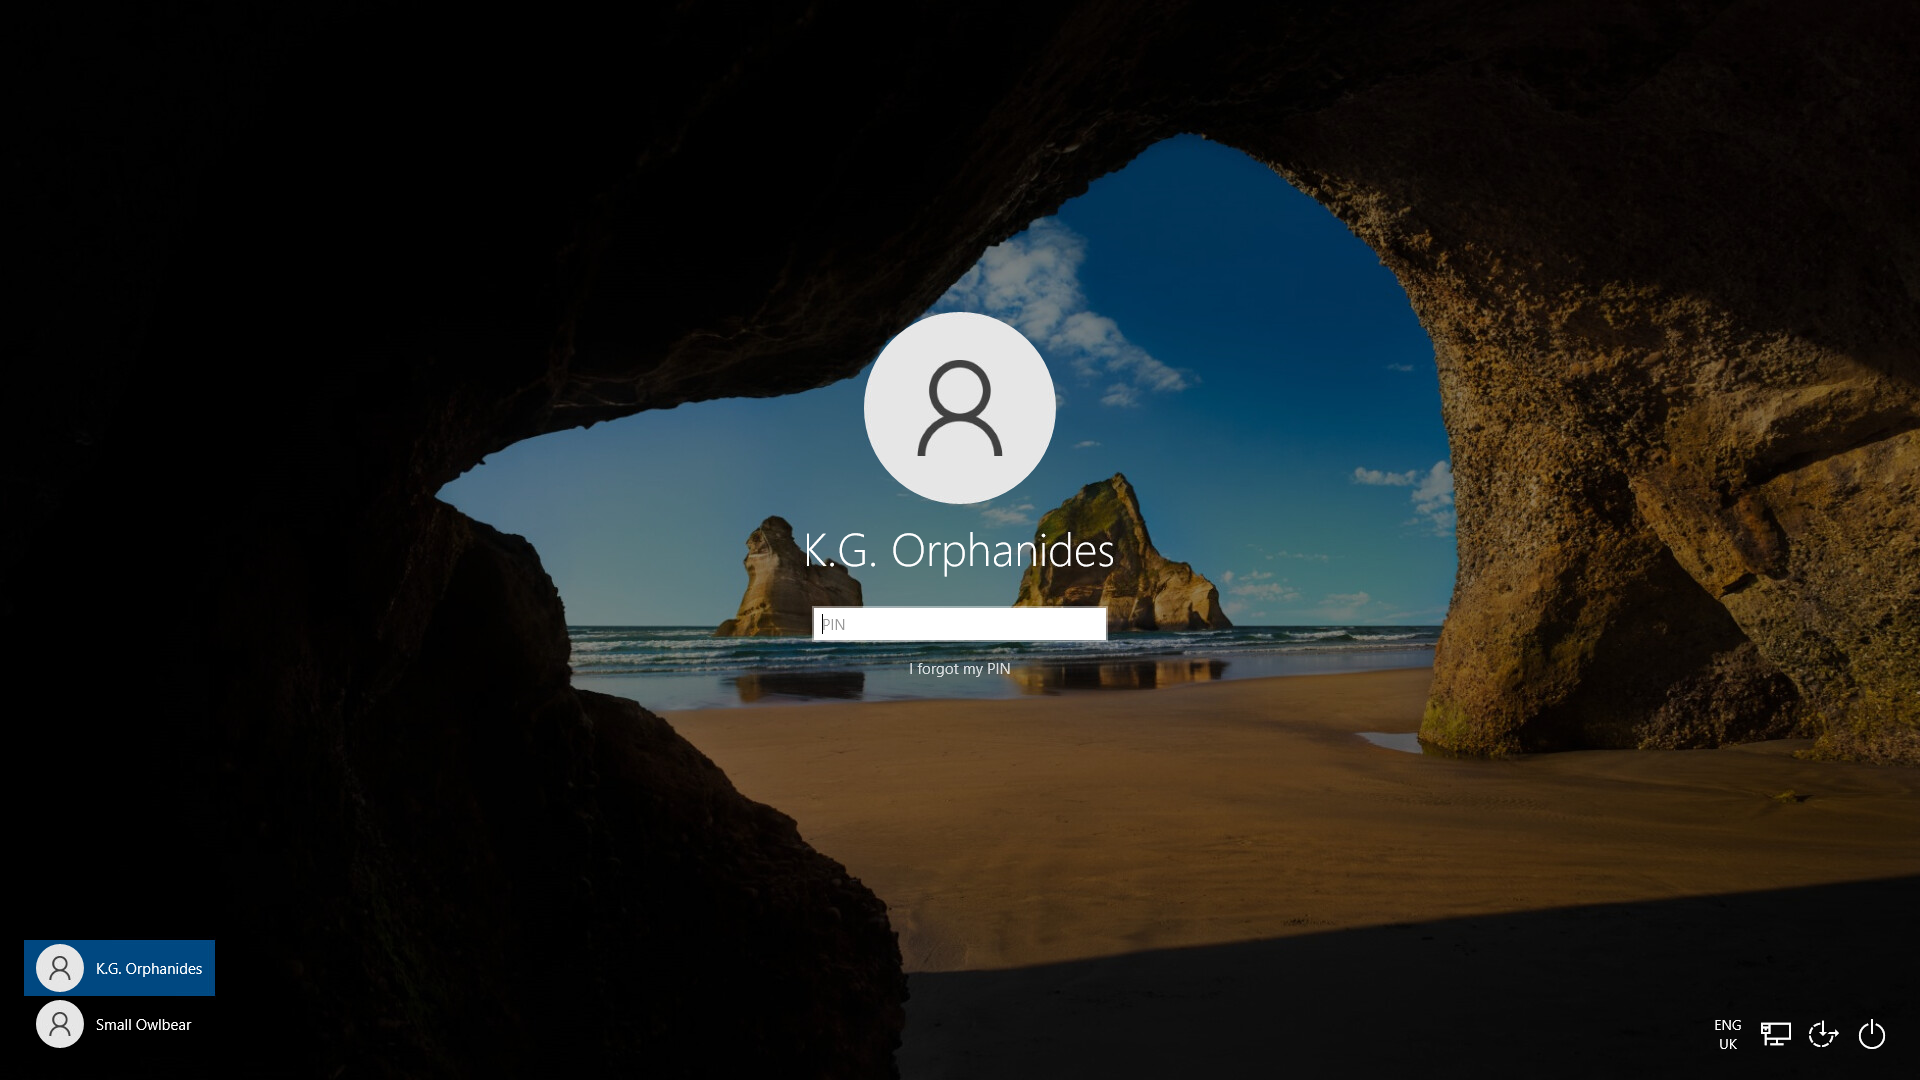
47Select your new Windows user

Click once, anywhere on the screen and have your new user select their account name from the list at the bottom left. They should now click “Sign in”.
Step
48Have them sign in

A Microsoft account login box will appear, requesting them to enter their password. Do that, then click Sign in.
Step
49Configure their Windows account to use a PIN
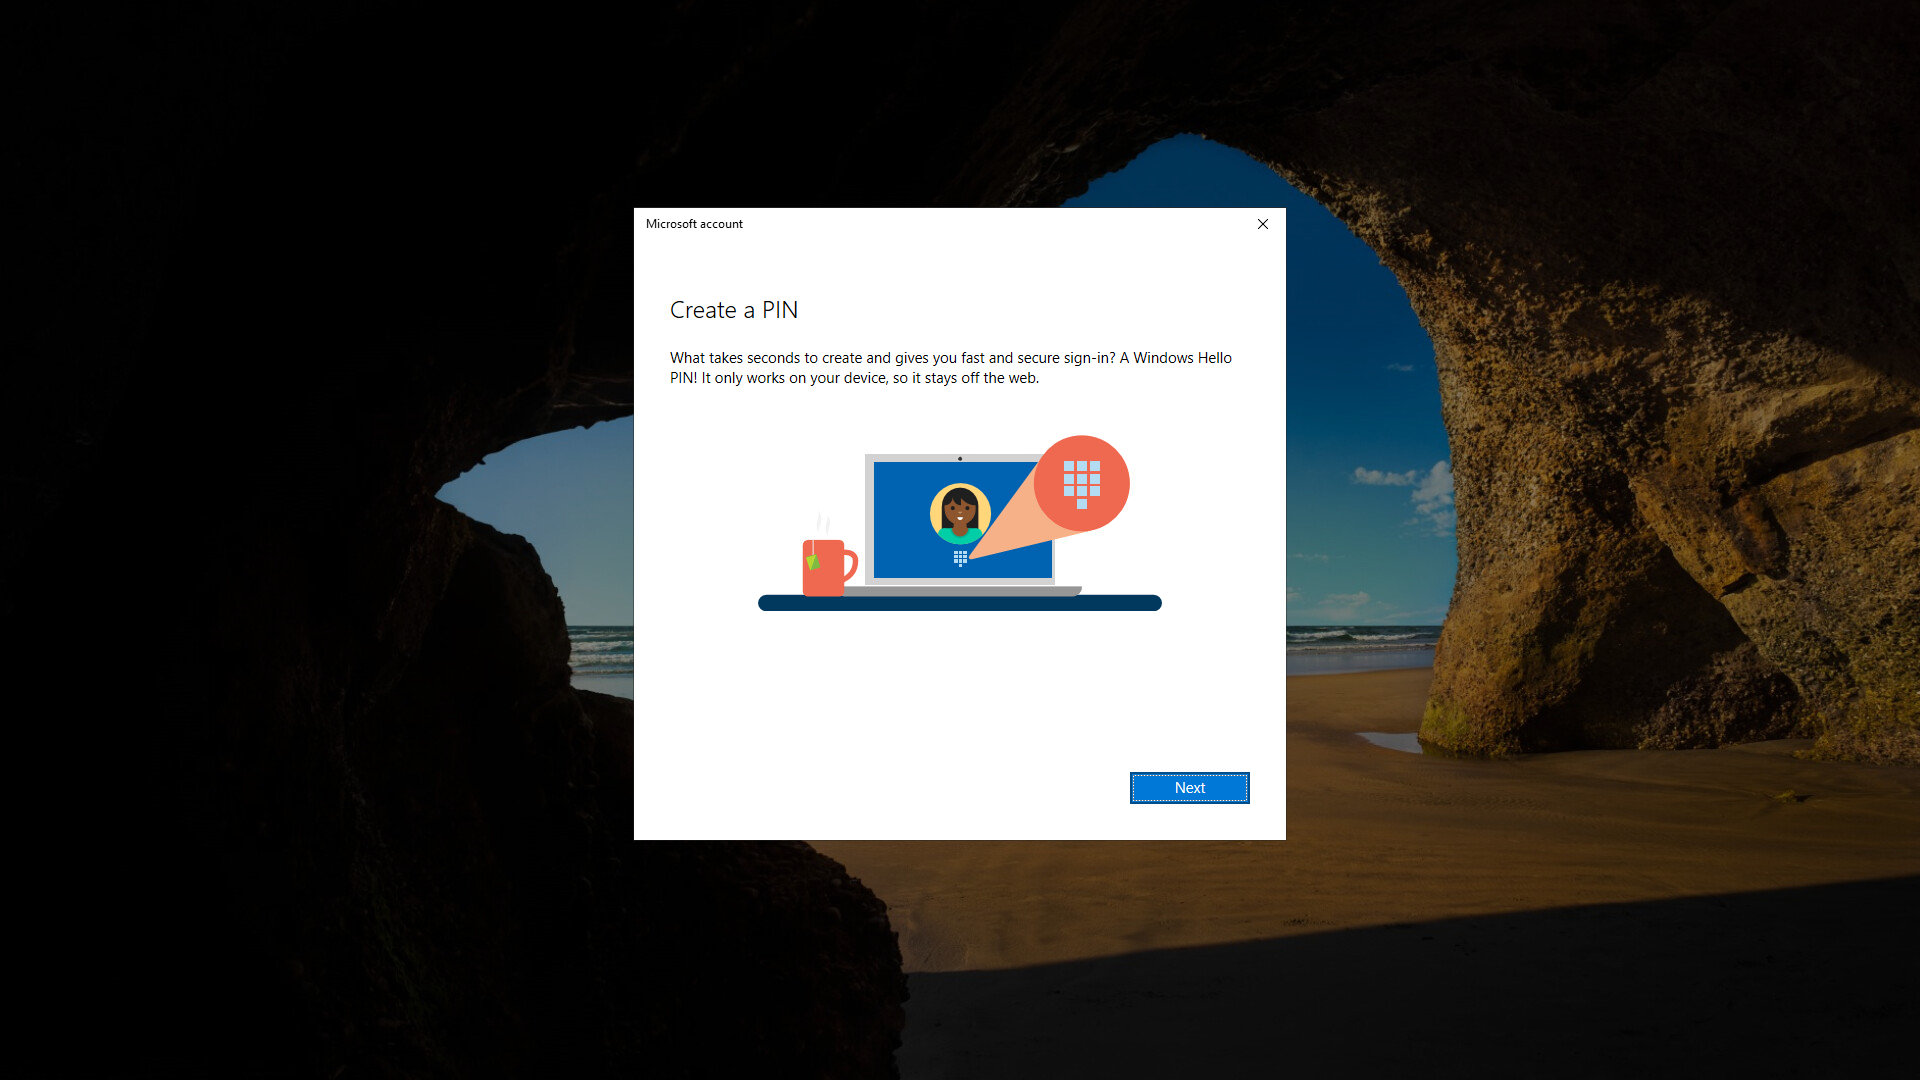
They’ll be prompted to create a Personal Indentifiction Numer for login – this is a good idea, particularly if their strong master password is long or difficult to type. With that done, they’ll be logged into their new Windows account. This will take a few minutes as the new account is set up by Windows
Step
50Allow OneDrive backups
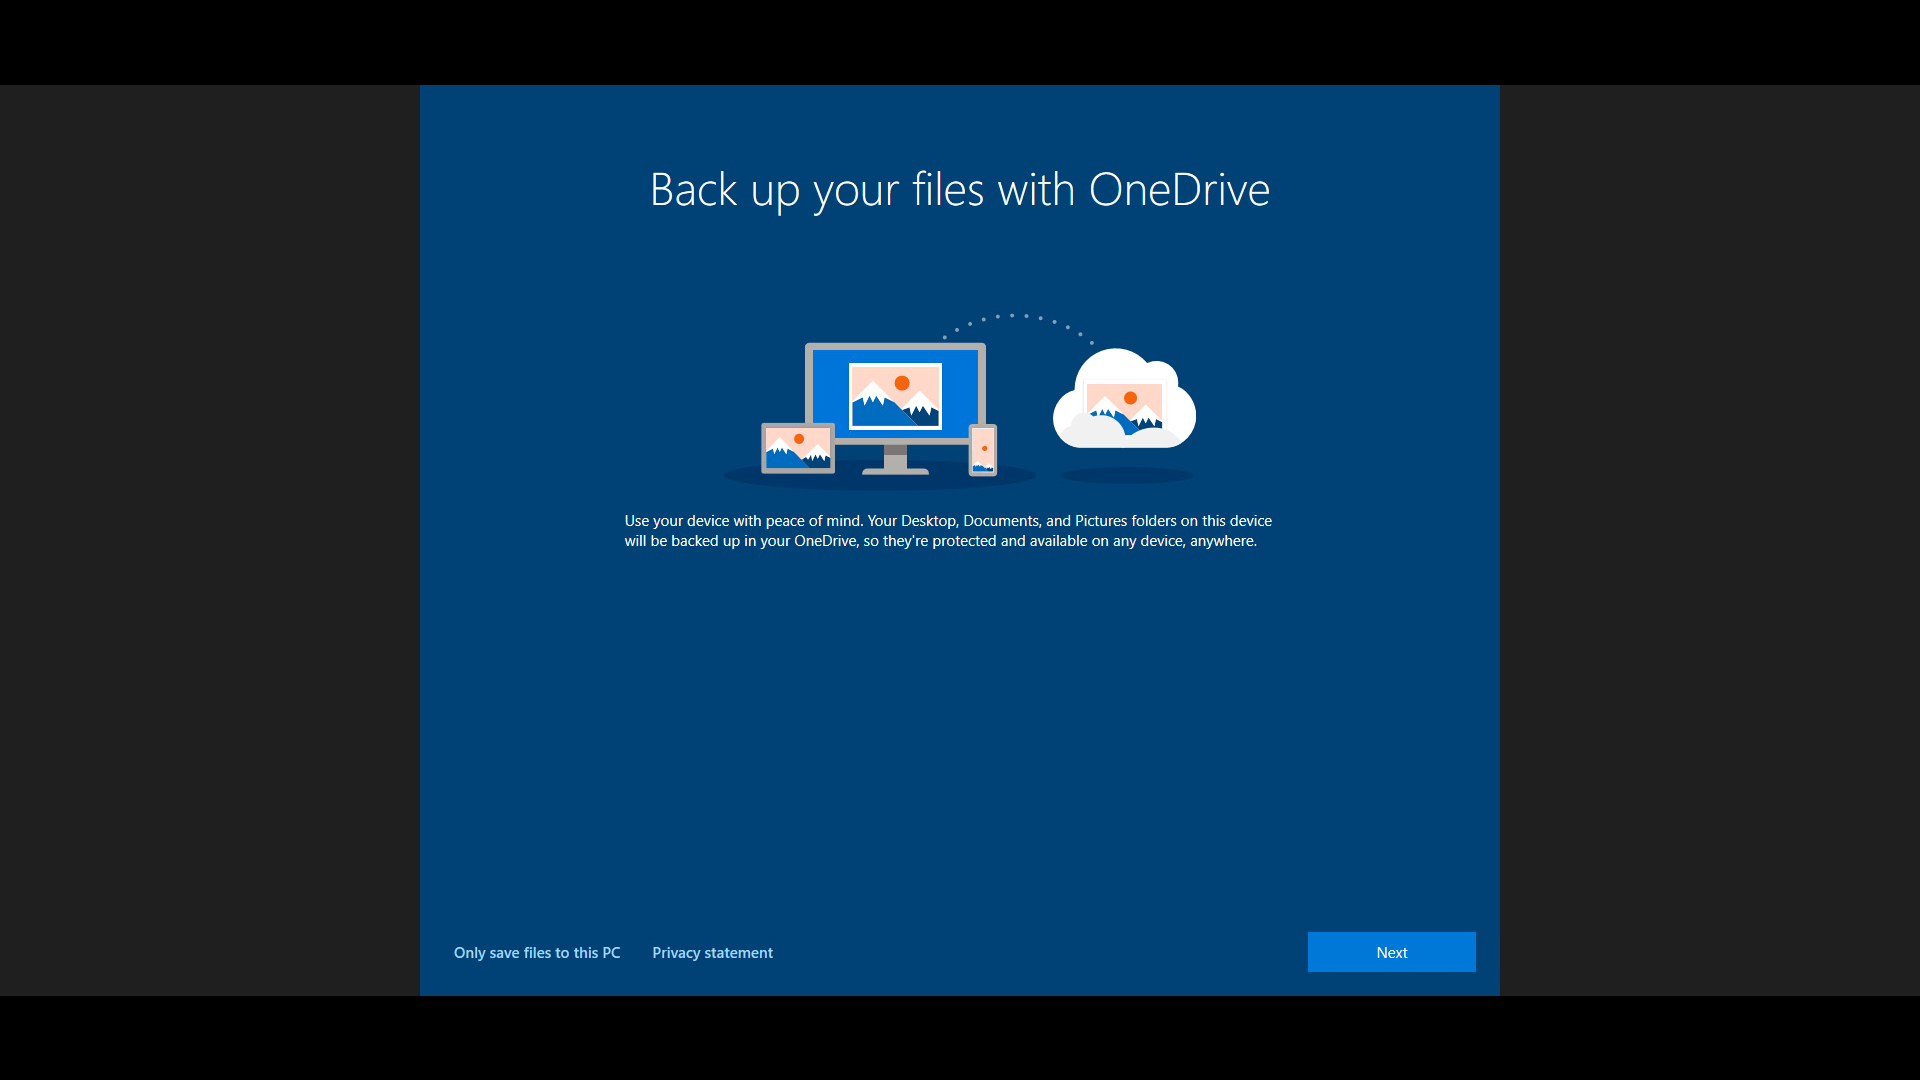
Backups are generally desirable and an automatic backup of key folders, such as Documents, can help avoid your kids losing any important files in case of hard disk failures. Select
Step
51Click Next
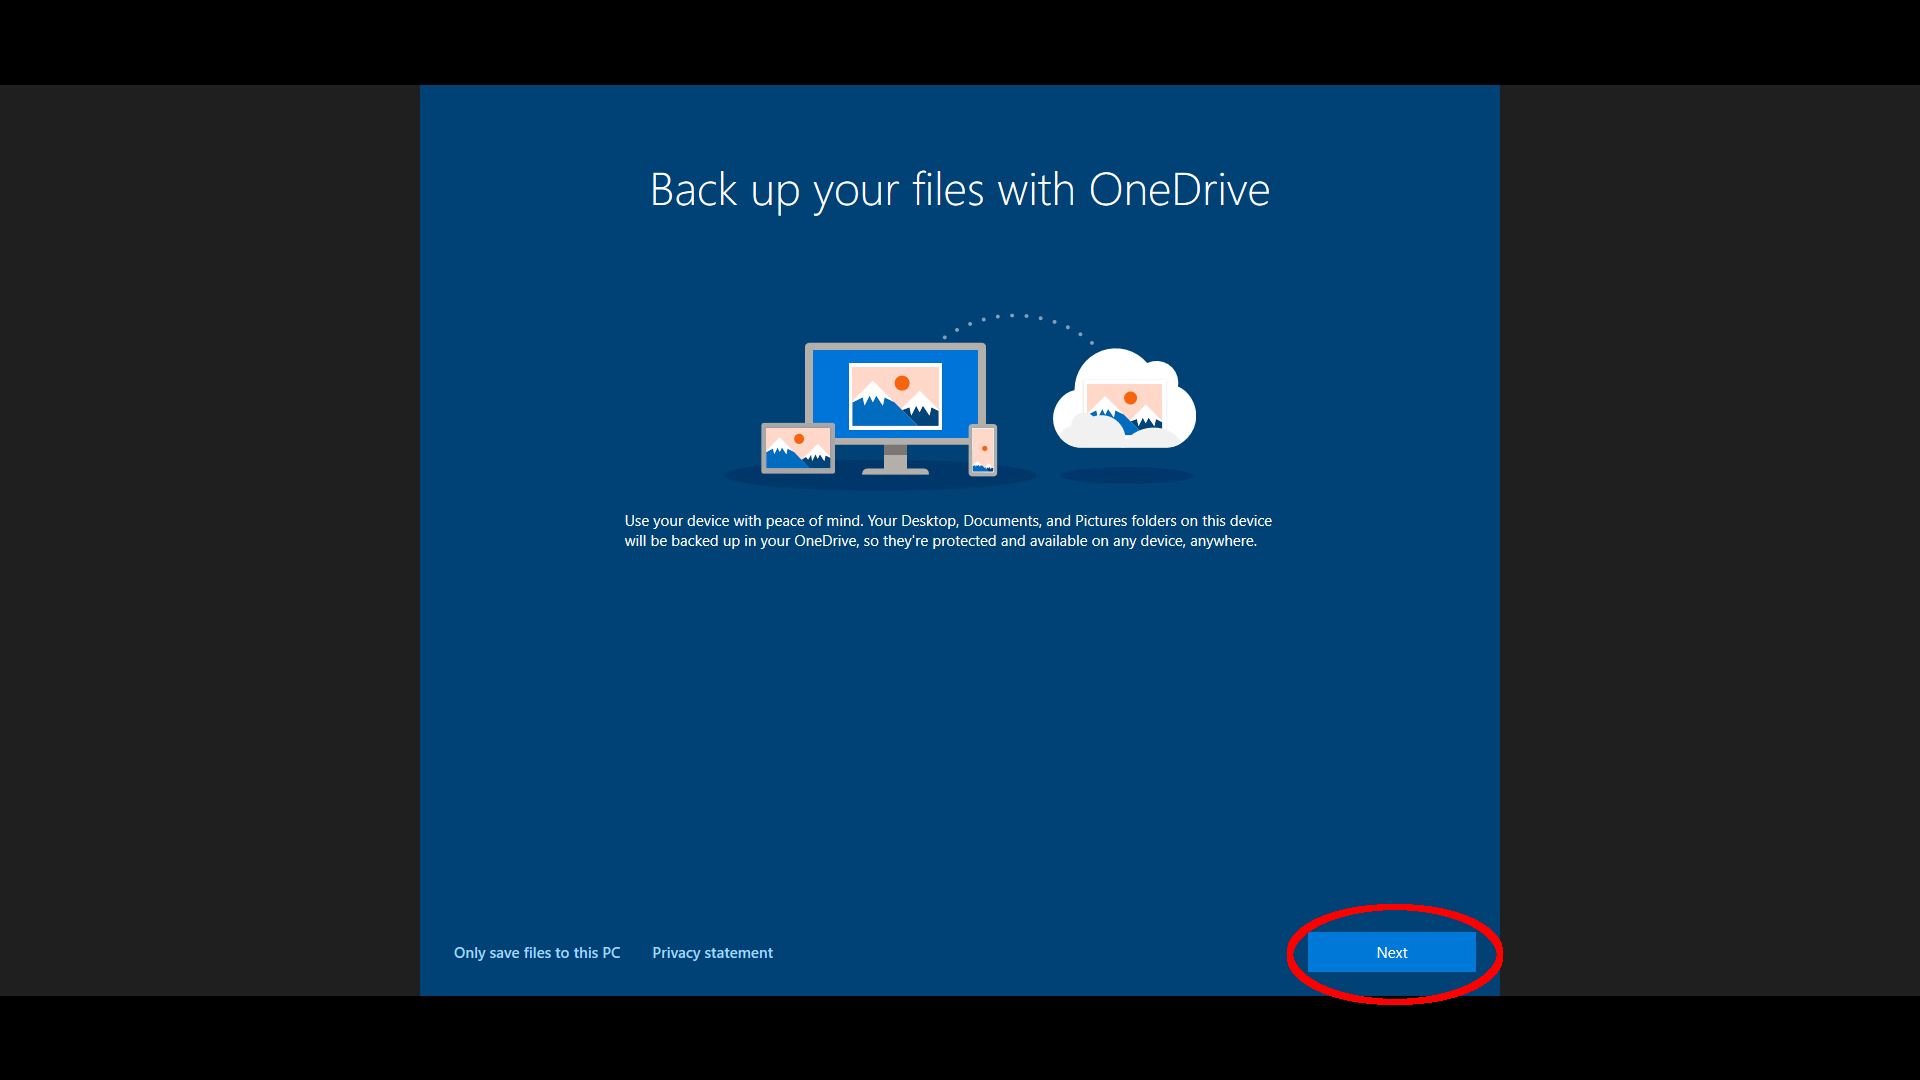
Read through the explanation and click Next.
Step
52Deny app location sharing
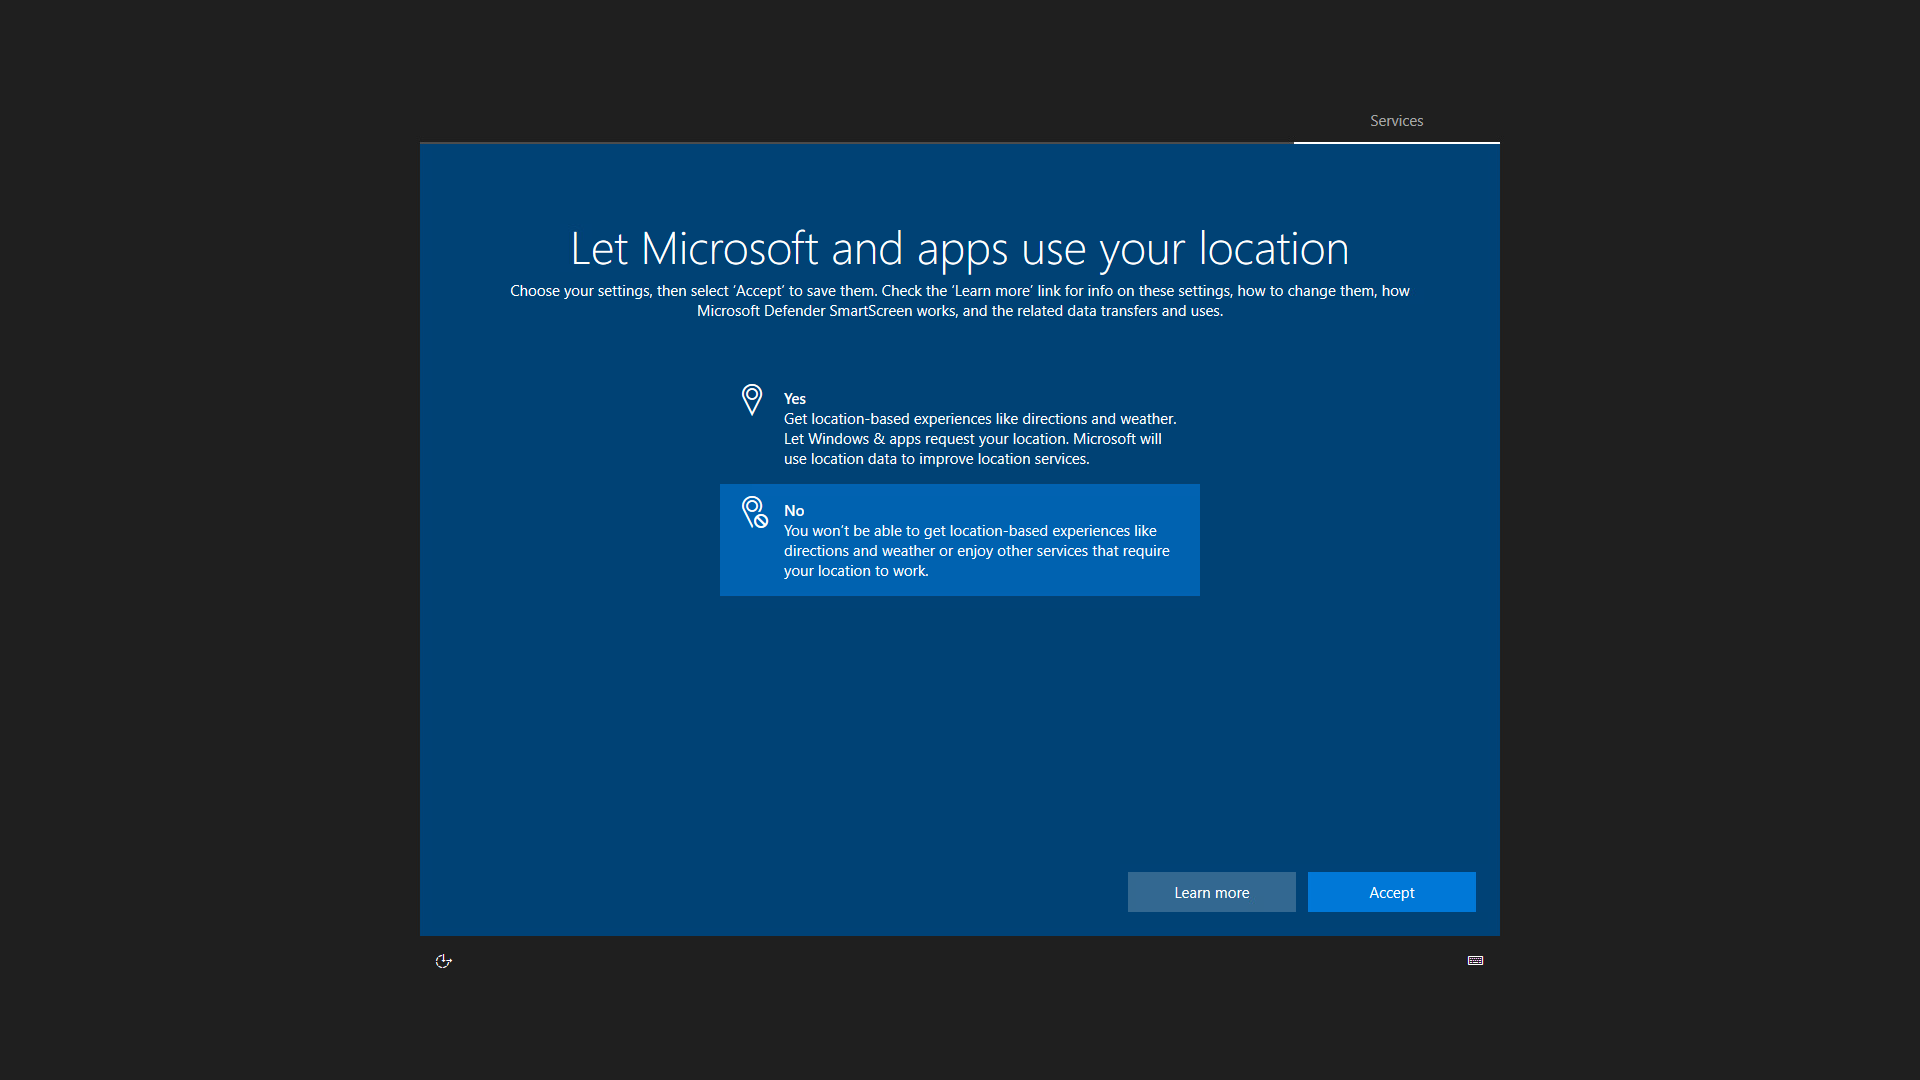
You’re about to be given lots of choices to make about Windows’ initial settings. It’s tedious, so you should do this by yourself for smaller children. For anyone below the age of majority, always consider configuring Windows’ account settings for maximum privacy. Select No when asked to “Let Microsoft and apps use your location”.
Step
53Click Accept
Click Accept to move on to the next question.
Step
54Deny inking and typing diagnostic data
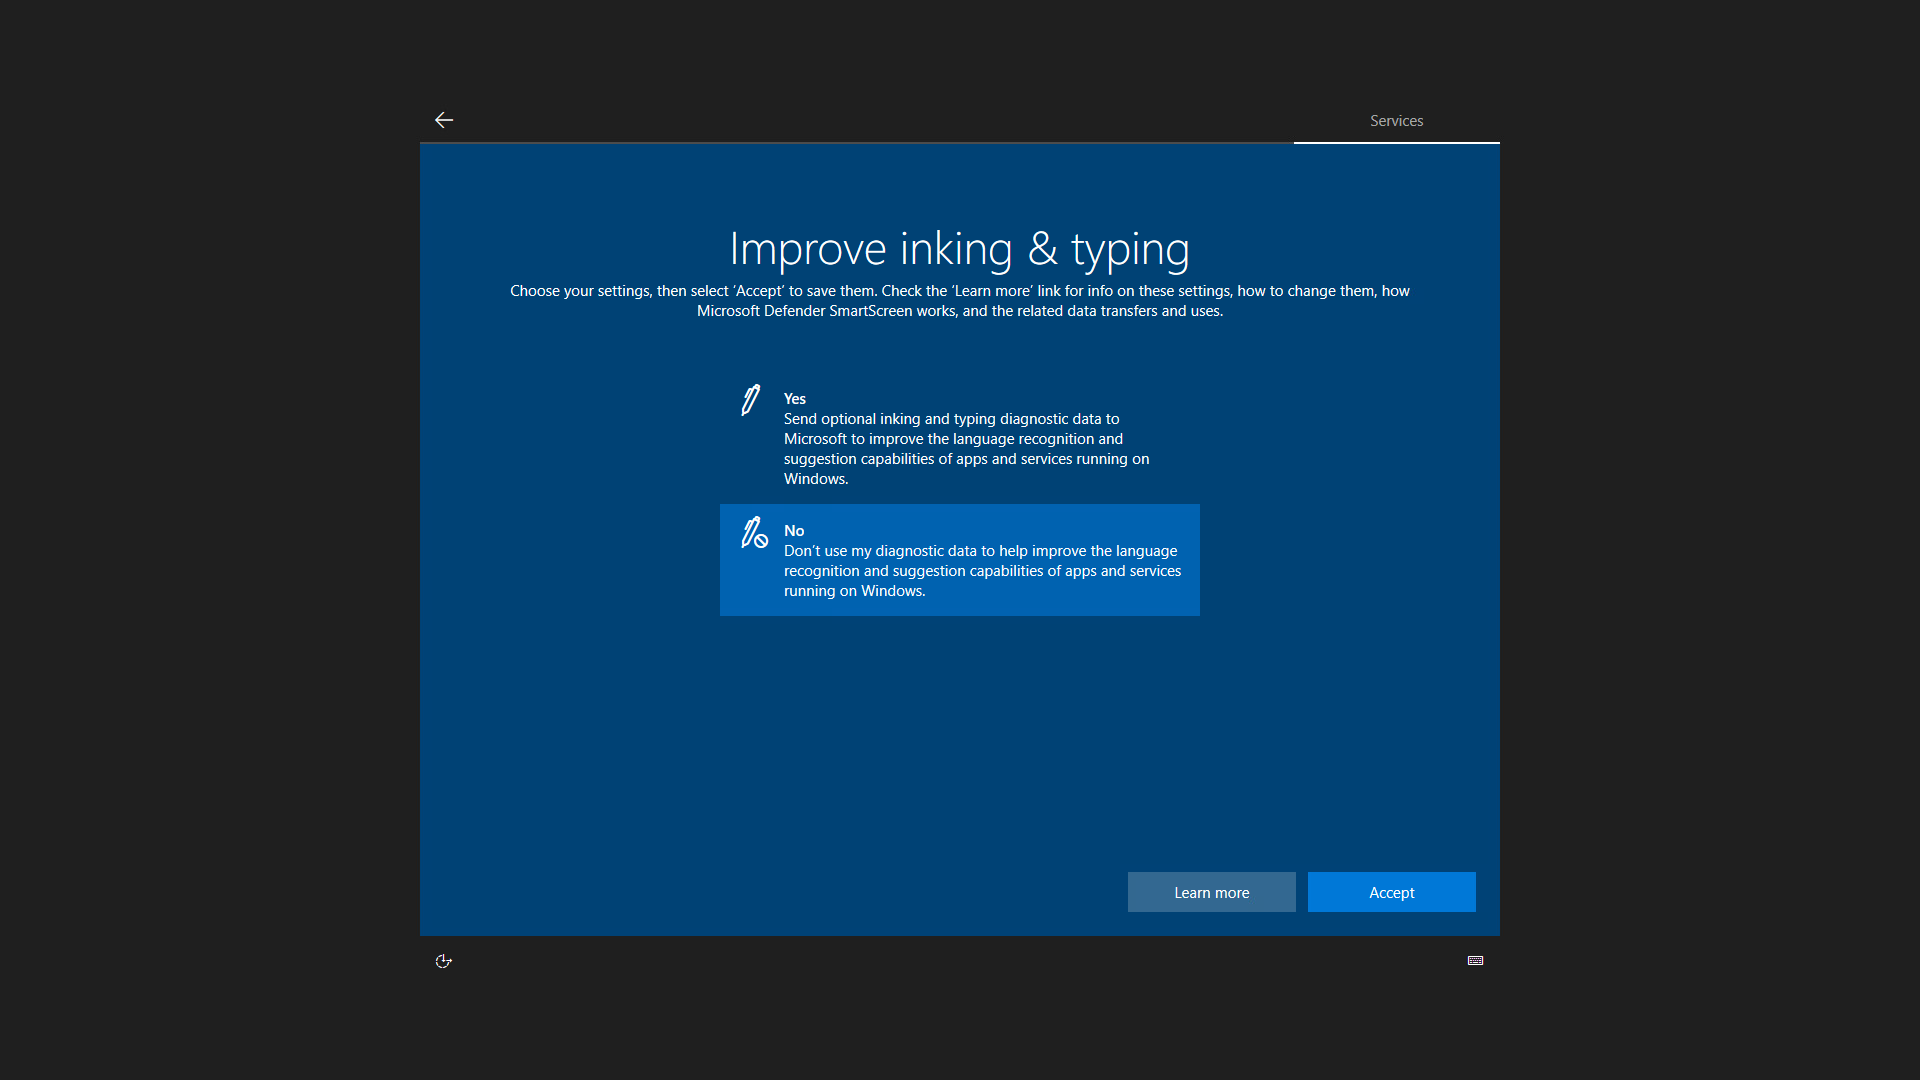
Click no to prevent Microsoft from sending back data about how the user types or uses a stylus when writing.
Step
55Click Accept to move on
Click Accept.
Step
56Refuse tailored experiences
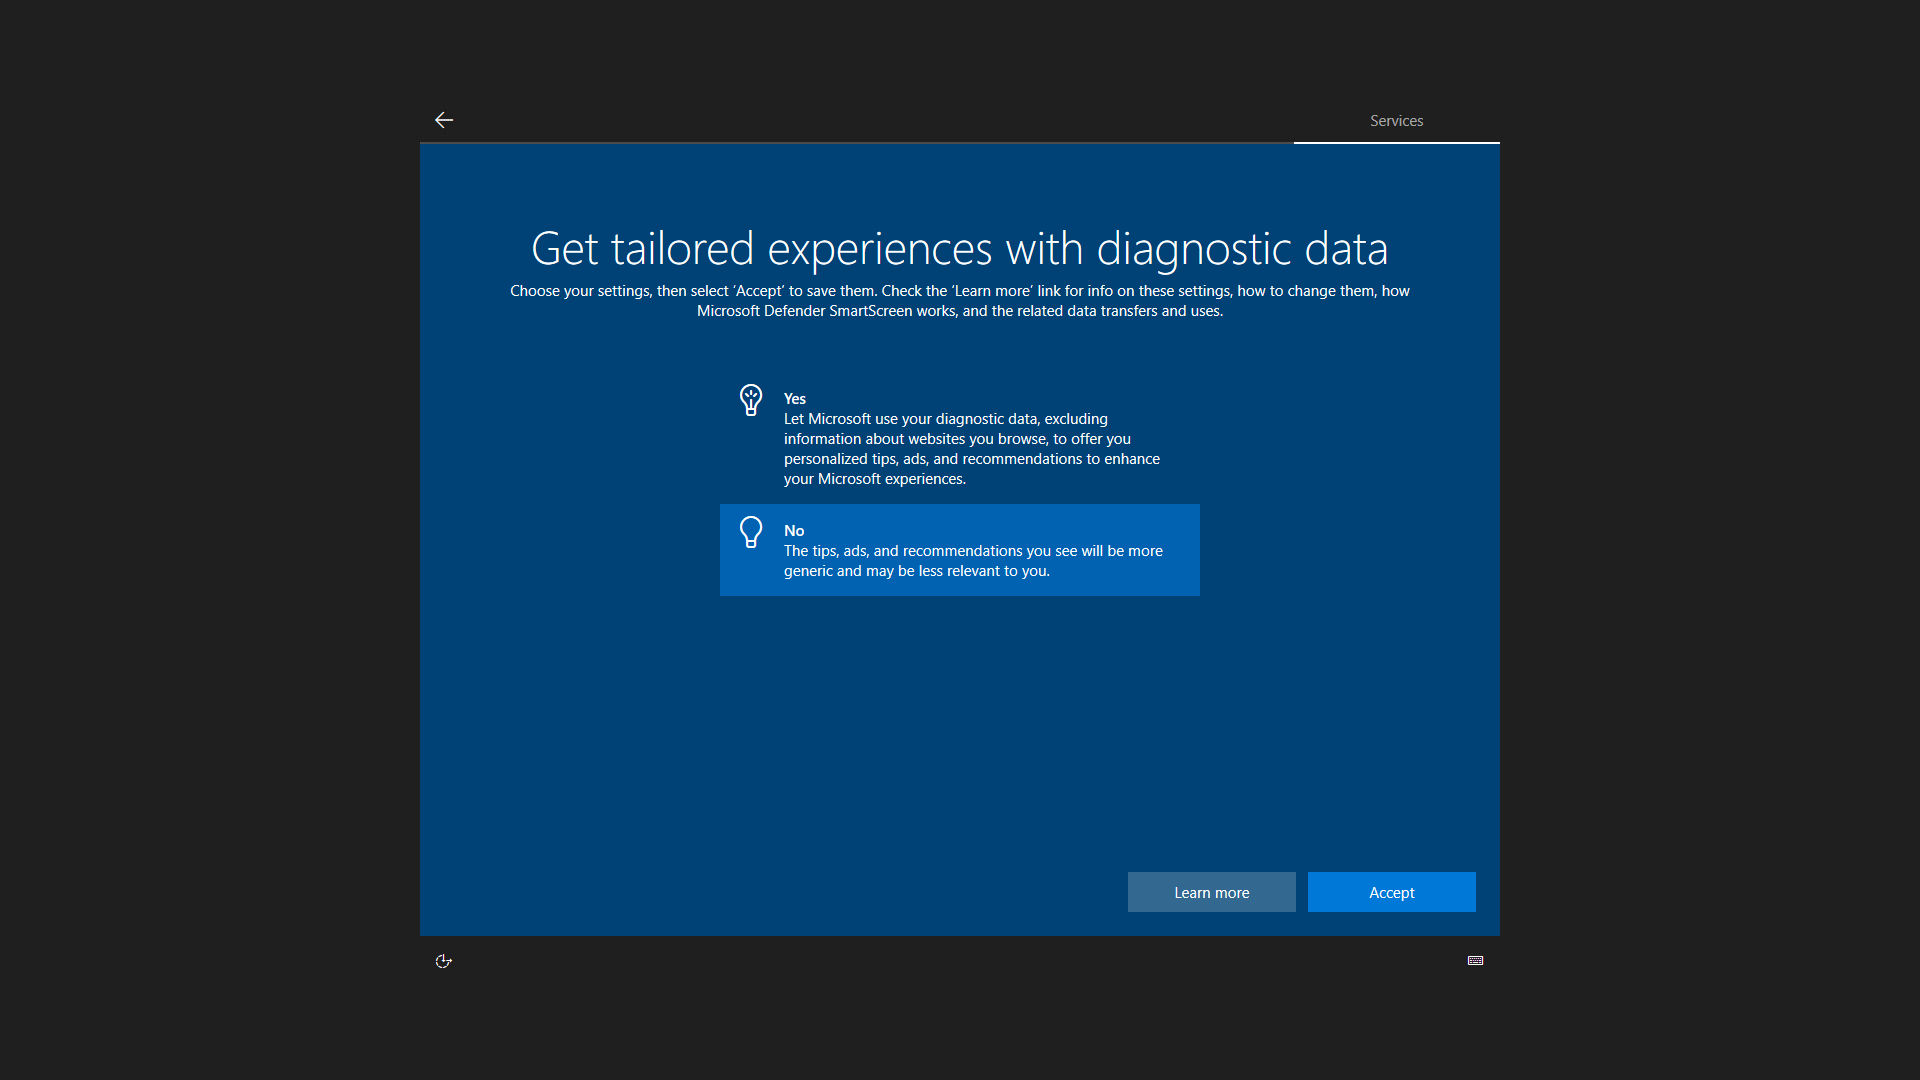
You don’t want Microsoft to record or base advertising on a child’s internet and computer use, so select No here.
Step
57Accept and move one
Click Accept to go to the next question.
Step
58Deny apps the ability to use advertising ID

More ad tracking here. Say no.
Step
59Click Accept
Click Accept to move on again.
Step
60Click Start
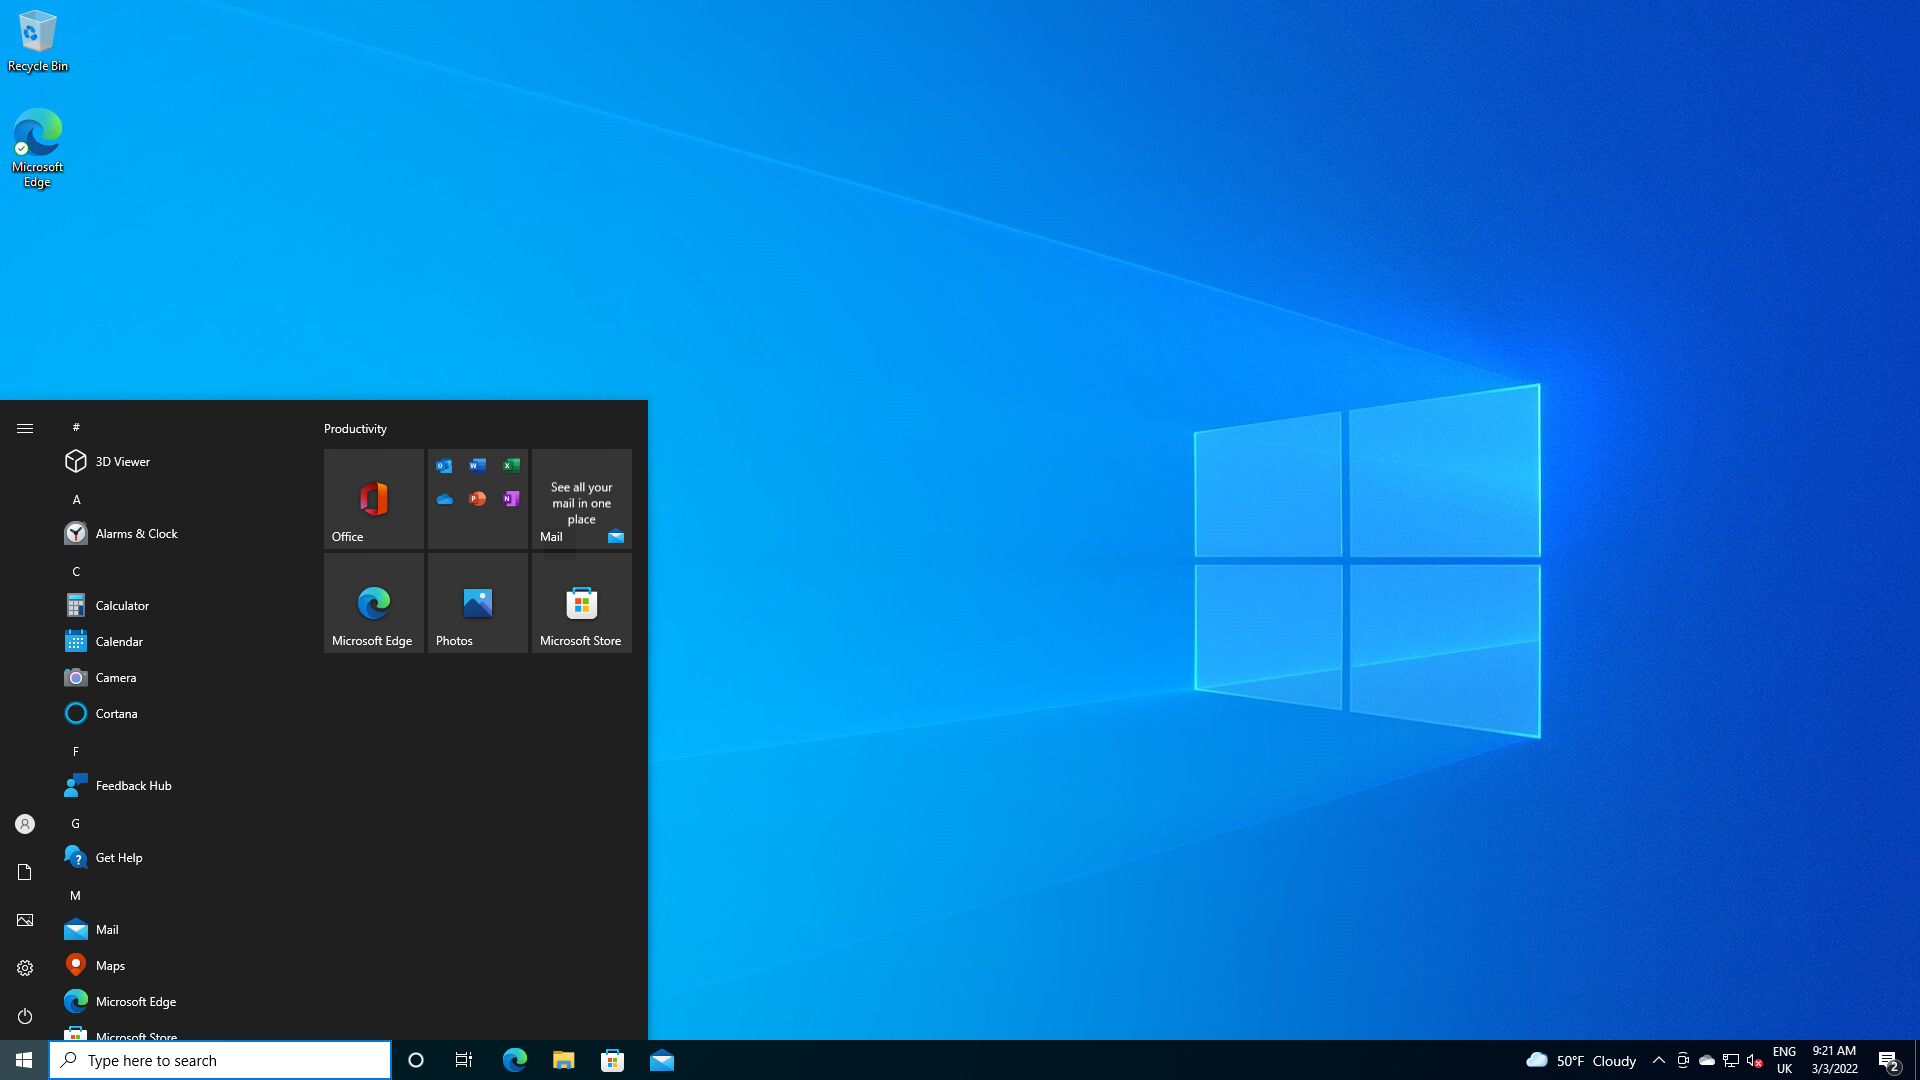
Having made it through that, click the Start menu when Windows’ main interface loads.
Step
61Open the user list
Click the user profile icon – the top icon on the narrow the left-hand column.
Step
62Select your account from the list
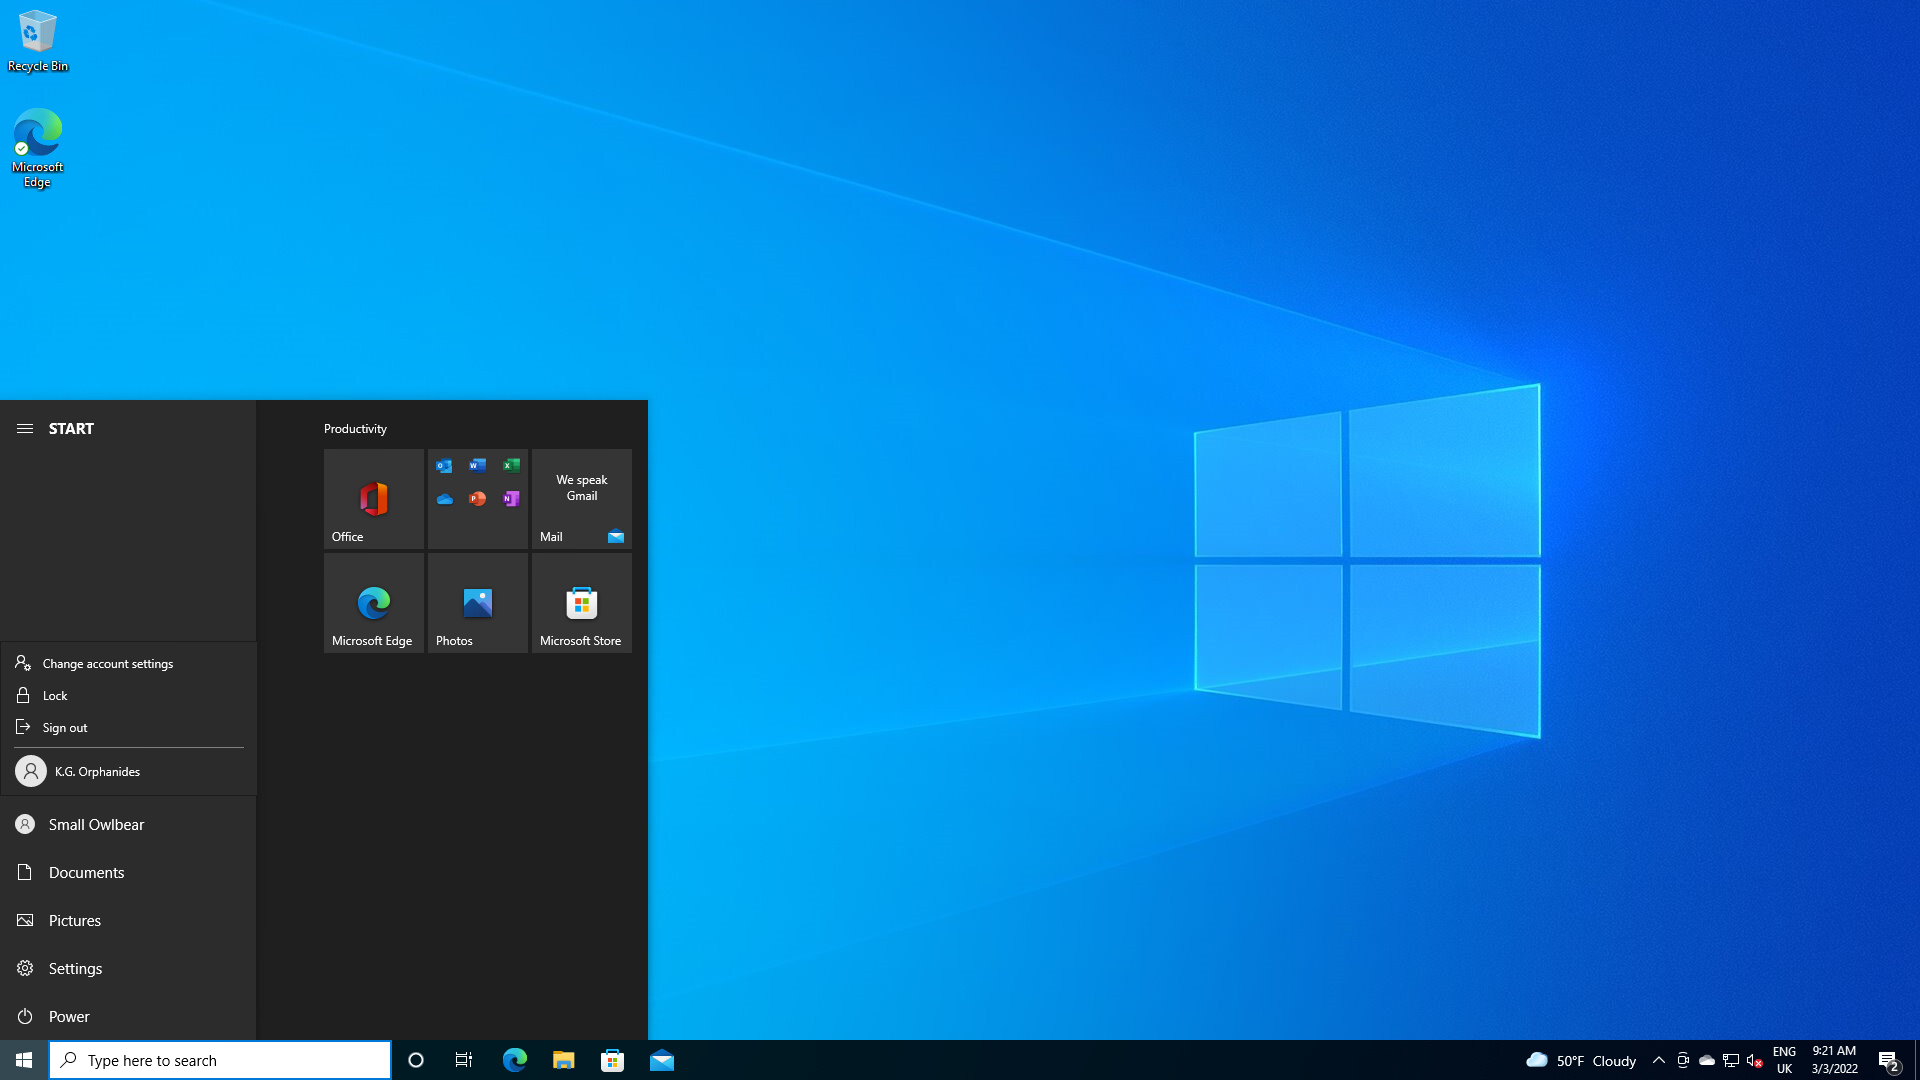
Click your own username to return to the login screen.
Step
63Log in
Click your user name at bottom left to log back into your own account. In this example, my admin account requires a PIN to log in.
Step
64Open your web browser
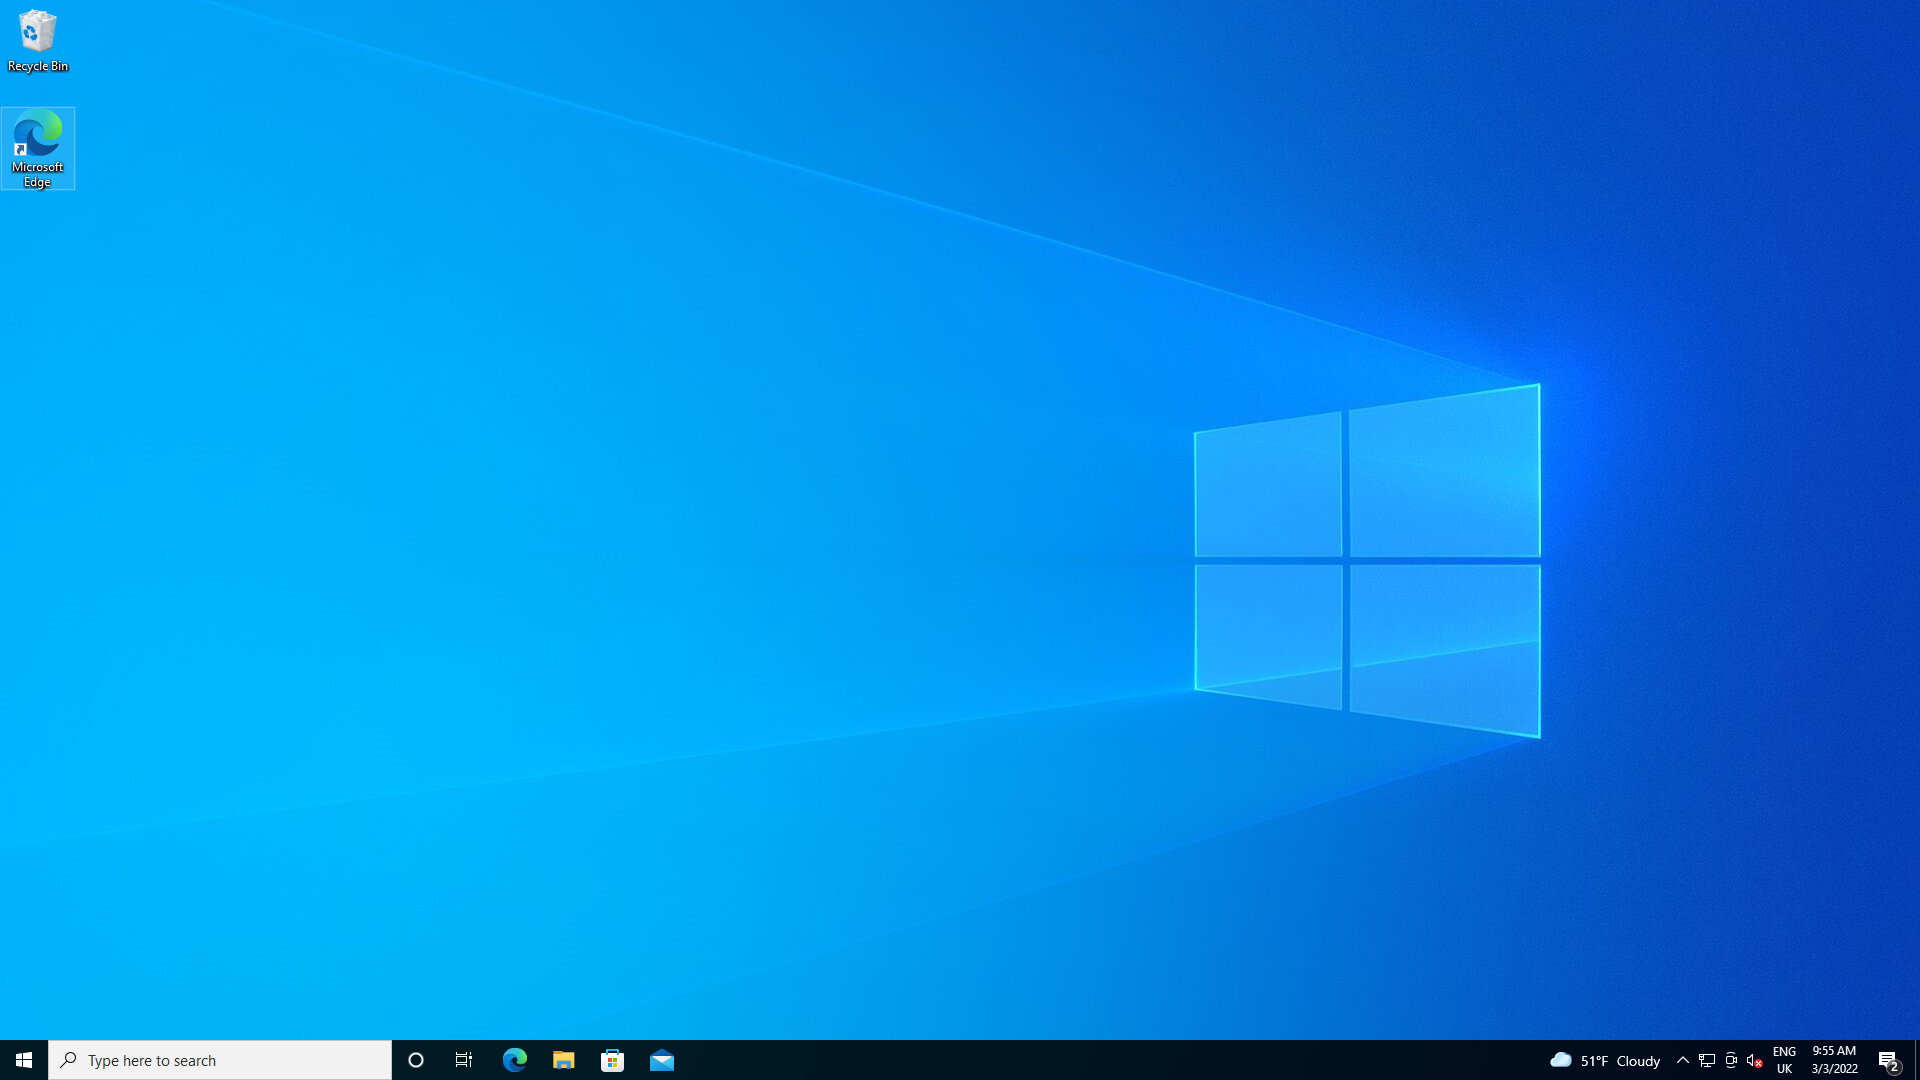
I’m selecting Microsoft Edge here.
Step
65Configure their access privileges
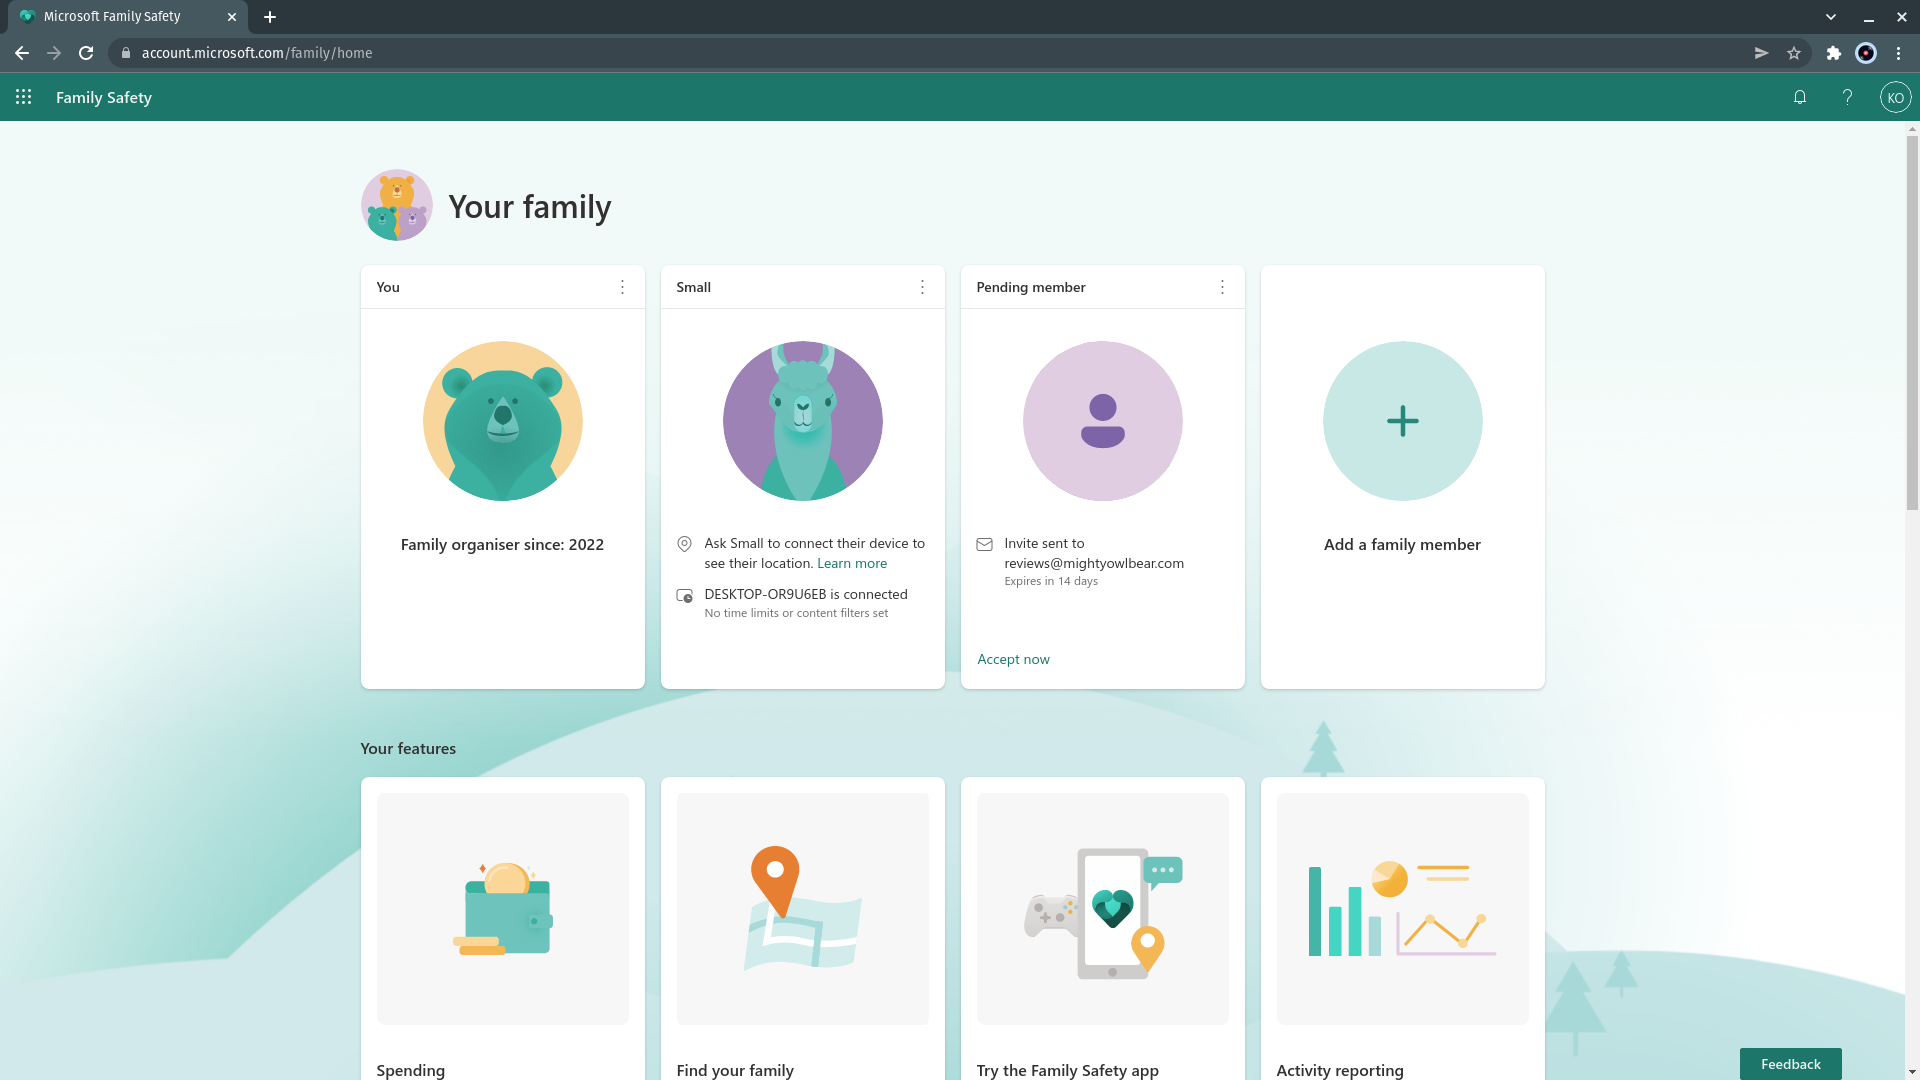
Go to to https://account.microsoft.com/family/. You should see your PC listed as connected to your new member’s. Click on your child’s member icon to configure their screen time, content filtering and access settings. You’ll have to do this for younger children, but most kids – and certainly tweens and younger teens – should be involved in configuration by mutual consent.
Now you’ve created accounts for your family members, I’ll take you through the ins and outs of Family Safety configuration and Microsoft Parental controls in my next tutorial.

Kaspersky Home Security
Keep your online activity safe and private across multiple devices – without compromising speed.
Check out Kaspersky’s new security plans from just £10.99 per year
- Kaspersky
- money back guarantee
- from £10.99
FAQs
Make sure your PC is connected to the internet and that you are logged in on your PC with the account that you’re using to manage Family Safety, as an administrator. If that’s all correct, click Add a family member to send another invitation.
No. Although Windows 7 allowed you to apply content filtering and parental controls to any account on the PC, managed Family Safety accounts now must be registered online with Microsoft.
No, they’re free, and adding extra accounts to a Windows system that you have a Windows license for is also free.
Microsoft Family accounts are limited to a total of six members and organisers.
Yes. Although children’s data is protected under UK law and Microsoft provides information on revoking consent for the company to handle the data of the children you’re responsible for, signing kids up for an online service always means that someone – Microsoft in this case – will have access to the data they generate. However, Family Safety means that you’ll be better able to manage your kids’ interacting with the online services they already use, making it a net benefit once the children in your care are old enough to have Microsoft accounts anyway.
No. I use one of my own Microsoft accounts to give my child controlled access to specific Microsoft services, and you can take the same approach in setting up your family controls. Keep an eye on which software purchases are associated with which accounts to avoid future angst, though. When your child is old enough to have their own software license keys, they should probably have their own account to hold them in, even if you don’t give them full control over it until they’re older.
You might like…


Editorial independence
Editorial independence means being able to give an unbiased verdict about a product or company, with the avoidance of conflicts of interest. To ensure this is possible, every member of the editorial staff follows a clear code of conduct.
Professional conduct
We also expect our journalists to follow clear ethical standards in their work. Our staff members must strive for honesty and accuracy in everything they do. We follow the IPSO Editors’ code of practice to underpin these standards.