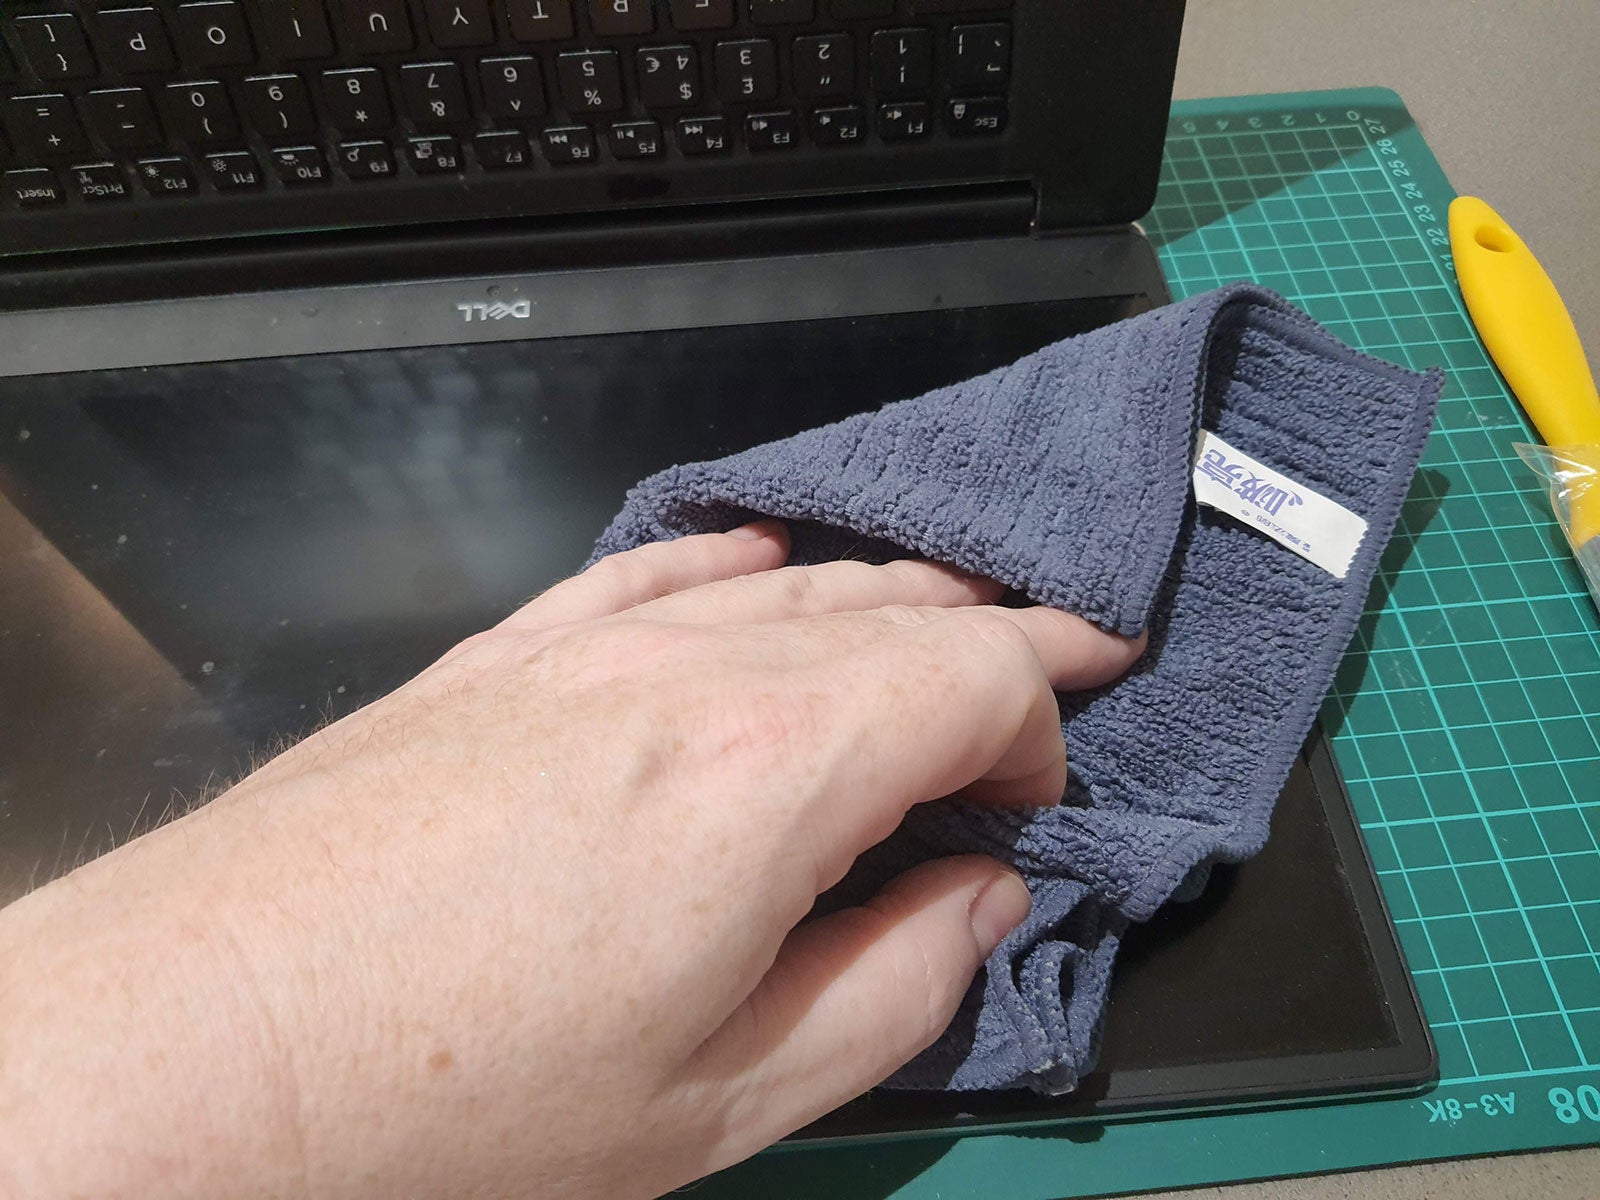
How to clean a laptop screen

It is easy for dust and grime to build up on a laptop screen. On the pictured sample above the dirt might look extreme, but this laptop is just back from some travels and was carried in a suitcase, not its own bag / sleeve. Some noodles / spaghetti might have also been consumed while using this laptop too.
This is a traditional non-touchscreen laptop, and so the surface of the screen is a flexible sheet of plastic, with a non-glare finish. As such, you can’t just use a rag and a spray of Windex, isopropyl alcohol, or furniture polish, for example – those would be much too harsh and/or inappropriate.
So, please read on to find out how to thoroughly clean your laptop screen with proper care and attention.
Equipment used
- A laptop with non-glare coated plastic screen
- A microfiber cloth
- A soft brush
- Water
- (Optional) white vinegar
Short version
- Turn off and unplug your laptop and wipe screen with a microfiber cloth
- If dust remains around the bezel areas and corners, use a soft brush to flick it away
- If there are stubborn marks on the screen remaining, dab your cloth on a few drops of water and clean affected portions of the screen again
- Water may not be up to removing any oily or sticky residues, so you might need a drop or two of vinegar to complete your cleaning task
Step
1Start with a dry microfiber cloth

Turn off your laptop and unplug everything. Seat yourself at a suitable work surface which won’t scratch your laptop. Start your cleaning with a dry microfiber cloth. If you are lucky, brushing the screen gently with the cloth will do all the cleaning you need – resist the urge to use apply any pressure as you wipe.

Step
2Time for some crevice brushing

If the exploratory cloth wipe didn’t complete the cleaning process for you, it is probably time to use a soft brush. Go around the edges of the screen and bezel brushing and attempting to flick any dust or debris away, so it doesn’t get sandwiched and harder to get rid of. Then wipe over the whole display with the cloth. If it still isn’t clean, you will probably have to go to the next step.

Step
3A very slightly dampened cloth should address most marks

You should have got rid of all the dust by now. All that should be left will be unfortunate evidence of fingerprints, pasta sauce, and similar. To get rid of these, a slight water-dampening of your microfiber cloth and some very low-pressure rubbing might be adequate. For edges or corners, you could try using dampened cotton buds / q-tips. In our laptop example, this was the final step before the screen looked like new again (bar any physical scratch or similar age/imperfection that might have been present).

Step
4Is it time for a drop or two of vinegar?

Perhaps you are still facing some stubborn oily or sticky dirt on your laptop screen? Our final recommended step is to use the microfiber cloth again, and dab it on a drop or two of distilled white vinegar. Try wiping this on the stubborn spots. You can use different parts of the cloth and follow up with a water dampened portion of the cloth, so you aren’t left with a vinegary smell.

FAQs
With the soft plastic screen of a laptop, we recommend the very gentle cleaning methods described above, with nothing harsher than a drop of vinegar to dampen your microfiber cloth. Products meant for glass cleaning, for example, should be avoided.
Obviously, avoid complex dark vinegars like Balsamic vinegar. We recommend distilled or white vinegar, as they are simple products available worldwide and don’t have colouring agents, whether natural or artificial. You don’t want colour or any other residues left on your screen after cleaning.
Even some glass screens have special coatings, which could be damaged by the use of household chemicals. Try this gentle method first and if it doesn’t do the trick you can consult information from your laptop manufacturer about further cleaning steps.


