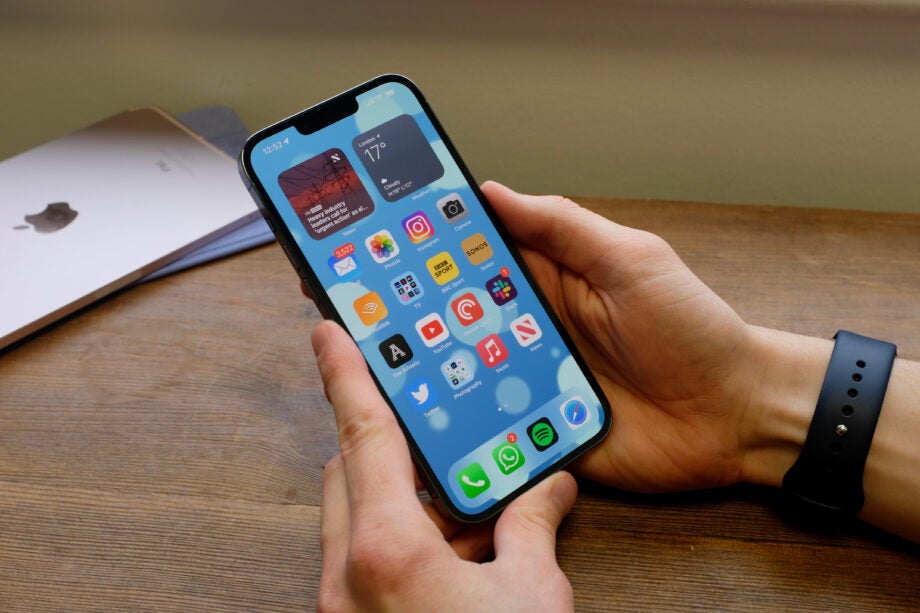
If you’ve ever needed to scan a document on the go, you may have found yourself rooting through the App Store looking for a decent app. What many people don’t know is that there’s actually a scanning function built right into your iPhone. Here’s how to scan documents in the Notes app.
You can use the Notes app to scan documents on your iPhone, iPad or iPod Touch. You can even sign the document and share the note with others once you’re done, which is incredibly useful for signing digital contracts when you don’t have your PC on hand.
Keep reading to learn how to scan documents in the Notes app on your iPhone…
What you’ll need:
- An iPhone
- A document to scan
The Short Version
- Create a new note
- Tap the camera icon
- Choose Scan Documents
- Hold the camera over you document
- Hit Save
How to scan documents with the iPhone Notes app
Step
1Tap to create a new note
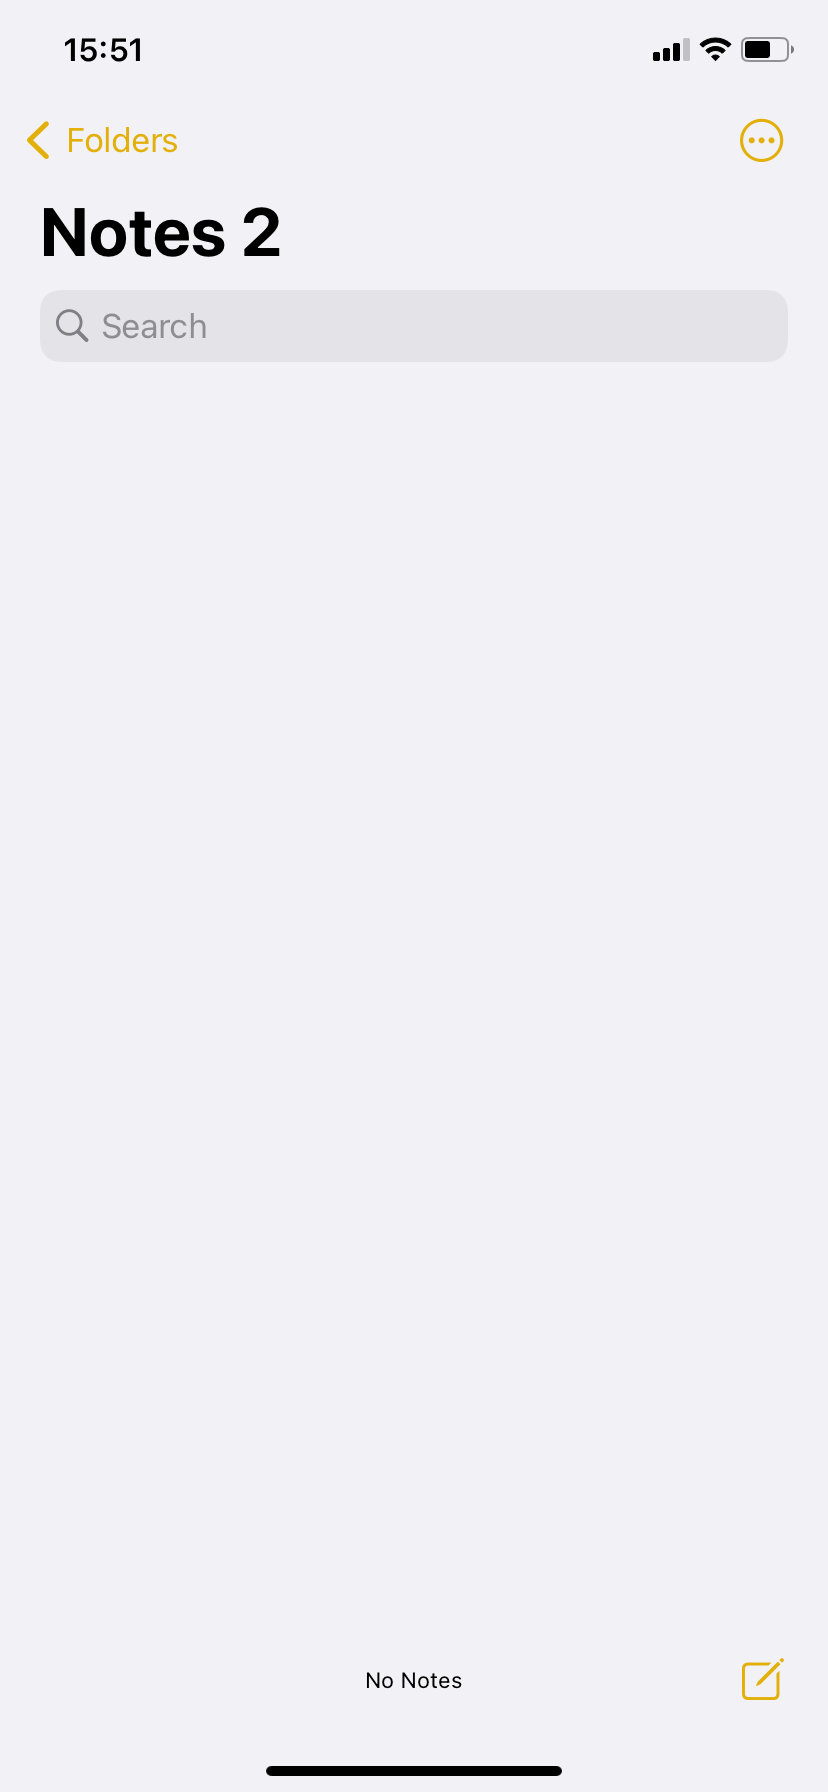
You can find the icon in the bottom right corner of the Notes app.
Step
2Tap the camera icon

This is can be found halfway down the screen above the keyboard.
Step
3Select Scan Documents

This will take you to the camera view.
Step
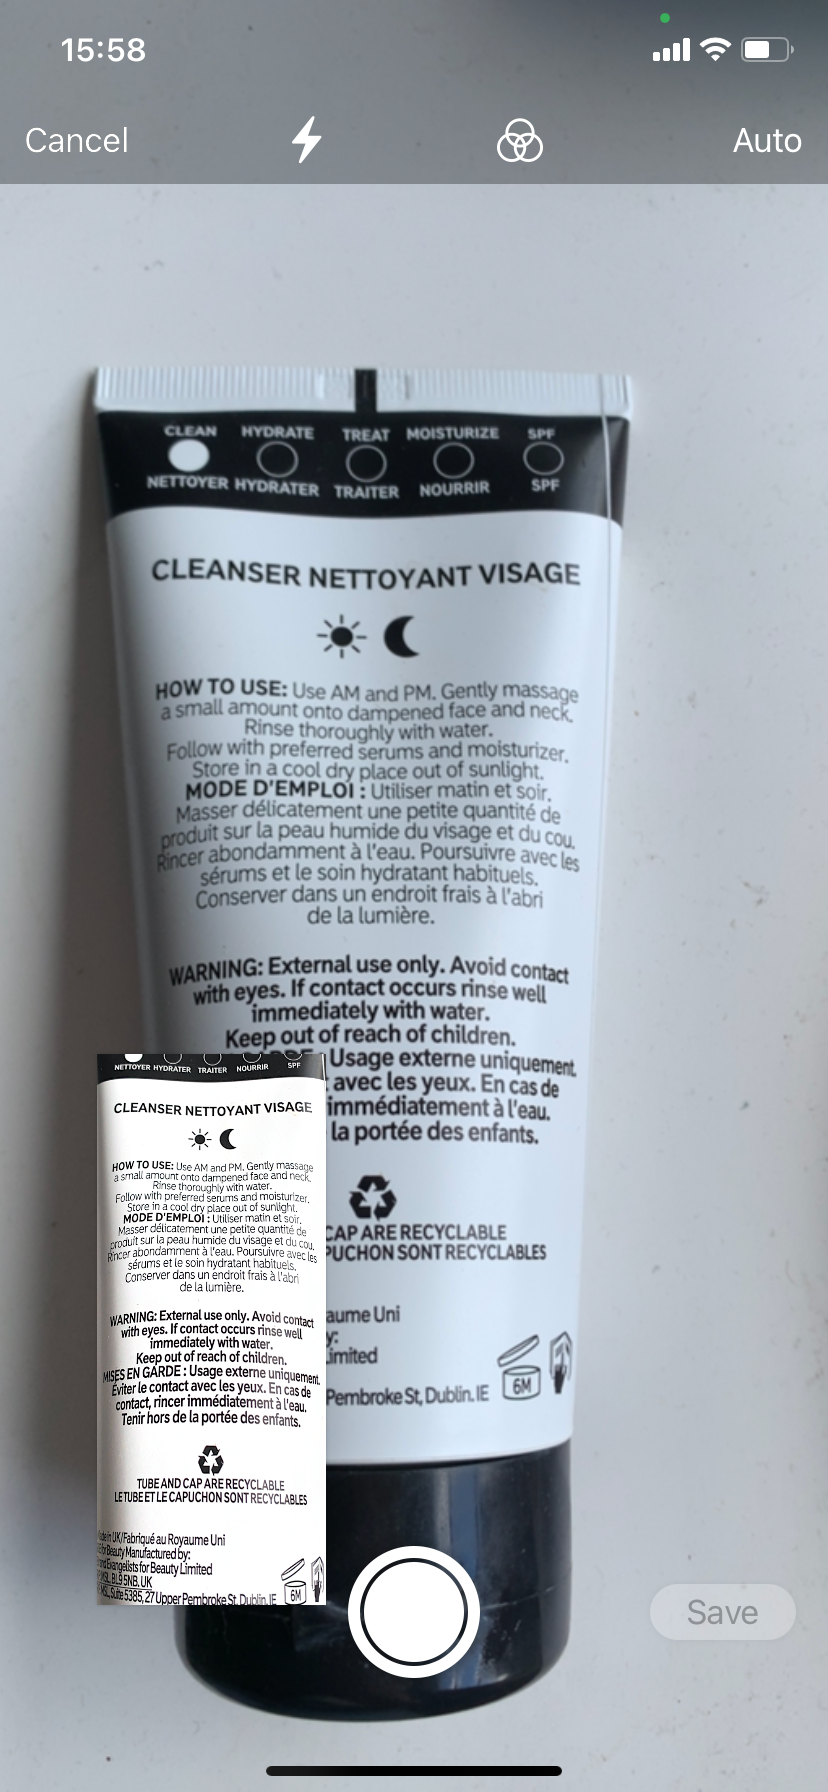
4Hover the camera over you document (or anything you want to scan)

If you have the Auto setting on, the camera will automatically detect and scan your document. If you don’t, tap the word Manual in the top right corner to turn Auto on.
Step
5Hit Save
Your document will now be embedded in your note page.
Troubleshooting
You can toggle between automatic and manual scanning by tapping the word in the top right corner when in the camera view. From there, you can then adjust the size and shape of your document by dragging the corners captured in the scan.
If you want to sign the document you just scanned, simply hit the Share icon and tap the Markup icon. Then just tap Add and then Signature to add a saved signature or create a new one.
You might like…


Editorial independence
Editorial independence means being able to give an unbiased verdict about a product or company, with the avoidance of conflicts of interest. To ensure this is possible, every member of the editorial staff follows a clear code of conduct.
Professional conduct
We also expect our journalists to follow clear ethical standards in their work. Our staff members must strive for honesty and accuracy in everything they do. We follow the IPSO Editors’ code of practice to underpin these standards.