

The Nvidia Control Panel is a crucial piece of software for anyone that is using an Nvidia GPU. It comes with a plethora of sliders and checkboxes that allow users to get the most out of their graphics card.
Users can set a balance between performance and quality, or even choose whether you want your PC using your integrated or discrete GPU.
Thankfully, opening up Nvidia Control Panel is blissfully easy, and won’t take more than a few steps. There’s no need to download the Nvidia Control Panel either, as it should automatically be installed when you download Nvidia graphics drivers via the likes of GeForce Experience.
To find out how to easily open up Nvidia Control Panel, make sure you read on.
What you’ll need:
- A desktop/laptop with an Nvidia GPU
The Short Version
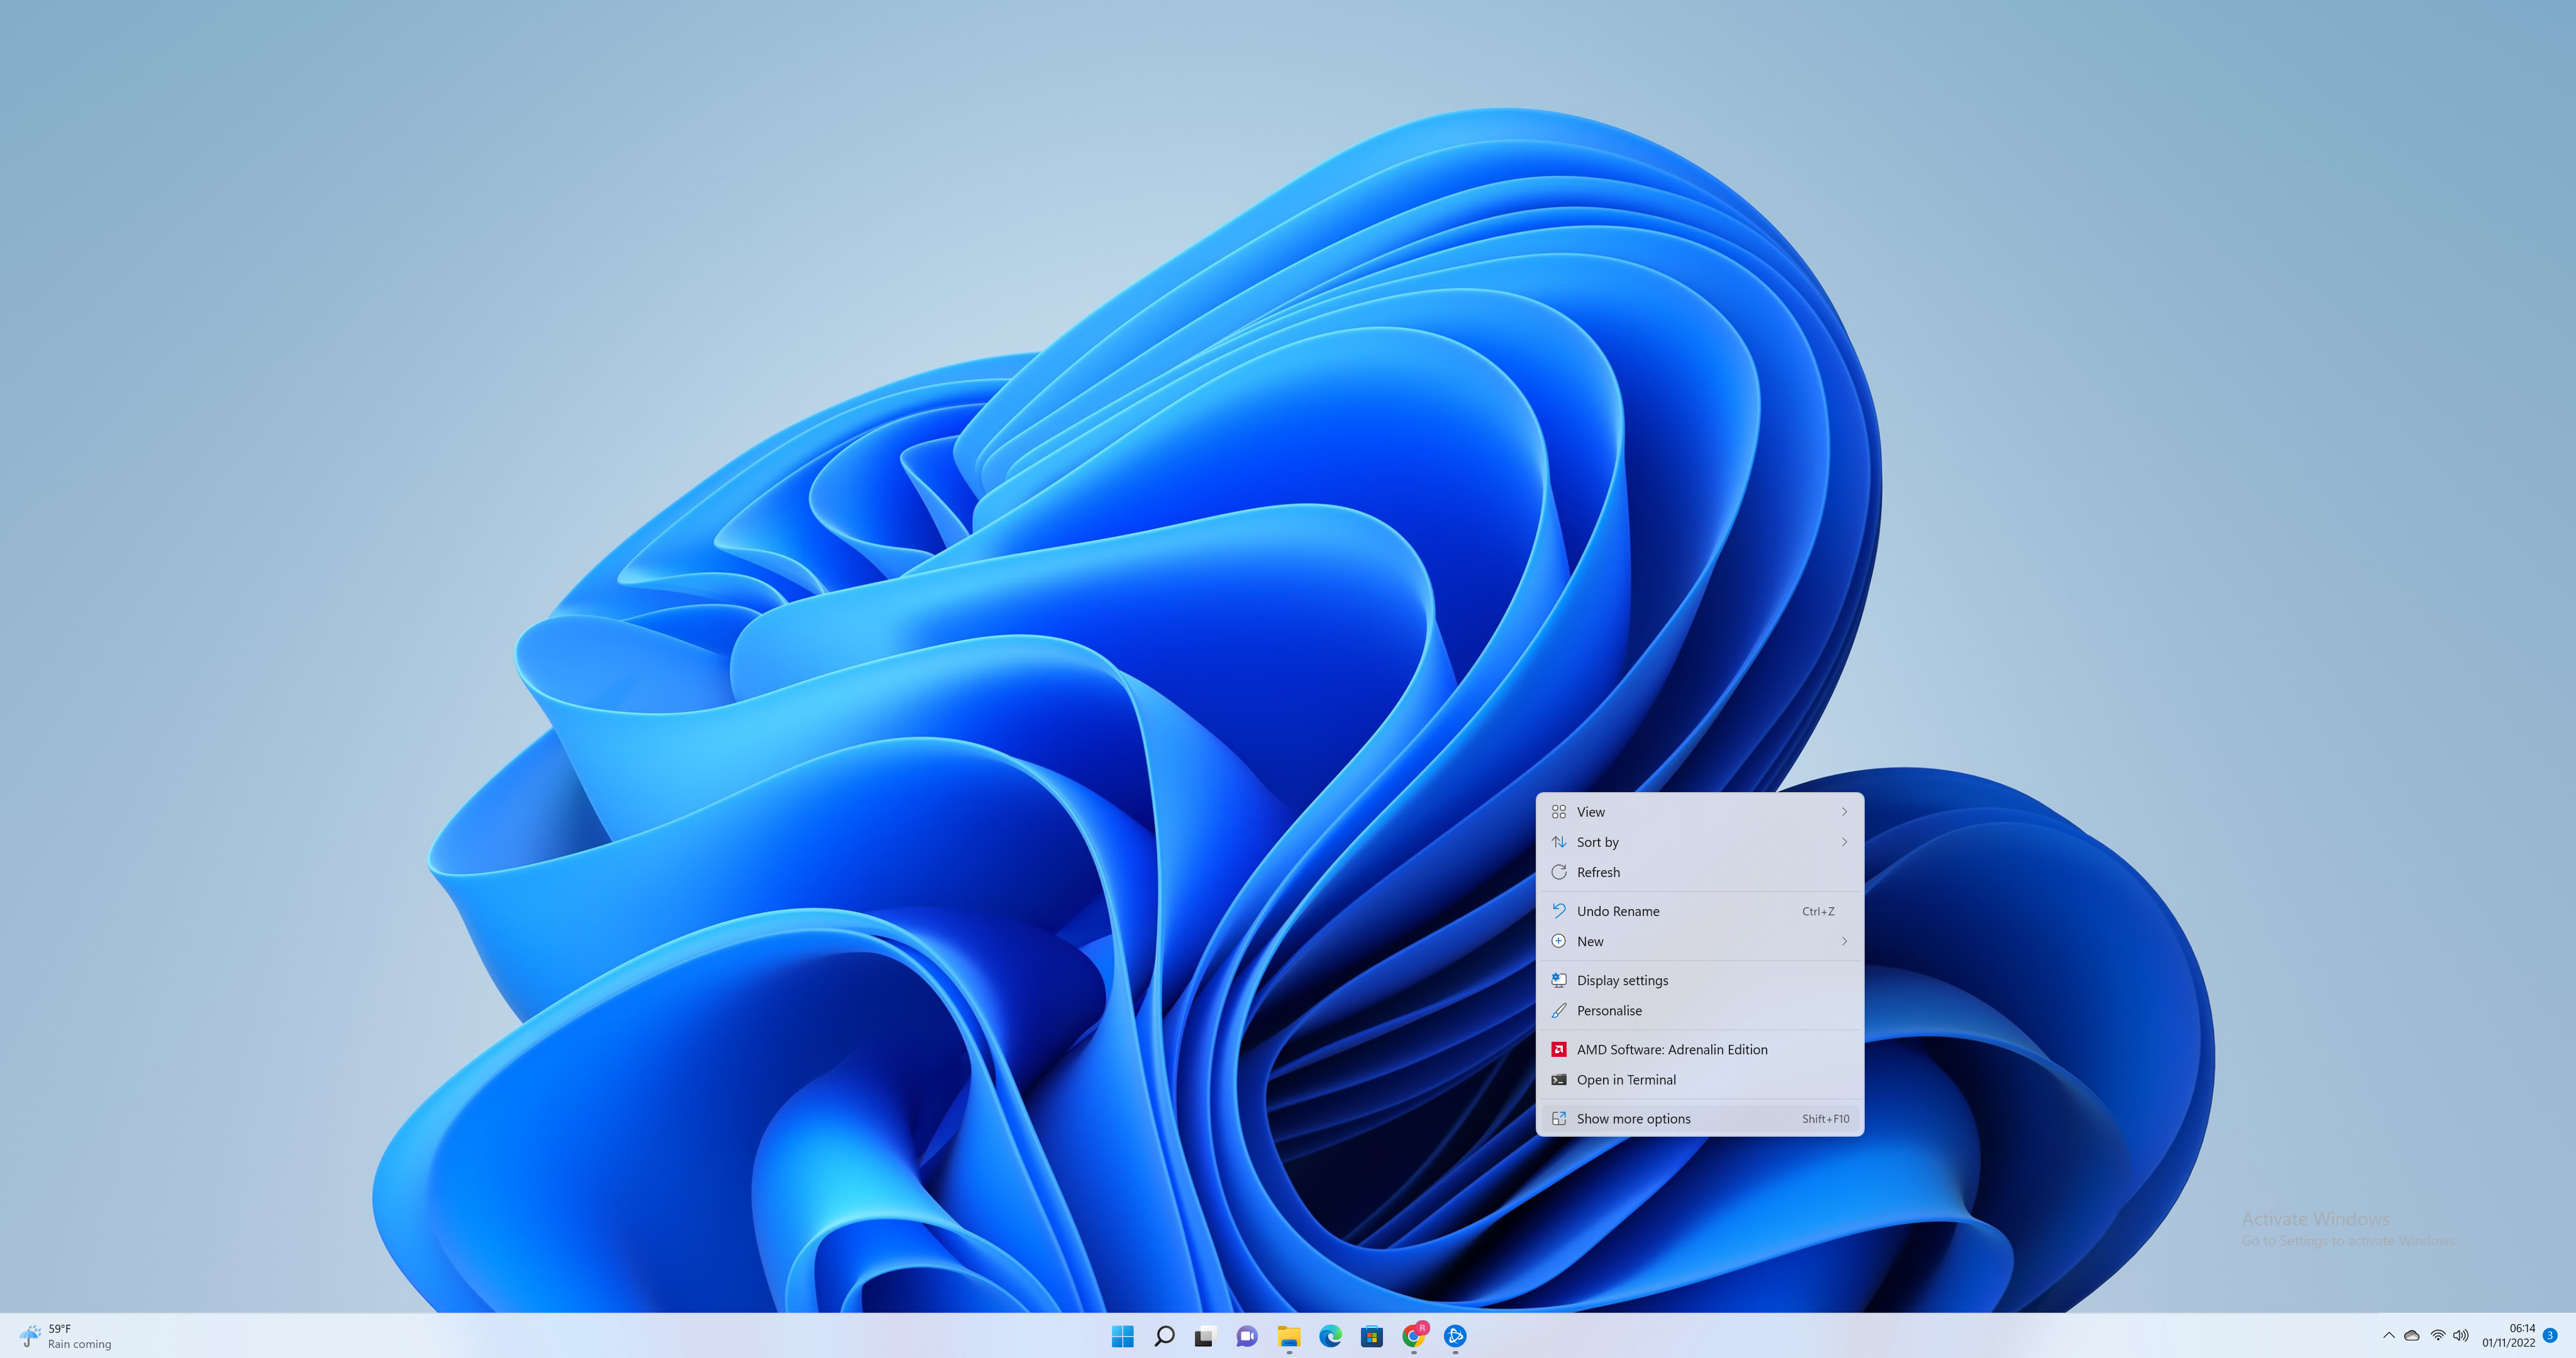
- Right-click the Windows desktop
- Click Show More Options
- Click Nvidia Control Panel
- Click Accept
- Use Nvidia Control Panel
Step
1Right-click the Windows desktop

Right-click on the Windows desktop to begin the process.
Step
2Click Show More Options
You may not need to do this step if you’re using Windows 10 instead of Windows 11.
Step
3Click Nvidia Control Panel
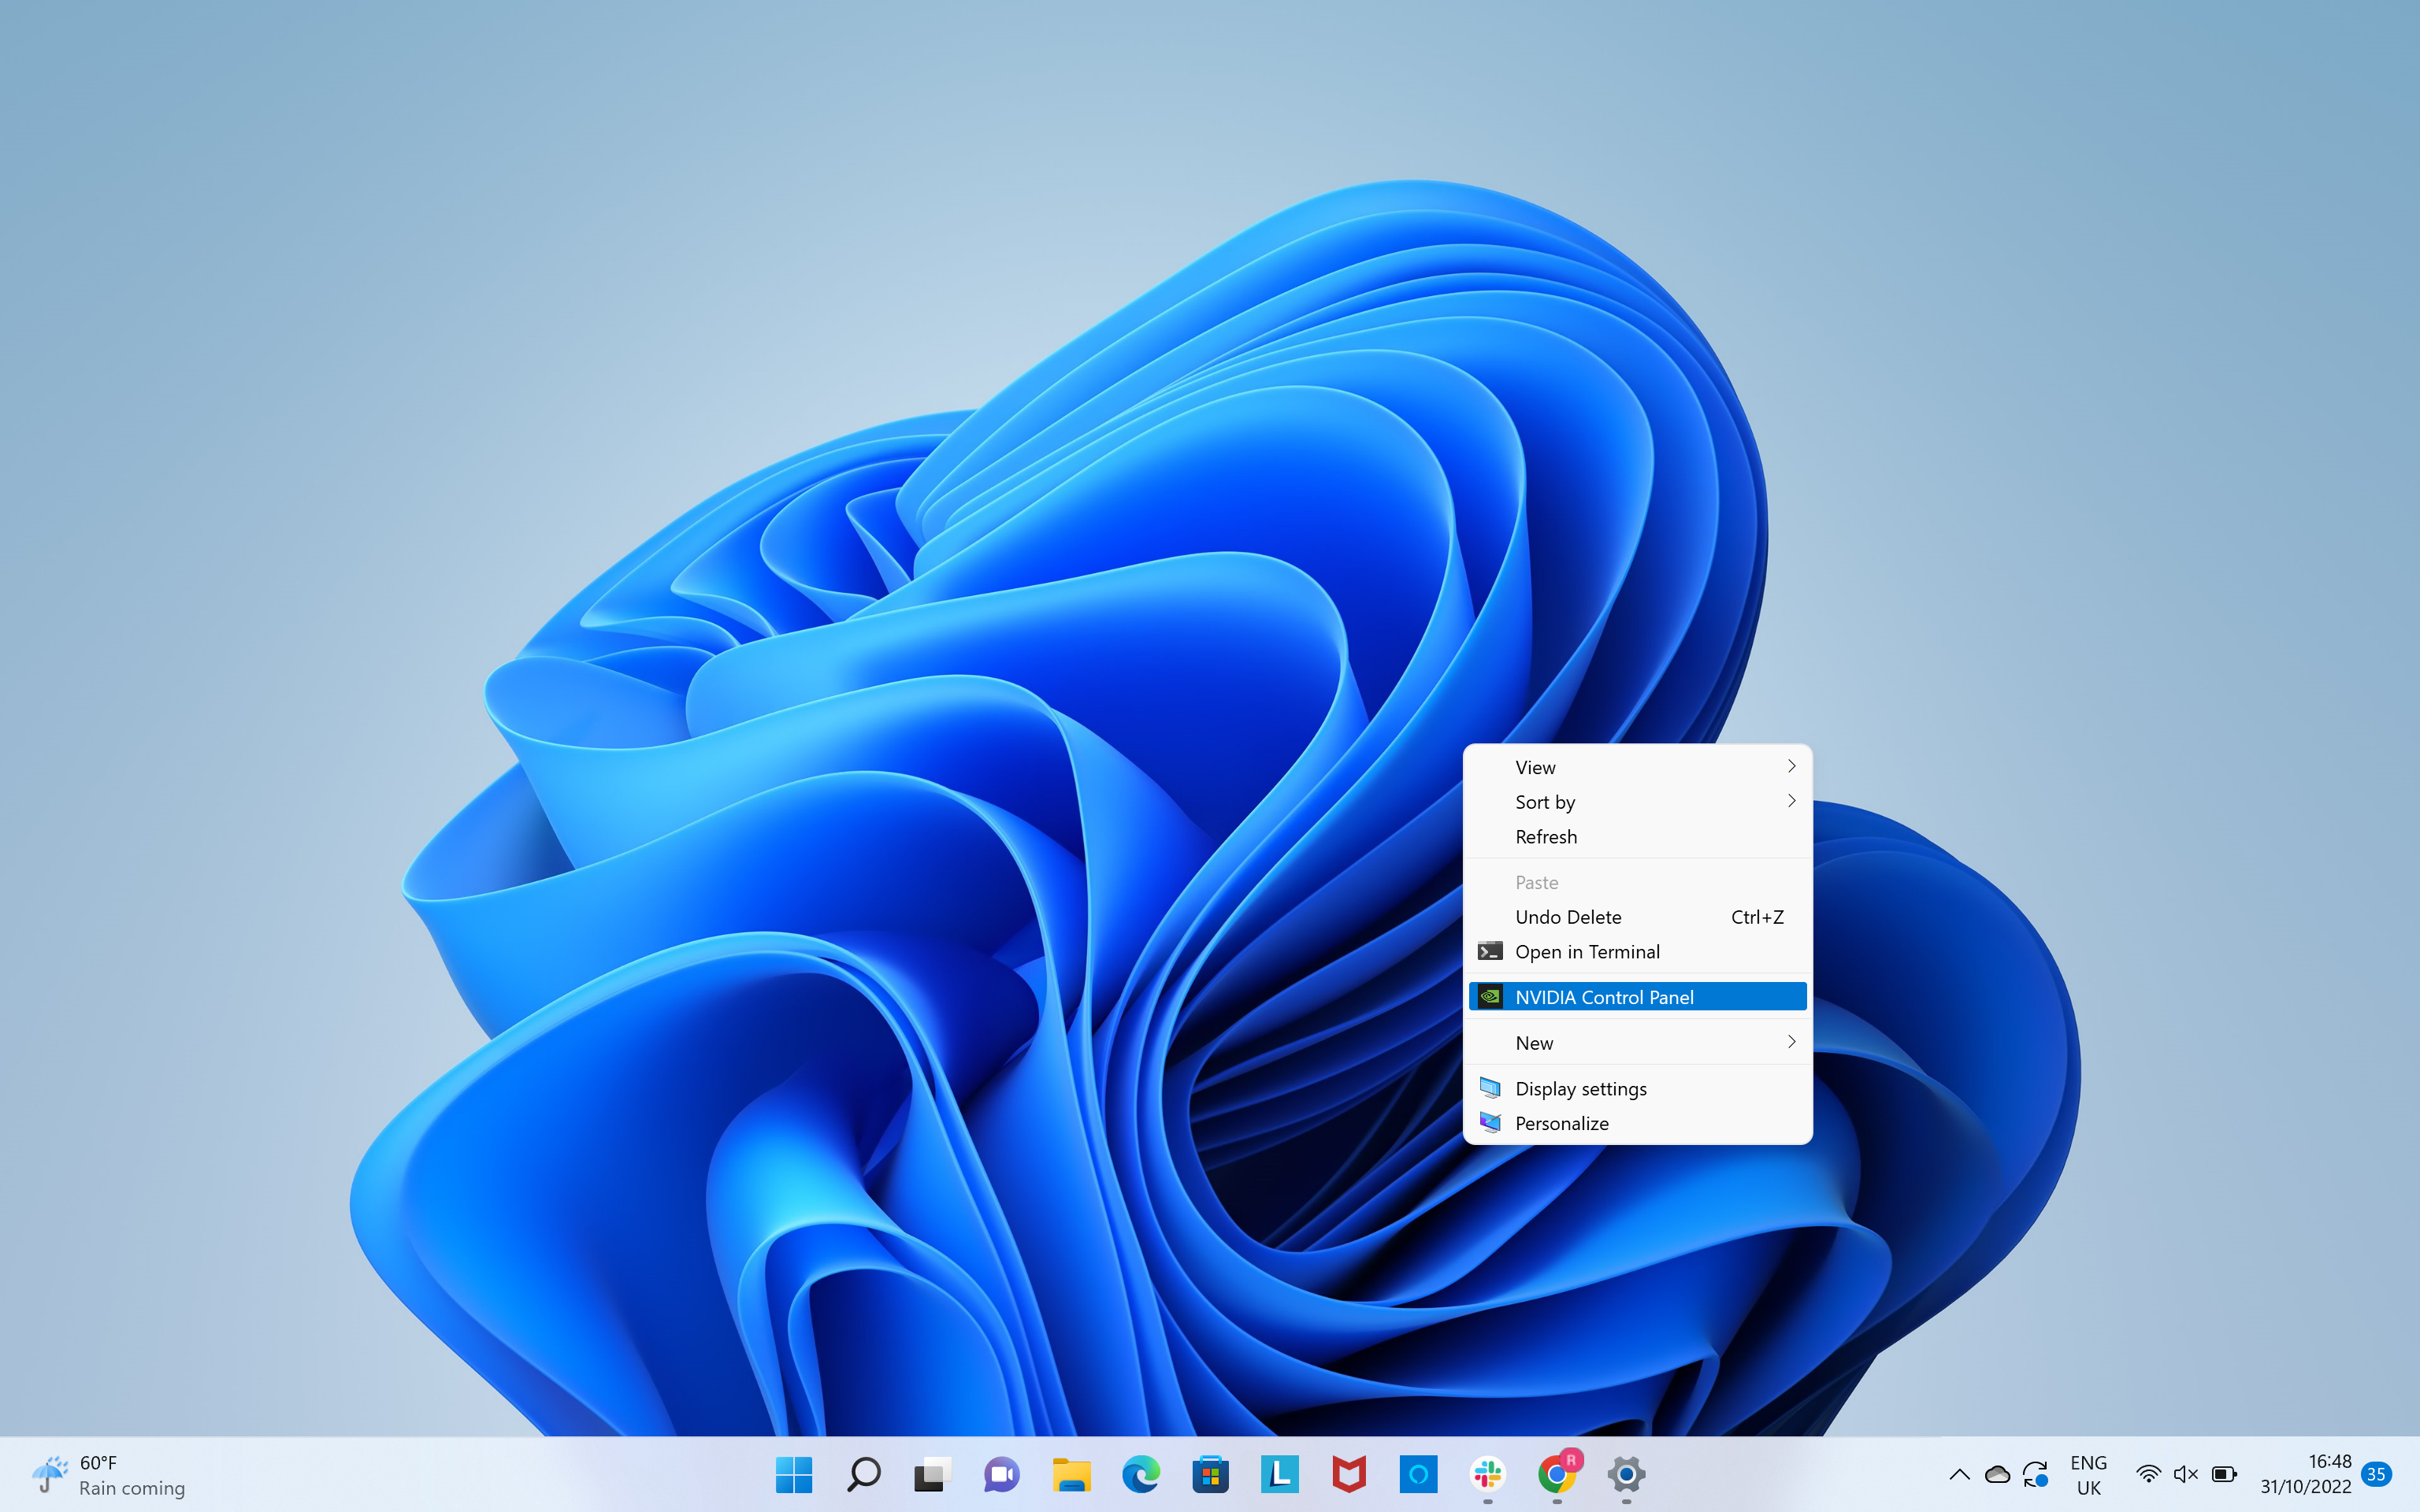
Click on the Nvidia Control Panel to open the software.
Step
4Click Accept
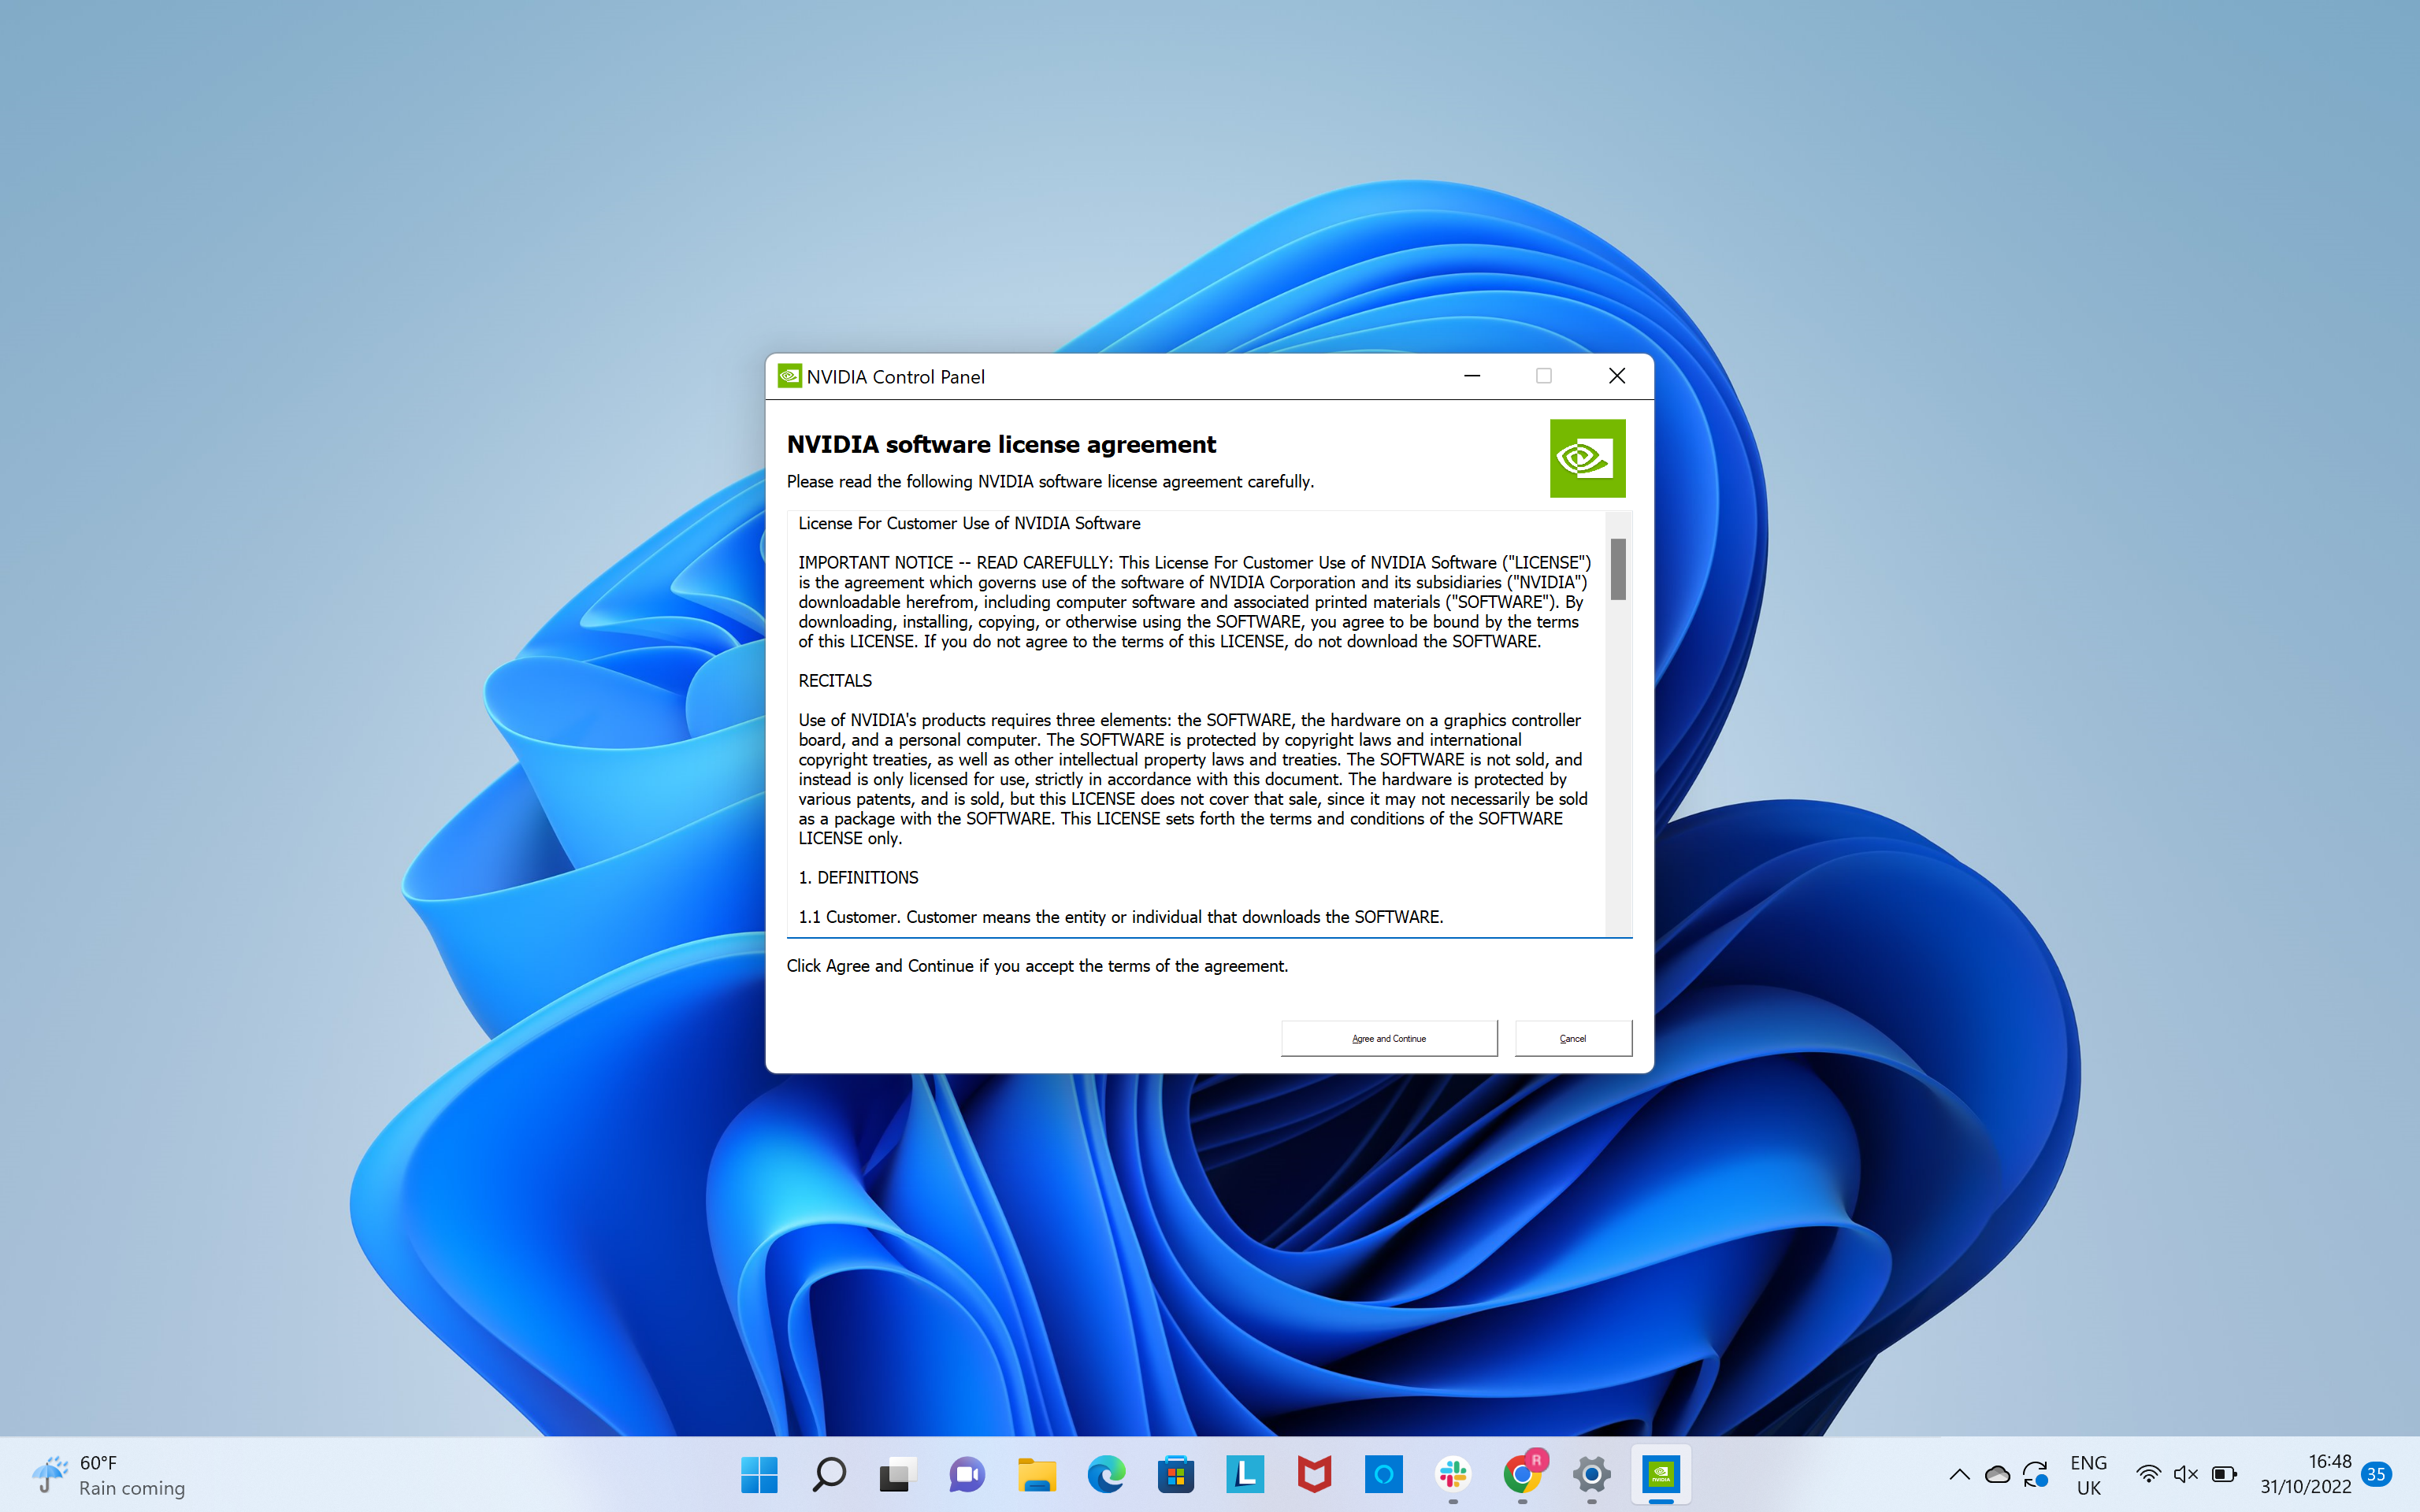
You may be presented with a pop-up. Click on the button called Accept and Continue.
Step
5Use Nvidia Control Panel
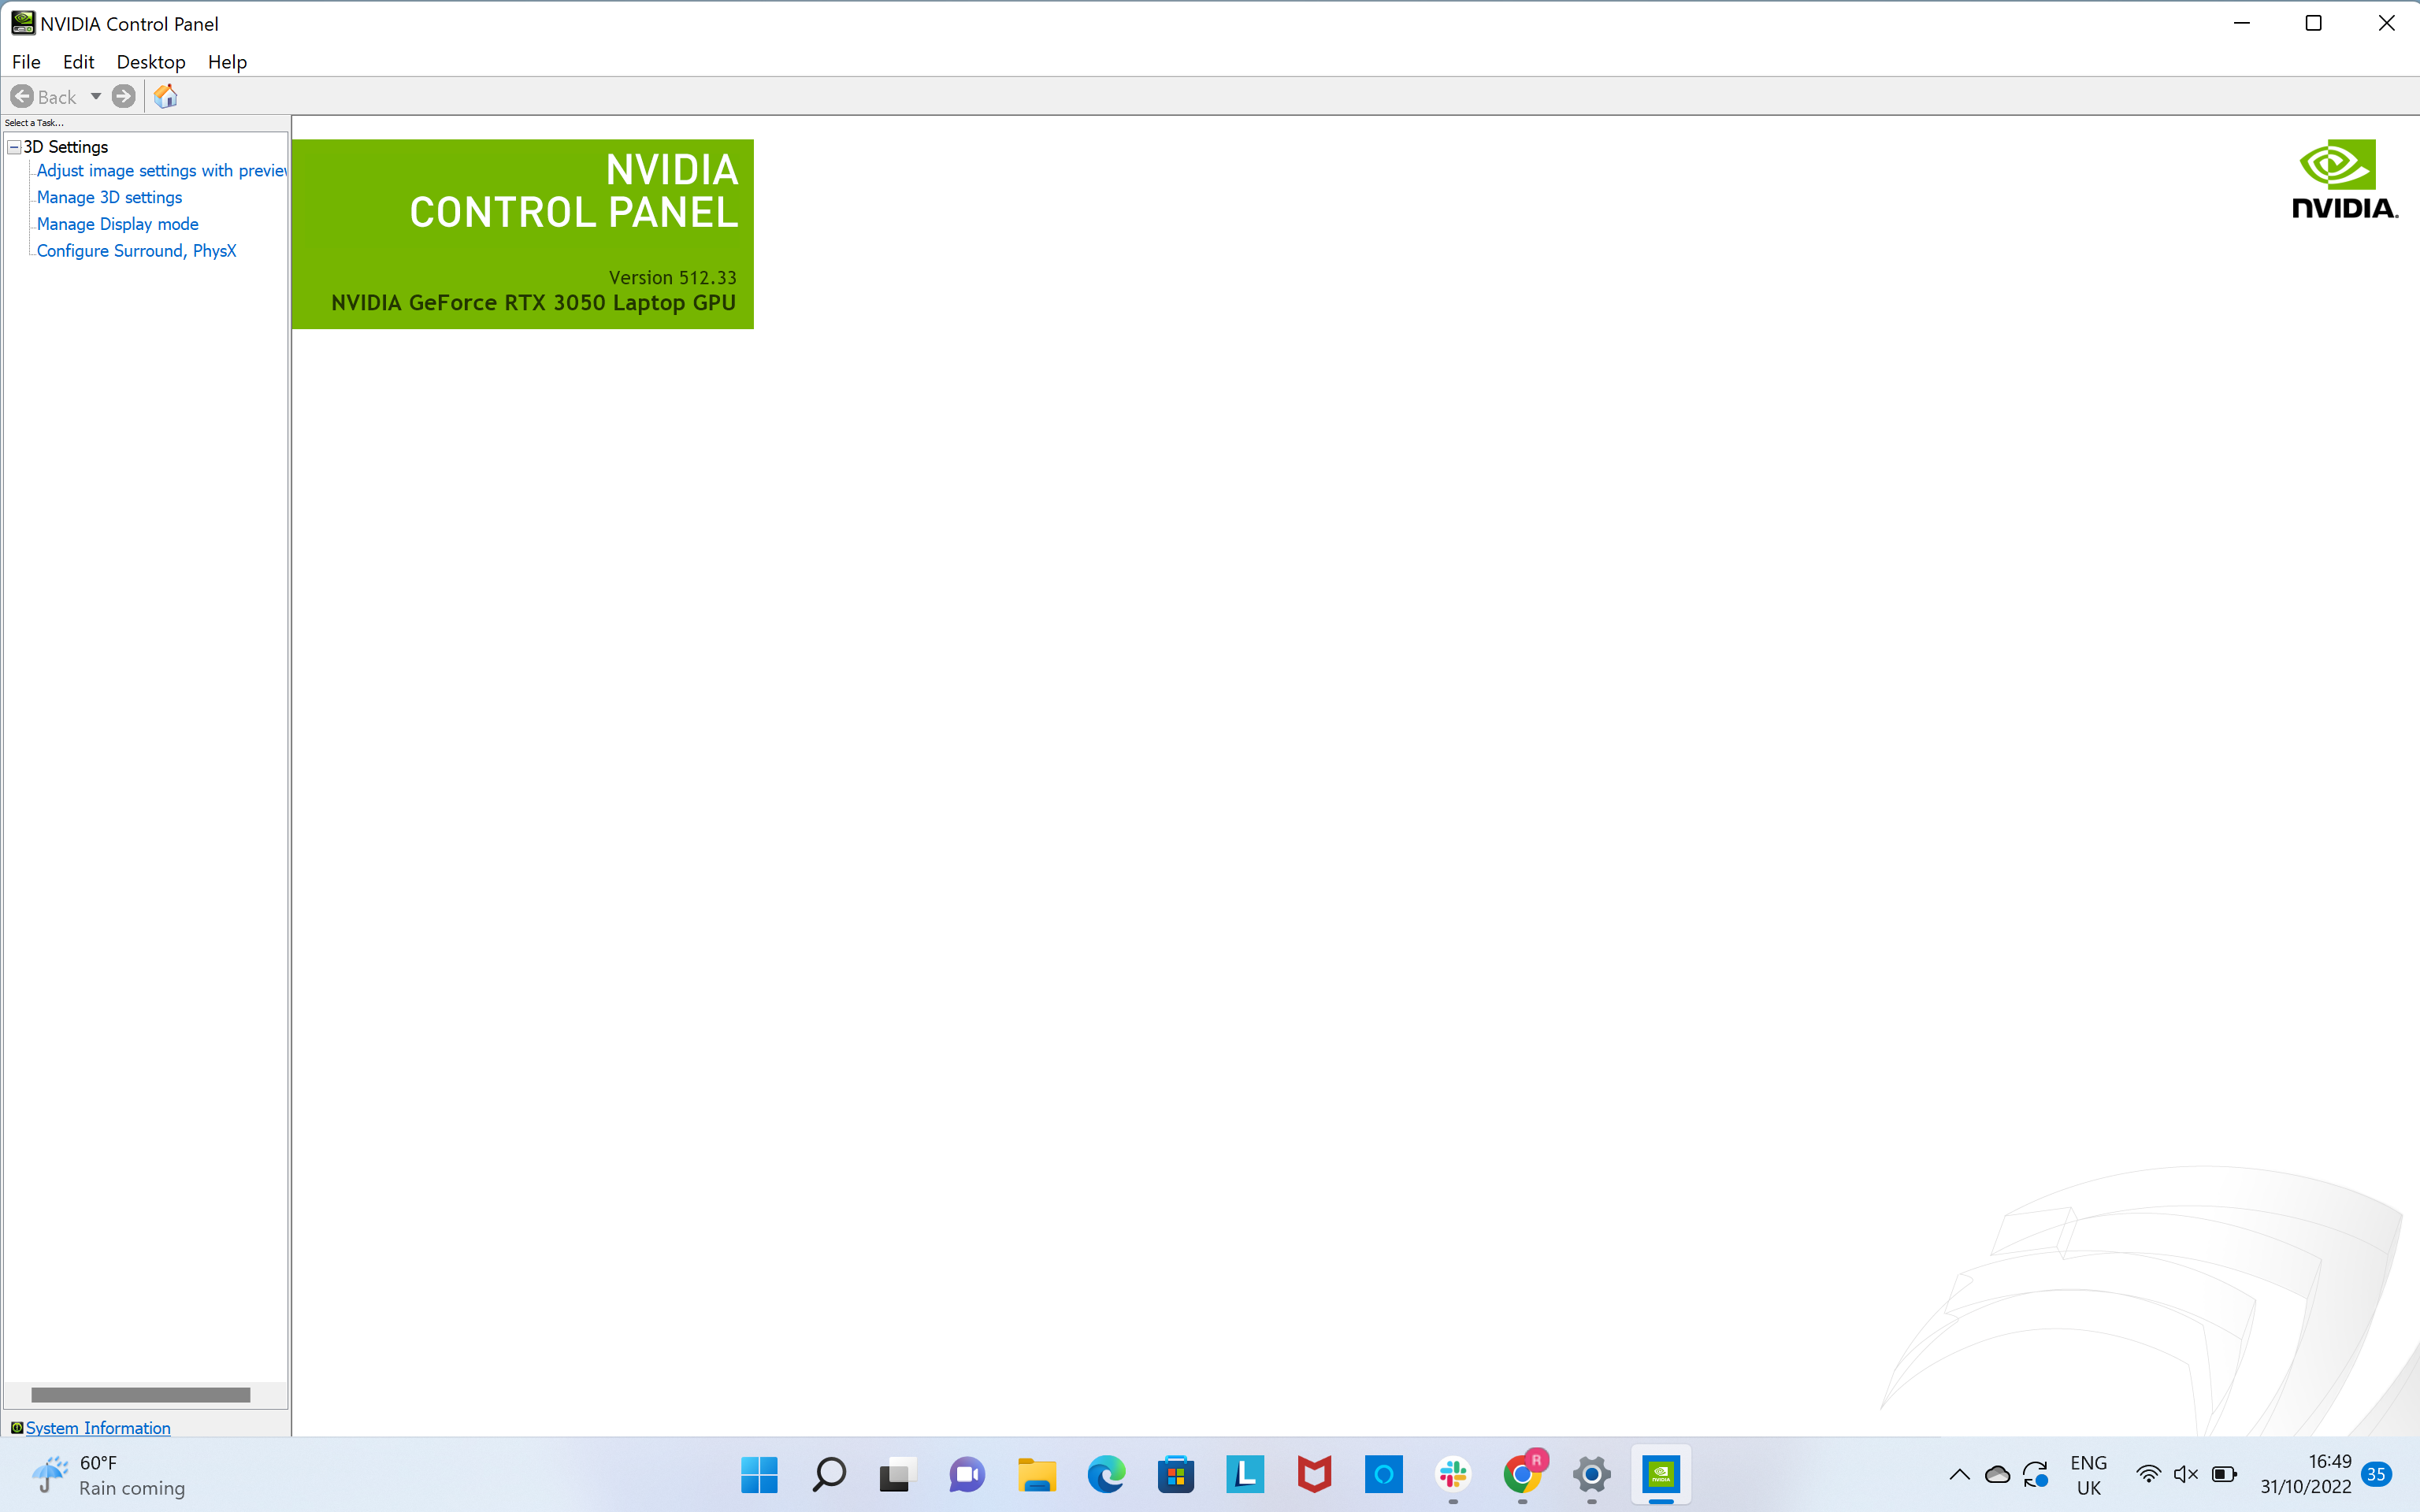
The Nvidia Control Panel should open, enabling you to dive into your chosen settings.
Troubleshooting
No, if you have a laptop/desktop that does not house an Nvidia GPU, a pop-up will appear claiming that it cannot identify a supported GPU and it will not open.
No, it should come packaged with your Nvidia GPU driver, so you may not need to download it to get started.
You might like…


Editorial independence
Editorial independence means being able to give an unbiased verdict about a product or company, with the avoidance of conflicts of interest. To ensure this is possible, every member of the editorial staff follows a clear code of conduct.
Professional conduct
We also expect our journalists to follow clear ethical standards in their work. Our staff members must strive for honesty and accuracy in everything they do. We follow the IPSO Editors’ code of practice to underpin these standards.