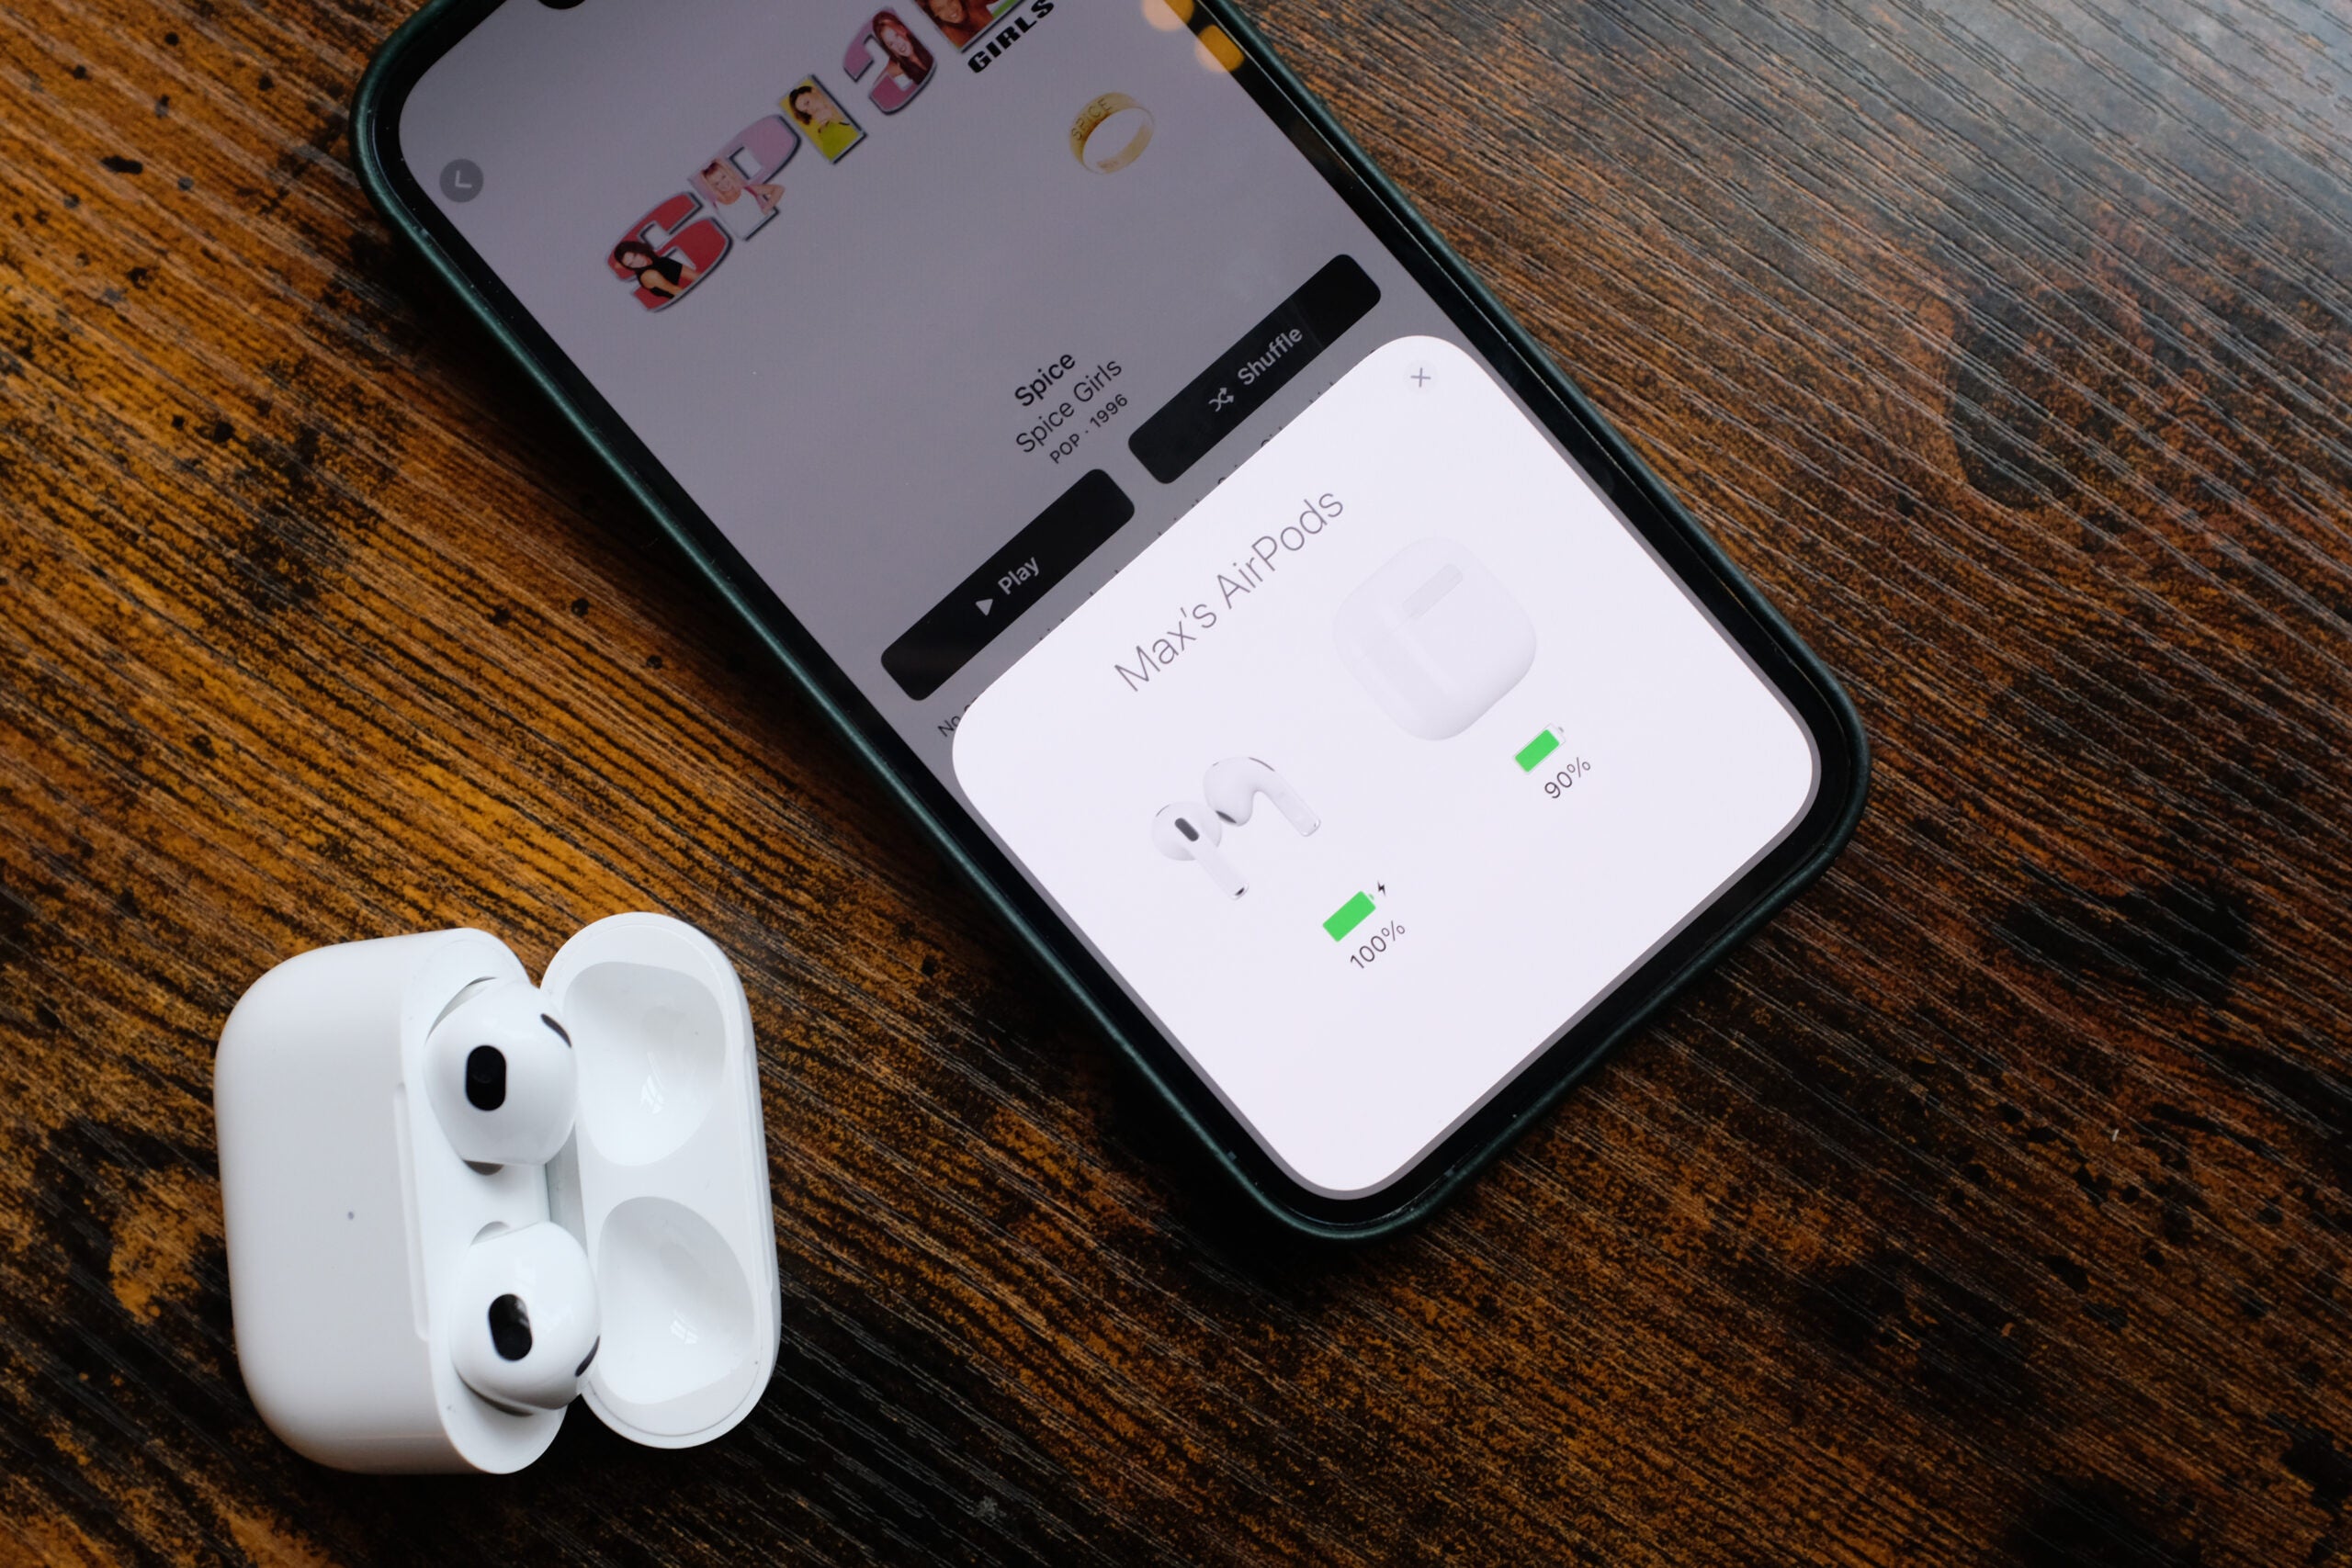
How to connect AirPods to Mac
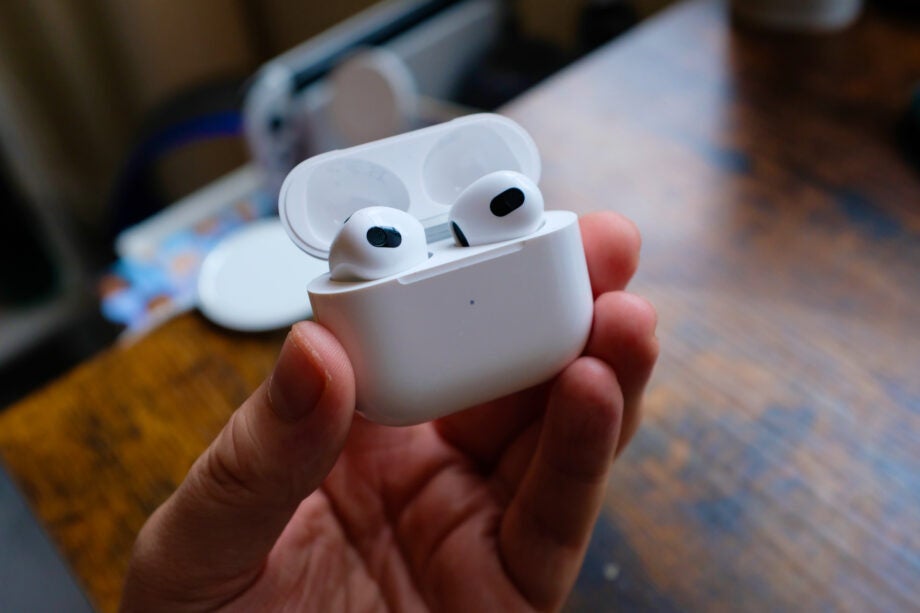
AirPods are some of the best wireless earbuds out there and are a sensible purchase if you’re within Apple’s product ecosystem, especially if you’re working on a Mac.
Connecting them up to a Mac is relatively easy, and we’re here to walk you through every step of the process, whether you’re using a Mac Mini, a MacBook or an iMac.
So, without further ado, here’s how to connect AirPods to your Mac.
Hardware Used
- MacBook Pro 13″ (2020)
- macOS Big Sur
- AirPods (2nd Gen)
The Short Version
- Open the lid of your AirPods case
- Hold the setup button on the back
- Go into ‘Bluetooth’ within the macOS ‘System Preferences’
- Select your AirPods within the devices list
Step
1Open the lid of your AirPods case
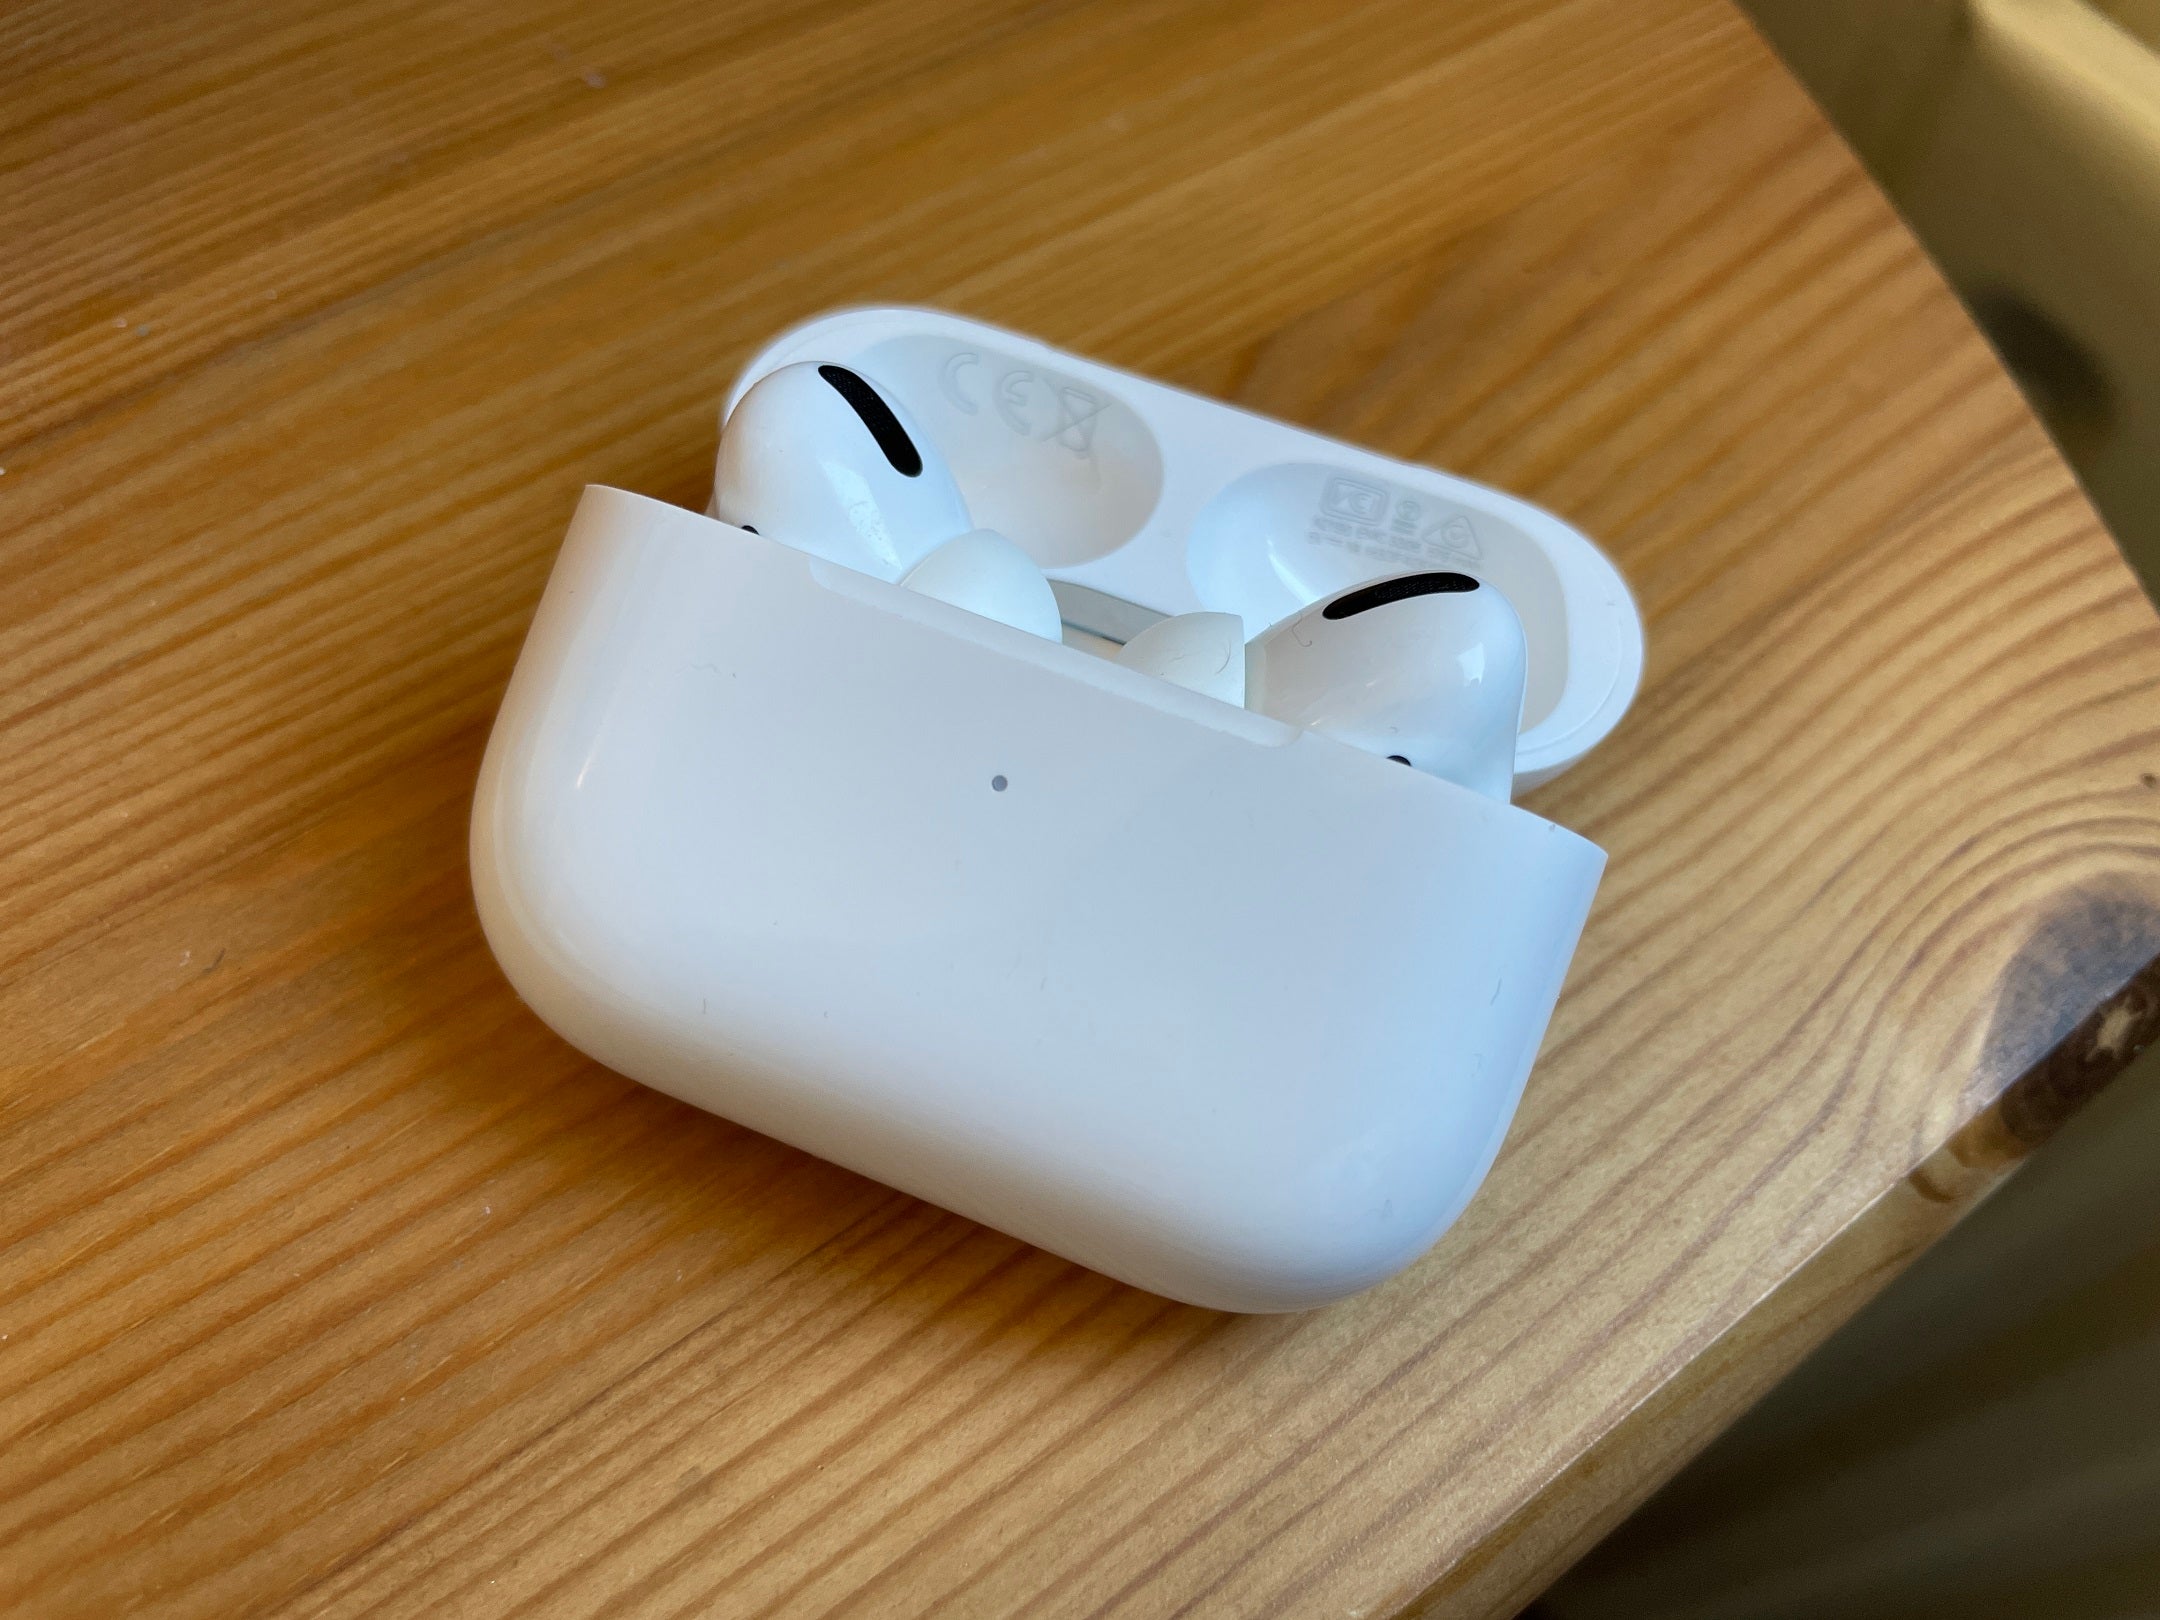
Firstly, open the lid of your AirPods case, which will turn them on from standby.

Step
2Hold the setup button on the back
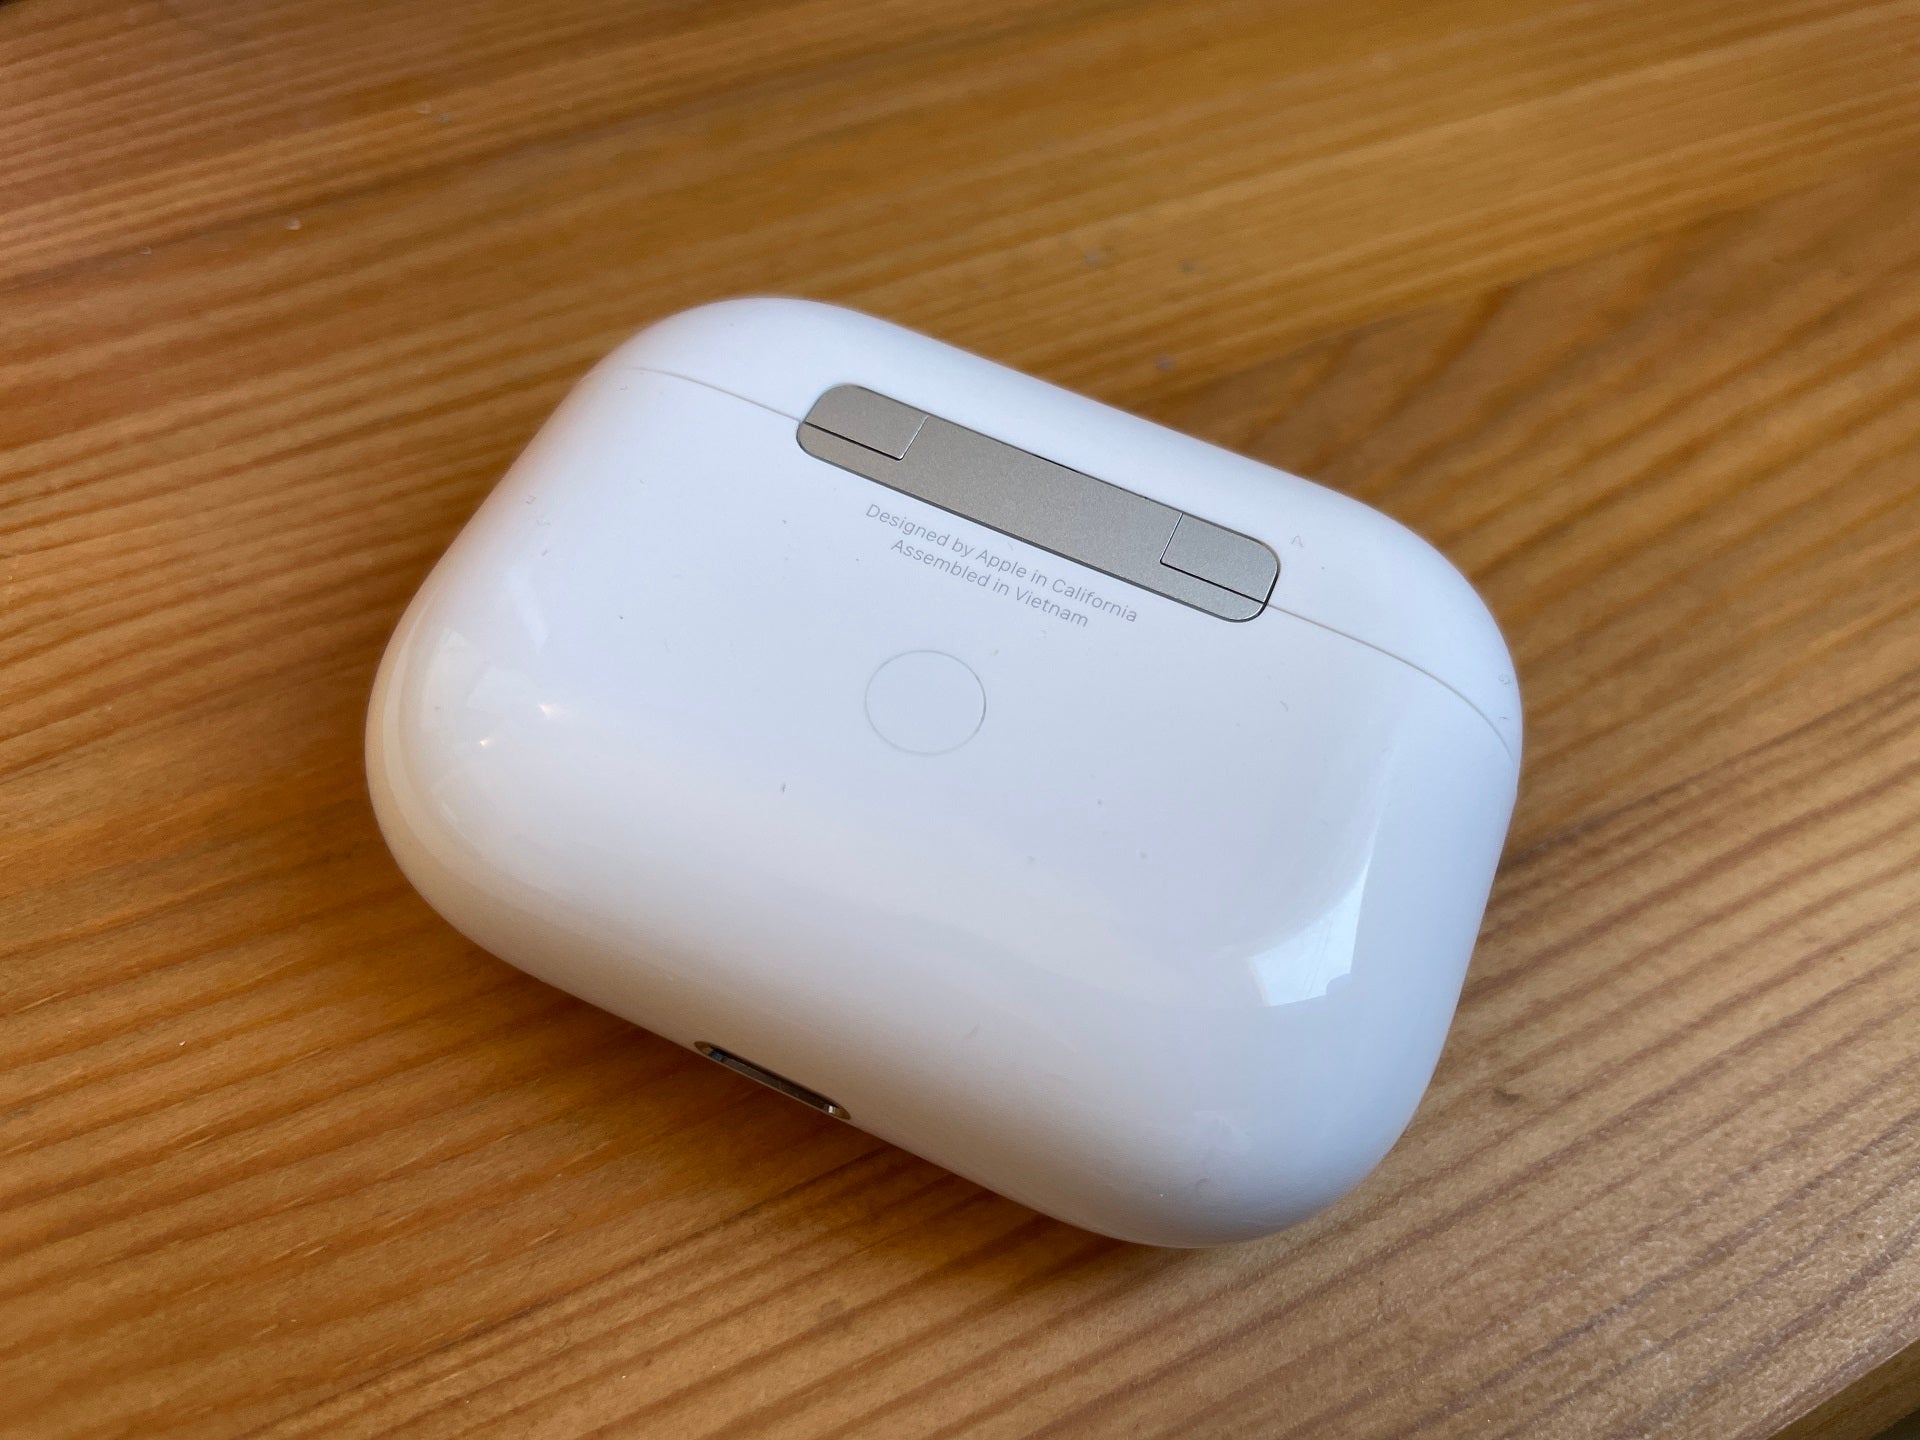
Now, press and hold the button on the back of the AirPods case until the status light on your AirPods case turns white.

Step
3Go into ‘Bluetooth’ within the macOS ‘System Preferences’
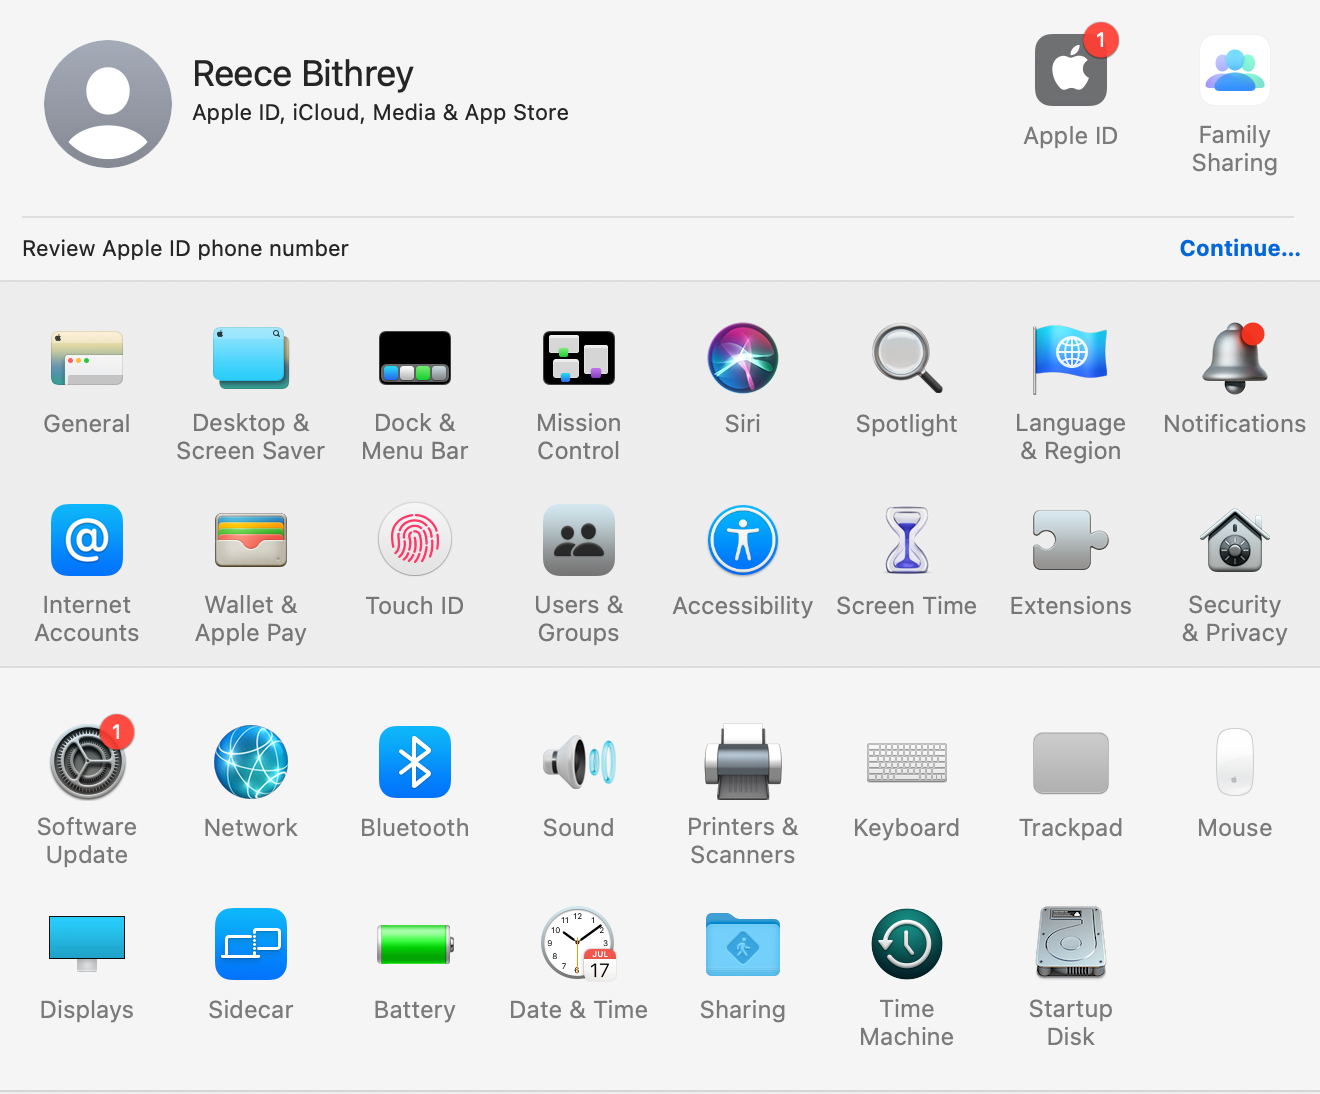
Open up ‘System Preferences’ and then head into ‘Bluetooth’.
You’ll find it about halfway down on the third row, sandwiched between ‘Network’ and ‘Sound’.
Step
4Select your AirPods within the devices list
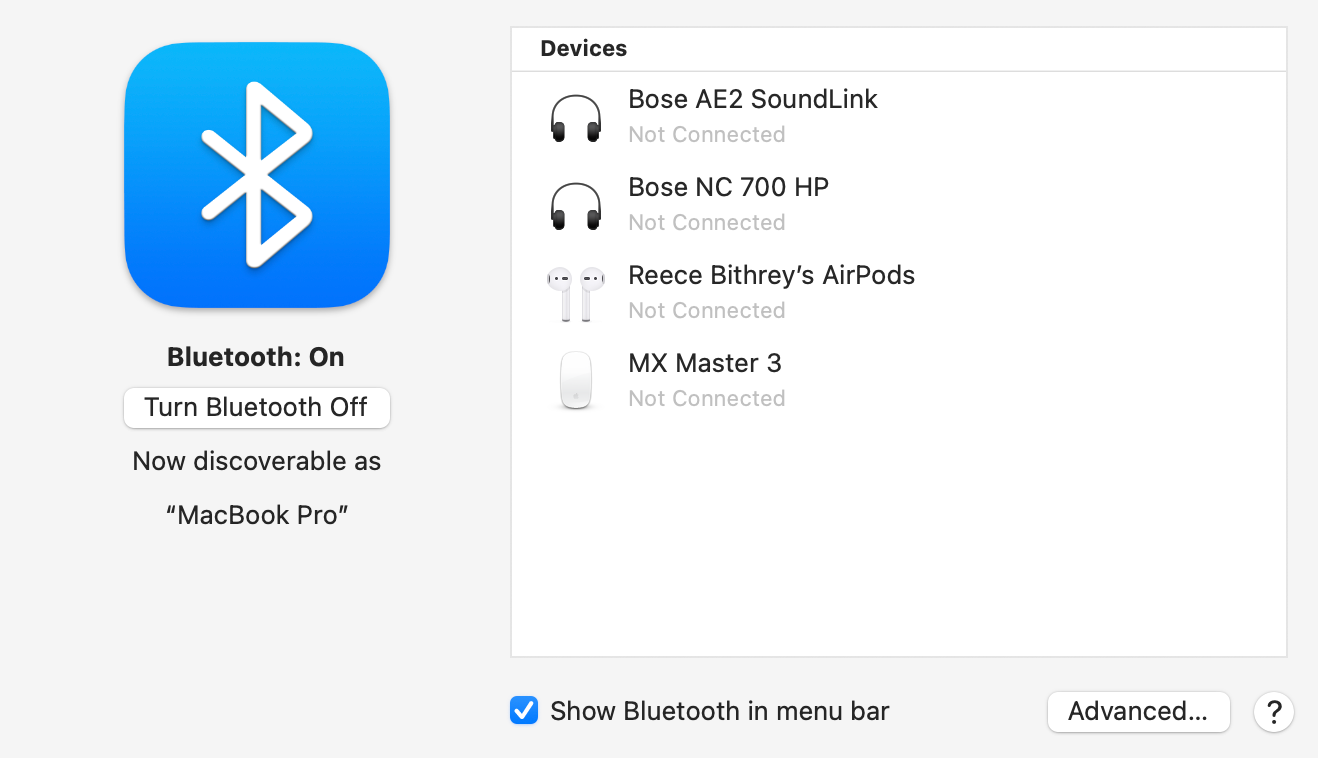
Make sure Bluetooth is actually activated. It should let you know in bold writing directly below the big, blue Bluetooth icon.
Click on your AirPods from the devices list – they should be labelled as ‘Your Name’s AirPods’, with your actual name instead of the placeholder.
Your AirPods should now sync up with your Mac, allowing you to listen to music without disturbing your colleagues.
FAQs
If this process does not work, double check your Mac’s Bluetooth is activated and ensure your AirPods have enough battery life.
If they’re still not working, try resetting your Mac and AirPods. Unpairing your AirPods and starting a new connection can sometimes work too.
If this occurs, it likely means the firmware is out of date for at least one of your devices.


