Need to change the colour of something in Photoshop? Look no further – we’ve put together this step-by-step guide to teach you how to do it.
Whether you’re tweaking the colour of some text, turning a grey sky into a blue one or testing out a new hair colour, here’s how to change the colour of an object in Photoshop.
What you’ll need:
- A computer with Photoshop
- A Creative Cloud subscription
The Short Version
- Open your image in Photoshop
- Create a mask where you want to change the colour
- Make an adjustment layer and choose Solid Colour
- Pick a new colour for your object
- Change the blending mode to Colour
- Create another adjustment layer for Levels
- Play around with the levels in the Properties tab until you’re happy with the new image
How to change the colour of an object in Photoshop
Step
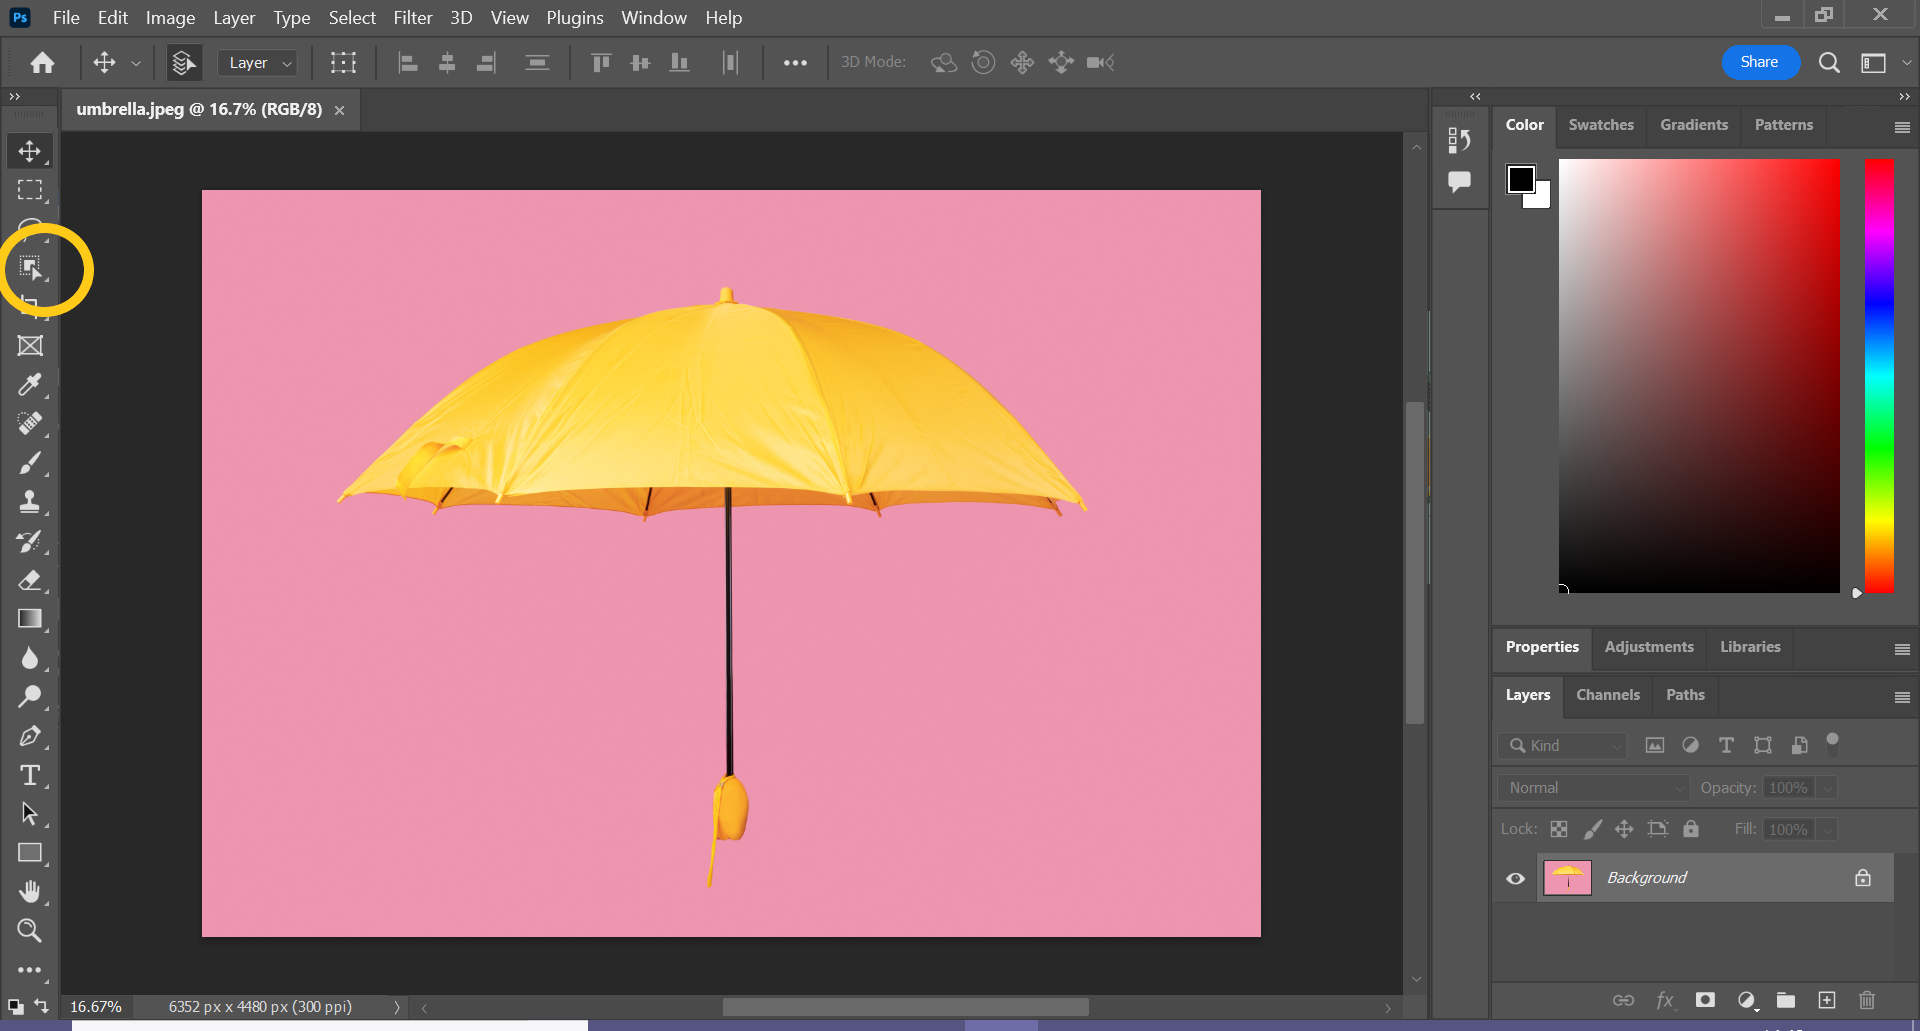
1Open your image in Photoshop.

This can be any image you want.
Step
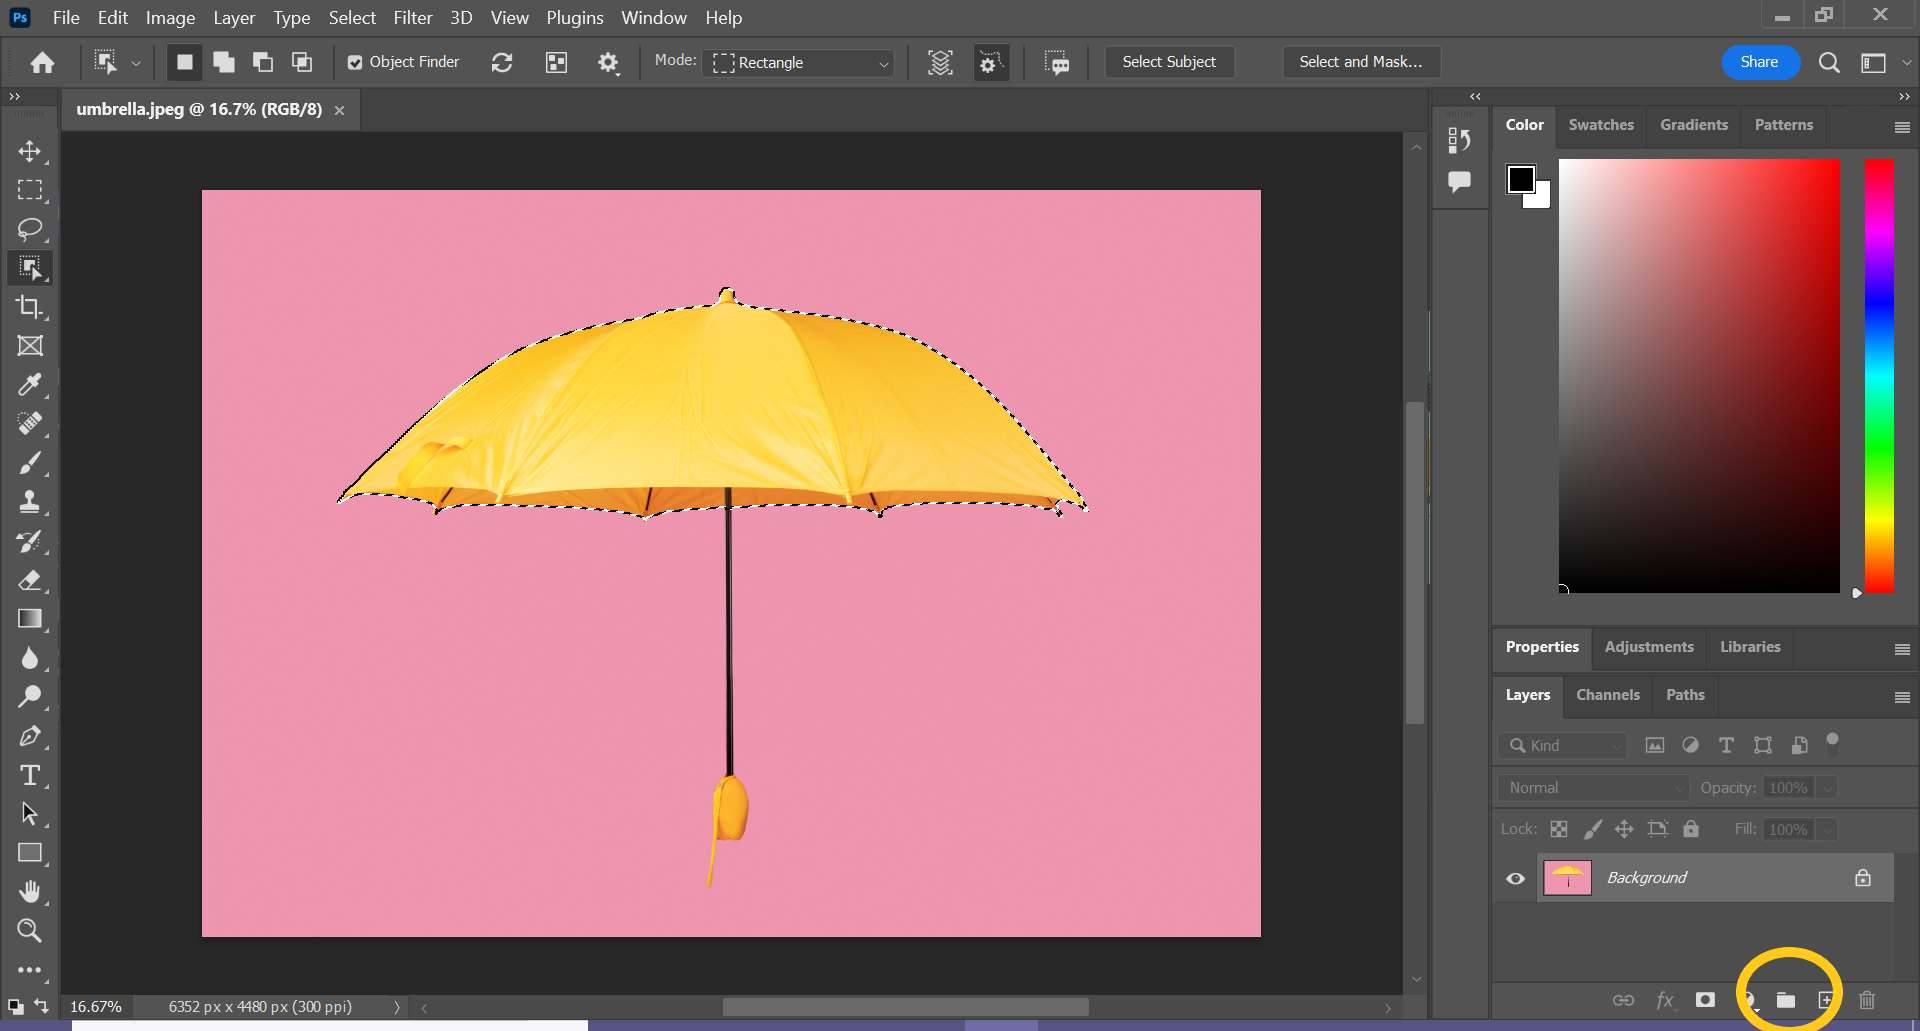
2Select your object
You can use the Object Selection tool on the left hand side to do this.
Step
3Click the Create New Group icon
This will prevent you from having to mask multiple layer masks.
Step
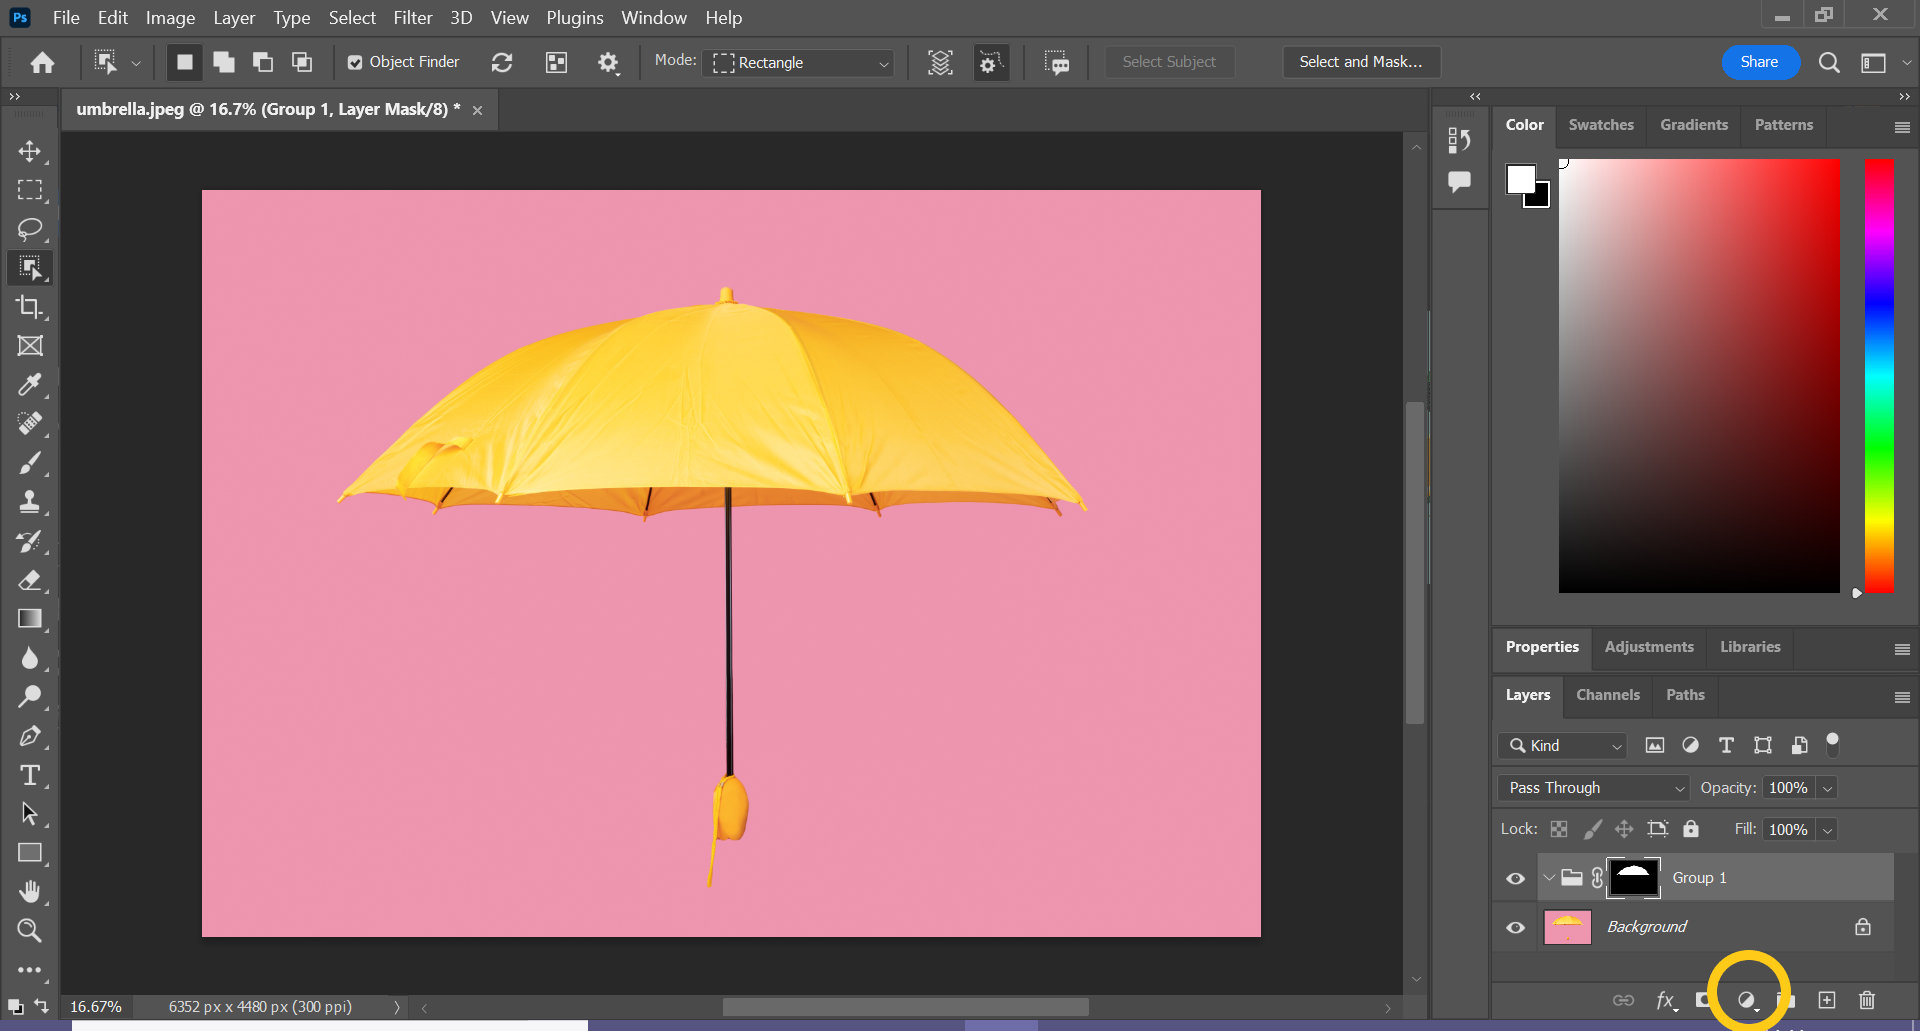
4Click the Add Layer Mask icon
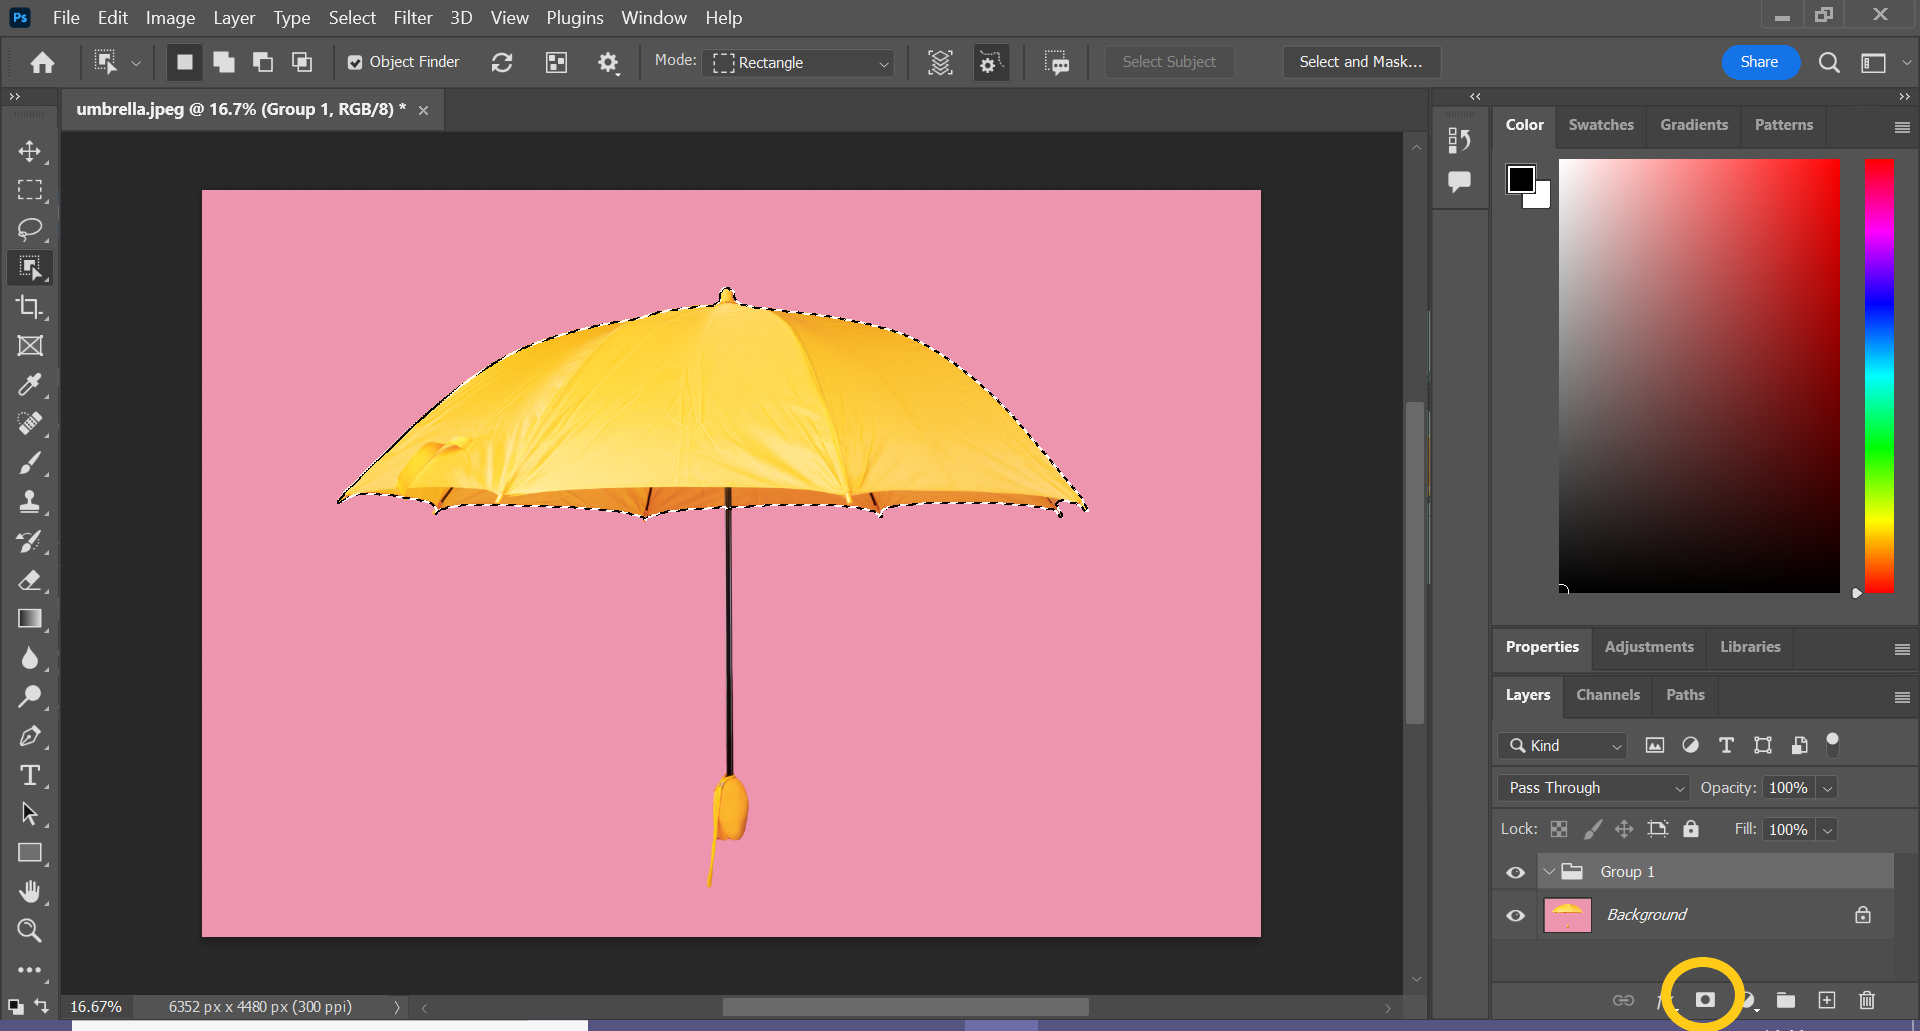
This will create a layer mask from your selection, meaning only the parts you’ve selected will change colour.
Step
5Click the Adjustment Layer icon
Make sure you’ve clicked on the mask layer first.
Step
6Choose Solid Colour
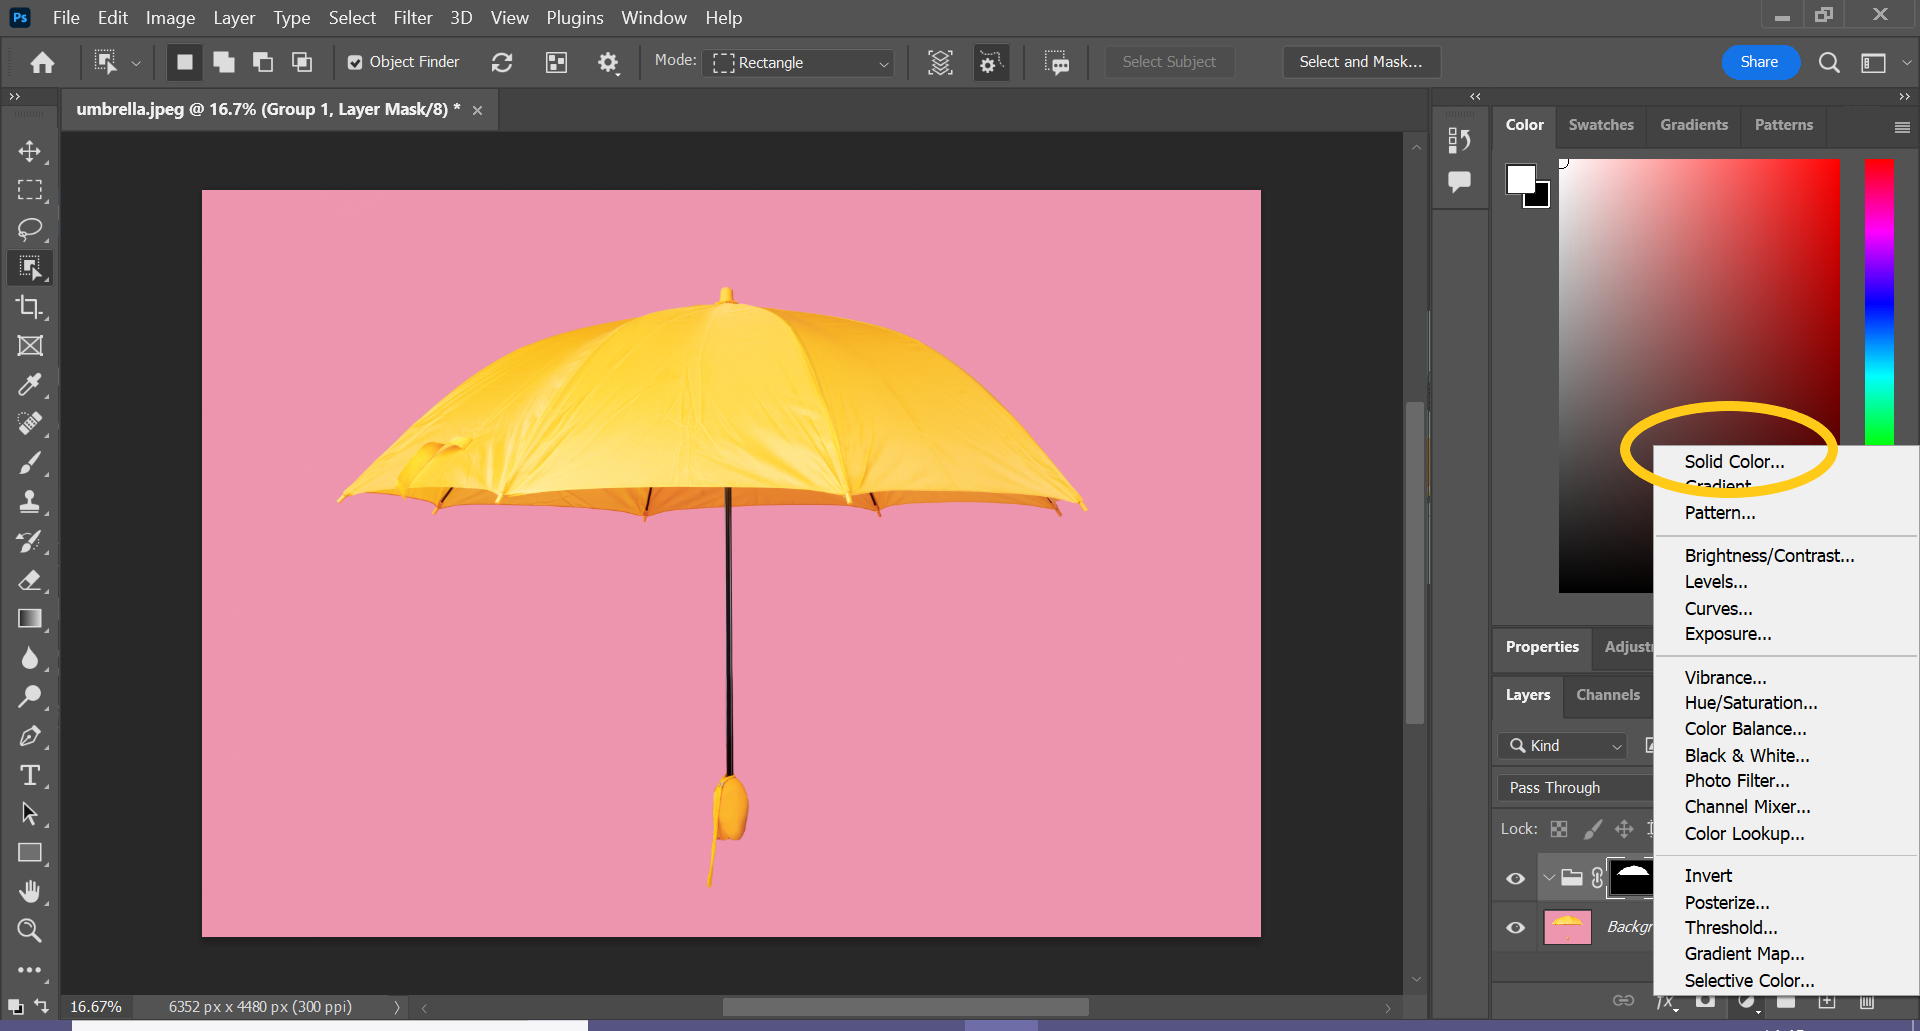
This will trigger a pop-up window.
Step
7Choose your new colour and click OK

You’ll also be able to see the new colour previewed on your object.
Step
8Change the blending mode to Colour
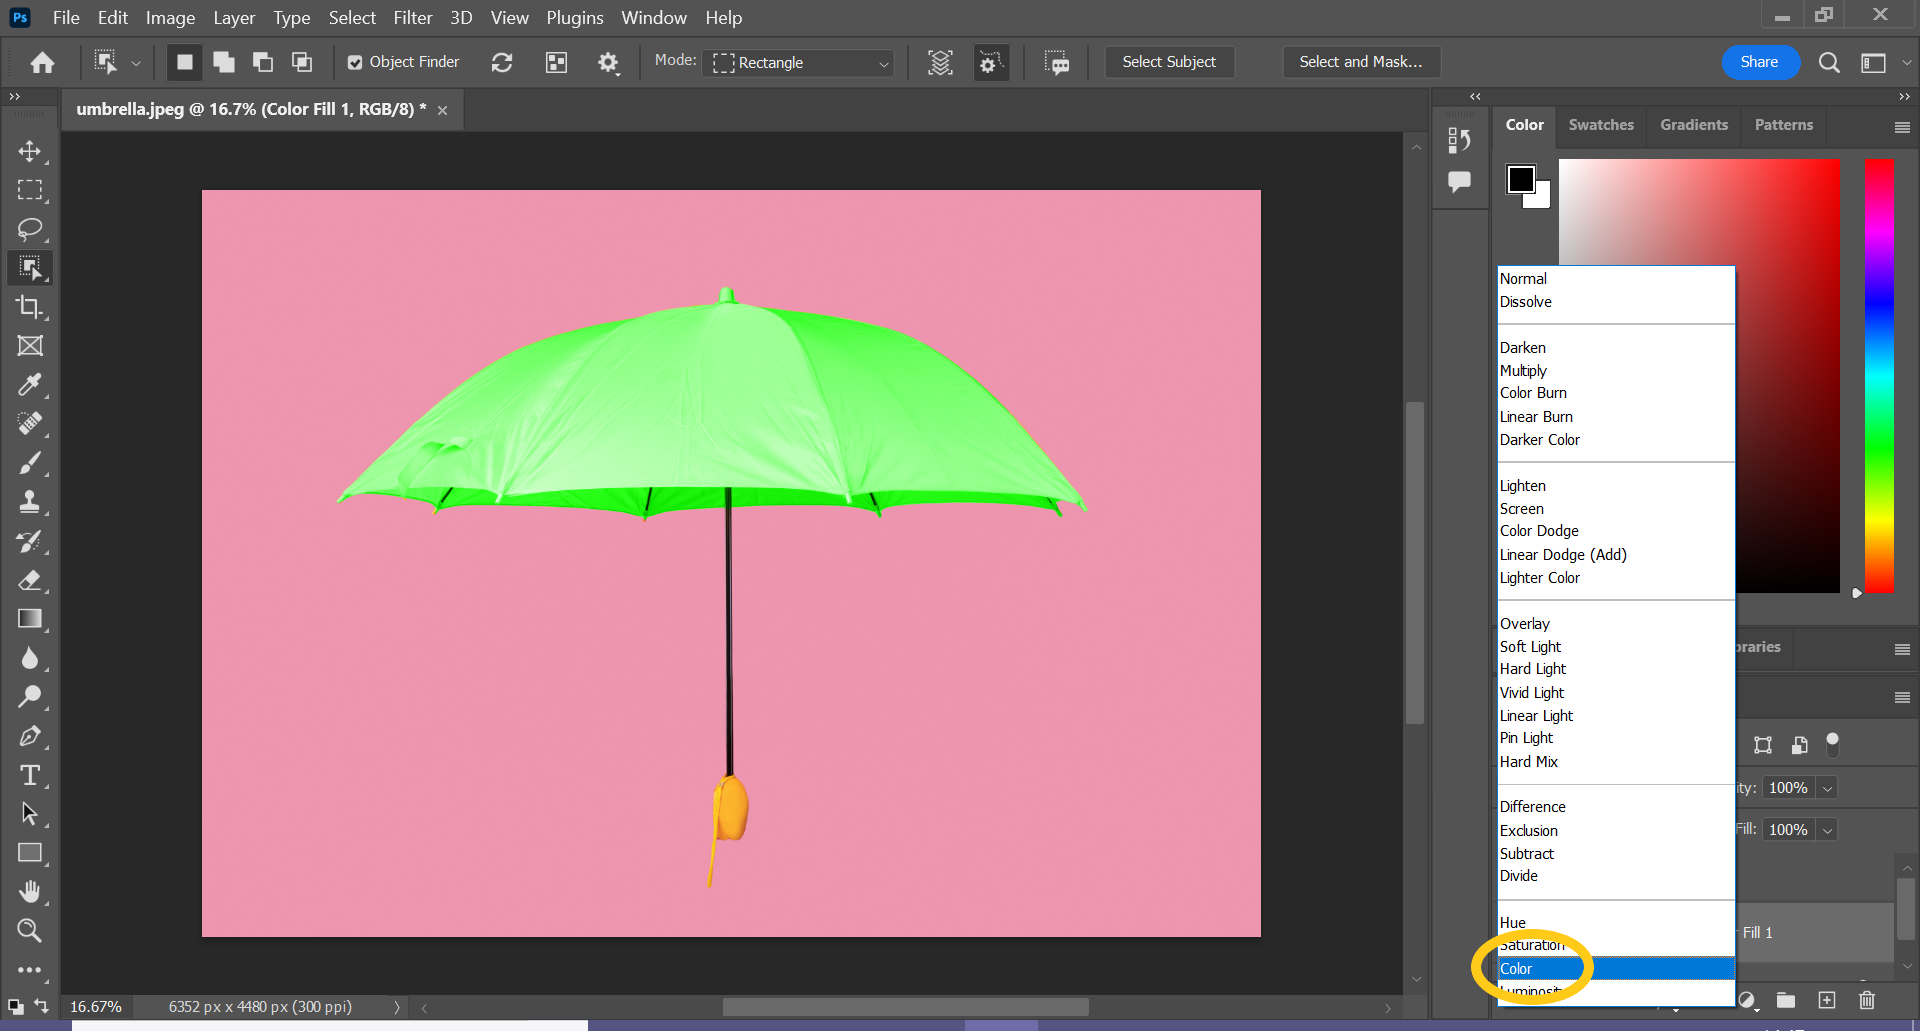
To open the blending mode menu click where is says Normal in the layers tab.
Step
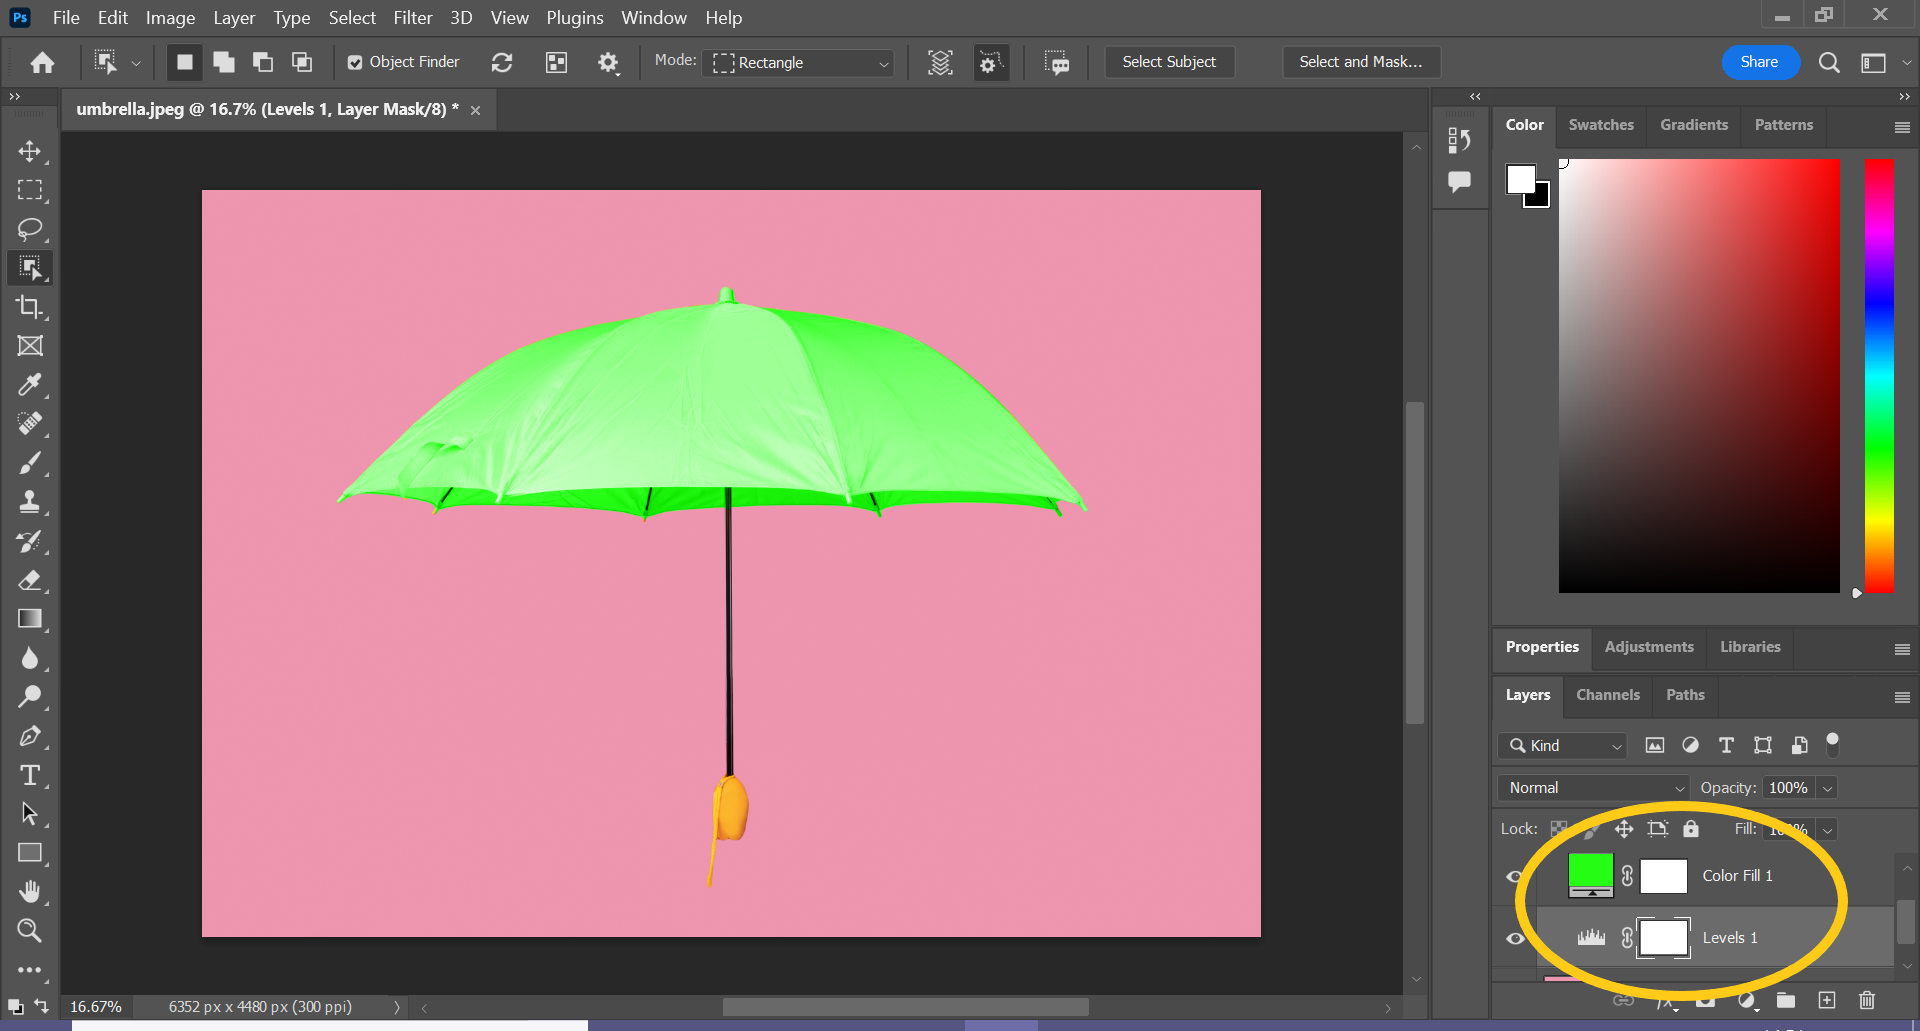
9Create another Adjustment Layer
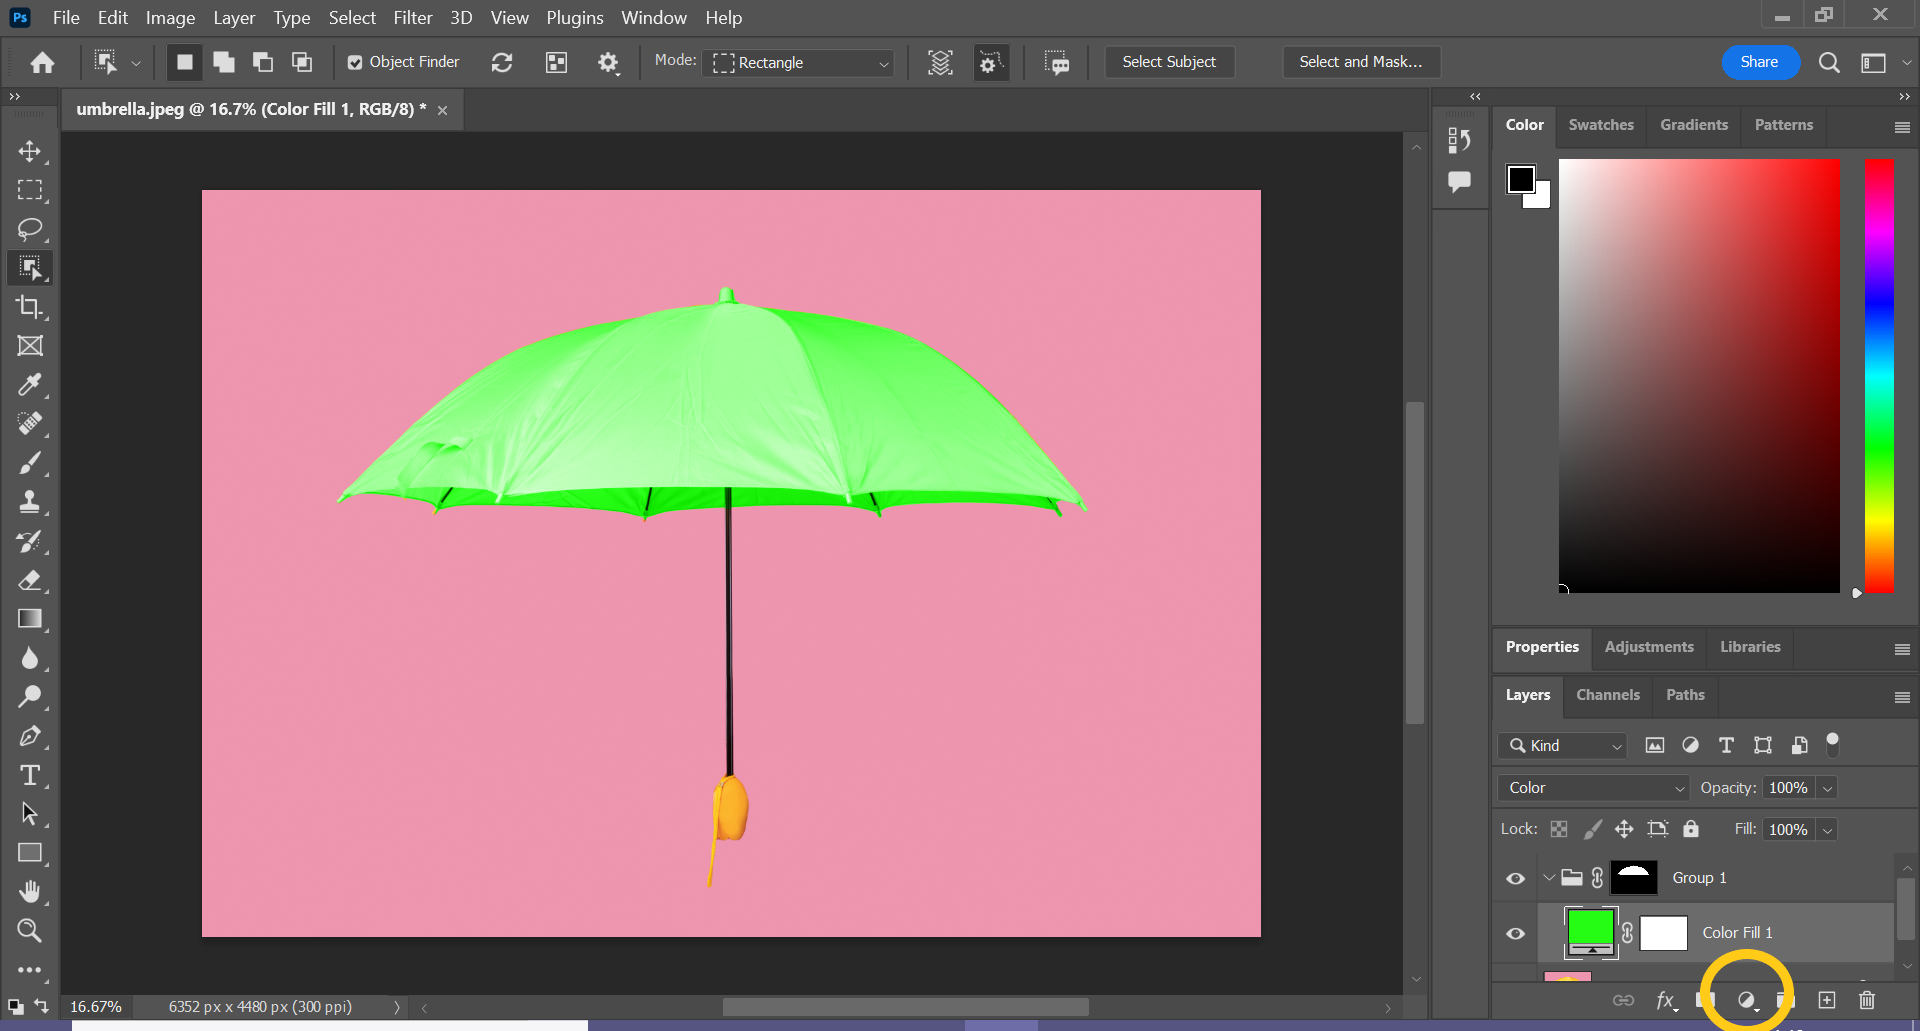
The Colour blending mode will set the hue and saturation, but you still need to adjust the brightness.
Step
10Click Levels
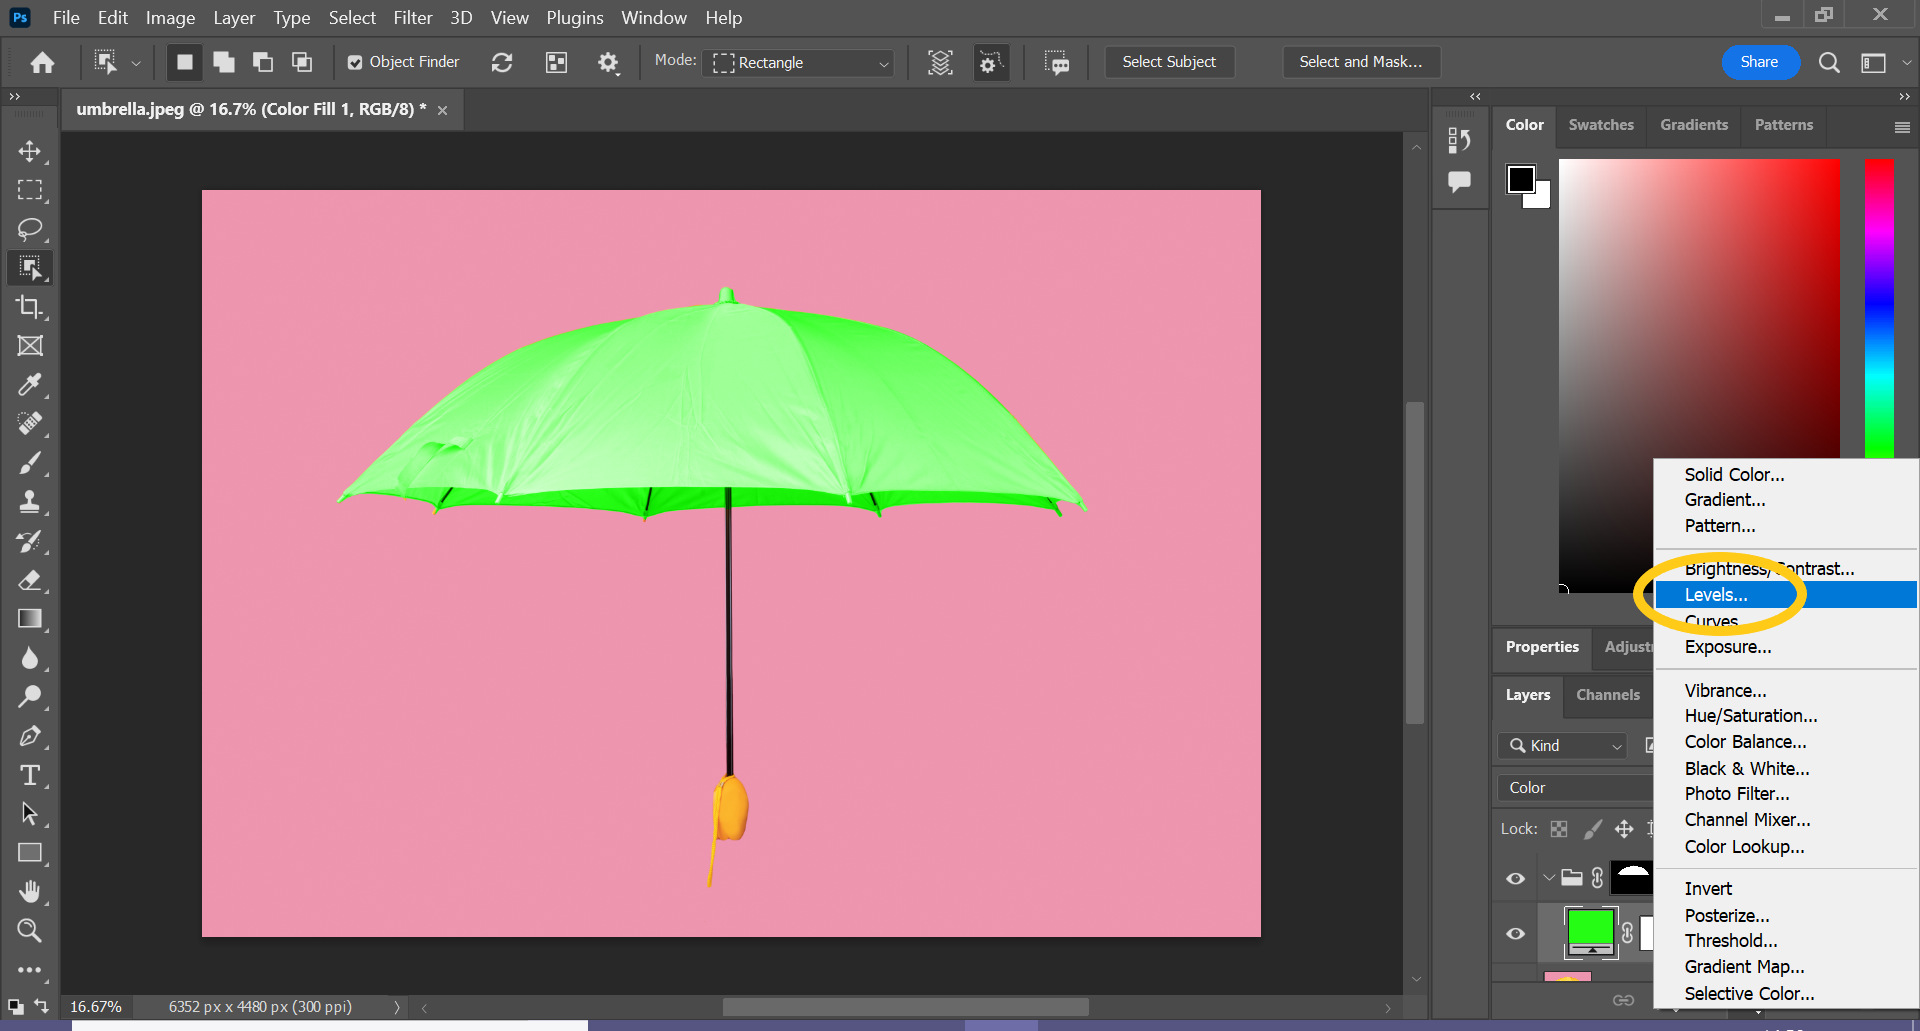
This will allow you to edit the brightness and make your colour look more natural.
Step
11Move the Levels layer to below the colour
You can do this by clicking and dragging the layer down.
Step
12Click Properties
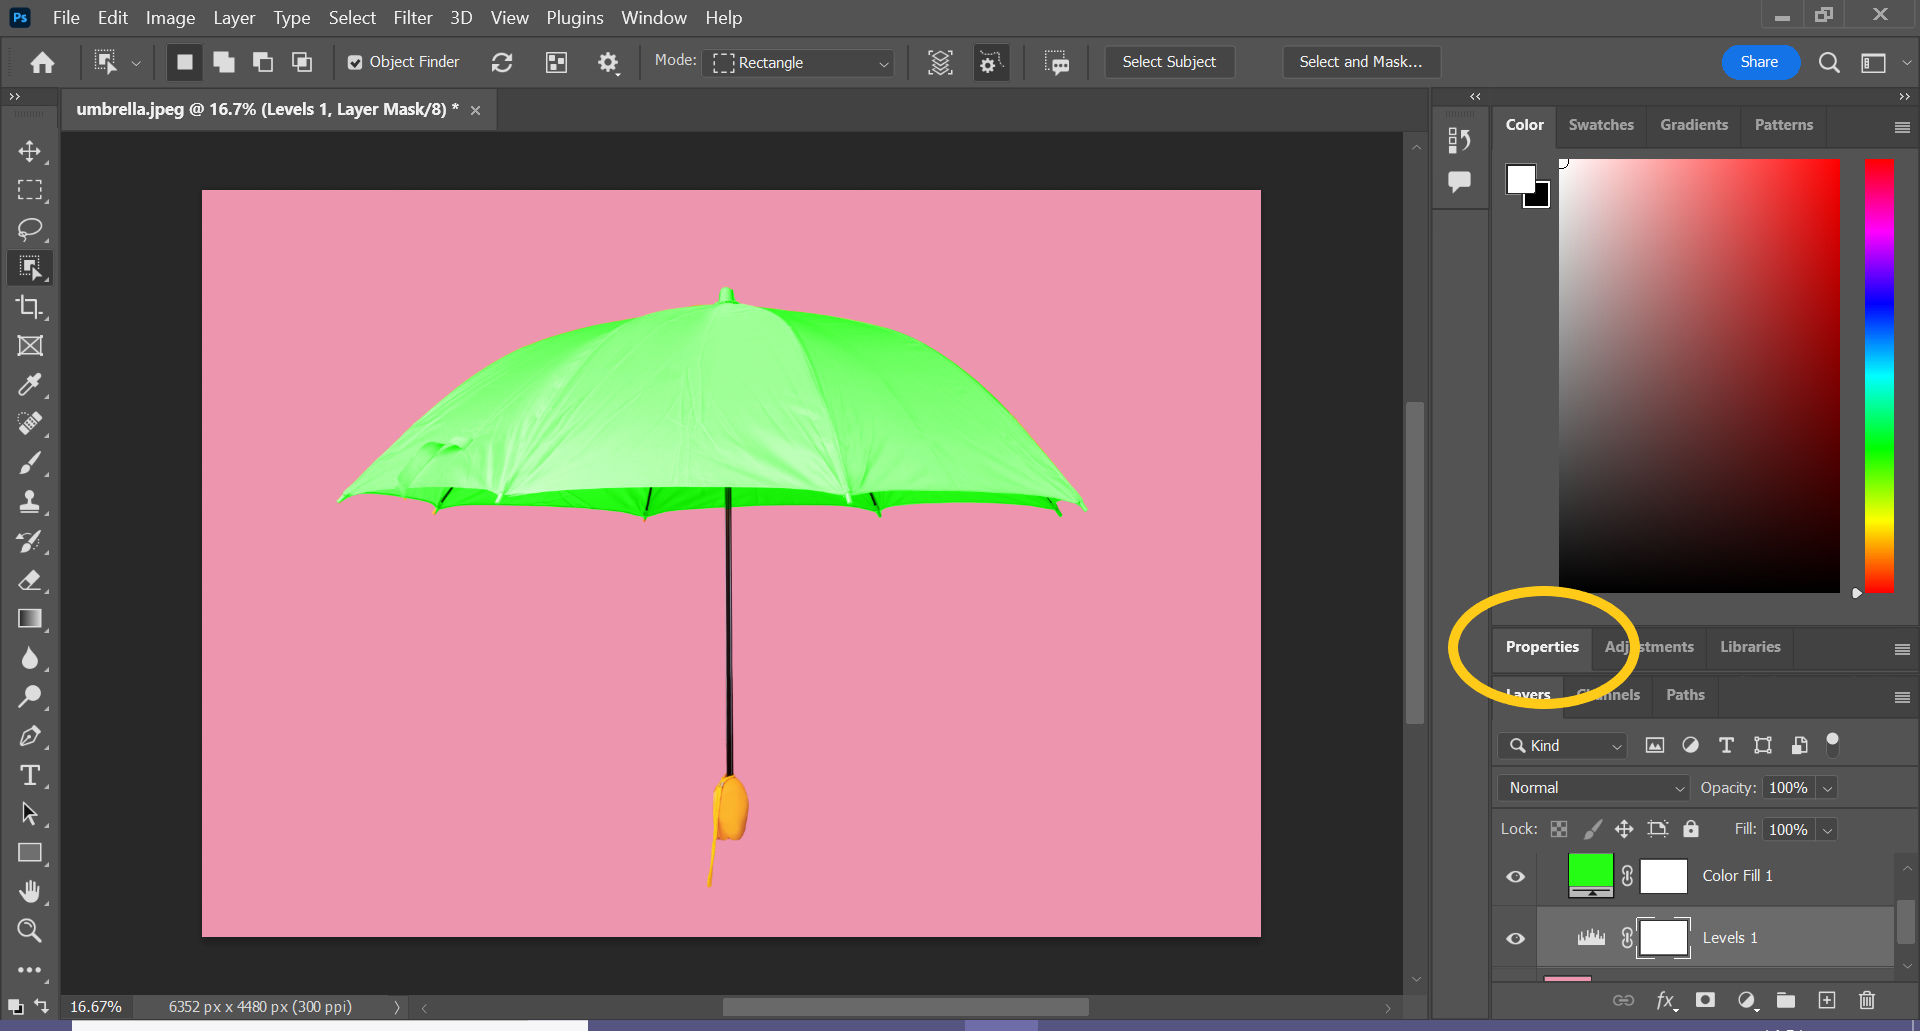
This will likely be on the right hand side of your screen.
Step
13Drag the sliders until you’re happy with the new colour
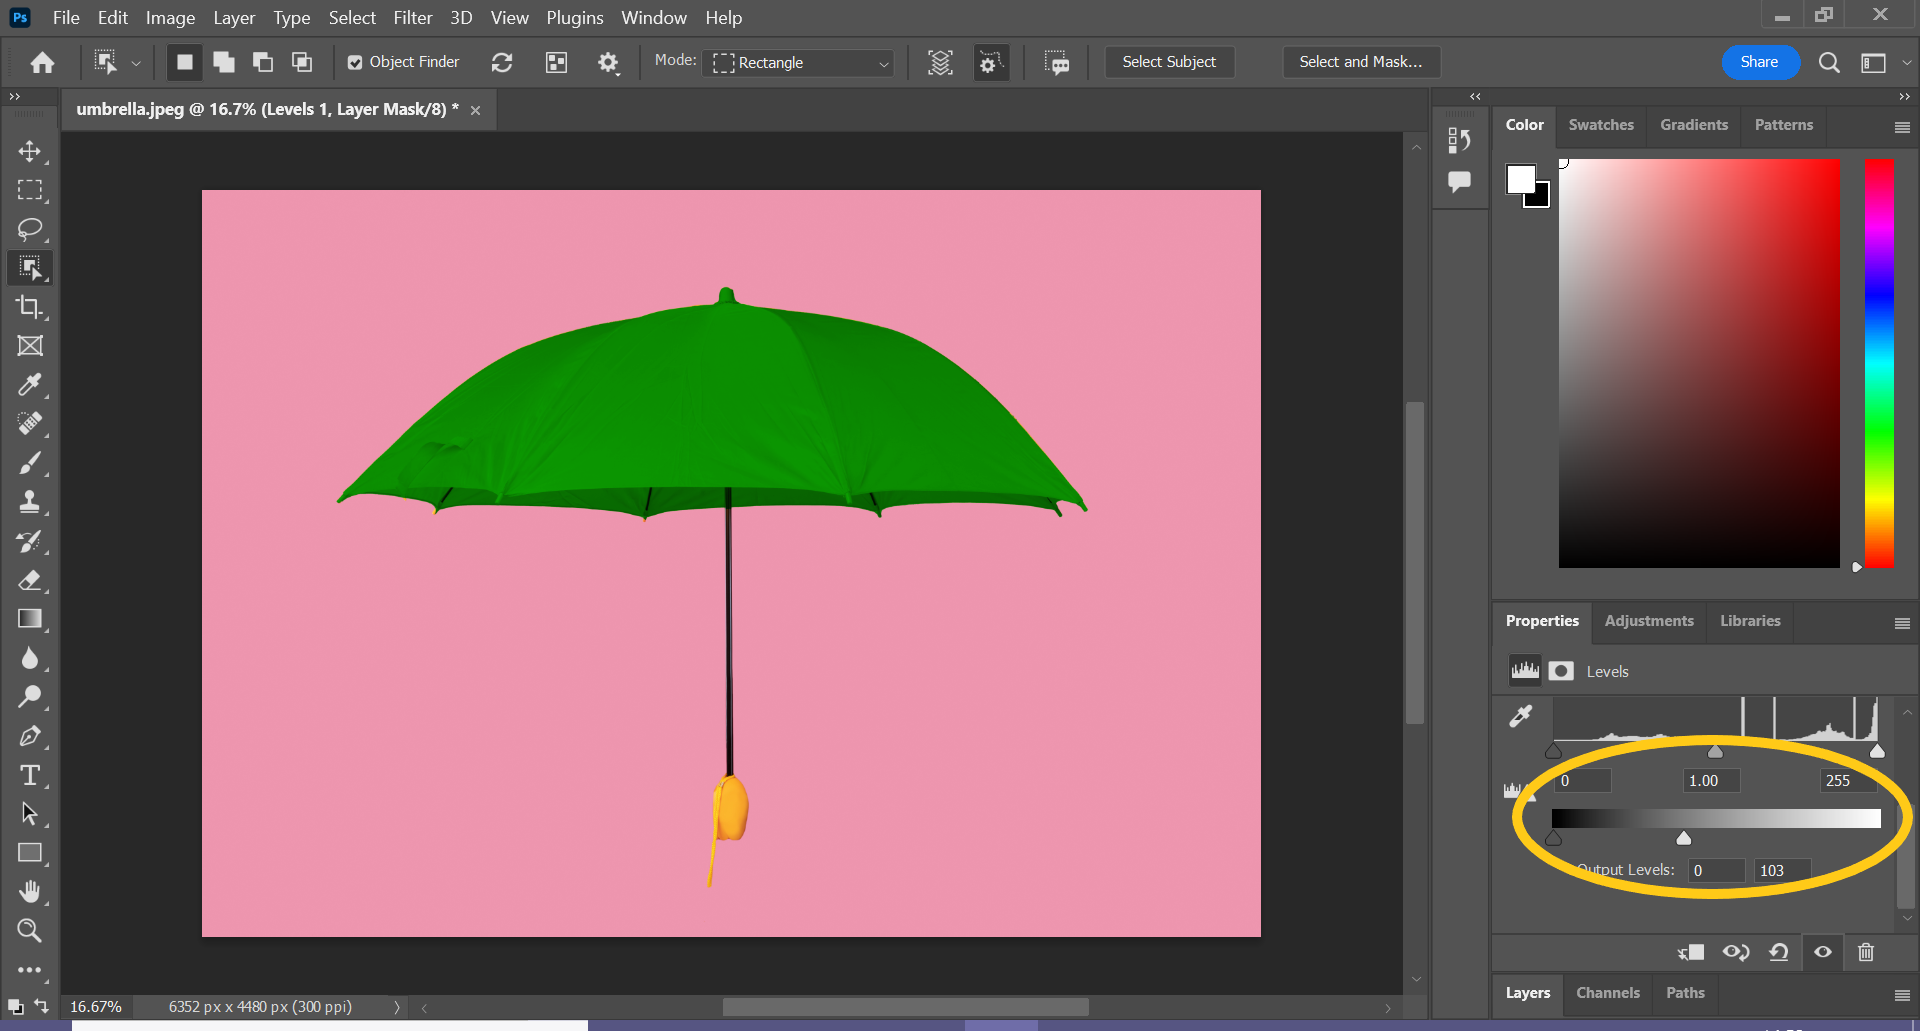
The white slider effects the brightness, while the grey one controls contrast.
FAQs
If the Object Selection tool has missed some spots or the edges don’t look seamless, you can always make adjustments to the mask.
Simply select the mask, click on the Properties tab, scroll down and click Select and Mask. Here you can use the brushes on the left to add and remove details and soften the edges of your mask.
If you don’t want to use the Object Selection tool, you can also use the Magic Wand tool or the Lasso to create your mask.
You might like…

Editorial independence
Editorial independence means being able to give an unbiased verdict about a product or company, with the avoidance of conflicts of interest. To ensure this is possible, every member of the editorial staff follows a clear code of conduct.
Professional conduct
We also expect our journalists to follow clear ethical standards in their work. Our staff members must strive for honesty and accuracy in everything they do. We follow the IPSO Editors’ code of practice to underpin these standards.