
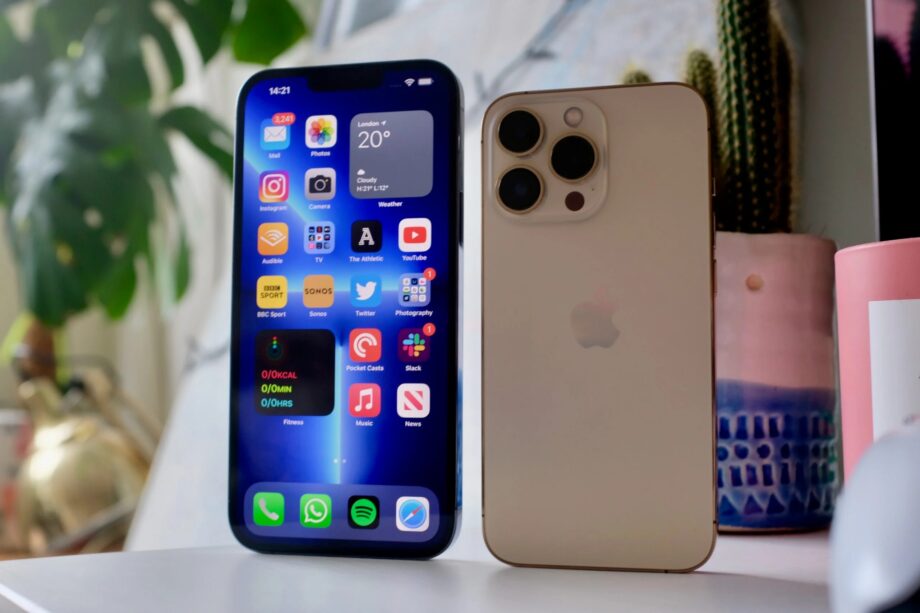
Having bought a new iPhone, you might be wishing there was a simple way to transfer your data from your old device. Thankfully, there is.
Setting up a new phone is at once exciting and a bit of a chore. You can accentuate the former and minimise the latter, as well as lessen any down time, by using Apple’s intuitive Quick Start data transfer tool.
Without any further ado, here’s how to transfer data from iPhone to iPhone.
What we used
- This method will work with any iPhone, including an iPhone 13 Pro Max
The Short Version
- Prepare and position your iPhones
- Set up the transfer
- Authenticate your new iPhone
Step
1Prepare and position your iPhones

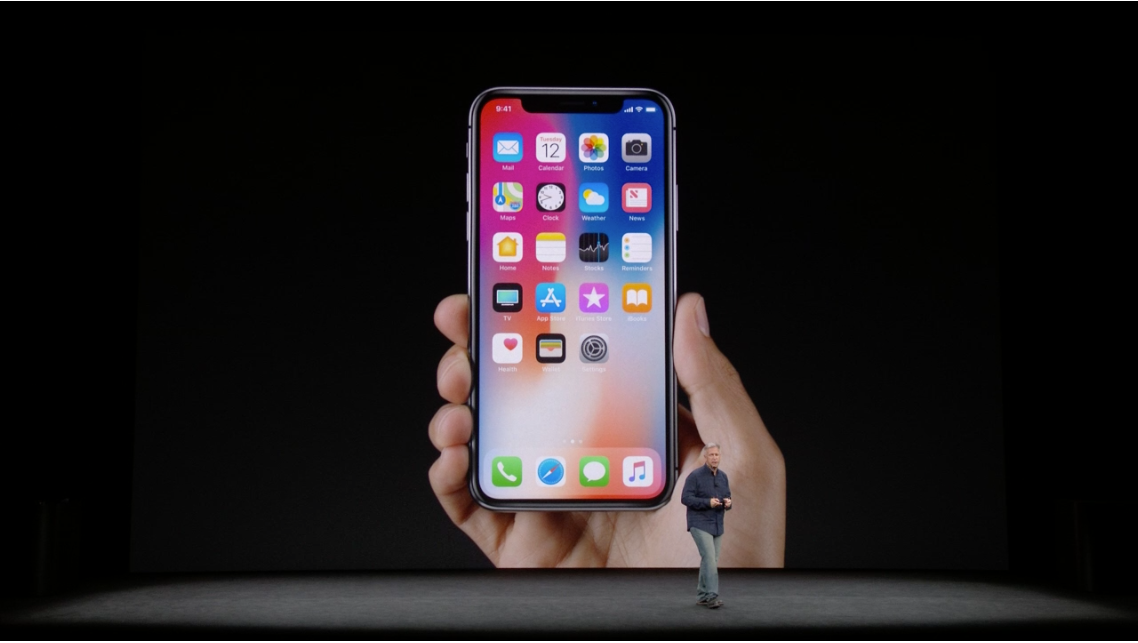
First turn on your new iPhone and place it next to your still-powered-on current iPhone, making sure that Bluetooth is switch on for the latter. We’d also recommend plugging both devices in, or at least ensuring they’re both fully charged.
Step
2Set up the transfer
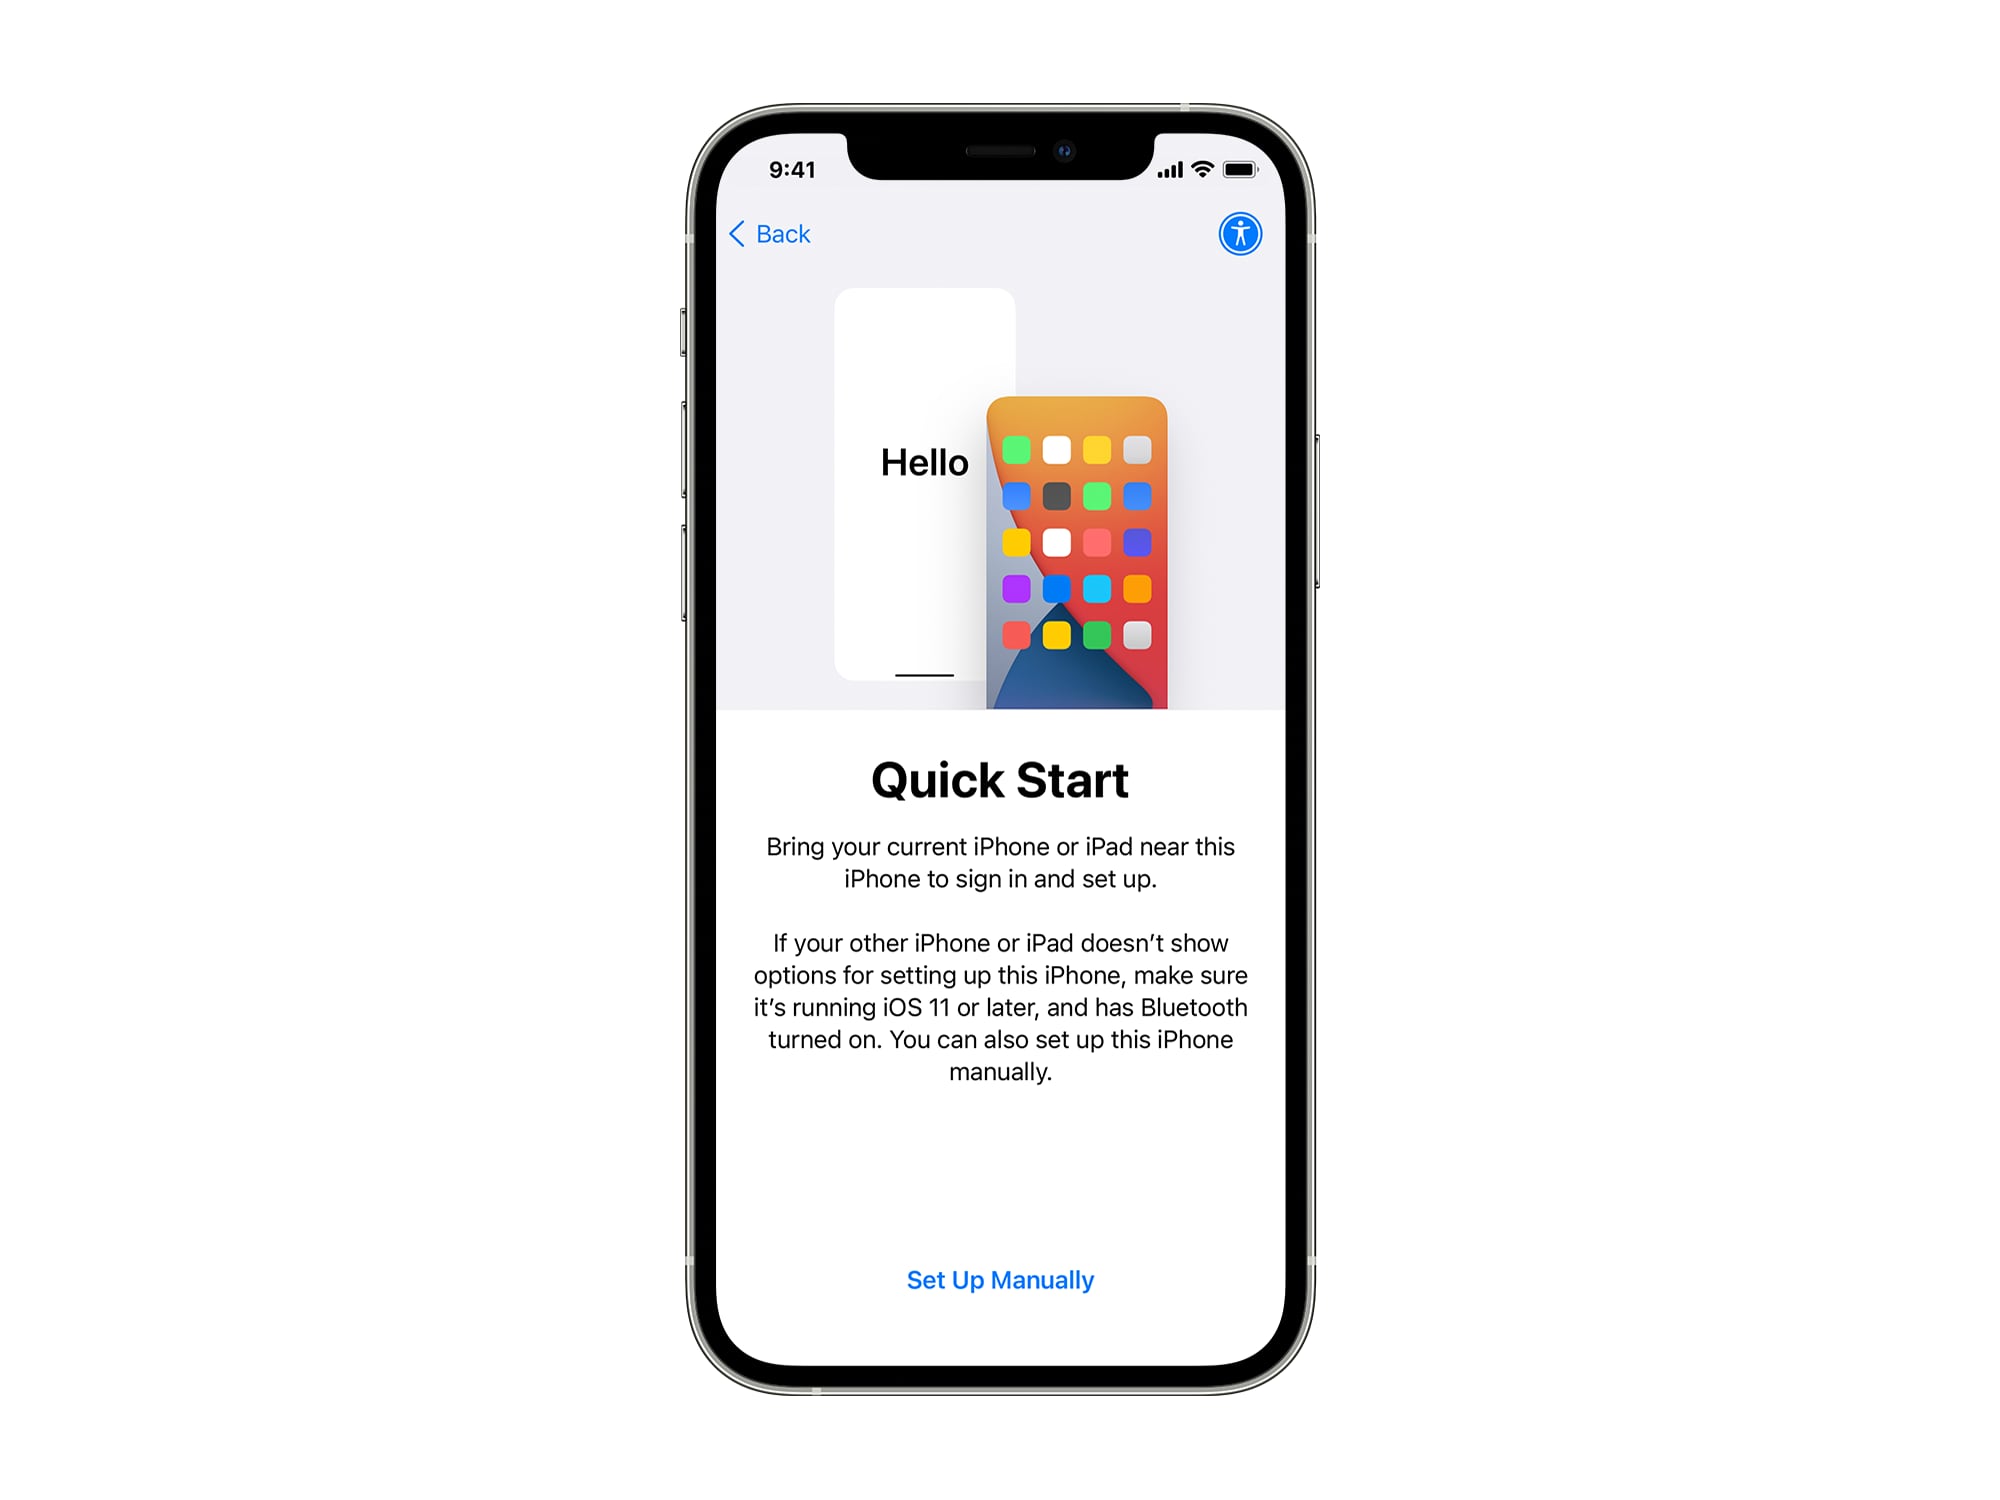
A screen will appear on your current iPhone asking if you want to use your Apple ID to set up the new device, so hit Continue. When the animation appears on your new iPhone, point your current iPhone’s camera at it. You should eventually be told to Finish on New iPhone.
Step
3Authenticate your new iPhone
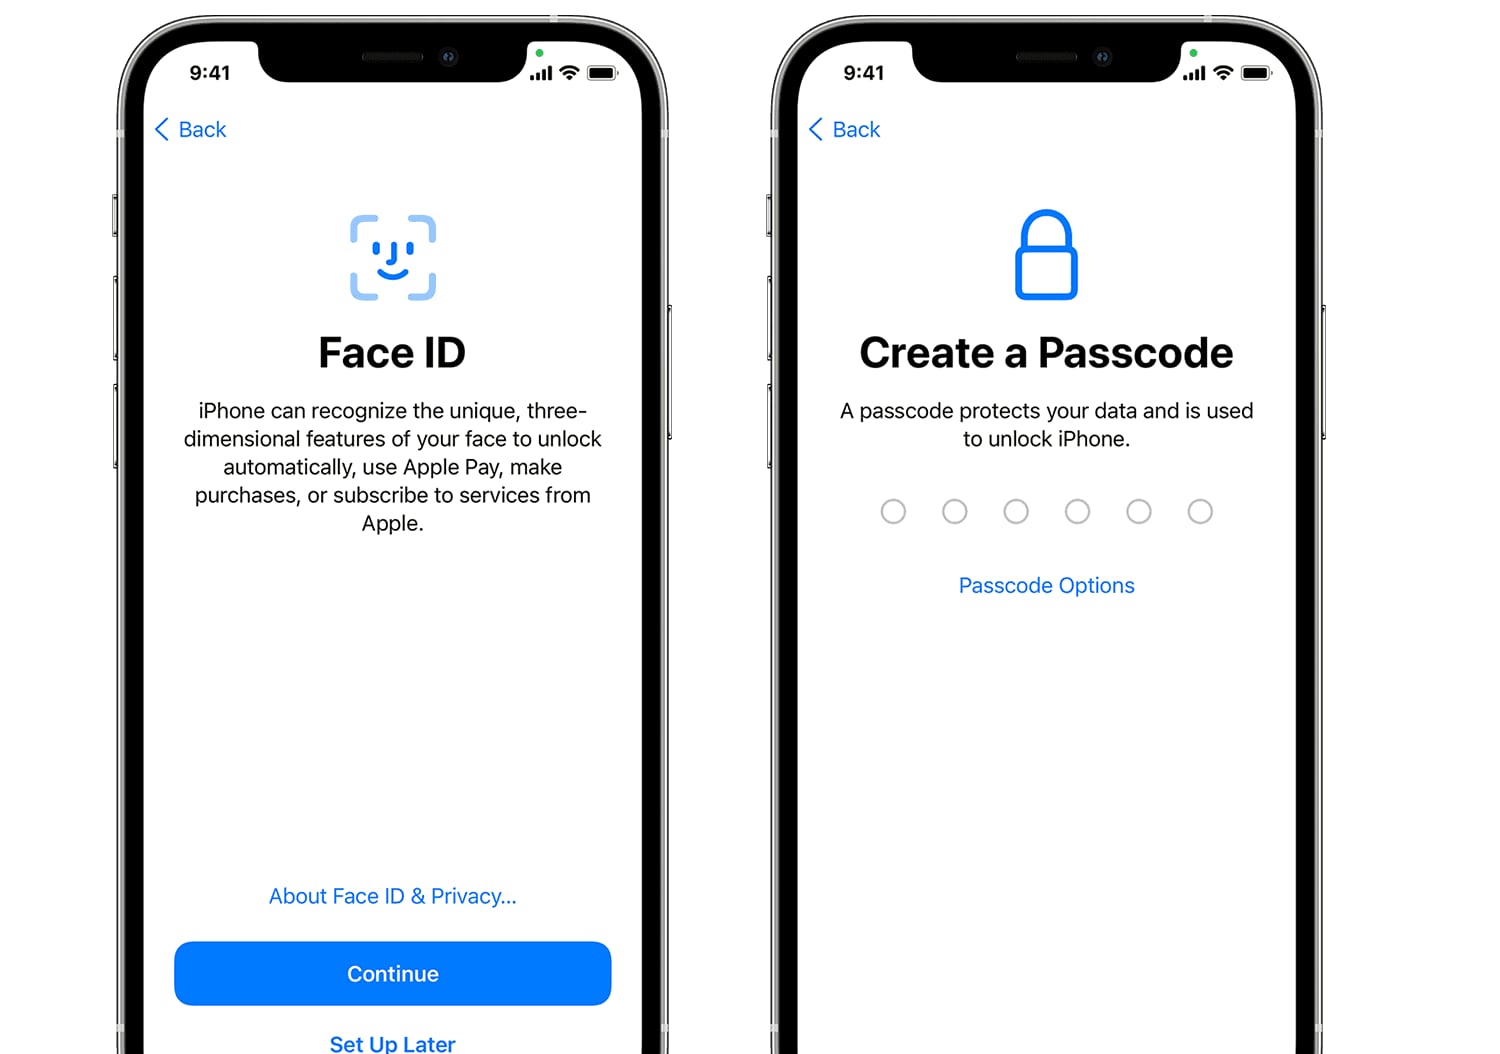
Now it’s time to authenticate your new device. Enter your current iPhone’s passcode on your new iPhone when prompted, then set up Face ID or Touch ID. When asked to Transfer Data, Tap Continue to finally start moving across all of your data.
Troubleshooting
It’s still possible to transfer your data even if you don’t have your old device to hand. Just start your new iPhone up, connect to Wi-Fi, opt to Set up Manually, then Restore from iCloud Backup and follow the instructions.
Yes, at the Apps & Data point in the initial set-up, select Restore from Mac or PC, connect your new device to the computer with a Lightning cable, open iTunes or Finder, select your iPhone, Restore Backup, and follow the instructions.
You might like…
Editorial independence
Editorial independence means being able to give an unbiased verdict about a product or company, with the avoidance of conflicts of interest. To ensure this is possible, every member of the editorial staff follows a clear code of conduct.
Professional conduct
We also expect our journalists to follow clear ethical standards in their work. Our staff members must strive for honesty and accuracy in everything they do. We follow the IPSO Editors’ code of practice to underpin these standards.