How to install the iPadOS 17 Public Beta on your iPad
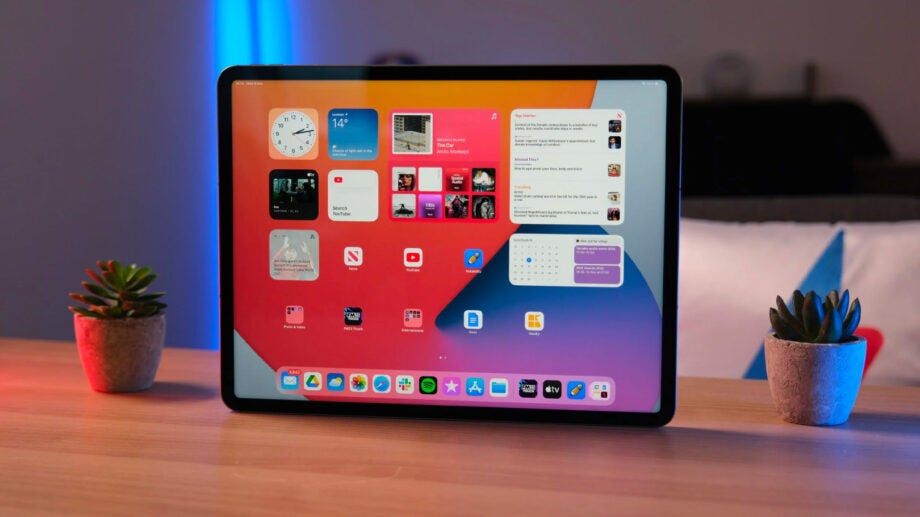
After announcing it during the first reveal at WWDC in June, Apple has now released the first Public Beta of iPadOS 17.
This beta will allow anyone with a supported iPad to get a taste of the new software before it is released to everyone later this year, however as with any piece of beta software there will be bugs and unfinished features so proceed with caution.
What you’ll need:
- An iPad that supports iOS 17
- Enrollment in the Apple Beta Software Program
The Short Version
- Unlock Your iPad
- Open Settings
- Hit General
- Tap Software Update
- Go into Beta Updates
- Select Public Beta
- Download and Install
Step
1Unlock the iPad

First off, unlock your iPad and navigate to the Home Screen.

Step
2Open Settings
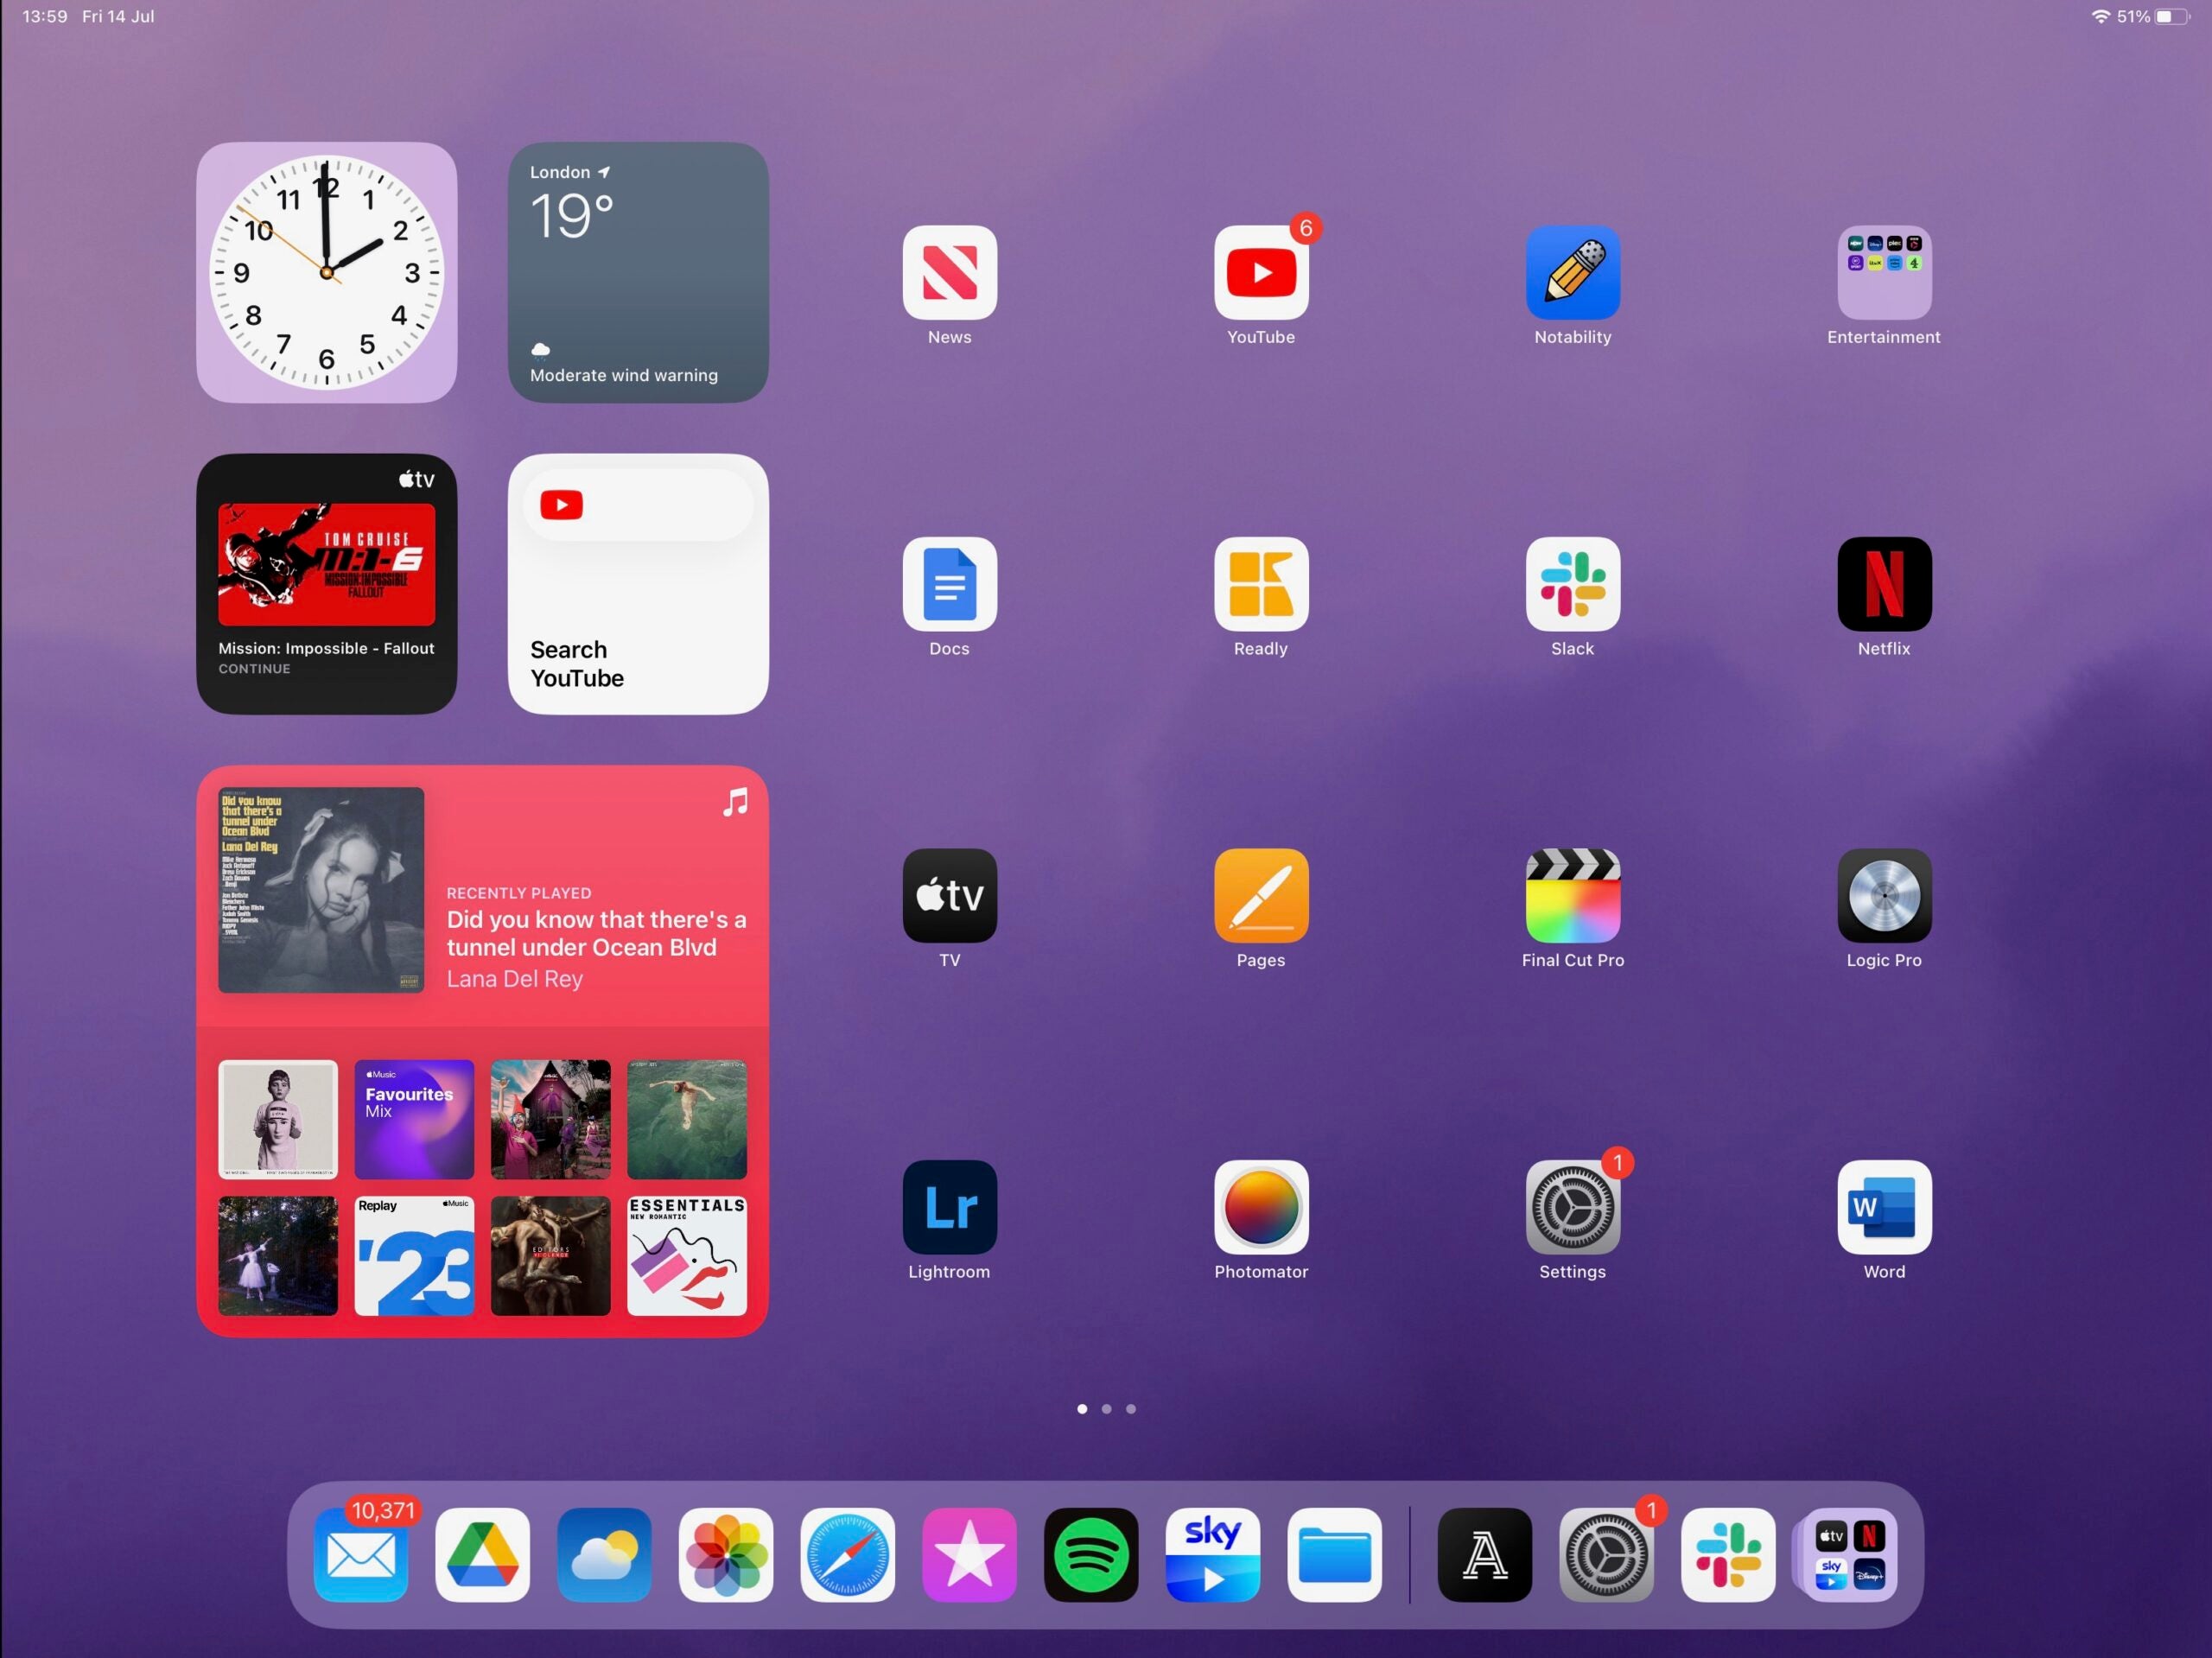
Next, find the Settings app. This is signified by the grey cog icon. Open it up.

Step
3Hit General
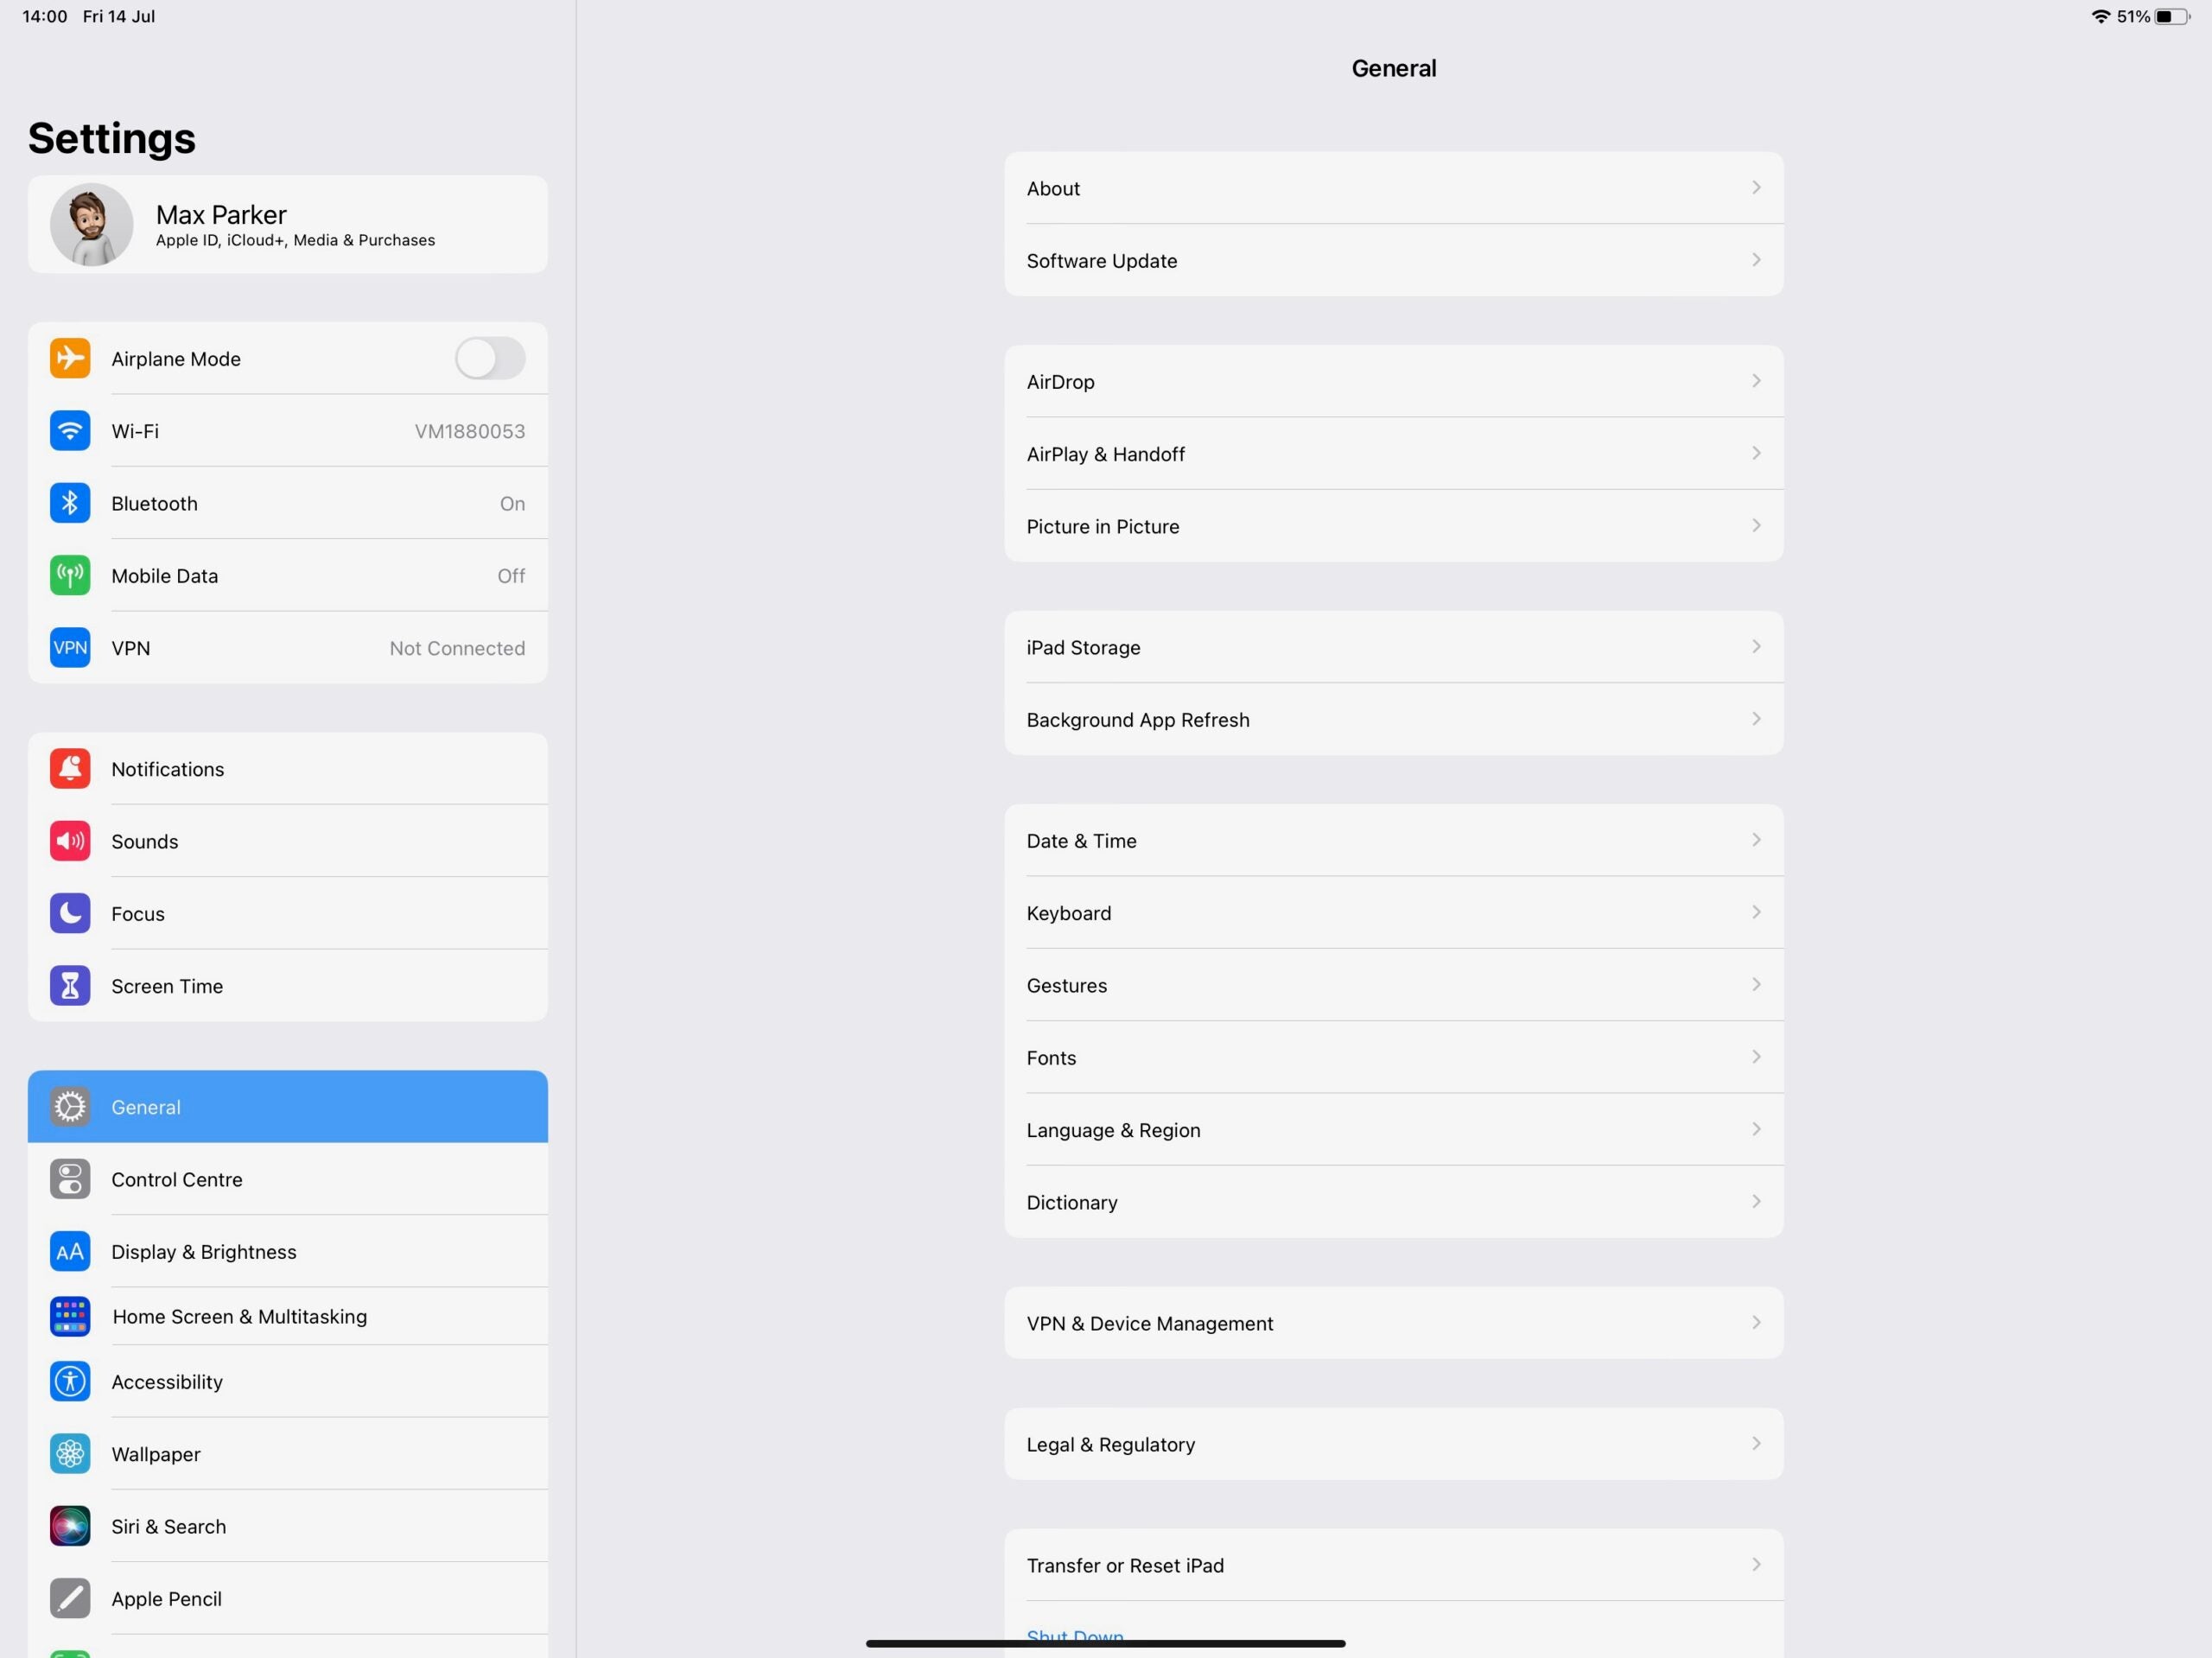
Once in Settings, scroll down to the General option and tap it.

Step
4Tap Software Update
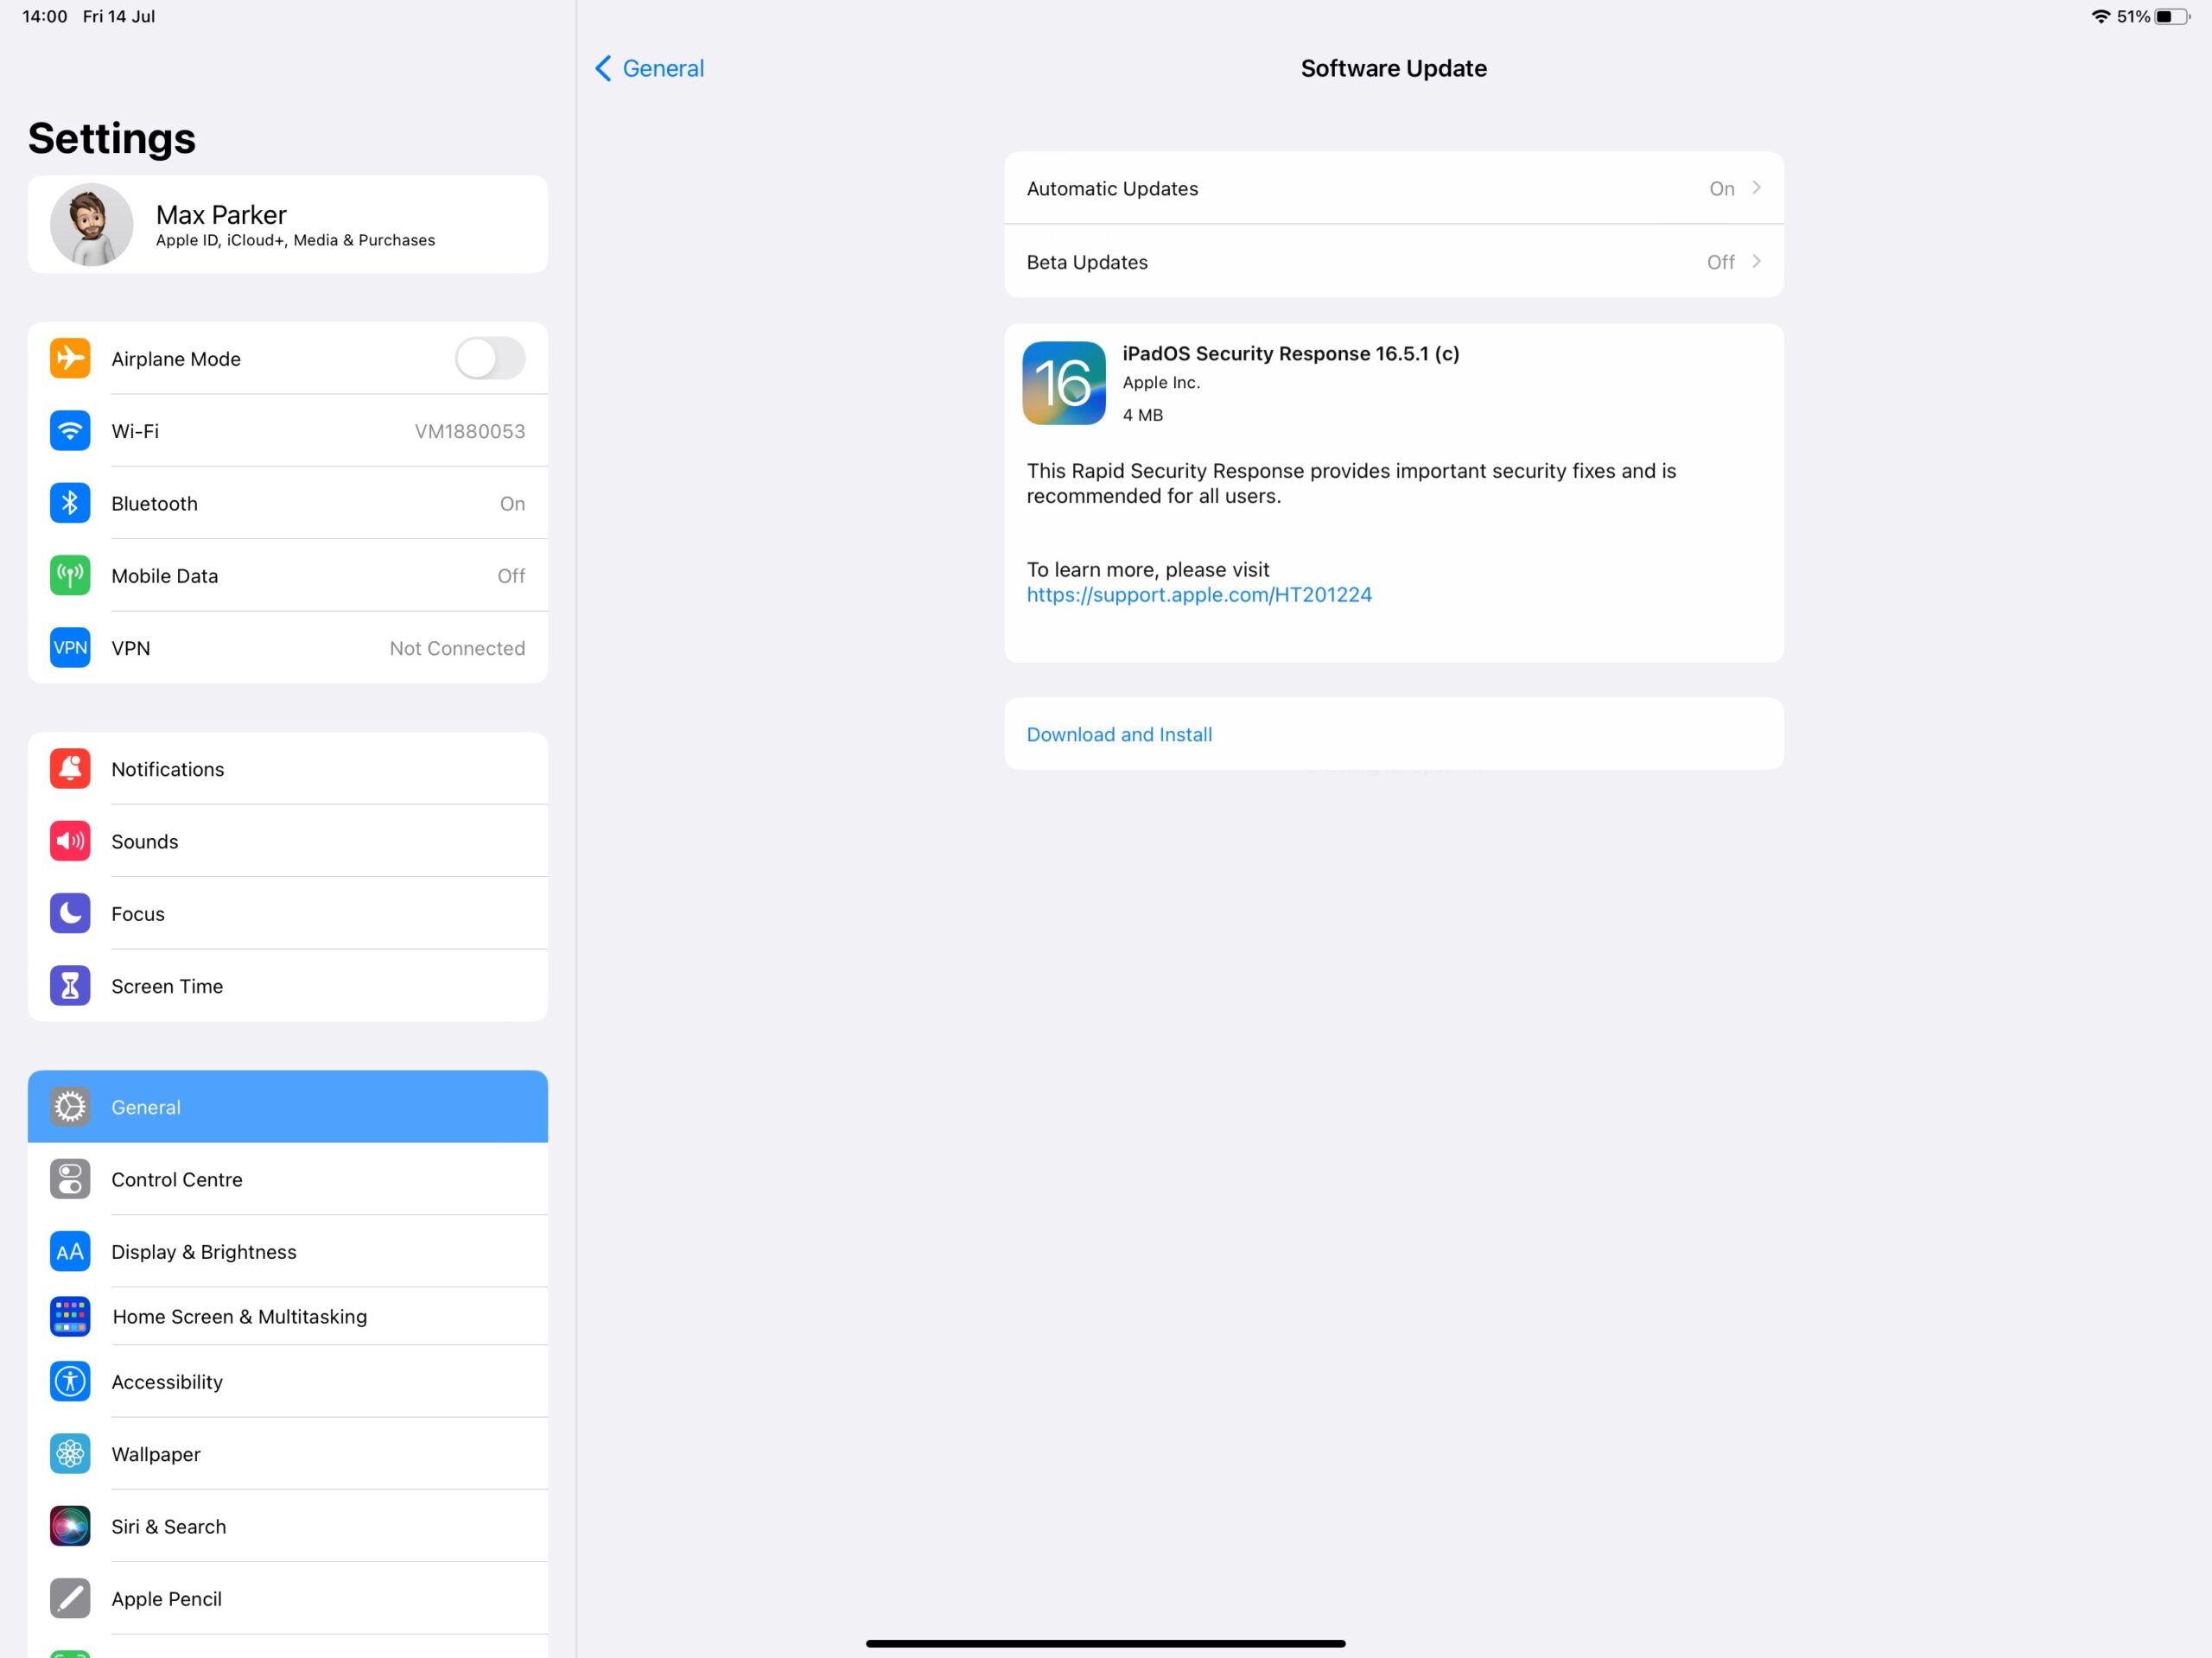
Hit the option called Software Update.

Step
5Go into Beta Updates
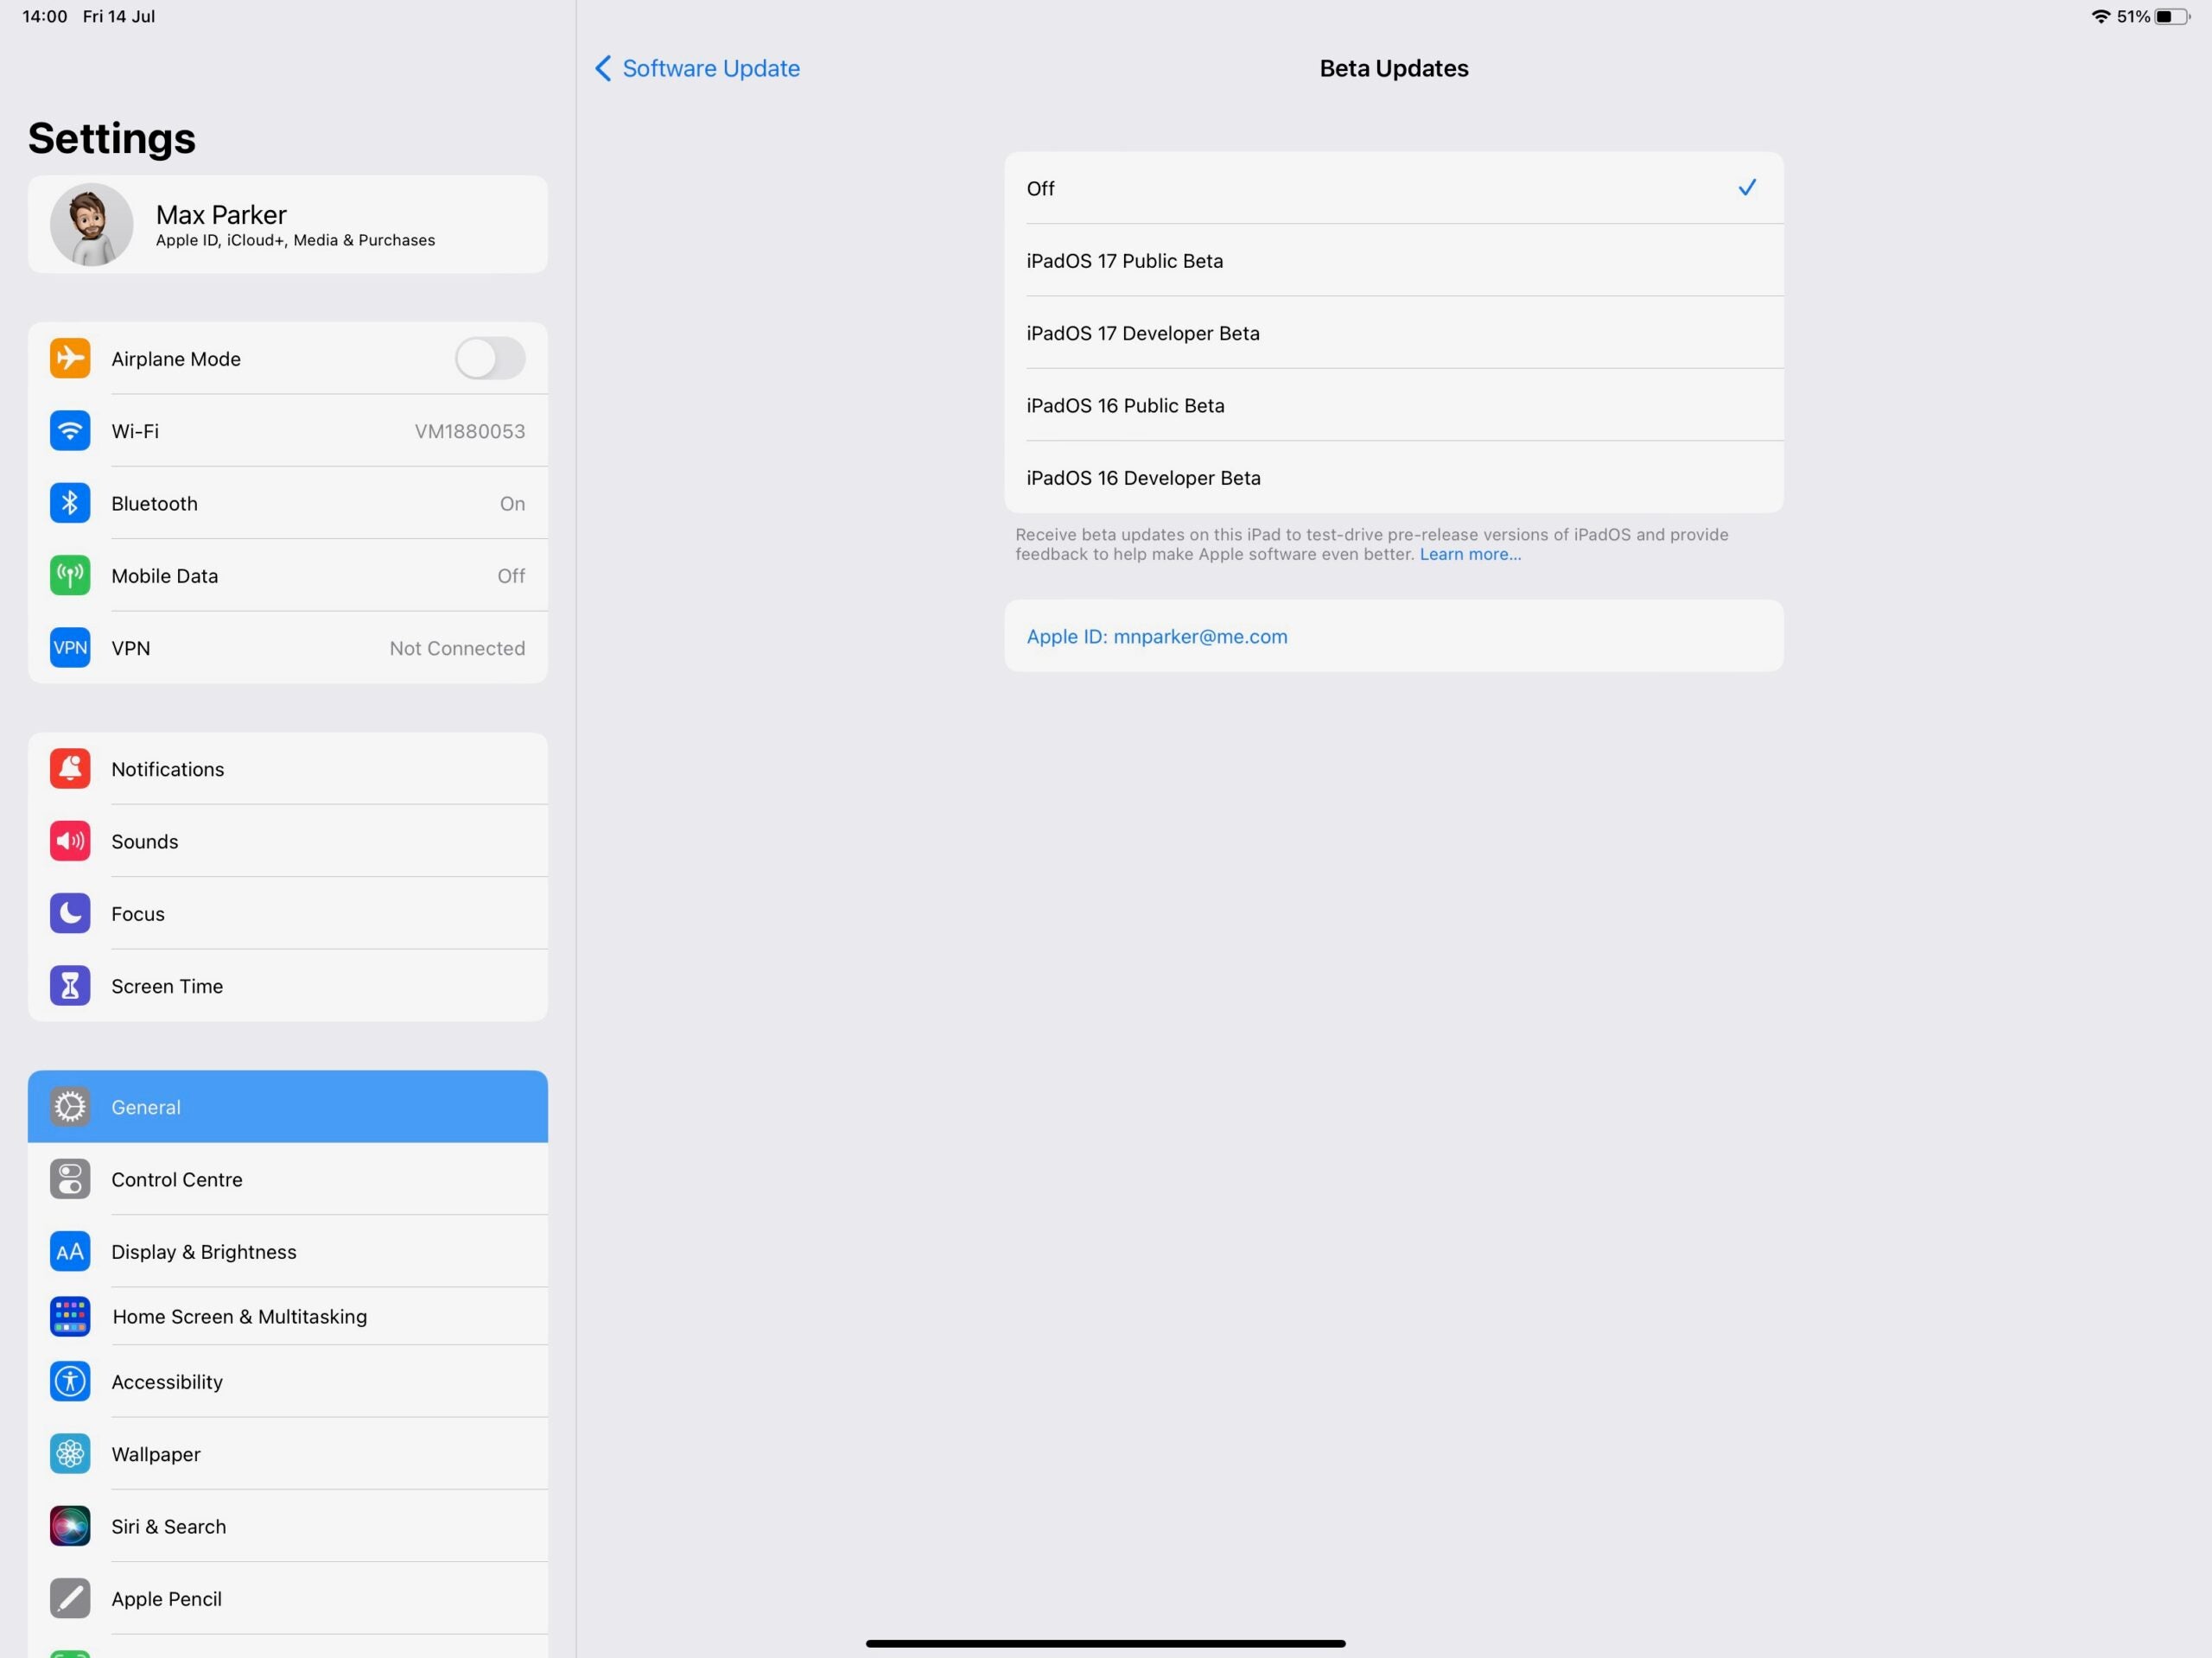
Once you’re in the Software Update tab, tap the option called Beta Updates.

Step
6Select Public Beta
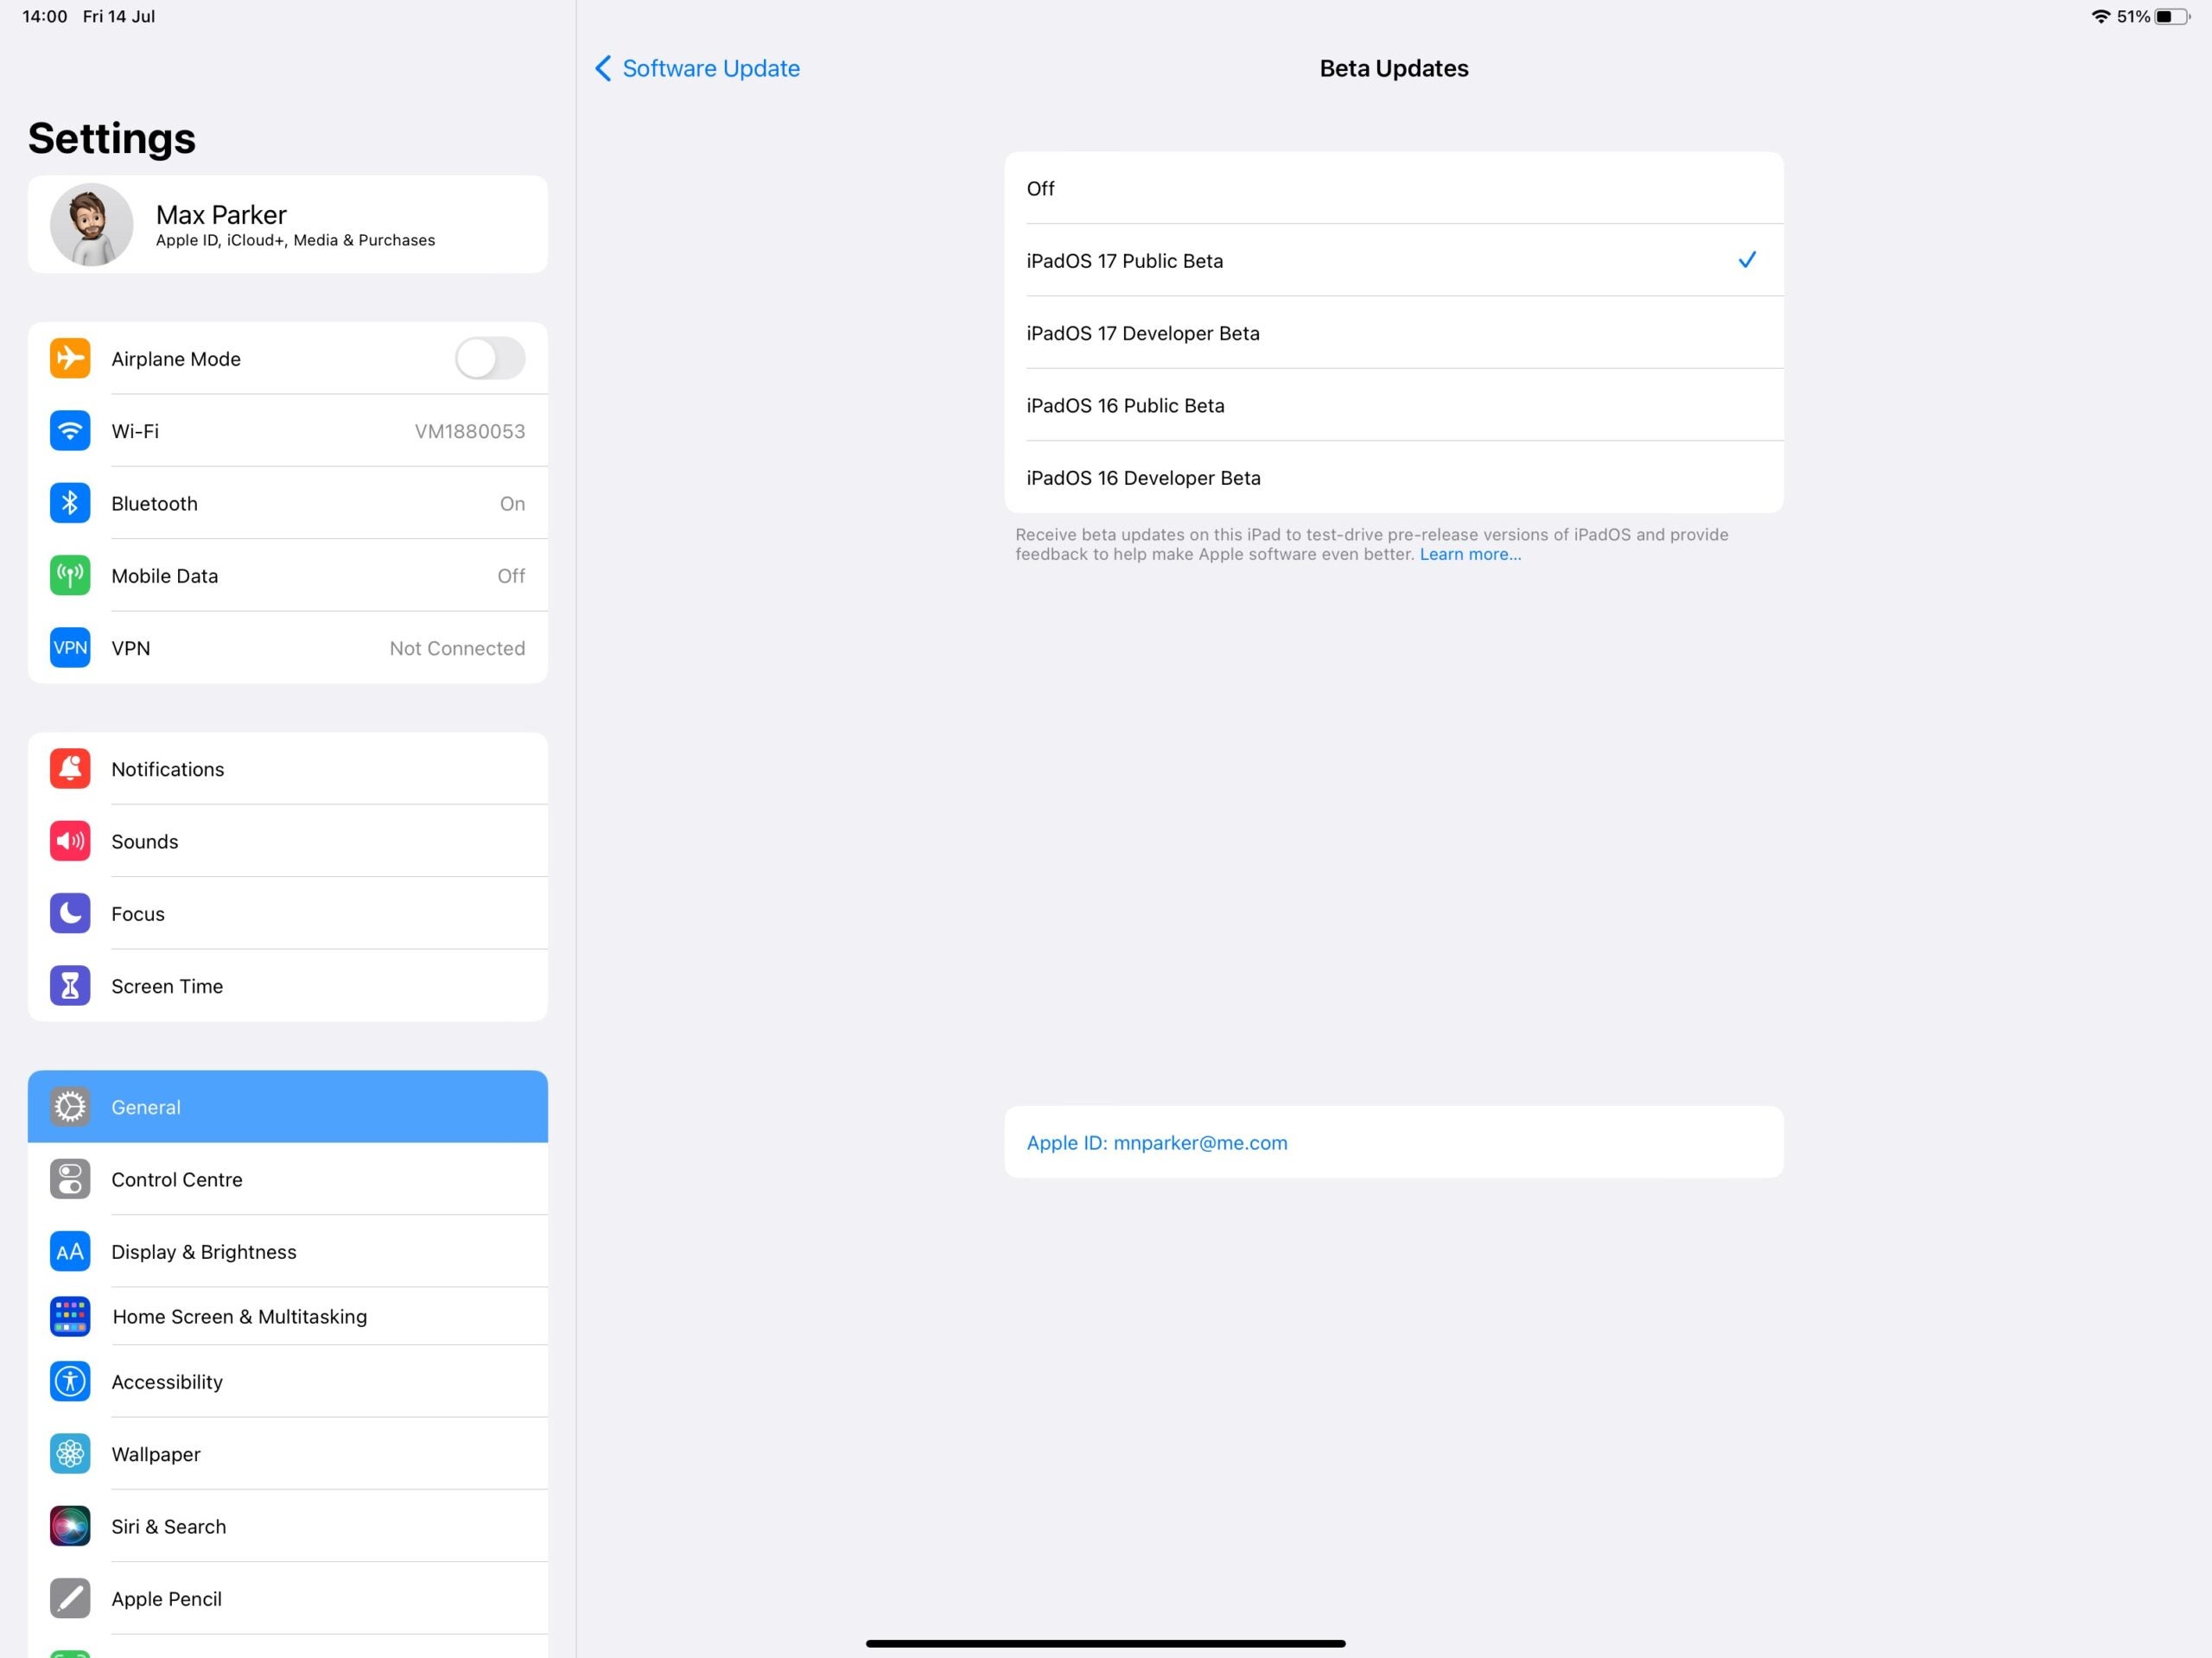
All the betas you’re enrolled in will show up here, but you’ll want to choose the Public Beta option. Once selected, go back to the Software Update section.

Step
7Download and Install
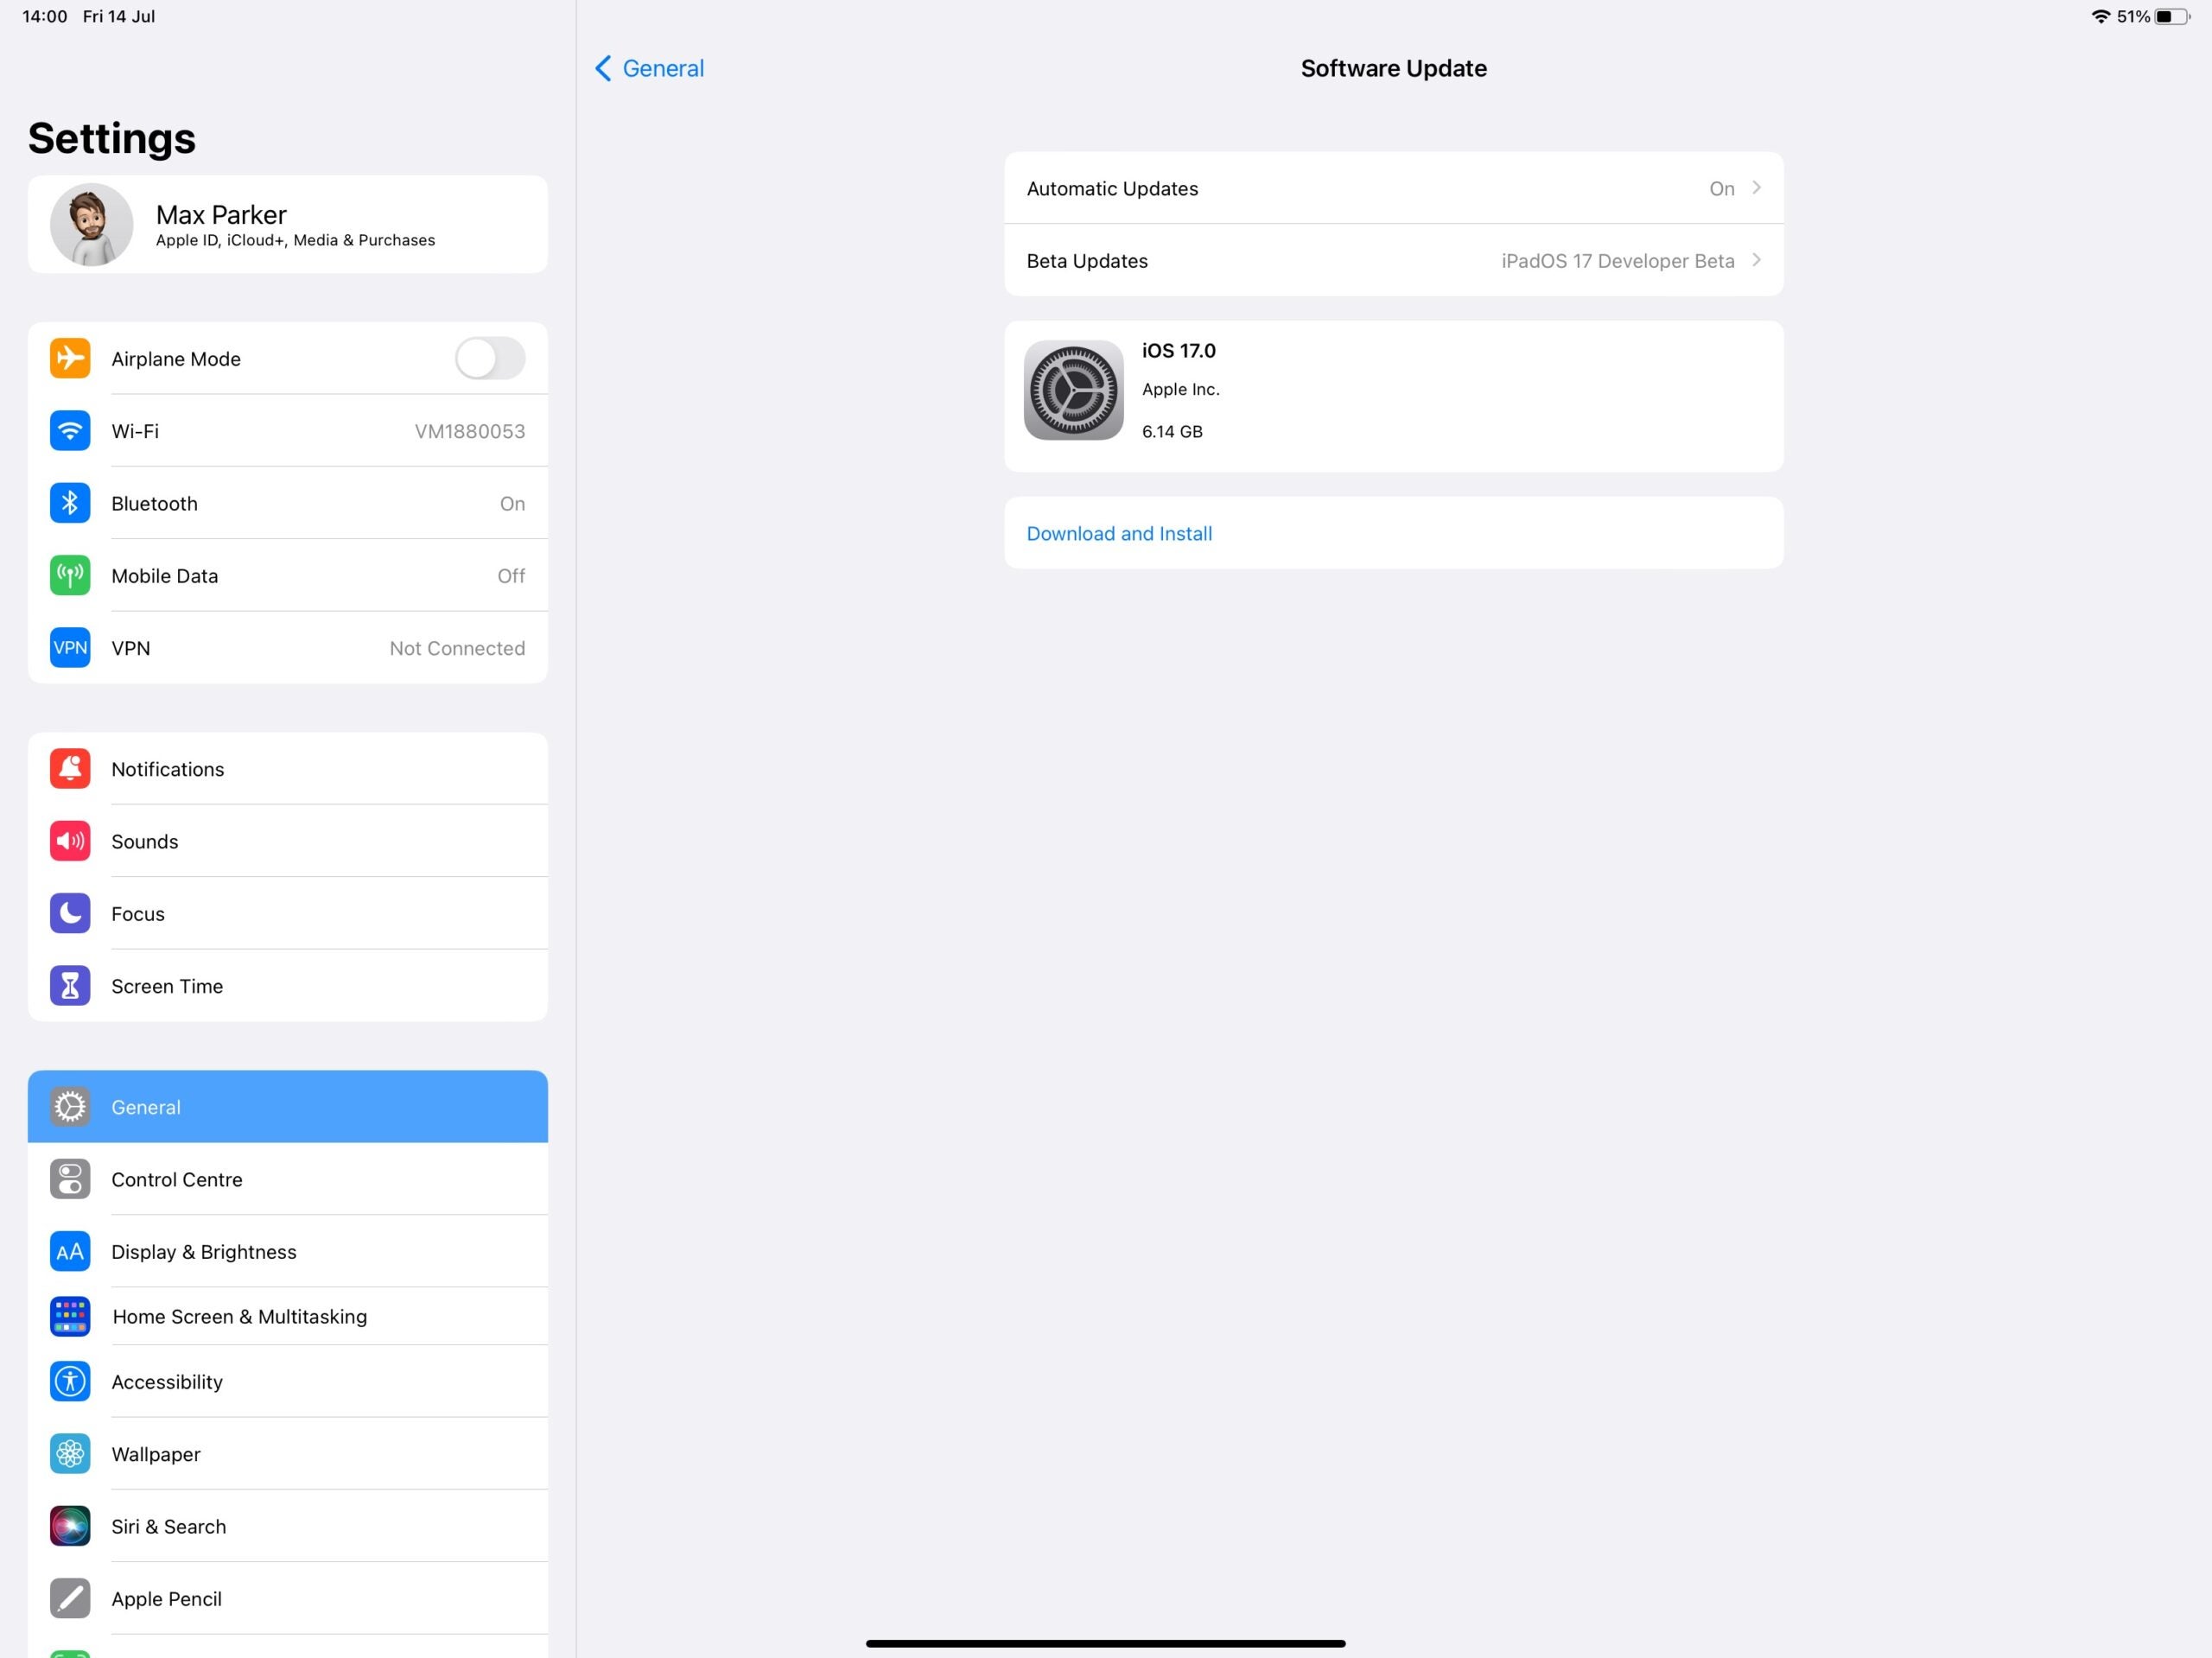
The beta update should now appear, click Download and Install. You might be asked to input your passcode, and you’ll need to agree to the terms and conditions of the download.

Troubleshooting
There is a risk with any beta software. We wouldn’t recommend not installing this on an iPad that is important for everyday use. There will be bugs, issues not yet fixed out and features that aren’t ready yet.
The following iPads work with IOS 17: iPad Pro 12.9 (2nd gen and newer), iPad Pro 10.5, iPad Pro 11-inch (1st gen and newer), iPad Air (3rd gen or newer), iPad (6th gen and newer), iPad Mini (5th gen and newer).


