Even if you use a strong password and have the best antivirus we always recommend people use two factor authentication to protect their accounts wherever possible. Which is why we’ve created this guide detailing how to secure your Twitter account using a smartphone authenticator to prevent any unauthorised logins.
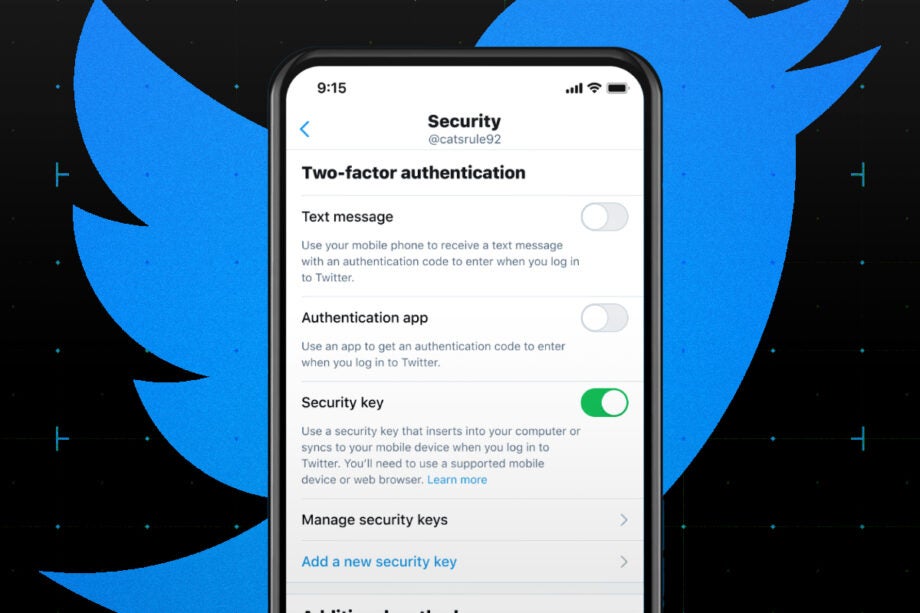
There are periodic spates of takeover attempts on Twitter account, from celebrities and world leaders to everyday users, usually so these accounts can be used to perpetrate fraud. Twitter’s two-factor authentication system will require authentication from your second factor – a code generated by a smartphone app in this example – whenever you log in.
What you need
In this example, we used a web browser on a custom PC to link Twitter to Aegis Authenticator, an open-source 2FA app for Android. However, the same steps work with any TOTP (Time-based One Time Password) based authenticator. If you’re not sure how to get started with a 2FA app, see our cross-platform introductory guide, How to enable 2FA.

Save 81% on a VPN with SurfShark
Surfshark has dropped the price of its VPN to £1.94 a month. Head over to Surfshark now to pay a one time price of £46.44 for 24 months of Surfshark and save 81%.
- Surfshark
- 81% off
- £1.94 a month
The Short Version
- Open Twitter’s main menu
- Open Settings
- Open security settings
- Open the next layer of security settings
- Go to 2FA settings
- Enable app-based authentication
- Enter your Twitter password
- Click get started
- Add an account to your authenticator
- Scan the QR code
- Save the entry
- Enter the confirmation code
- Get a backup code
- Save your backup code somewhere safe
Step
1Open Twitter’s main menu

From your Twitter home screen, click the More (…) button on the left.
Step
2Open Settings

More menu options will concertina open below it. Click on Settings and privacy, marked by a gear icon.
Step
3Open security settings
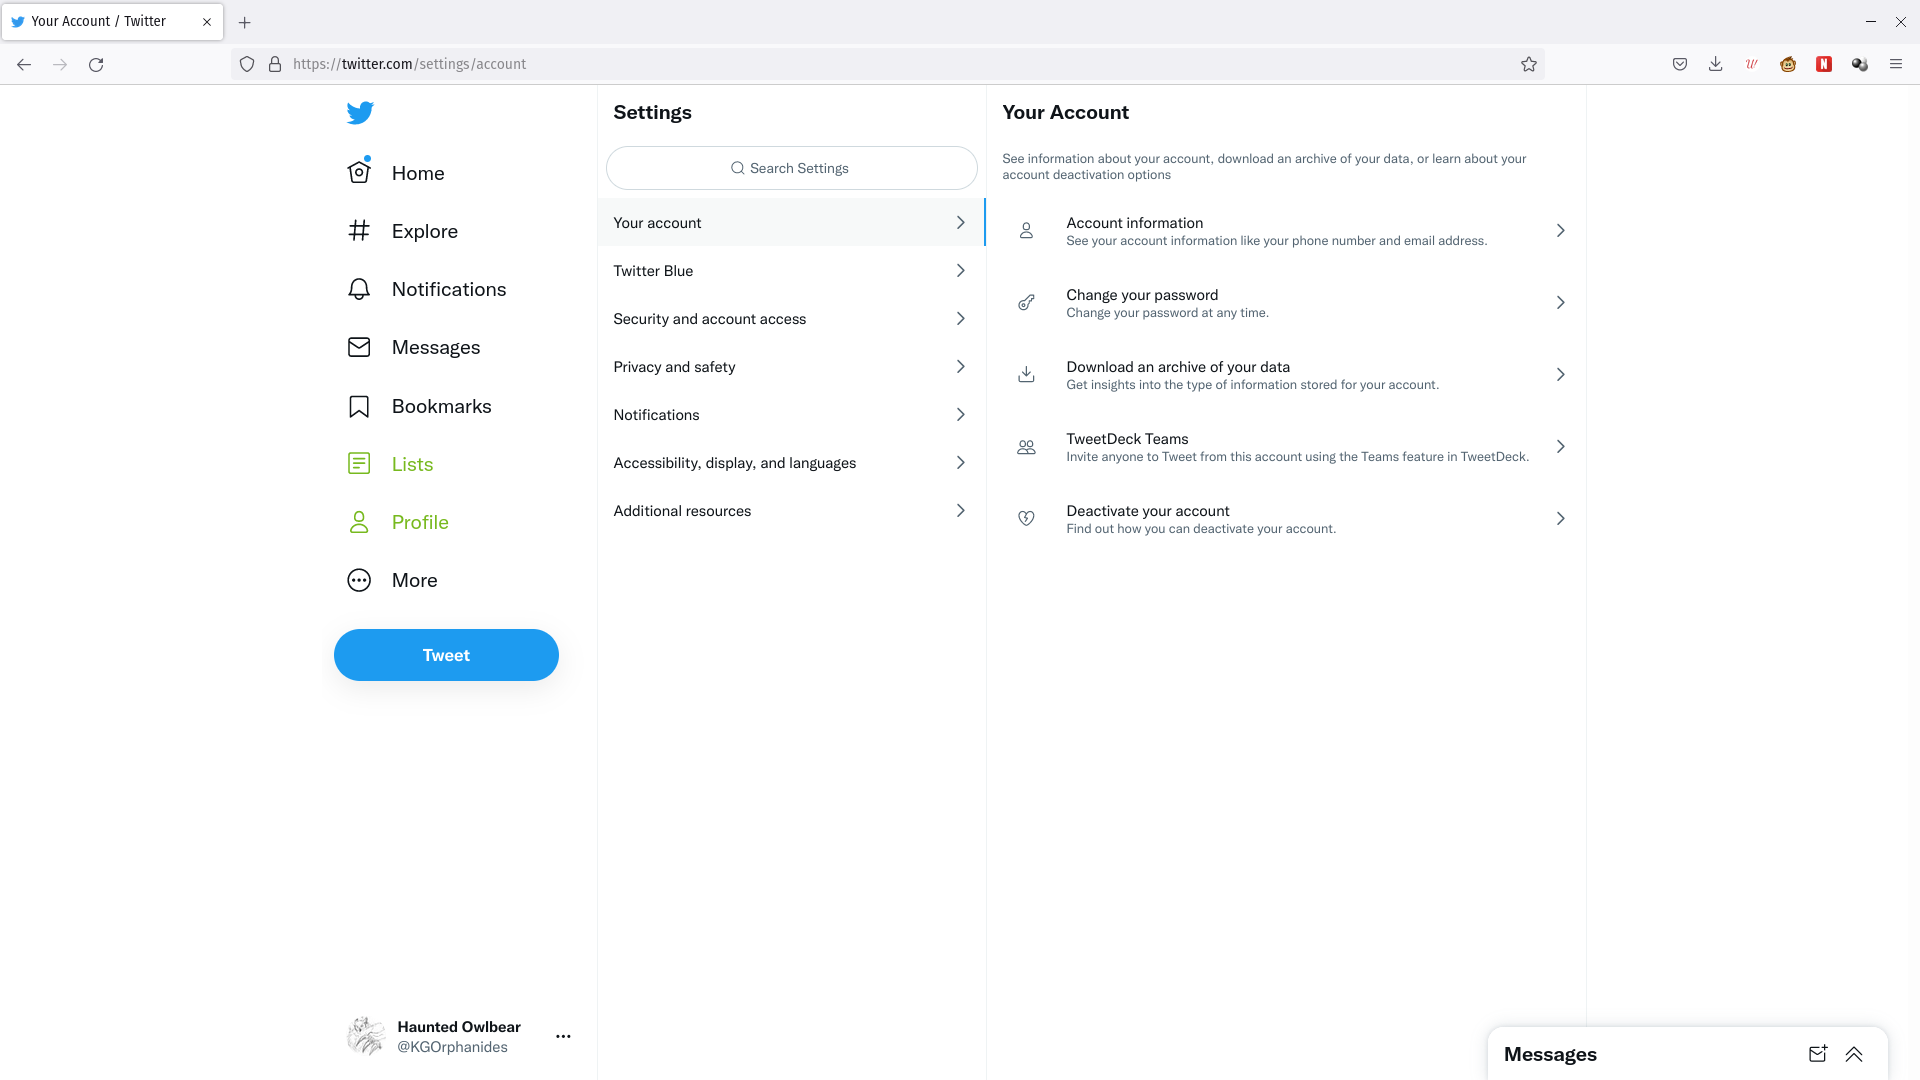
You’re now at the main settings page, which can also be accessed by visiting https://twitter.com/settings/. Click on Security and account access in the middle pane.
Step
4Open the next layer of security settings
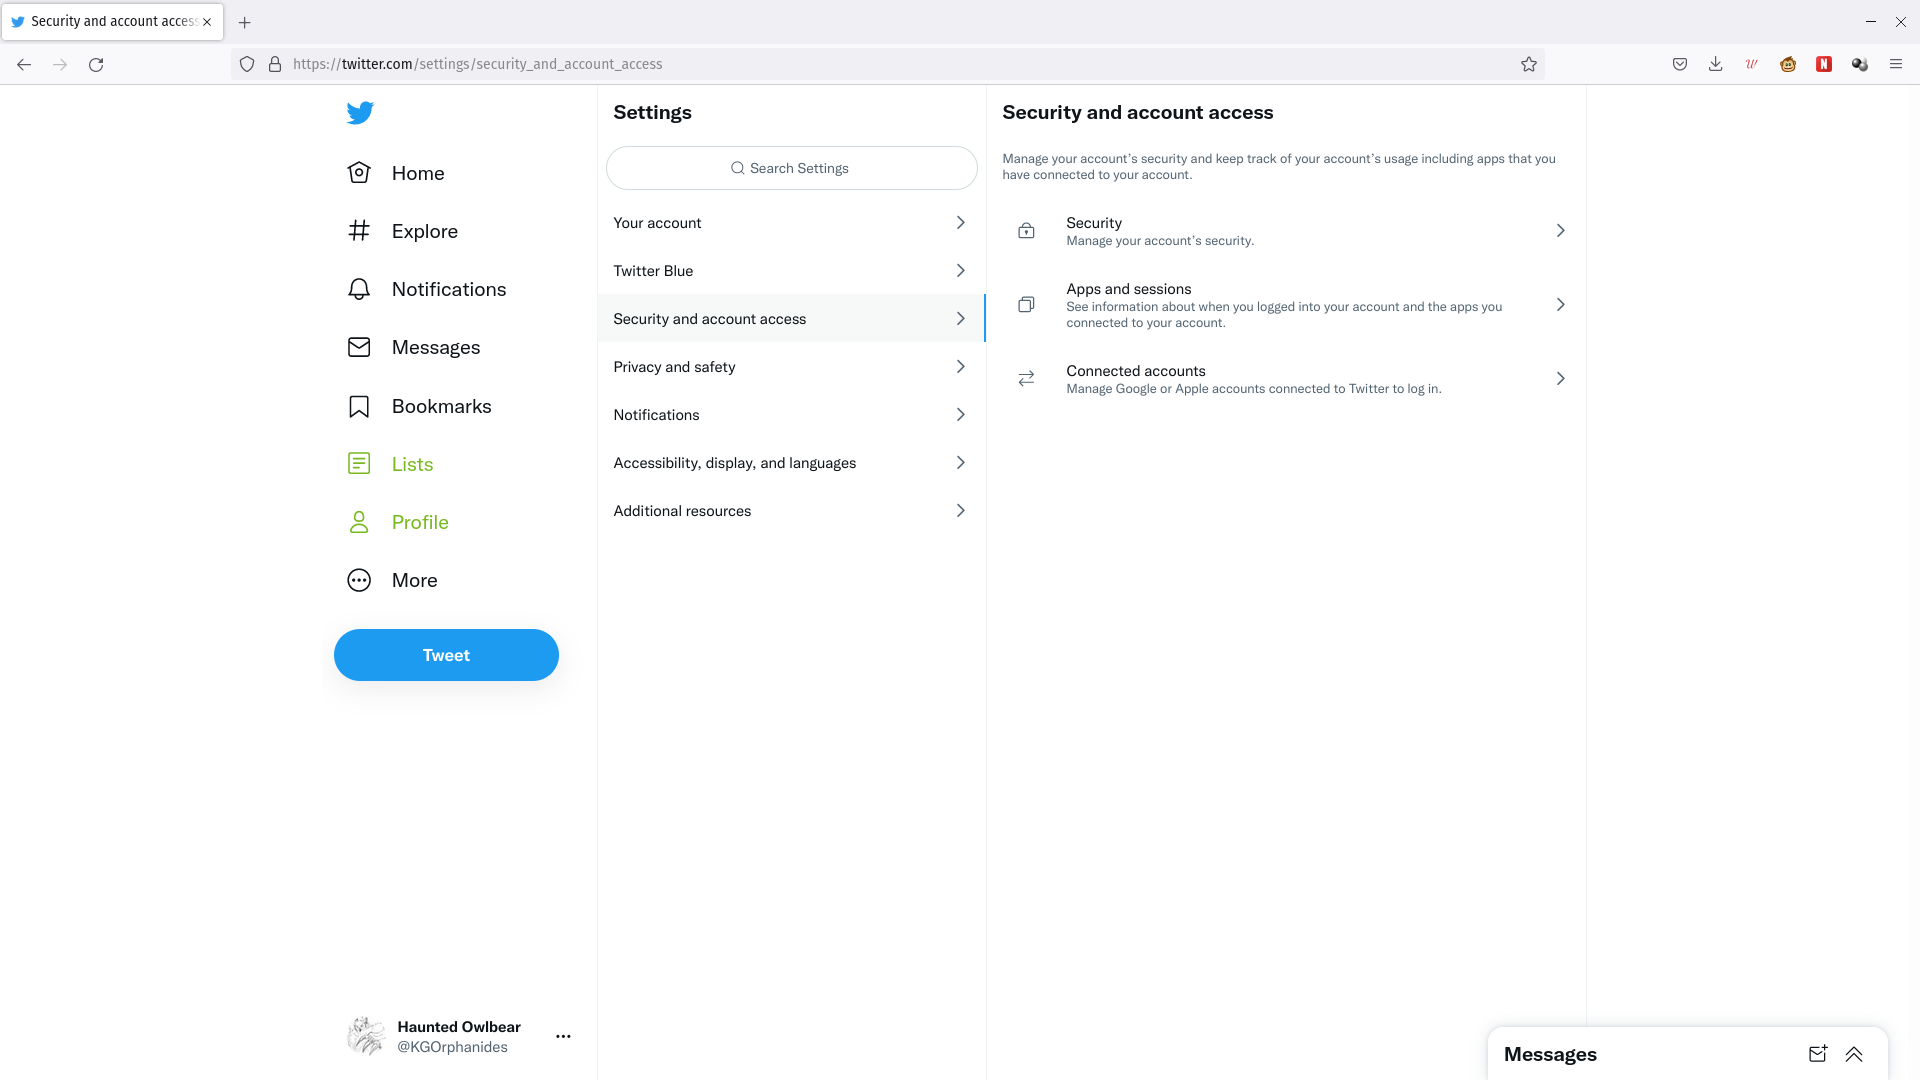
In the third pane, now click on the Security option, marked by a padlock.
Step
5Go to 2FA settings
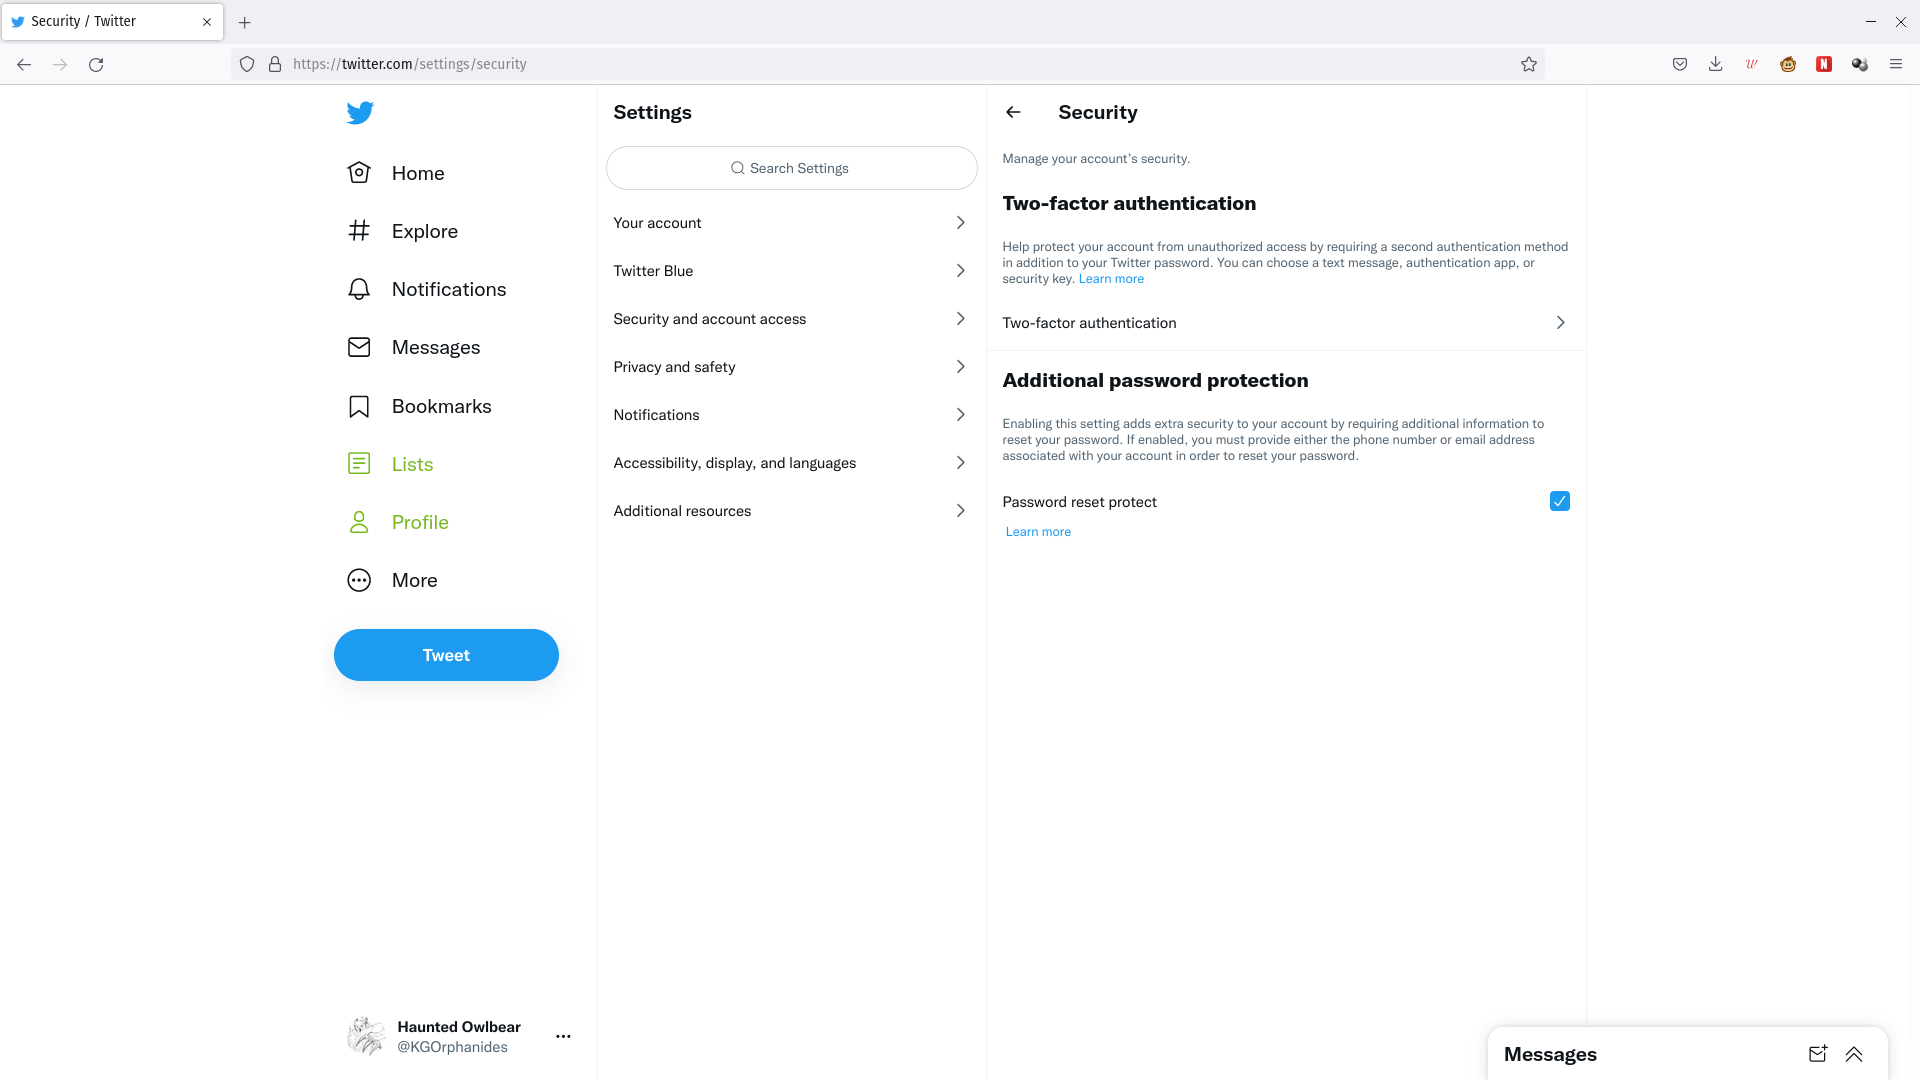
A new pane will explain two-factor authentication briefly. Click the Two-factor authentication link below that explanation.
Step
6Enable app-based authentication
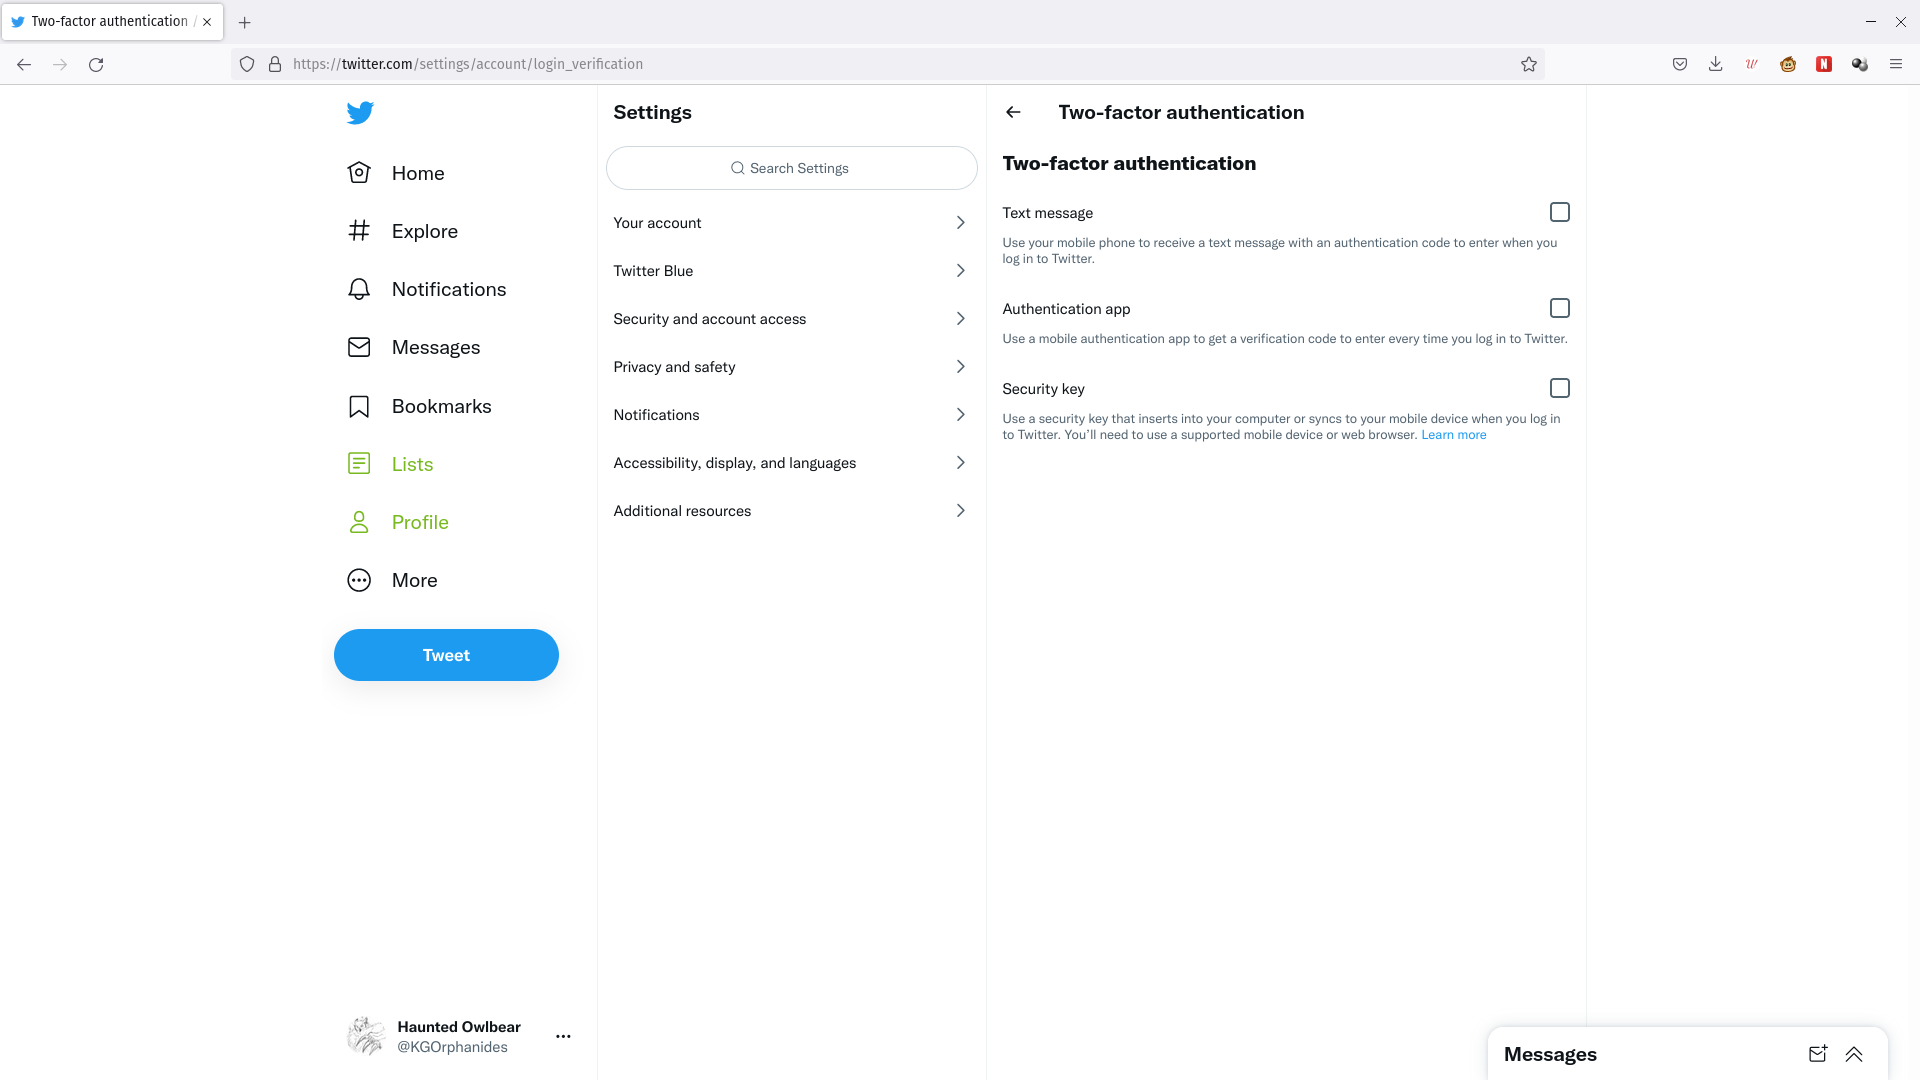
You’ll be presented with a range of 2FA options to enable. Tick the box marked Authentication app. As ever, you don’t want to use your phone number as a proxy for identity if you can possibly avoid it, so avoid the Text message option unless you only have a feature phone.
Step
7Enter your Twitter password
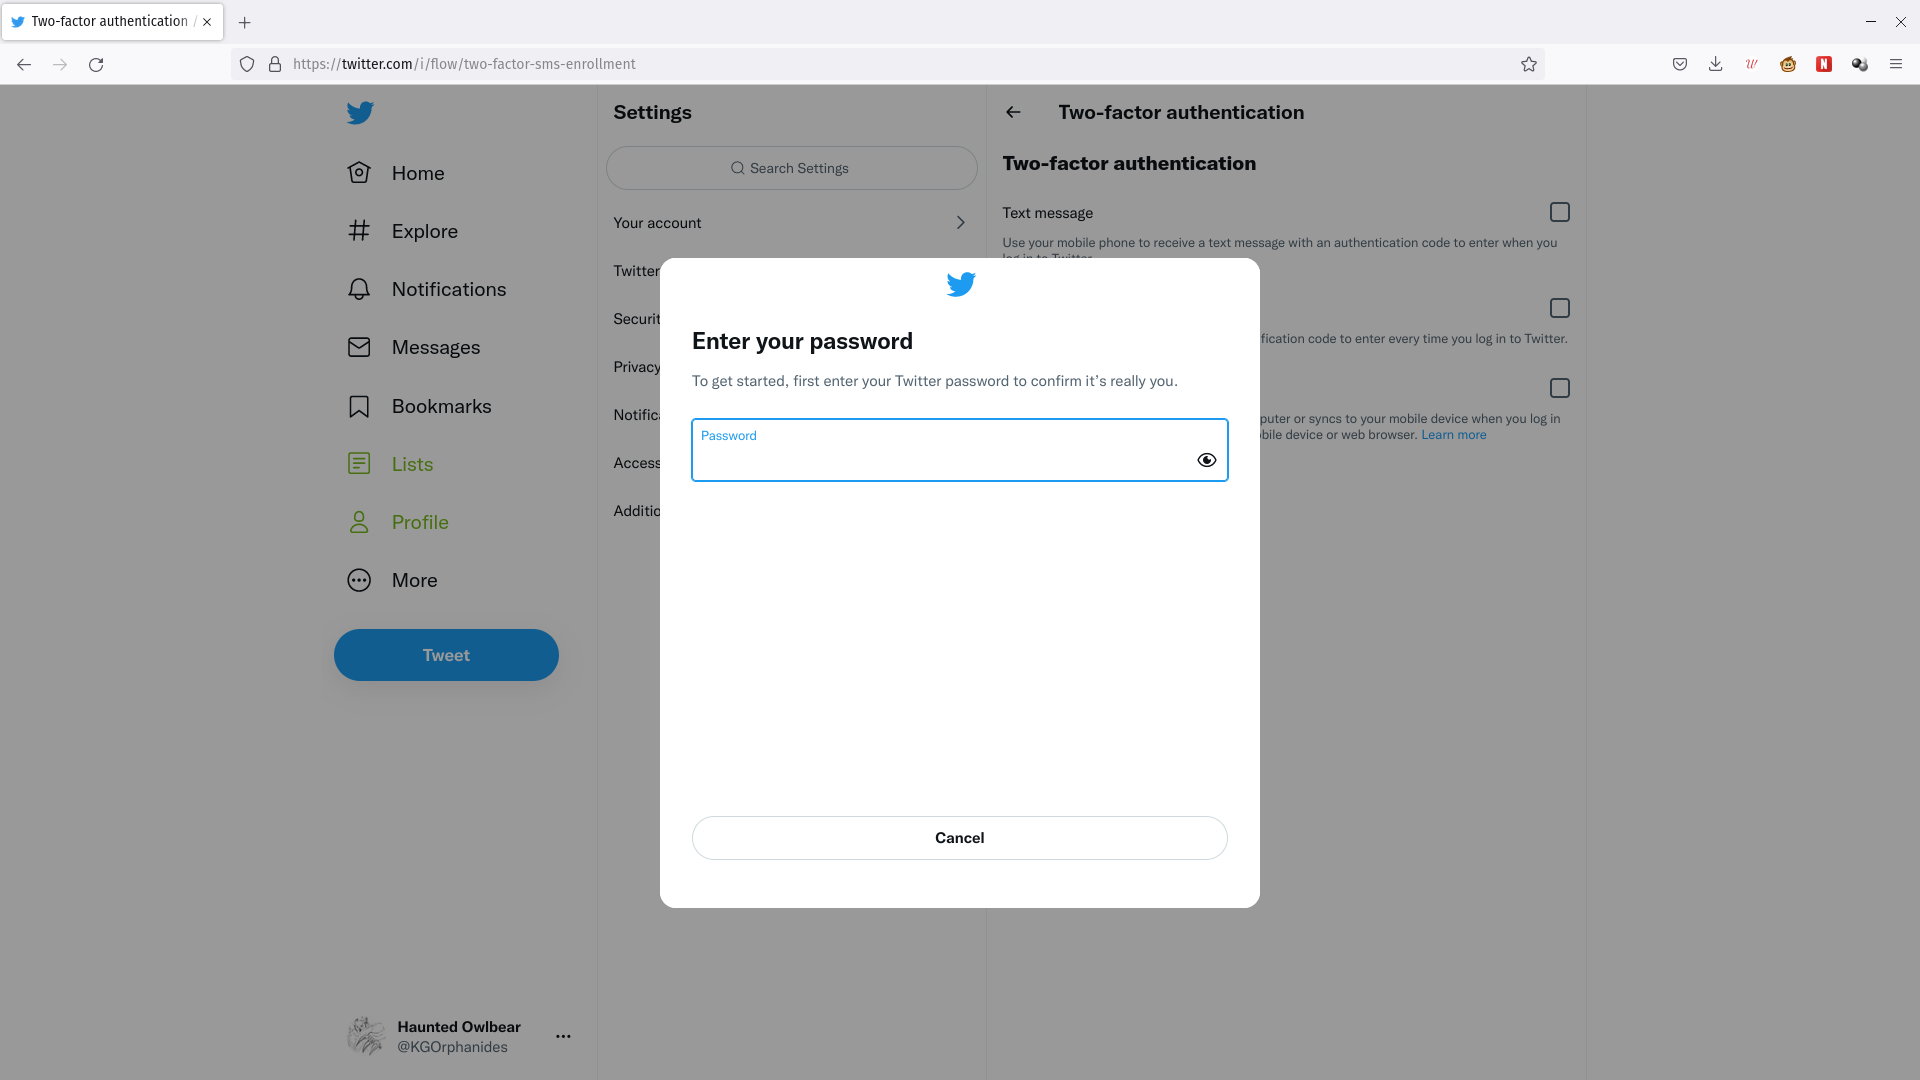
You’ll be prompted to enter your password by Twitter. Do so and click Confirm.
Step
8Click get started

A new pop-up will outline the connection process you’re about to go through. Open and unlock the 2FA app on your phone so it’s ready, then click the Get started button in your browser.
Step
9Add an account to your authenticator
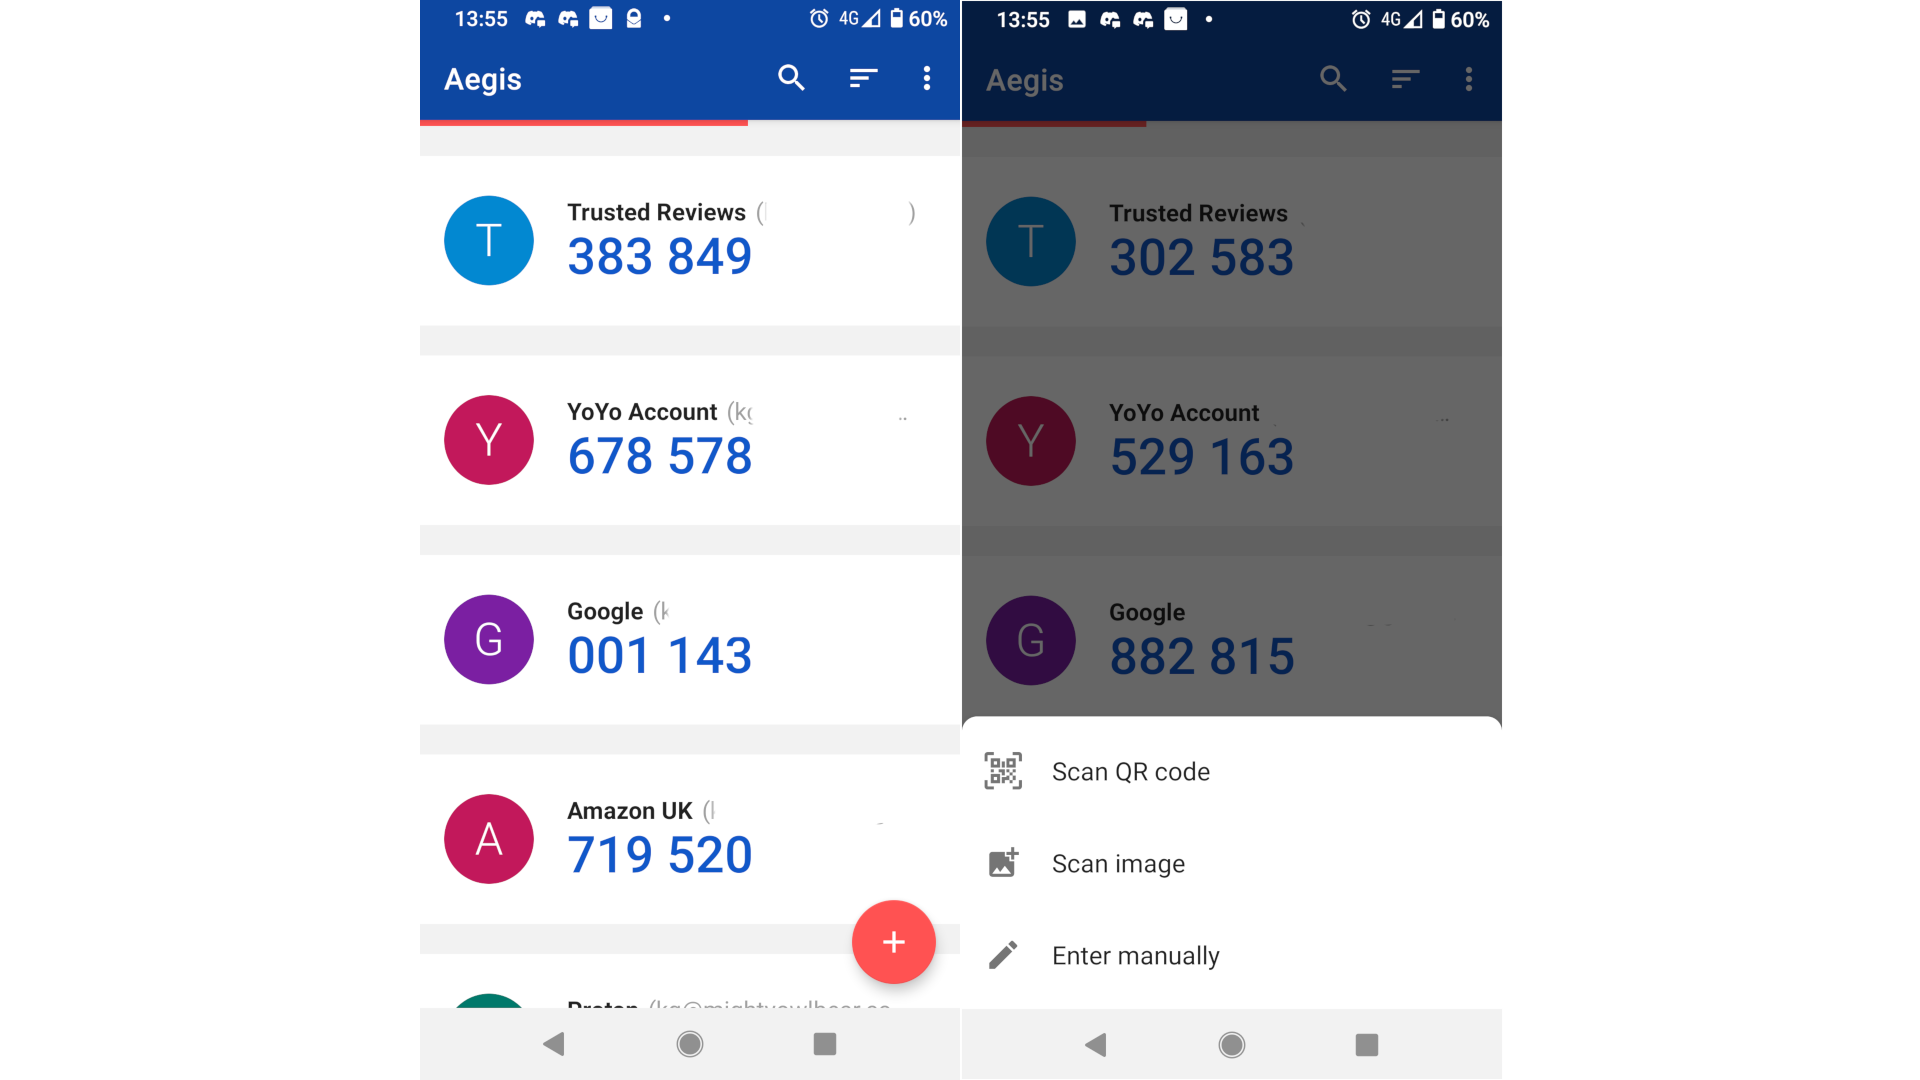
Tap the add button on your authenticator app (usually a plus sign) and tap scan QR code.
Step
10Scan the QR code
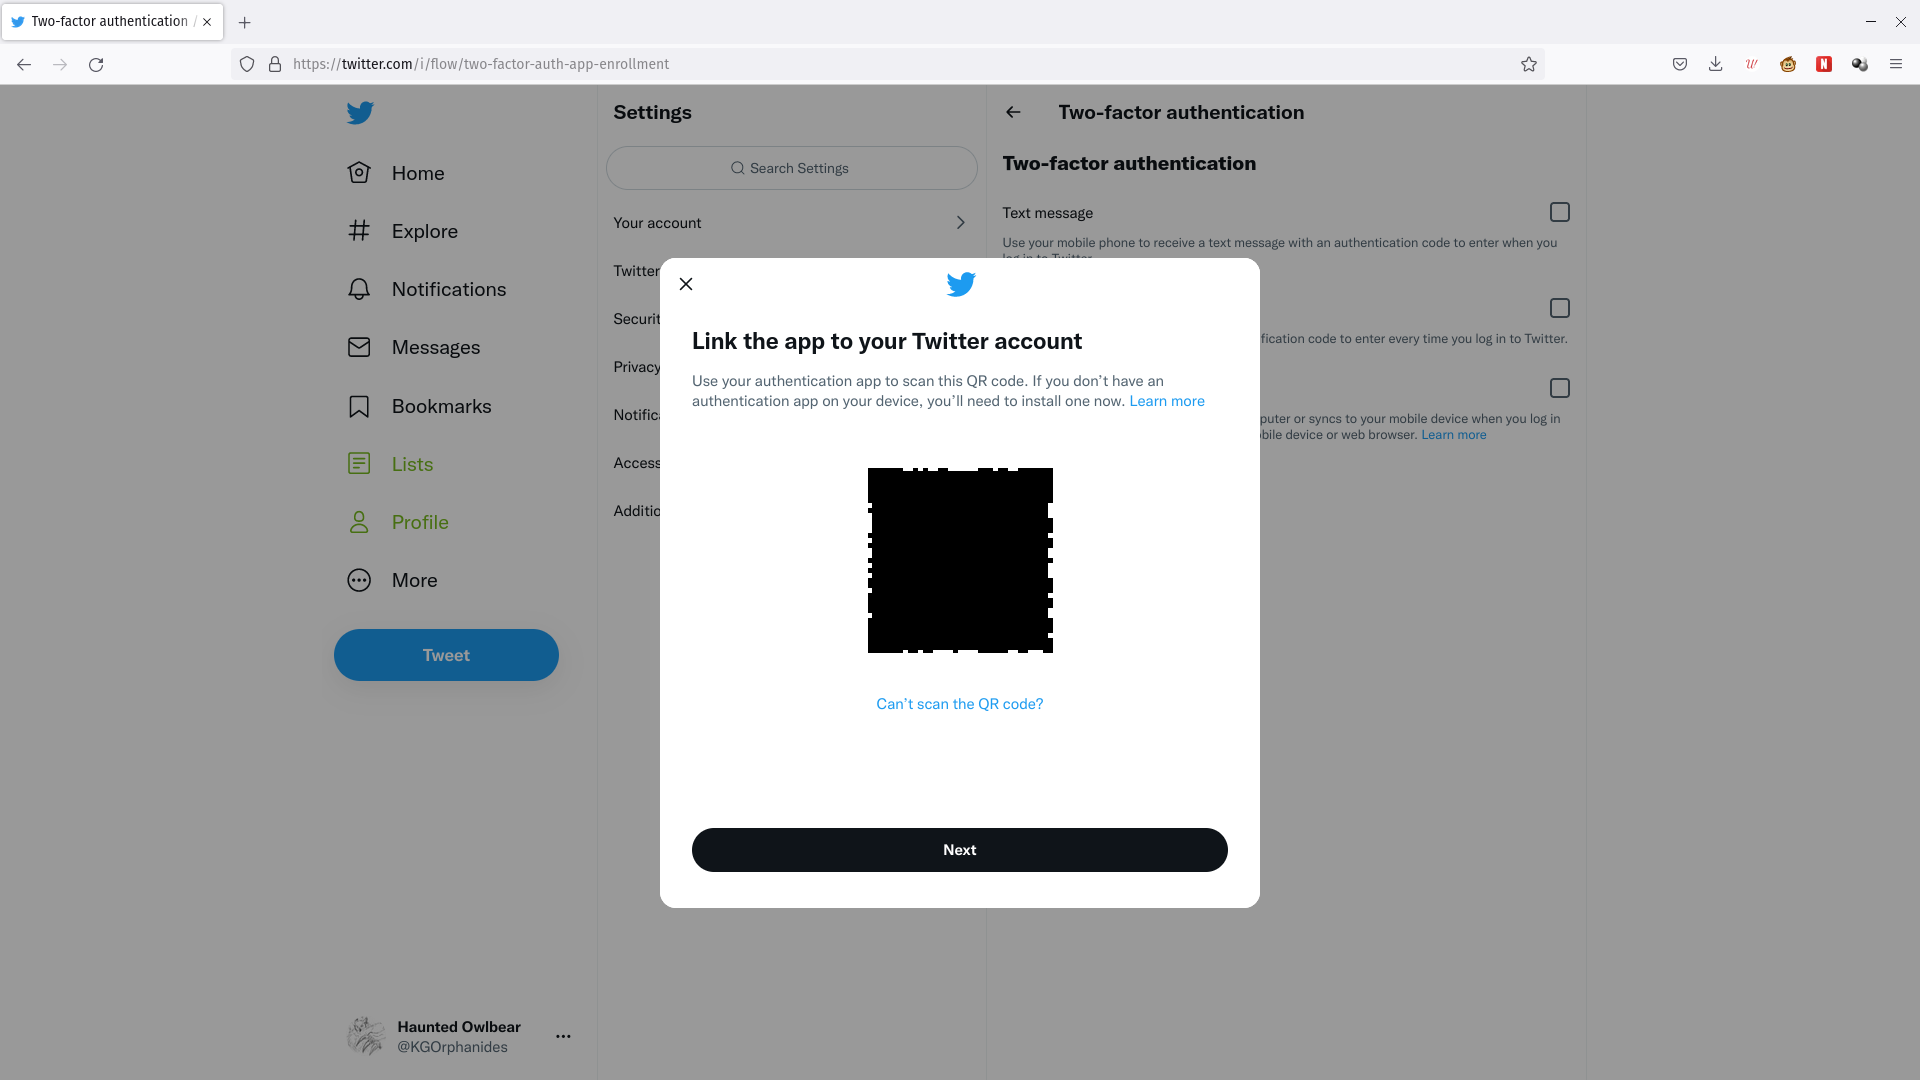
Hold your phone camera up to your screen to scan the QR code Twitter presents.
Step
11Save the entry
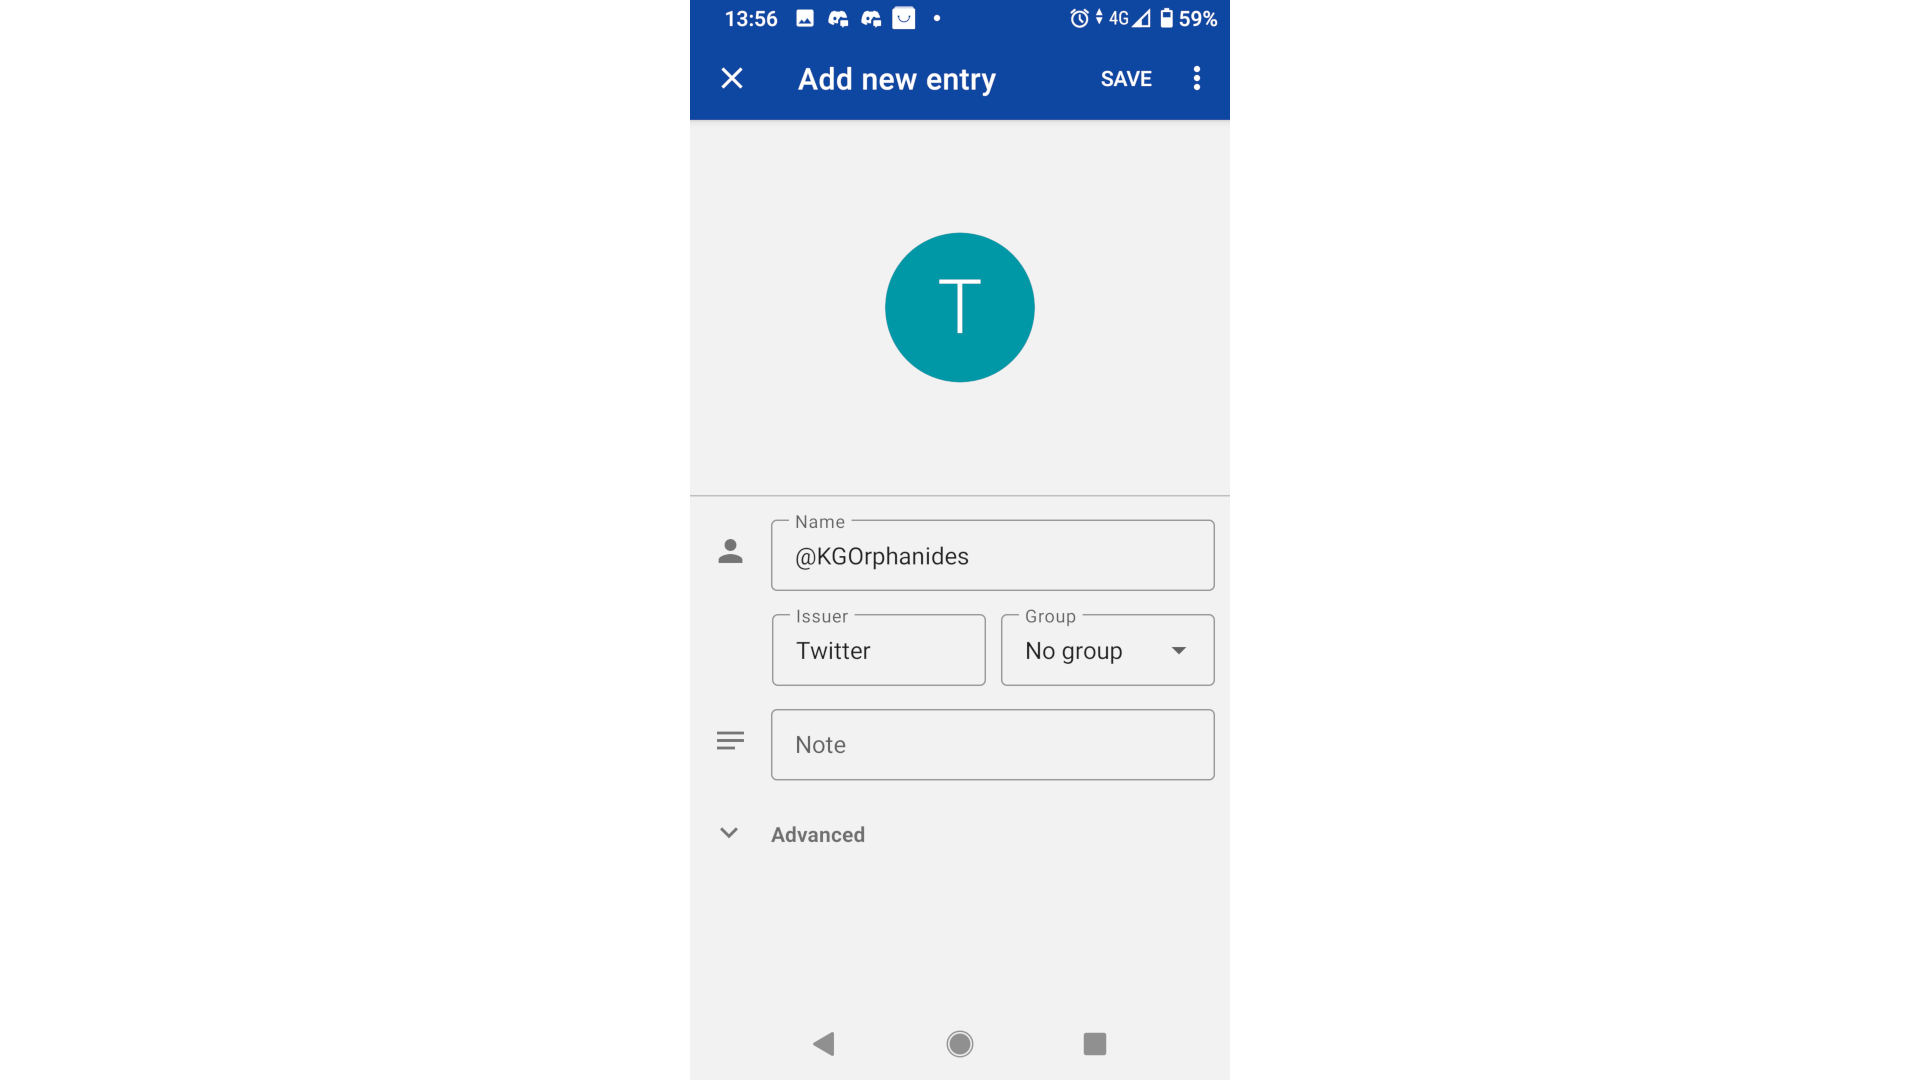
Tap save on your phone’s authenticator. Click Next on the Twitter QR code pop-up in your browser.
Step
12Enter the confirmation code
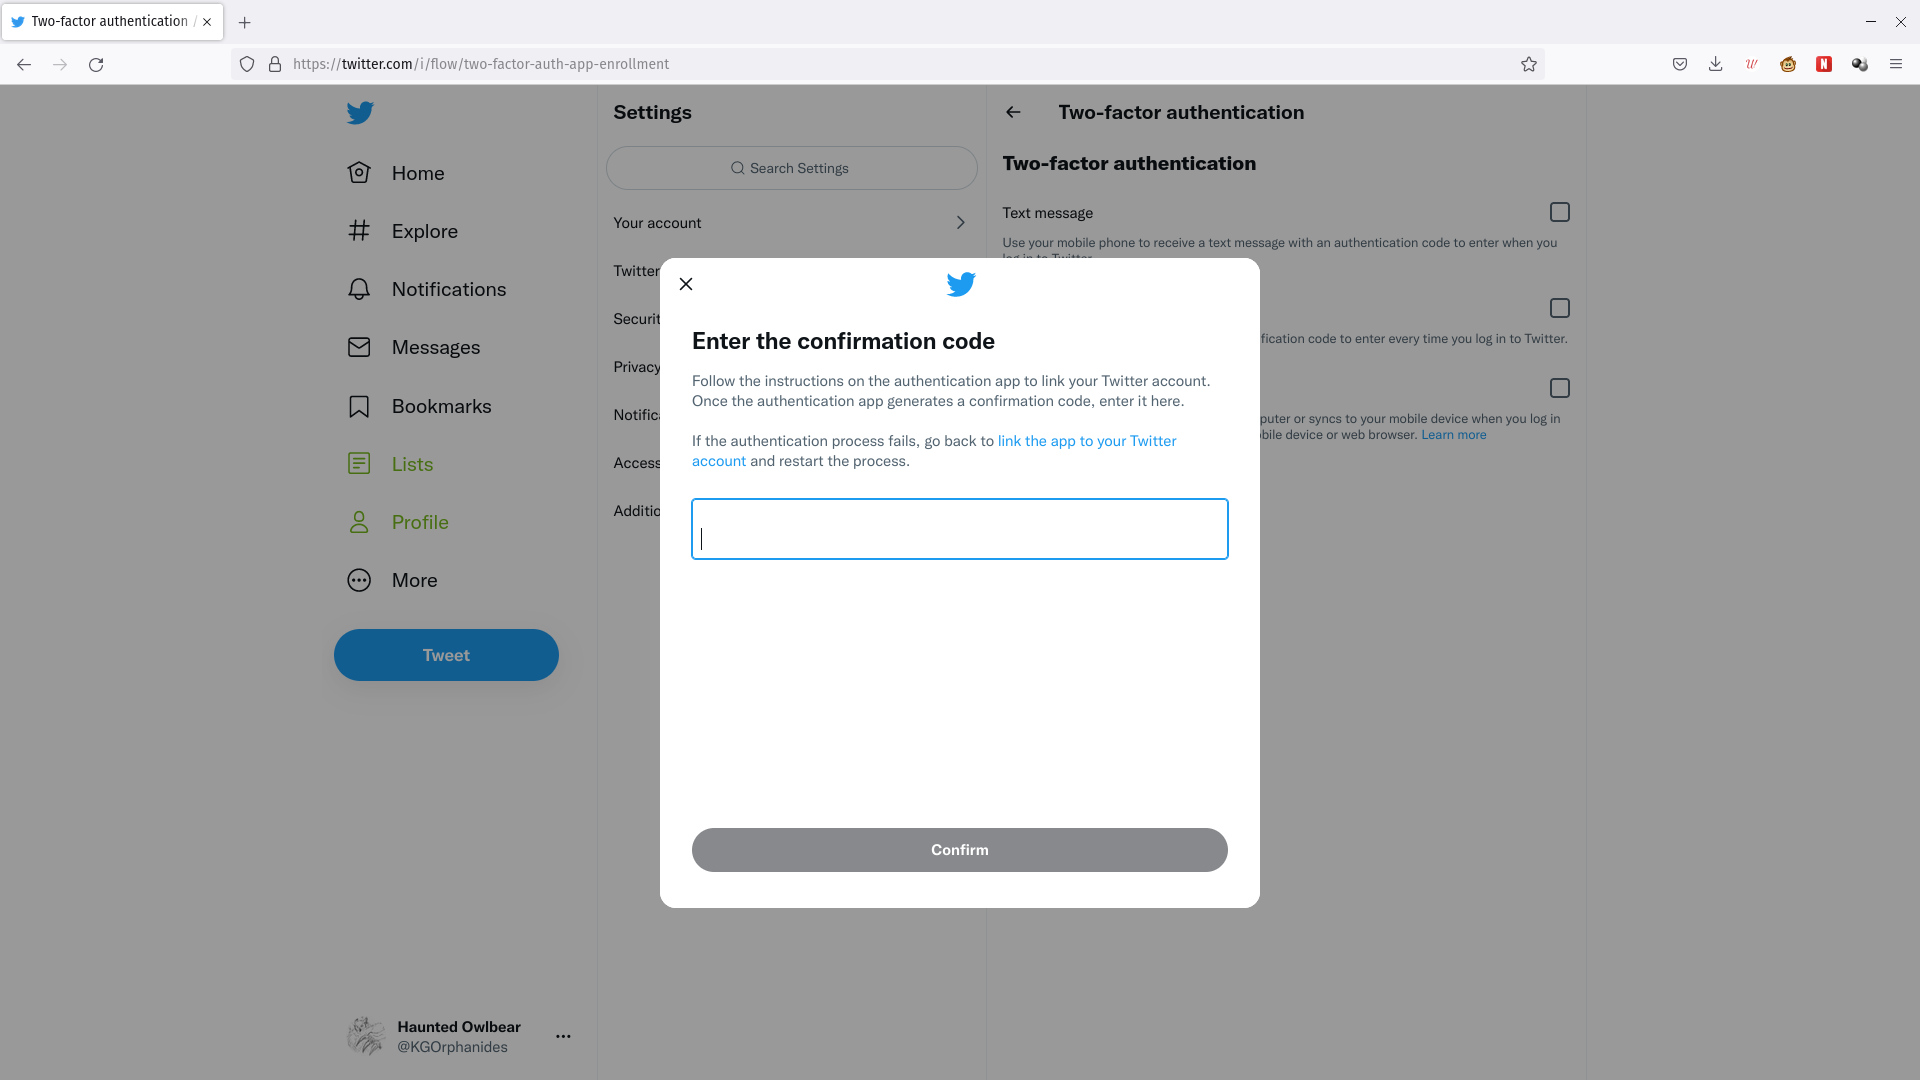
Copy the code displayed for Twitter from your authenticator into the Enter the confirmation code pop-up in your browser and click Confirm. Remember not to include any spaces – some authenticators add these, but they’re only for readability. 2FA codes are refreshed every 30 seconds and your authenticator does not require an internet connection to produce them.
Step
13Get a backup code
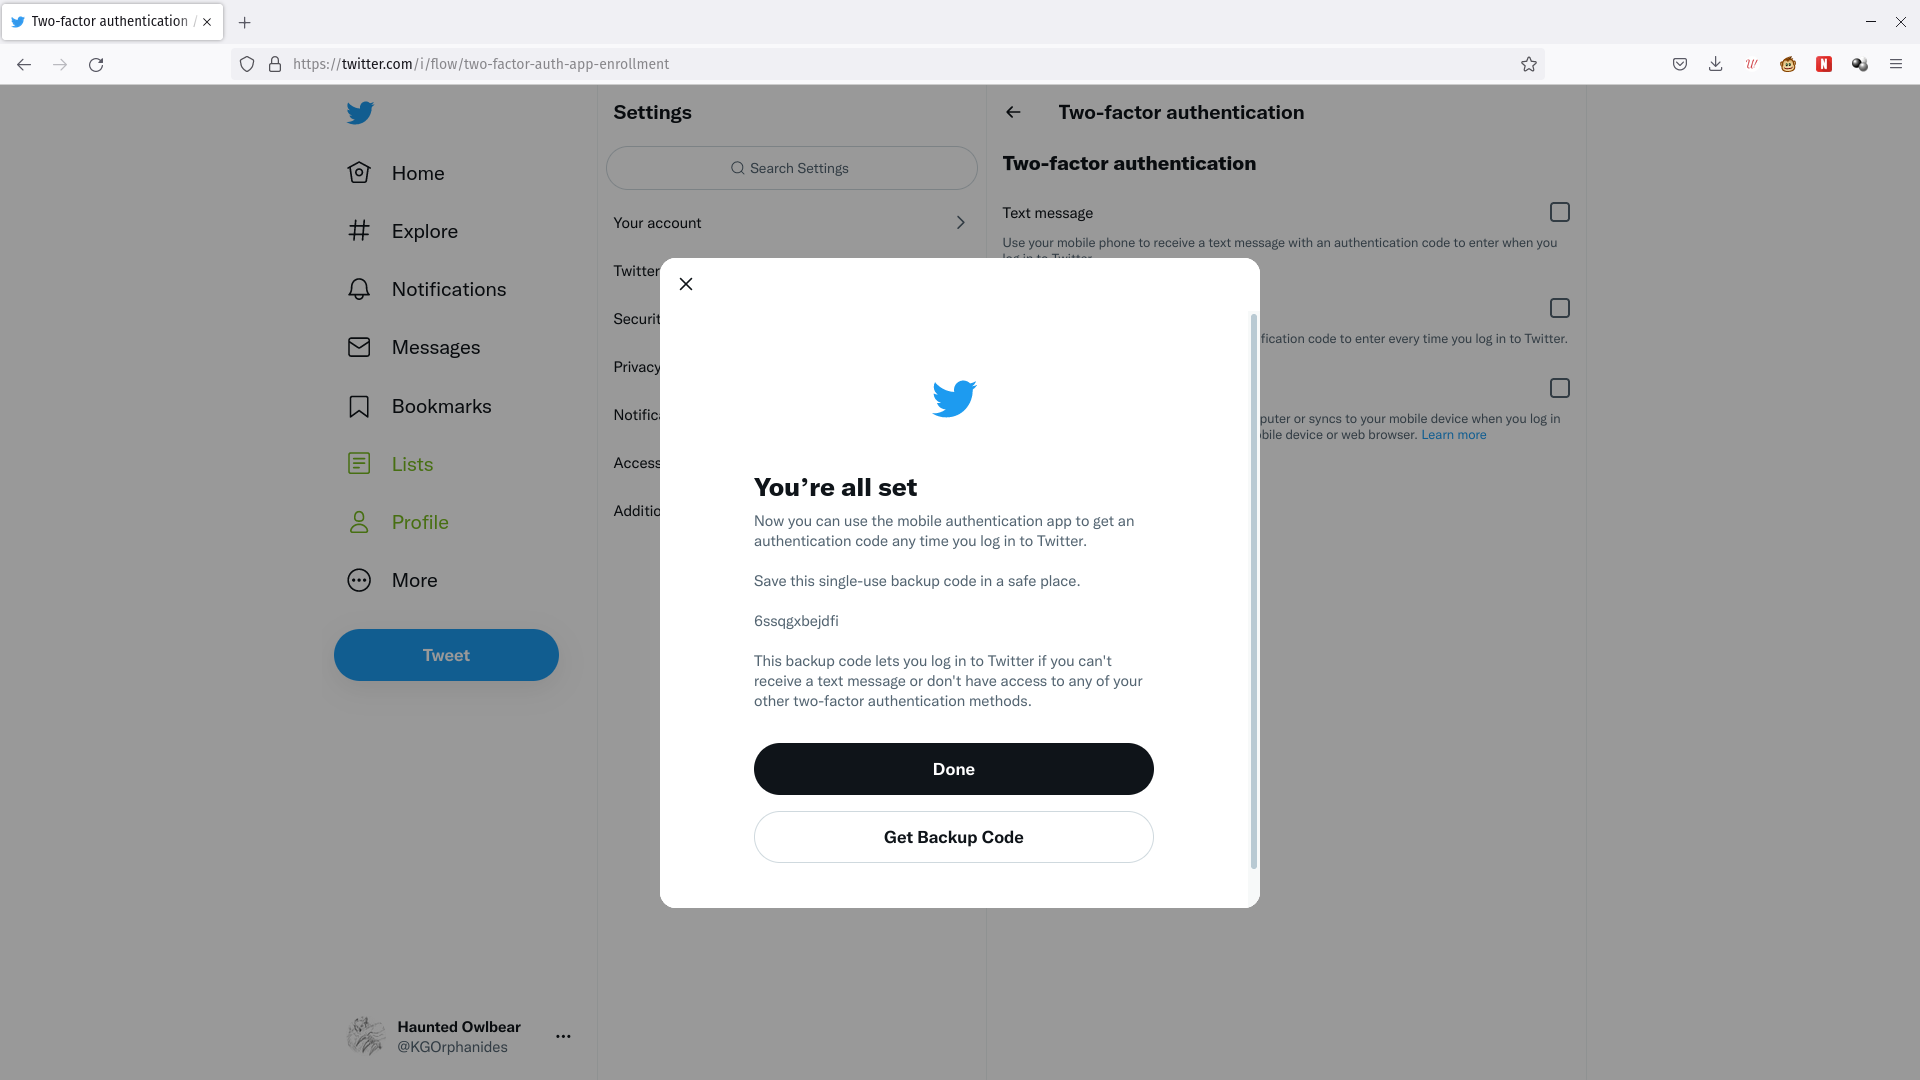
In your browser, a pop-up will inform you that You’re all set. Click Get Backup Code and you’ll be taken to the Backup Code screen in Twitter’s settings.
Step
14Save your backup code somewhere safe
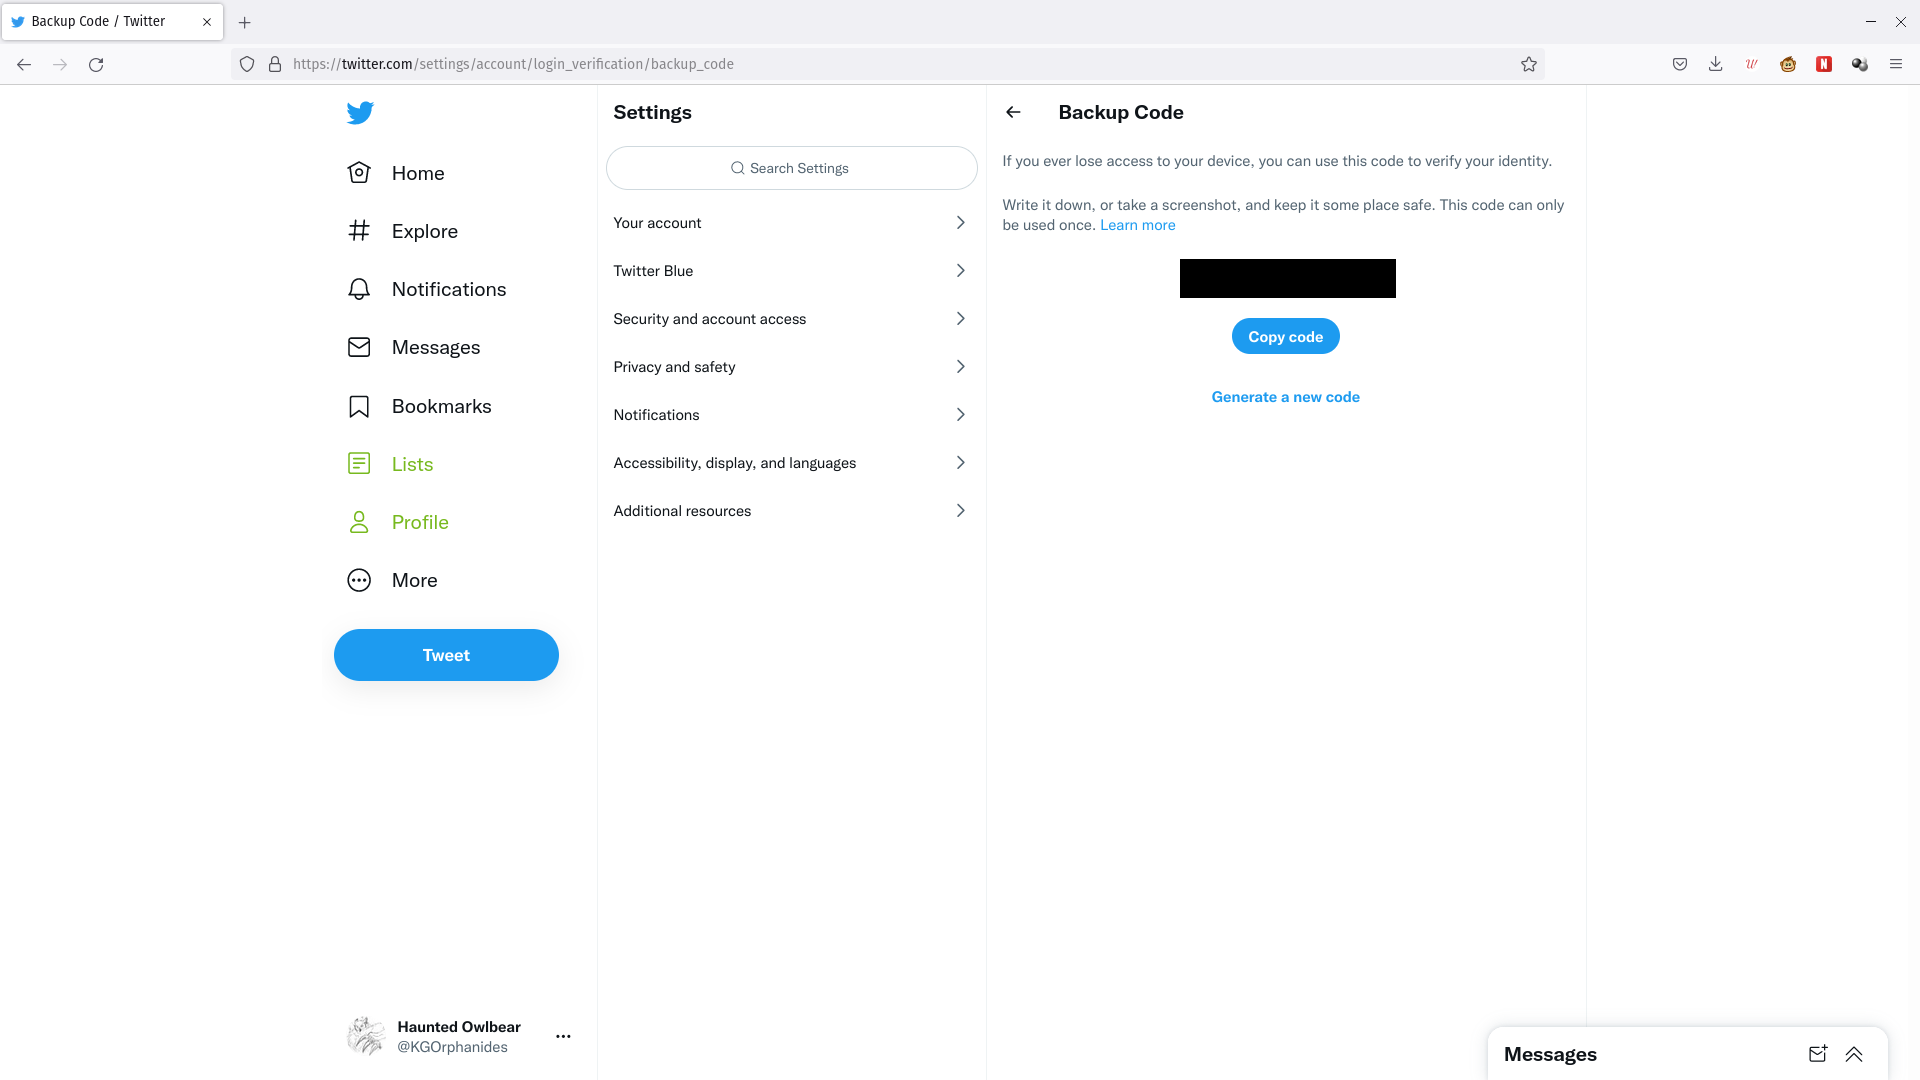
This single-use code gives you emergency access to your account if you don’t have access to your authentication device. Copy it and put it somewhere safe, such as an encrypted folder, password manager or in a physical safe.
Now, whenever you log into Twitter, you’ll be prompted to provide a 2FA code. This means that no one will be able to connect to your Twitter account unless they also have access to your second authentication factor, blocking the most common kinds of account theft.
Troubleshooting
Yes, you can create up to five using the tool at https://twitter.com/settings/account/login_verification/backup_code but Twitter will only show you one at a time, so you’ll have to note them down elsewhere. You’ll also have to make sure to use them in the order in which they were generated, otherwise all codes genreated before the one you use will be disabled.
Go to https://twitter.com/settings/account/login_verification and disable 2FA. You’ll then be able to reset it with a new device or phone number.
Use your backup code! Log in as usual and wait for the 2FA request to be send. A link will allow you to enter a backup code instead. Next, go and disable 2FA as above.
You might like…


Editorial independence
Editorial independence means being able to give an unbiased verdict about a product or company, with the avoidance of conflicts of interest. To ensure this is possible, every member of the editorial staff follows a clear code of conduct.
Professional conduct
We also expect our journalists to follow clear ethical standards in their work. Our staff members must strive for honesty and accuracy in everything they do. We follow the IPSO Editors’ code of practice to underpin these standards.