How to install Razer Synapse 3

Razer Blade laptops come with a whole bunch of customisation options, courtesy of its Synapse software. The app may not be for everyone but, for those who want full Razer customisation, Synapse 3 is essential. Here’s how to get it.
One of the big selling points of Razer devices for many, especially those who dabble in lots of different peripherals, is the customisation that the devices offer. To take full advantage of that, whether it’s for lighting, performance, macros or anything else, you’ll need to delve into Razer’s Synapse software.
Thankfully, it’s relatively simple to download and install the latest version, Razer Synapse 3, if you don’t have it already. Here’s our simple guide to getting the all-important Razer customisation app.
What you’ll need:
- A Razer laptop
- A web browser
The Short Version
- Open your web browser
- Enter “https://www.razer.com/synapse-3” into the address bar
- Click Download Now
- Select the download
- Click Install
Step
1Open your web browser

Head to your web browser of choice (we’re using Google Chrome).

Step
2Enter “https://www.razer.com/synapse-3” into the address bar

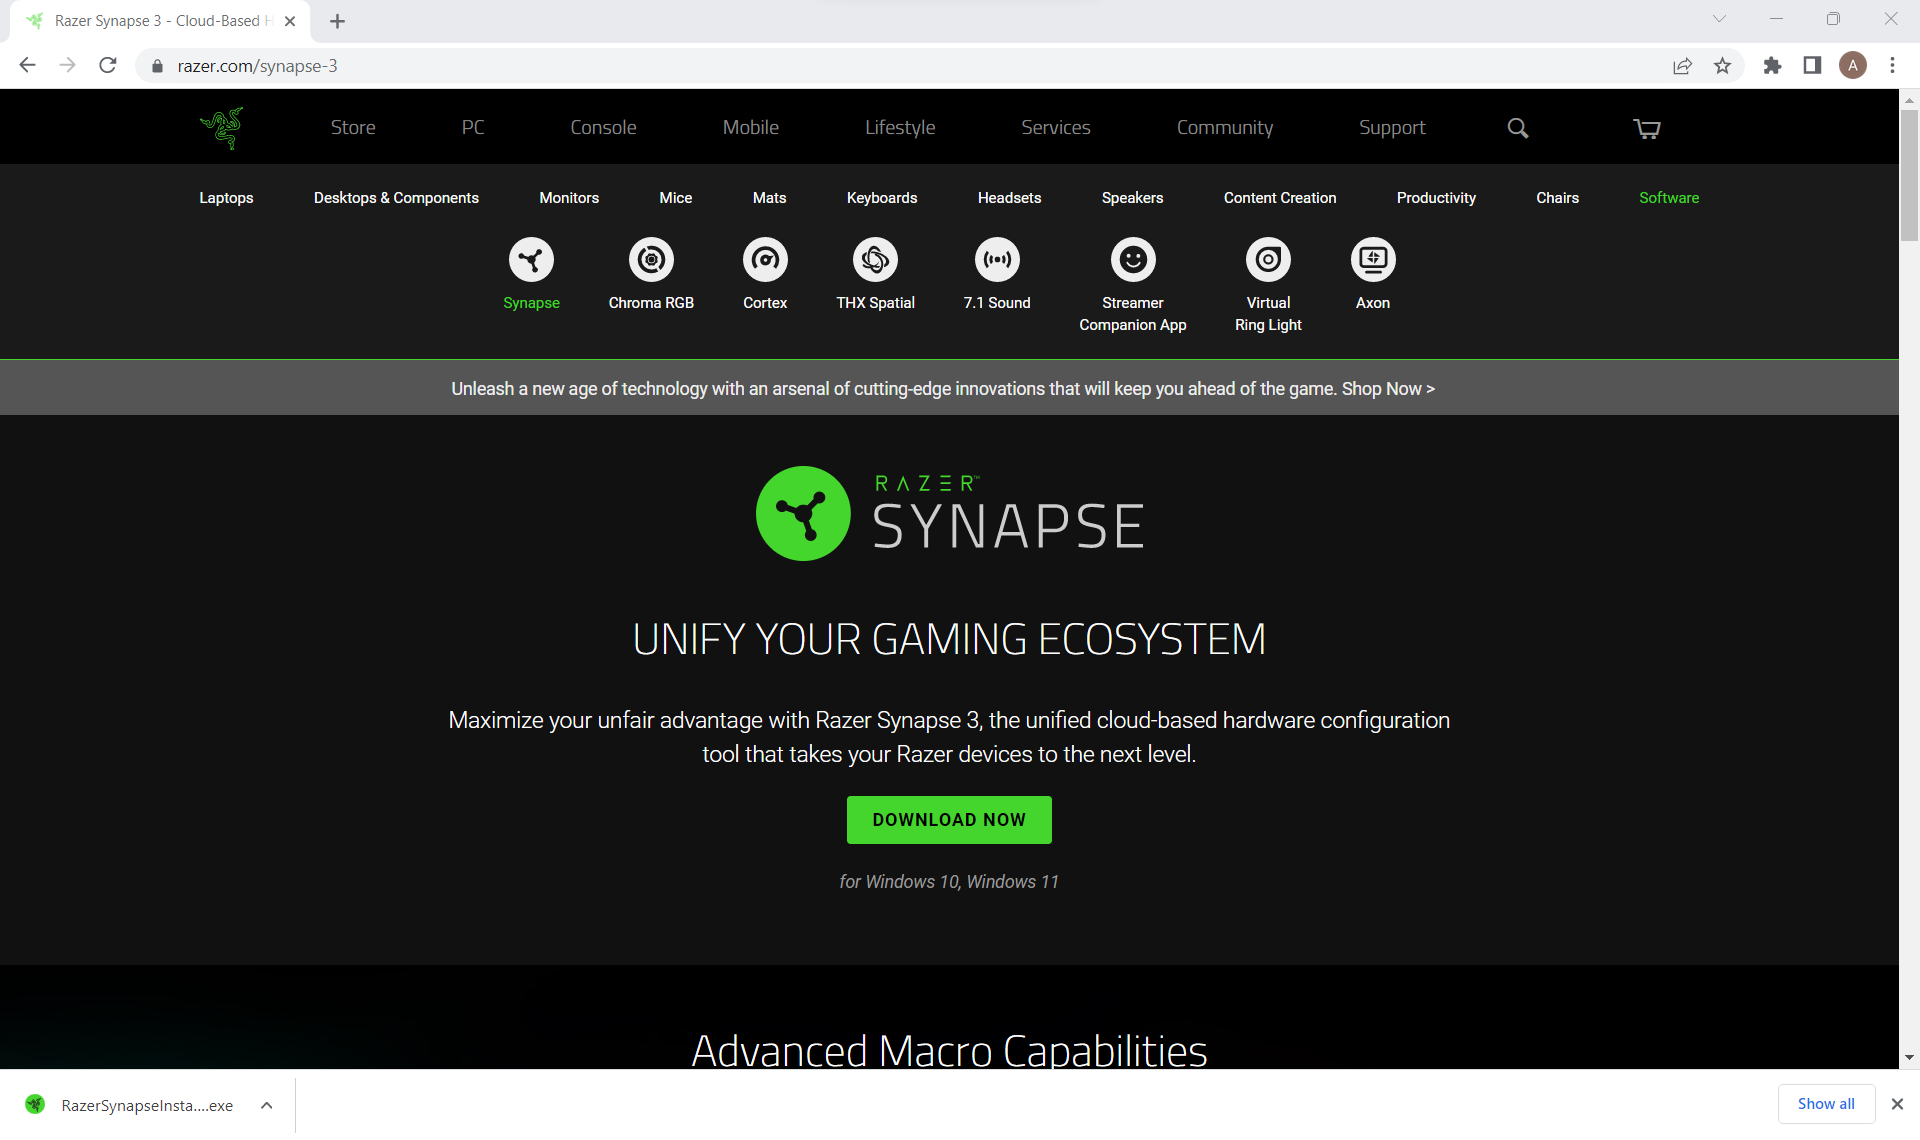
Go to your address bar and enter “https://www.razer.com/synapse-3” to head to the Download page.

Step
3Click Download Now

Once on the Razer website, click Download Now to begin the download.

Step
4Select the download

The download will appear towards the bottom of your browser, click it to open.

Step
5Click Install

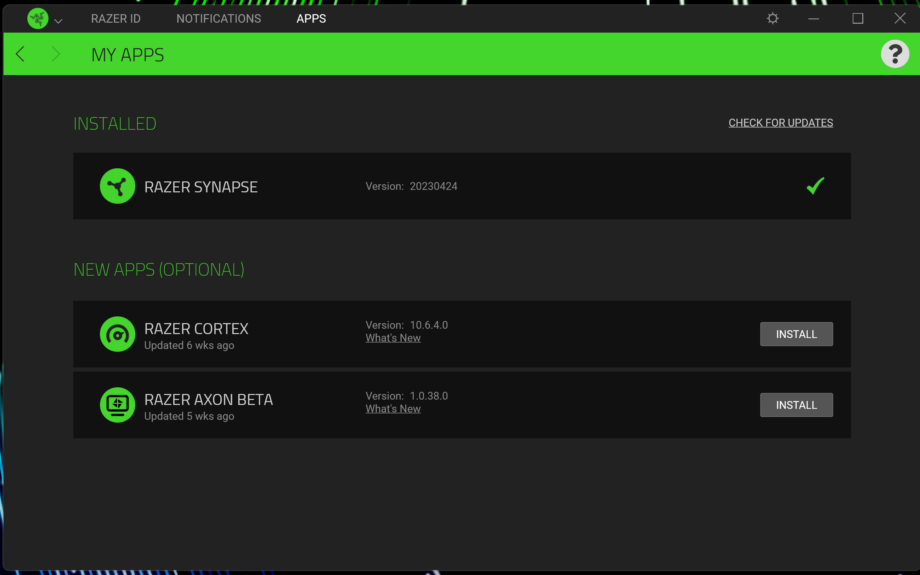
The installer will now be open, click Install to add Razer Synapse 3 to your system.

Troubleshooting
Simply connect your Razer Synapse-compatible device to your PC or laptop and your device’s profile should be present within Razer Synapse 3.
If you’re having issues downloading Razer Synapse 3, disconnect all Razer devices from your system and try again.

