

In your day to day use of your PC, there’s things you likely rarely think about. One of those is your IP address. It’s something every PC has but you rarely need to know it… until you do. Here’s our guide on finding it in Windows 11.
Knowing your IP address can help you with tasks like troubleshooting some internet connectivity issues, whether that’s on your PC, your router itself or individual devices like a mobile phone or games console. But, how do you know what your local IP address is? These are the basics on finding it.
What you’ll need:
- A Windows PC
The Short Version
- Head to Settings
- Select Network & internet
- Open Wi-Fi or Ethernet
- Click Properties
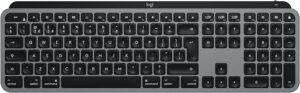
Take £40 off the top-rated Logitech Wireless Keyboard for Mac
Get the top-rated Logitech MX Keys Wireless Keyboard for Mac at just £79.90 in the Amazon Spring Deal Days sale.
- Amazon
- Was £119.99
- Now £79.90
Step
1Head to Settings

Open Settings, whether you already have it as a taskbar icon or need to search for it. To search, open Start, and enter Settings in the search bar.
Step
2Select Network & internet
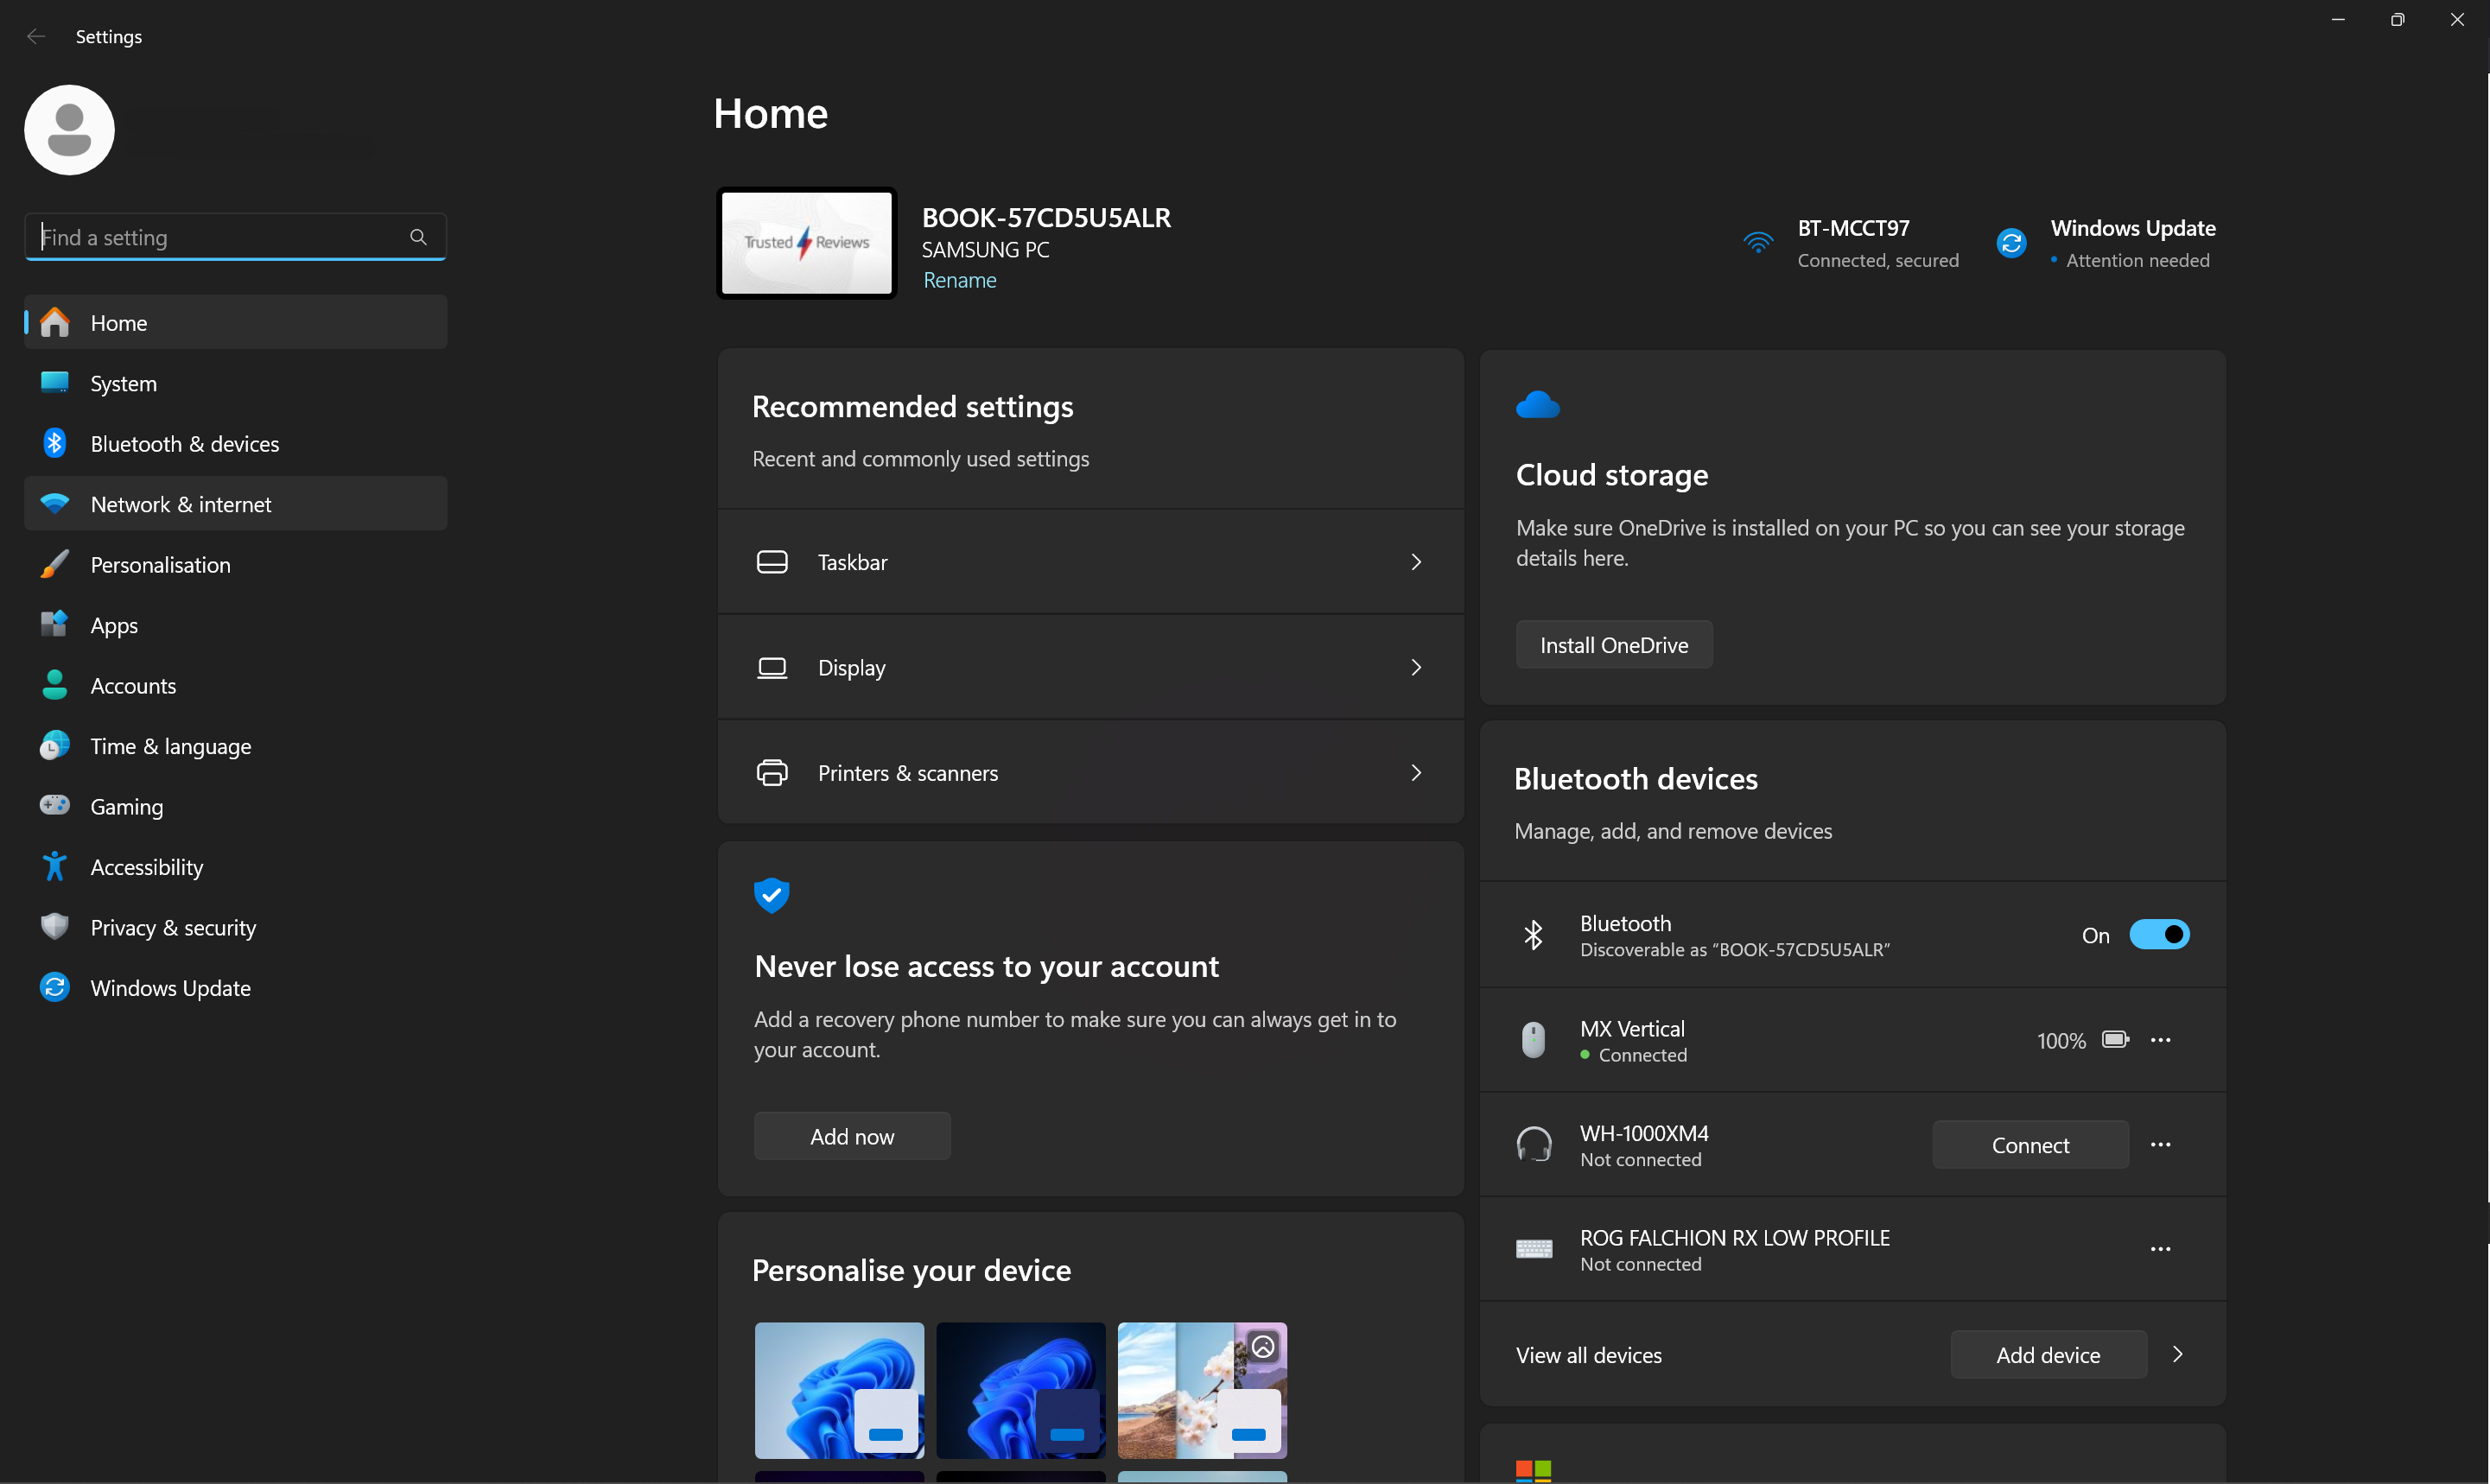
In the Settings page, select Network & internet from the menu on the left side.
Step
3Select Wi-Fi or Ethernet

If you’re connected to your router wirelessly, open the Wi-Fi option. If you are connected with a wire, select the Ethernet option.
Step
4Click Properties
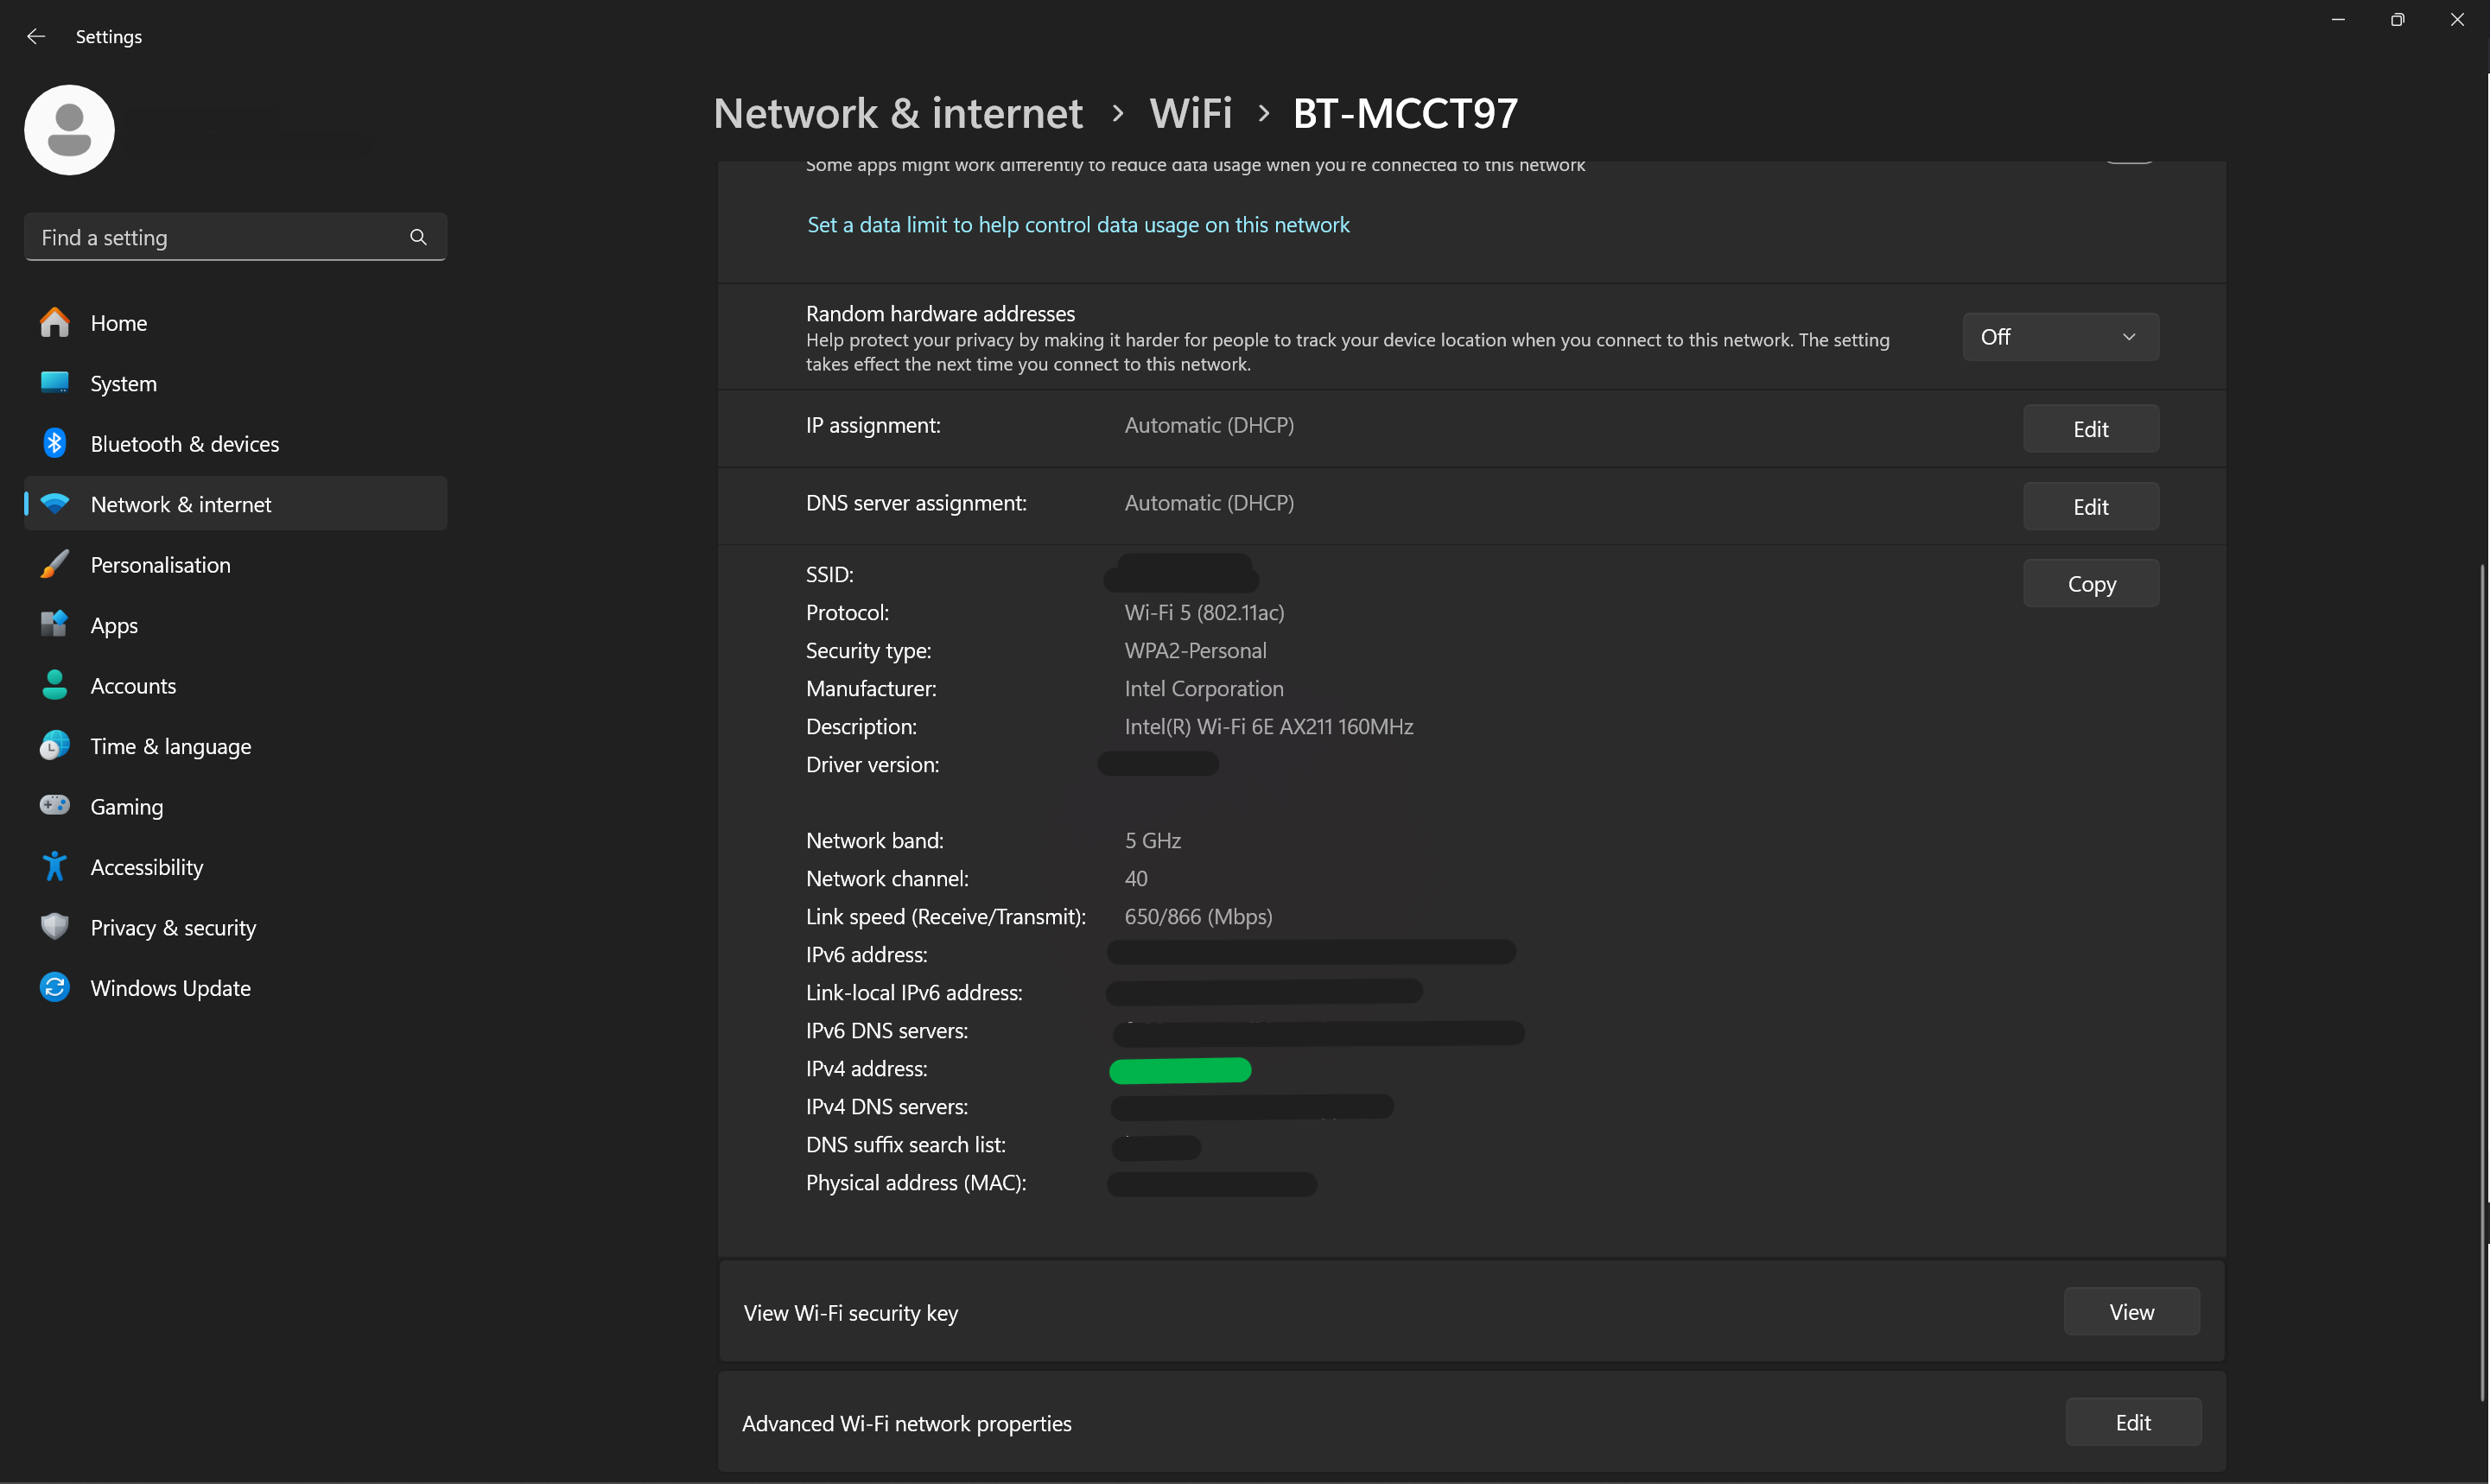
Finally, click the Properties option, which will have the name of your network preceeding it. You can then scroll down and view your IP address, listed next to the IPv4 address line.
Troubleshooting
If you are more technically-minded, you may rather use the Command Prompt to find your IP address. If so, open Command Prompt then type ipconfig and press enter.
Editorial independence
Editorial independence means being able to give an unbiased verdict about a product or company, with the avoidance of conflicts of interest. To ensure this is possible, every member of the editorial staff follows a clear code of conduct.
Professional conduct
We also expect our journalists to follow clear ethical standards in their work. Our staff members must strive for honesty and accuracy in everything they do. We follow the IPSO Editors’ code of practice to underpin these standards.