Verdict
Key Specifications
- Review Price: £127.00
IP cameras can offer all sorts of sophisticated extras, such as pan, tilt and zoom adjustability, IR sensitivity, and even mobile phone access. However, often all that is required for basic surveillance is a fixed camera that reacts to basic triggers. It is this kind of camera that I’m looking at today.
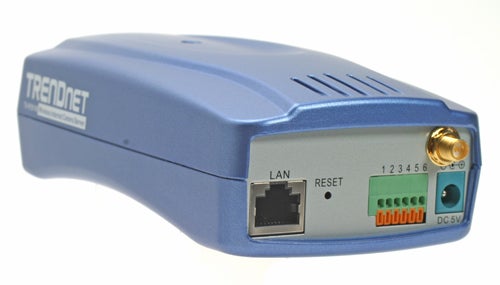
The TV-IP201W from TRENDnet is a wireless IP camera that features a 1/4inch progressive scan RGB CMOS sensor that’s capable of handling light levels as low as 2.5lux and can capture at up to 30fps at a resolution of 640 x 480. It has in-built motion detection as well as inputs for external triggering and outputs for triggering other devices, like alarms or light switches, and RS485 connections for controlling external pan/tilt devices. There’s an internal microphone that enables you to hear what’s happening at the other end of the line though there aren’t audio outputs so you won’t be able to have a two-way conversation. As is to be expected, the TV-IP201W is powered by a conventional mains power supply, rather than using PoE, and the adapter cable is only two metres long so, straight out of the box, you are somewhat limited as to where you can place it.
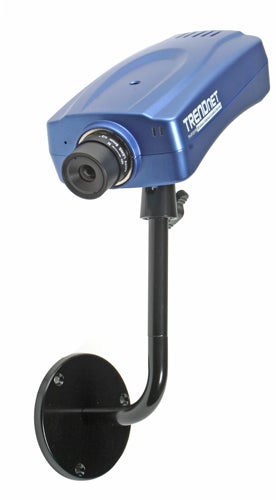
The camera is comparatively large, at 177mm x 45mm 84mm, but it is fully compatible with TRENDnet’s own outdoor camera housings – which I must say are particularly elegant – so external mounting shouldn’t be a problem. If you want to mount the camera indoors, a sturdy adjustable mounting arm is provided in the box which also contains a short length of CAT5 cable, a quick install guide, a software CD, and, of course, the power supply.
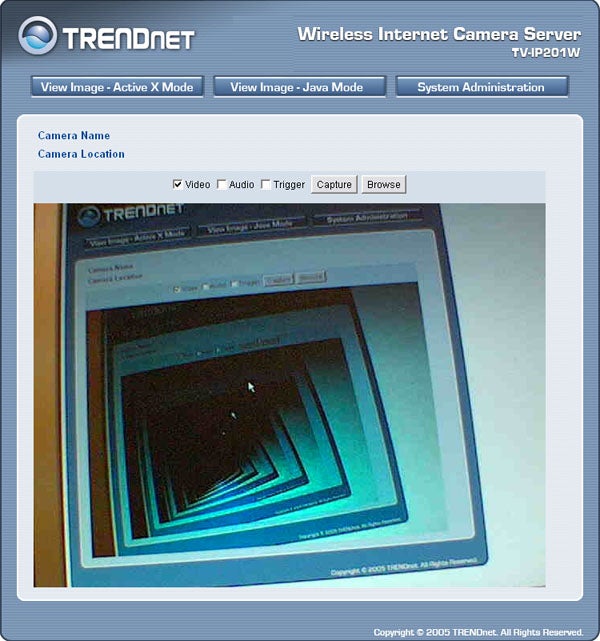
Installation is very straight forward as you simply connect the camera to the mains, and to your local network, then run the bundled setup utility. The software will search for your camera (or cameras) and display them in a list. You then double click one of the cameras to open the web interface for that camera. From here you can view the video stream using either a Java or an ActiveX based interface or you can enter the system administration screen.
While viewing the image you can turn the video and audio on and off or set the camera to trigger mode. There are buttons for capturing a still of the current image and specifying what folder to put the captured files into. All other settings are handled by the system administration page, which has a very comprehensive list of settings that includes audio and video adjustment, network settings, triggering, user access, and upload configuration.
Network options include static, DHCP, or PPPoE IP assignment and dynamic DNS can be enabled along with Internet access. Wireless networking is available with the choice of 64bit, 128bit, or no WEP encryption. You also get basic user control with two levels of access for administrators and users.
The camera can upload a regular stream of images to an FTP server for maintenance free monitoring and you can specify on which days you want it to do so, for how long and how frequently the image should be taken. Or, you can use motion detection to trigger an email of the image to be sent to you.
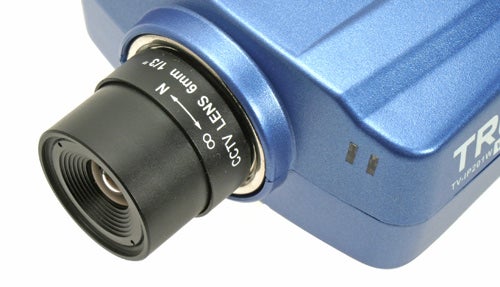
Image quality can be adjusted by way of frame rate, resolution, light frequency, and compression level. I found full frame rate at full resolution was not able to keep up with any kind of motion on screen and the frame rate had to be dropped to 15fps to maintain a constant stream. The optimal setting for the full 30fps required the resolution to be dropped from 640×480 to 320×240 but compression could be set to its lowest level.
Picture quality is acceptable and though there is obvious speckling in the darker areas it is not the green and red blobs you sometimes get with bad noise handling. Overall colouration is also good. The lens shows even focus right to the corners but there is obvious barrel distortion in the outer two thirds of the image. The compression level adjustment covers the full gamut of artefact free to blocky mess and everything in-between, so you should be able to find a decent compromise between image quality and lower bandwidth.
The TV-IP201W ships with its own IP surveillance software which enables you to monitor live feeds from up to 16 cameras simultaneously. Controls on the main viewing screen include video capture, still capture, image rotation and audio on/off.
Clicking the settings button, all the settings from the web interface can be adjusted and you can also setup sophisticated region based motion detection, adjust detection sensitivity, and assign a musical alarm to be played when triggered. Video capture settings can also be adjusted from this screen.
”’Verdict”’
While the TV-IP201W doesn’t offer the kind of picture quality you get from the likes of the Axis Communications 207W, at only £127 it does provide a worthy low cost alternative. It’s easy to use and has all the basic features you need get a fully operational surveillance system setup. The included software also means that adding and monitoring multiple cameras is a cinch.
320 x 240 at high compression level.
—-
320 x 240 at low compression level.
—-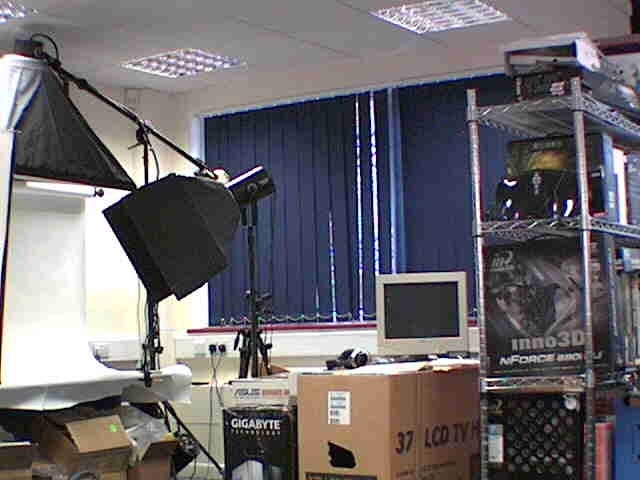
640 x 480 at high compression level.
—-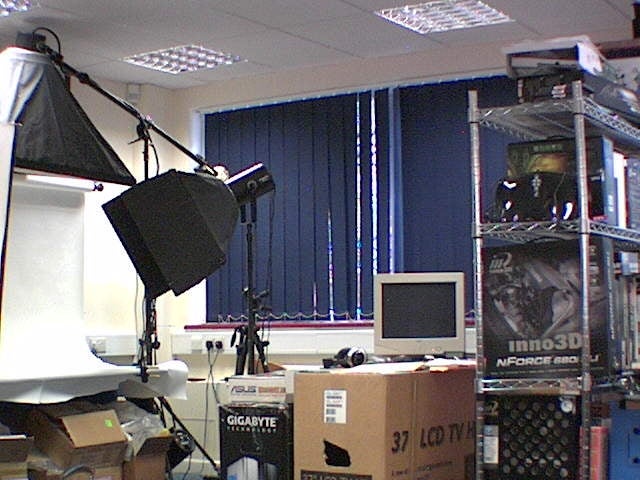
640 x 480 at low compression level.
It has to be done.
—-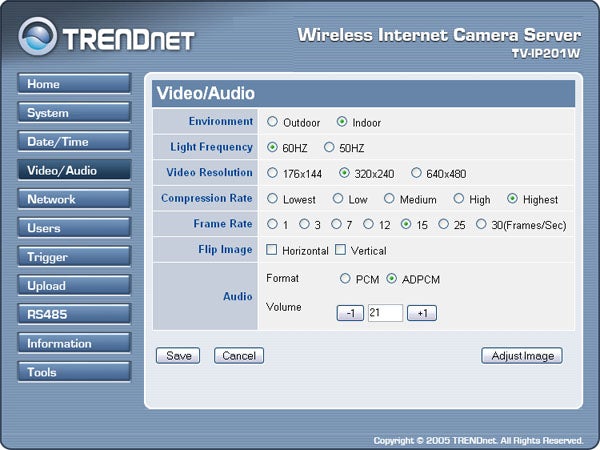
Video adjustments are very comprehensive.
—-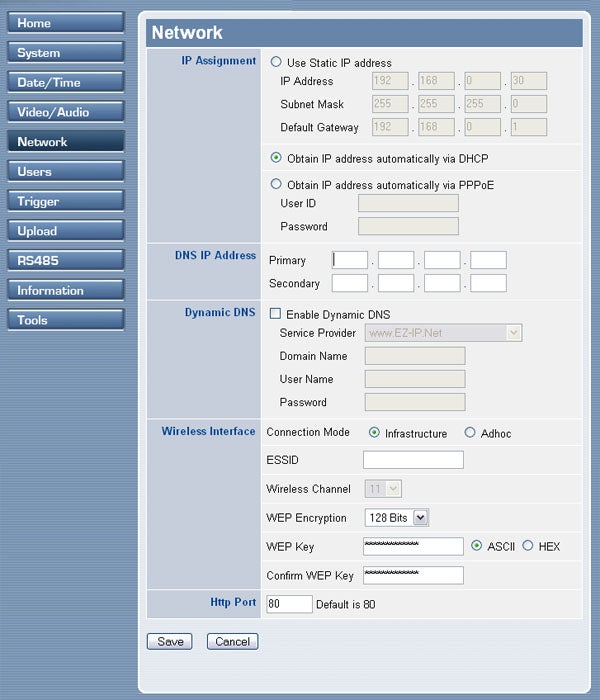
Network settings are also thorough.
—-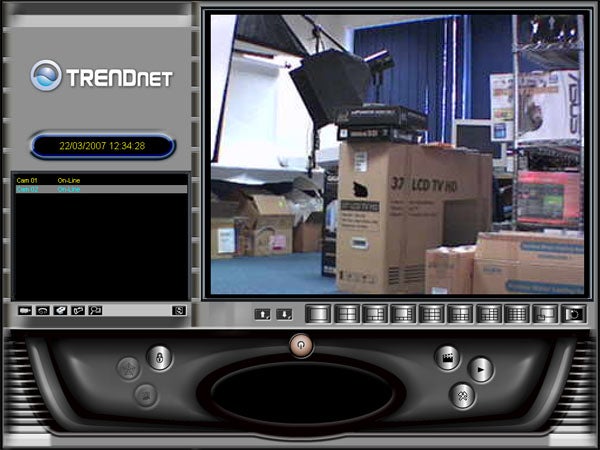
IPView allows you to view and manage up to 16 cameras from one location.
—-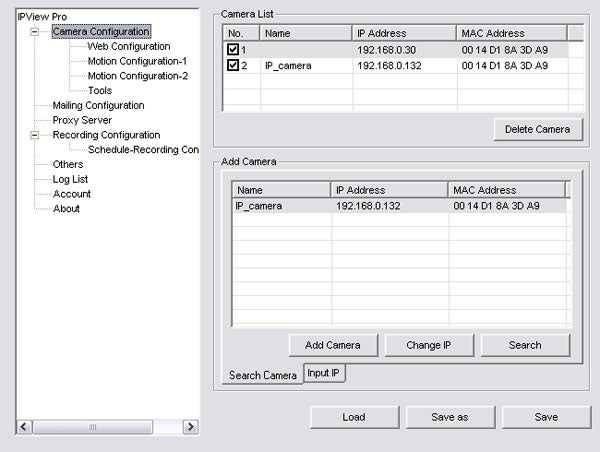
You can control every aspect of your cameras from IPView.
Trusted Score
Score in detail
-
Value 8
-
Features 5
Editorial independence
Editorial independence means being able to give an unbiased verdict about a product or company, with the avoidance of conflicts of interest. To ensure this is possible, every member of the editorial staff follows a clear code of conduct.
Professional conduct
We also expect our journalists to follow clear ethical standards in their work. Our staff members must strive for honesty and accuracy in everything they do. We follow the IPSO Editors’ code of practice to underpin these standards.