Verdict
Key Specifications
- Review Price: £354.00
A common complaint I hear from newcomers to digital photography, is that their prints don’t match the images they see on their monitors. As more people progress into DSLRs and shooting Raw, looking to improve the quality of their images, they often become increasingly frustrated by the inability of the output devices to match the image they imagine they should be getting. Usually this problem is down to colour management.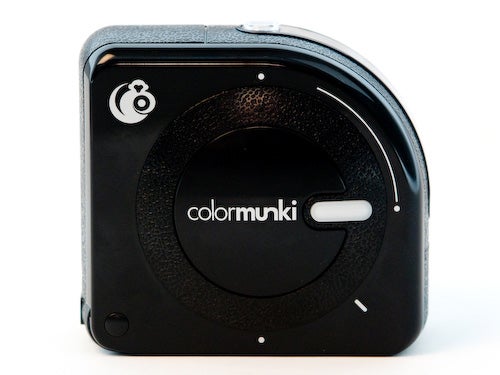
Digital cameras and the accompanying printers and computers have become increasingly sophisticated, and at the same time, the usrr experience has become increasingly simplified. Even a cheap printer can produce a decent result, better than five years ago, and quicker too. But when you really want the best you can get, they usually fall short.
The new Colormunki really is a revolution in colour management, making it easier than ever before to profile your monitor and printer, so that the image you see on screen is the best and most accurate approximation of your digital file, and likewise, the print is as close to that image as is possible.
Colour management has long been the black art of digital photography. The equipment needed used to be expensive, the software complicated and most of the theory behind it is gobbledegook to your average home user (and even hardcore hobbyists and professionals).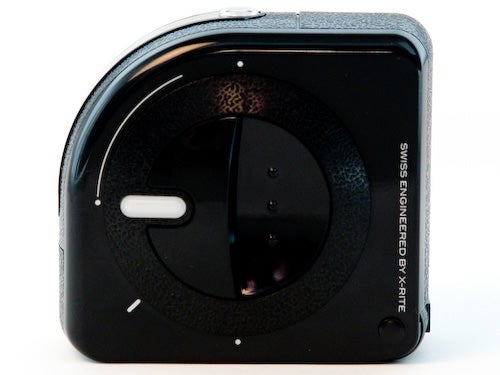
The Colormunki is the first device I know of that offers a simple all-in-one solution, using just one piece of software and one gadget that does everything. Previously you would need a monitor system – which have become far cheaper and simpler recently- and a separate print system – which have remained expensive and complicated.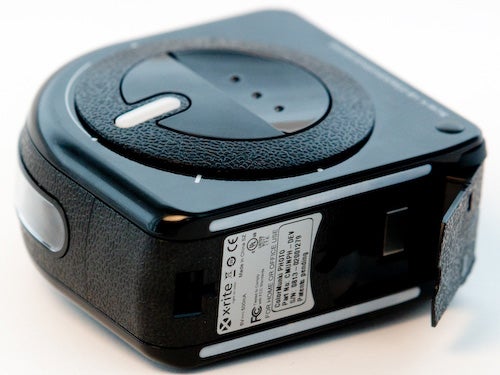
So how does it all work? The first step is to install the software. This is in the form of a download from a link on the install disk. This ensures you have the most up to date version, and is around 150MB. The software is available for both PC Windows XP and up, and Apple Mac OX 10.4 and later,
Once installed and launched a simple wizard walks you through the process to first profile your monitor and then your printer. There’s also an option to profile a digital projector, making this ideal for camera clubs or movie buffs too.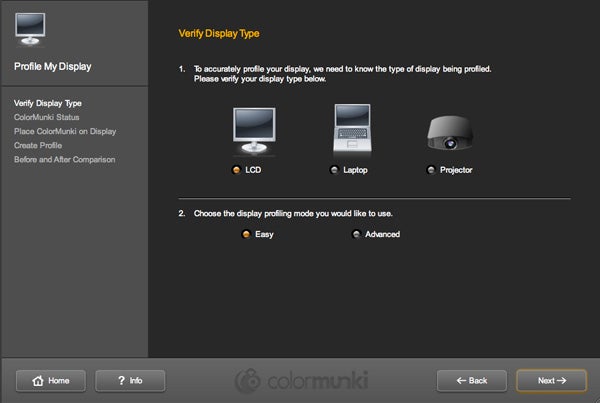
Before discussing how to profile, lets talk about what profiling is and why you may need it. Most monitors are set to a generic profile, ie colour balance, that isn’t necessarily accurate to the colours captured by your camera. The same image on another monitor or on a printer may look radically different, therefore editing an image and adjusting the colour will probably make the image even worse. So making a new accurate profile will make this much easier. 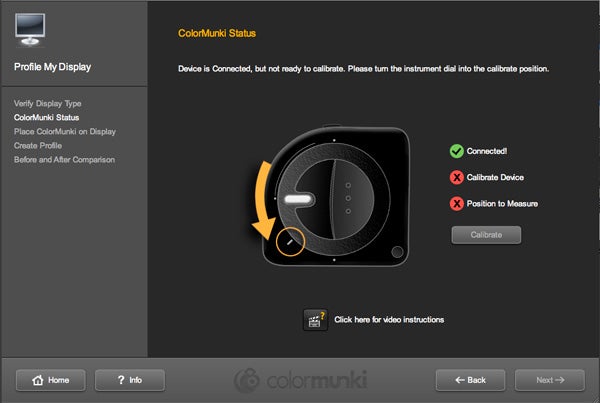
The step by step wizard of the software guides you through the steps needed to use the Colormunki. The device itself is similar in shape to a tape measure, and radically different in design to other similar tools, A case with a weighted strap is provided, and the device is dangled from the top the top of the monitor by this strap. A USB lead connects the device to your PC. 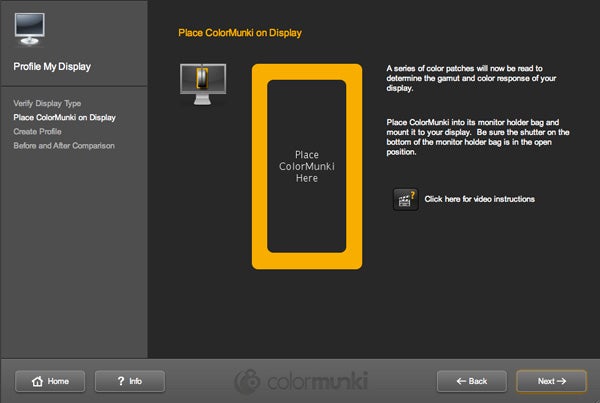
Once in position, the software produces a series of red, green and blue screens, followed by a white through to black screen with a series of greys in between; The Colormunki measures these colours, and corrects the difference between the colours produced and the actual colours. That difference provides the mathematical data that makes up the profile.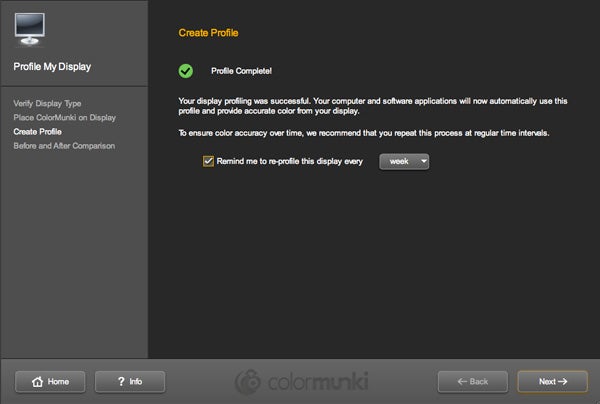
Once this is done, the profile is produced and automatically saved in your PCs colour folder. Over time the monitor colours can change so a regular profiling session is recommended and the Colormunki software can provide a regular reminder to recalibrate your monitor. Finally a before and after screen lets you see how the colour of you monitor has changed,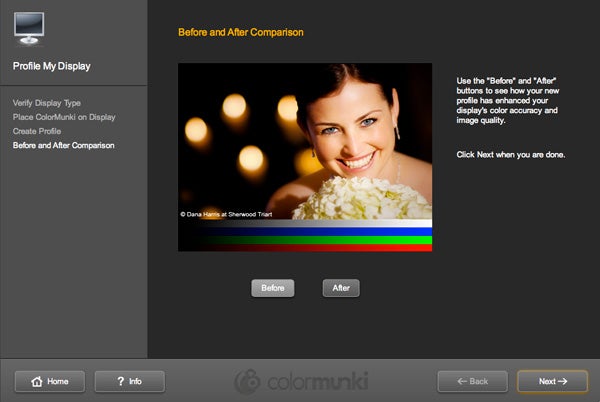

Next the printer set up is needed, Most profiles provided by printer manufacturers are pretty good nowadays, but changed between batches of inks and papers can produce slight changes in colour, and users of third party papers, such as many Fine Art papers may notice problems. This is further compounded if you use different types of paper, which have different base colours, ink absorption and so on.
The printer section of the software prints out 2 test charts of colour patches on the paper you choose. This is the clever bit. Previously these patches would need to be measured by a different device from your monitor profiler, and the measuring of each patch was a long arduous task. 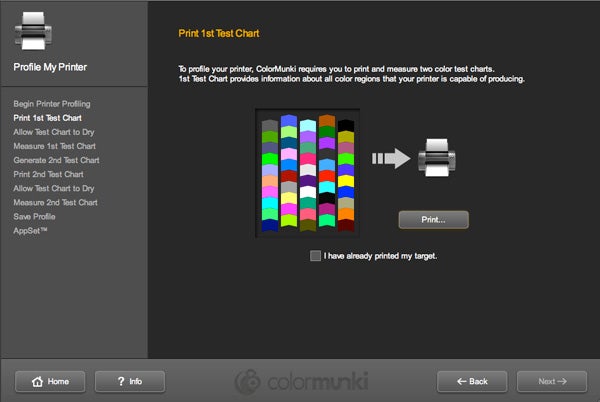
After a 10 minute print drying time, you simply run the Colormunki across the strips of patches on the print. Again the software provides clear instructions on how to do this, along with small animated video instructions if you need them.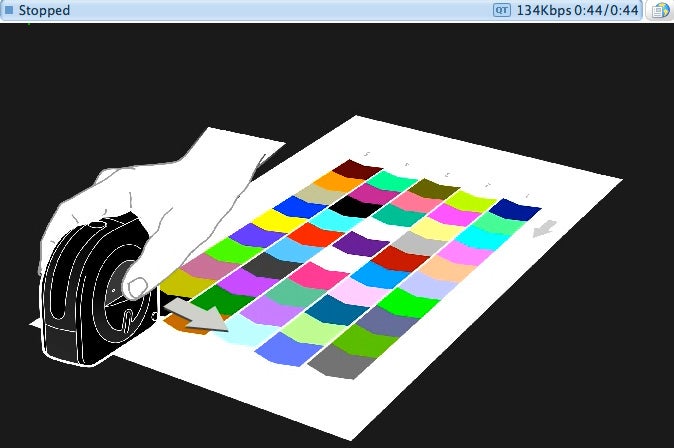
Once the two test charts are done, the software automatically stores the information into the colour management folders and adds it to Adobe Creative Suite applications or Quark Express if you need it. This is the only disappointment in the system, it’s limited to those applications, and some of the less expensive applications are unsupported.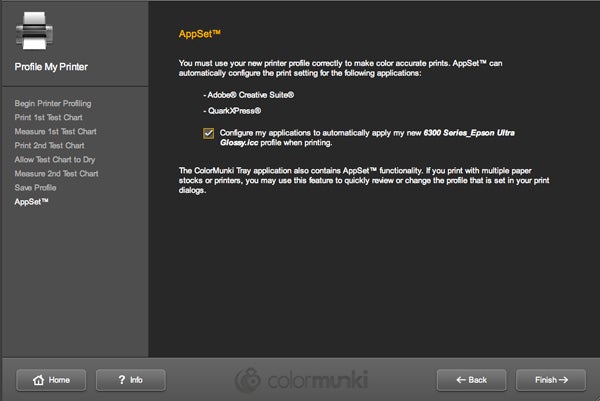
A final note to be made is that when you print, you need to change the print dialogue in Photoshop CS 3 to colour management handled by Photoshop, and select the new profile from a drop down menu and ensure you turn off the printer colour management in your printer driver.
The results, using an Epson R800 and a variety of papers were really impressive, producing much better colour prints, especially on third party papers, such as Ilford Gallerie, Imgaes matched the monitor version much closer, though the nature of the two viewing media – LCD and ink/paper – will never allow an absolute perfect match.
”’Verdict”’
This is by far the cheapest and simplest colour profiling device I have yet used, and the speed is really impressive. It took just five minutes to calibrate the monitor and around half an hour to set up the printer – in the past I have spent an evening on a printer profile.
It’s not going to suit everyone – it’s still a somewhat high end solution for the perfectionist rather than the average snapper, but if you really care about your prints and have £360 to spare, it’s sure to prove a hit.
Trusted Score
Score in detail
-
Value 8
-
Build Quality 8
Editorial independence
Editorial independence means being able to give an unbiased verdict about a product or company, with the avoidance of conflicts of interest. To ensure this is possible, every member of the editorial staff follows a clear code of conduct.
Professional conduct
We also expect our journalists to follow clear ethical standards in their work. Our staff members must strive for honesty and accuracy in everything they do. We follow the IPSO Editors’ code of practice to underpin these standards.