Wondering what to do with your ageing PC? Here’s a handy guide to breathe new life into your desktop.
Most of us have an old PC lying around, gathering dust and doing nothing other than being that awkward metal eyesore in the corner of the room that we occasionally, and painfully stub our toes on. So how about blowing off the dust, and putting some of that processing power to good use?
There are a vast number of uses for an unused PC, but the one we’re going to explore today is turning that old machine into a fully functional media server.
The media server will be a part of your home network and store music, films, and pictures while allowing any other networked device to be able to browse and play or view the media library contents.
It’s surprisingly easy, but there are a few ways in which you can accomplish such a task. Which method you choose is up to you, of course, but let’s begin with the simplest solution.
Windows route 1: Windows Streaming
We’ll go out on a limb here and assume that the old PC in question has an active and legal copy of Windows 7 or 8.1 on it (we’ll leave Windows XP out in this instance, but it’s possible to share media via Media Player 11).
Within Windows 7, go to the Control Panel and type into the search box ‘media’. You should see a few options available, click on the sub-link from the first option, the one labelled ‘Media streaming options’.
Related: Plex review

The following window will ask you to turn on media streaming, and after clicking that you’ll be presented with a number of options that allow you customise the name of the media library, and what folders to share across the network.
When you’ve clicked the OK button, you’ll be able to access the newly shared media library via any DLNA device, which includes phones, tablets, Smart TVs and even media players such as the Roku.
There are a lot more options available, but for the sake of getting you up and running quickly, this should do the trick.

Windows route 2: Third party software
If for some reason you don’t want the built-in Microsoft option to serve the media across your network, then there are countless other third party, installable programs that can do the job with relative ease.
We can’t name them all, for obvious reasons, but here are a few examples to help whet your appetite.
PS3 Media Server started out life as a project developed to allow streaming media from your PC to a PlayStation 3 using DLNA. Since those early days though, the project has grown and can now stream media to a range of different devices.
Related: Upgrading your PS4 HDD
It’s written in Java, and as such PS3 Media Server can be run on all the major operating systems (Windows, Mac OS X and Linux). However, it’s not been updated for a couple of years now, but it’s still a very capable program that’s easy to use while still offering a high degree of customisation and features.
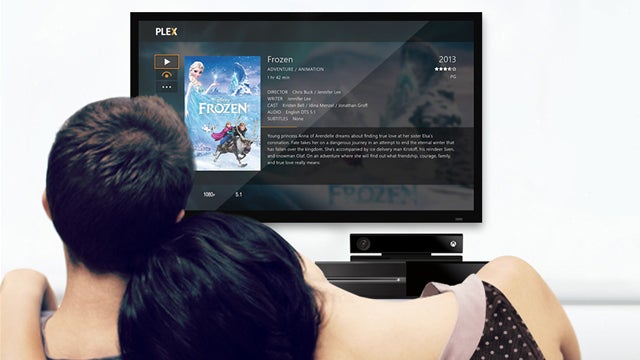
Plex is an exceptionally powerful and feature rich media server that supports virtually every connected device currently available.
There are installable versions for Windows, Mac OS X, Linux and FreeBSD, as well as support for NAS devices from Synology, QNAP, Netgear, Western Digital and many more, with Intel, ARM or PowerPC processors.

There are even individual Android, iOS and Windows Phone apps, Plex for Smart TVs and a dedicated Home Theatre edition for installation on a PC that’s connected directly to your TV.
Emby, formally Media Browser, is much like Plex in that it’s an all-platform supported media server with apps for connected network devices and mobile options.
It has a vast range of options available, but is still quite an easy program to setup and use. There are tons of customisable features, including cloud syncing, parental controls, the ability to stream live TV, and offline viewing of media for mobile devices.

Installation
The installation of each of these differs slightly, but essentially they operate in pretty much the same way. For example, looking at PS3 Media Server, once the setup file is downloaded and executed, you can choose your install language, agree to the GNU General Public License and select an install location. After that the media server installation will start and inform you when the process is complete, which isn’t very long.
You may need to allow PS3 access to your network, if you’re running Windows, but when complete it’ll search for any available media devices and display a simple interface with a number of tabs.
By clicking on the Navigation/Share Settings tab you’ll be able to set the server to monitor the folder locations of your media on the old PC. And from the General Configuration tab you can set the server to start when Windows is booted as a service if needed.

The Linux route
The beauty of using Linux as the OS of choice for a media server is not only that it’s free, but it’s also an extremely powerful platform on which to build and grow, and it can be more effective than the Windows option on a machine with limited hardware resources.
The problem though is the huge number of options you have available. There are countless Linux distributions, some more complex than others, and some purely dedicated for media serving duties. Most though, if not all, have software available that can be configured for the purpose.
For example, Ubuntu or Linux Mint are regarded as a good starting points for a new Linux user, but the more advanced users may instead opt for Arch, or Debian; or even one of the small footprint distros such as Puppy Linux. There’s a world of choice available, so a bit of research is in order, and don’t forget to ask on the various forums for advice.
Final thoughts
Although we can’t cover every aspect, hopefully there’s enough here to help you to embark on your own media server project using that formally unused PC.
Still need some advice on anything we’ve mentioned above? Let us know in the comments section below
Editorial independence
Editorial independence means being able to give an unbiased verdict about a product or company, with the avoidance of conflicts of interest. To ensure this is possible, every member of the editorial staff follows a clear code of conduct.
Professional conduct
We also expect our journalists to follow clear ethical standards in their work. Our staff members must strive for honesty and accuracy in everything they do. We follow the IPSO Editors’ code of practice to underpin these standards.