How to get the Google Experience Launcher on the Galaxy S5
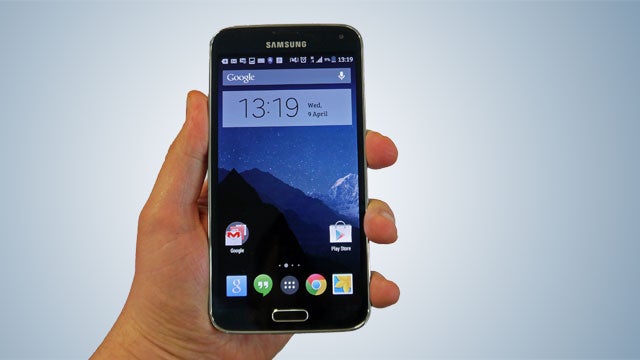
How to improve your Galaxy S5 with the Google Experience UI
The Galaxy S5 is without doubt one of the best phones of the year. A fantastic screen and versatile camera make it an early contender for best mobile of 2014. However, it does have a few problems.
One of the most important is that the TouchWiz interface of the Galaxy S5 is not all that pretty in parts. It is better than it was last year, but we’d rather have vanilla Android.
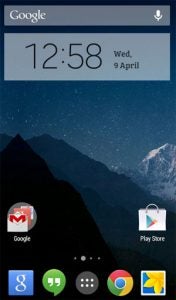
You normally need to root (hack) an Android phone to get rid of the custom interface a manufacturer has put on it. But you can get the Google Experience interface of the Nexus 5 on your new S5 without any of that faffing. Here’s how to do it.
You may also like:
- Android 4.4 KitKat tips, tricks and secrets
- Nexus 5 tips, tricks and secrets
- Samsung Galaxy S5 vs Galaxy S4: Should you upgrade?
Step 1: Enable non Google Play installs
As standard, the Galaxy S5 is blocked from installing apps not downloaded from either the Samsung Apps store or Google Play. You need to enable these kinds of installs.
Go to Settings > Security and scroll down the menu. Near the bottom is an Unknown Sources tick box. Tap it to allow installs from the web and elsewhere.
Step 2: Download the Google Experience installer
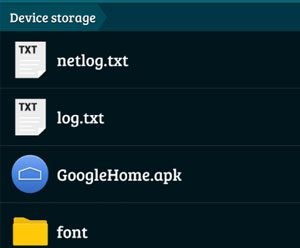 The Google Experience interface can be downloaded just like any other app – in the form of an .apk file.
It is currently being hosted over at the XDA forums. You can either download it with your Galaxy S5’s browser or do so on a computer, then transfer manually to the phone’s memory using a microUSB cable.
If you do this, just dump it to the root directory of the Galaxy S5.
Step 3: Install Google Experience
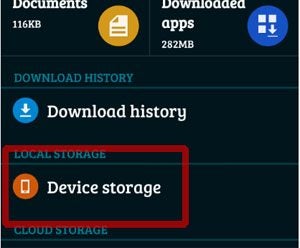 Next we need to run the .apk file. If you downloaded the file using the phone’s browser your should be able to run it through the notification that informed you the download had finished.
If you downloaded using a computer, open up the My Files app on your S5 and select Device Storage. This takes you to the Galaxy S5’s file system. You should see the GoogleHome.apk file here. Run and install the app.
Step 4: Trying out and Setting Home Screens
 After installing, the next time you press the Home button you’ll be asked which Home software you want to use. You should see three options. There’s one for TouchWiz, another for the simplified UI Samsung supplies for people who find tech tricky, or those with visual impairments, and a third option – the Google interface.
You have the option to set a default home screen or use it just the once. Do the latter and you’ll be asked which interface to use every time you hit the Home button.
If you set the Google interface as your default, there is an easy way to wipe it off, so don’t worry.
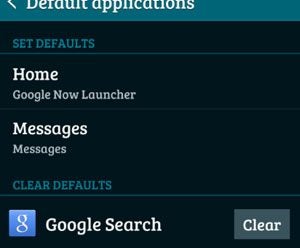
 To reset your preferences, go to Settings > Default Applications. Here you can pick preferences for your Home and SMS messaging apps – if Google Experience is set as default you should see a Google Search entry here.
Alternatively, there are home switcher apps that take out the fiddling around in the Settings menu. The one we currently use is Home Switcher by Twisted Apps. It’s free.
Step 5: Other Interfaces to Try
You can get other interfaces too, and plenty are available directly from Google Play. The process of setting and using these interfaces is just the same as it is with the Google Experience interface.
Other interfaces to try include Go Launcher, Launcher Pro and Facebook Home. However, both TouchWiz and the Google interface are a cut above most of them.
Next, read our Galaxy S5 vs iPhone 5S comparison


