Call of Duty WW2’s return to where the franchise began has given the series a new lease of life. And that’s ironic, because part of that lease of life involves the undead. Zombies mode has always been a treat, but with the burly mechanical weaponry of World War Two powering this year’s iteration, it’s especially gratifying to shoot Nazi zombie skulls.
Buy Call of Duty: WW2 from Amazon UK | Amazon.com
But with a legion of undead shuffling towards you at all times, it can be tough to figure out where to go next, which gate to unlock, or which hapless teammate to revive. If only someone had created a walkthrough to take the guesswork out of it.
Actually, that’s exactly what we’ve put together here! Read on and we’ll show you how to progress through each wave and reach the Easter Egg. Well, the ‘easy’ Easter Egg. There’s a more difficult one too, which we’ll leave for you to discover on your own. And this definitely isn’t because we’re not hardcore enough to complete it ourselves.
Related: Xbox One X review
Call of Duty WW2 Zombies Guide – Starting out
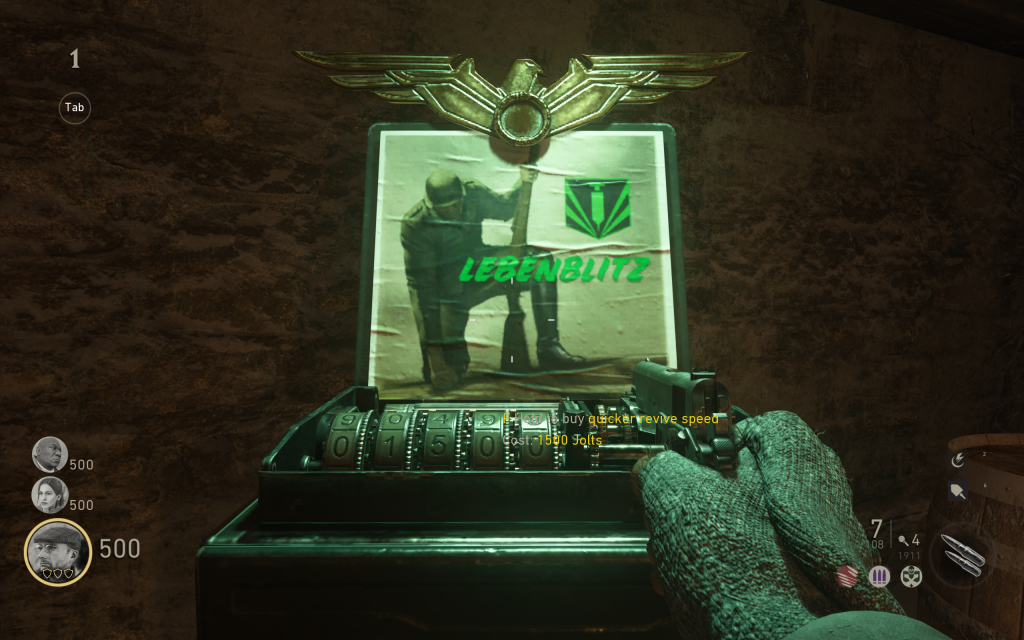
The first order of business during Wave 1 is to accumulate enough Jolts to purchase the quicker revive speed perk that can be found on the right-hand side of the starting area. It’s every bit as useful as it sounds. Then it’s simply a matter of staying alive and unlocking the central gate – it’s cheap, don’t worry.
Even at this early stage, you might adopt a tactical approach to zombie-killing. This may see you leaving one or two of them alive for as long as possible in order to navigate the map and stock up on supplies in relative safety. Once you kill every zombie in a wave, you trigger the next one.
Obviously, this means more Jolts for the taking. However, it also means a fresh onslaught of more challenging enemies, which isn’t always ideal. Be sparing with the kills, allowing yourself just enough Jolts to progress and stay ahead of the curve with your weaponry.
Related: Star Wars Battlefront 2 review
Call of Duty WW2 Zombies Guide – The generator
Now that you’re in the central outdoor area, your first task is to power up a generator by activating three valves that you’ll find dotted around. Discover each valve by following the pipe along from the generator; two are in the same area as the generator. You’ll find the final on going through a gate – again, just follow the pipeline.
If you’re playing in a group then you might decide to elect one team member on crowd control while three go off and hunt for the valves. Or you might assign three shooters and one valve hunter. Either works. Just remember to thin out the wave first, and then do what you need to do before completing that wave.
With that done, you’ll be able to activate the pilot light at the well in the central area. When you do so, you’ll trigger a fiery mess of zombies, so be prepared. Next, jump down into that well. You’ve got this.
Related: Best FPS Games

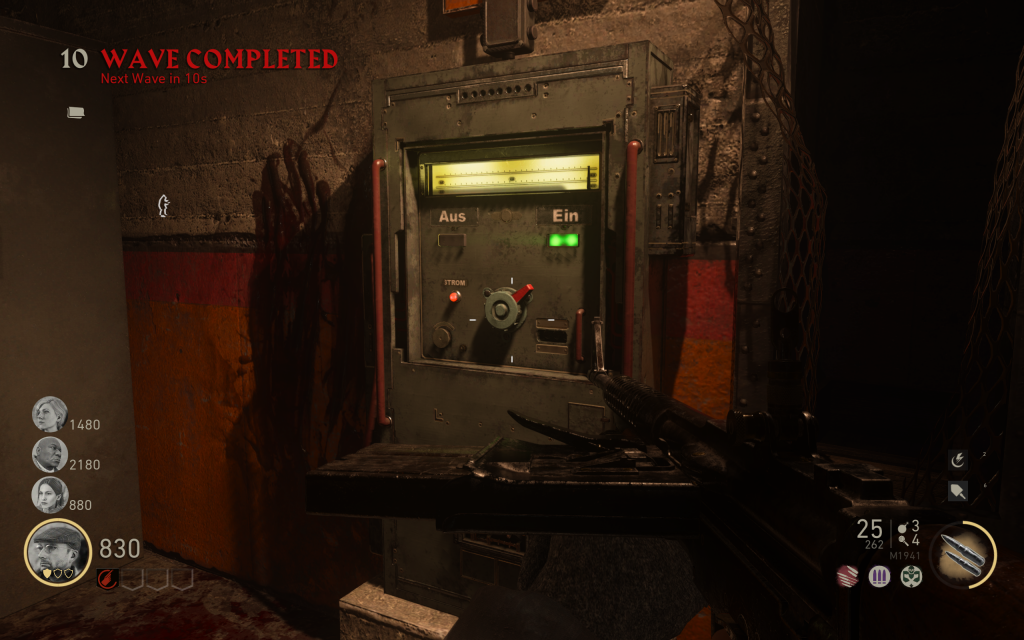
Follow the tunnel right the way around and you’ll come to a generator and a gate. Activate the generator to power up the bunker door, and open the gate. The bunker door will be just to your left as you exit, and it’s through here you need to go next.
Call of Duty WW2 Zombies Guide – The bunker
Head down into the main room, in which you’ll find three locked doors and a couple of weapons for sale up on the walls. Your task is to open up the salt mine door – the central one. In order to do so, you’ll need to hit two switches through the doors on the left and right within a certain time.
You can split up the group into pairs and take one corridor each. Or, if you’re playing solo, methodically navigate one corridor then the next, hitting the switches as you find them.
When you find the first one hit it, and then run all the way back to the central room and head down the opposite corridor to find the second. If you hit both switches in the time limit, you’ll now be able to unlock the salt mine door in the centre.
Related: Upcoming PS4 Games
It’s claustrophobic down here, so employ that crowd-thinning strategy and then leave just one or two zombies alive while you search for the switches. You’ll also find several perk dispensers in this bunker, so take your time here and spend some Jolts on upgrading yourself.
Call of Duty WW2 Zombies Guide – The salt mine
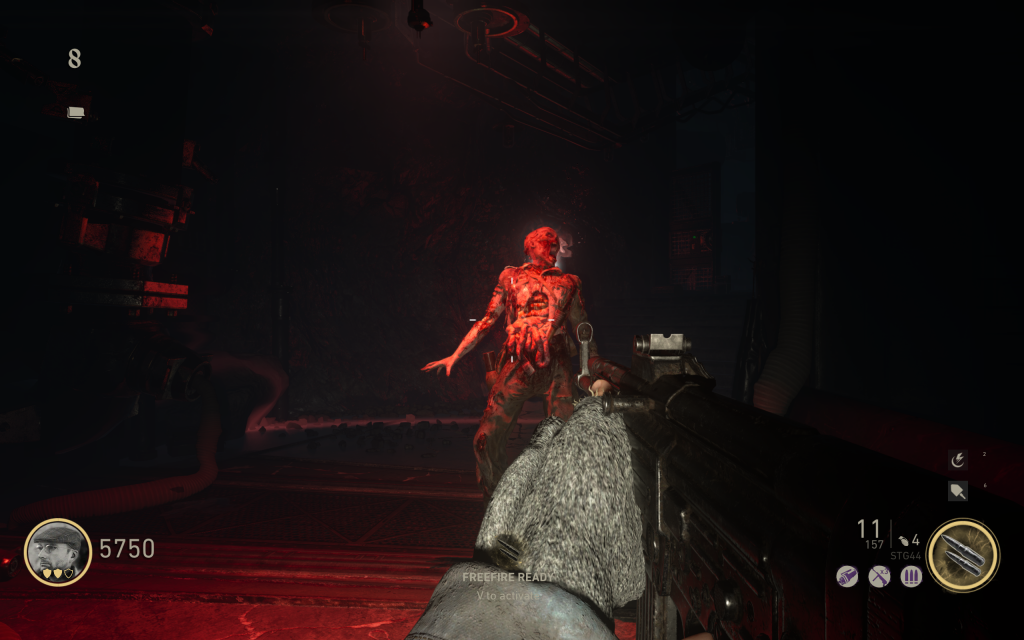
Follow the underground tunnel beyond that door until you find the soul box. You can’t miss it: it’s a huge foreboding machine illuminated by candlelight in a spooky chamber. Once you activate it, you’ll notice a red circle around it. Your next job is to kill a certain number of enemies within this circle. The close proximity makes this a tricky fight, so it’s a good idea to have your abilities charged and ammo restocked just before you take it on.
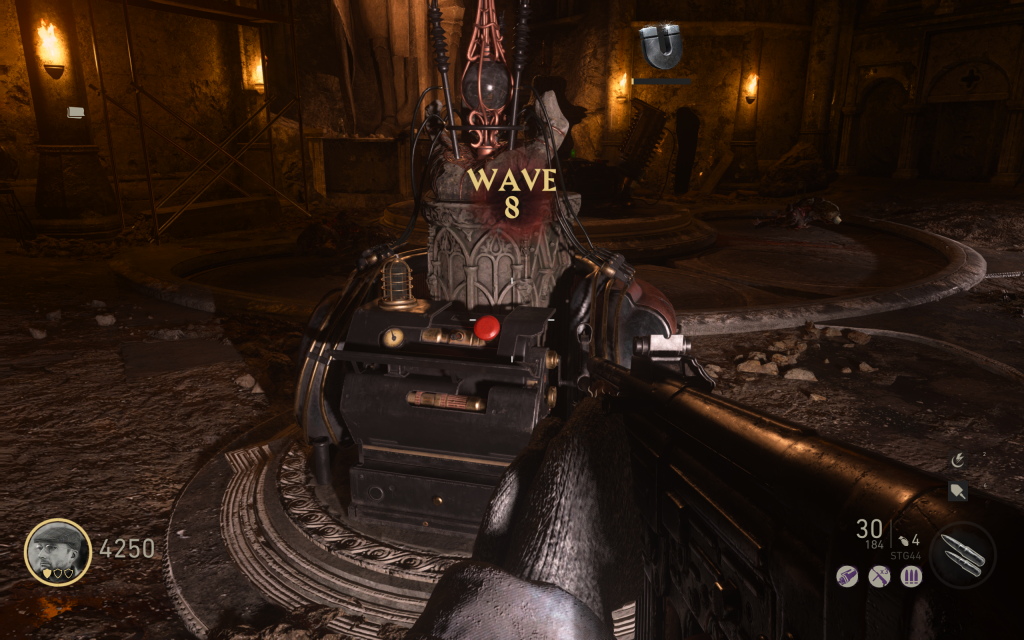
Once done, head back up to that central room in the bunker and activate the machine on the lower level. The power should go out – and it’s totally okay to release a small to medium-sized whimper at that point. Stay on task, though. Head to the upper level of that same room, and activate the Geiskraft Transfer Device.
Now you’re killing zombies within a red circle again, only this time the circle is moving along a route, stopping occasionally to give you a heart attack. You’ll need to keep exterminating foes in order for the device to continue to move, so this is another vital time to use ammo wisely and deploy abilities at the opportune time.
Related: Best Xbox One Games
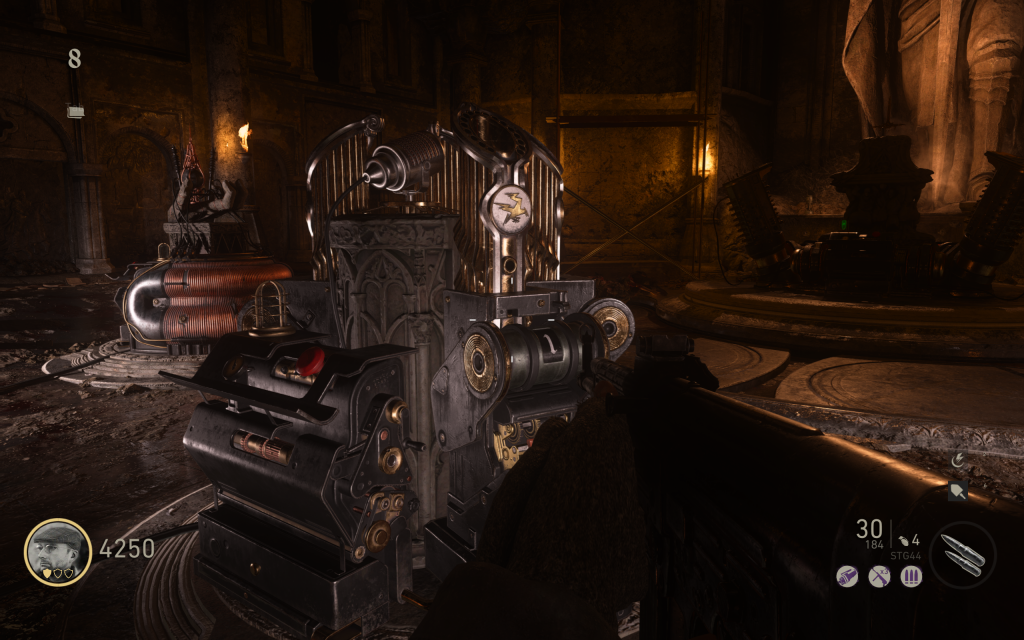
Eventually it will reach a huge machine on the lower level, which will deploy part of a Tesla Gun when it arrives there. Then you follow the Geiskraft Transfer Device all the way back up. Don’t worry about killing enemies at this point, though; it moves regardless. Save your ammo, thin the crowd when you have to, and keep things peaceful.
Next job? Sorry, it’s bad news. You follow the device down to another location, where another device spits out a second part of the Tesla Gun. Once you’ve collected that, the device comes back up to the bunker’s central room once again, and triggers the spawning of an especially tough flamethrower-wielding enemy. Once you’ve killed him, pick up his head. You’ll need this later in the mission, so place it somewhere it’s easy to see and retrieve.
With all the parts collected, use that big box in the upper level of the central room and you’ll be given the Tesla Gun.
Call of Duty WW2 Zombies Guide – Right Hand of God
Things take a step up in difficulty from here on out, so steel yourself and head down to that lower level lair in which you found the first soul box. If you check out the Right Hand of God, you’ll see a prompt to activate it. Once you do so, go back to where you got the Tesla Gun and find the fuse box on the wall behind it. Flip the switch and make note of the sequence of colours it shows you.
This is where things become tricky. You’re going to flip the switches on a number of other fuse boxes so they correspond with that sequence, starting with the box just to the right of the first one.
Related: Xbox One X vs PS4 Pro
From there, head around in a circle continuing on the right, so that you come to the door to the left of the salt mine door. Keep heading through the corridors towards the direction of the exit to the surface and you should find two more boxes to set in the colour sequence.
Finally, once you’re topside again, head towards that castle tower. You’ll find the last box there, and just beyond it will be the lightning rod you need to defend in the next phase.
Activate the first lightning rod and defend it until the timer expires, then activate the two secondary rods and do the same thing. When you’ve completed that formidable task, head back down to the Right Hand of God and activate it.
Call of Duty WW2 Zombies Guide – Left Hand of God
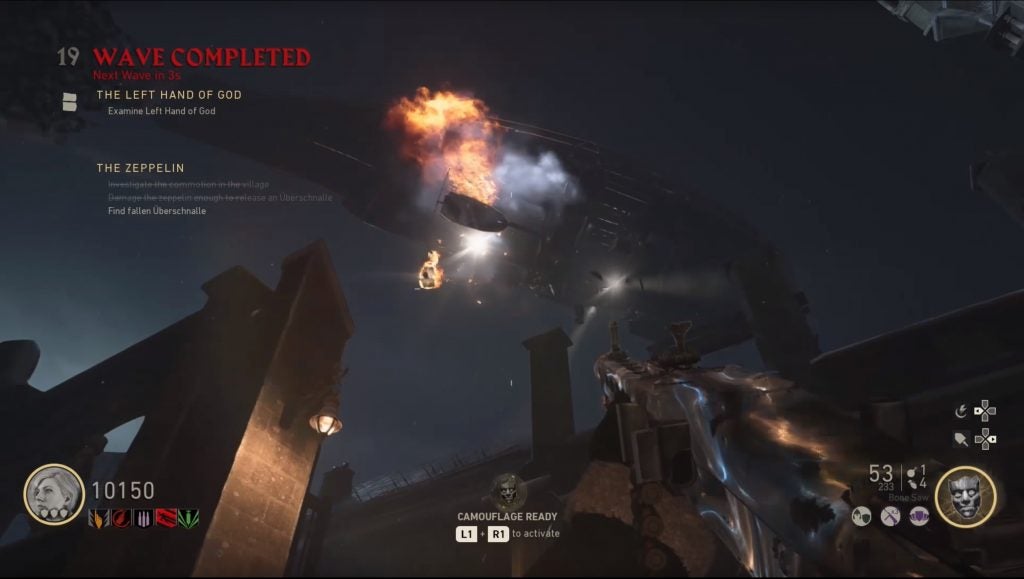
Cross the room and activate the Left Hand, then head topside again. You’ll notice a blimp in the air, which occasionally emits orange lights. Shoot these lights when they appear and the blimp will drop batteries onto the ground, which also work like soul boxes. After killing the required number of enemies each time, take the (helpfully much smaller) battery back to the Left Hand of God in order to power it up.
Related: Best Black Friday Deals
Call of Duty WW2 Zombies Guide – Brenner head
This is where we depart well-signposted objectives and enter real Easter Egg territory, so get a pen and paper at the ready. No, seriously.
Retrieve that Brenner head from where you left it. You’ll be using this to uncover secret markings on four paintings dotted around the map: three on the surface level and one underground.
When you come across a painting, press the aim button to activate the Brenner head’s vision, and make a note of both the number and symbol. On finding all four return to the room with the Left and Right Hands, and enter the corresponding number with each symbol on the central pillar. It’s a little like a Skyrim puzzle, right down to the eagle symbols and the dank surroundings.
Related: PS5 wishlist
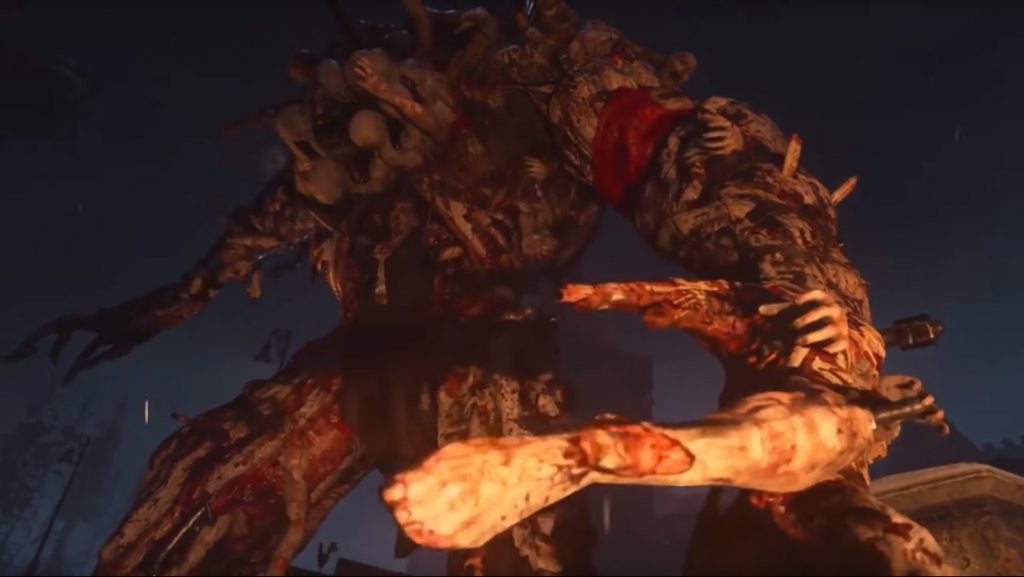
Call of Duty WW2 Zombies Guide – Boss Fight
Yep, you made it. This is the end game, and it begins by everyone shooting that orb that appears at the same time, and then picking up the sword hilt.
Up on the surface, an enormous boss has appeared. It actually isn’t too difficult to beat him, as long as you all keep together and keep a respectable distance from him while thinning the crowd.
Buy Call of Duty: WW2 from Amazon UK | Amazon.com
In order to defeat him, you need to repeat the same mechanic from the Left Hand of God: wait for the glowing lights from the blimp, shoot them, and then destroy the batteries. This time, however, you don’t need to travel so far with them. Coax the boss towards a battery and shoot him until he’s downed, then grab the battery and bring it to him.
Related: Best Xbox One Black Friday Deals
Do this three times and the Panzermorder is defeated. Well done, you just beat the ‘easy’ Easter Egg in this year’s Zombies campaign.
Editorial independence
Editorial independence means being able to give an unbiased verdict about a product or company, with the avoidance of conflicts of interest. To ensure this is possible, every member of the editorial staff follows a clear code of conduct.
Professional conduct
We also expect our journalists to follow clear ethical standards in their work. Our staff members must strive for honesty and accuracy in everything they do. We follow the IPSO Editors’ code of practice to underpin these standards.