Taking photos in the iPhone’s default camera app has always been pretty simple and straightforward – in fact, almost too simple for those who want to get a bit more creative with their shots.
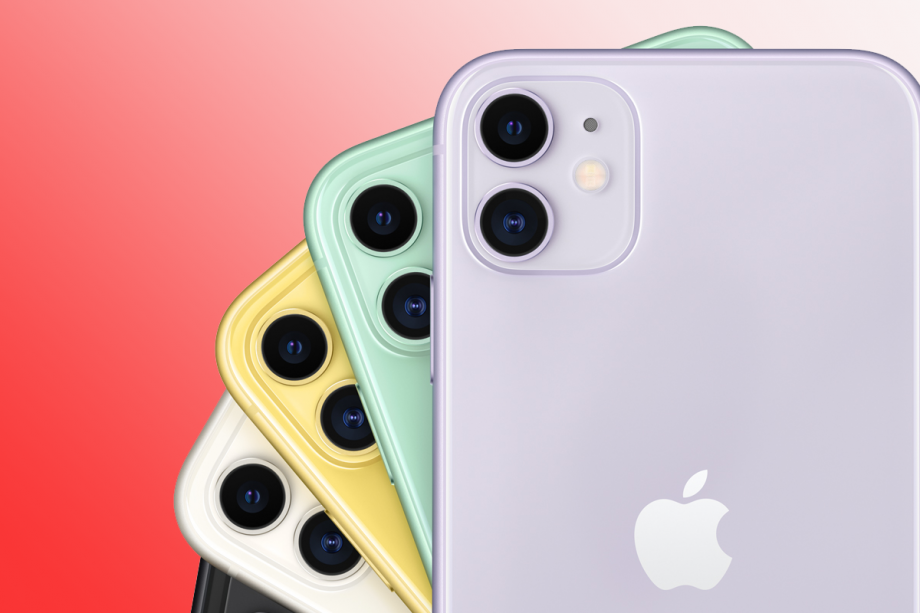
Well, that’s all changed on the iPhone 11 and iPhone 11 Pro, which not only bring a new wide-angle lens, but a generous helping of new software features for you to explore.
The trouble is, some of these are not immediately obvious and it’s not always clear exactly how to take advantage of the extra photographic power stored in your shiny new iPhone.
That’s why we’ve put together this starter guide for the iPhone 11 and iPhone 11 Pro’s cameras, so you can get a strong foothold and spring towards Instagram greatness. Read on and get snapping…
Related: iPhone 11 review
1. Learn to look outside the frame
When shooting the standard (26mm equivalent) lens, the iPhone 11 and iPhone 11 Pro use the wide-angle lens to show you what’s going on outside the frame, a bit like a rangefinder camera. Those cameras have long been popular with street photographers because they let you nail the exact moment when an interesting character walks into the frame.
You don’t need to do anything to set this up – just hold up your iPhone 11 with the camera app open and point it towards the scene to see it in action. Find a photogenic background like an empty street, then use the wide-angle preview to time the moment your subject enters the shot.
Want to keep the wide-angle view of your scene, in case you want to change your composition later? Here’s how to do it…
Related: iPhone 11 Pro review
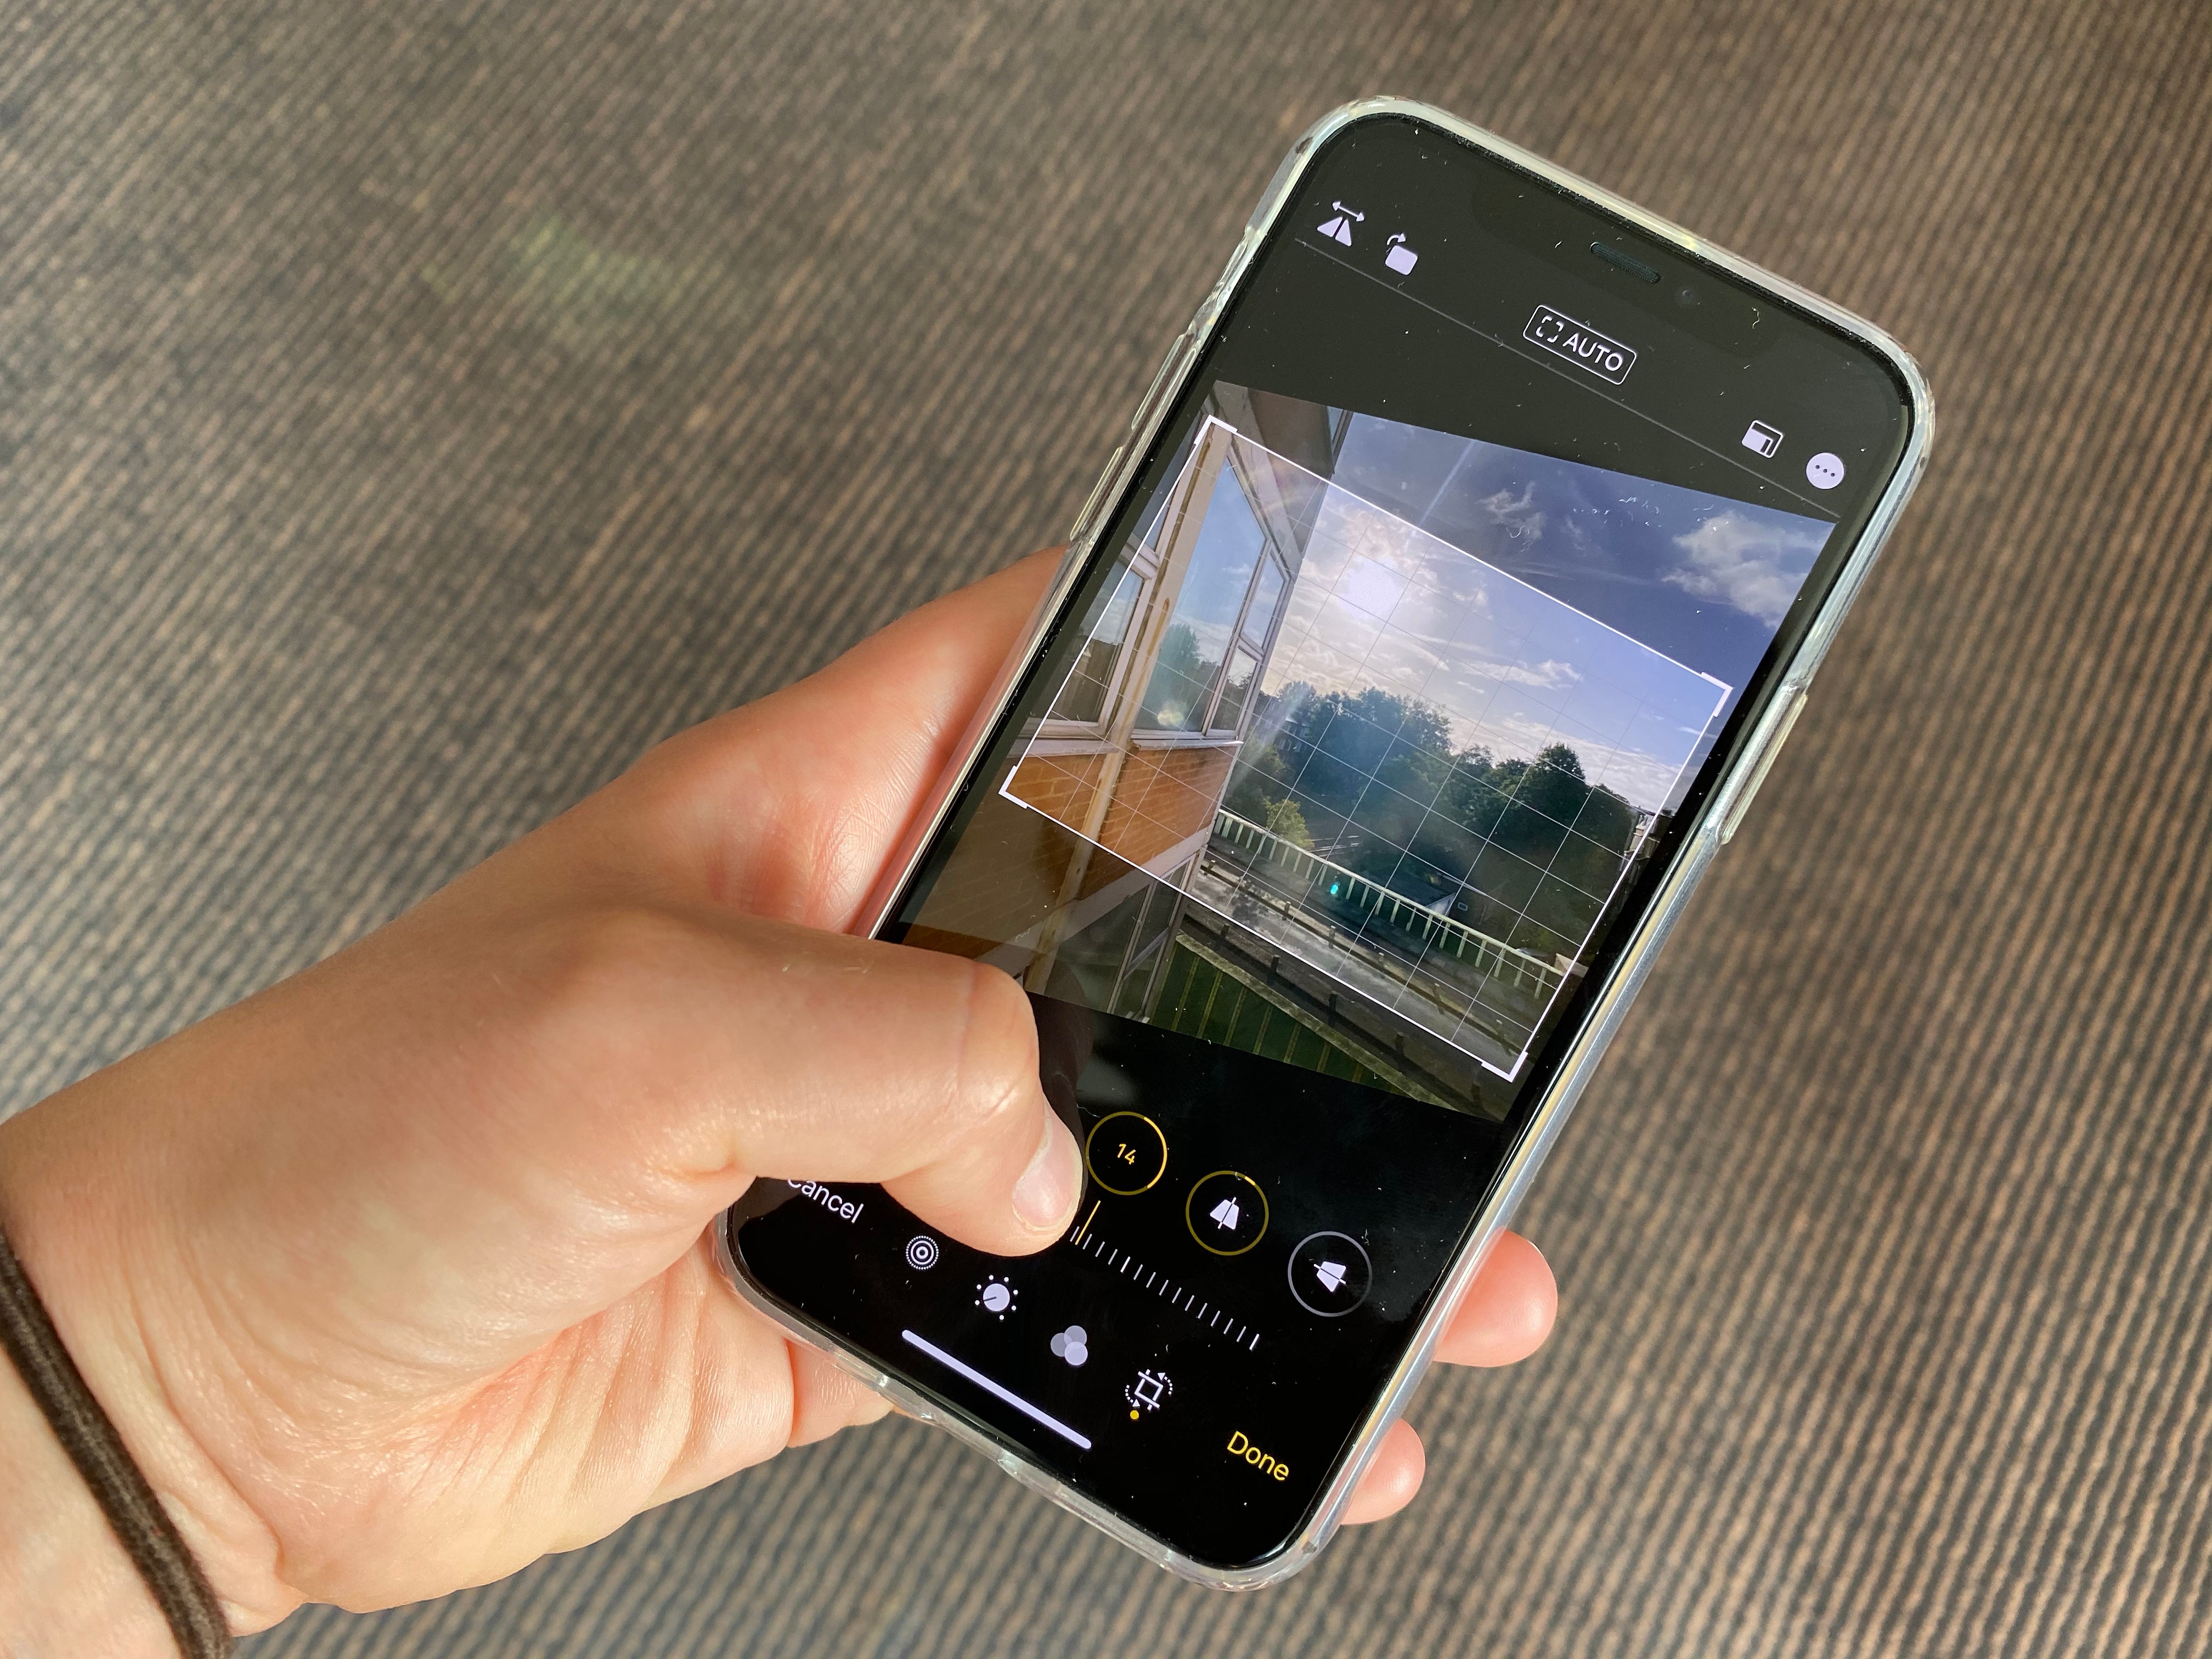
2. Adjust your compositions – after they’ve been taken
Here’s another fun new feature on the iPhone 11 and iPhone 11 Pro that’s great if you can’t quite decide the best way to compose a scene.
You’ll need to head into the main settings for this one again, where in the Camera section you’ll find a heading called “Composition”. If you enable “Photos Capture Outside the Frame” the camera will record two photos at the same time – one using the wide-angle lens, and another using the standard angle.
There are a couple of things to consider when using this nifty trick. First is that you’ll have to shoot in the HEIF format, which isn’t always handled well by non-iOS devices. Also, the wider angle photo will be deleted if it’s not used within 30 days, so you’ll need to be reasonably quick off the draw with your editing.
To find the wide-angle view of the shot, tap ‘Edit’ underneath the photo, then the cropping icon, then press the three dots button in the top right and choose “Use Content Outside the Frame”.

3. Take control of HDR
The iPhone 11 and 11 Pro are equipped with Smart HDR, which is switched on by default. This automatically detects the light levels in your scene and preserve both highlights and shadows for a more balanced image.
Most of the time, it gets things spot on, but every so often, there will be times when challenging conditions lead to an image which is not quite right.
If you’d rather have less processed photos to edit in an app like Lightroom, head to the settings menu, find the Camera section, then turn off Smart HDR.
The good thing about this is that it doesn’t totally rule out using Smart HDR for certain scenes – in the Camera app you’ll now see an HDR button at the top to switch it on and off. It just means your default shooting will be without Smart HDR’s occasionally overzealous processing.
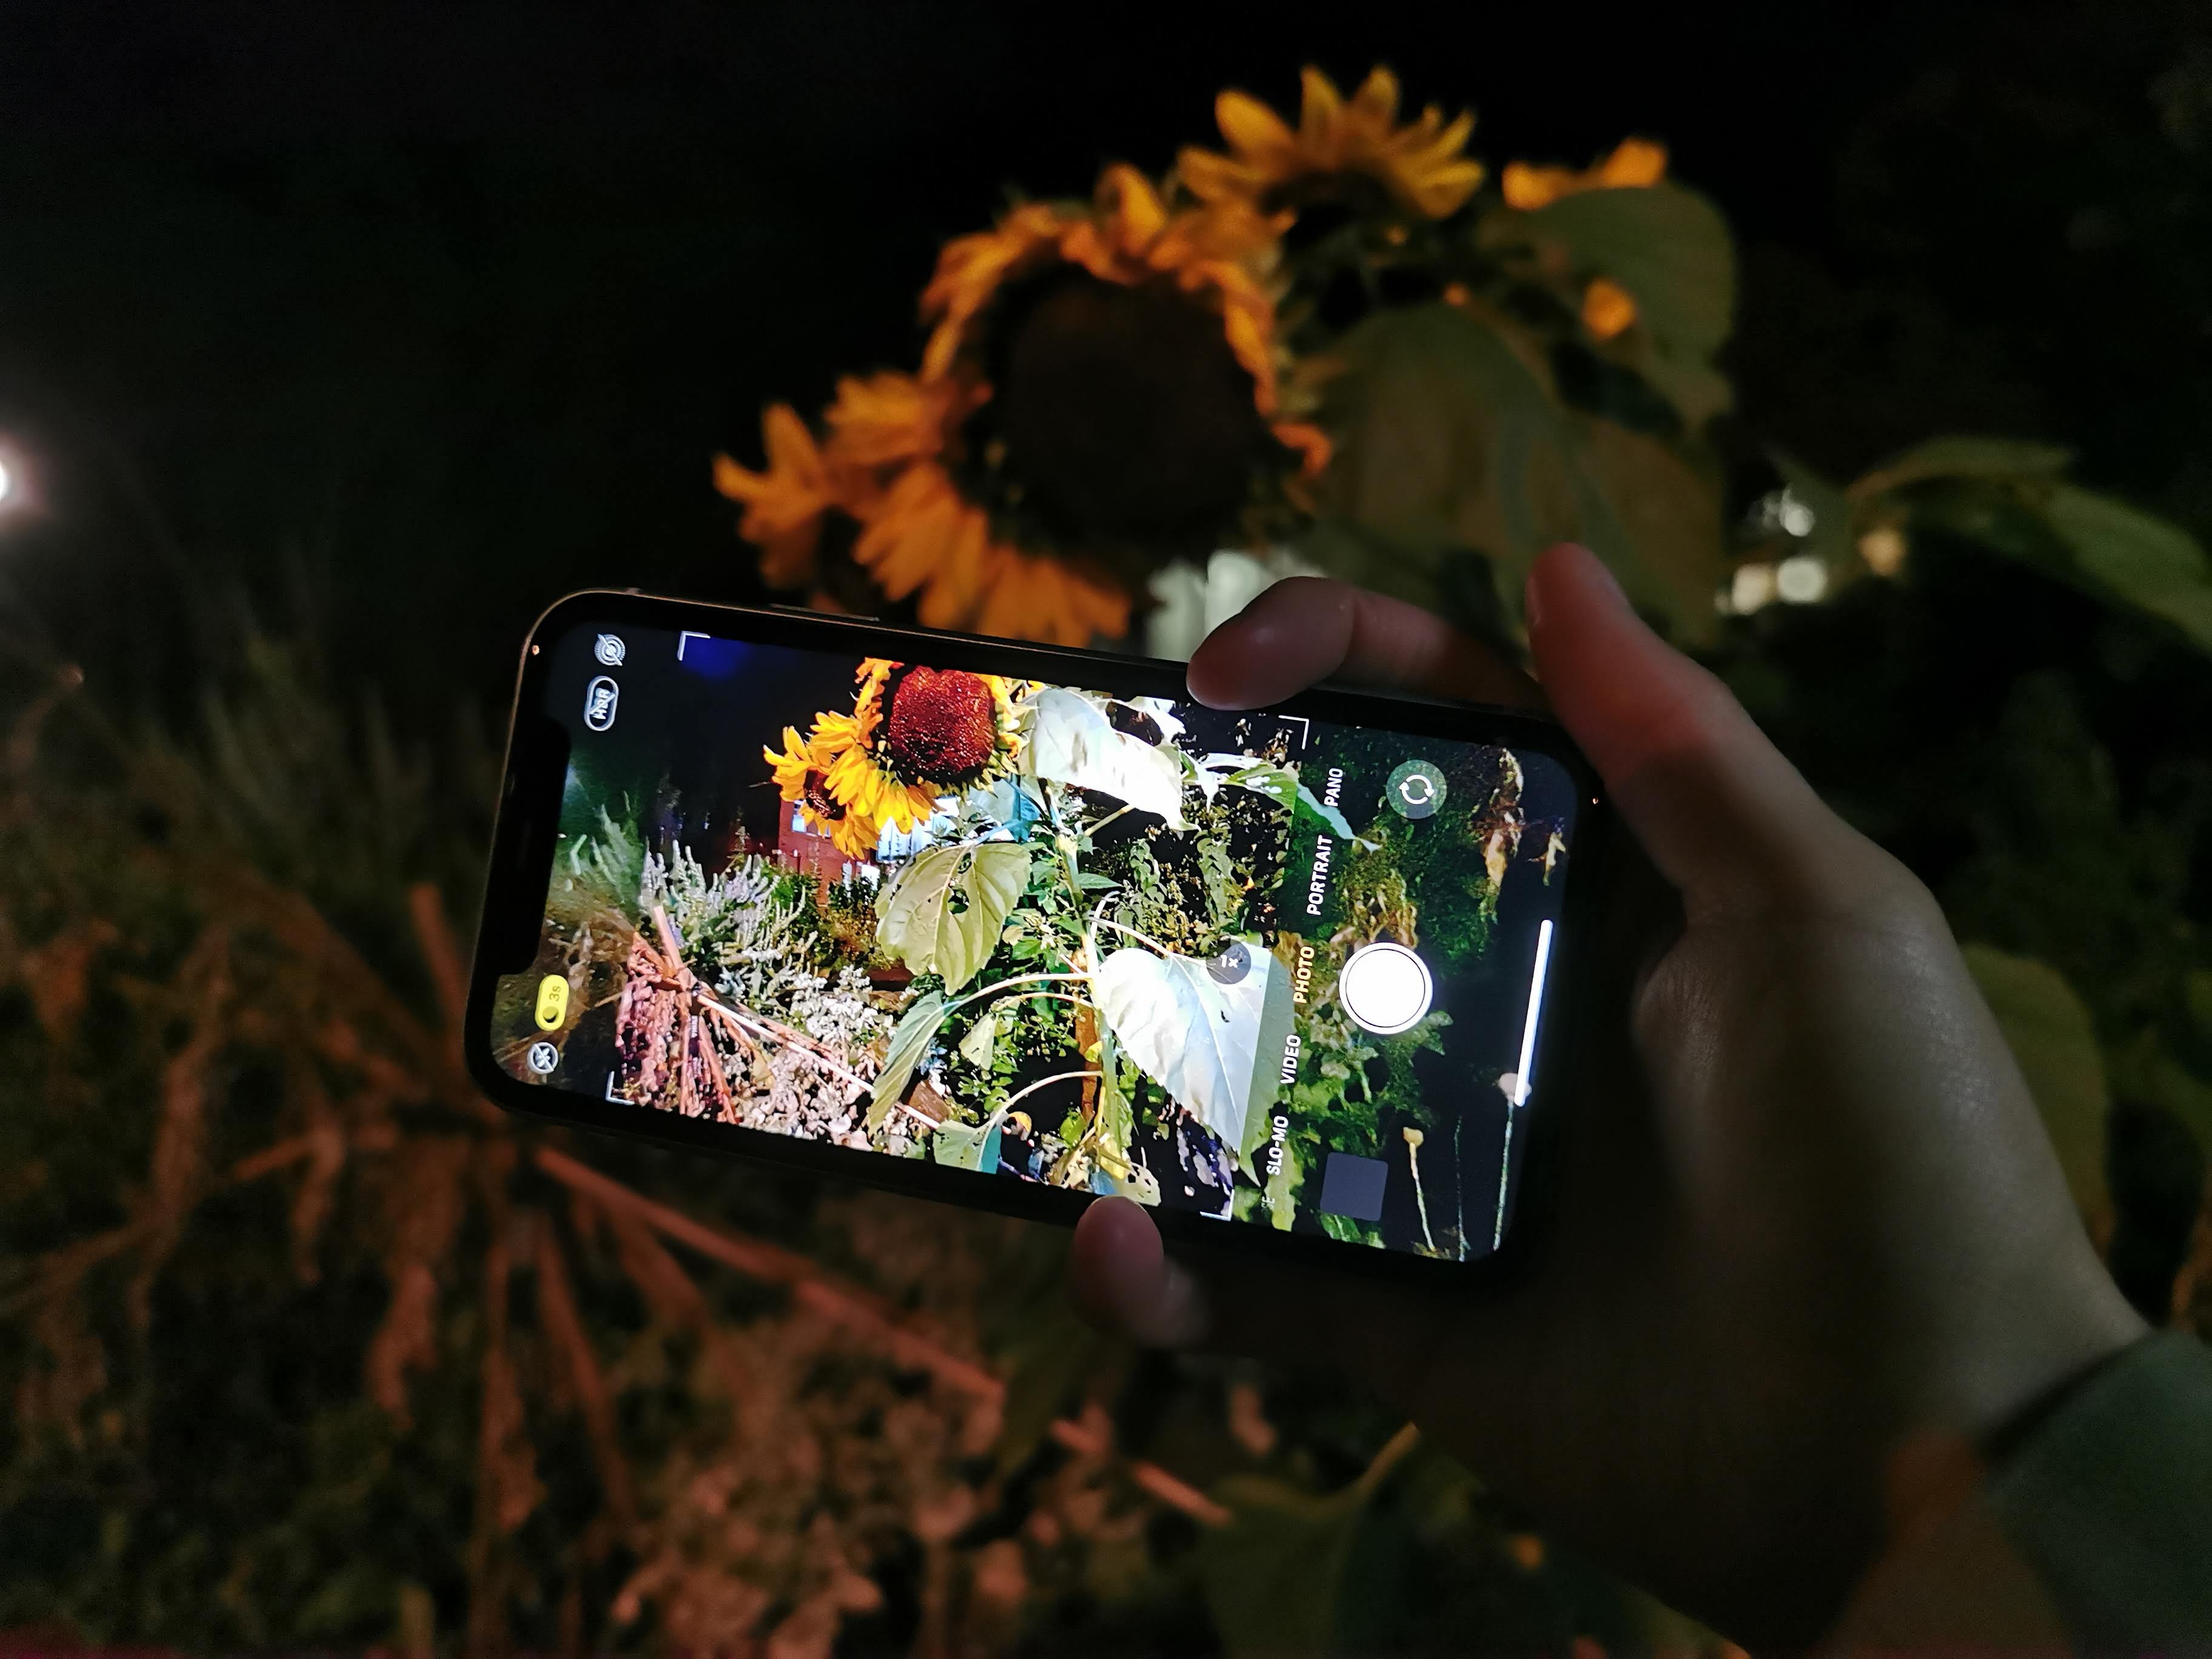
4. Get to grips with Night Mode
Night mode is a new feature for the iPhone 11 and iPhone 11 Pro – and it’s something we’ve been waiting to appear a while.
That said, it’s not actually a dedicated mode you can choose to use – instead it will activate automatically when the iPhone detects that ambient lighting conditions are on the low side.
But you can still take a little bit of control of it once it is in use. Tap the Night mode icon in the top left and you can use a slider to select a faster shutter speed if it’s brighter than the phone realises, or leave it on Auto – or you can even choose to turn it off altogether.
It’s worth holding your iPhone 11 steady on a surface, or even a tripod if you have one, as the phone will recognise this and boost the shutter speed as high as 30 seconds, which is potentially great for night sky shots.
Related: Best photo editing apps
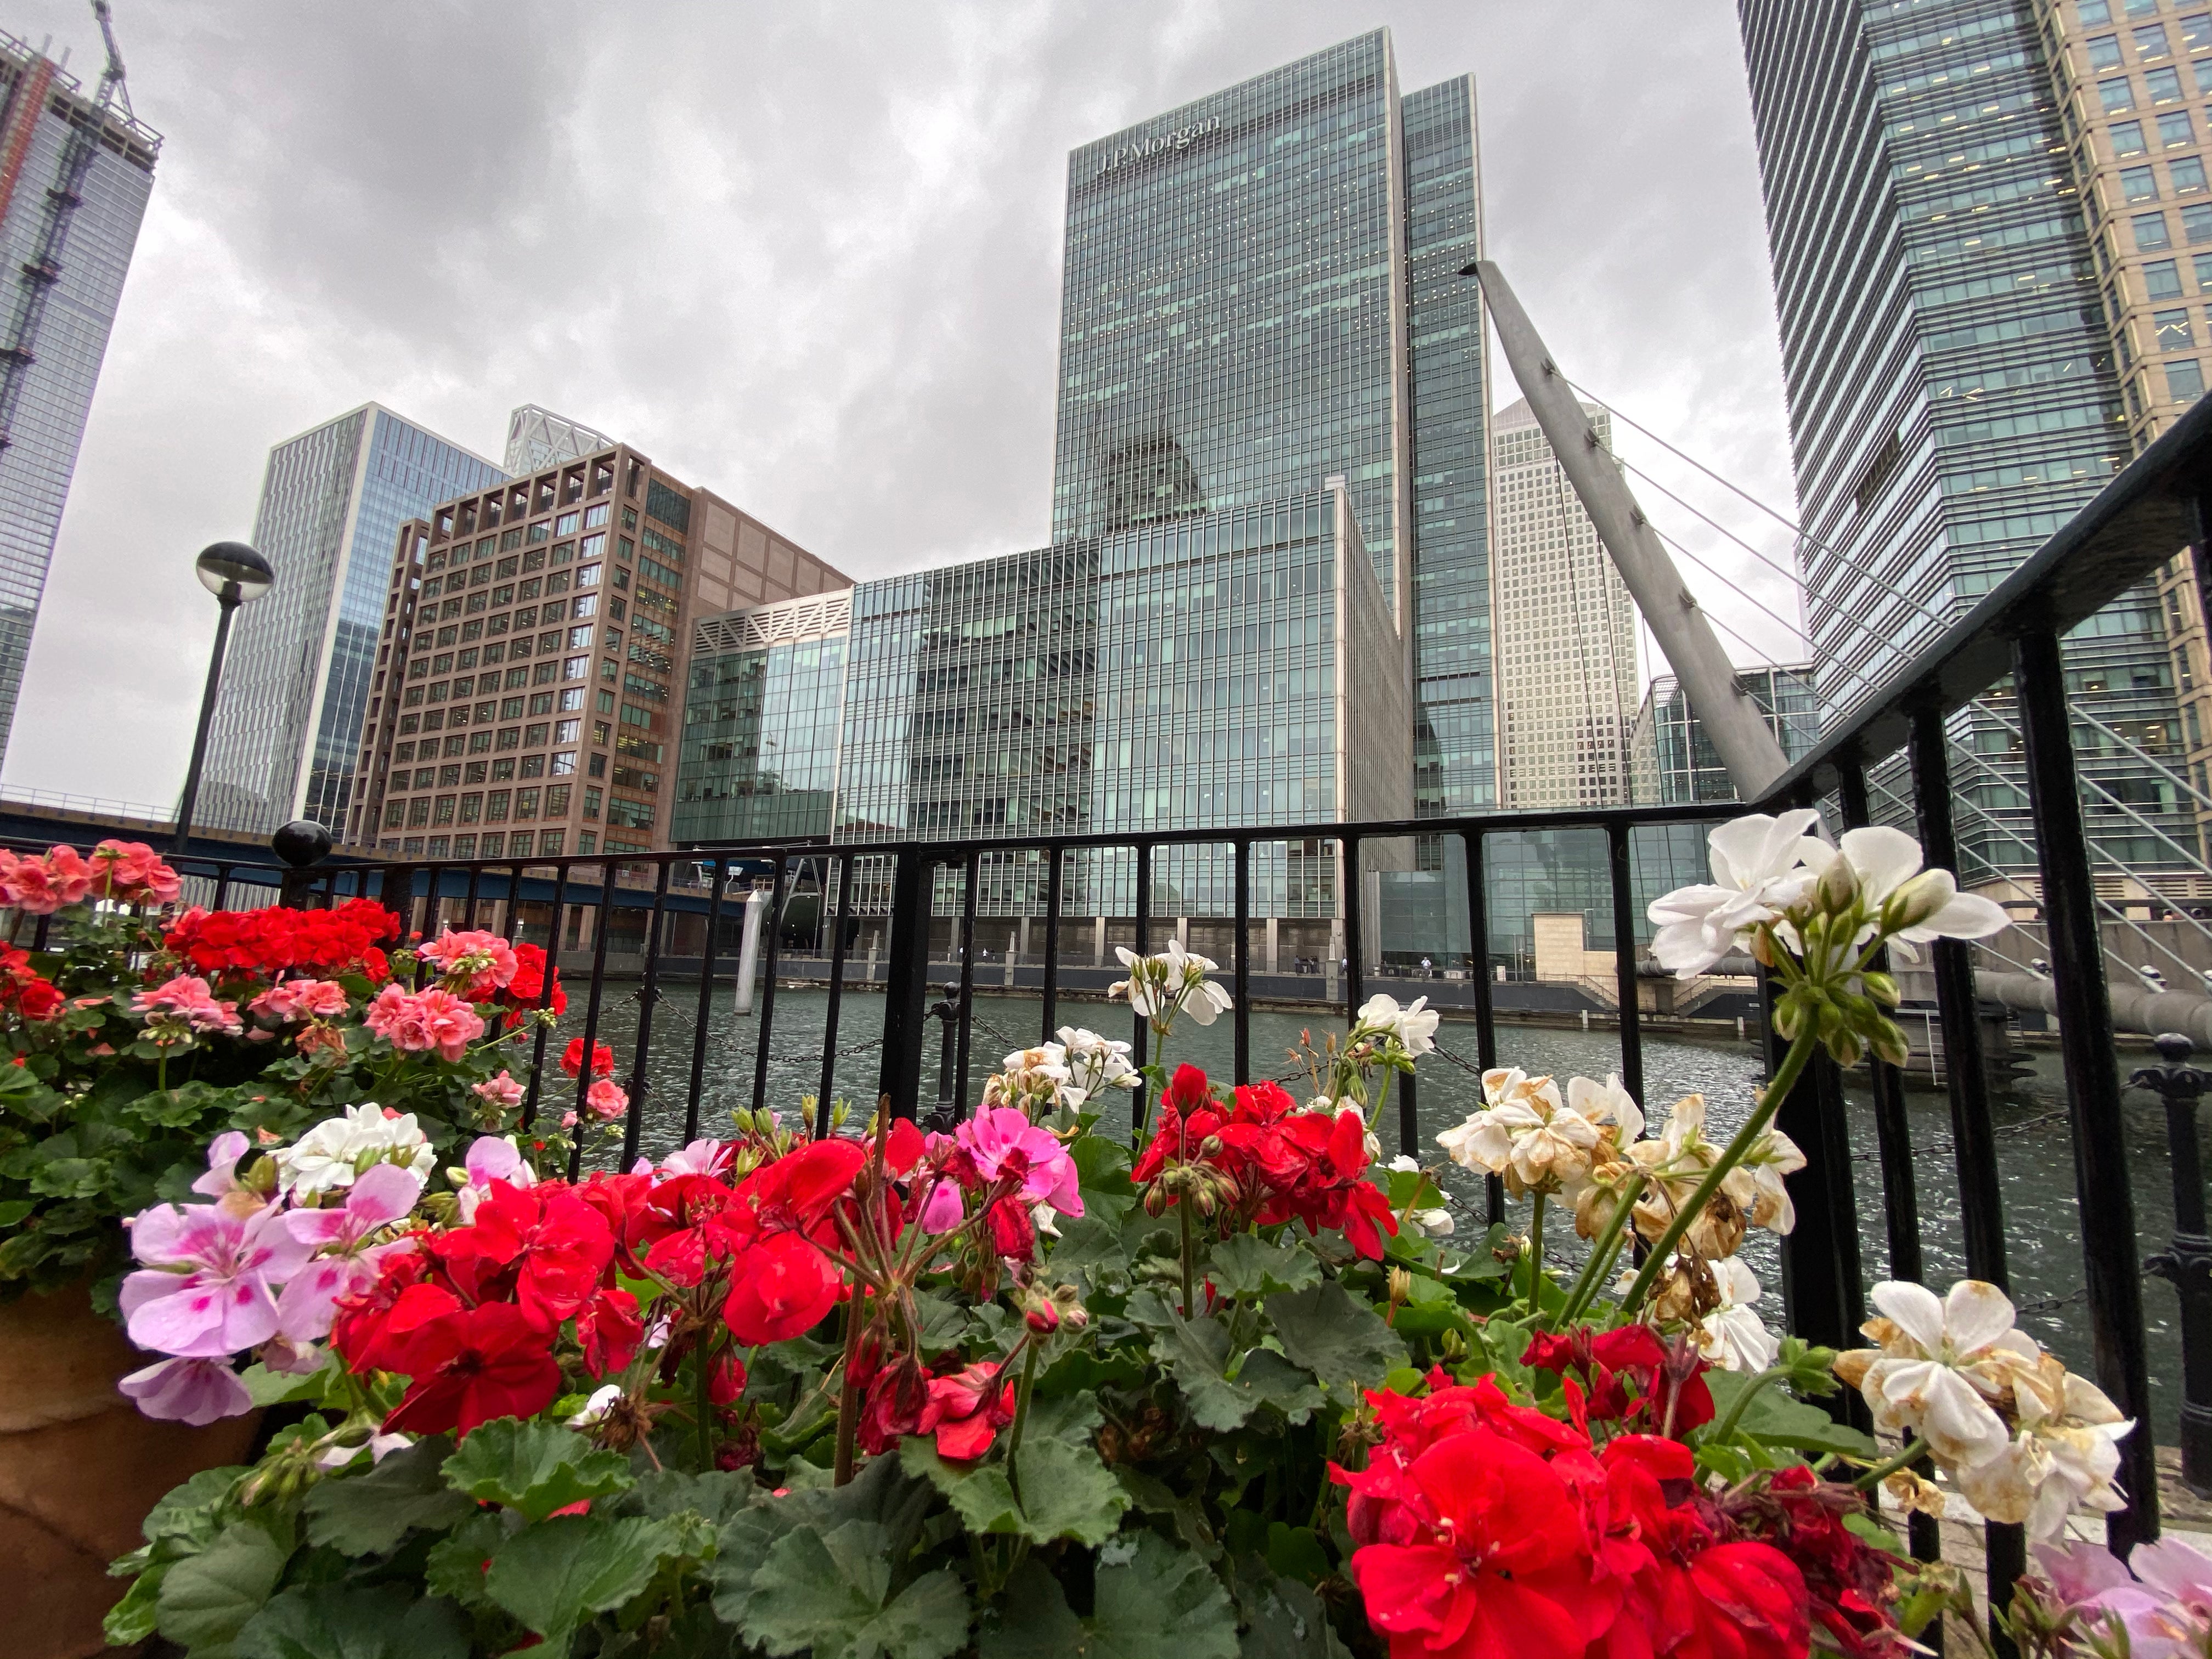
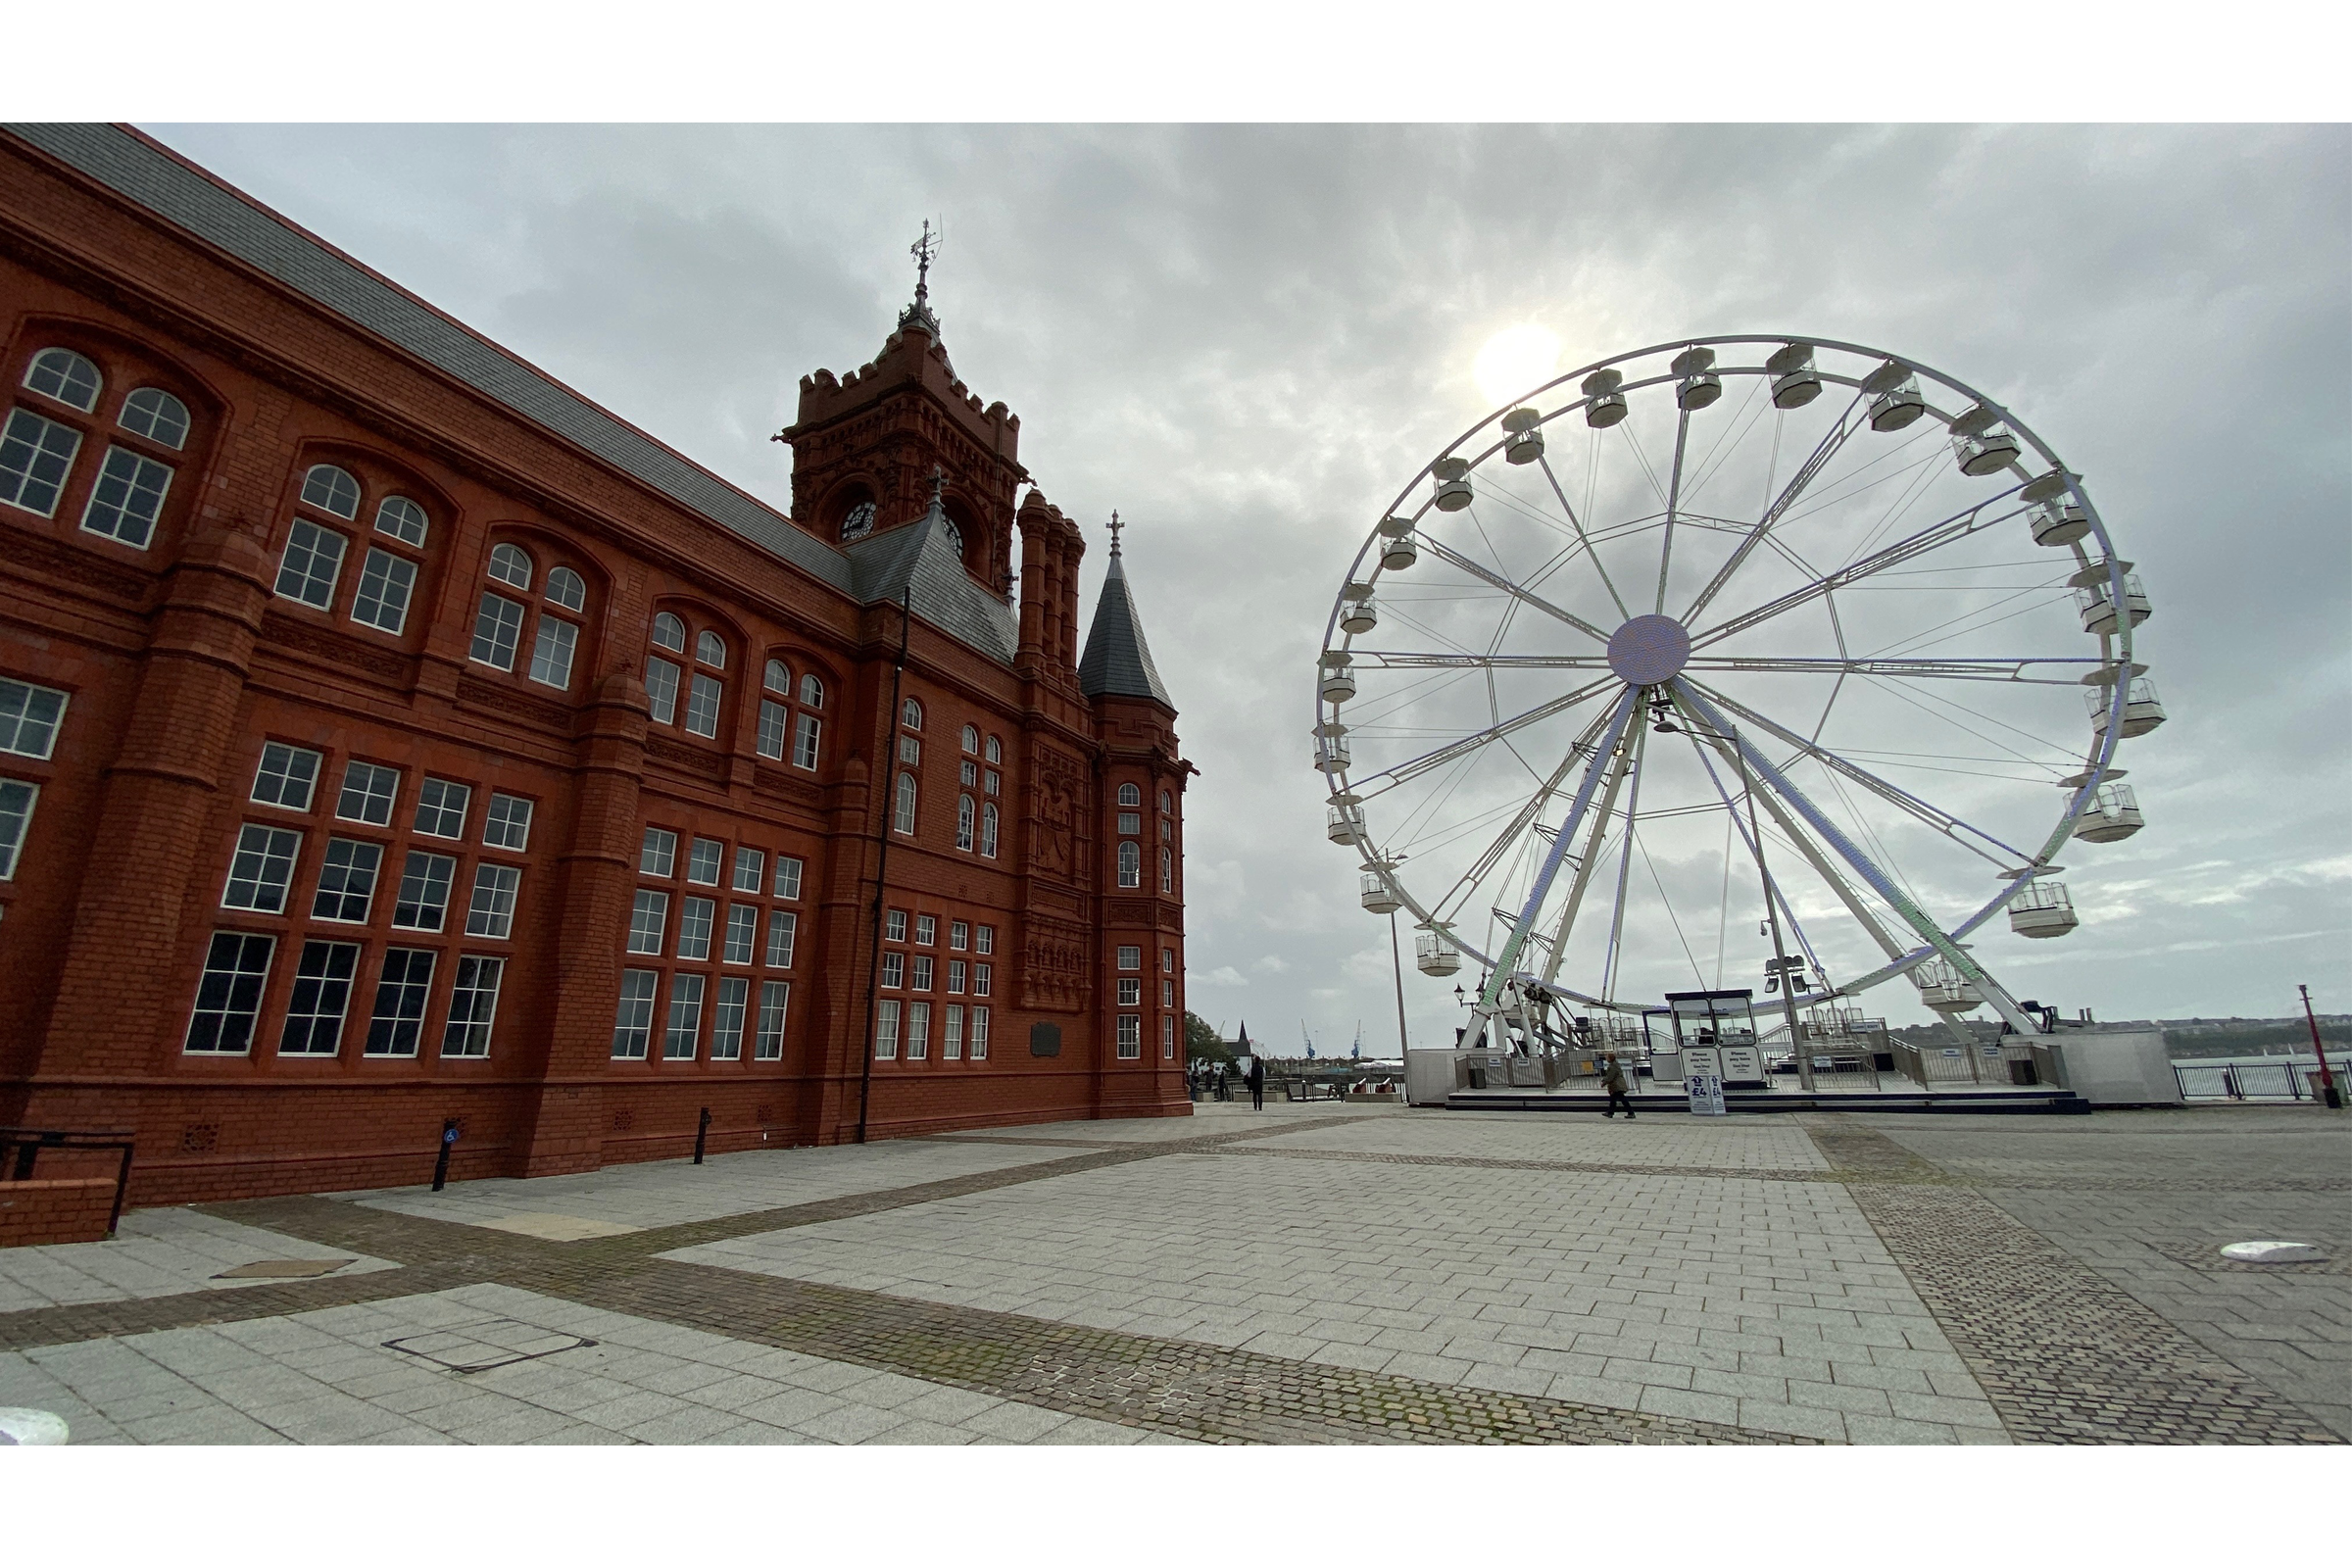
5. Master the ultra wide-angle lens
The iPhone 11 and iPhone 11 Pro are the first ones with super wide-angle lenses. If you haven’t used one before, their 13mm equivalent field of view comes in super-handy for a number of different subjects, but particularly landscape and architecture where you want to fit in as much of the scene as possible.
If you want to go beyond dramatic building shots, one common technique used by landscape photographers is to juxtapose one close object with a far object – for example, some nearby flowers with a far away background subject.
You might also want to try using it in while composing in portrait orientation, for an interesting new look that simply wouldn’t have been possible before with older iPhones.
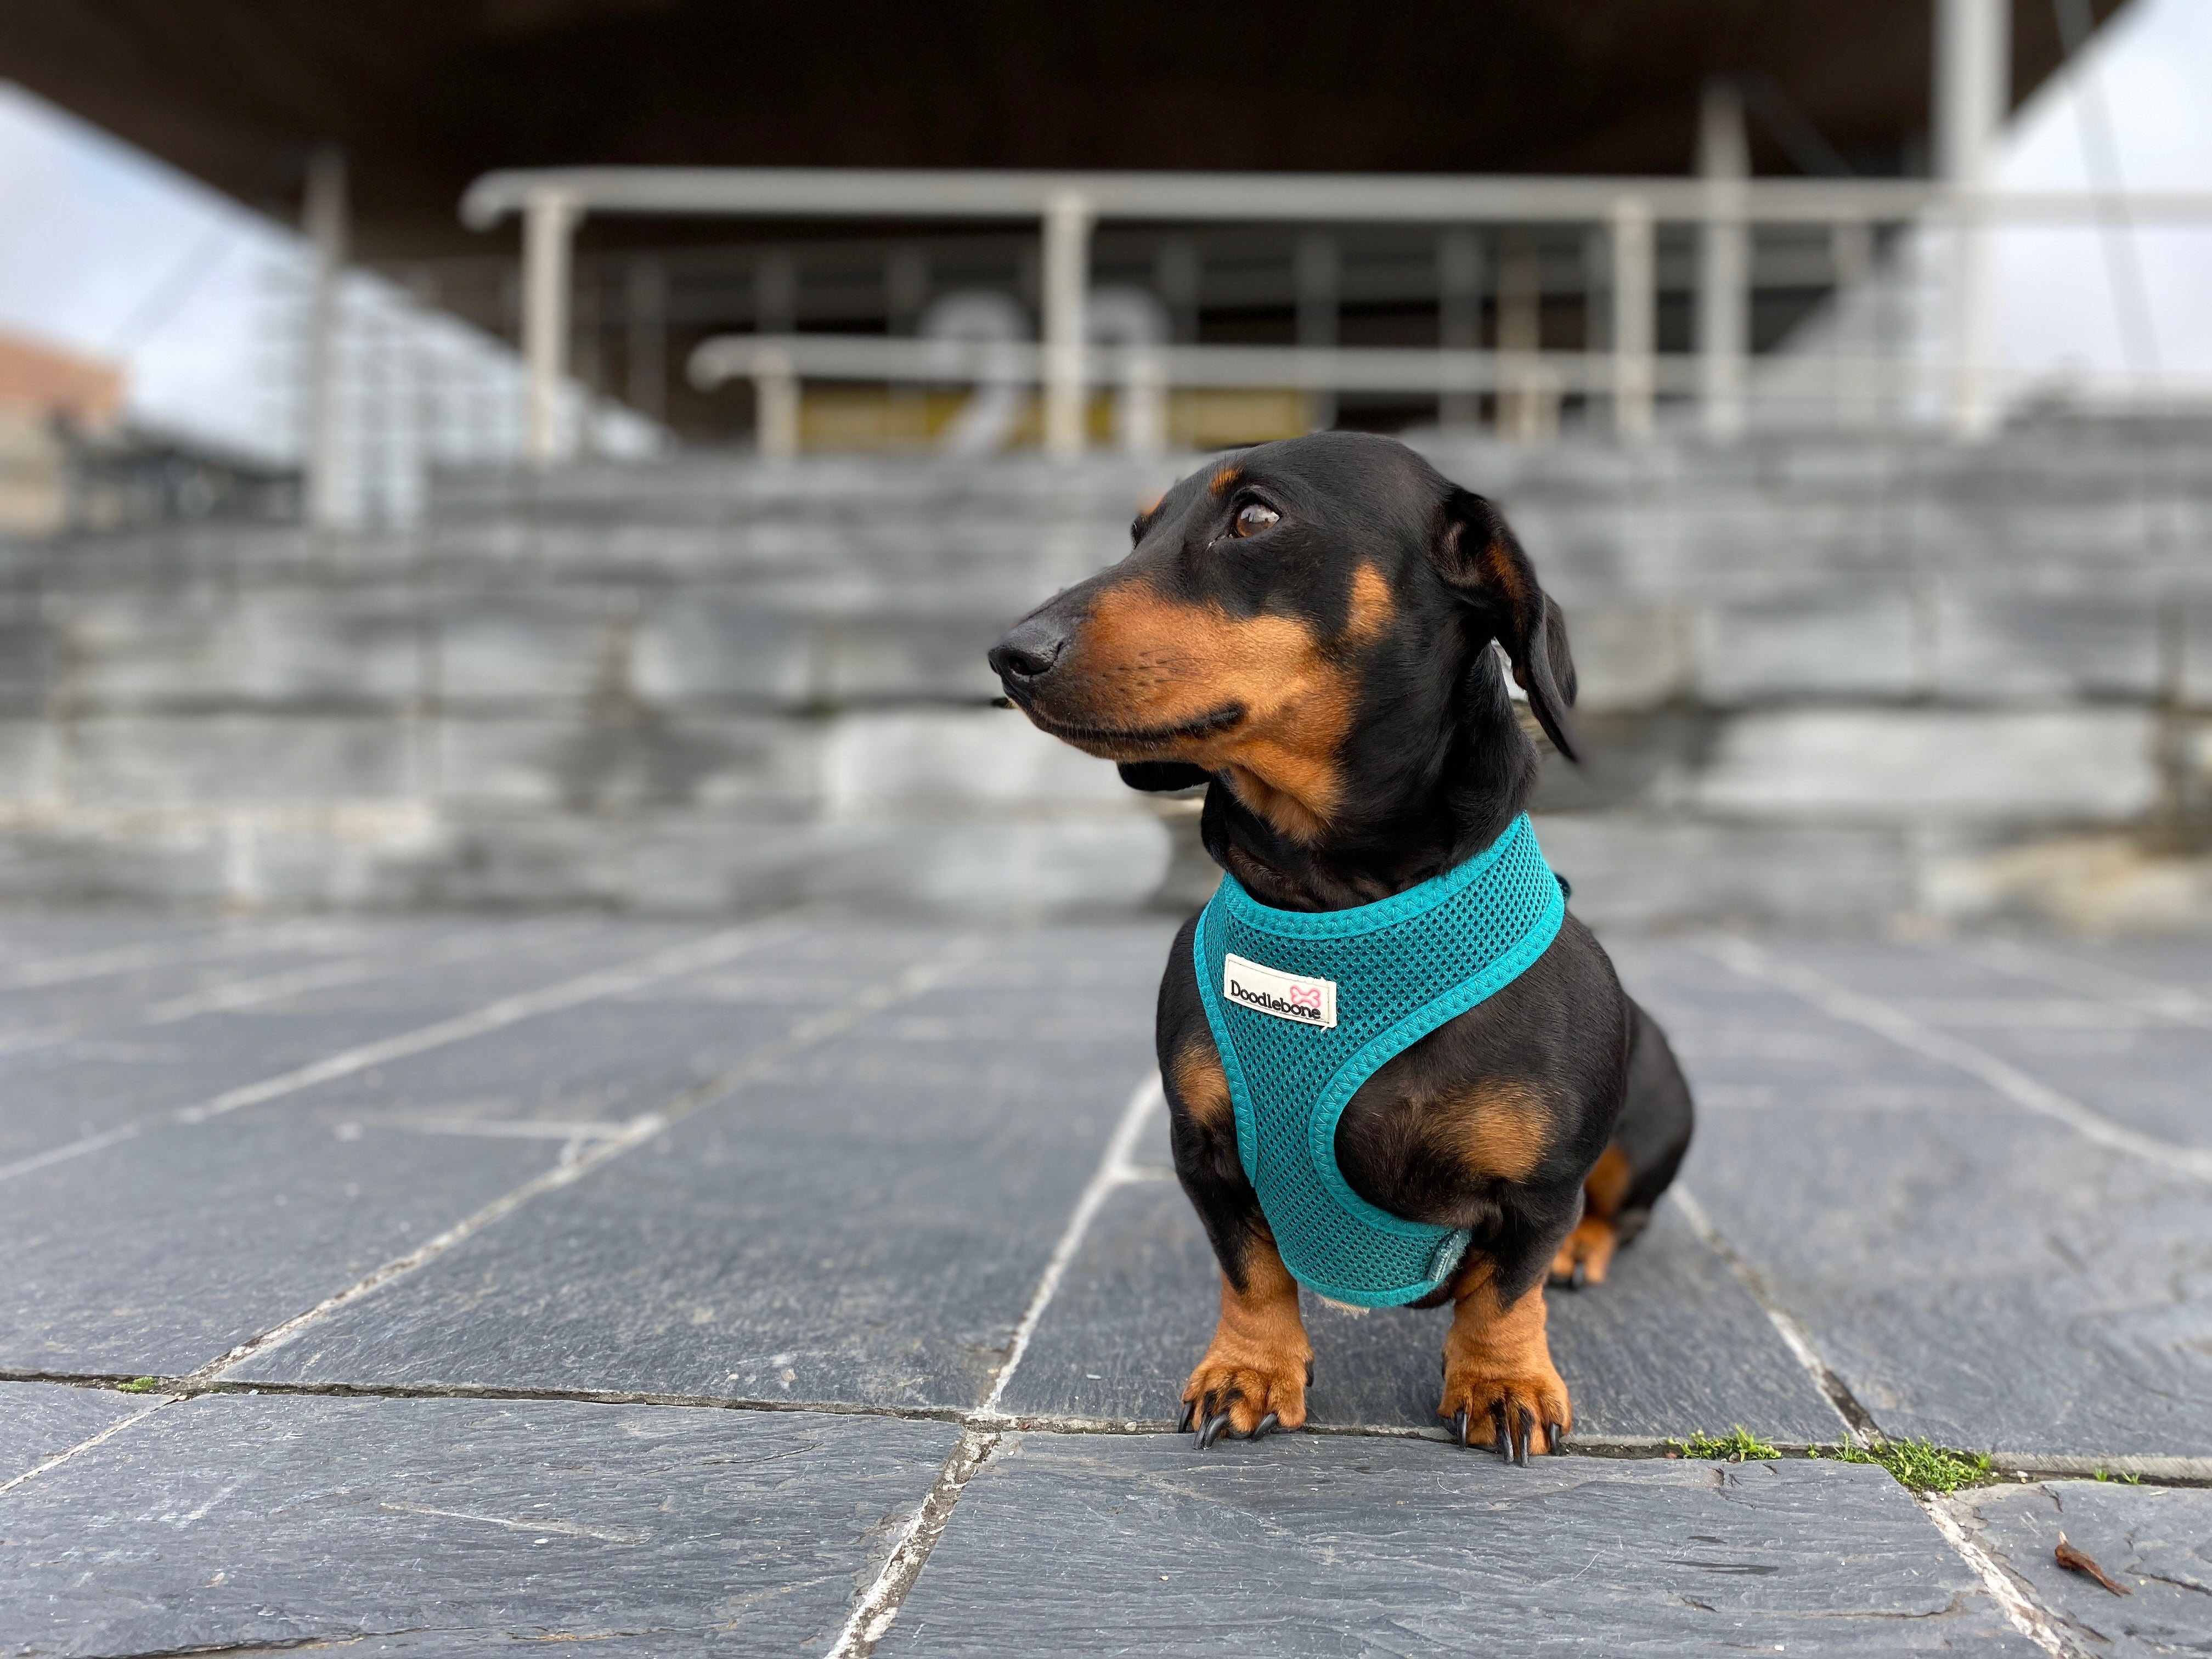
6. Portrait mode is not just for humans
Although the iPhone XR had a great camera, you couldn’t use the inbuilt Portrait mode for anything other than human subjects. Bad news for pet-lovers, or just those who want to create shallow depth of field effects with any kind of subject.
That’s all changed for the iPhone 11, which uses its two cameras to allow you to take shallow depth-of-field effect images for lots of different subjects, and has been specifically optimised for pets.
To get started, all you need to do is swipe to Portrait mode and point the camera at your four-legged friend. It’ll let you know if you’re too close to the subject and instruct you to move away. The results are not exactly perfect, but they’re pretty good – especially if you’re looking on a small screen.
Related: iPhone 11: Price, specs, camera details and all you need to know about the new Apple phone
7. Track down those missing settings
During the keynote launch of the iPhone 11 and 11 Pro, it was announced that the native camera app would be simplified to help you concentrate on the important business of composing your images.
That’s great and makes for a much cleaner interface, but it does mean that some settings are now a little hidden away. If you’re wondering where they’ve gone, tap the arrow at the top of the screen, and you’ll find an array of different options, including aspect ratio (see below), flash, night mode (if it’s dark enough), timer and digital filters.
8. Try the new 16:9 aspect ratio
This is a feature which is new for the iPhone 11 and iPhone 11 Pro, adding a new ratio to the existing 4:3 and square (1:1) options.
Using an 16:9 aspect ratio is a way to get wider shots which take in more of the scene, and also happen to display very nicely on the iPhone screen.
You’ll need to activate it from the hidden menu to find it – the default is 4:3. It’s worth also using the 16:9 aspect ratio with the ultra-wide angle to get some great panoramic type shots.

Editorial independence
Editorial independence means being able to give an unbiased verdict about a product or company, with the avoidance of conflicts of interest. To ensure this is possible, every member of the editorial staff follows a clear code of conduct.
Professional conduct
We also expect our journalists to follow clear ethical standards in their work. Our staff members must strive for honesty and accuracy in everything they do. We follow the IPSO Editors’ code of practice to underpin these standards.