How to use a coffee grinder: adjust a burr grinder for the best taste

If you’re using a manual espresso machine, part of the art of getting a quality shot of espresso at the end is adjusting your grinder properly. In this guide, we’ll show you how to use a coffee grinder properly to get the best results. We’ll assume that you want to make espresso, too: if you’re griding for a filter coffee machine or cafetiere, a medium-to-coarse grind will do the job; espresso requires some finesse.
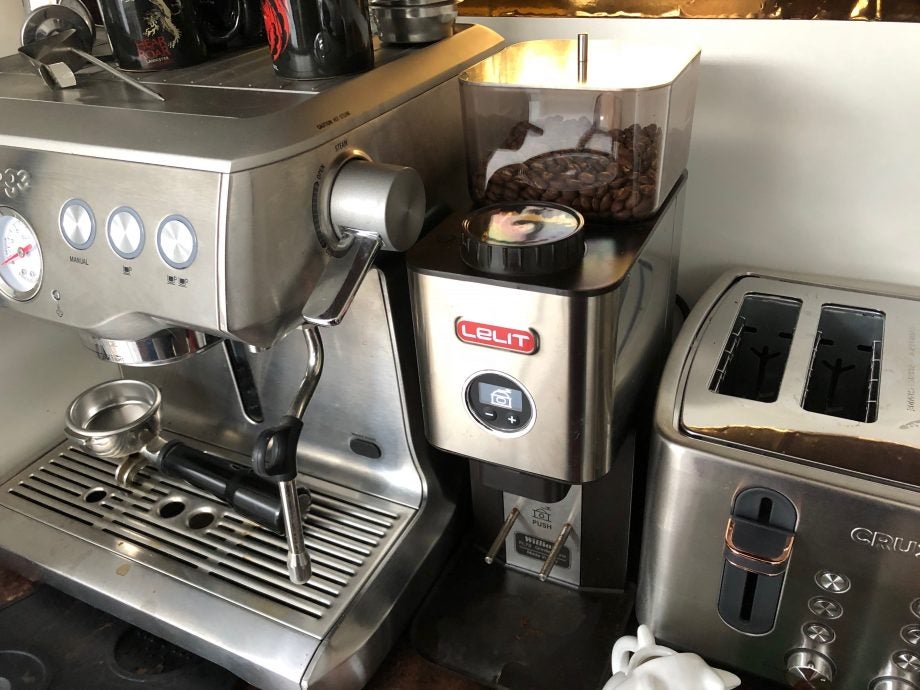
We’re using a Lelit William PL72 in our guide, although the steps to take are similar with other grinders. It’s important to note that you need a burr grinder, which crushes the coffee beans, rather than a blade grinder, which can burn the coffee and can’t grind evenly and fine enough for espresso.
The quality of your grinder has a big impact on the quality of your coffee. Proper coffee grinders are built so that you can make minor changes; cheaper ones adjust in bigger steps, so may always produce too fine or too coarse coffee.
Related: How to use a cafetiere
Step 1 – Set the initial grind
Most burr grinders will have a warning on them, telling you that you can’t adjust them unless they’re running or are empty. This is because adjusting the grinder moves the burrs, and it’s possible to trap coffee between the burrs and clog it up.
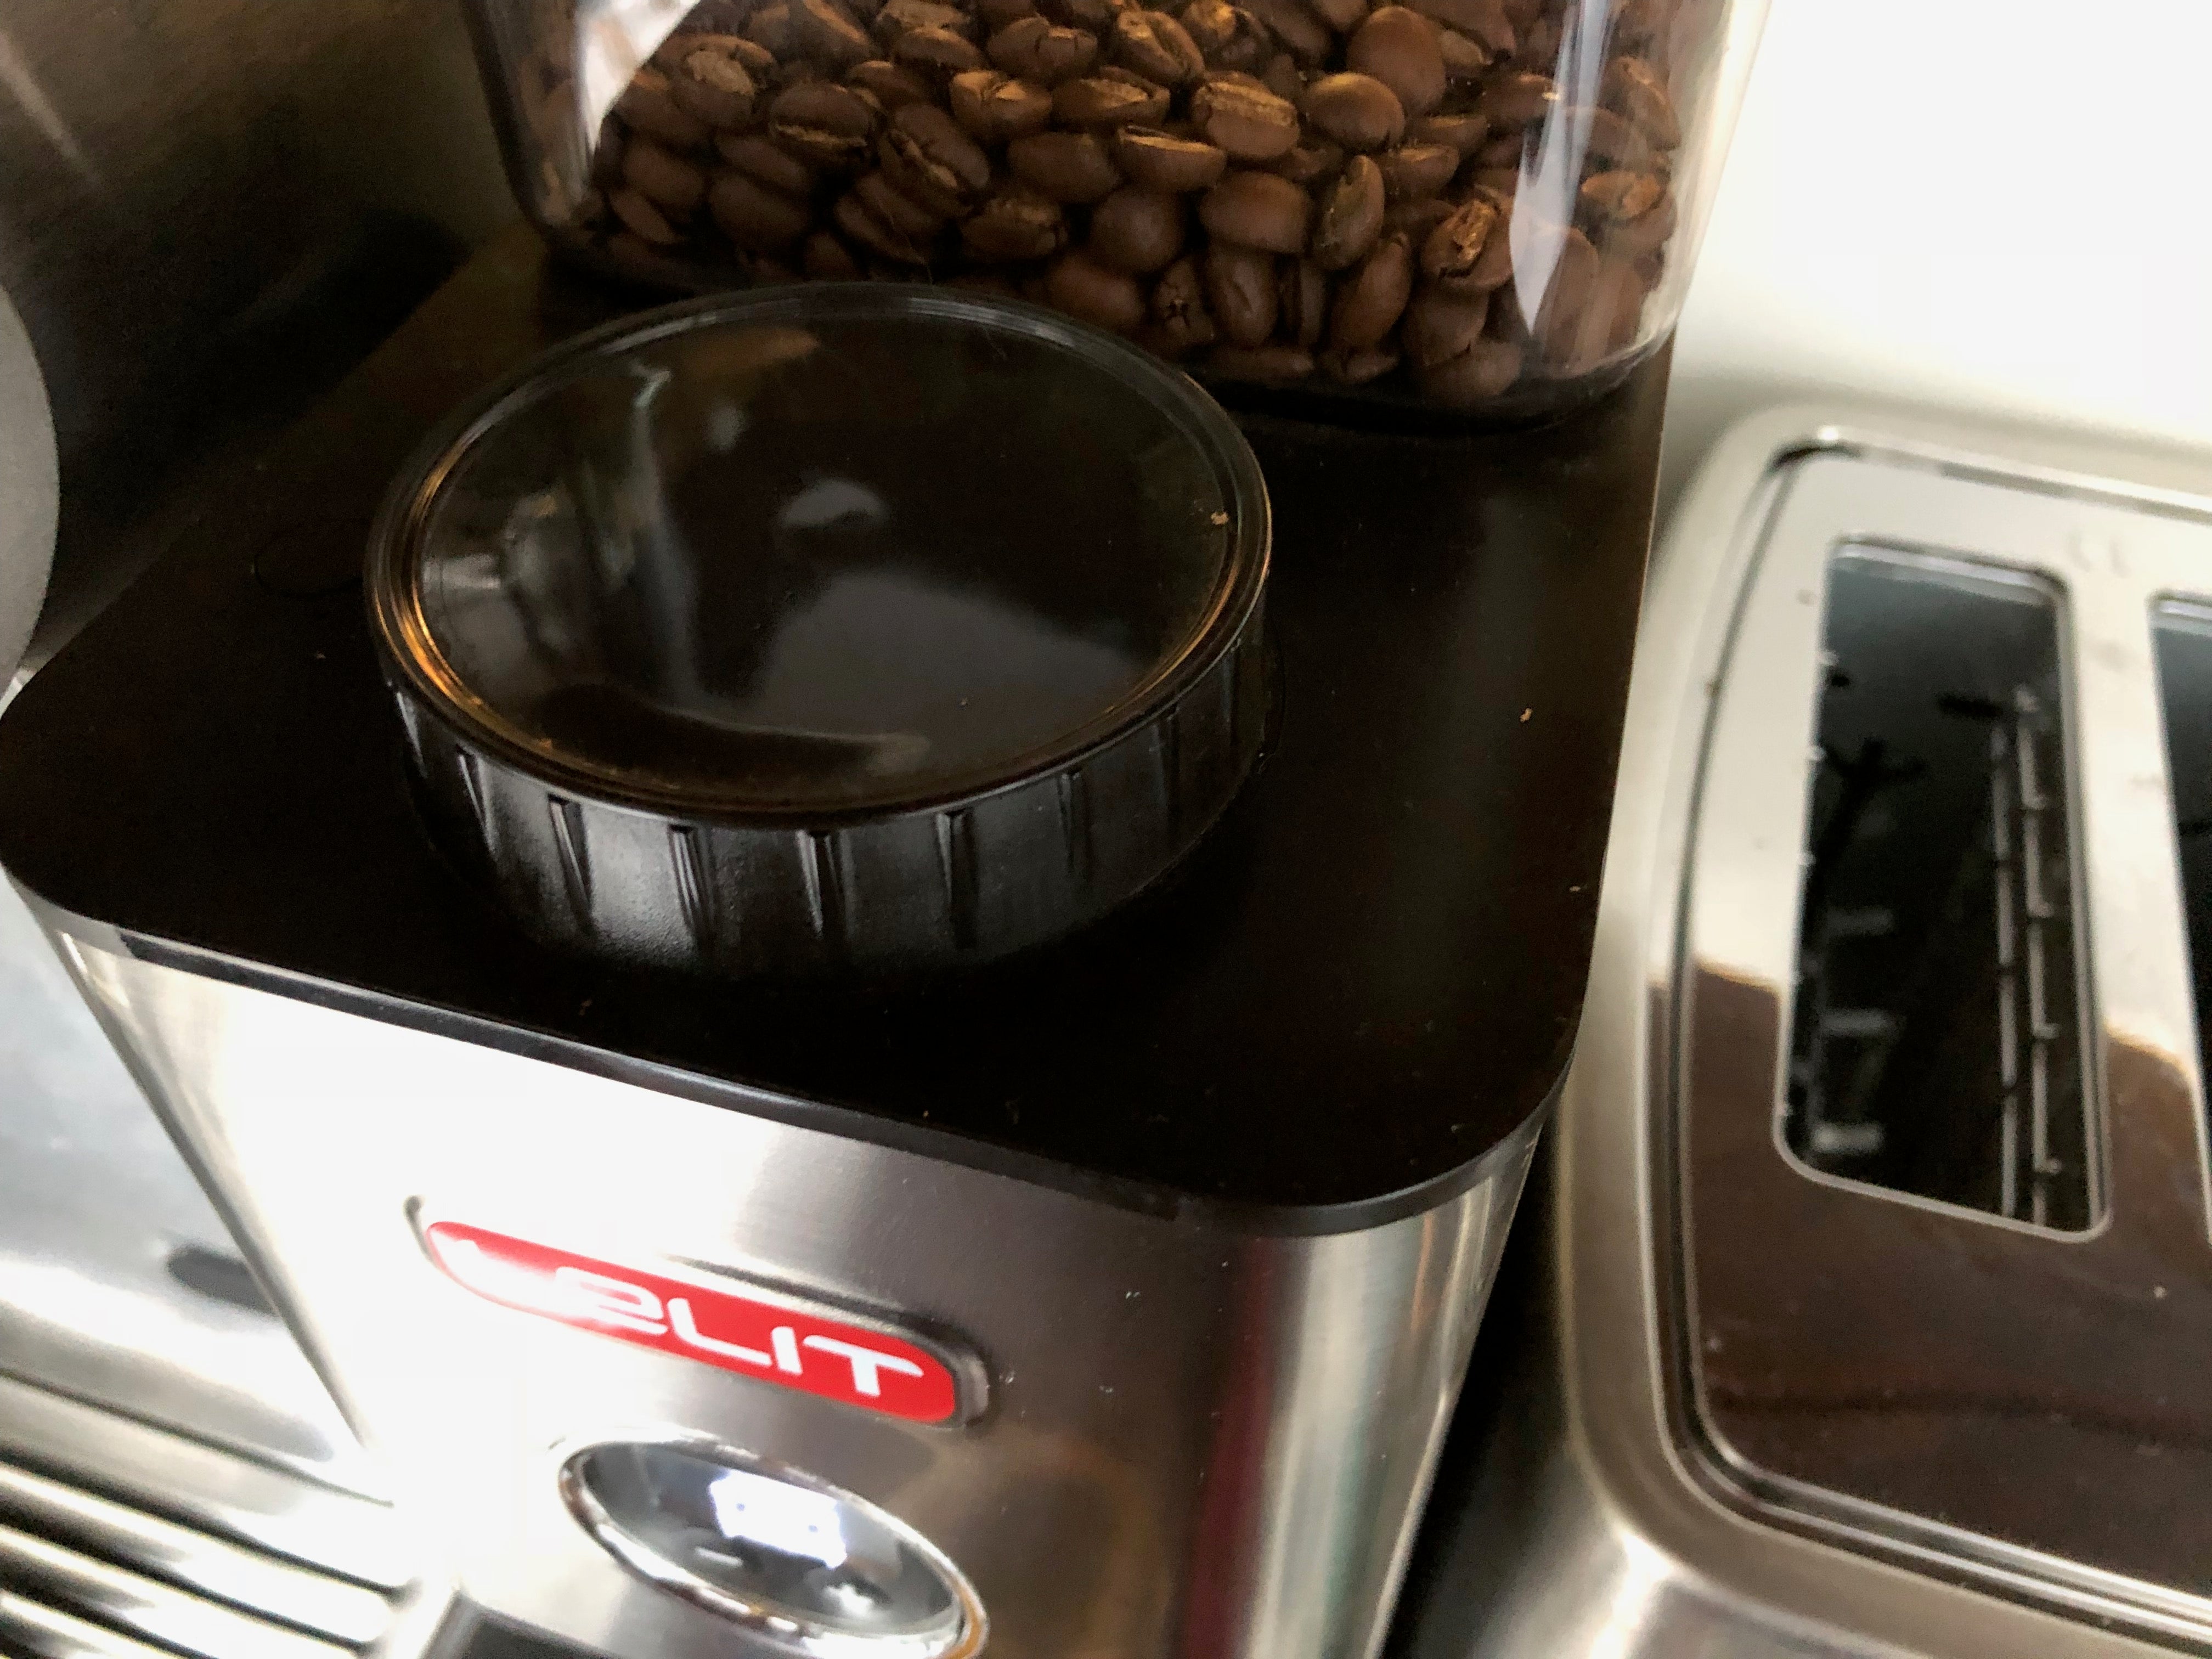
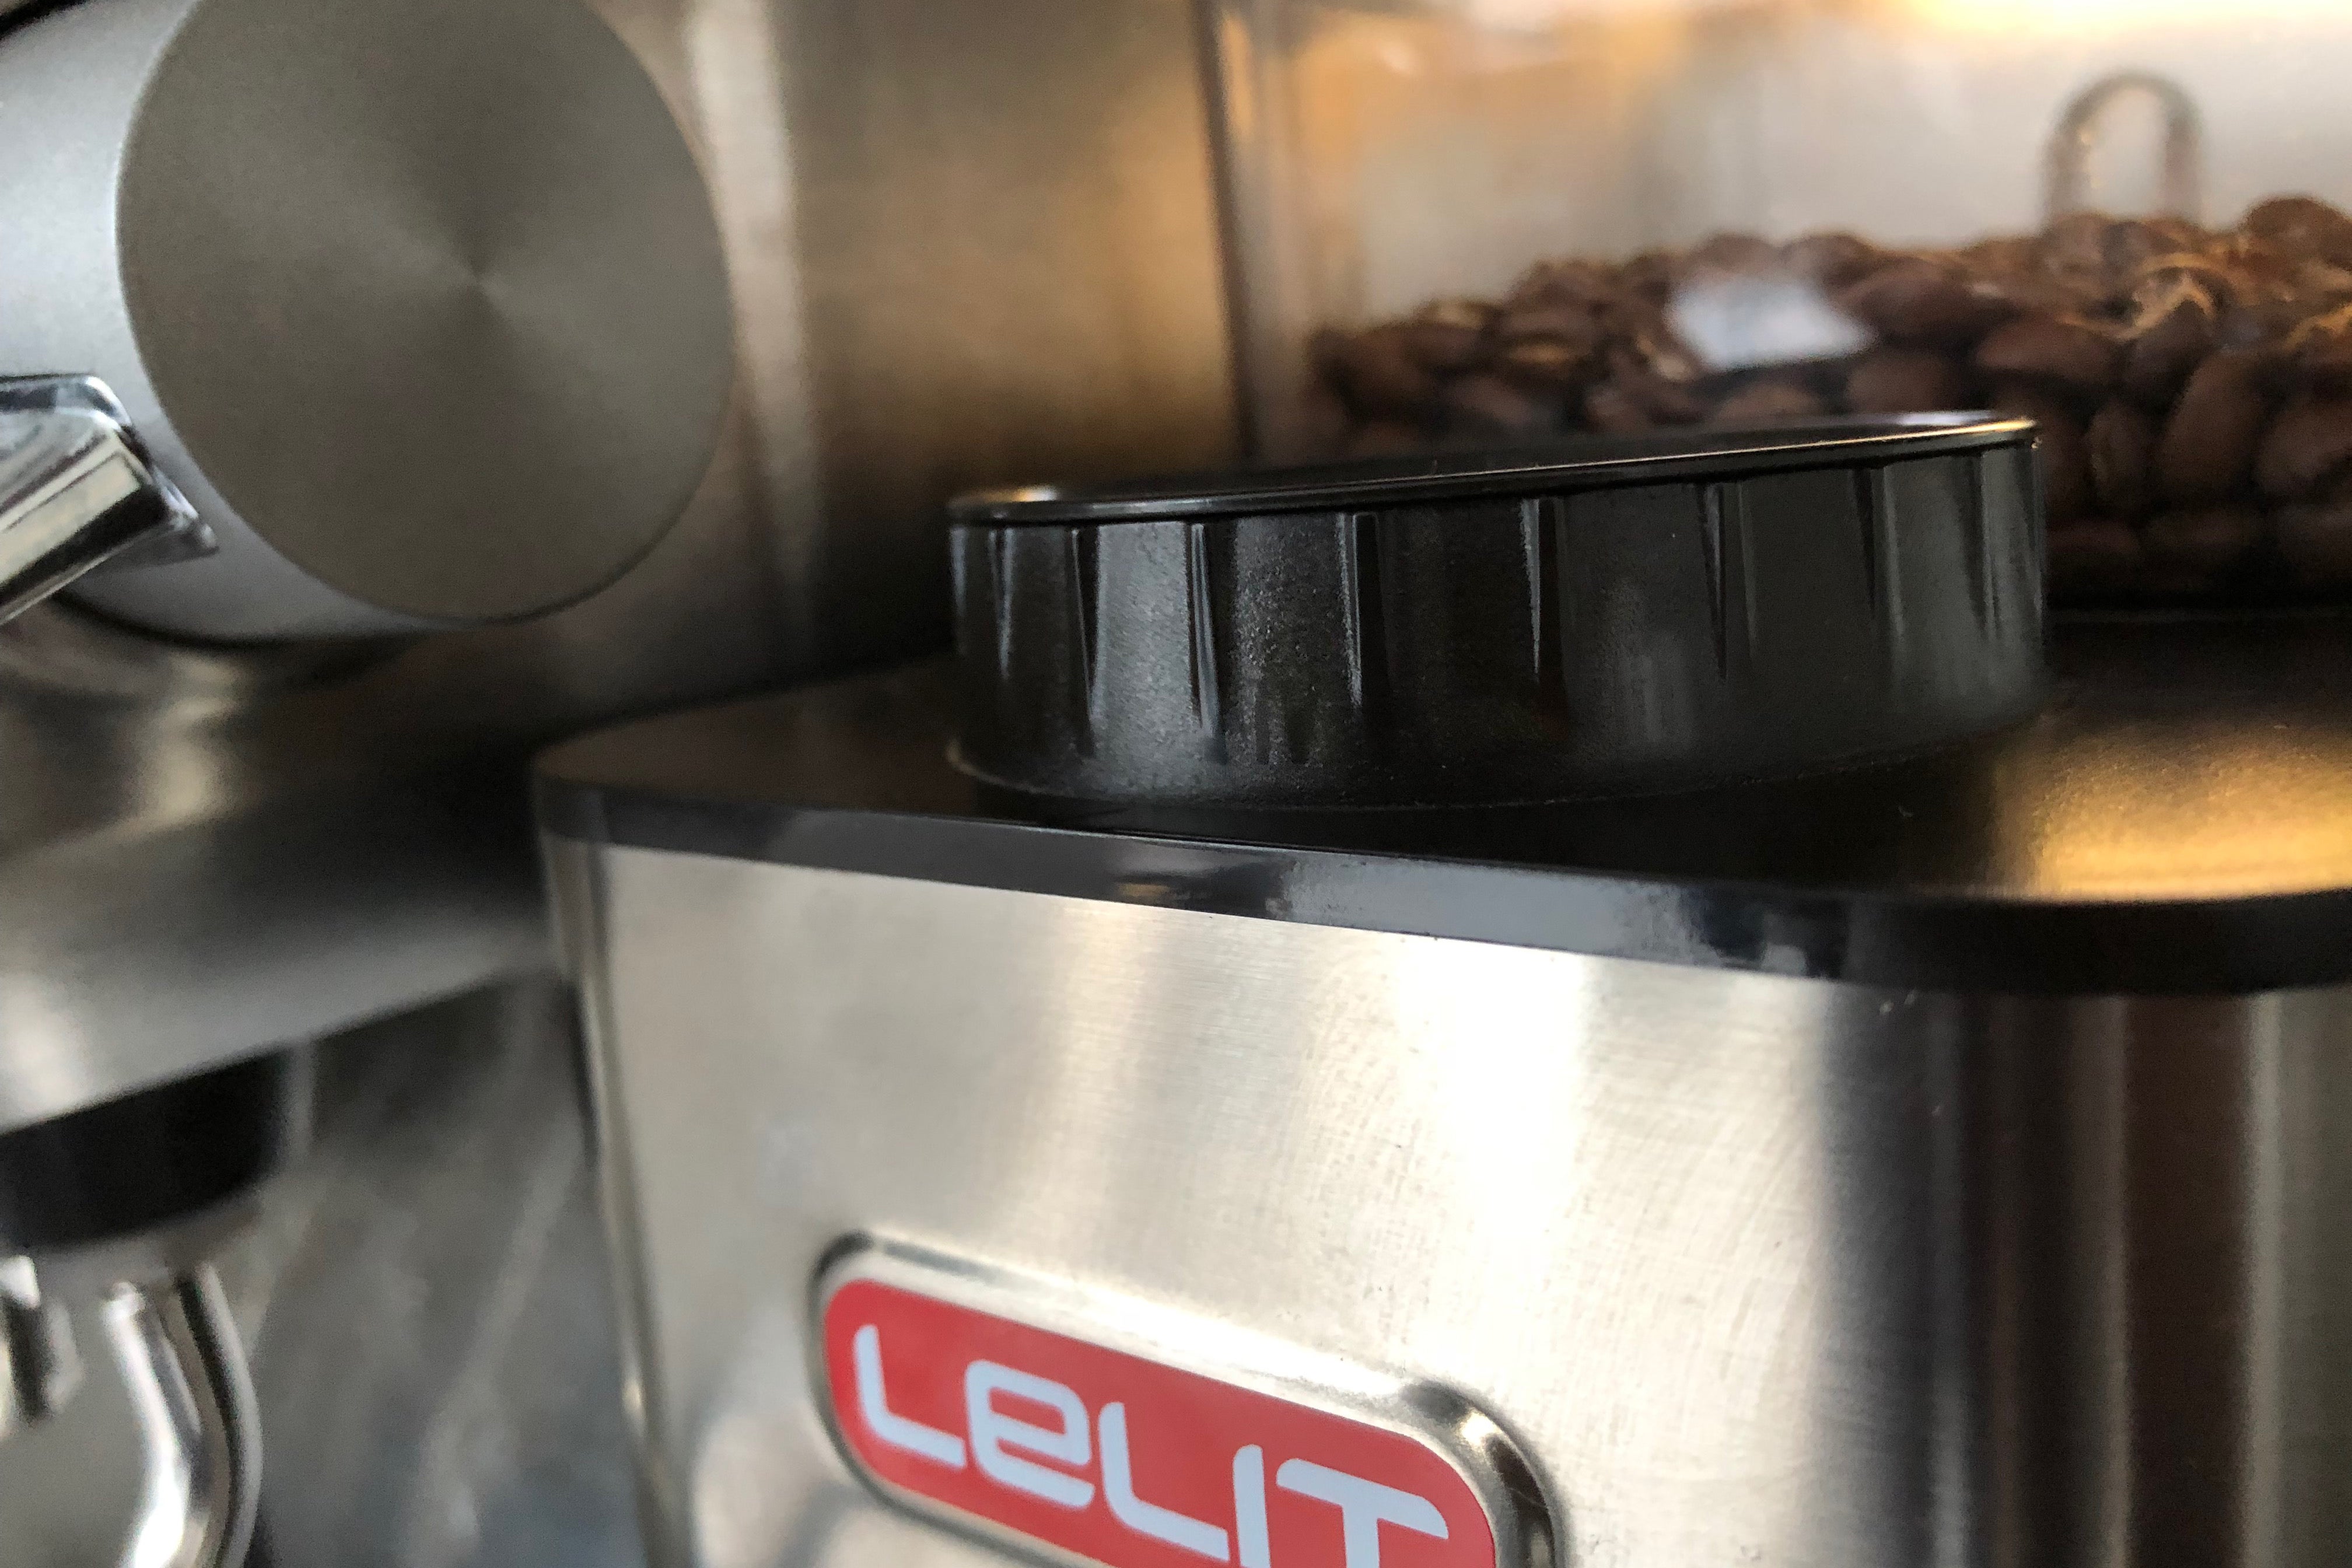
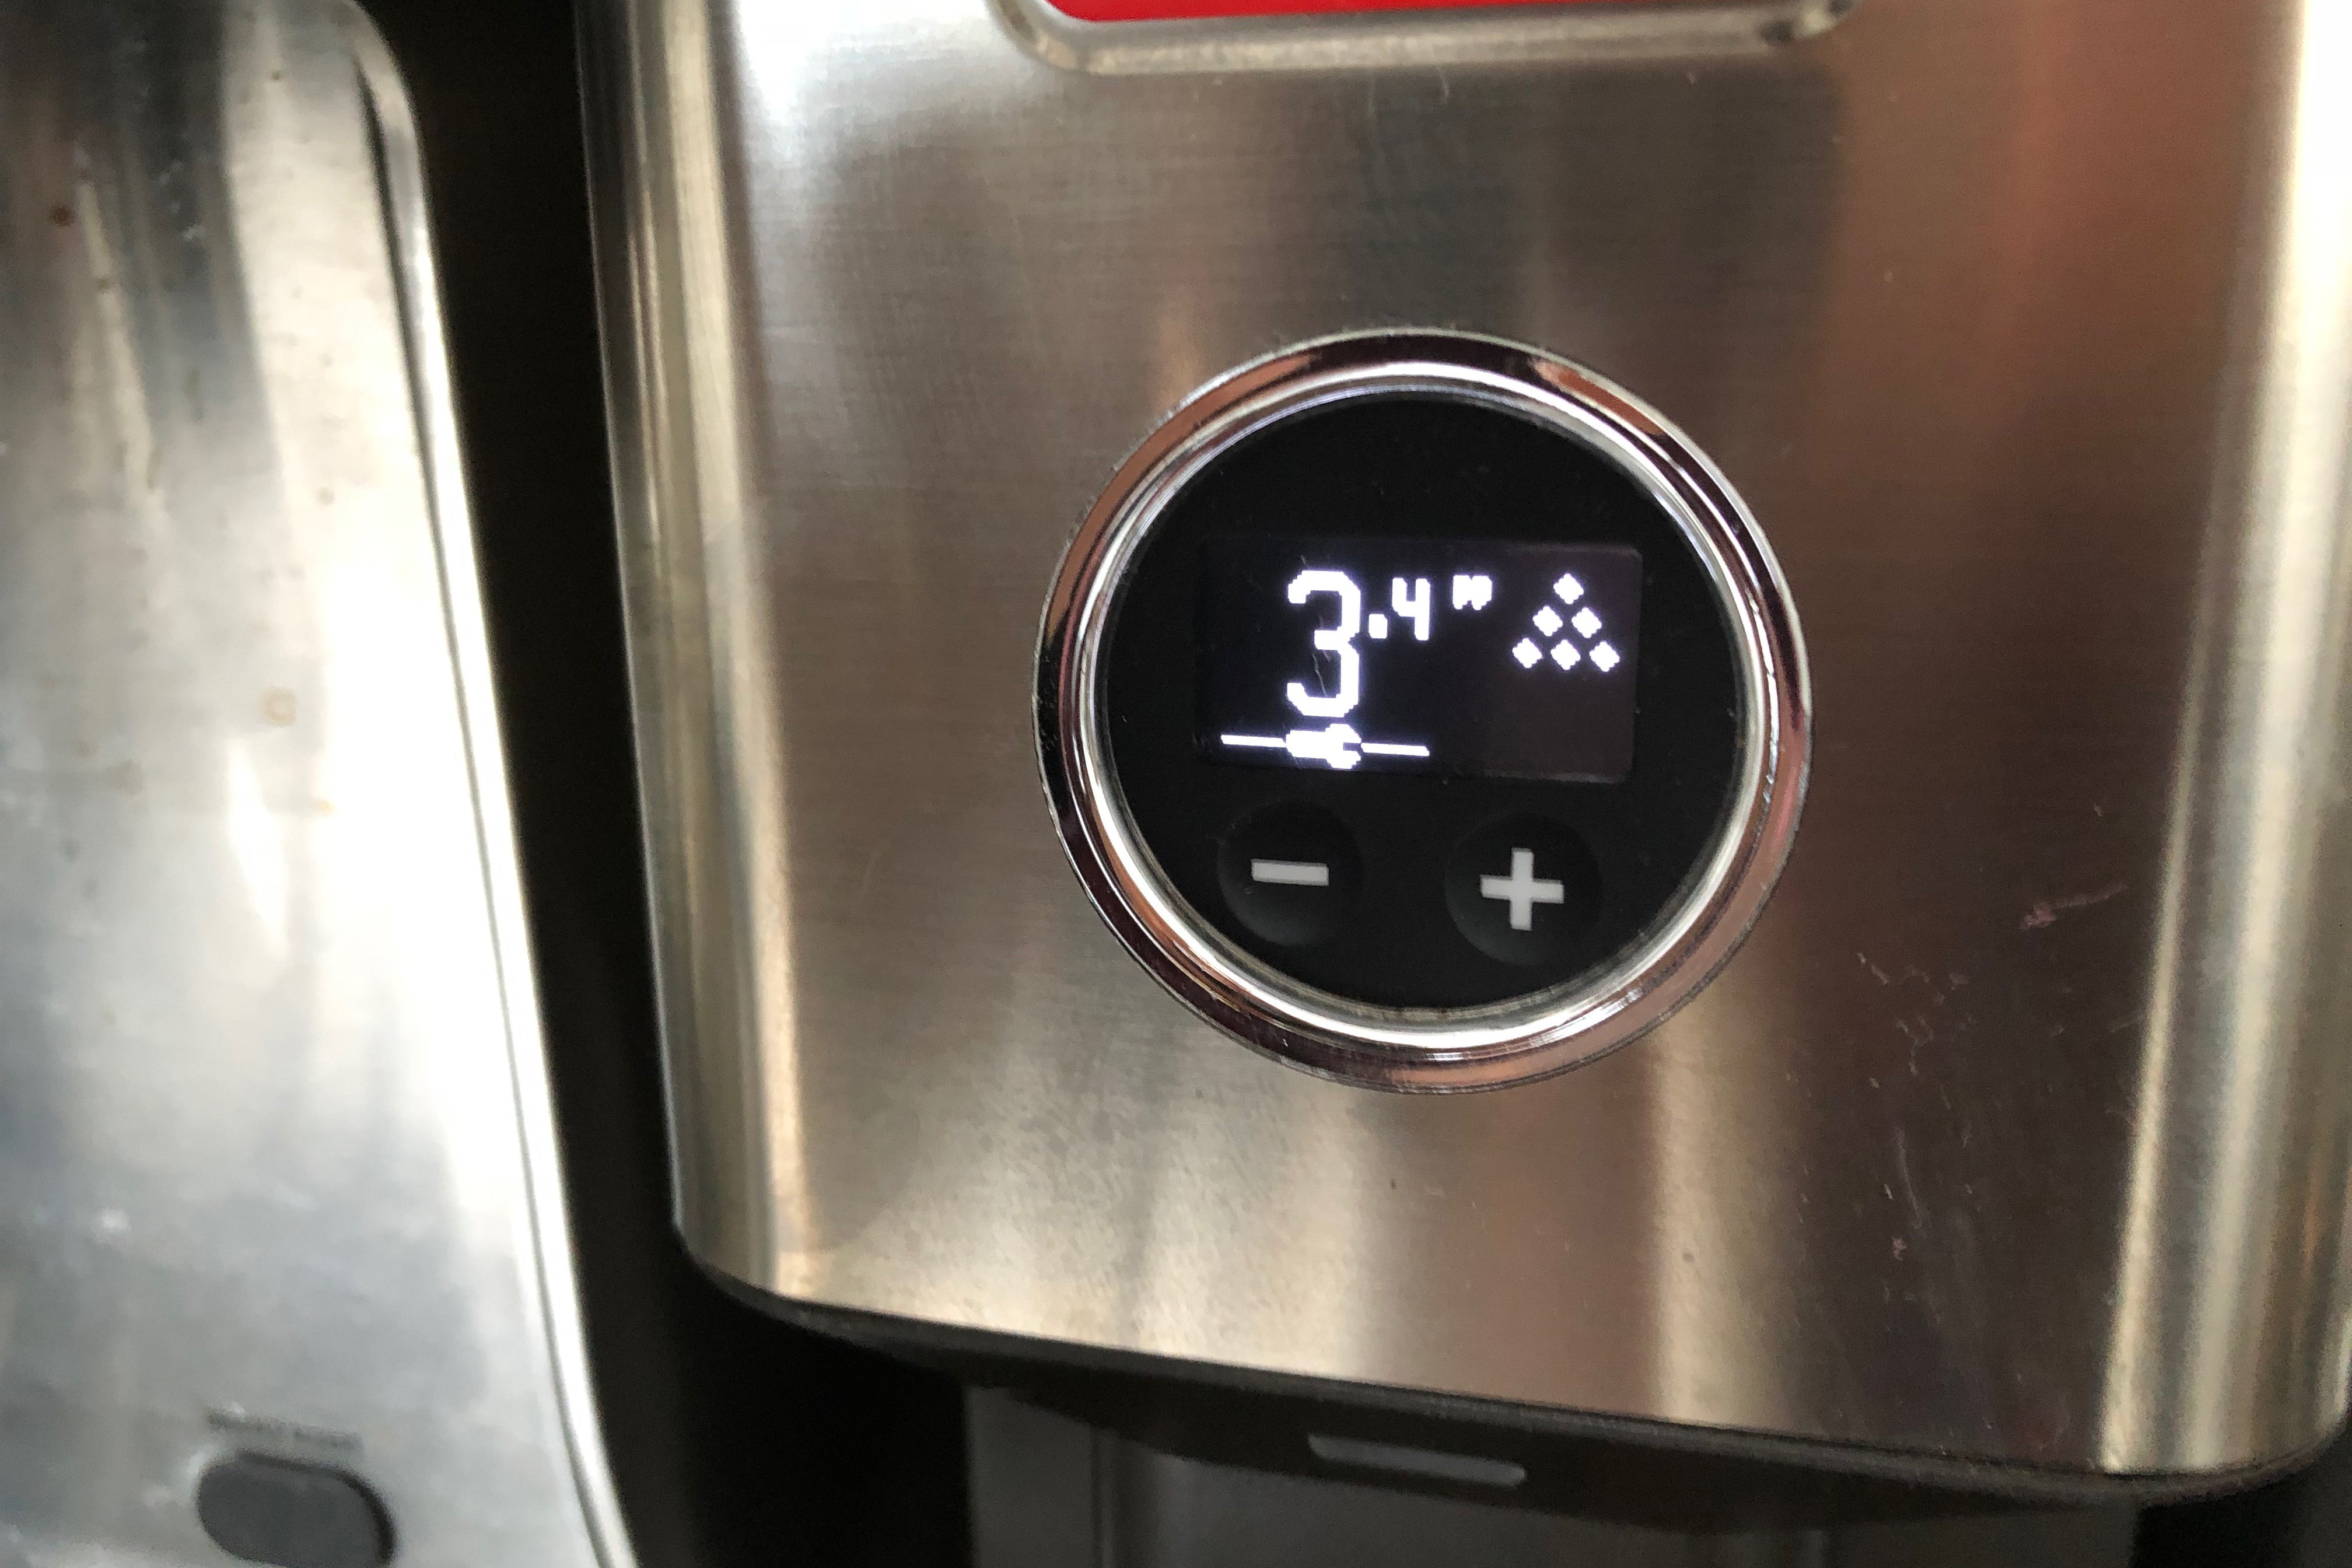
Before you start, the best thing to do is look at the coffee grinder and find the finest setting on it. Dial the grinder there, turning off the burr lock if your grinder has one. On the Lelit William that I have, the marks are written in black on the black dial, making them very hard to see; a newer version of the grinder makes the numbers easier to read and a guide shows you which way to turn the dial to make the grind coarser or finer. Once you’re at the finest point, dial back a few steps.
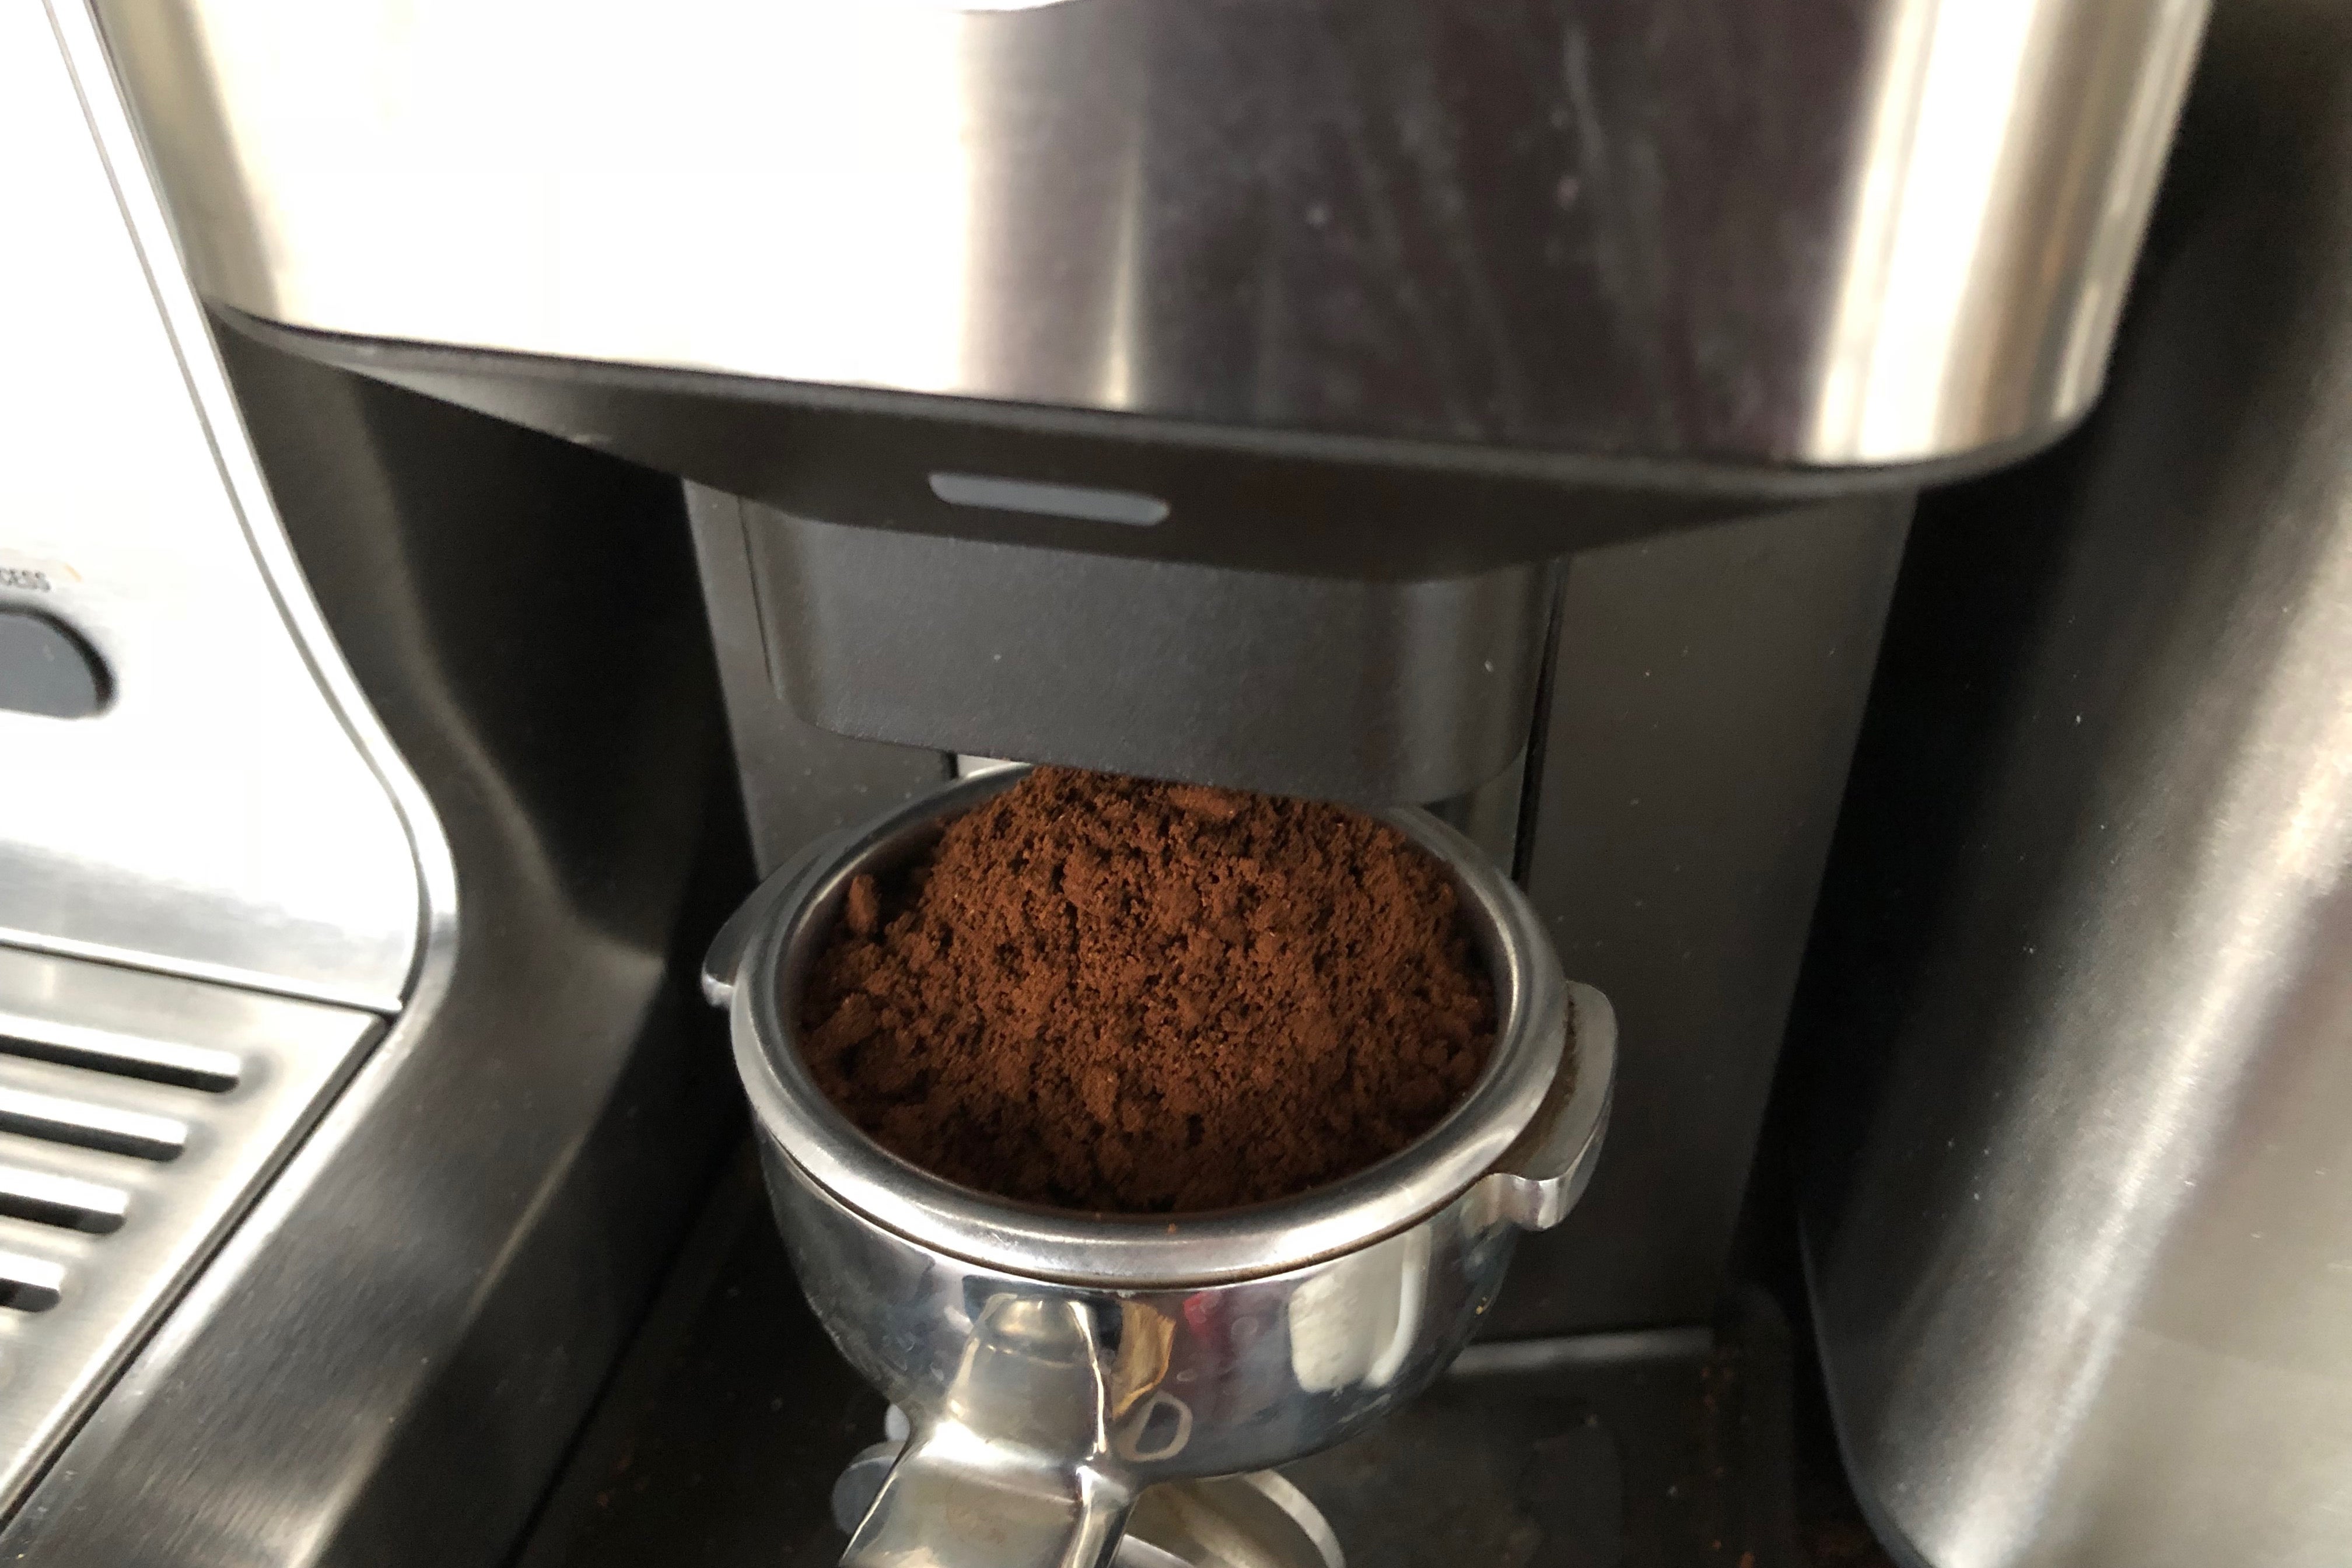
Now, add some coffee beans into the hopper, placing in slightly more than you need for a shot or double shot of coffee. A double shot should be around 15-to-18g of coffee.
Step 2 – Pull a test shot
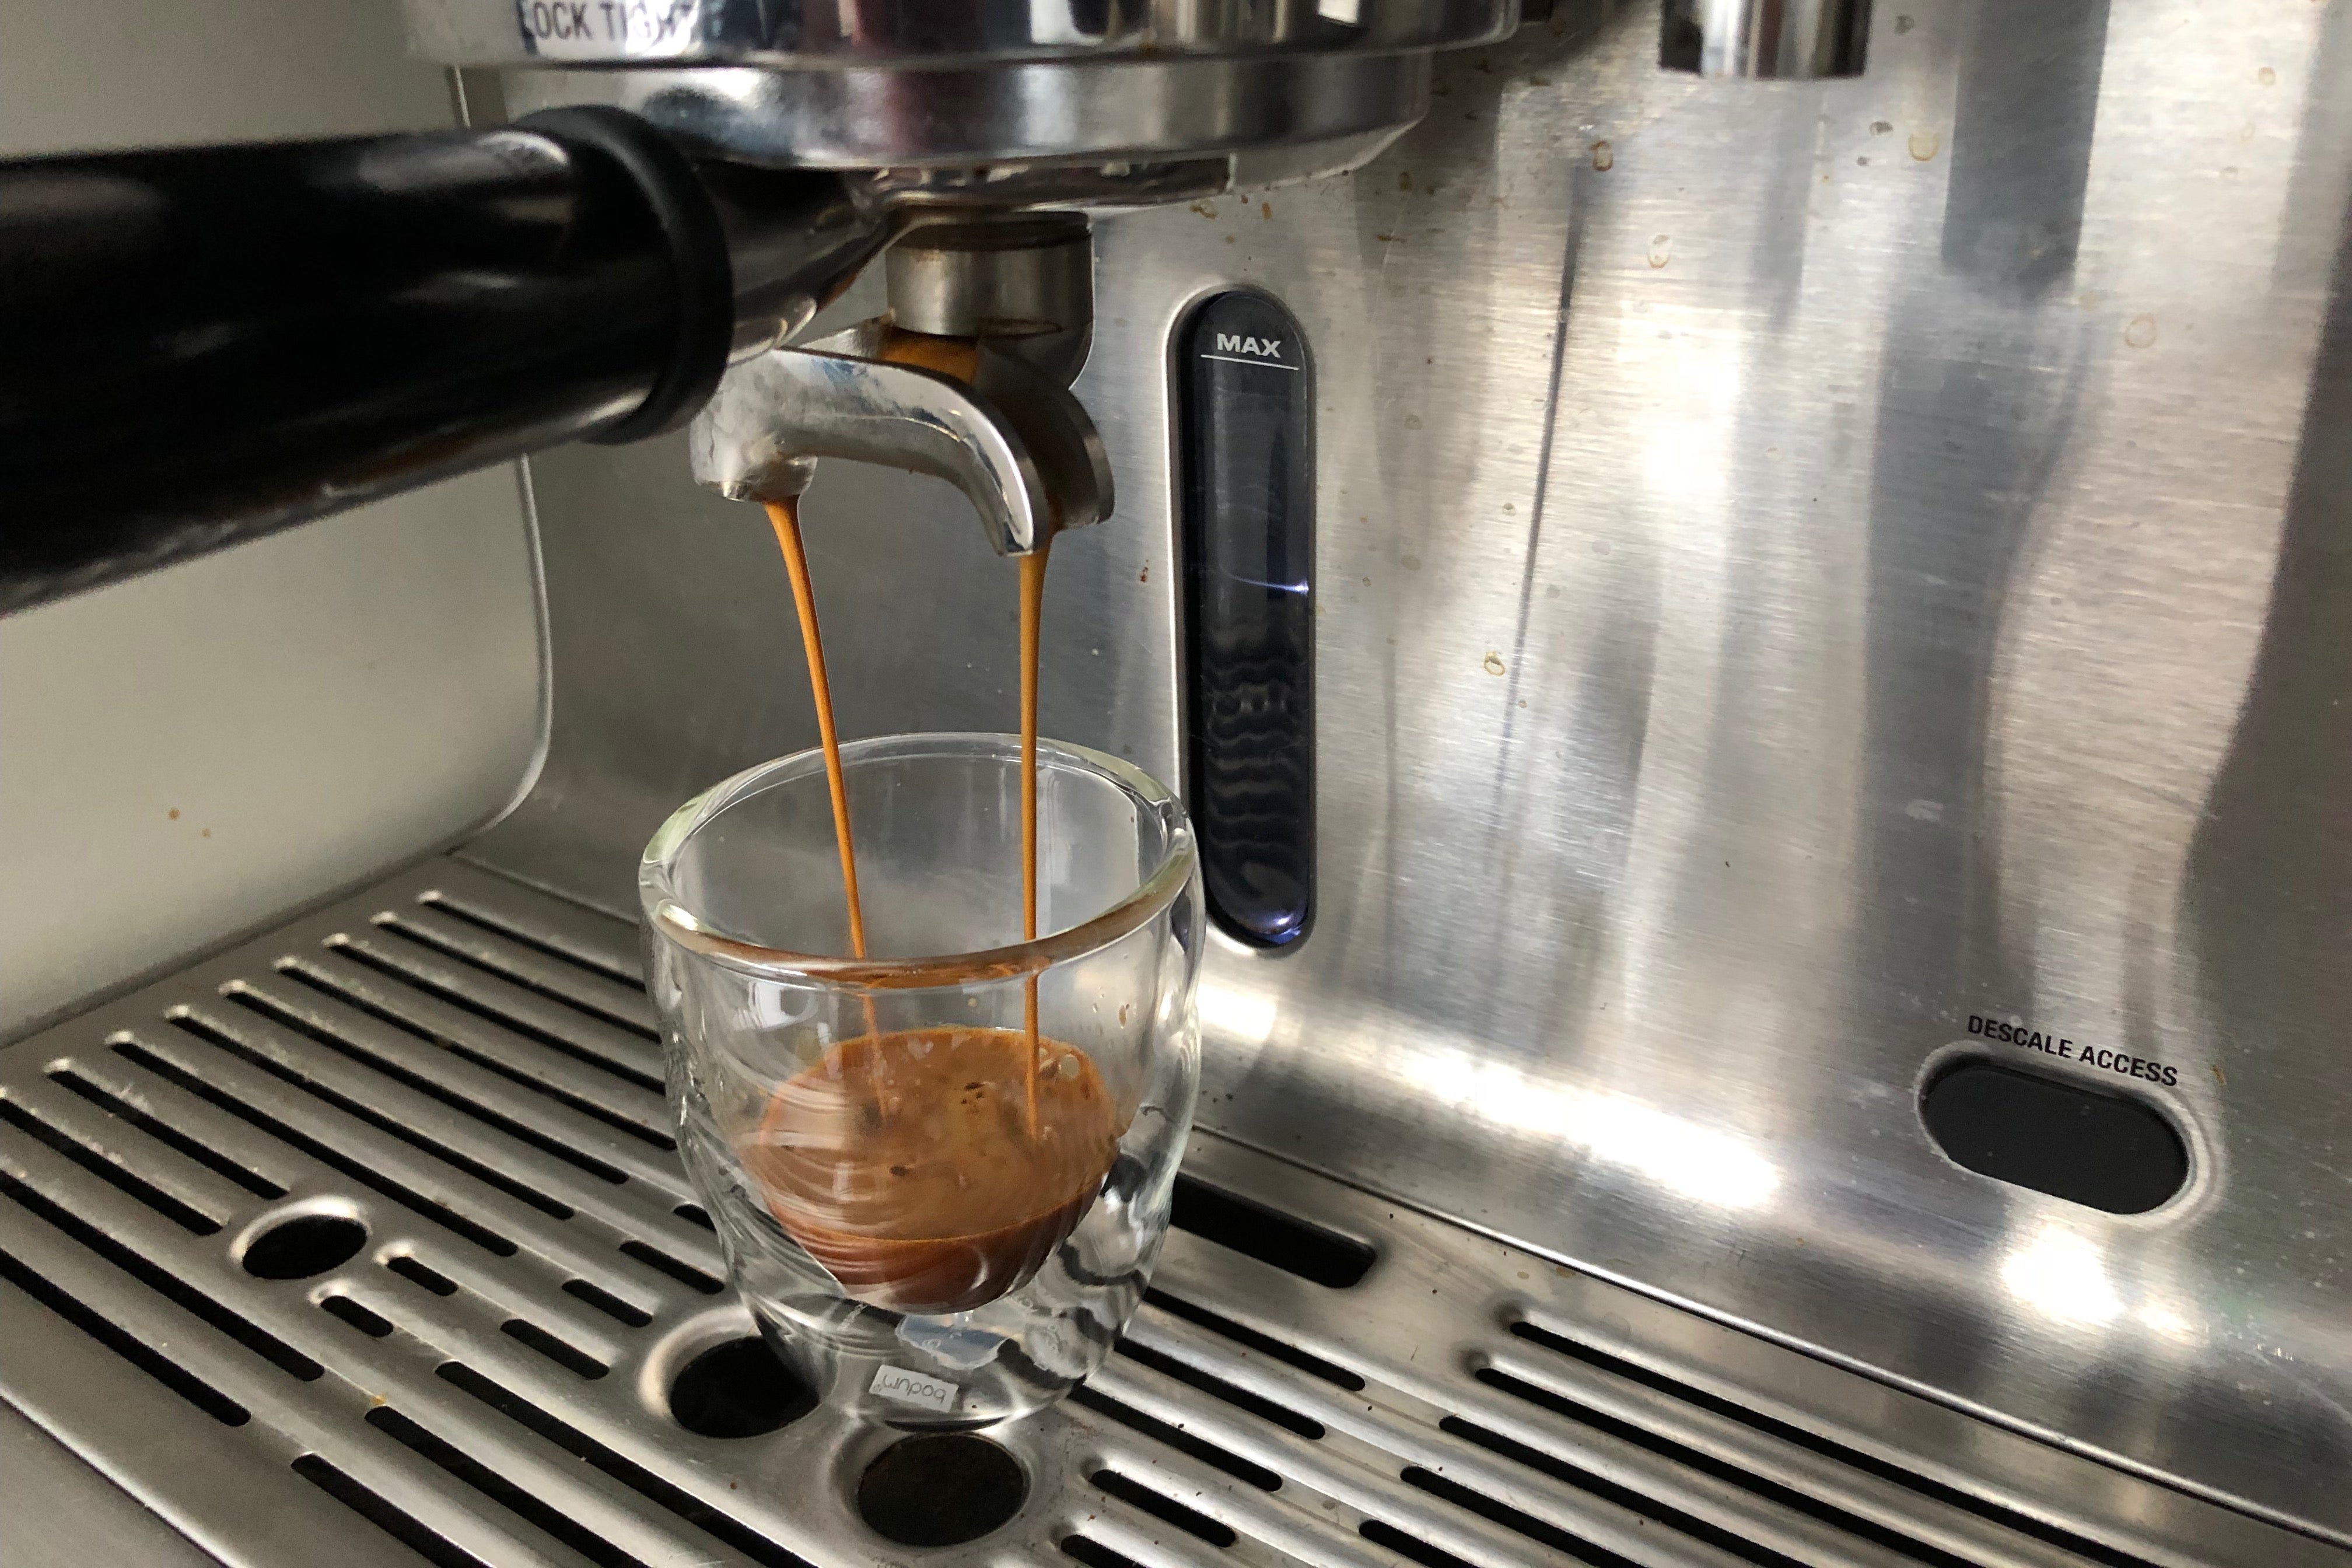
Make a shot of espresso in your coffee machine using your initial settings. If the coffee flows too fast and you end up with a frothy crema, the grind isn’t fine enough. If the machine is clogged and won’t pour through or just dribbles through slowly, you’re using too fine a grind.
Typically, a shot of espresso should take 20s to pour, producing around 30-to-35ml of fluid. A double shot should take around 30s to pour, producing around 60ml of drink
If your espresso machine has a pressure gauge, then somewhere between 8 and 11bar during the main pouring phase is about right.
Related: Best coffee machine
Step 3 – Re-adjust the grinder
At this point, your grinder should be empty or nearly empty. You need to use a judgement call on how far out your grind was.
First, there’s an adjustment if you’re way off. If the coffee just poured through, giving you far too much volume after the timings above you’re way too coarse. If you end up with no espresso or very little, then you’re way too fine. For machines with a pressure gauge, you can visually see if you were way off: the pressure gauge was nowhere near the upper and lower limits.
At this point, run the grinder and make a large adjustment in the right direction (courser or grinder) and then go back to Step 2 and pour another shot.
If you were close to the mark (coffee volume is only slightly off, or the pressure needle was close to the high or low point on the gauge, you only need make slightly finer adjustments.
Typically, nudging the grind settings a notch or two is fine when making these finer adjustments, as you’re not moving the burrs too much. However, you may find that it takes until the second shot for the coffee to be right; you can dispose of the first grind to make sure. Make another shot of coffee with your machine and compare your results. You may need to make a few minor adjustments along the way.
Step 4 – Adjust grind time
Most grinders have dosing control that defines the amount of time the grinder should operate for a single or double shot. Check your machine’s manual to see how much coffee it recommends for each type of shot, with a single shot at around 6-to-8g, and double shot around 15-to-18g. Weigh the coffee as it comes out, and then adjust the timings until you’ve got the right dosage.
Step 5 – Adjust for each type of coffee
Typically, you’ll find that each type of coffee you buy will grind slightly differently, and can even change over time. For that reason, you’ll probably find that the tolerances in the griding time are fine, but you’ll need to make micro adjustments to the grind to get it right. Just follow Step 3 again until you’ve got it right.
Got any tips to share? Let us know on Facebook or Tweet us @TrustedReviews
Editorial independence
Editorial independence means being able to give an unbiased verdict about a product or company, with the avoidance of conflicts of interest. To ensure this is possible, every member of the editorial staff follows a clear code of conduct.
Professional conduct
We also expect our journalists to follow clear ethical standards in their work. Our staff members must strive for honesty and accuracy in everything they do. We follow the IPSO Editors’ code of practice to underpin these standards.