

Whether you’re a casual holiday snapper or photography is your reason for travelling, exploring new places is the perfect time to improve your shooting skills.
Travel photography can offer photographers a huge variety of subjects – from striking landscapes to vibrant street scenes – as well as countless opportunities to tell stimulating visual stories.
What’s more, travel photography is accessible to everyone: whether you have a smartphone or a DSLR, there are always new things to try and novel scenes to capture.
If you think it’s time for a new travel camera, be sure to check out our list of the best travel cameras first.
All set? It’s time to pack these top travel photography tips from globe-trotting snapper Chris Rowlands into your brain…
Related: Best compact camera
Travel photography tips: how to take portraits
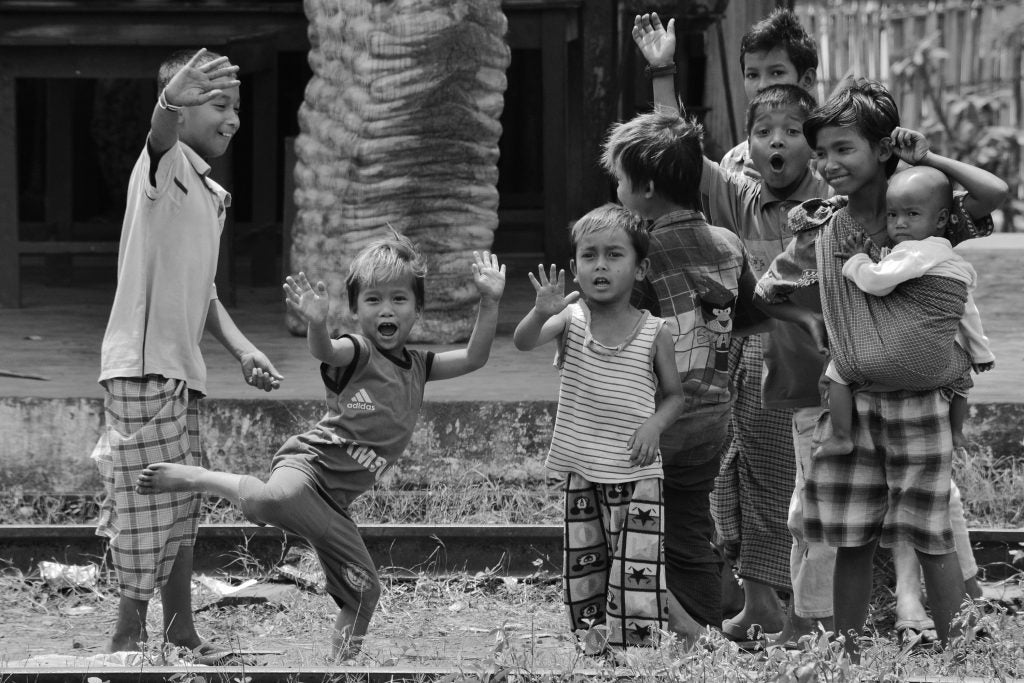
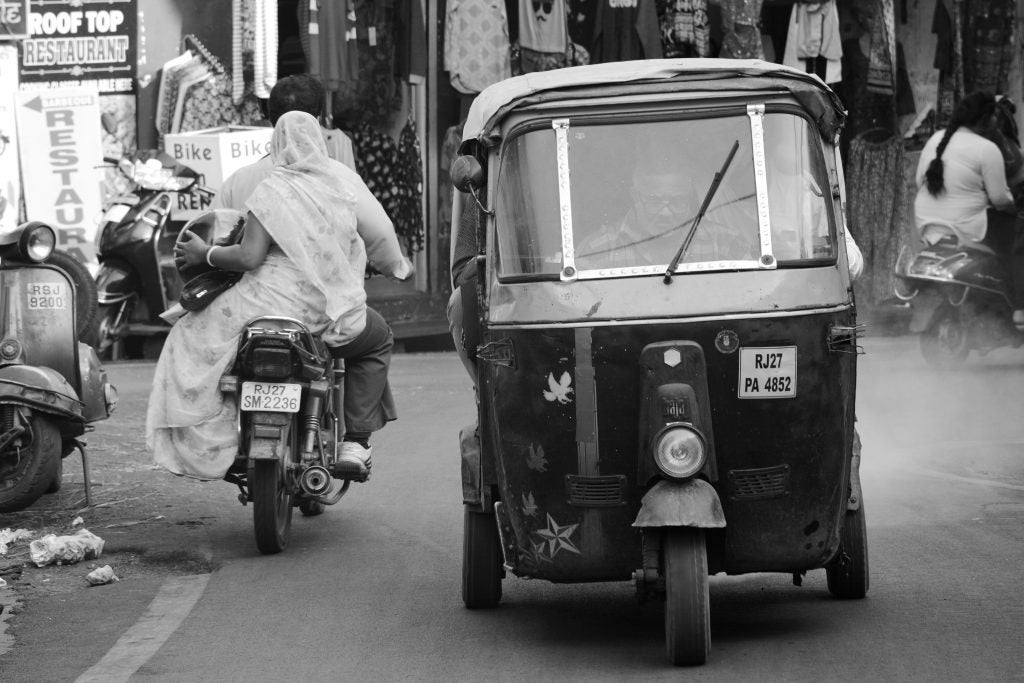
Evocative travel photos often involve people – and they’re at their most natural when not posing for the camera. Getting good candid shots takes practice and not everyone enjoys having their picture taken. To get around this you can shoot from the hip or, for more control, stand a distance away and use a telephoto lens.
Naturally, it’s easier to photograph people with their permission – but this risks photographs looking staged. Shooting people performing an everyday action they’re already comfortable with is a simple way to ensure that subjects don’t look wooden. A short telephoto lens – around the 70mm mark – is a good choice for portraits, while several modern smartphones like the Google Pixel XL and HTC U12 Plus also have excellent dedicated portrait modes.
Whether you’re shooting candid or posed portraits, it’s worth remembering the value of street furniture. Everyday items can be used to neatly frame your shots – such as taking your photo through a window or doorway, or placing a telegraph pole at the edge of your composition.
Try this: Fill in flash
Fill in flash is a simple but powerful technique that reduces the effect of shadows when a light source is behind your subject. On your camera or smartphone, set flash to ‘on’ (reducing the power output by a couple of stops to make it more subtle) and adjust exposure to ensure the effect isn’t too overblown.
Related: Best smartphone camera
Travel photography tips: when to shoot what
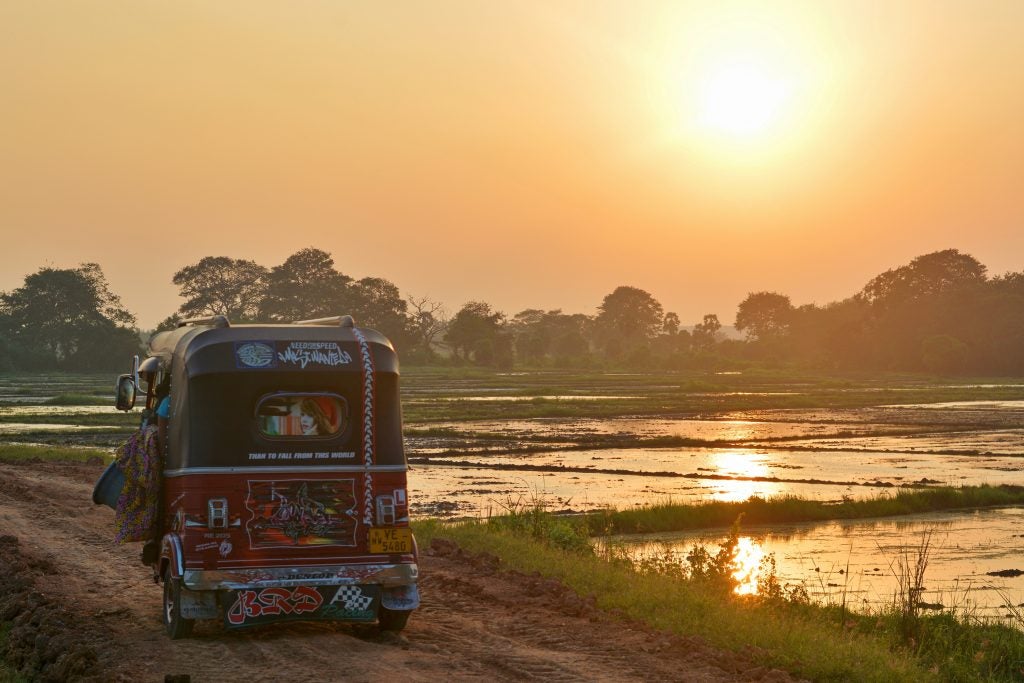
Timing is everything with travel photography – and never more so than when it comes to light. If you’re planning to capture a sunrise or sunset, for example, you’ll not just want to find out when the golden orb is set to disappear but also be set up and ready for the unique light both before and after.
Similarly, it’s worth researching your location to know how the light will fall during the day. You might not have the luxury of several days in a location, so use a map to determine east and west. That way, you’ll know when to shoot certain building facades, for example, or when to avoid bright sun flaring down an eastward street.
For landscapes, early mornings and late afternoons tend to be best (with the former offering the prospect of magical mist and the latter glowing smog in cities), while for long-exposures it’s worth experimenting with both twilight hours and after dark.
Try this: Adjust the ISO
How light translates in your images depends on a combination of white balance and ISO – or your camera’s sensitivity to light. If possible, shoot in Raw and adjust the white balance later. As for ISO, adjust it alongside aperture and exposure to control how much light is captured.
Alternatively, try shooting the same scene at hourly intervals, from before sunrise until after sunset, adjusting settings as you go. Not only will this create a catalogue of lighting conditions, you’ll also see how the location itself changes throughout the day.
Travel photography tips: capturing the city
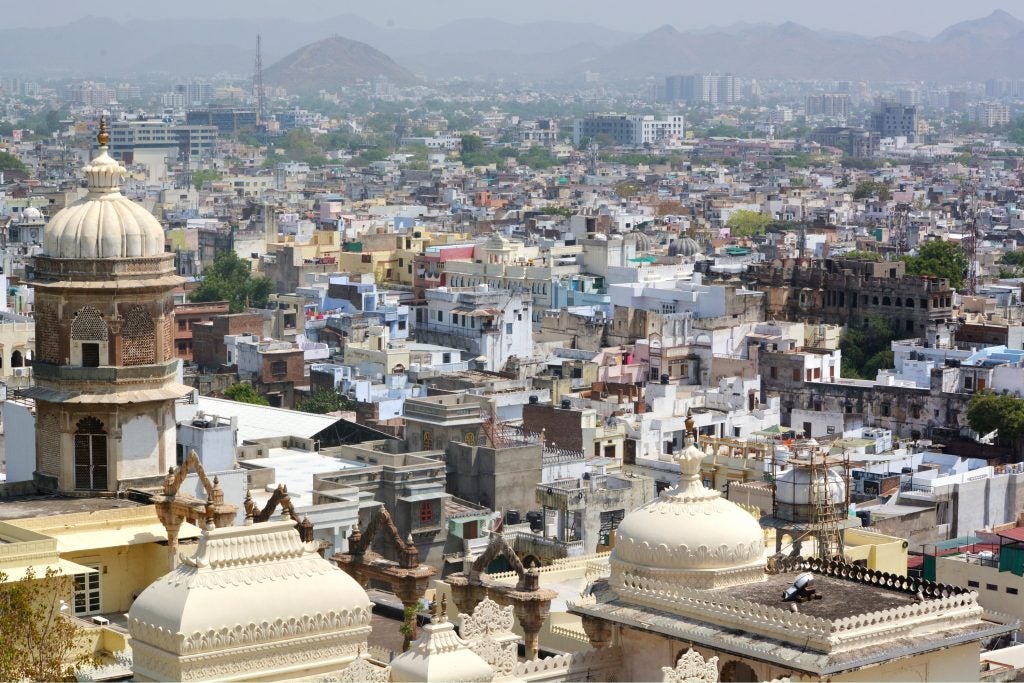
Cities offer countless opportunities for travel photography – from broad cityscapes to arresting architectural details. Part of the art is knowing where to tread, so a city tour is never a bad bet – unless you prefer to get lost and shoot what comes to you.
Perhaps the quintessential postcard shot is the city skyline, best captured from a high viewpoint – usually a tall building – and with a narrow aperture above f/14. Take your tripod and head up at dusk to steal a scene illuminated by twinkling lights. If the weather isn’t on your side, use clouds and a graduated Neutral Density (ND) filter to your advantage to capture the moodiness of the moment.
Give your travel photography series some perspective with close-up shots, too. Most cities are rife with intriguing angles, unusual architecture and urban textures. Captured sharp (ideally using a tripod) and with strong contrast, these can be as captivating as any city vista.
Try this: Long exposure light trails
Car lights are like the lifeblood of the city. Capture them from up high for a vast painting of urban movement or go low for swathes of glowing colour. Try to find a spot where headlights aren’t shining straight into the lens, position your tripod and set the shutter speed to at least 30s.
Related: Best tripods
Travel photography tips: nailing your landscapes
From the temples of Myanmar to the hills of Tuscany, landscapes have long been the subject of choice for budding travel photographers – which only makes it harder to capture one that stands out.
The basic setup is a simple one: position yourself with a relatively high vantage point, attach your camera to a tripod and select a narrow aperture for maximum detail (push f/22 if you can). It’s not as simple as pointing your lens at the hills, though.
Start by finding a focal point – often a mountain – then compose your shot. Consider the rule of thirds (for example, positioning objects at the intersections of where the your ‘3×3’ gridlines meet) and how it might work with your landscape.
If there’s a dramatic sky, you might want to include more of it; conversely, if the foreground is interesting it can take up most of your shot. Don’t be afraid to incorporate movement, either, and use lines (such as hedgerows, roads and rivers) to guide the eye.
Try this: Landscapes at different focal lengths
How you frame your landscape will be affected by focal length. Try shooting the same landscape at different focal lengths and note how it forces you to change the framing – from a wide angle with foreground detail, to a narrower crop with tight composition.
Travel photography tips: shooting in the street
One of the joys of street photography is that you never quite know what you’ll be shooting until you step outside. As a result, you need a camera that can handle a broad range of subjects and styles.
Smartphones are fantastic tools for street photography thanks to their versatility and quick operation. If you’re shooting with a mirrorless or DSLR camera, a fast 35mm or 50mm prime lens is a strong bet: a good prime will be compact, sharp and offer an excellent aperture range, while the fixed focal length will encourage you to compose creatively.
You might also want to become acquainted with your device’s manual settings and how to change them quickly to capture changing subjects. Apps such as Camera+ 2 will allow you to do this on a smartphone. If you’d prefer to keep things simple, an ISO of 400 and an aperture between f/8 and f/14 will work well in most streets.
Try this: Shoot blind for an afternoon
Good street photography is as much about capturing fleeting moments as it is about getting your settings right. To demonstrate the point, fit your camera with a fixed focal length lens, go standard with the settings and shoot from the hip. You can always crop down afterwards.
Related: Best Canon lenses
Travel photography tips: near or far?
Variety is the spice of life and that remains very much the case with travel photography. If you’re keen to move beyond the standard photos you see in most travel magazines, try experimenting with a range of focal lengths and positioning in relation to your subject.
The same scene will look completely different shot wide compared to a tight crop or even telephoto zoom. Take a busy Vietnamese market: go wide with a point of focus in the foreground for an expansive sense of space; or keep it cropped in tight either for greater detail or, with a shallow depth of field, to make the surroundings seem superfluous.
For further variation, you can shoot something up close that you’d usually see photographed from afar (think: the roughness of a New York wall or ripples on a tropical beach) or try it the other way, such as capturing a street portrait at 12mm.
Try this: Reflections and inversions
Shooting reflections is a great way to pair objects near and far. Capture a skyscraper reflected in a puddle, for example, and you’ll grab both the detail of the asphalt and the scale of the building. Use inversions to good effect for a more prominent challenge to the eye.
Travel photography tips: savour the flavours
You can’t photograph flavours, sadly, but you can use food as a stimulating focal point in travel photography.
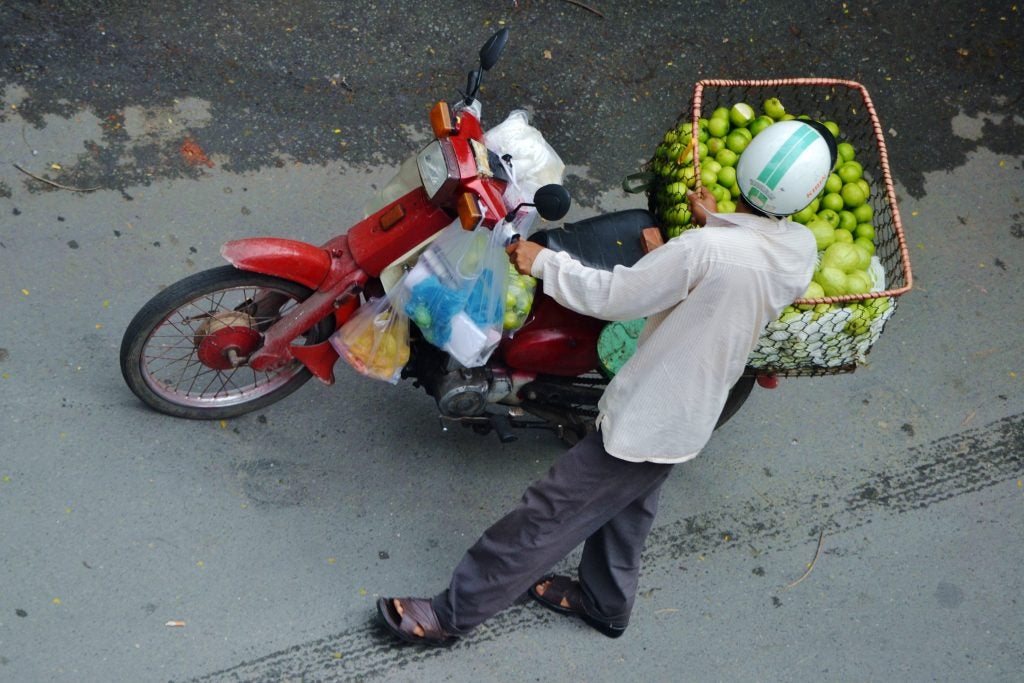
From towers of spices to steaming bowls of noodles, food makes for a fantastic subject in travel photography. Because eating and drinking is common to everyone, food as a point of focus speaks across cultures and languages, giving your images international appeal.
It also tends to be vibrant, often tempting and sometimes startling, offering you a multitude of options when it comes to colours, framing and style. Get up close to food, whether at markets, in food halls or as it grows, and use it to tell a story.
Capturing actions related to food is also a fantastic tool for visual storytelling. Fishermen and farmers, for example, can illustrate a lot about a culture’s relationship with land, nature and its produce, and these subjects often make for the most captivating travel photography.
Try this: Hit the morning market
Seek out a tip from the locals on the best fresh market and head down early in the morning. Markets are always a vibrant hub of life, offering opportunities to capture wares being hawked, meat chopped, fruit unboxed, smiles exchanged and deals done.
Travel photography tips: experiment with saturation
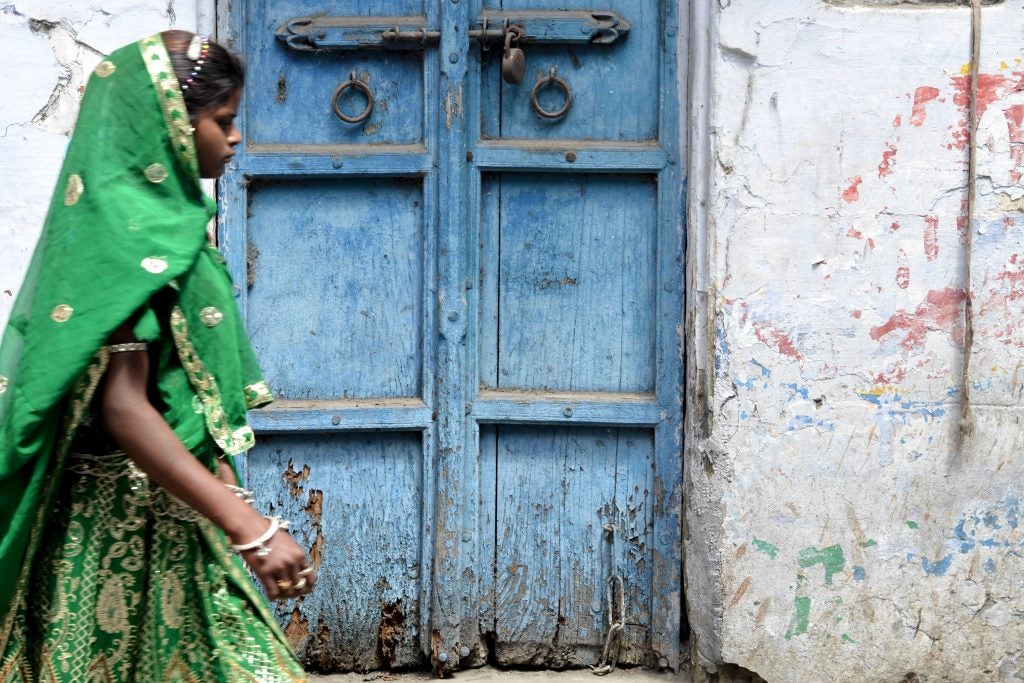
From mediterranean harbours to tropical forests, one of the joys of travel photography is integrating saturated splashes of colour into your photographs.
While many colours speak for themselves, you can use contrasting hues to your advantage, too. It never hurts to have a colour pinwheel handy to clue up on what colours compliment each other and use them in your travel photography. Shooting a red postbox against a green wall, for example, or an orange parasol against a blue sea will deliver a real punch – especially if you go Raw and tweak white balance later.
And never forget the power of monochrome. Black and white has many roles in travel photography – from saving a grainy, low-light snap, to bringing out the sharp detail in a portrait. Shooting in monochrome can be a liberating experience, though you’ll have more control over the results if you introduce the effect during the editing process.
Try this: Bold into black and white
Clear, bright colours can look immersively bold in black and white. Try shooting a verdant landscape, for example, with a clear blue sky in the background. Convert the scene into black and white using your camera presets or a more precise editing tool like Snapseed and witness the change in mood.
Travel photography tips: editing on the move

There’s no reason to wait until you get home to edit your travel photographs, especially if you have a ready audience of Instagram followers awaiting your next upload.
While we definitely advocate transferring shots from your SD card to your laptop on the regular (and, ideally, backing them up to the cloud), if you’re travelling without your PC or want a quicker fix, most travel cameras today come with Wi-Fi connectivity. Using it is as simple as enabling the connection on your camera, pairing with your phone (you’ll usually need to download a dedicated app) and picking which pictures you want to transfer.
Once your shots are on your smartphone, there are several apps you can use to tweak them. Snapseed is one of the best, offering an arsenal of non-destructive editing tools to rival the likes of Photoshop. It’s seriously simple to use, with a range of presets and more advanced options.
Try this: Smartphone masterpiece in a snap
Once you’ve outgrown Snapseed’s standard effects, try delving into the ‘tools’ section. Here you’ll find a host of options, including an excellent HDR setting. Adjust the filter strength to taste, tone down the saturation a tad and you’ve got an Insta shot with real pop.
Related: Best photo editing apps
Best travel photography accessories
Travel photography is best done lightly, with the least amount of gear you can get away with – but there are some essentials you’ll probably always want to pack.
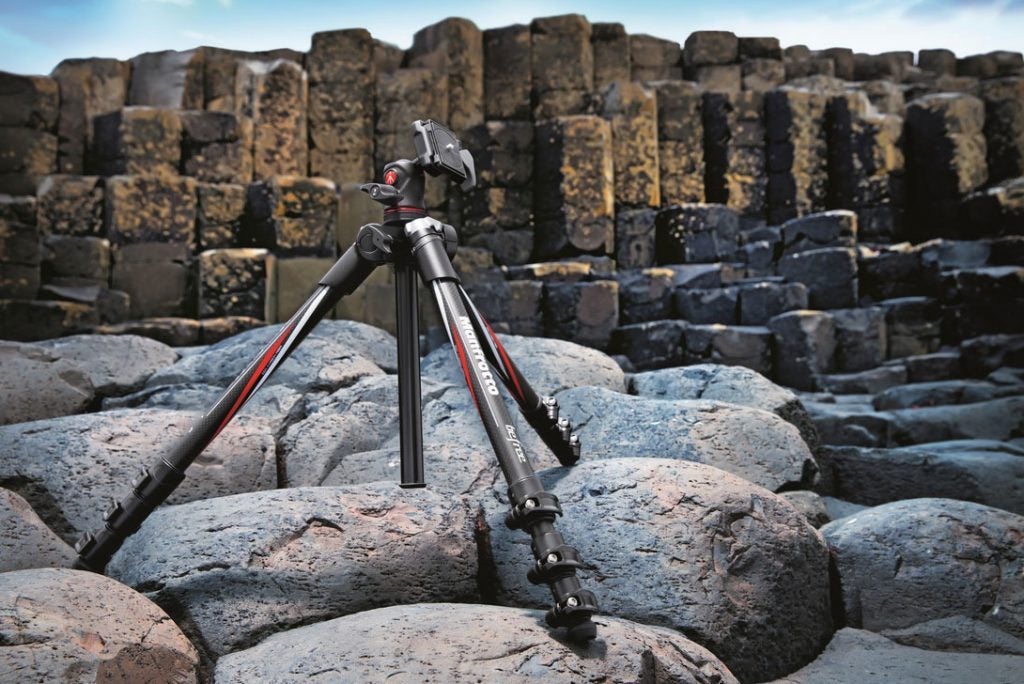
A tripod is a must for landscape shots and long-exposures. While it can make street photography cumbersome, it can also help when capturing dynamic scenes. Check out our list of the best tripods, which includes the Manfrotto Befree Advanced above, for inspiration. You can buy tripod mounts for your smartphone, too.
You’ll naturally need a camera bag for your travels. In general you’ll want something secure but easy to access, waterproof and with plenty of compartments for lenses, filters and the like. Our list of the ten best camera bags will help you pick the right one for you.
There are several screw-on lens filters worth considering if you’re shooting with a DSLR, starting with a neutral-density filter. These reduce the amount of light entering the lens without affecting colour hues, allowing you to experiment with different apertures in bright conditions – such as capturing long-exposure shots in the day.
Finally, travel photography often means being away from the plug for hours – if not days – so it’s worth investing in spare cells for your camera. Alternatively, a portable charger is a good idea for your smartphone, or if your camera supports direct USB charging. Our best portable chargers round-up is a good place to start if you need one for your suitcase or city break backpack.
Editorial independence
Editorial independence means being able to give an unbiased verdict about a product or company, with the avoidance of conflicts of interest. To ensure this is possible, every member of the editorial staff follows a clear code of conduct.
Professional conduct
We also expect our journalists to follow clear ethical standards in their work. Our staff members must strive for honesty and accuracy in everything they do. We follow the IPSO Editors’ code of practice to underpin these standards.