
Taking a screenshot on your iPhone is easy, intuitive, and surprisingly useful. Here’s how to do it.
Sometimes you just want to capture the precise moment on your iPhone display as quickly and efficiently as possible, whether it’s an important message, an item on a shopping website, a big moment in a game, or something else.
For such moments where time is of the essence and you don’t have time to enter convoluted sharing screens, a screenshot is ideal. Here’s how to capture, edit, and share a screenshot on your iPhone, whatever the model.
What we used
- We used the iPhone 13 Pro, but these methods will work on any iPhone
The Short Version
- On an iPhone with Face ID
- On an iPhone with a Home button
- Review, edit and share your screenshot
Step
1On an iPhone with face ID
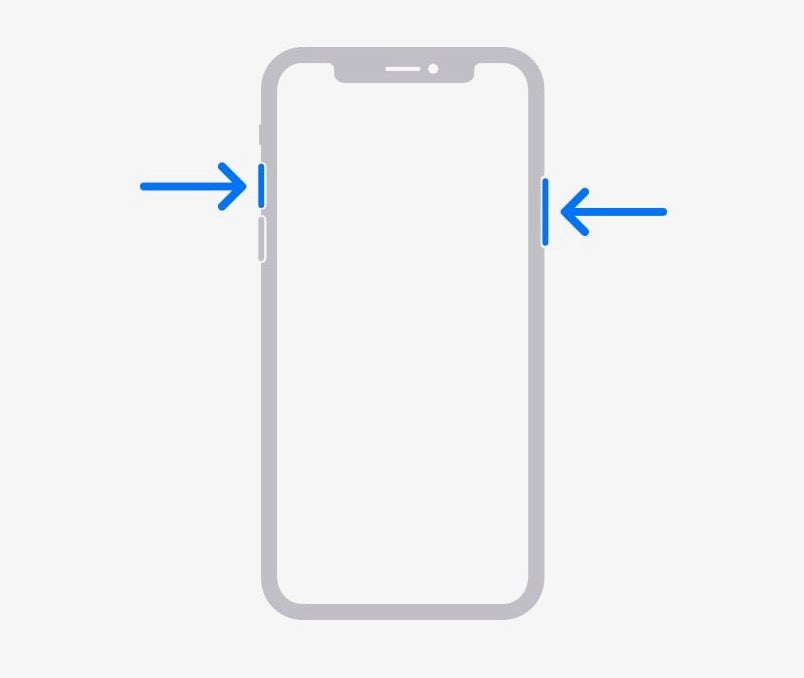
To take a screenshot with a modern iPhone with a display notch and no home button, quickly press and release the Side button and Volume up button together.
You should hear a camera shutter noise, and a thumbnail of the screenshot will appear in the bottom left corner of the screen.Step
2On an iPhone with a Home button
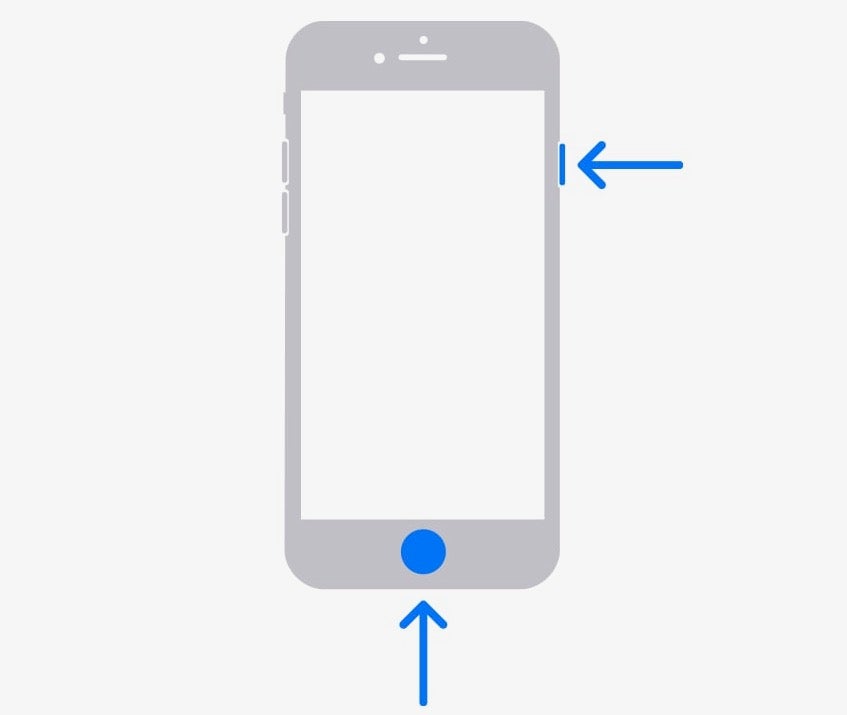
To take a screenshot on an older-type iPhone with a home button, quickly press and release the Side or Top button and the Home button together.
As above, you should hear a camera shutter noise, and a thumbnail of the screenshot will appear in the bottom left corner of the screen.Step
3Review, edit and share your screenshot
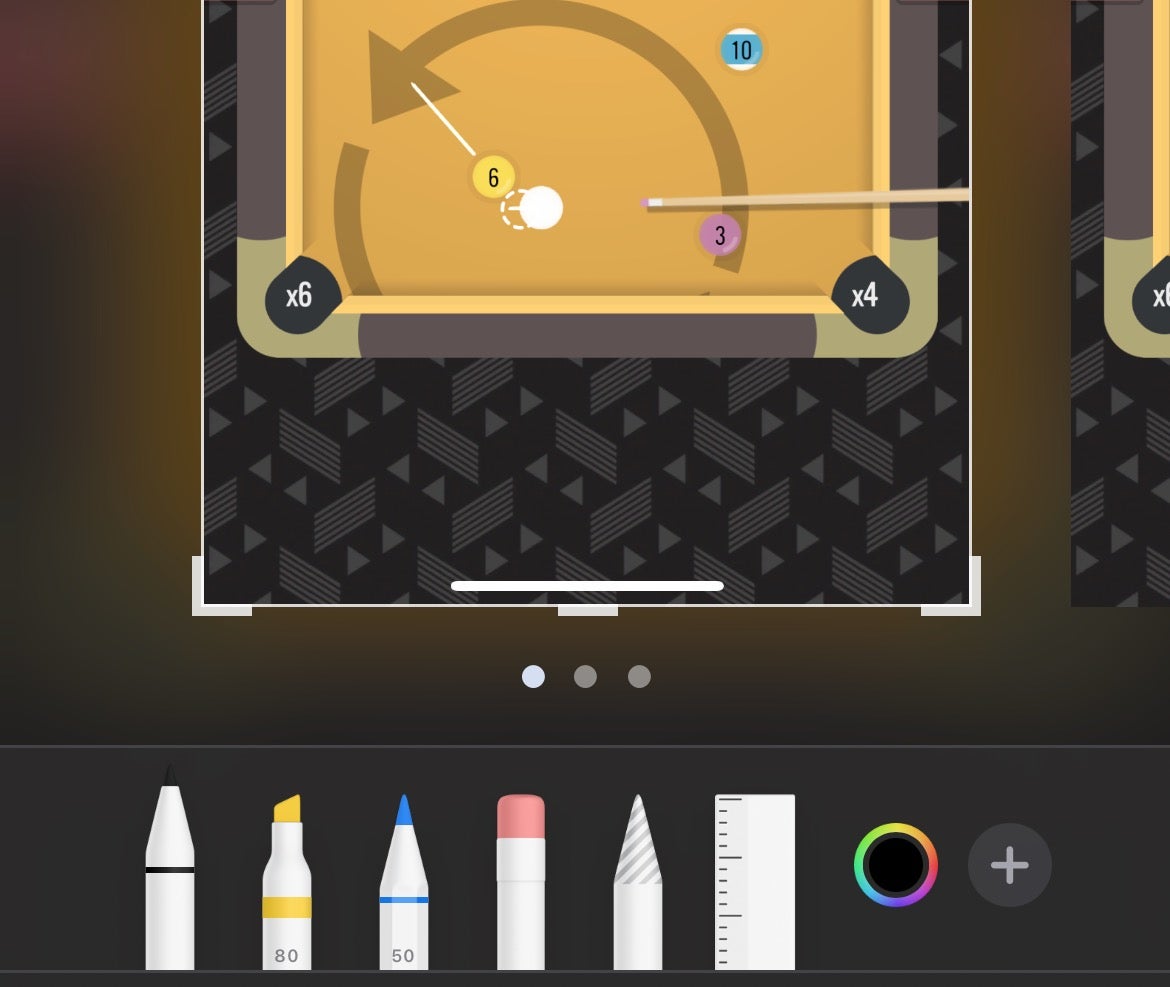
Tap the thumbnail that appears when you take a screenshot, and you’ll be taken to an edit screen where you can crop, annotate (using the pen tools along the bottom), and share (via the icon in the top-right) your snap.
If you missed your opportunity to tap the thumbnail, simply head into Photos, find the screenshot, and tap Edit in the top right corner.
FAQs
If you have no intention of editing or sharing your screenshot straight away, simply swipe the thumbnail away.
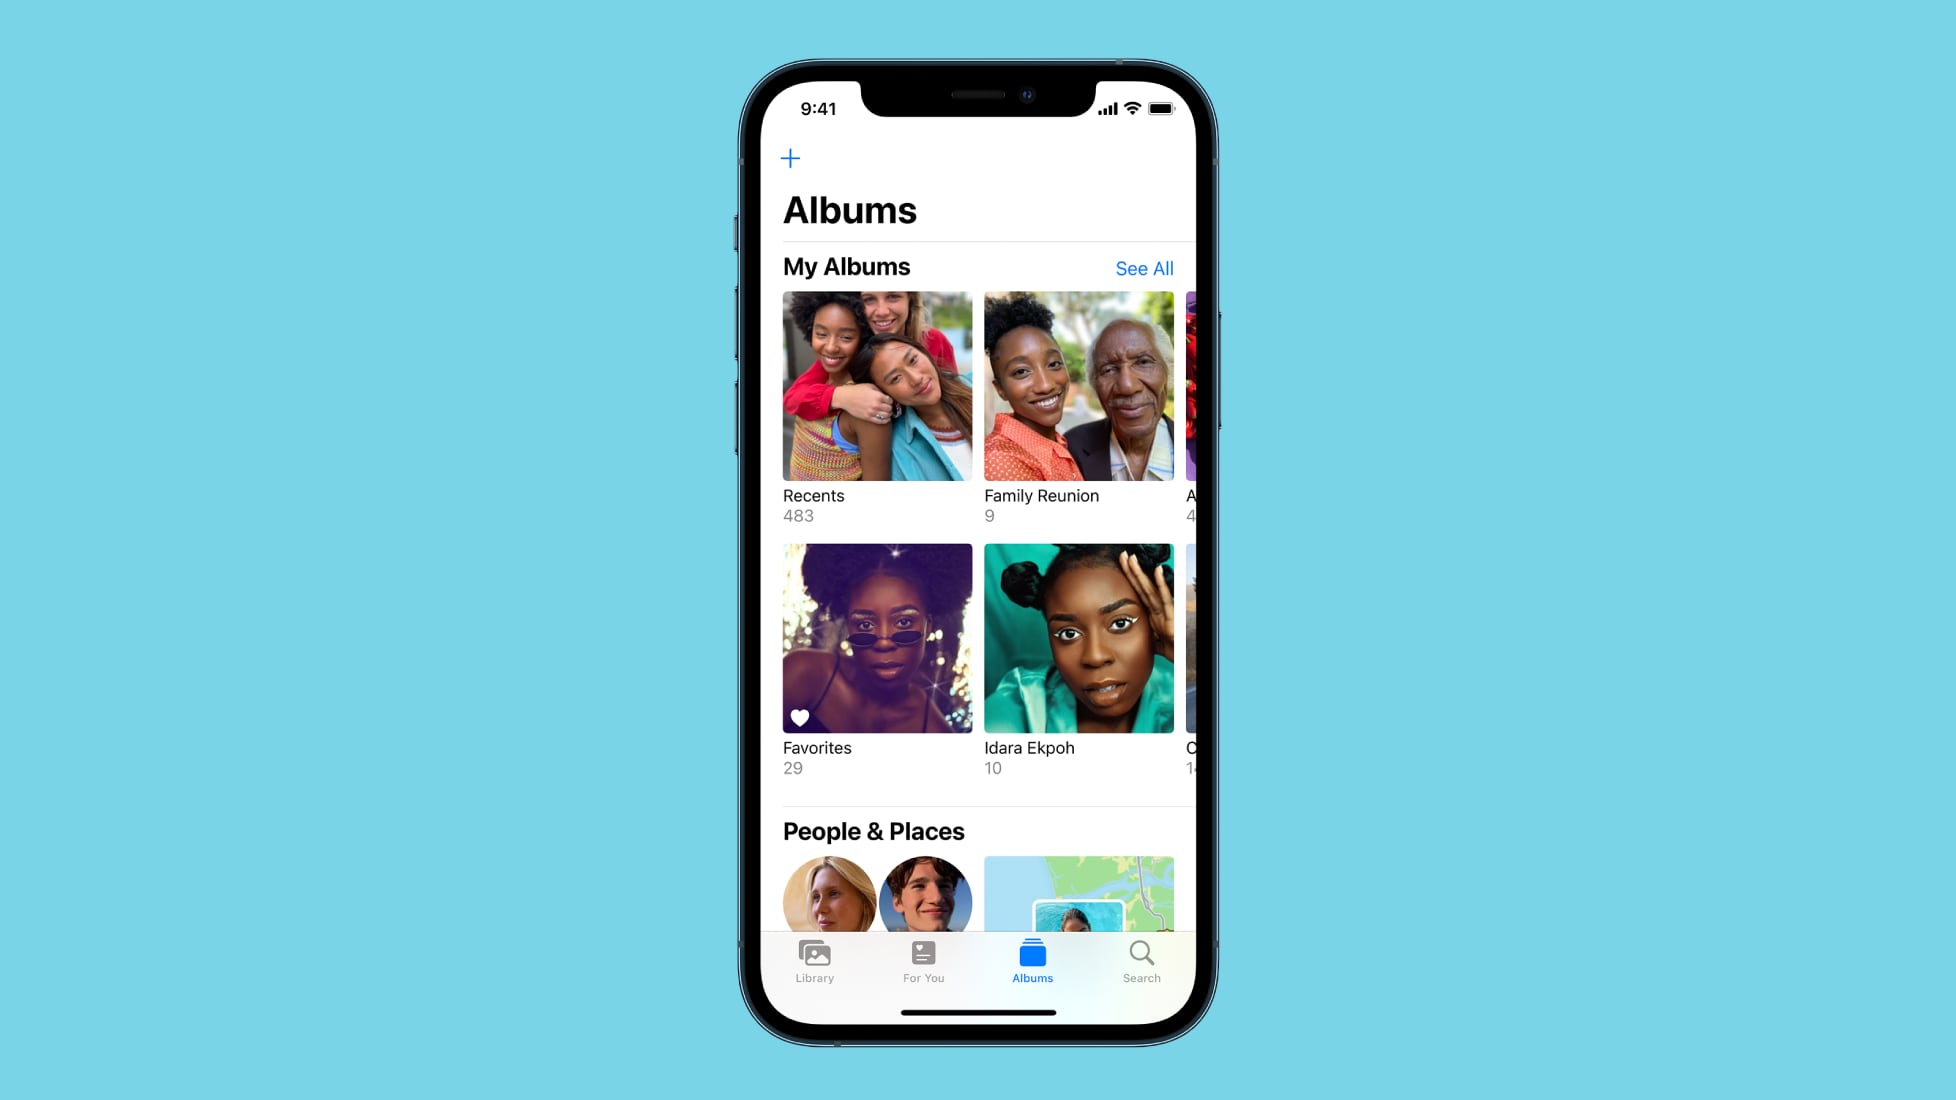
If your screenshot has been lost among a bunch of real photos in the Photos app, enter the app and head to Albums > Media Types > Screenshots.
You might like…


Editorial independence
Editorial independence means being able to give an unbiased verdict about a product or company, with the avoidance of conflicts of interest. To ensure this is possible, every member of the editorial staff follows a clear code of conduct.
Professional conduct
We also expect our journalists to follow clear ethical standards in their work. Our staff members must strive for honesty and accuracy in everything they do. We follow the IPSO Editors’ code of practice to underpin these standards.