Sharpening a photo is one of the easiest ways to bring out more detail and ensure your photos look crisp and clear. Here’s how to do it.
There are a number of options when it comes to sharpening photos in Photoshop from the basic Sharpen tool to Sharpen Edges, Sharpen More and Smart Sharpen. However, we’ll be using the Unsharp Mask to bring detail out in an Adobe Stock photo, as this is the method Adobe recommends using on its website.
One of the benefits of using a mask is that you can toggle the effect on and off and adjust the settings even after you’ve hit OK. You can also use the mask to single out areas of the image you want to sharpen and the bits you want to be left alone.
Here’s how to sharpen an image in Photoshop using the Unsharp Mask tool.
What you’ll need:
- Adobe Photoshop
- A Creative Cloud subscription
The Short Version
- Zoom in to 100%
- Click Filter
- Select Convert For Smart Filters
- Click Filter again
- Hover over Sharpen
- Click Unsharp Mask
- Adjust the settings and click OK
Step
1Zoom in on your image to 100%
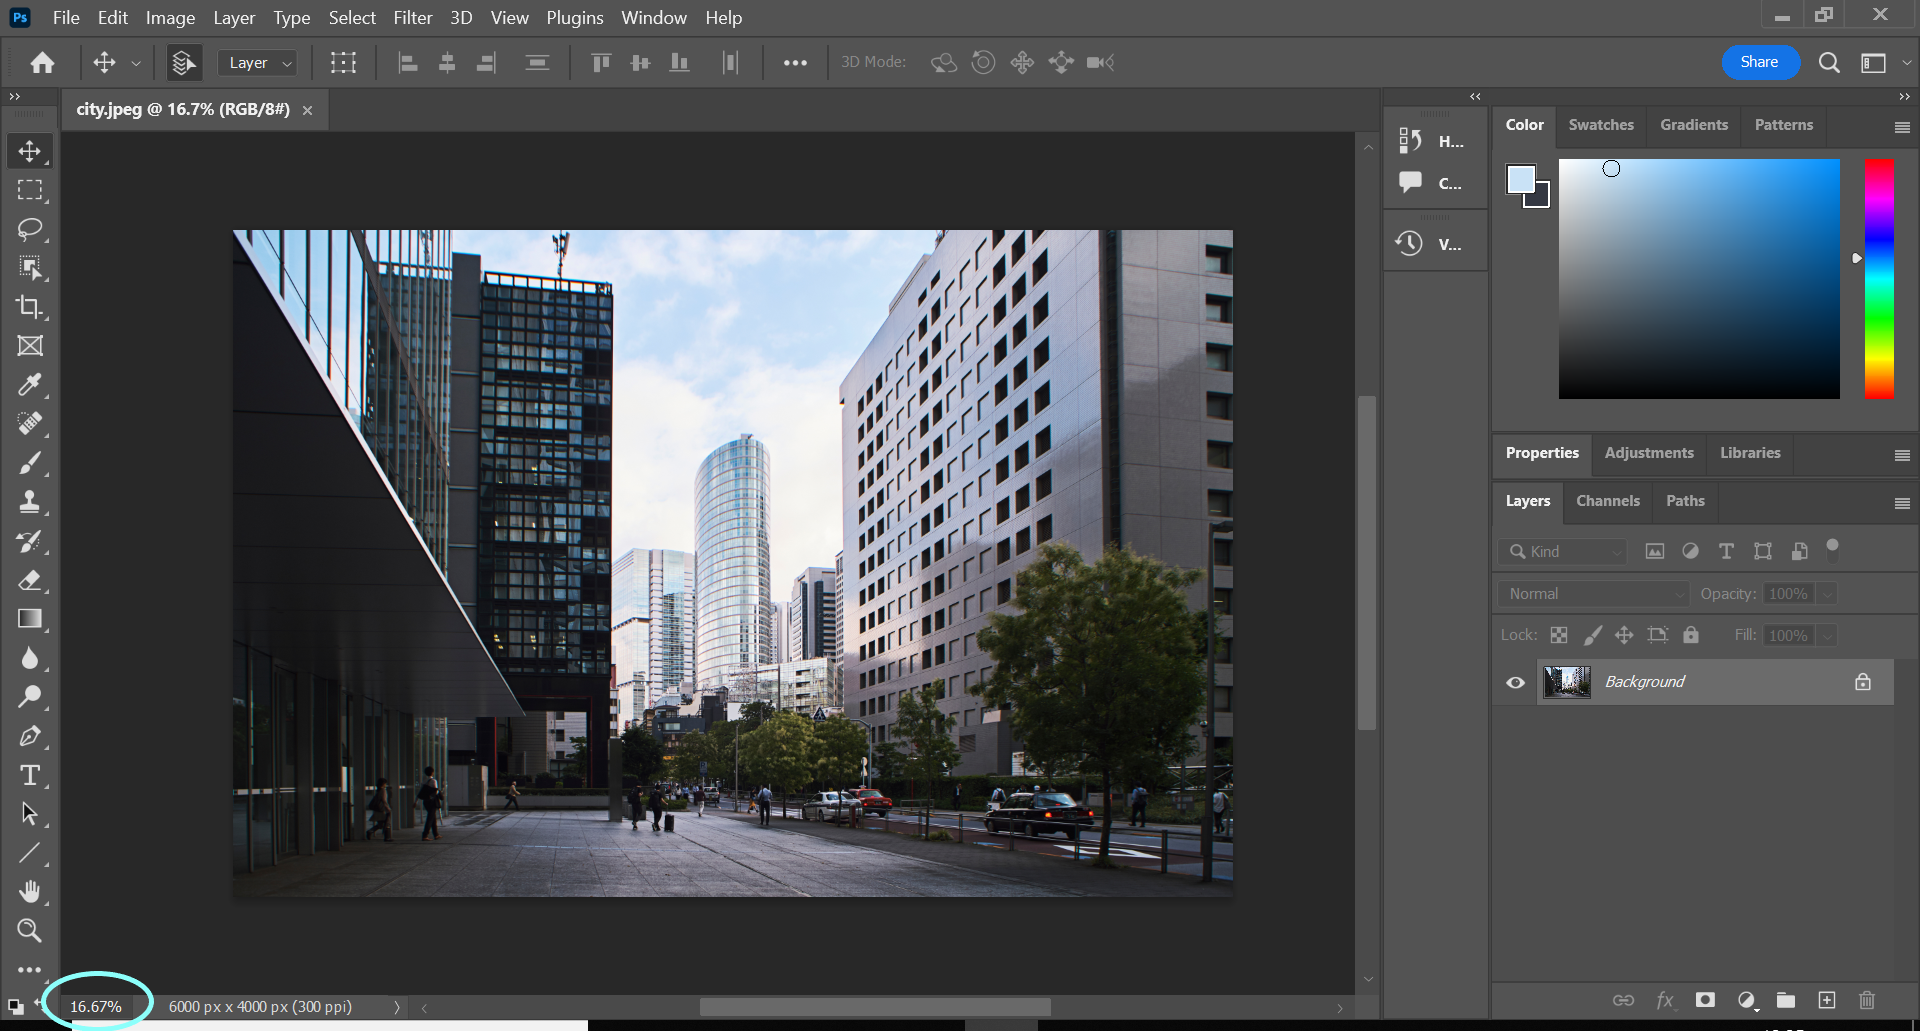
This isn’t necessary but it does make it a lot easier to see what you’re doing.
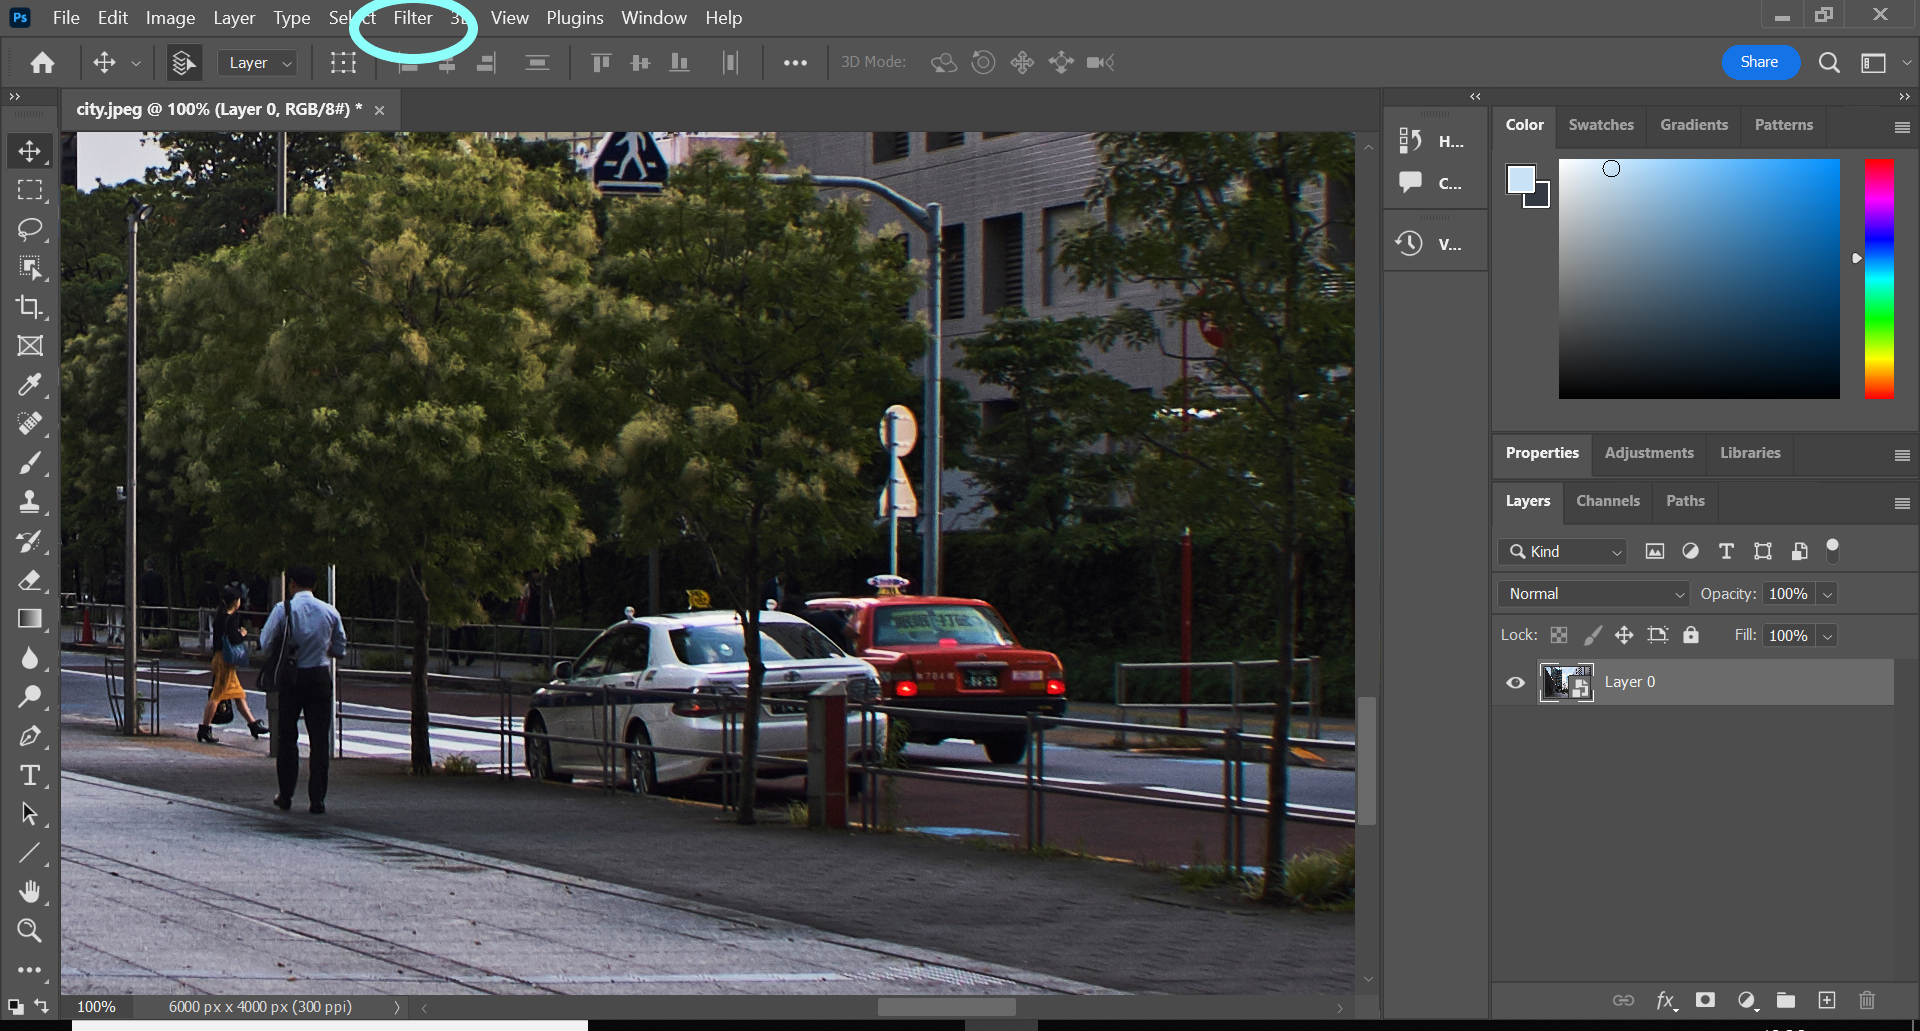
Step
2Click Filter
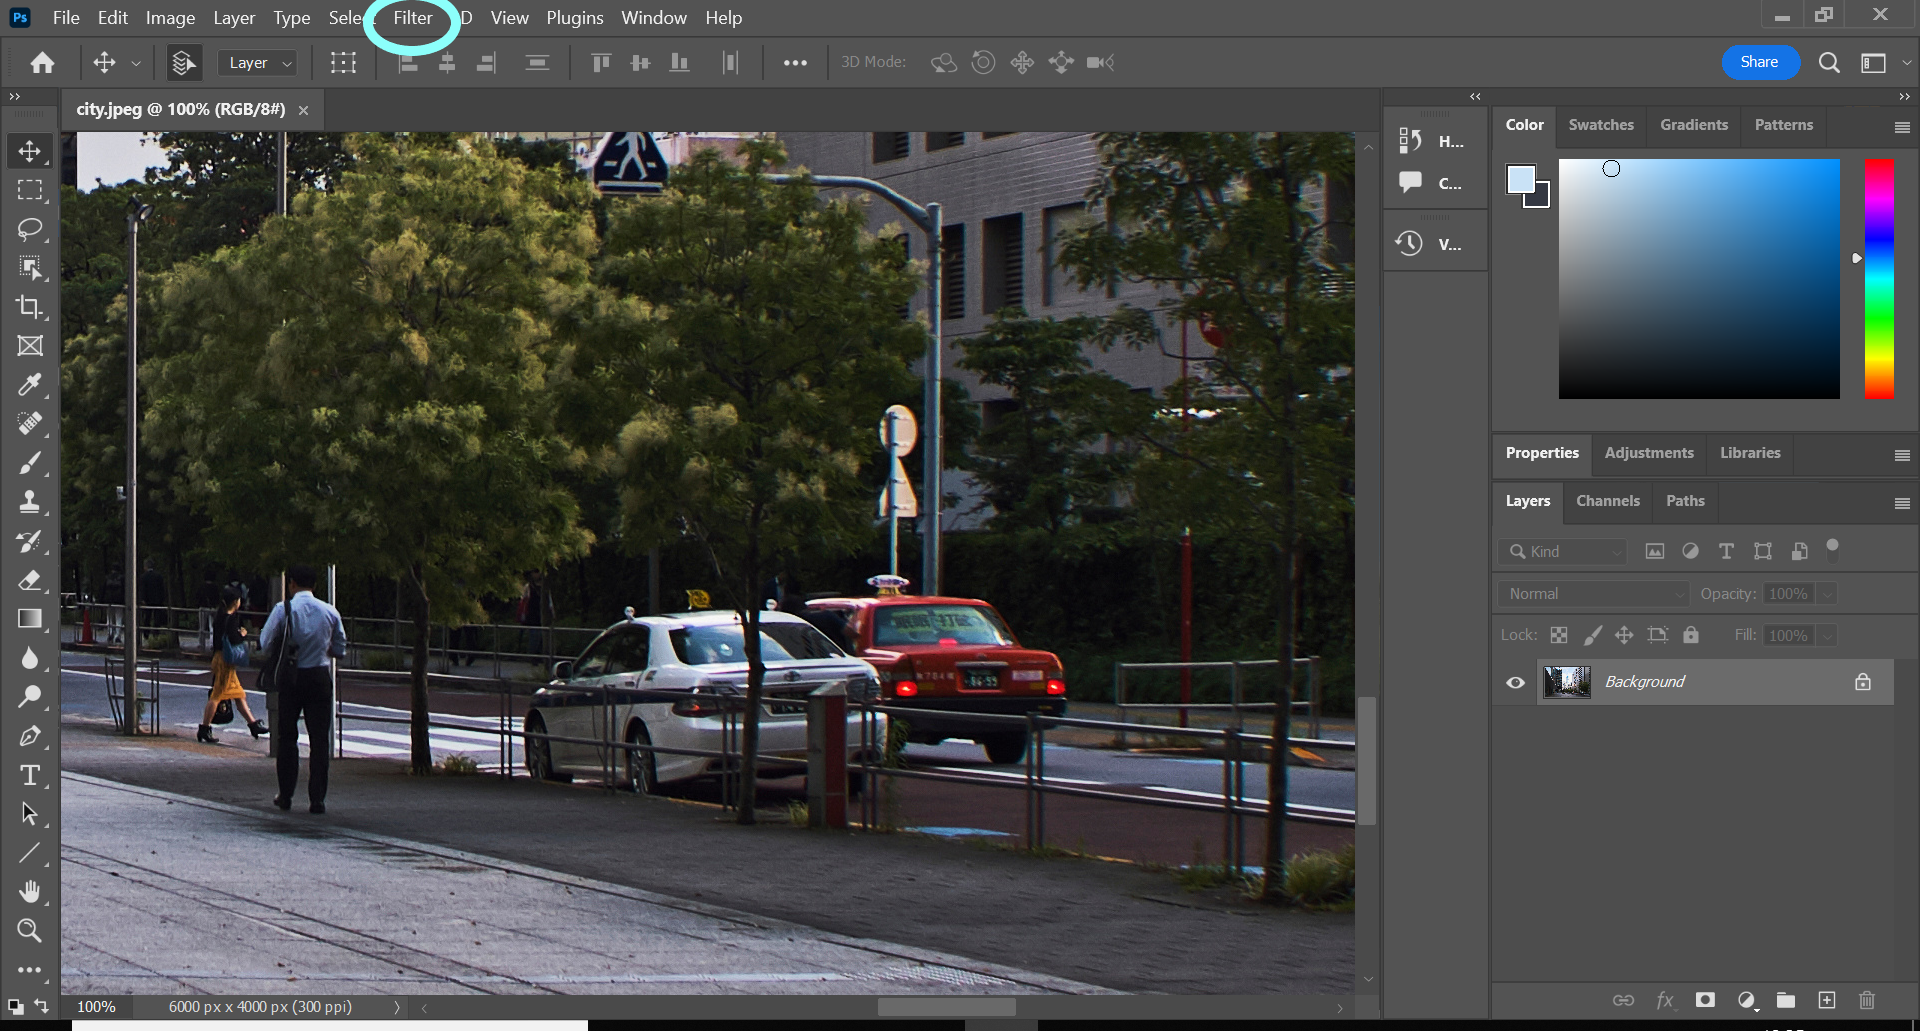
You can find this option in the menu bar at the top of Photoshop.
Step
3Select Convert For Smart Filters
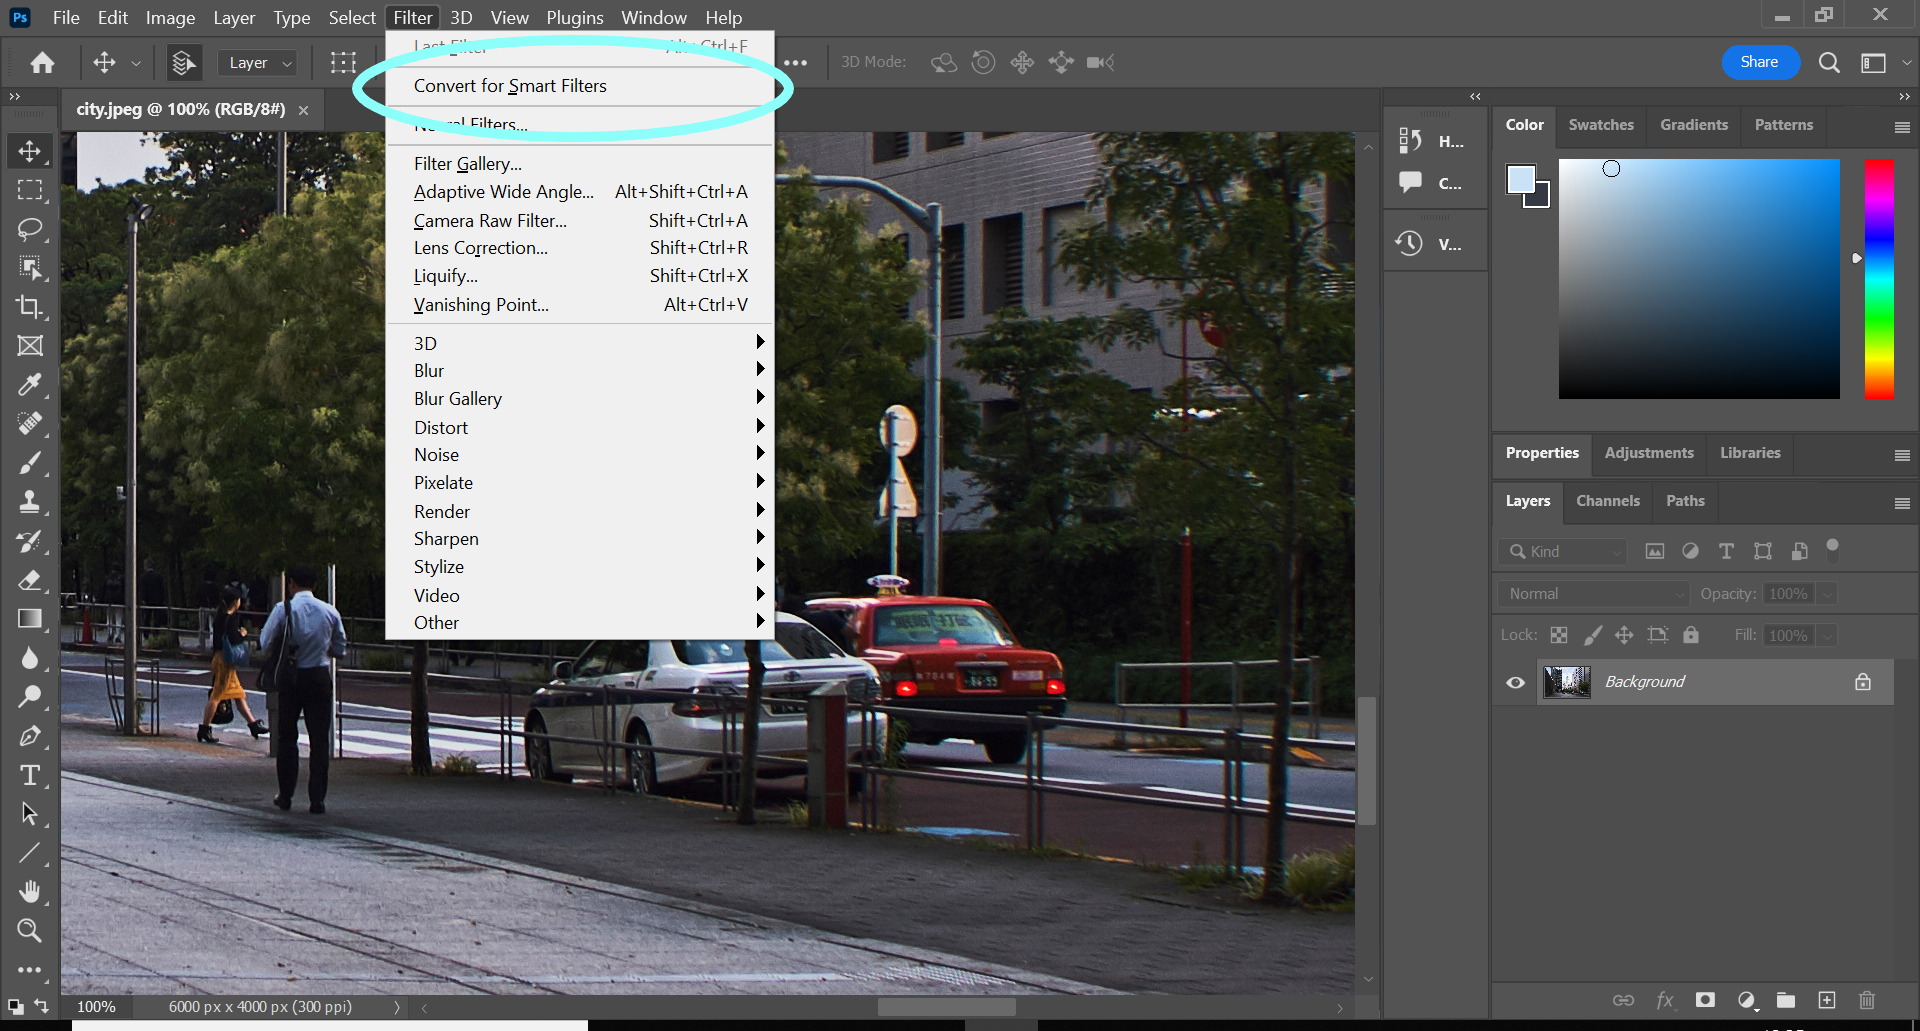
If you receive a pop-up about converting the layer to a Smart Object, click OK.
Step
4Click Filter again
Again, you’ll find this option in the menu bar at the top of your screen.
Step
5Hover over Sharpen
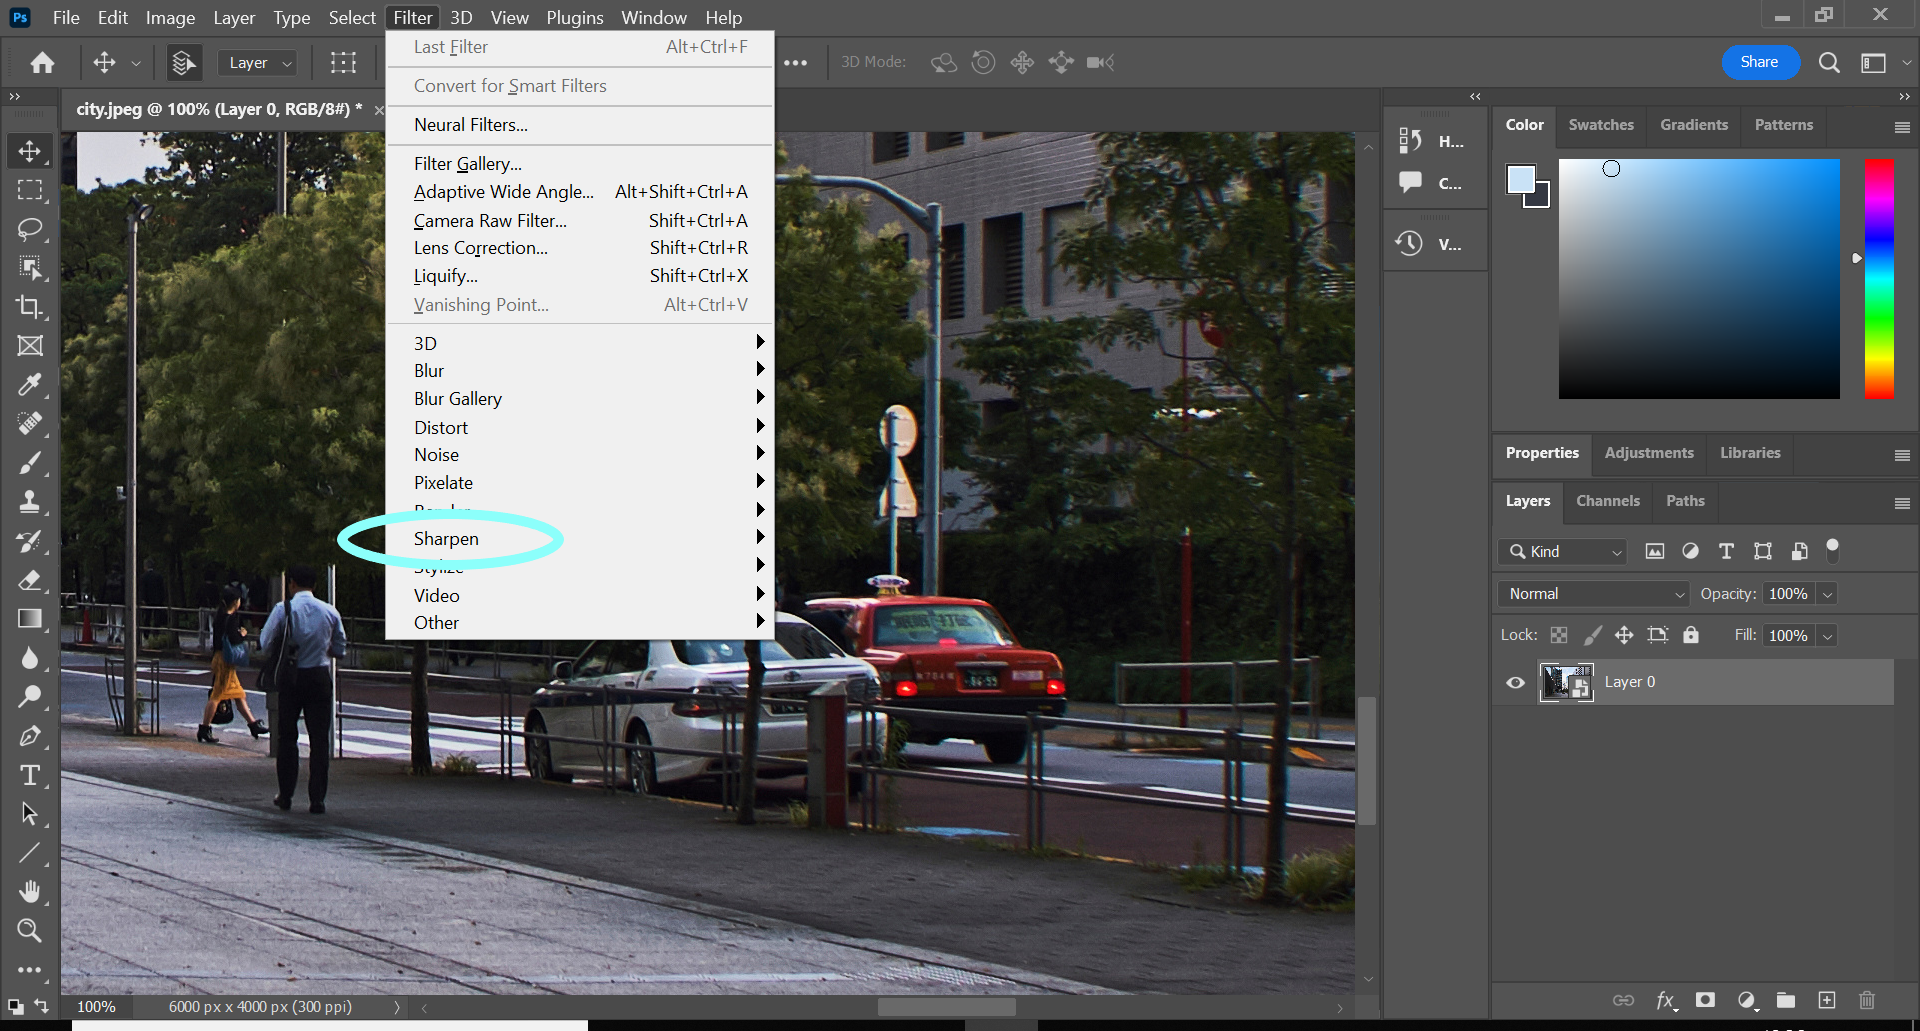
This will bring up more options.
Step
6Click Unsharp Mask
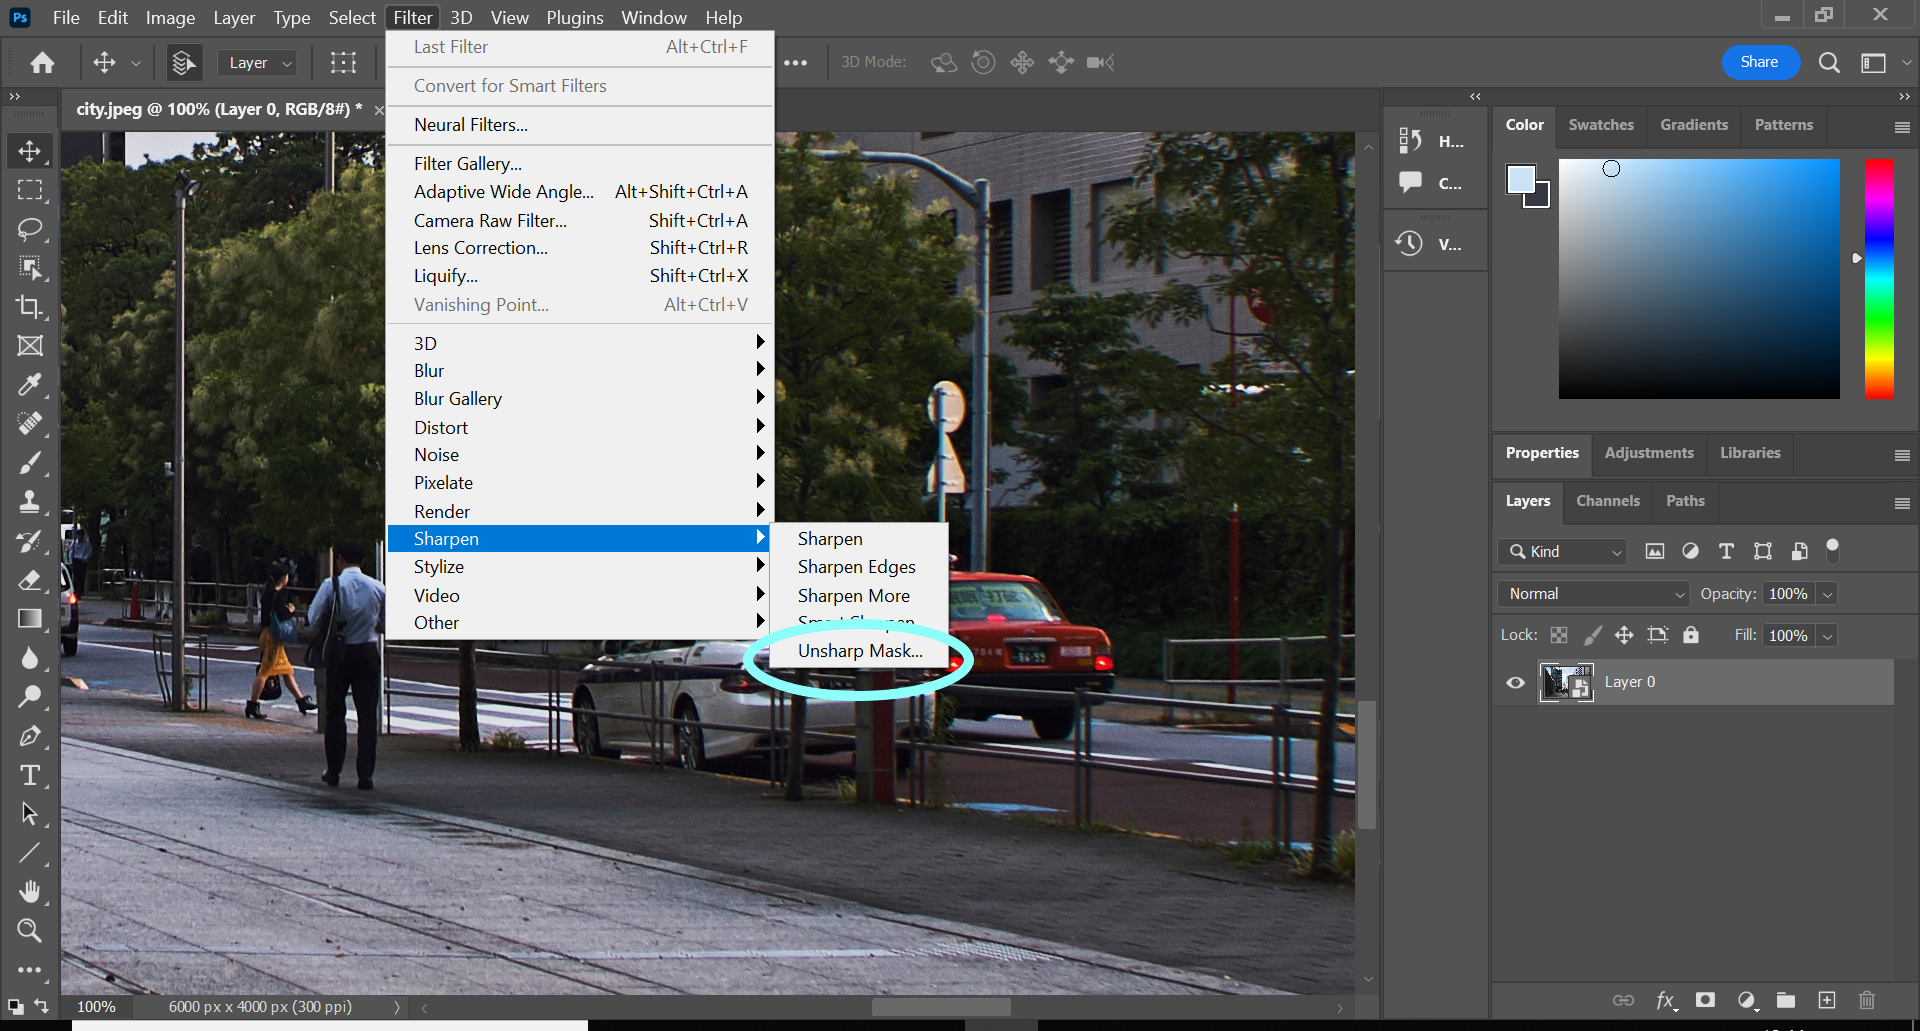
This is the tool we’re going to use to sharpen the image.
Step
7Adjust the settings and hit OK
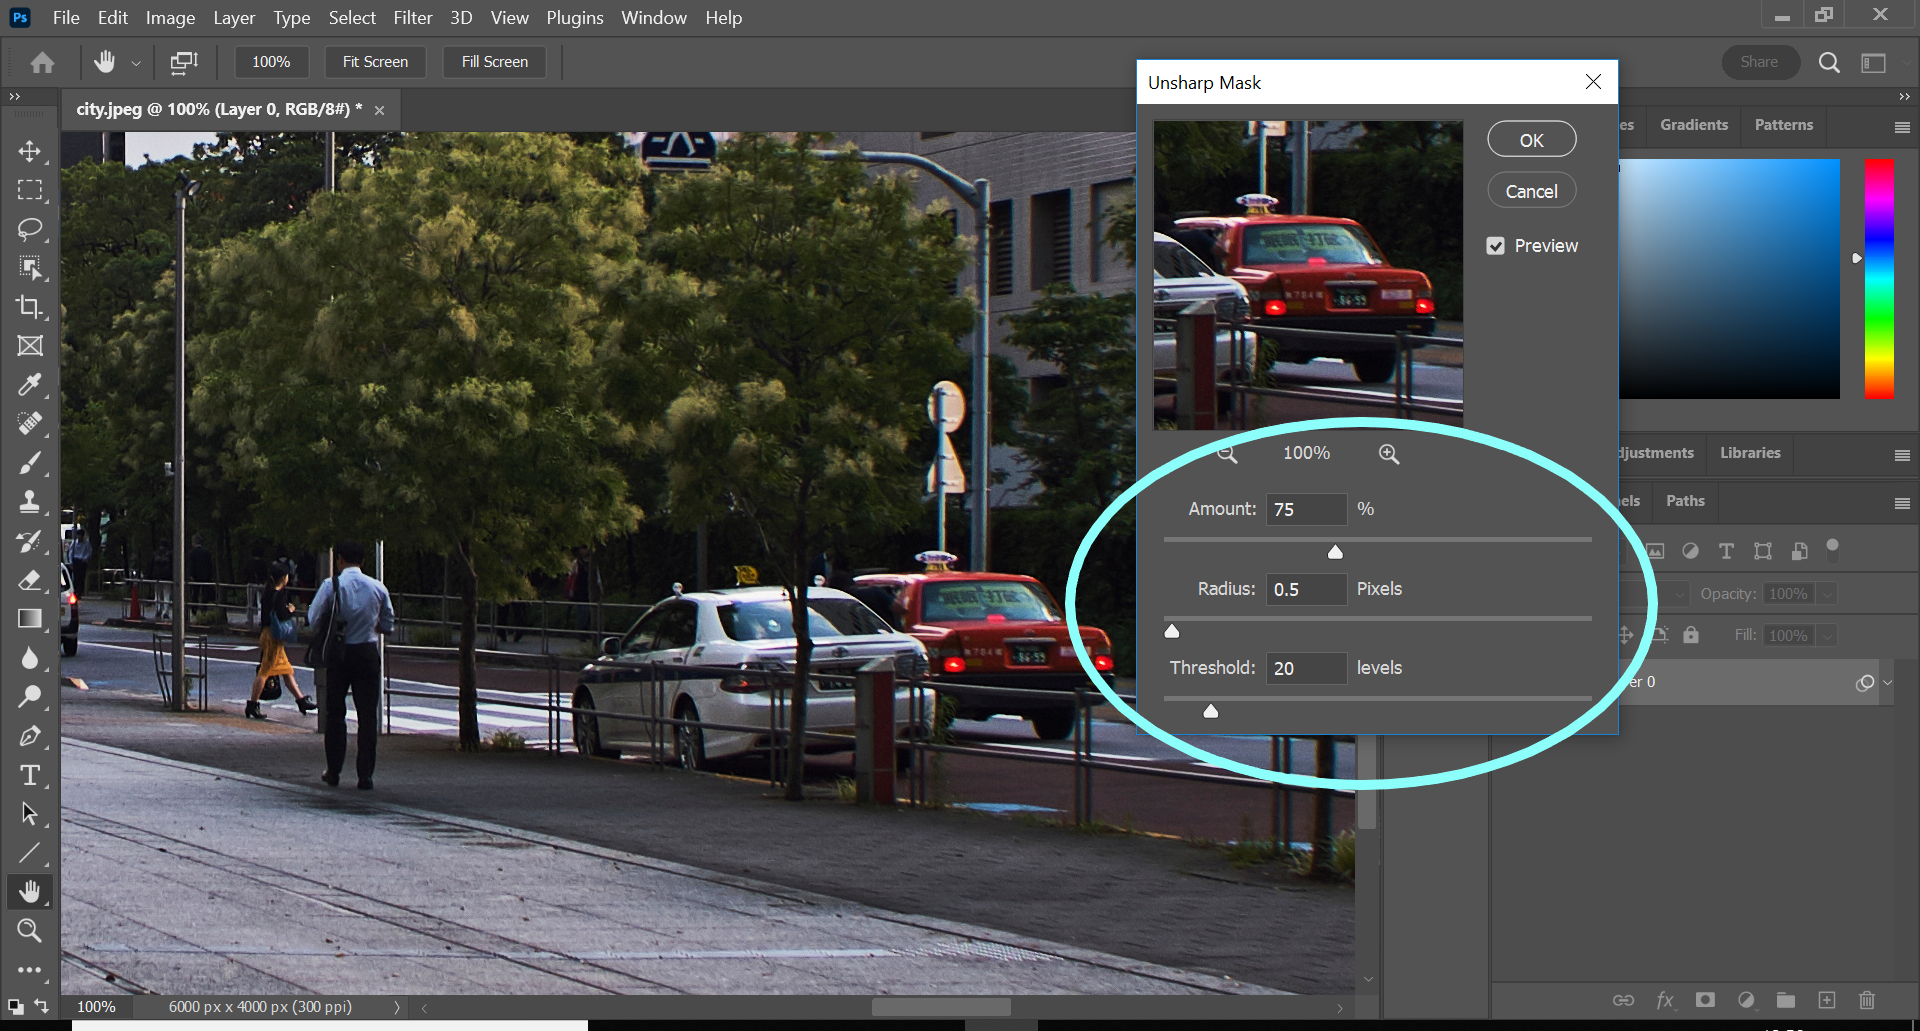
You can play around with the amount of sharpening, the radius and the threshold until you’re happy with the results.
Troubleshooting
You can take a closer look at different parts of your image as you sharpen it by clicking anywhere on the image with the Unsharp Mask tool open.
You can also tick the Preview box here to view your edits in real time or leave it unticked to only see them in the pop-up.
If you find you’ve oversharpened the image, just double-click on the Unsharp Mask effect in your layers and pull the sliders back until you’re happy with the result.
You might like…


Editorial independence
Editorial independence means being able to give an unbiased verdict about a product or company, with the avoidance of conflicts of interest. To ensure this is possible, every member of the editorial staff follows a clear code of conduct.
Professional conduct
We also expect our journalists to follow clear ethical standards in their work. Our staff members must strive for honesty and accuracy in everything they do. We follow the IPSO Editors’ code of practice to underpin these standards.