
With cinemas closed for the foreseeable future, you may be feeling some cinematic ennui at missing out the latest releases on the silver screen, so there’s no better time to learn how to set up a projector.
You will need a number of things to get going – not least an actual projector – and this article will cover the right type of environment, placement and what you need to look for with settings.
With projectors competitively priced against big, high-end TVs, they’re a great way of bringing a cinema-like experience without dropping vast sums, and they deliver a bigger image. So let gets started on setting up that projector.
Related: Best projectors for big-screen entertainment
Location, location, location
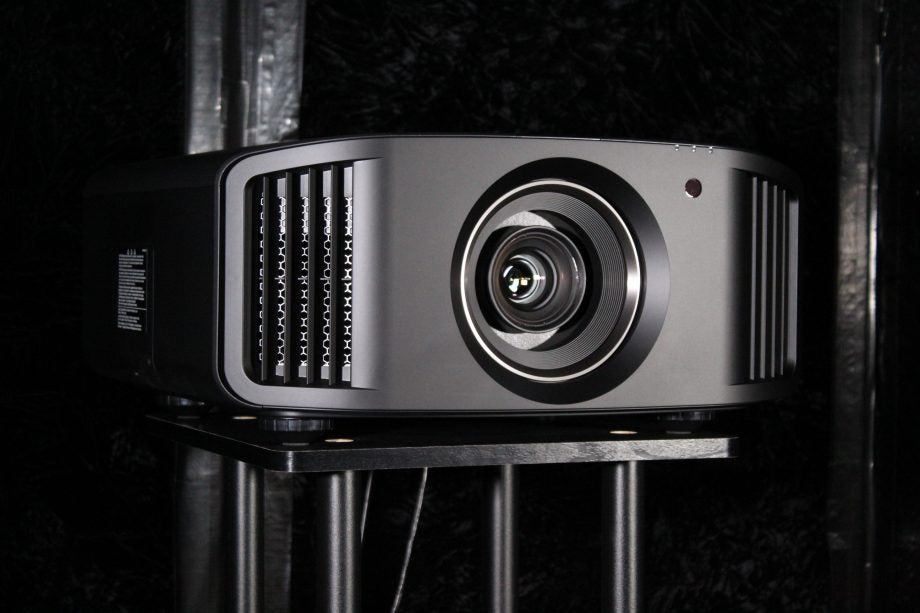
If you’re looking for a projector to use now and then for cinema night, you don’t need to concern yourself with the projectors that cost over £1000 on our best buy list. Those projectors are made with permanent installation and dedicated home cinema rooms in mind.
A question that needs answering is whether the projector is located in a room that’s bright or dark? If it’s bright, a projector capable of generating 3000 lumens (brightness) or more is best. Projectors under 3000 lumens are more suited for darker rooms or for use at night time.
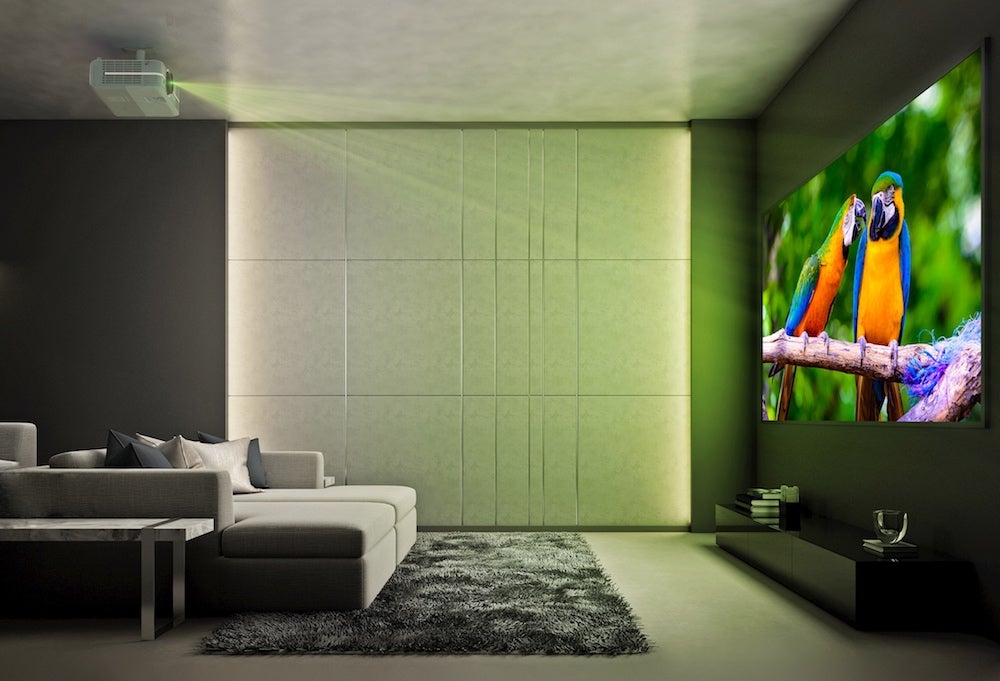 Dedicated home cinema installations require blacked-out rooms – or at least a room painted in dark colours – to reduce the light that’s reflected off the walls. A darker environment also helps colours and contrast to pop better.
The type of screen you use requires consideration too. A blank white canvas to project images on is best – a white wall is fine enough for casual watching. It’s best to avoid using a white sheet if you’re thinking that way.
For home cinema addicts, it’s worth investing in a screen (motorised or fixed), especially if you use it regularly and have a dedicated space for it.
Get in the right position
When you set up a projector, placement is key. Placement scenarios include whether you want to put the projector on a table, the floor, a dedicated rack/shelf or hook it up to a ceiling or place it at the rear of a room. Whichever you opt for, make sure placement is central to the screen you’re using. Projectors often come with adjustable feet if you need to tweak it.
Perhaps the most important consideration for placement is whether the projector is long throw and short throw. A long-throw projector can be positioned far from the screen, while a short-throw projector needs to be sat close to the screen.

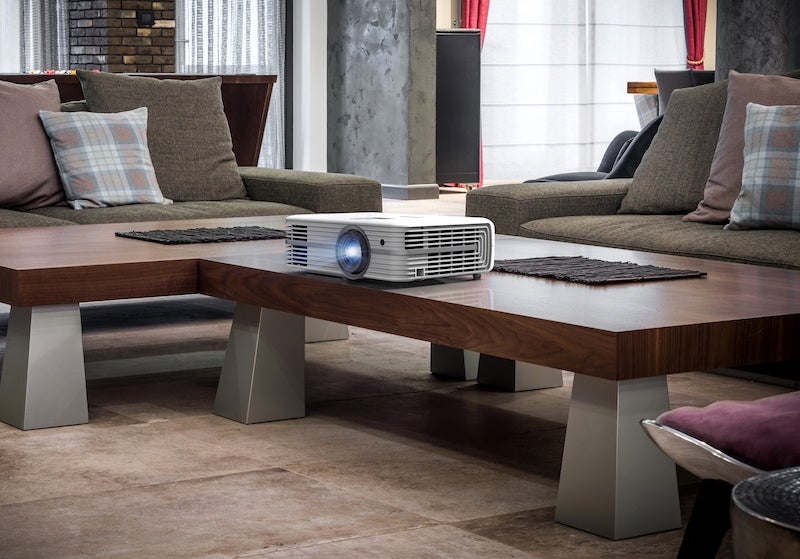
That leads on to throw ratio. Not all projectors detail the throw ratio, but figuring it out helps to calculate how far back the projector needs to be and how wide the image will be. Usually, the further back the projector, the bigger the image. That’s not always common with smaller projectors, like the Epson EF100 pictured above. Sitting around 2m away from the screen generates an image of 100-inches.
Throw ratio commonly looks like a set of numbers, followed by a colon and then another number. A throw ratio of 2.4: 1 would indicate that for every metre (or foot) of the screen width, the projector must be placed 2.4m (or feet) away. The throw ratio can be found in the manual, and if you’re having difficulty figuring it out, some manufacturers have throw ratio calculators on their site.
Be mindful that the projector needs to be connected to your various sources, so either those sources need to be close by, or you’ll need very long HDMI cables. A home cinema shelf would help in keeping all your devices clustered together, but that will take up space.
Adjust your settings
Once you’ve sorted out the environment and positioned the projector, it’s time to adjust the settings.
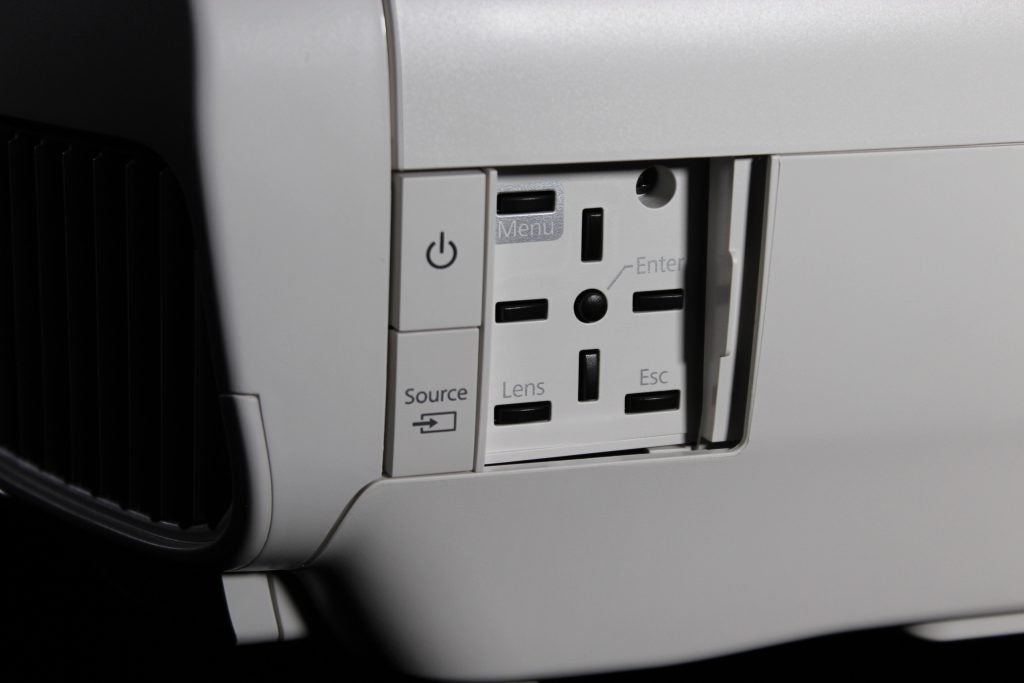
If the size of the picture isn’t quite right, projectors offer either Lens Shift or Keystone Correction to correct it. If your projector has Lens Shift, we’d definitely opt for that option. It moves the lens up, down or side-to-side to centre the image. We’d advised against using Keystone Correction unless the projector is set an angle; it digitally manipulates the image to fit the screen, but in doing so it can deform the image.
Once that’s done, it’s time to see whether you need to use zoom to fill out the screen. Next up is focus, to make the image relatively clear and stable. Some projectors have auto-focus, but if they don’t, you can to do it via controls on the projector or remote.
Projectors feature a number of presets that can be boiled down to Bright, Standard, User, Cinema and Sports. Bright and dark environments require different settings, so if you’re viewing in a room with lots of ambient light, Bright is better.
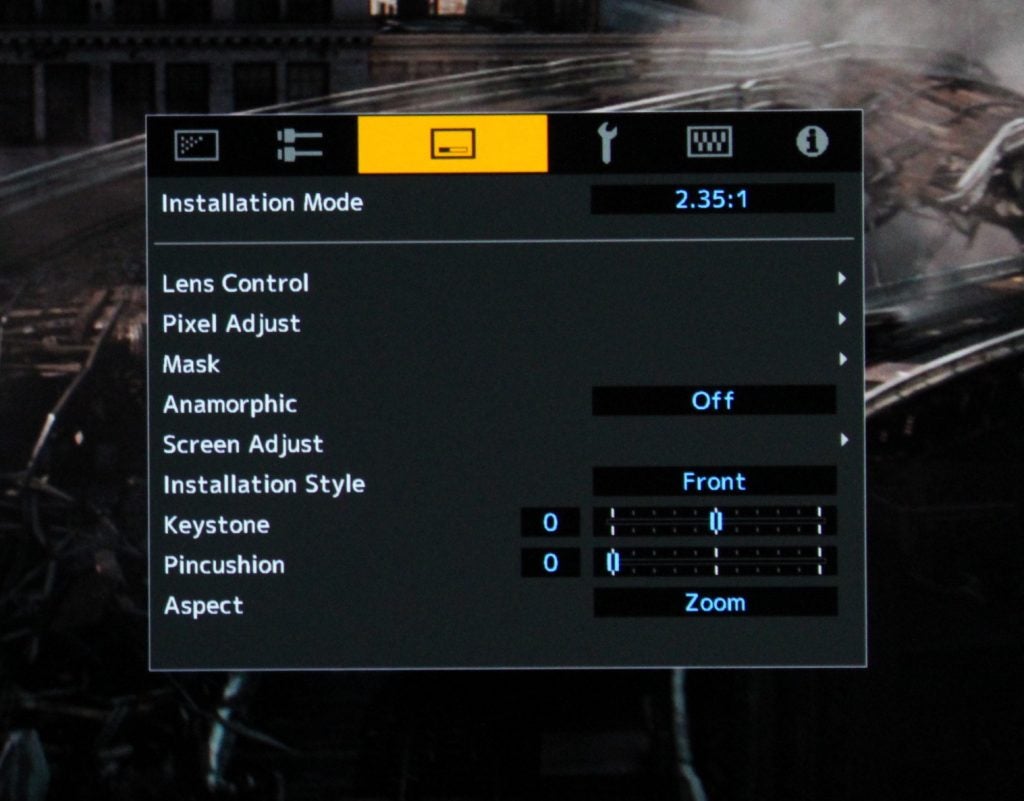
If you’ve set up a projector in a dark room, Cinema mode is best. If you use the projector to watch a range of content, Standard or User are probably best. If it’s 3D content you’re watching, switch on the 3D Mode. Some projectors have a gaming mode, though latency can vary from fairly quick to just okay.
When it comes to colours and settings, it’s generally down to your own taste. We’d suggest moving the sliders all the way up and then dial them down to the point where you feel most comfortable. You want the picture to be sharp and expressive enough for detail to be retained and colours to be punchy and accurate enough, but not the point where detail becomes excessive, or colours oversaturated and unnatural.
Make sure you do these settings in the type of environment you’ll be watching (dark room, bright room, etc.). It’s also worth choosing a scene from a film you’re familiar with and honing in on the settings with that.
Get yourself connected
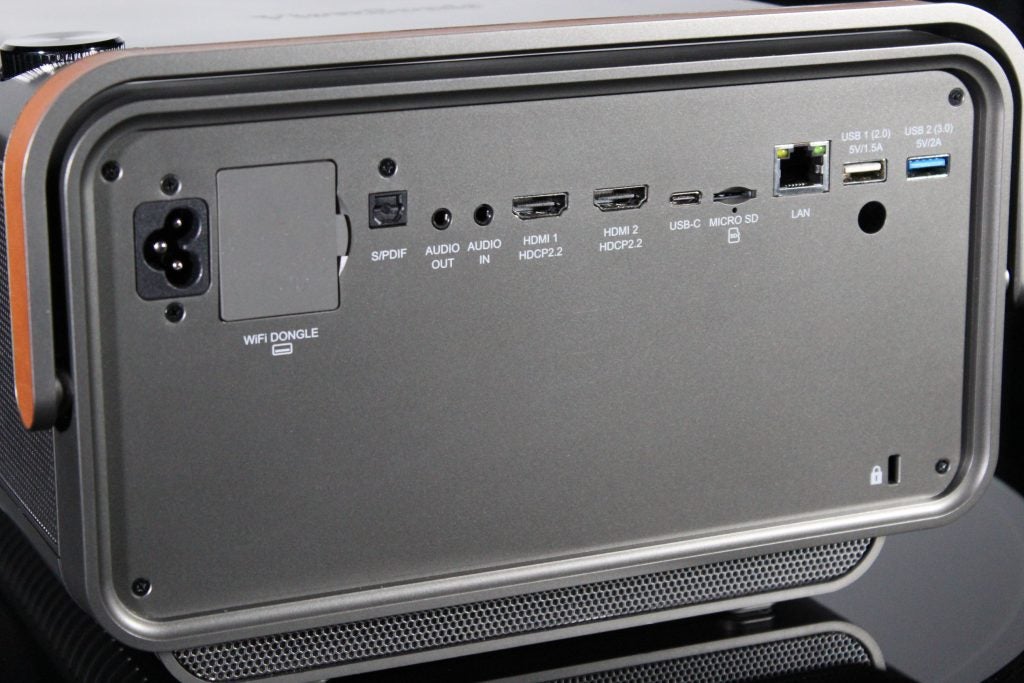
If you haven’t already, you’ll need to get your sources connected. When you set up your projector you’ll find that most have a maximum of two HDMI connections, and a smattering of PC, VGA and USB connections. These connections will either be around the back of the unit or in a recessed area on the side.
Obviously, connect your HD or 4K sources to the HDMI inputs. Projectors should work fine with video streaming sticks, so that is an option if you want to make your projector ‘smart’ and some, such as the ViewSonic X10-4K, have space for a Wi-Fi dongle. There are some Alexa-capable projectors about, but voice interaction is fairly limited.
Not all projectors have built-in speaker systems, and even when they do, they’re ill-suited to the cacophony of movie soundtracks. It’s worth investing in a decent audio system if you’re going to pursue creating a projector-based home cinema system.
An AV amplifier is essential for dedicated setups. With an AV amp, you can connect more sources as well as hook up a surround sound speaker system for 5.1, 7.1 or immersive Dolby Atmos and DTS:X soundtracks. A more regular home cinema system/soundbar could be connected, but you’d need to run a long cable to it.
And with that, you should be at least on the way to getting that big-screen experience in your home.
Editorial independence
Editorial independence means being able to give an unbiased verdict about a product or company, with the avoidance of conflicts of interest. To ensure this is possible, every member of the editorial staff follows a clear code of conduct.
Professional conduct
We also expect our journalists to follow clear ethical standards in their work. Our staff members must strive for honesty and accuracy in everything they do. We follow the IPSO Editors’ code of practice to underpin these standards.