Need to make a photo smaller or larger? We’ve put together this guide to show you how to resize an image in Photoshop.
There are lots of reasons as to why you may need to adjust the size of an image, from shrinking down an image to match file upload limits, to changing the dimensions to squeeze into a banner or an Instagram post.
Read on to learn how to resize an image in Photoshop.
What you’ll need:
- Adobe Photoshop
- A Creative Cloud subscription
The Short Version
- Open the image in Photoshop
- Click Image
- Click Image Size
- Enter your new dimensions
- Click OK
How to resize an image in Photoshop
Step
1Open your image in Photoshop
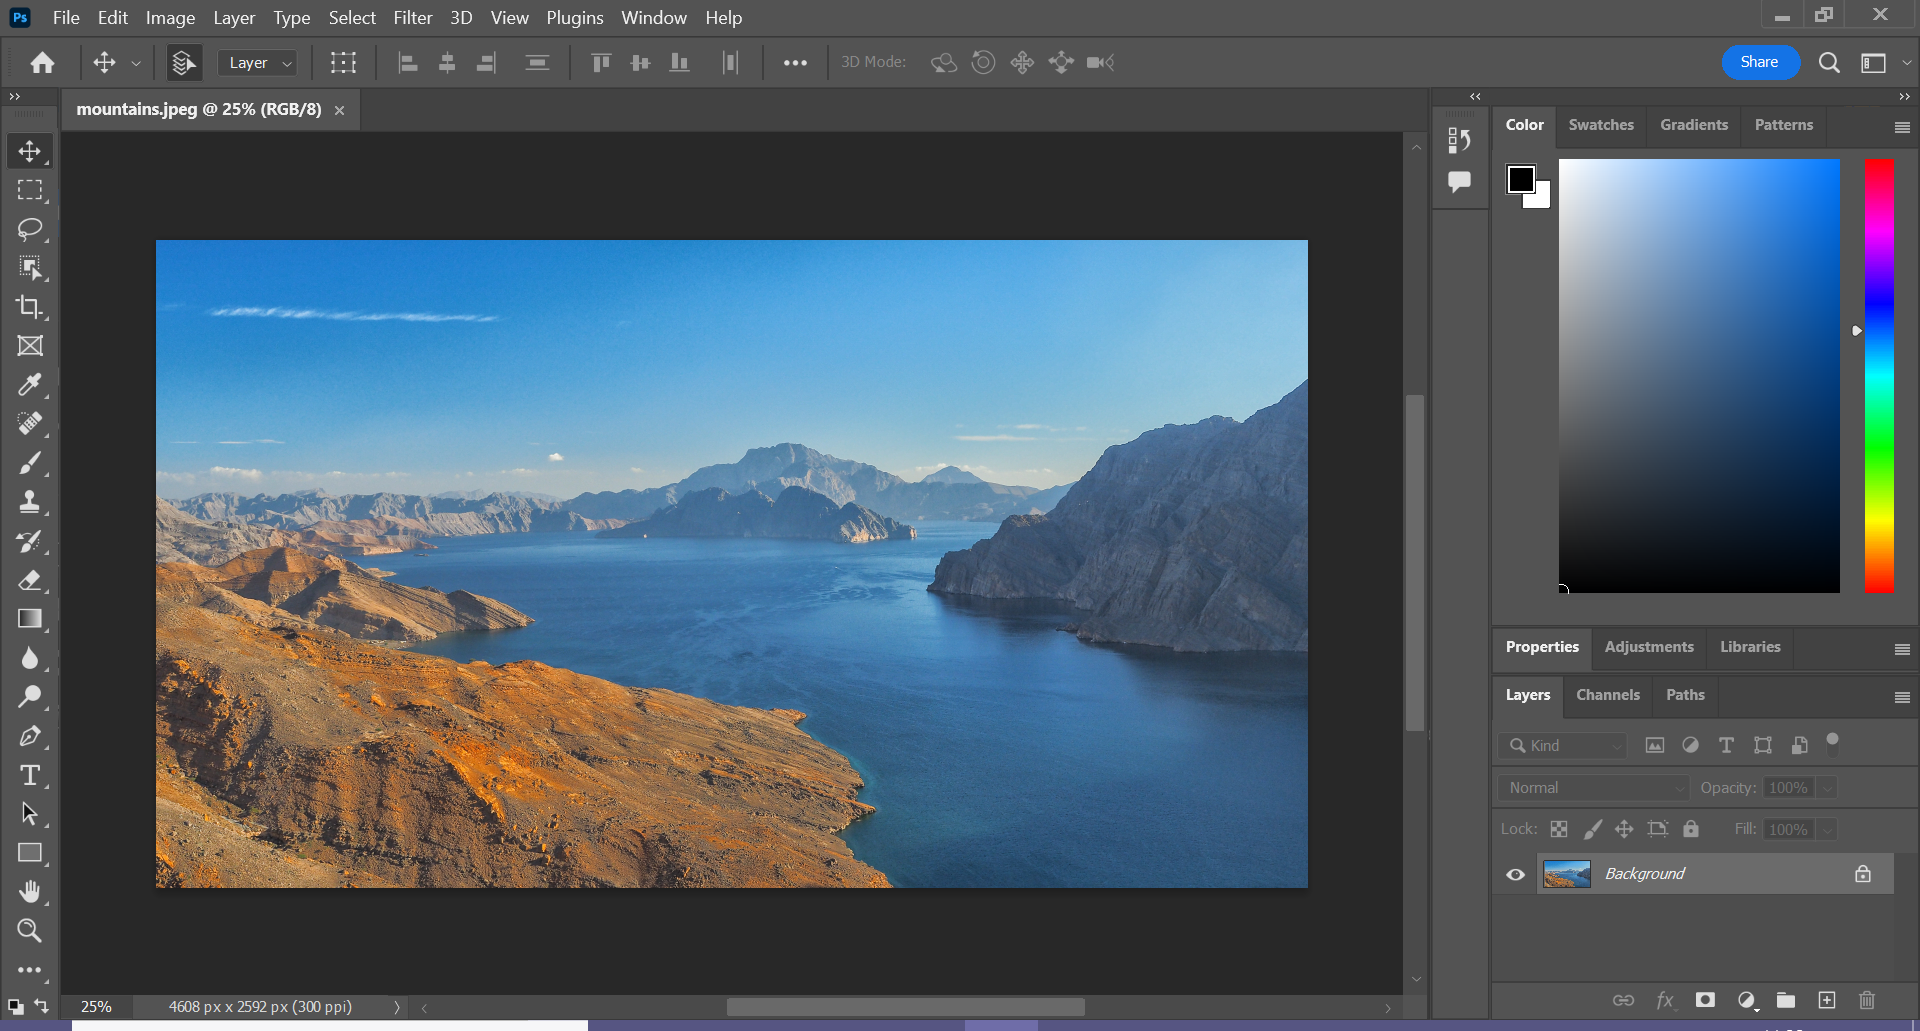
This can be any photo or image you want to resize.
Step
2Click Image

You can find this option in the menu bar at the top of the screen.
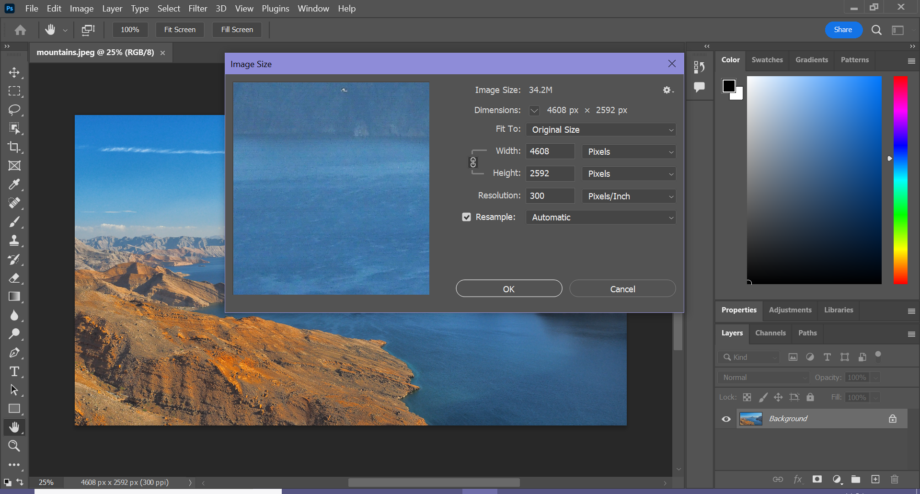
Step
3Click Image Size
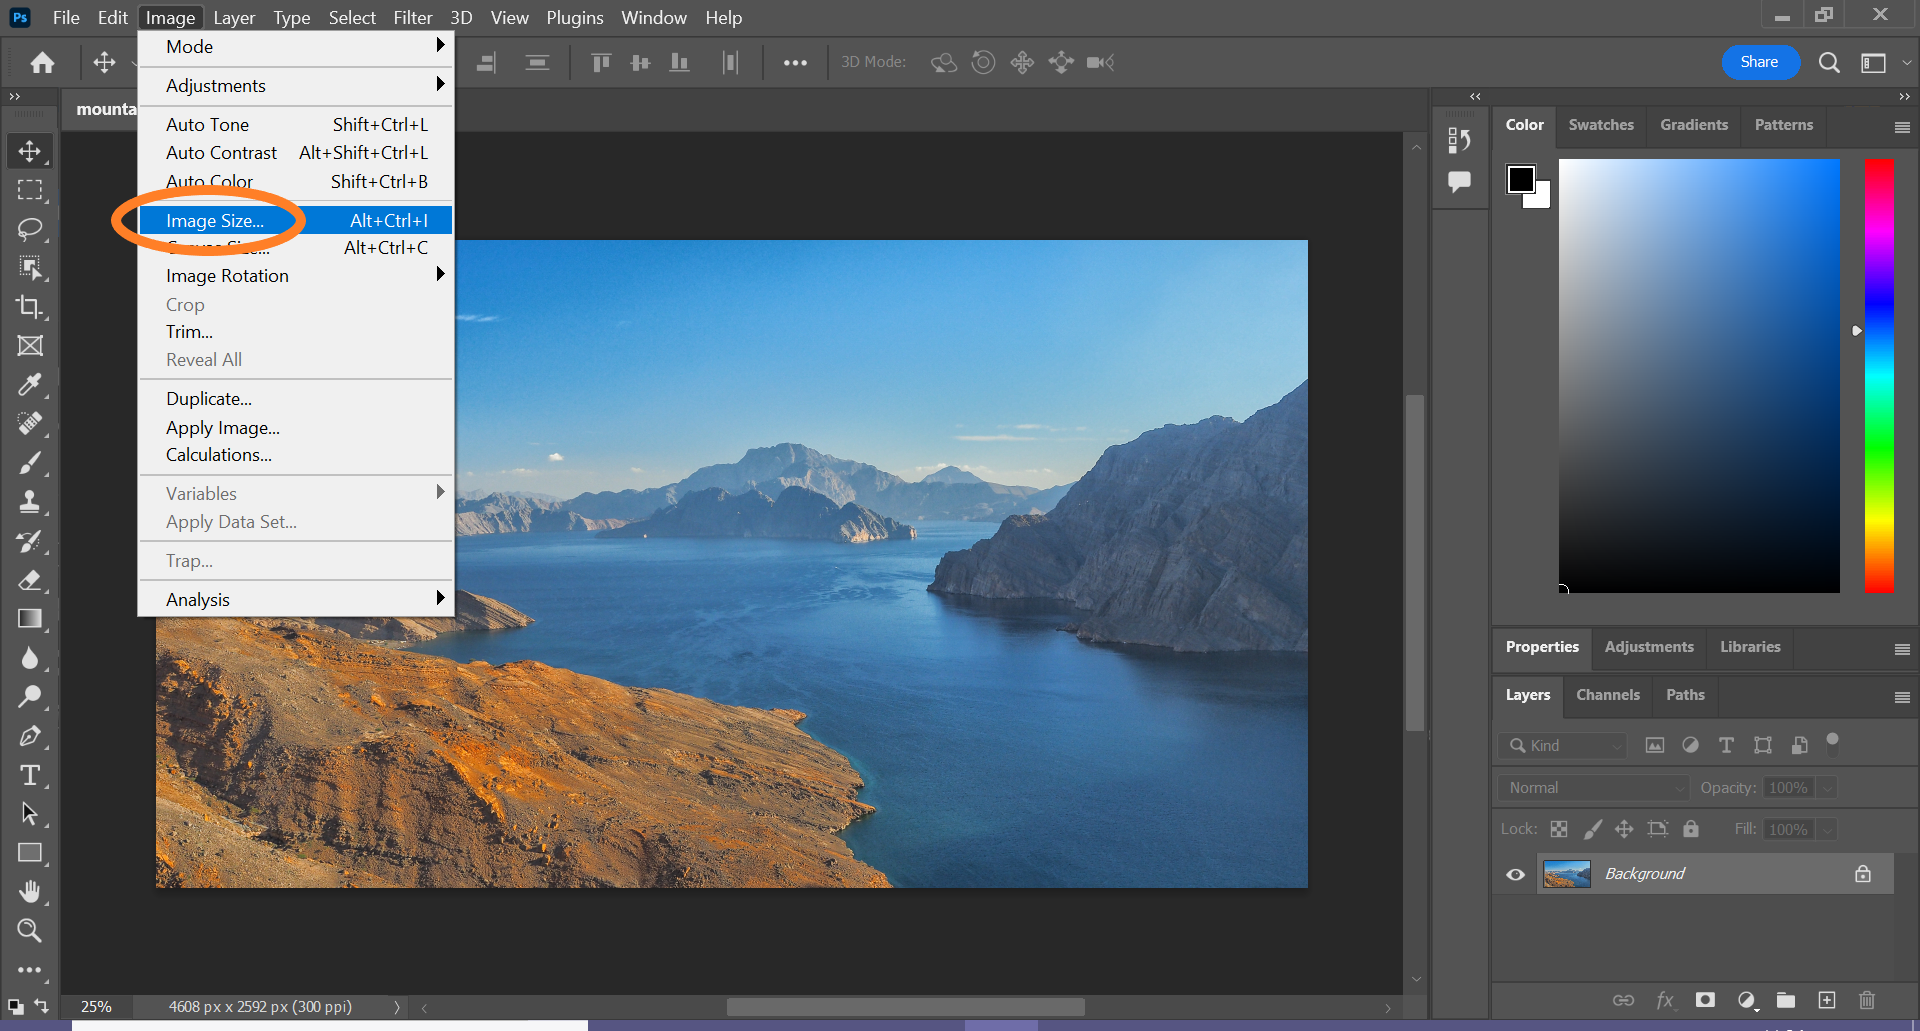
You can also click Alt+Crtl+I to skip steps 2 and 3.
Step
4Enter your new parameters and hit OK to resize your image
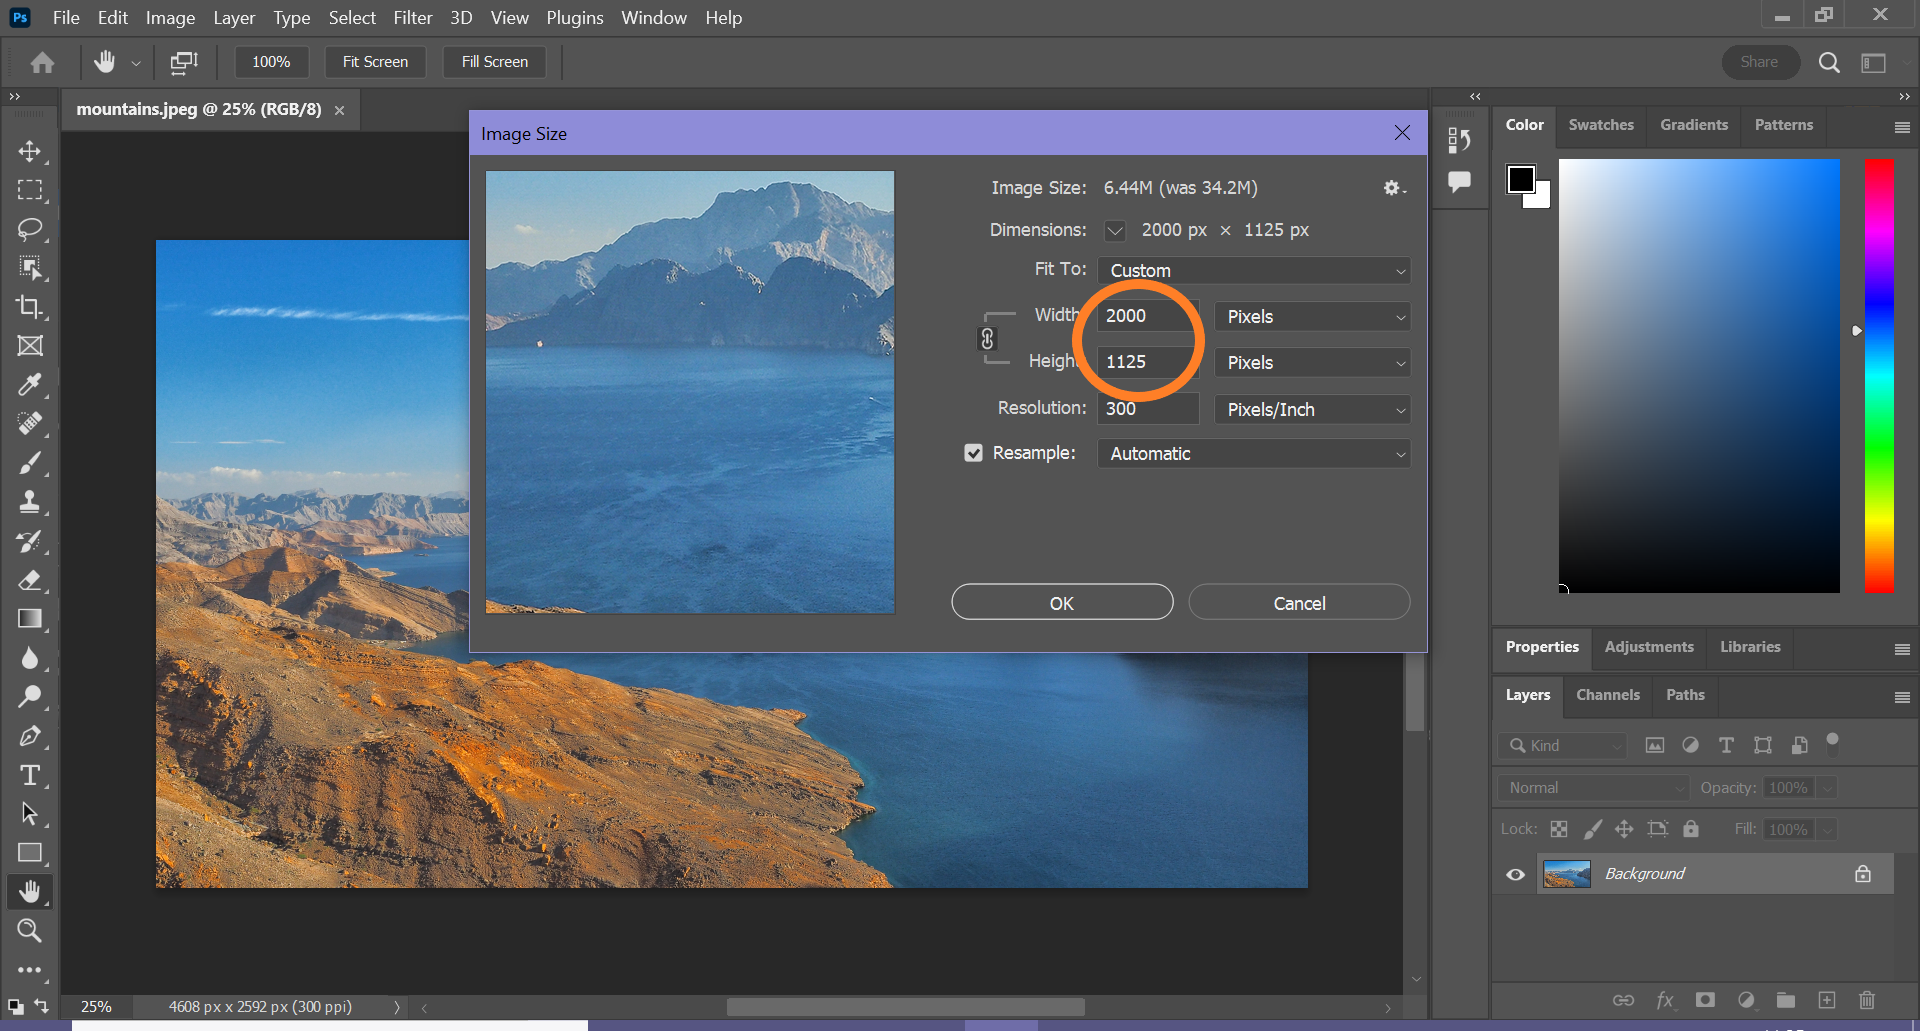
You can choose between percent, pixels, inches, centimeters, millimeters, points, picas and columns. You can also adjust these parameters separately or use presets to determine the new size. You can read more about this in the Troubleshooting section below.
Troubleshooting
You can click the lock icon to toggle between keeping the aspect ratio or changing the width and height of the image separately.
You can use the Fit To drop-down menu to automatically set the parameters to specific sizes, such as 4 x 6 or A4. You can also find the Original Size option here, which allows you to restore your image to its original size.
You might like…


Editorial independence
Editorial independence means being able to give an unbiased verdict about a product or company, with the avoidance of conflicts of interest. To ensure this is possible, every member of the editorial staff follows a clear code of conduct.
Professional conduct
We also expect our journalists to follow clear ethical standards in their work. Our staff members must strive for honesty and accuracy in everything they do. We follow the IPSO Editors’ code of practice to underpin these standards.