How to load film in an Instax Mini camera
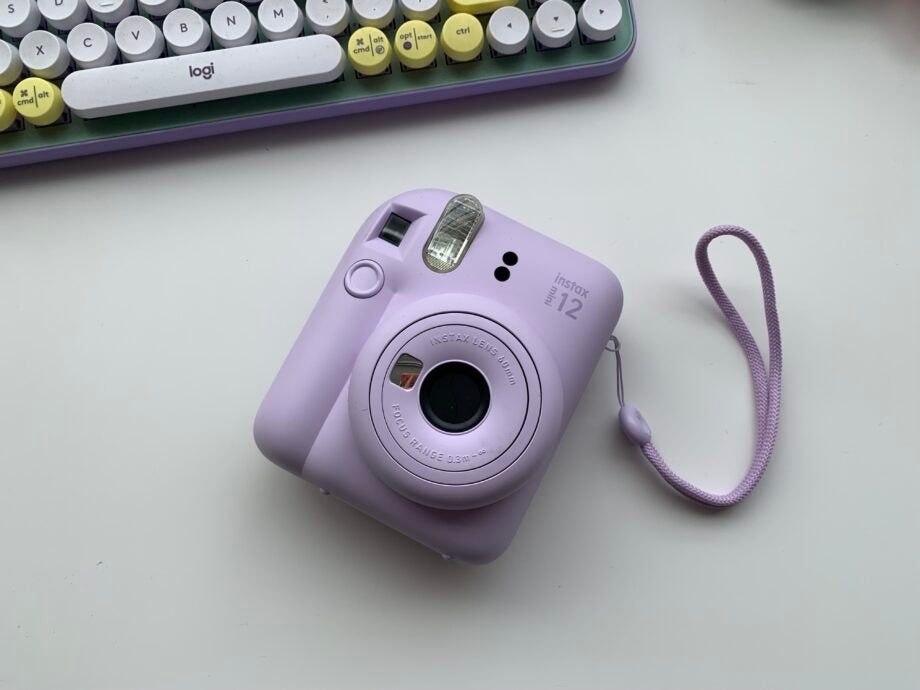
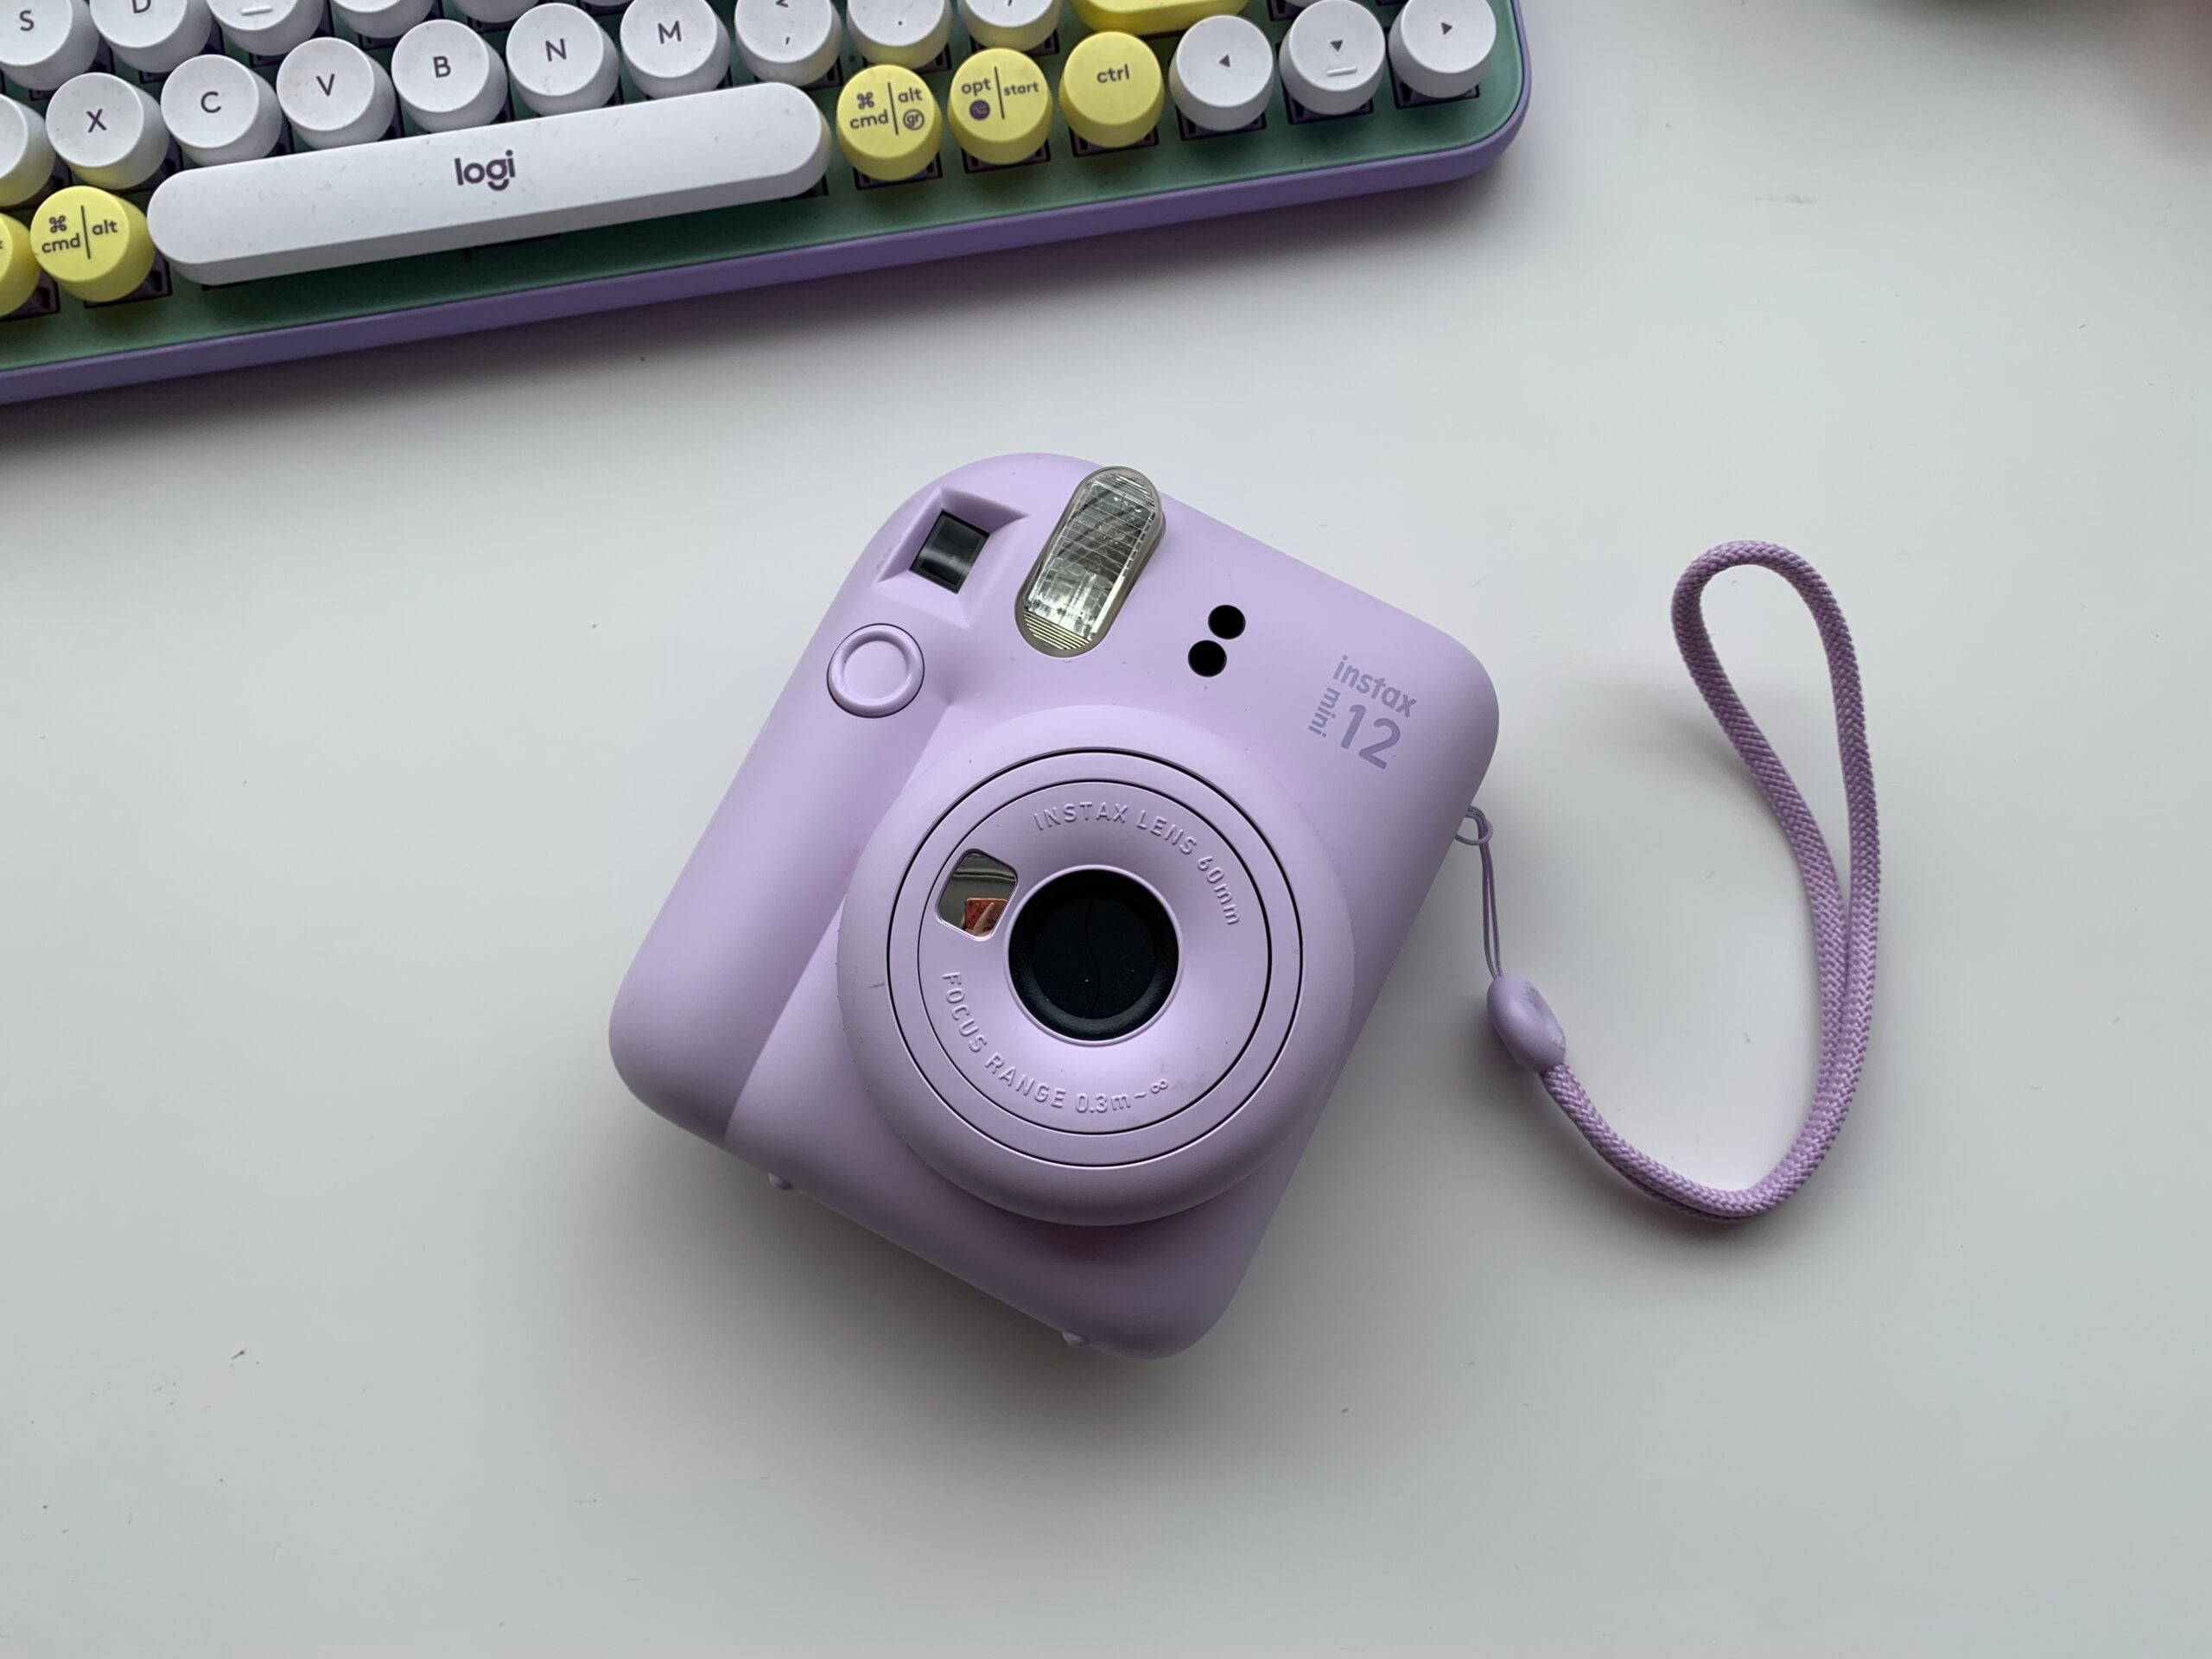
If you’ve just picked up your first Instax Mini camera, such as the recently launched Instax Mini 12, you might be wondering how to insert the film.
Inserting instant film isn’t something you want to improvise. Instant film is delicate and, at 75p a shot, you don’t want to risk damaging the cartridge and losing 10 shots. We’ve put together this guide to teach you how to safely insert an Instax cartridge.
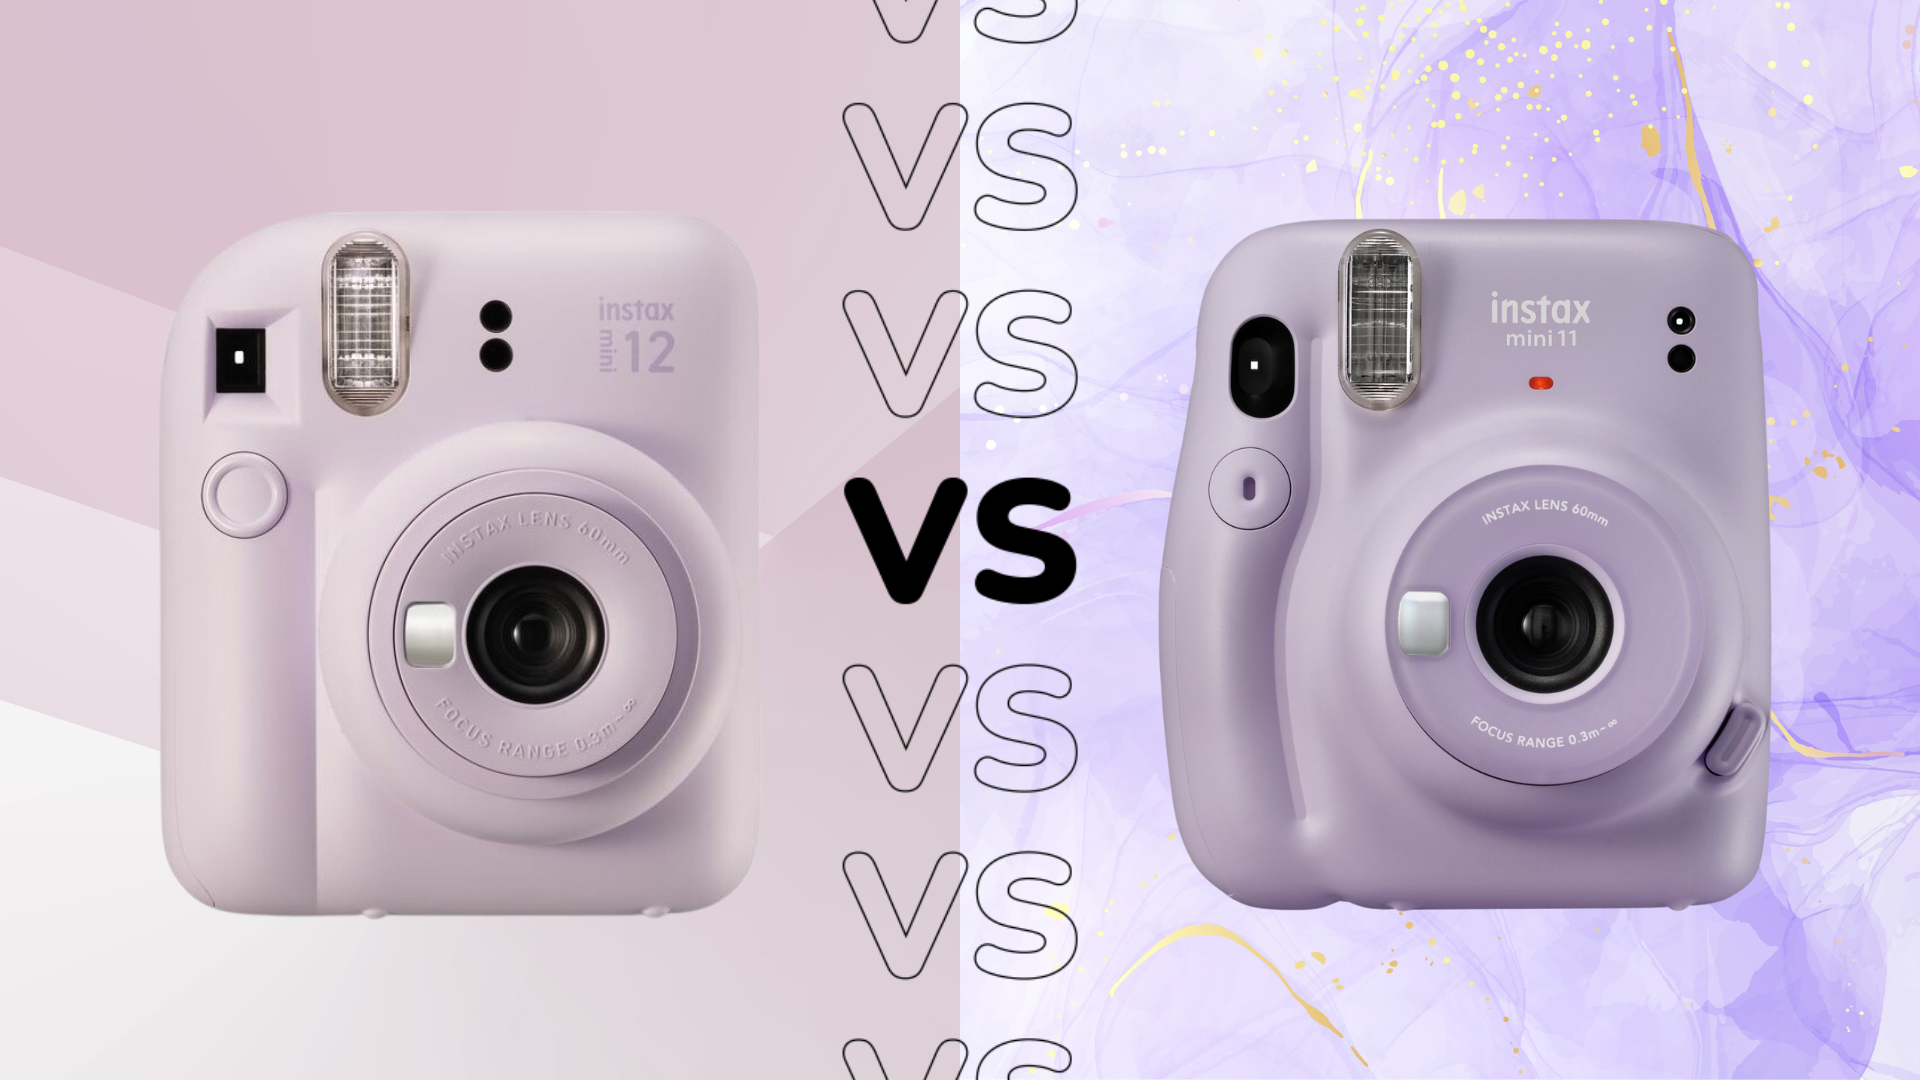
The below steps should work for any camera that uses Instax Mini film, including the Instax Mini 12, the Instax Mini 11 and the Instax Mini 9. However, it’s always a good idea to refer to the specific instructions that come with your camera before going ahead and inserting your film.
Keep reading to learn how to load film into an Instax Mini camera.
What you’ll need:
- An Instax Mini camera
The Short Version
- Open the camera back
- Find the yellow sticker in the top-right corner of the film compartment
- Line the sticker up with the yellow sticker on the film and insert the cartridge
- Close the cover
Step
1Open the camera back
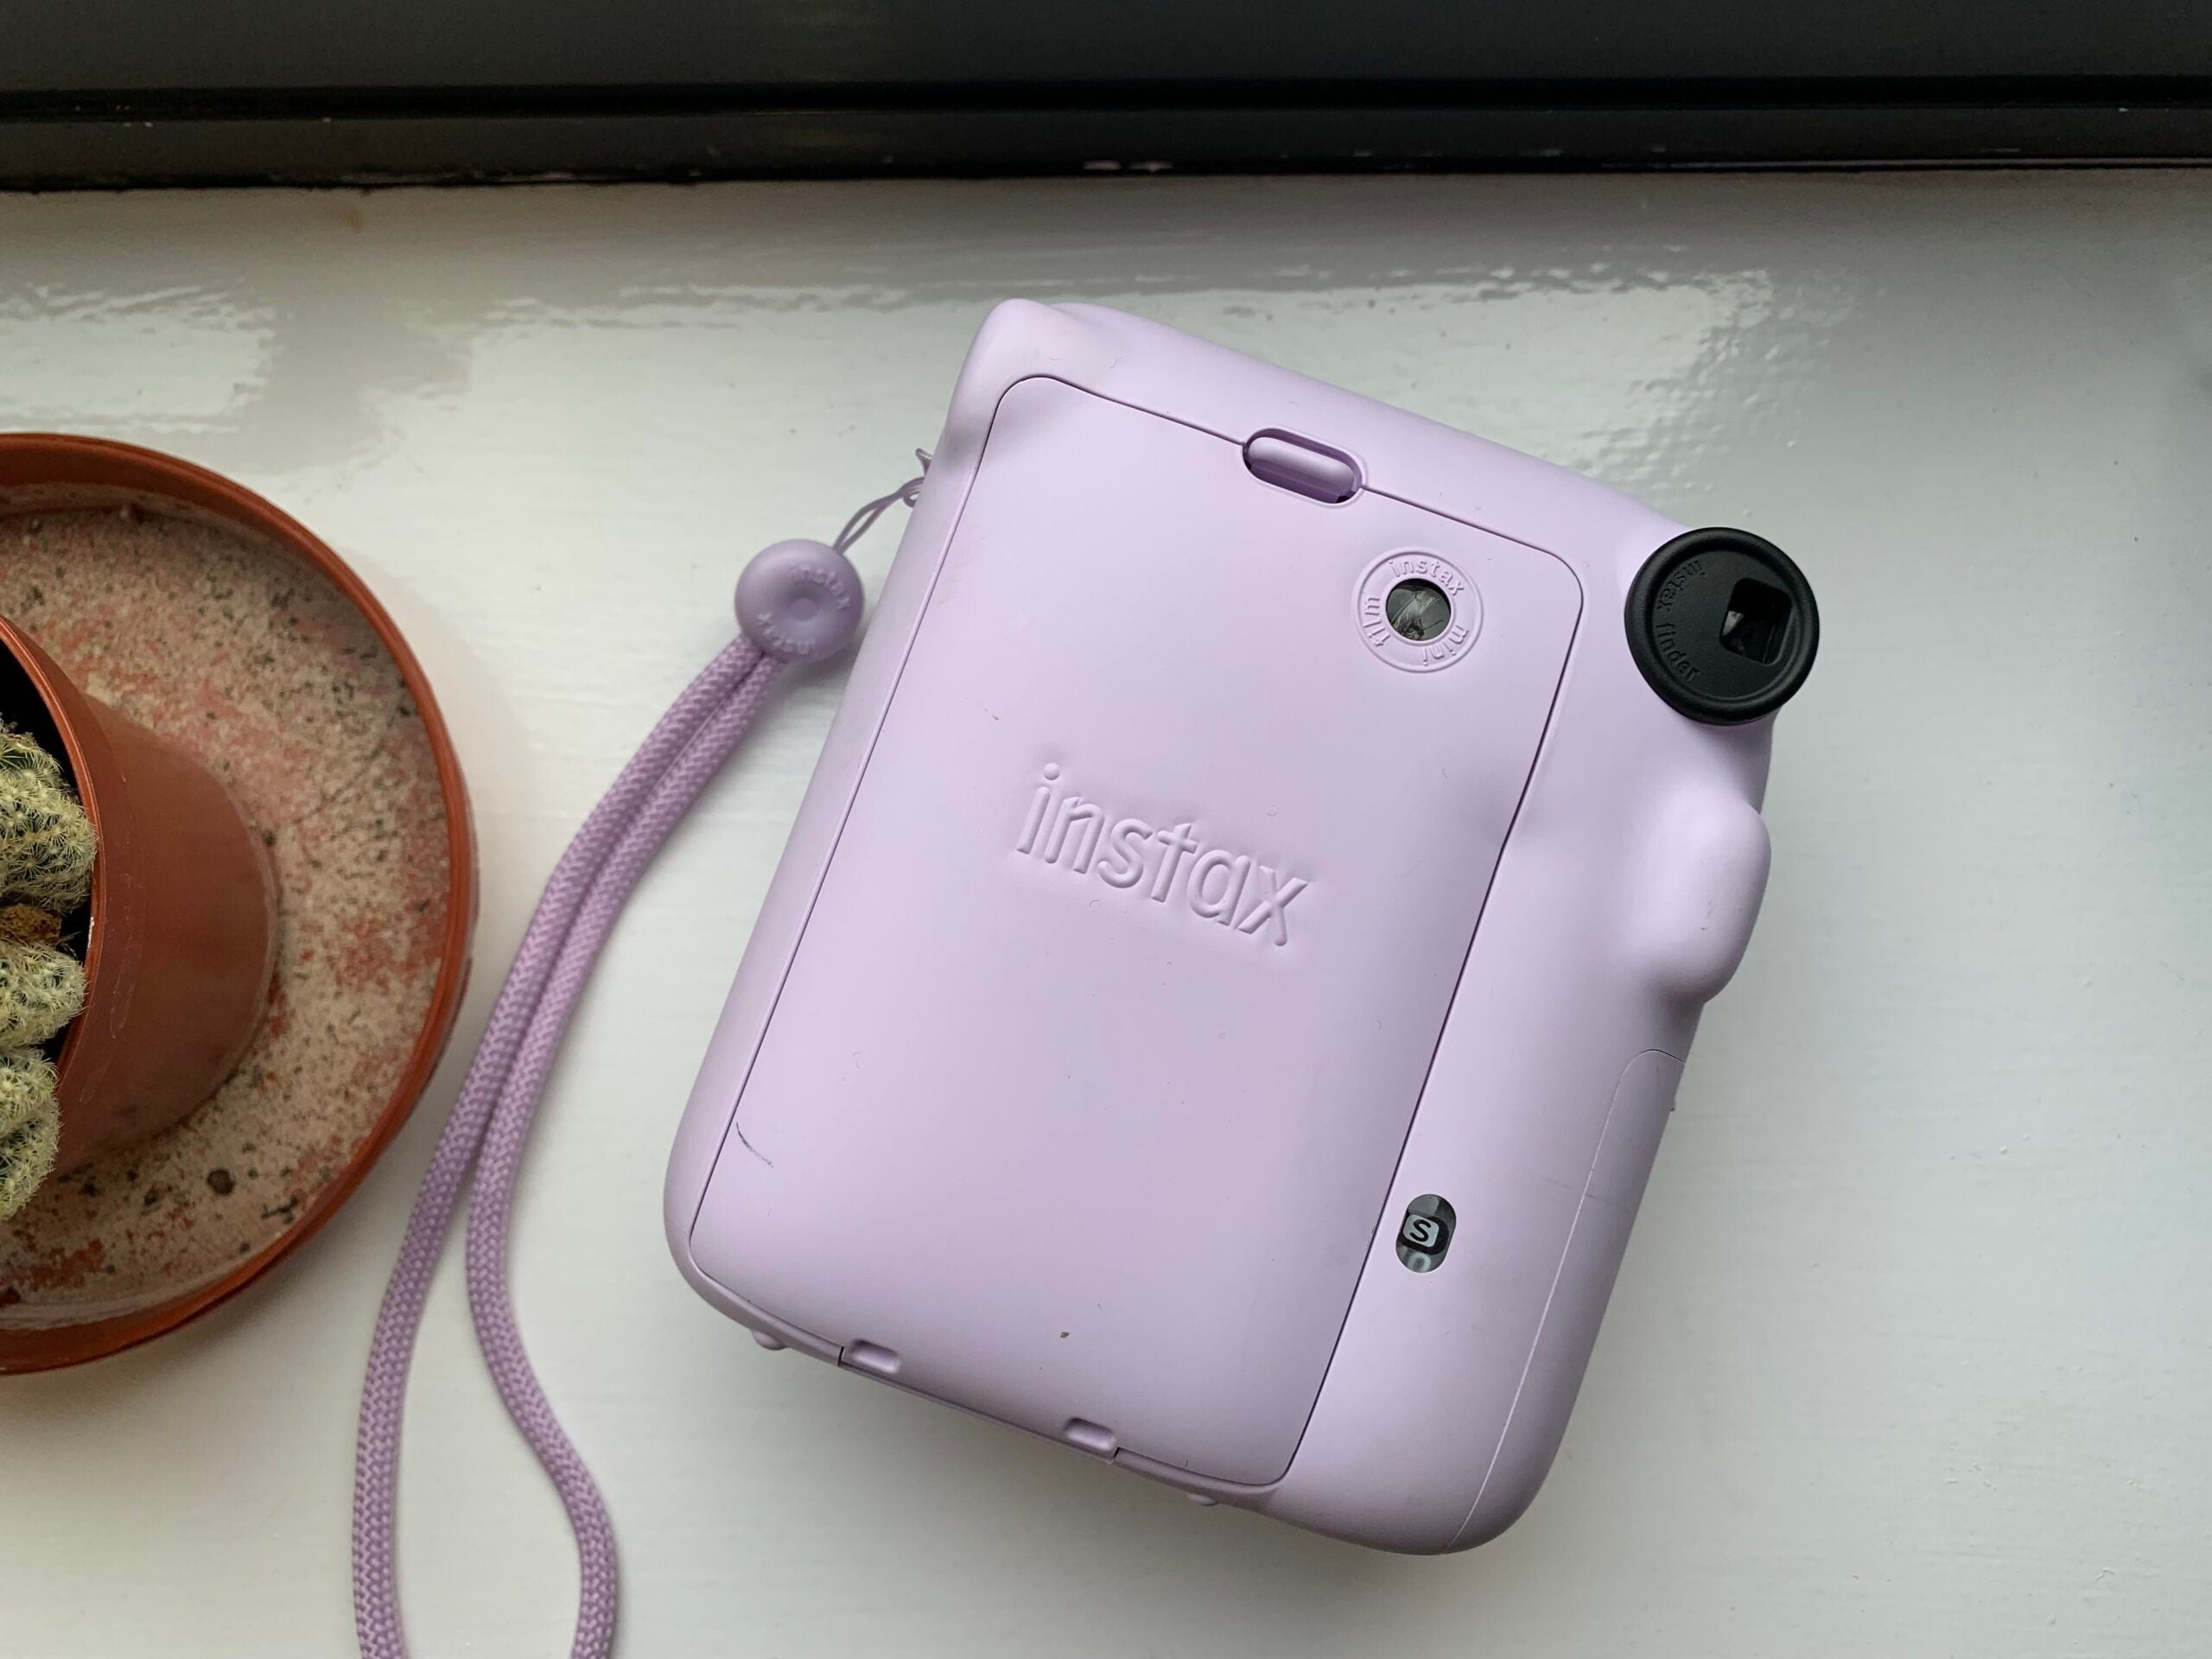
We’ll be using the Instax Mini 12 in these images, but these steps should work on other Instax Mini cameras.

Step
2Find the yellow sticker in the film compartment
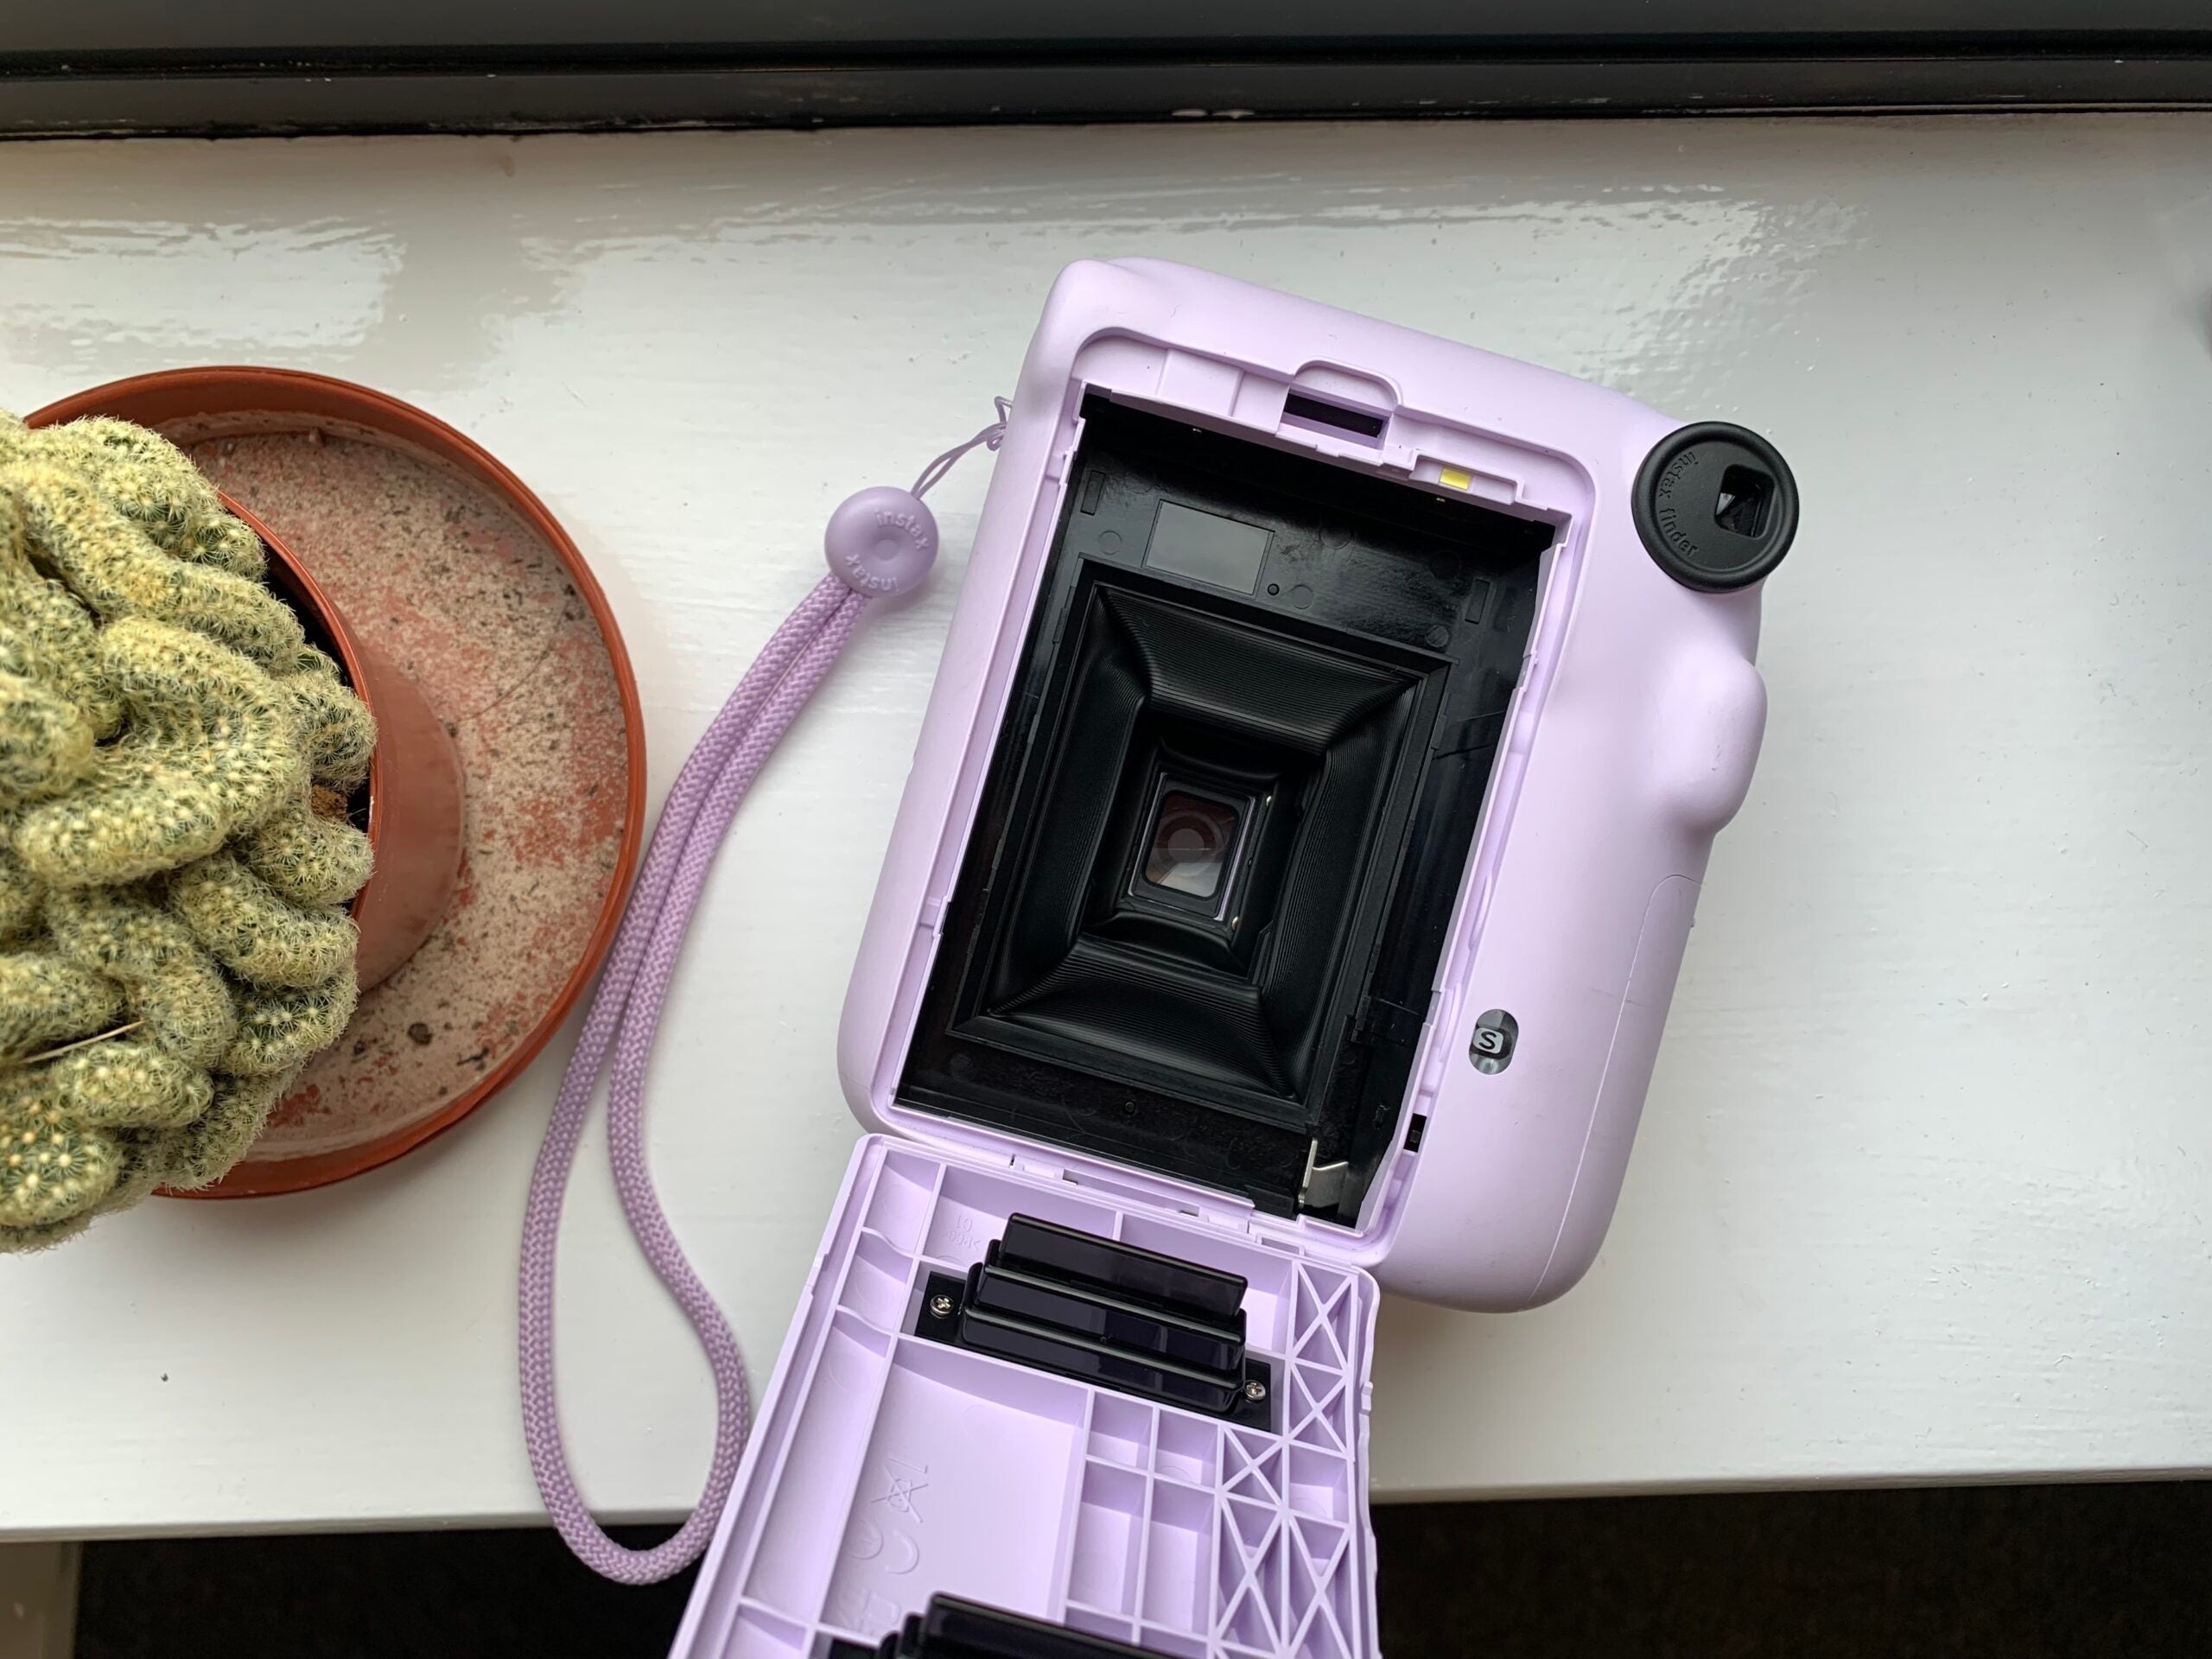
It should be in the top-right corner.

Step
3Line the sticker up with the yellow sticker on the film and insert the cartridge
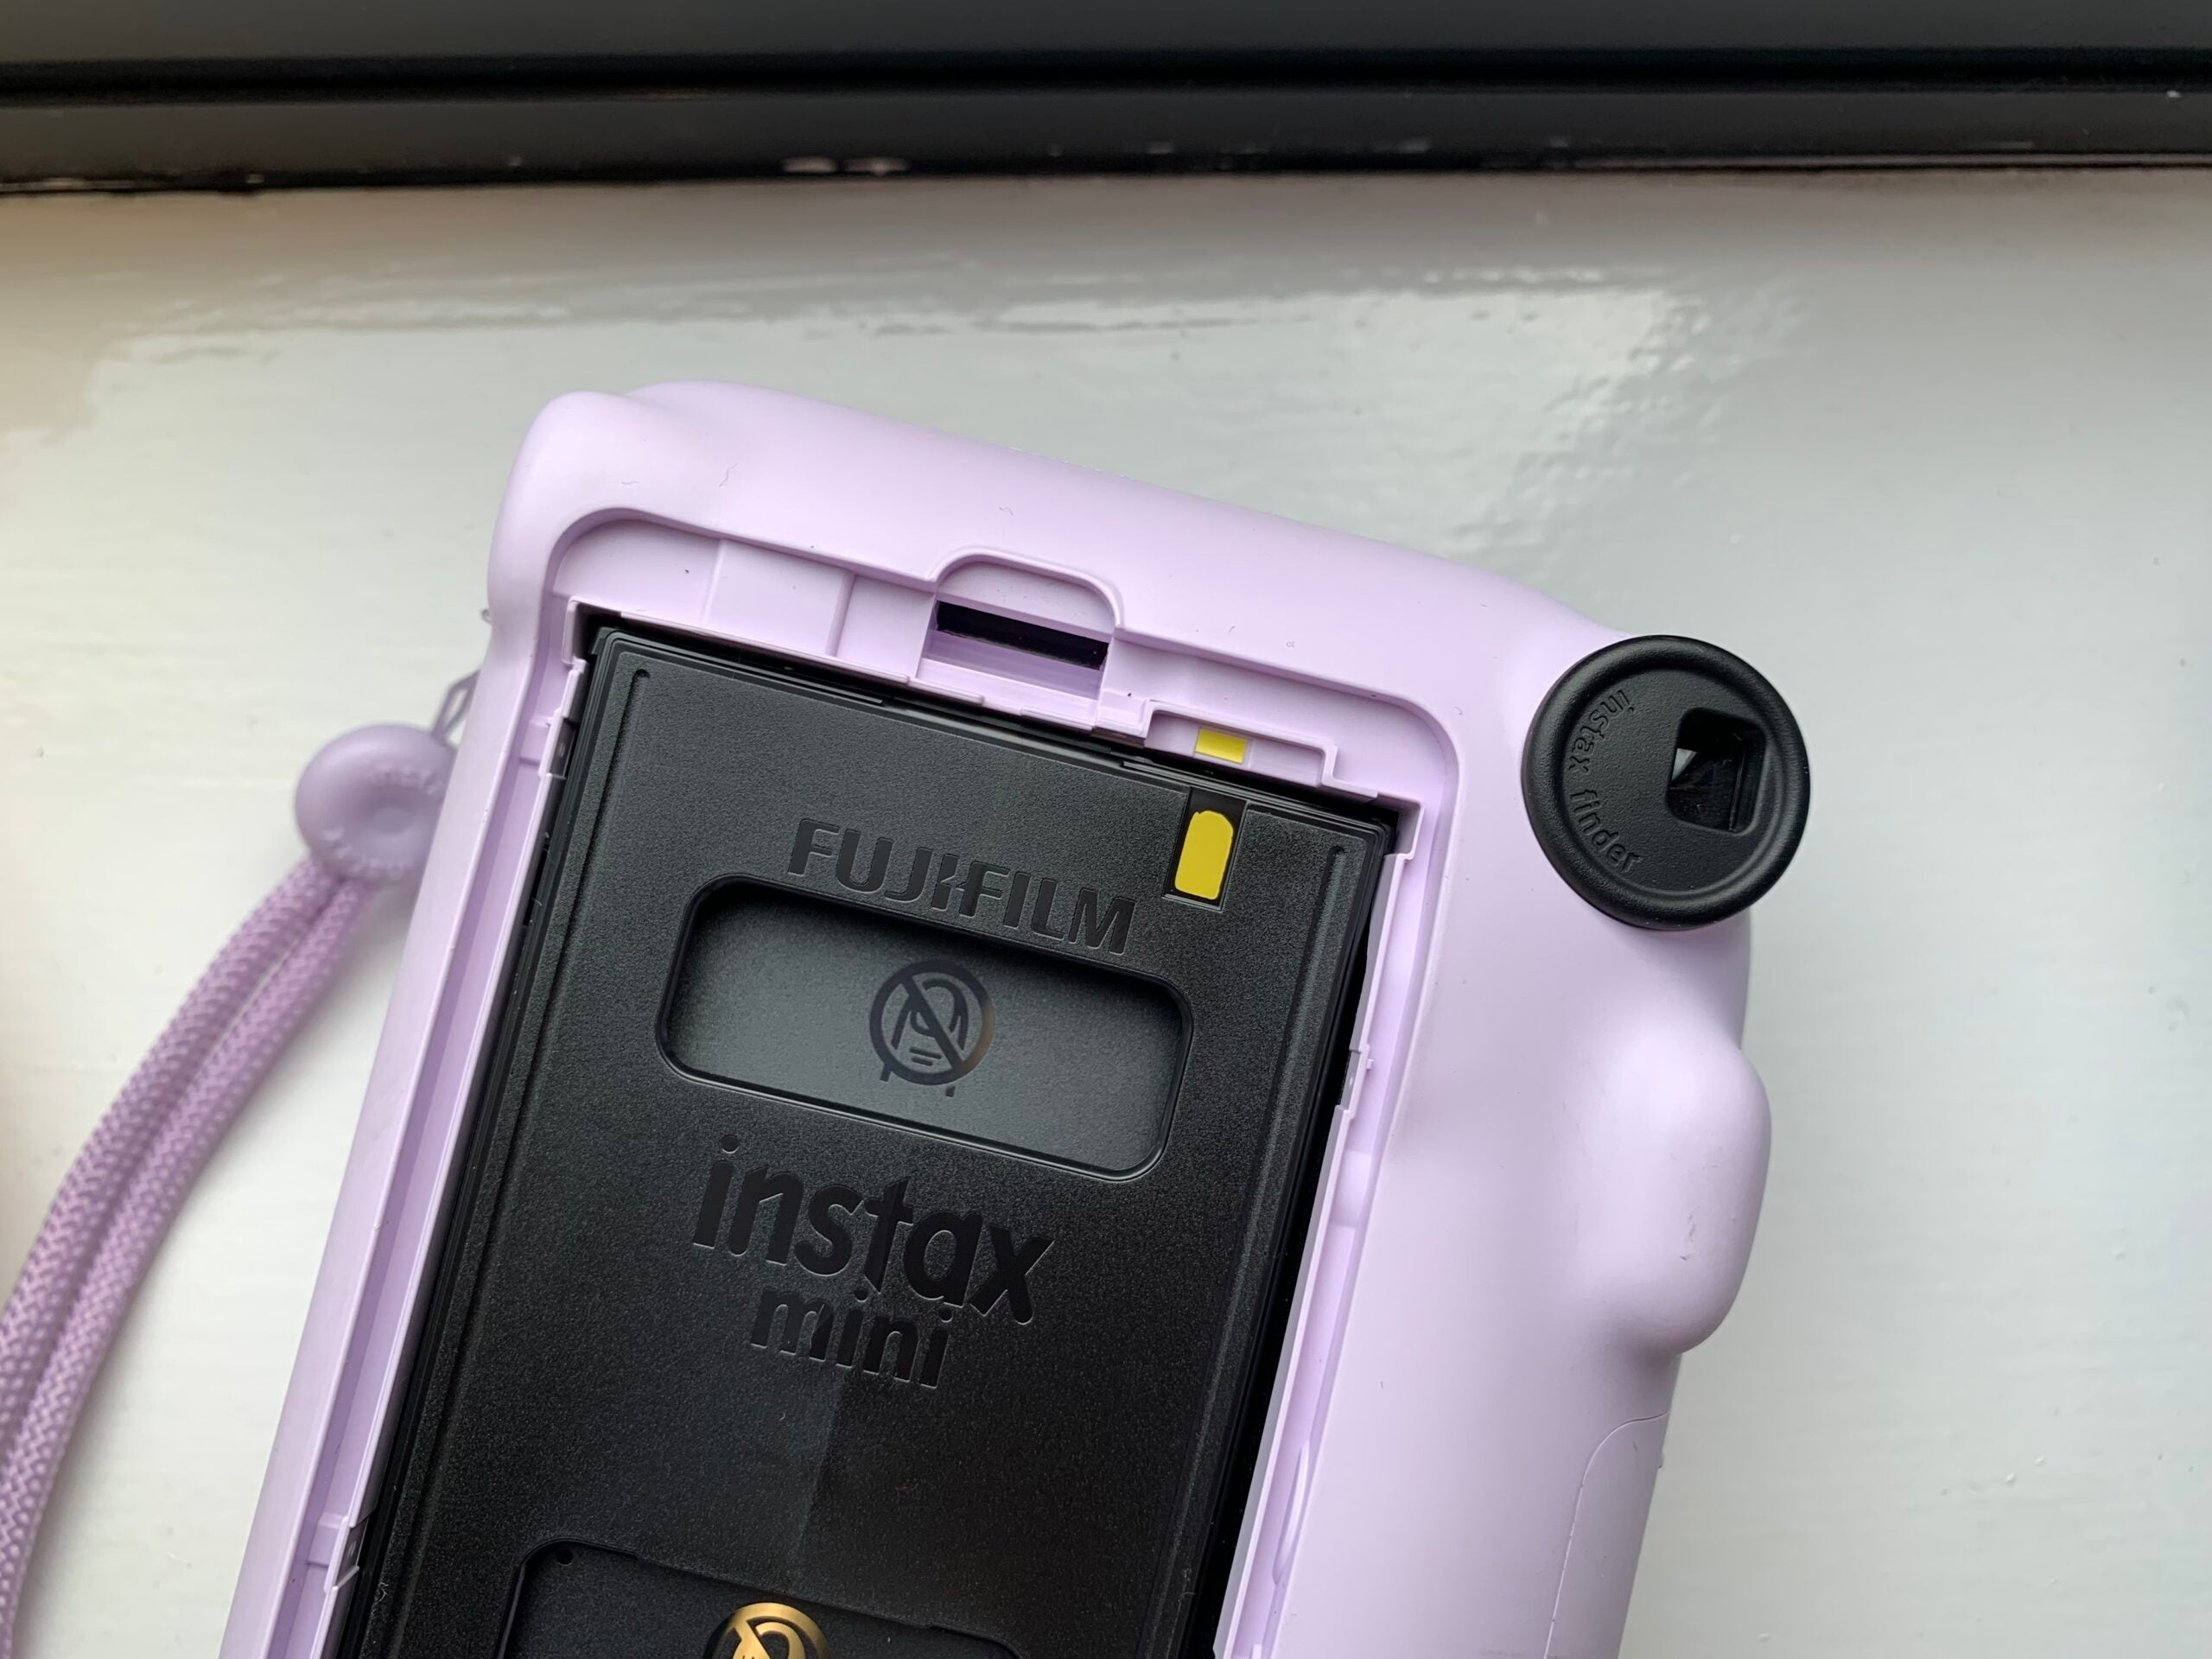
You should remove the cartridge from its foil packaging before inserting it.

Step
4Close the cover
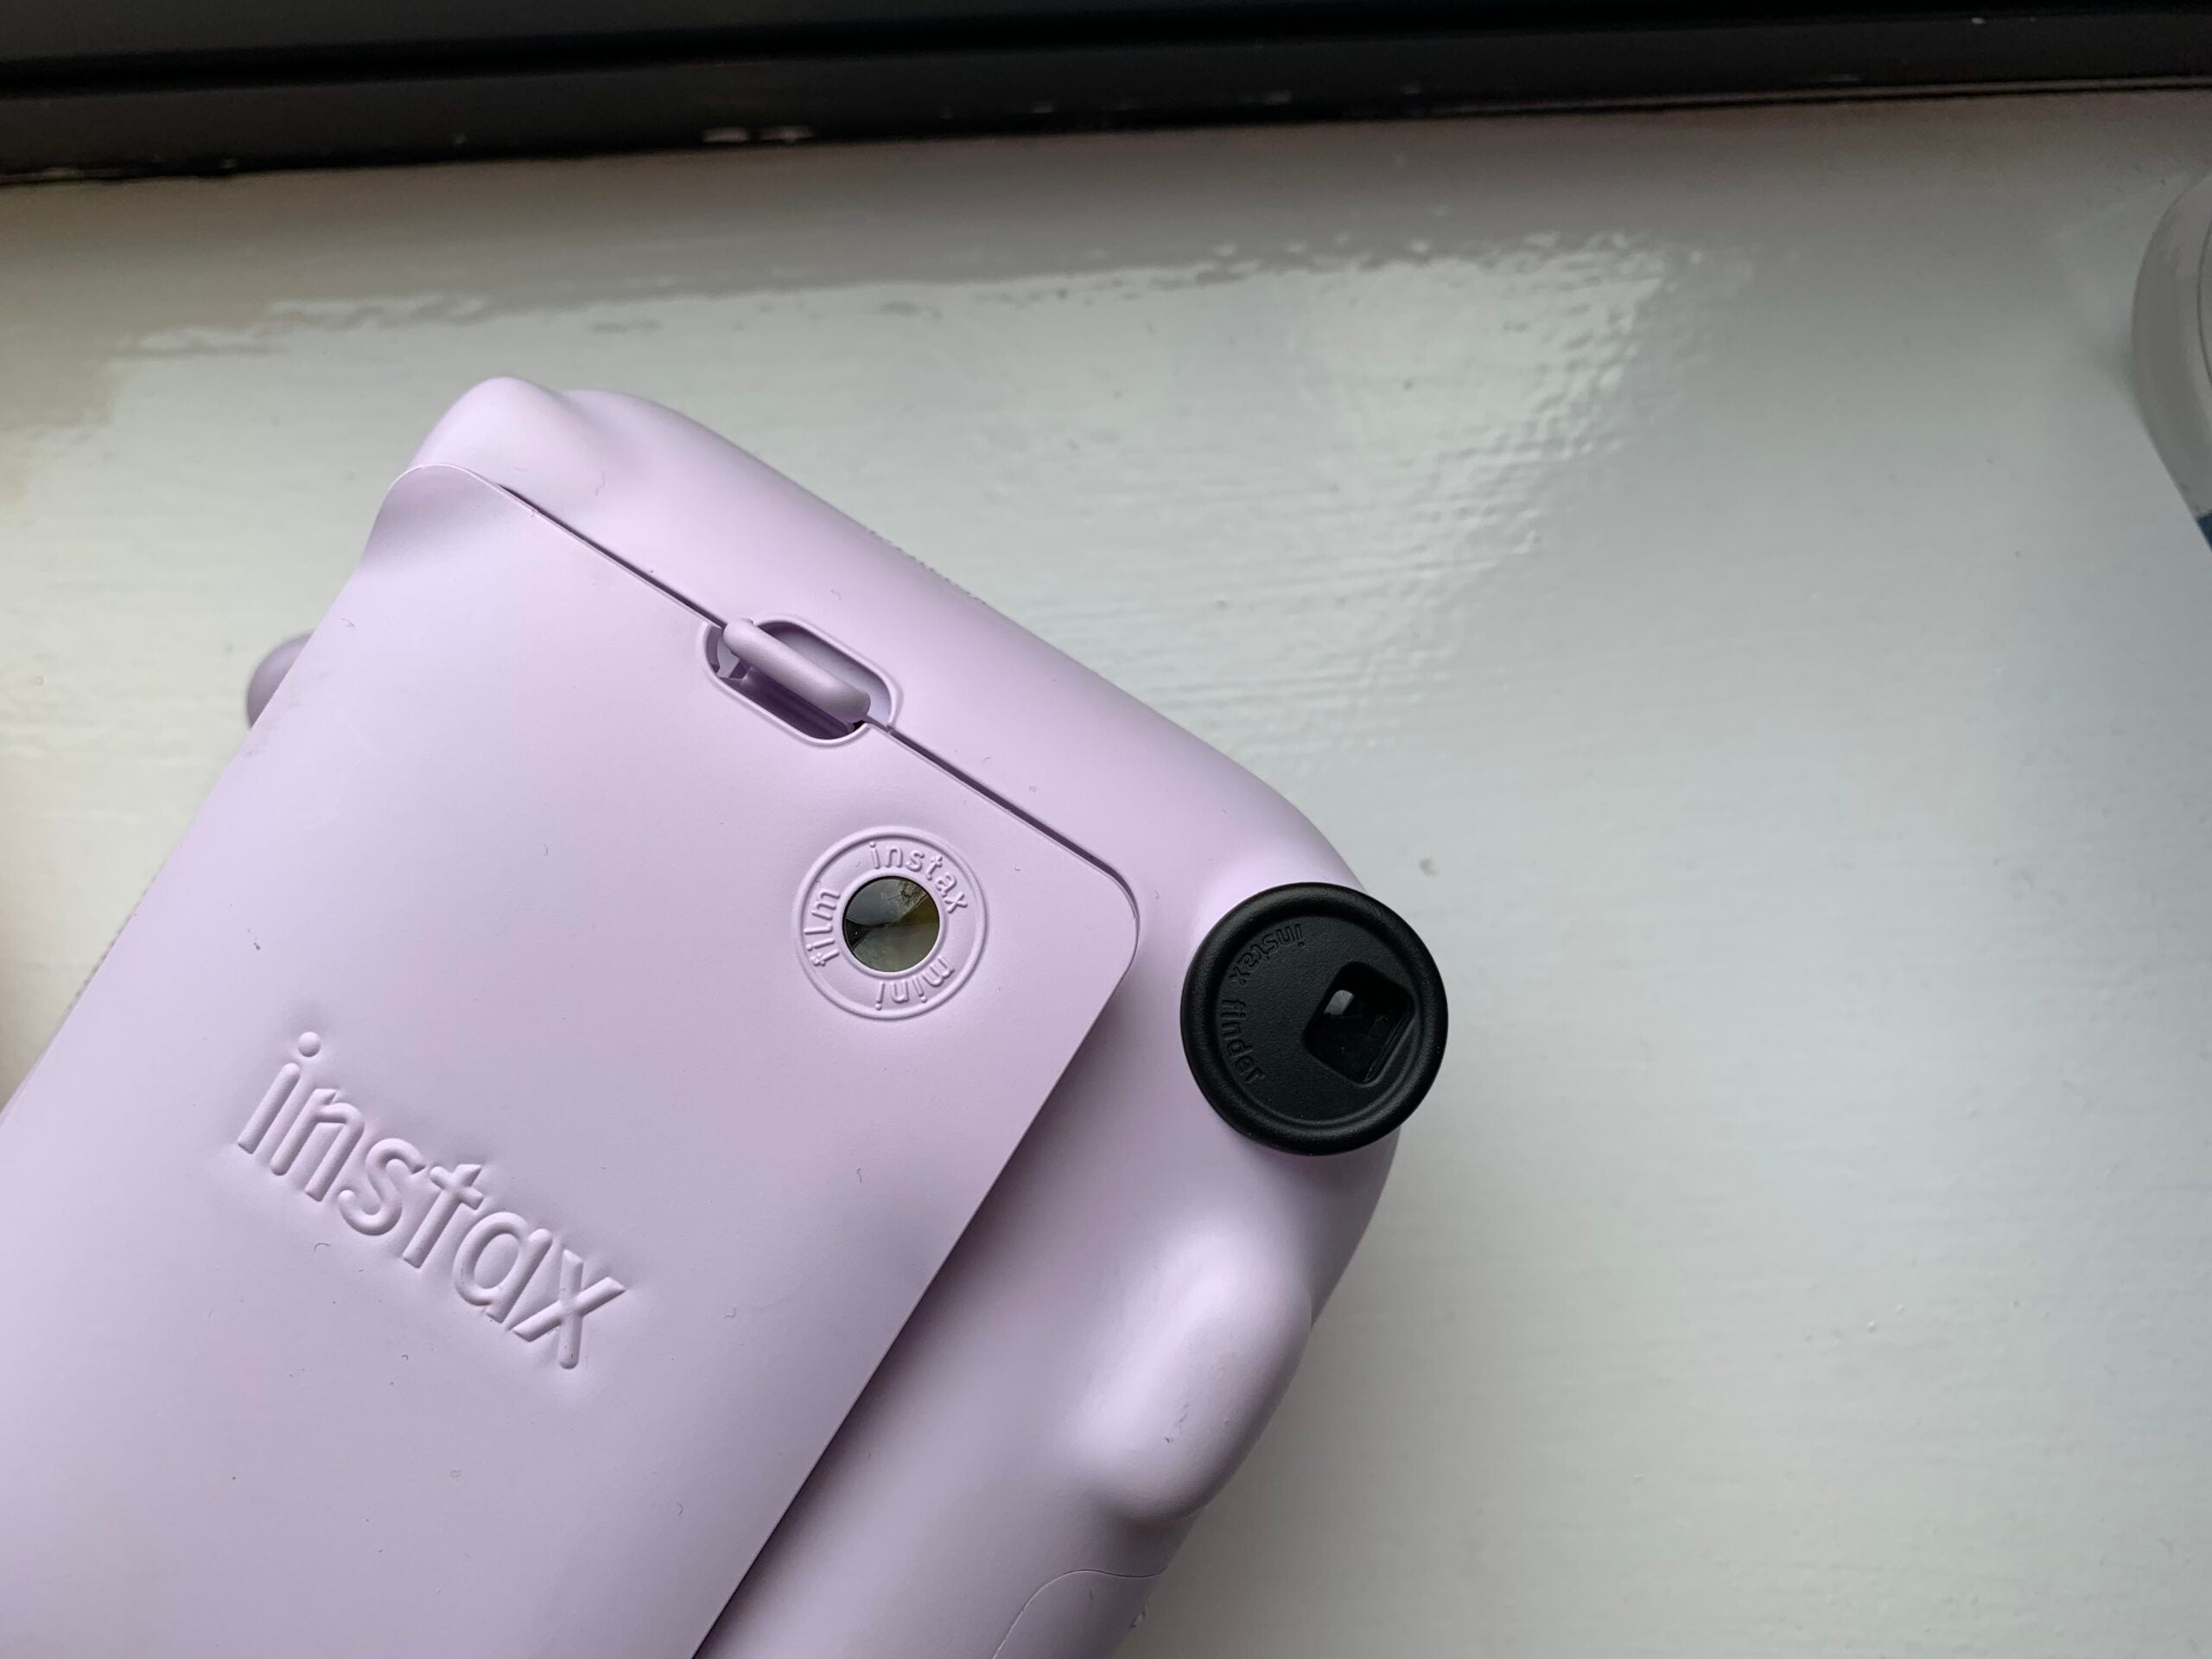
It should lock shut with a click. Then all that’s left to do is press the shutter button to eject the black protective slide.

Troubleshooting
One Instax Mini film cartridge includes 10 photos. You can see how many shots are left by looking at the number visible through the small window on the rear of the camera.
Instax Mini prints measure 46 x 62mm, or 54 x 86mm including the frame.


