How to backup Windows 10
We guide you through the process of creating a Windows 10 backup step by step.
Although backing up is probably the most important regular task you should be doing with your computer, it’s all too often the task that’s rarely done.
We’ve all been there, most of us at least. That point in time when suddenly the PC decides to shuffle of its digital coil and go to meet its maker, taking all your work with it. We desperately try and locate the last known good backup only to find that we’d had better things to do instead of looking after our work. As such you’re stuck with a backup from months ago, if any at all.
Thankfully Windows 10 has a couple of options available when it comes to making a backup of your work and system, which makes the process easier than ever before. In short, there’s very little excuse not to set a backup these days.
Backup Using File History
The built-in Windows 10 backup isn’t too bad. While a third-party product may offer a more comprehensive solution, Microsoft’s own service will suffice for the average user.
Related: How to play the coolest retro games on your PC for free
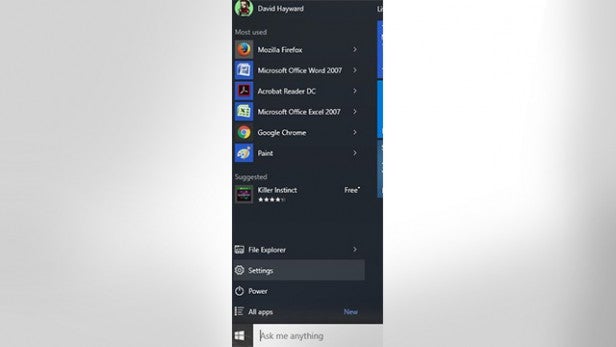
To begin setting up a backup within Windows 10 click on the Windows Start button followed by the Settings link. Once the Settings window is up, click on the Update & Security icon followed by the Backup option from the left-hand pane.
Related: Best laptop
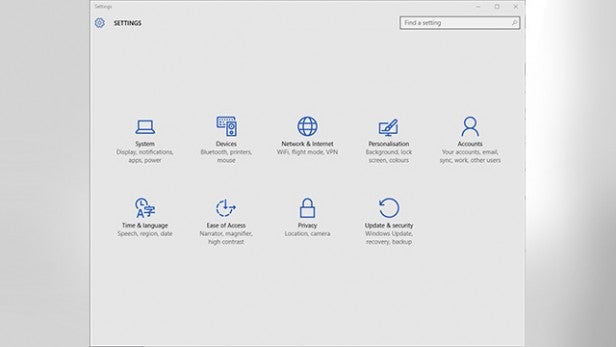
For the moment we’re interested in the ‘Back up using File History’ section.
Related: How to virtualise your old PC
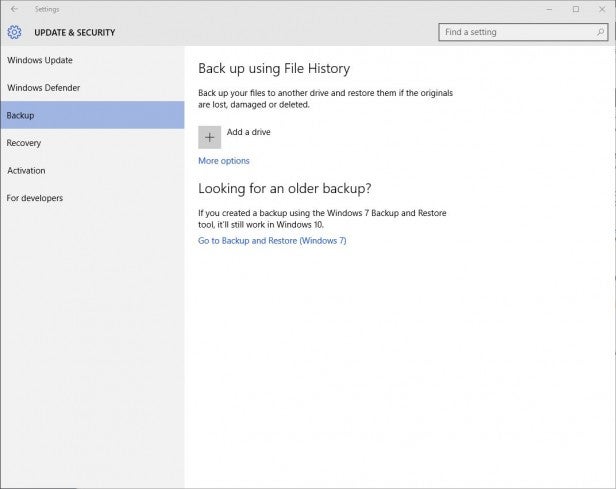
If you’ve not set this up previously then you’ll need to add a new backup location where Windows can create a scheduled task to copy your files and folder to.
Related: How to remote desktop to another PC

Start by clicking on the Plus icon next to the ‘Add a drive’ option. This will start a process that scans your PC and local network for any possible backup locations. That includes any second hard drives you have installed, any compatible and reasonably sized USB devices (reasonably sized meaning there’s enough free space available to store the files), and any network locations.
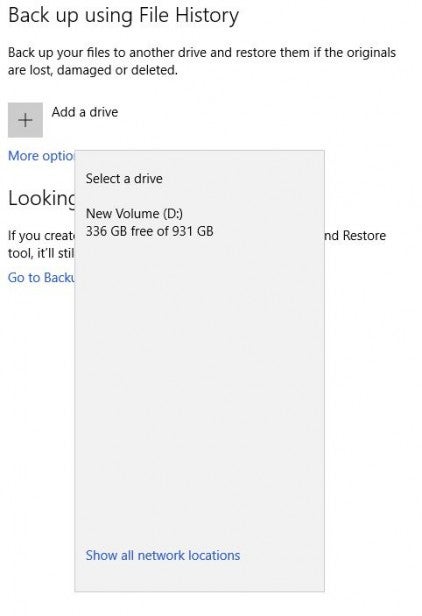
As you can see from our screenshot, we have a second hard drive in place, the D: drive, with more than enough space available. If you wanted to select an NAS or other network location, click on the ‘Show all network locations’ link at the bottom of the list.
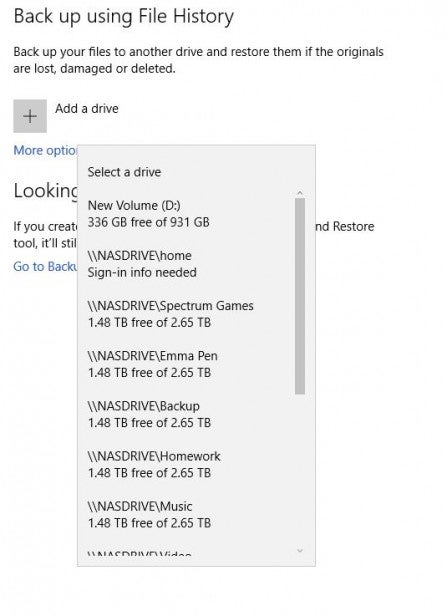
You can select a drive simply by clicking on its entry in the available list. Once done, it’ll be added to the backup location pool, and you’ll notice that the ‘Automatically back up my files’ slider button is set to On.
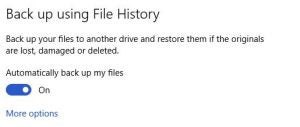
Next, click on the ‘More options’ link under the slider button. This will open up a new dialogue window detailing the backup schedule, the length of time that the backup files are kept, the folder that will be backed up by Windows, an option to exclude any folders, the option to stop using the drive you’ve chosen, advanced settings and the option to restore any files from a current backup.
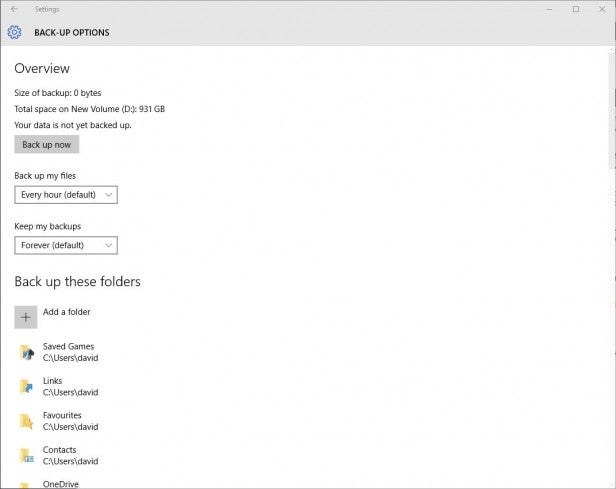
We obviously can’t recommend a backup routine, or what folders to include or exclude on your personal backup. However, it’s worth working your way through the list of included folders to make sure that all your work areas are selected; if not, then you can include more folders via the ‘Add a folder’ option at the top of the list.
The Schedule, set hourly by default, can also be altered to better accommodate your own personal use, as can the length of time that Windows holds on to the backed up folders. As before, we can’t tell you what’s best for your circumstances, all we can do is recommend you test various setups until you have one that best suits your needs.
Backup and Restore Windows 7
While the File History backup routine is more than enough for most users, it will only backup the files and folder that you specify.
If for some terrible reason your C: drive becomes corrupted or dies, then you’ll need to have a backup of the entire system, also known as a system image.
With a system image you’ll be able to change out the old C: drive with a new drive, load up a startup disk, and re-image the new drive with the backed up system image. Then when you boot the PC back up again, it’ll work in exactly the same way as it did prior to the failure – without the need to re-install Windows and programs, update, or copy your backup folders across.
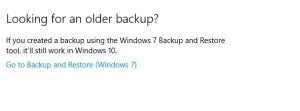
Windows 10 still has the former Windows 7 System Image backup tool, thankfully, which means you won’t need to rely on any third-party imaging tools. To start the imaging process, from within the Backup section in the Settings > Update & Security window, choose the second option under Looking for an older backup labelled ‘Go to Backup and Restore (Windows 7)’.
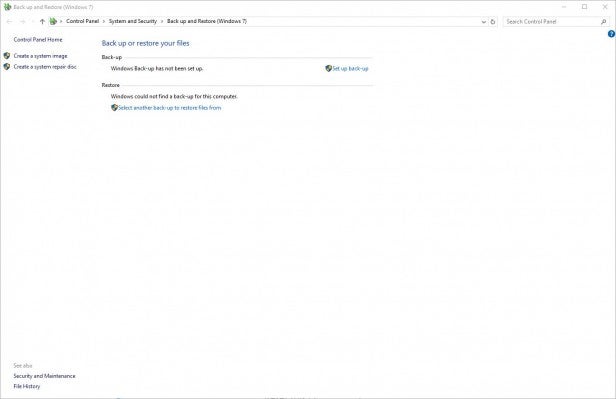
This will launch the Control Panel System and Security window, under the old Windows 7 Backup and Recovery. You’ll notice that there are two options in the left-hand pane: Create a system image and Create a system repair disc. Click on the link for the first option, creating a system image.
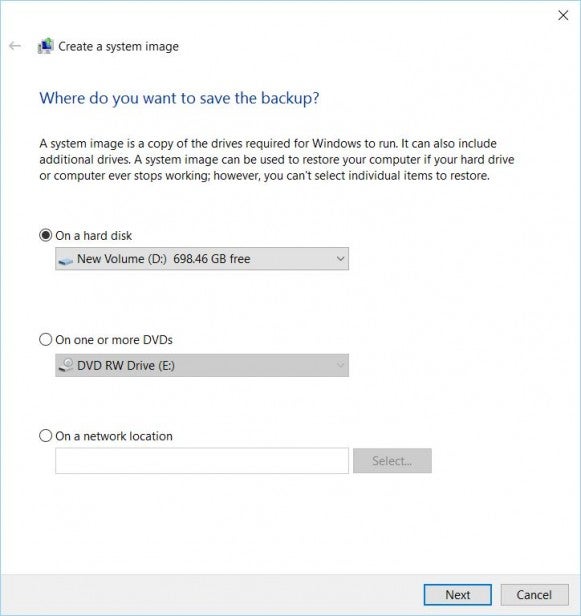
This will launch a tool that’ll scan your PC for any locally installed, or USB drives and any optical drives that the system image can be written to. If you have a USB drive with enough space available you can plug it in and from the ‘On the hard disk’ option, choose Refresh from the pull-down menu – this is in case you’ve plugged in the drive after launching the Create system image option.
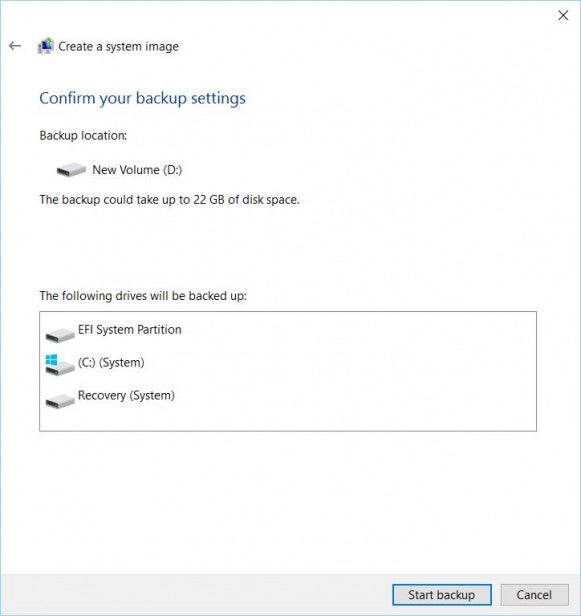
When you’re ready to proceed, click on the Next button and you’ll have a confirmation of the source and location drives. The C: drive will consist of the system, the boot partition, and any recovery partitions you have set up on the primary system drive.
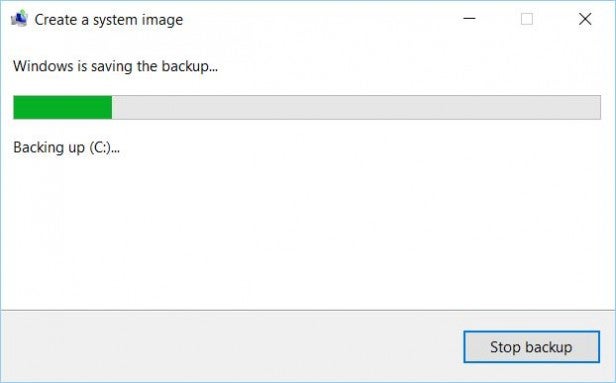
To begin the backup, click on the Start backup button. Depending on the size of the system drive in question, the system image could take anywhere from a few minutes to a few hours. However, once it’s done you’ll be asked to create a system repair disc.
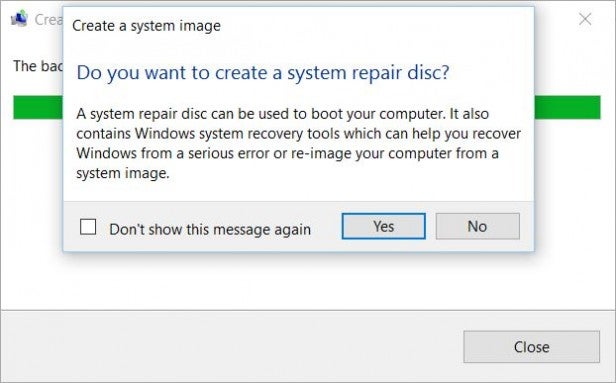
The system repair disc is what will allow you to boot your computer up and restore the system image to a new hard drive, should something ever go wrong and the original drive is inaccessible. If the original drive is dead, then you obviously won’t be able to get into Windows to restore the data, so the recovery disc will be made bootable and will launch the UI needed to transfer the system image to a new drive.
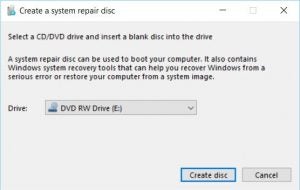
If you have a spare USB stick lying around then you can use that, otherwise you can use a CD or DVD. When you’re ready, click on the Yes button to create the system recovery disc.
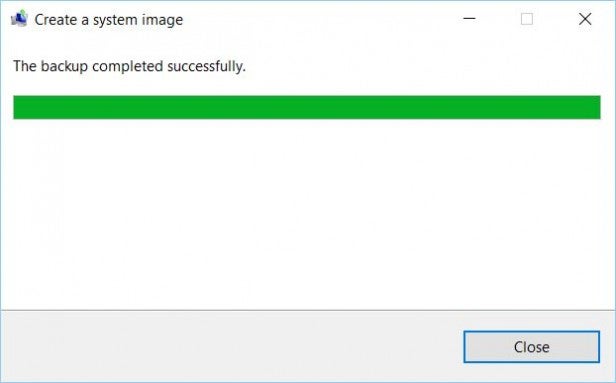
After the disc has been written to, you’ll be presented with the Backup Complete notification, and you can close down the Windows backup and recovery window. You’ll notice on the drive where the backup has been written to there’s a folder called WindowsImageBackup. This is where the data is stored for that system image on that particular date. If you want, you can move that folder to another location and create different system images for different dates, depending on what date you want to restore the image from.
Final thoughts
Obviously there are many third-party tools available that give you more options for both backing up and recovering data and entire system images. Symantec Ghost, Acronis True Image, and Macrium Reflect are just a few examples that we’ve used in the past – all of which are excellent in their own unique ways.
The built-in Windows option is certainly good too, but it does lack the more professional options available with other software. If you know of any good third-party examples, then please mention them in the comments section below.

