
Wall mounting a TV is a brilliant idea. It gives you more flexibility to put your TV where you want it, and if you go for an arm, rather than a straight bracket, you can reposition the screen as often as you like.
Even if you have a TV stand, wall mounting can still be a good idea. By removing your TV’s stand, you no longer need the space for it, so you use the space under your TV for remotes, set-top boxes or anything else you need.
First, you need to choose the right bracket for your TV. There are three main types: flat brackets keep your TV at one position on the wall; angle brackets let you tilt the screen a little; arms give you more movement, and let you pull your TV out and swing it from side to side.
I prefer arms, as they’re more flexible and make it easier to plug cables in, as you can pull your TV forward.
You need to buy the right type of arm for your TV. Brackets will state which size TV they’re suitable for and the maximum weight that they’re capable of holding. Check your TV’s specs on the manufacturer’s website and make sure that your chosen bracket will support your TV.
Finally, you’ll need to check that your TV has a VESA mount at the back. This is a standard, although one with various sizes: 50×50, 75×75, 100×100, 200×100, 100×200, 200x200mm, 400x400mm, 600x400mm and 800x400mm all exist. Your TV’s manual will say which type of VESA mount it has, so check that your chosen TV bracket supports it. Most brackets support a wide-range of mount sizes.
Finally, you need to check the wall type you’re attaching the TV to. If it’s a solid wall, then you’re definitely all good. If you’ve got a hollow plasterboard wall, then you should ideally use a stud finder and attach the mount to this; if the studs are in the wrong place, you can use hollow wall anchors instead (more of this in the steps below).
What we used
- AVF Superior wall mount
- Cordless drill
- Regular tools (hammer, screwdriver, spirit level)
The short version
- Get the right mounting screws
- Remove the TV’s stand
- Fit the rear brackets
- Line up the mount
- Drill the first hole
- Fit a hollow wall anchor
- Line up the remaining screws
- Attach your TV
Step
1Get the right mounting screws
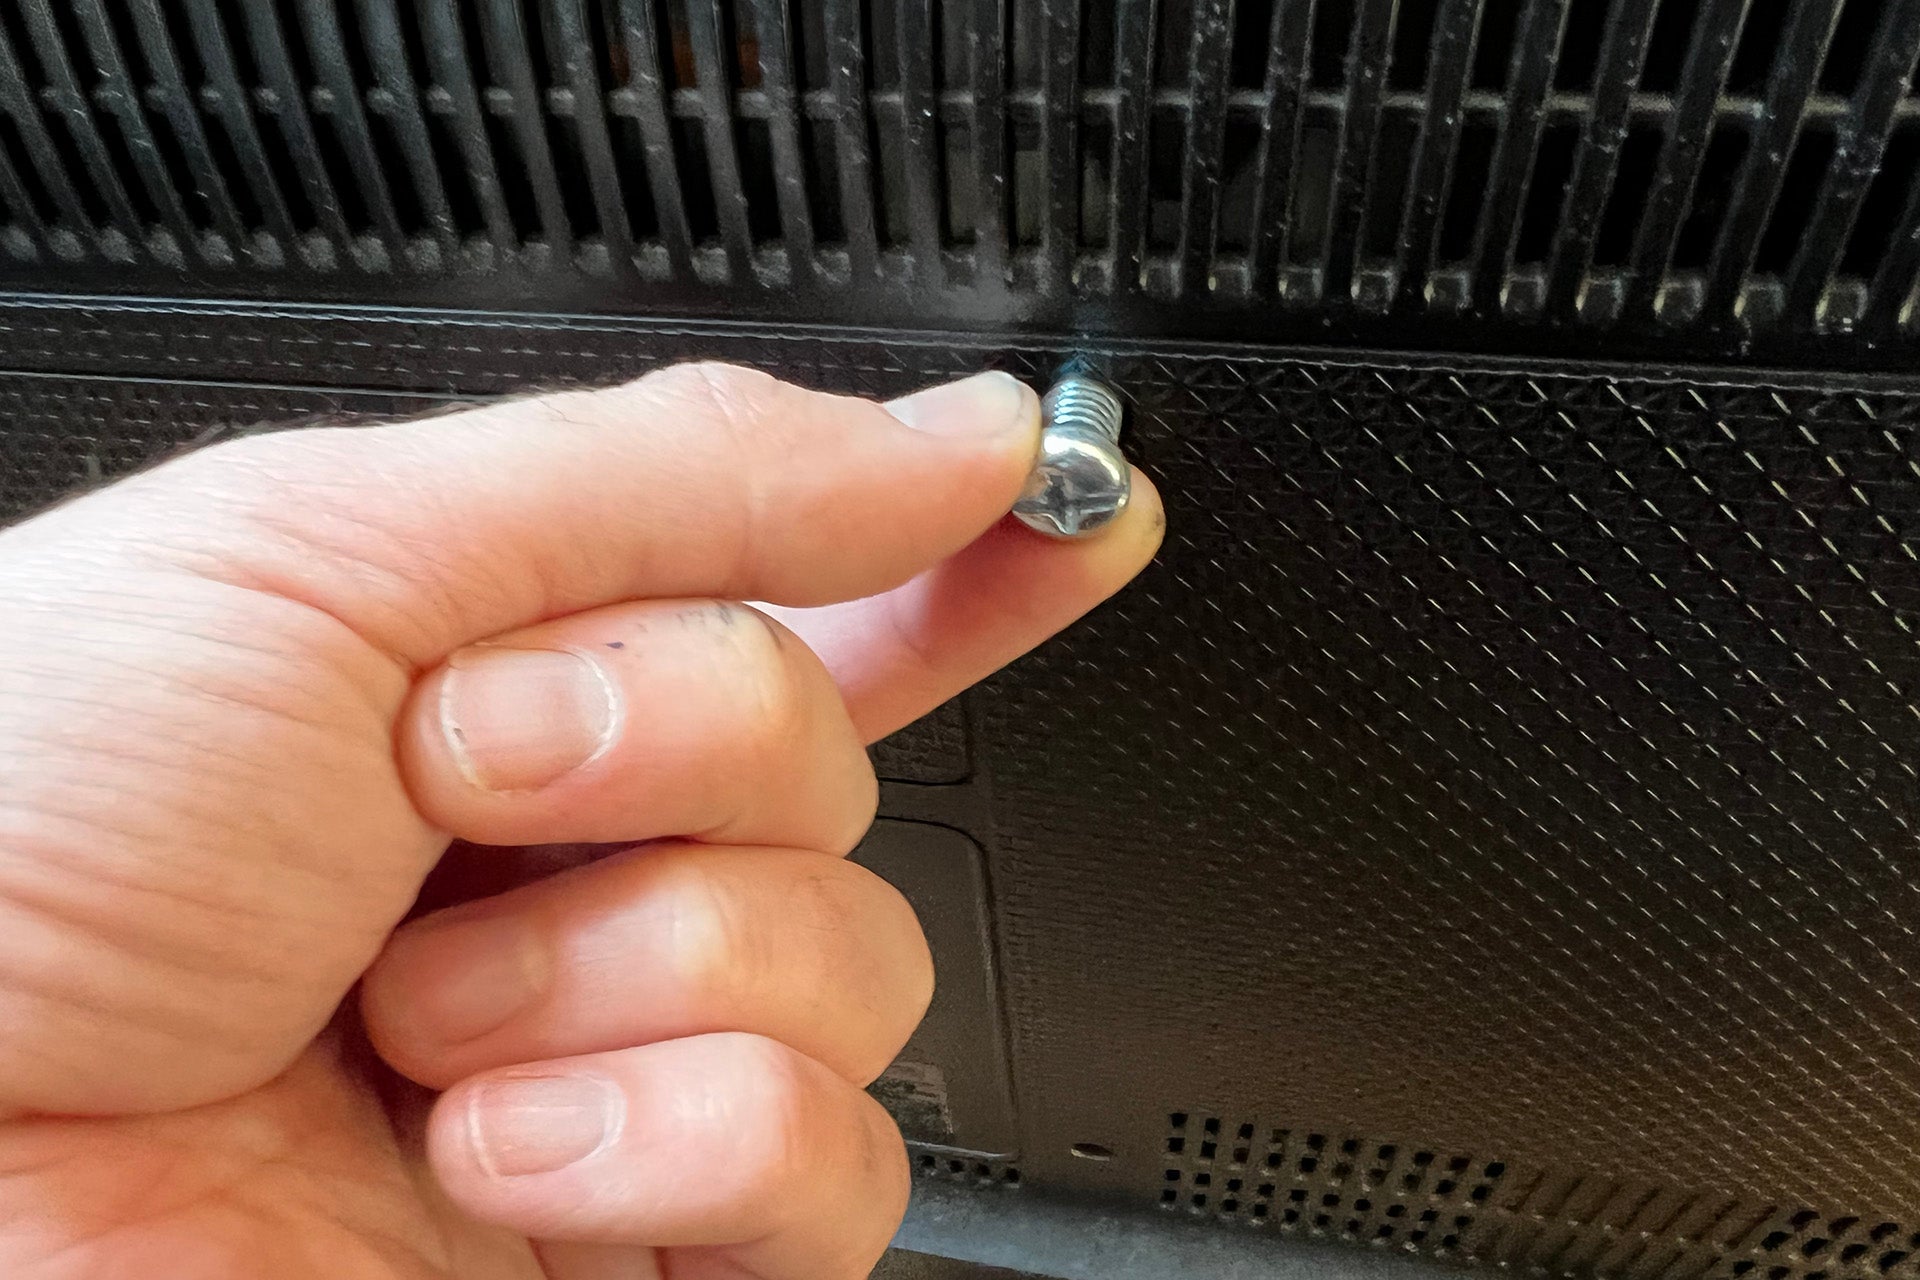
Unplug your TV and remove all of the cables from it. Your first job is to get the right mounting screws for the bracket. Each TV bracket will ship with many screws of different sizes, designed to screw into the four holes of the VESA mount at the back of your TV.
Turn your TV around, and then gently insert the screws until you find one that grips in the thread. Gently screw the matching one in (use a manual screwdriver, not a cordless one), but stop as soon as there’s any resistance: if you keep screwing, you run the risk of pushing the screws through the screen.
Ideally, the screw should sit flush with the back of your TV (or near close enough). If there’s quite a bit of thread showing, you’ll need to use a spacer (provided in the box).Step
2Remove the TV stand
It’s a good idea to take your TV’s stand off now. As your TV won’t be able to stand up, you’ll need something soft to place it on, such as a duvet. That way, you can lie your TV screen down, without damaging it.
There are usually some retaining screws on the bottom, after which you can slide the stand out and away. You can keep this if you may go back to having the TV on its stand, or you want to sell it. Lie your TV flat on the protective cover you got earlier.Step
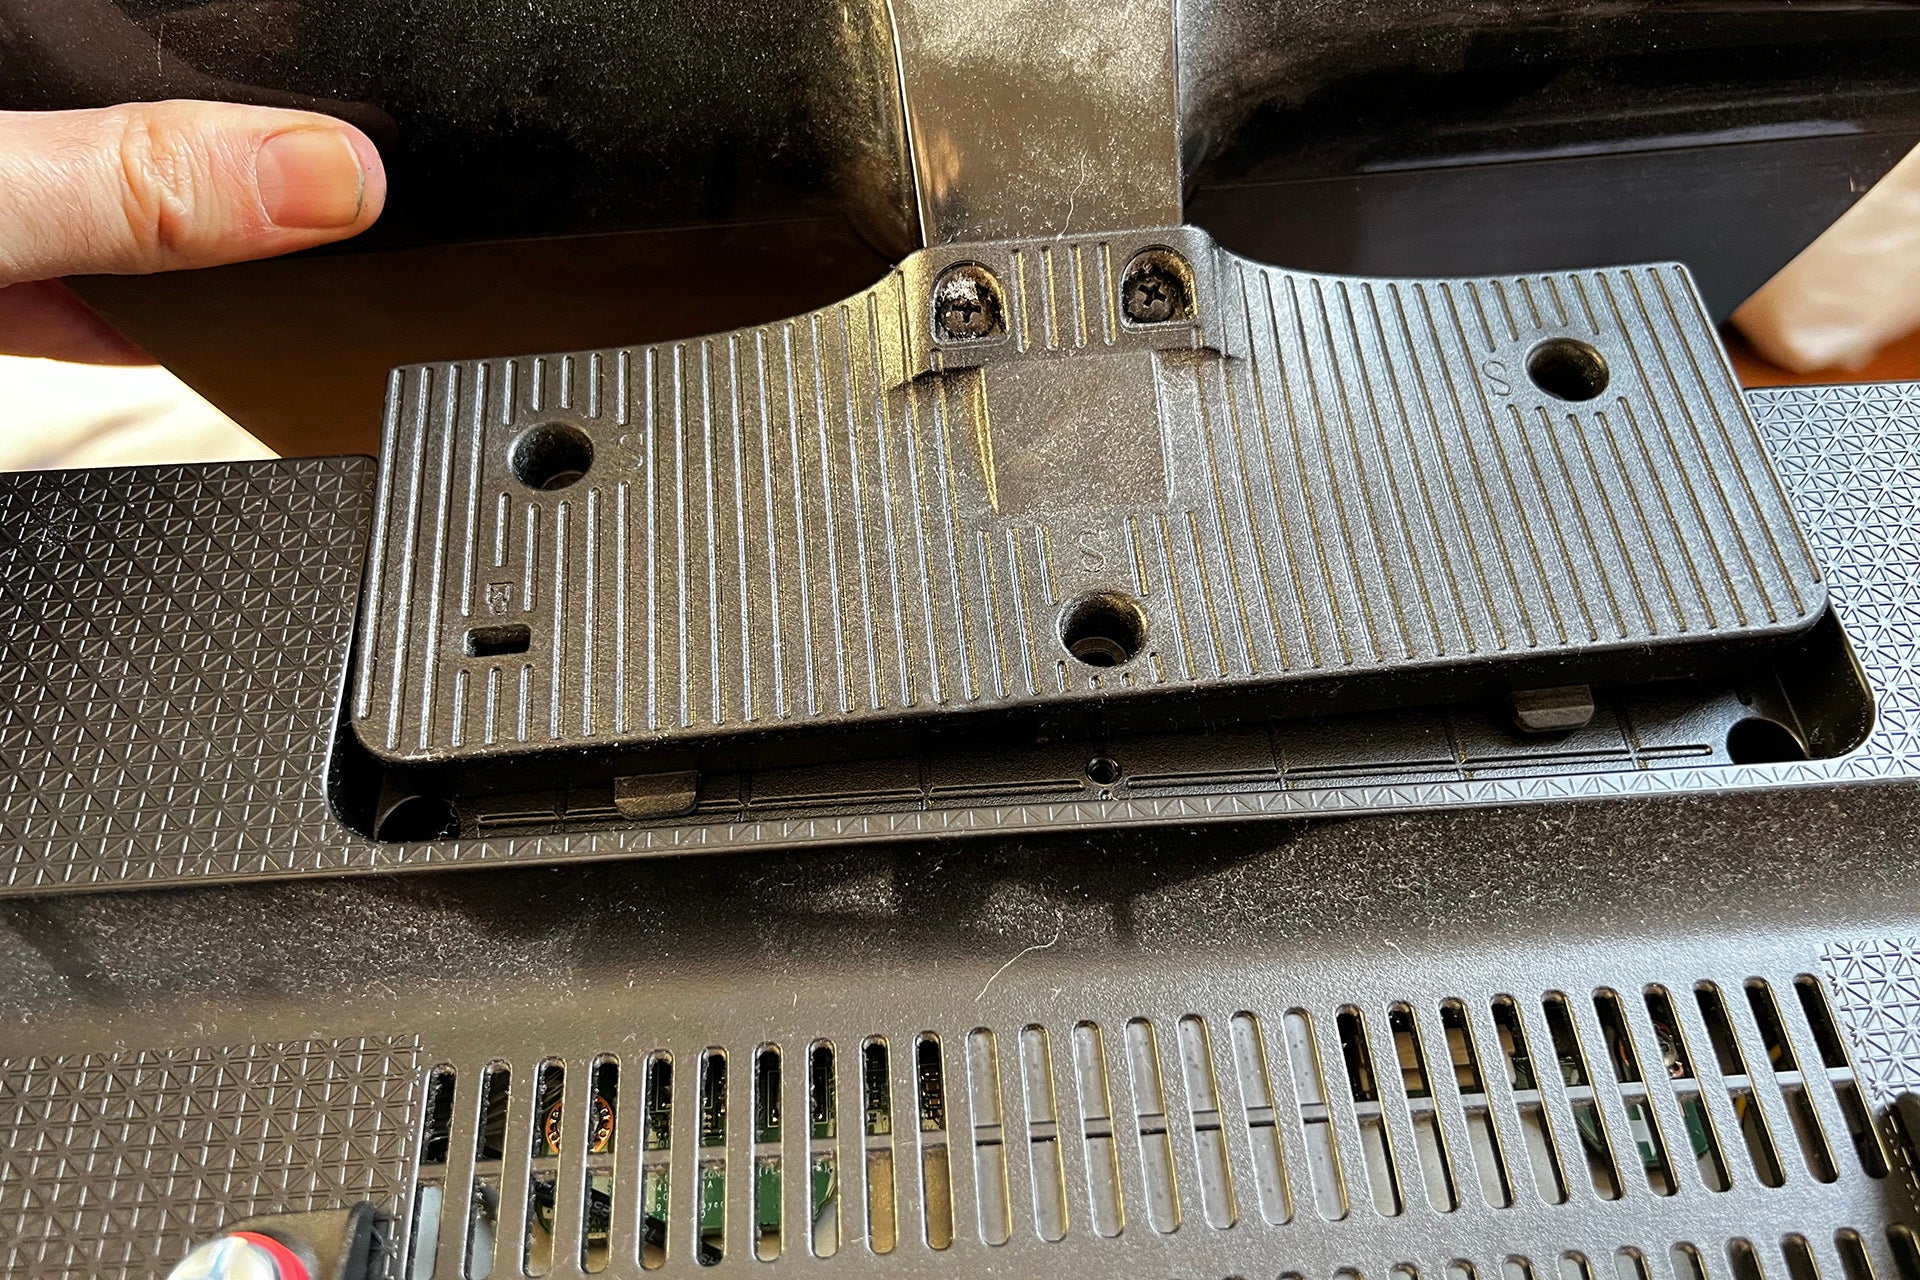
3Fit the rear brackets
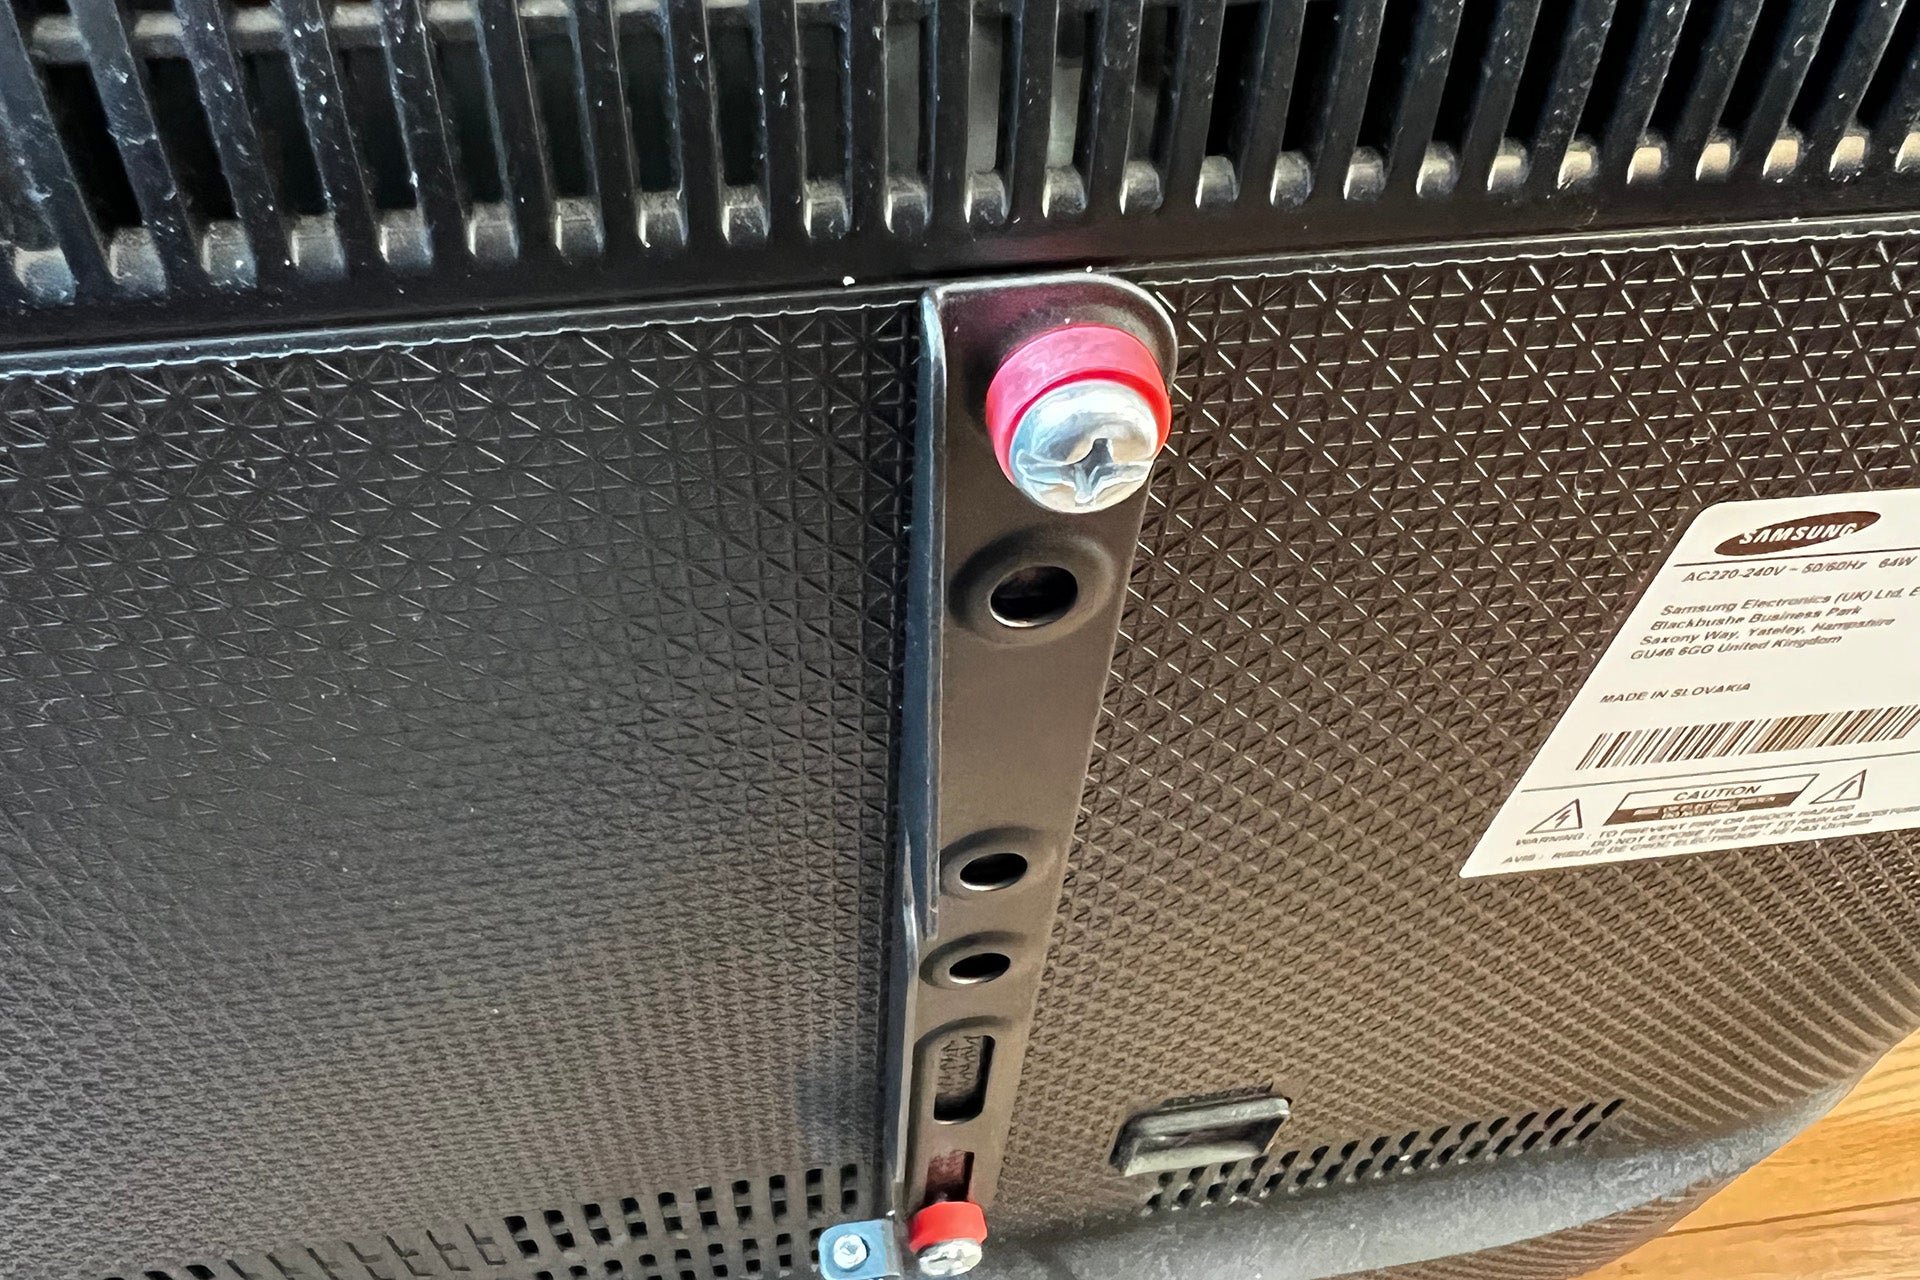
Now, you need to fit the VESA mount to the back of your TV. This may be a single plate or, in my case, two separate brackets. Make sure that you line them up the correct way round – check the manual and any visual indicators, such as arrows on the brackets, to make sure you’ve got everything the right way around.
If the back of your TV isn’t flat, you may need to use the provided spacers in the box. For non-flat TVs, the spacers generally sit underneath the bracket.
I had to use the spacers on top of the bracket, as the mounting screws stuck out too much and the brackets were too loose.Step
4Line up the mount
Now, you’ll need a couple of people to help. Place the TV roughly on the main stand or arm, then get someone to help you lift your TV into place. Have a third person help you line it up roughly. As a guide, TVs should generally be mounted so that your eyes, when sitting down, line up with the screen about a third of the way down from the top. This makes for the most comfortable viewing.
Furniture and room layout may change that. For this TV, I was mounting it in a bedroom above a console table. As a bed is generally higher than a sofa, this TV is higher than it would be in a lounge.
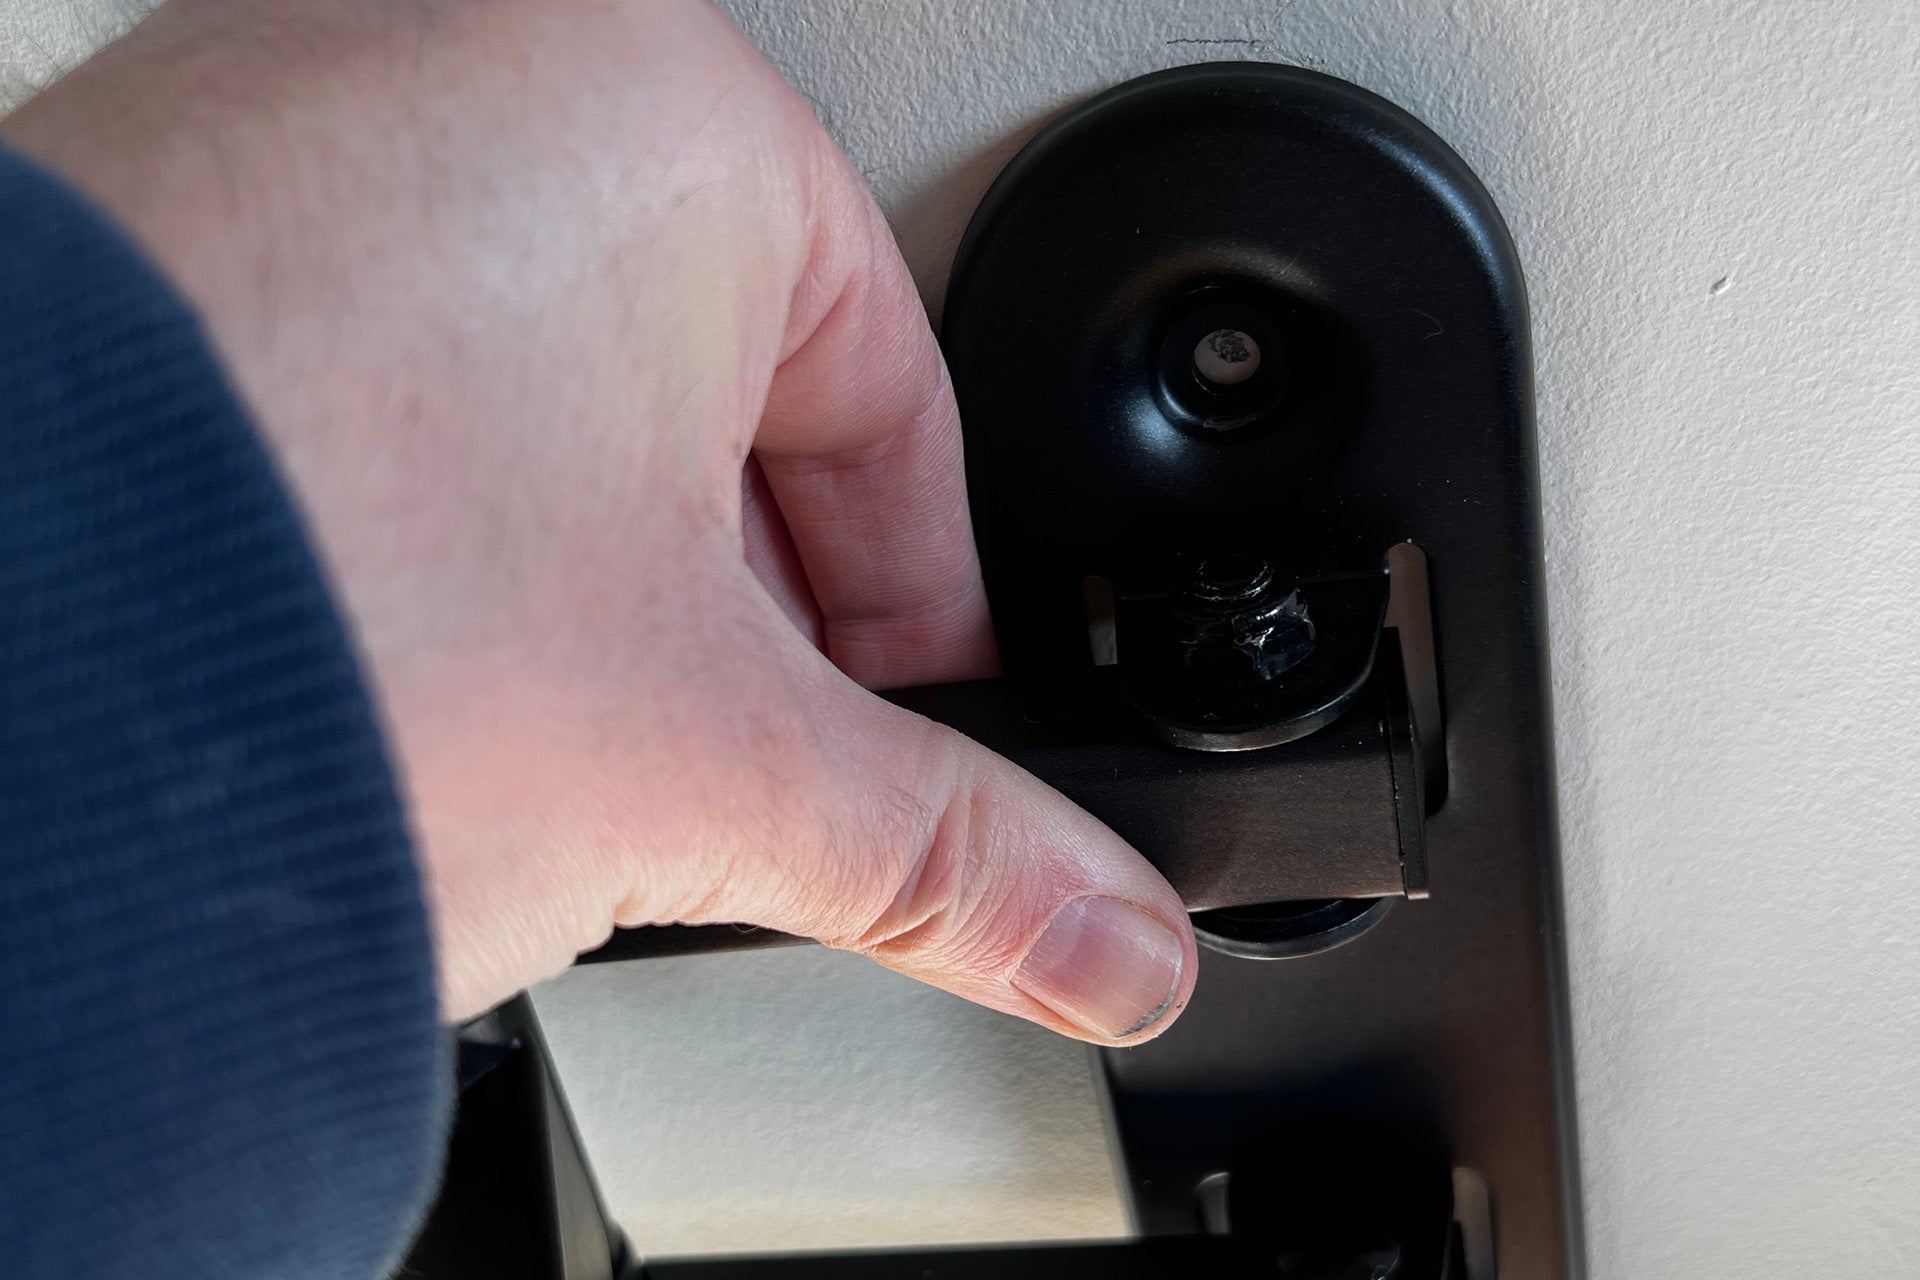
Mark in pencil a corner of the bracket, then remove the TV. You can now place just the bracket back on the wall, and mark the top screw hole in pencil.Step
5Drill the first hole
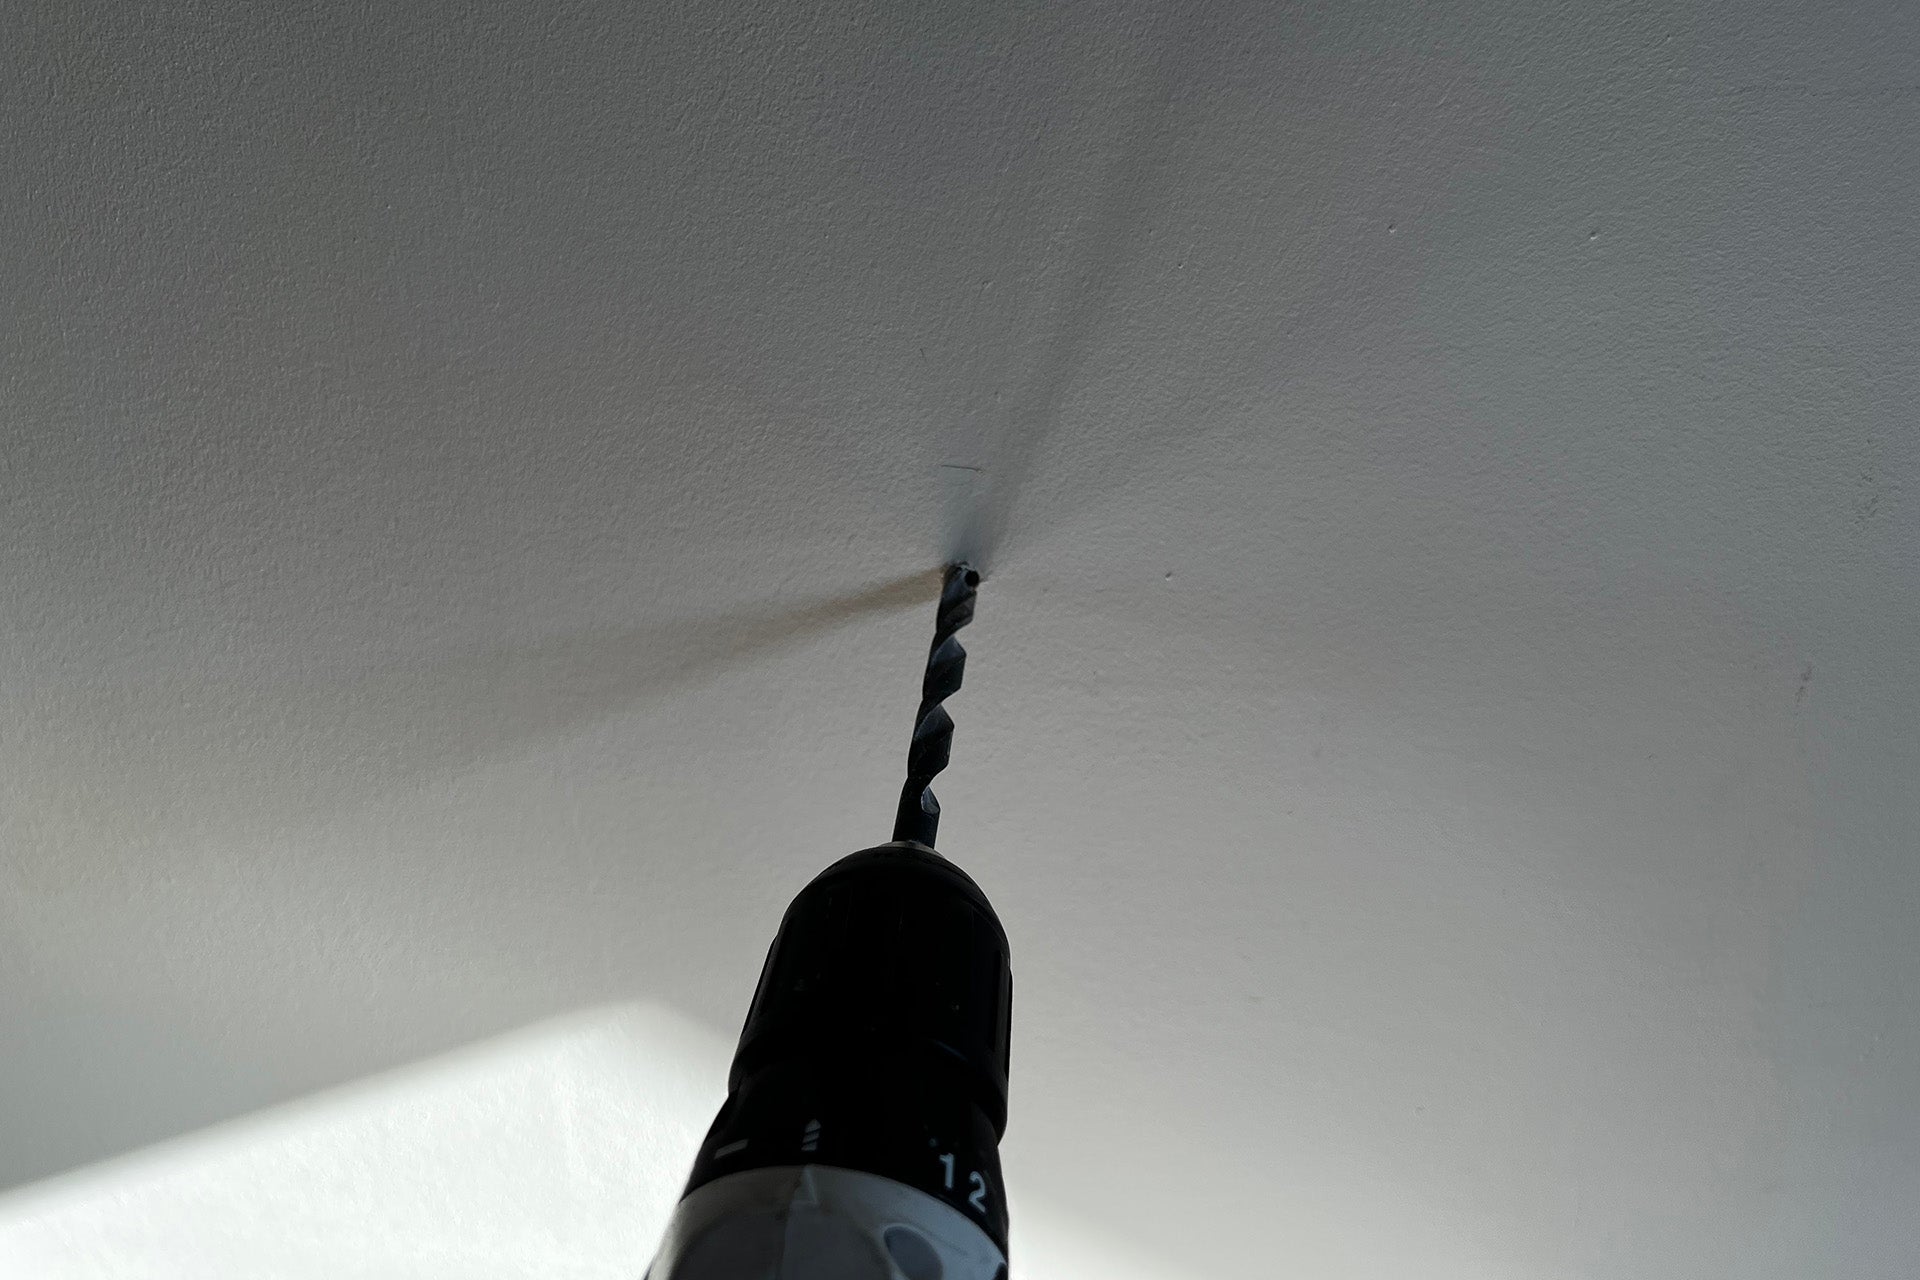
Now, drill the first hole for the first screw. The size of the hole depends on the wall, the mounting screws and the wall plugs you’re provided with. Your bracket’s manual will tell you the hole size to drill for a solid wall and stud fixing. If you’re going to mount on a hollow wall, follow the advice in the next step.
Step
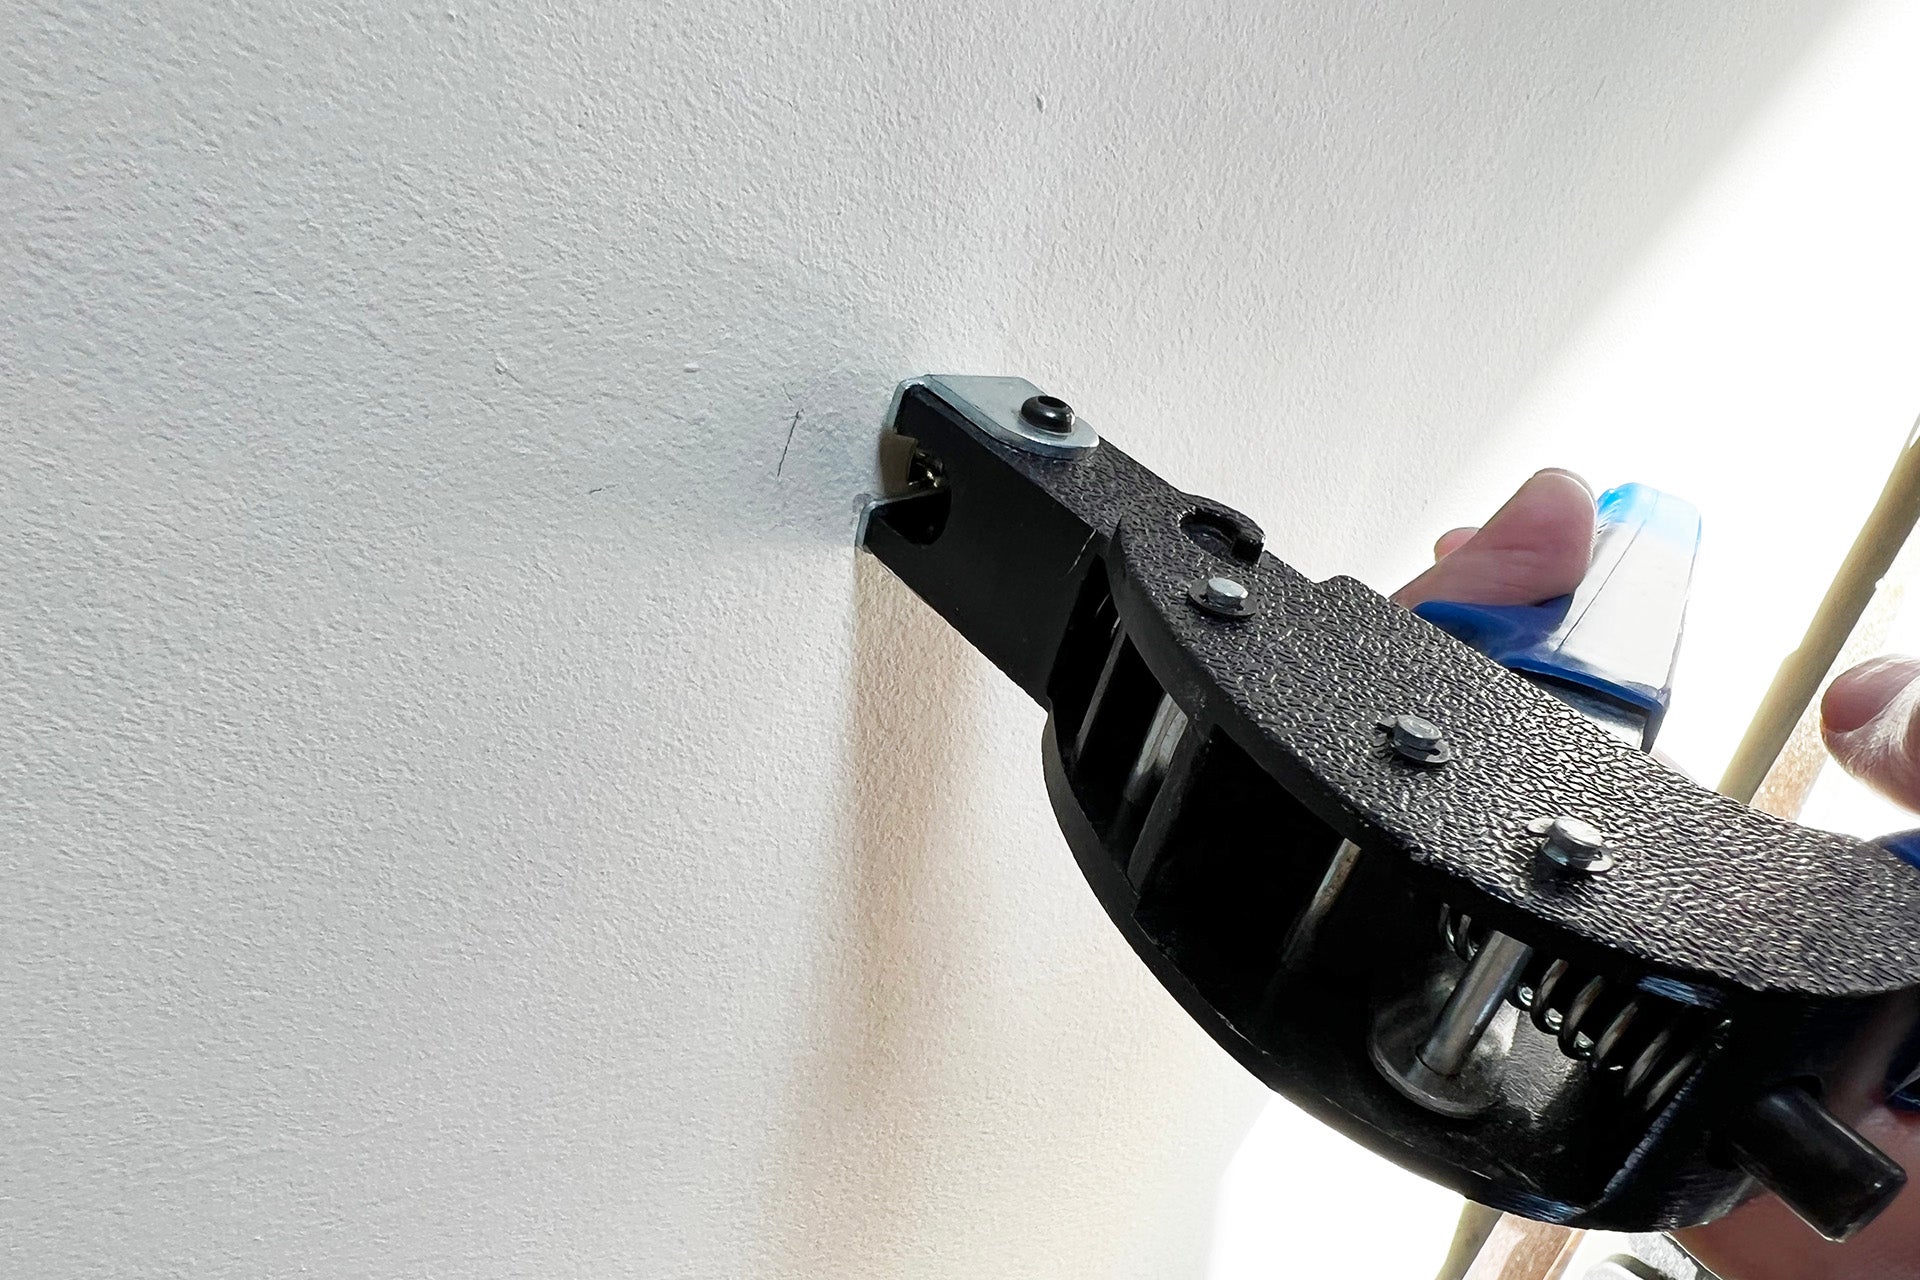
6Fit a hollow wall anchor
If you’re going into plasterboard, you need the appropriate fixings. I recommend only doing this on plasterboard and plaster that has had time to completely dry. New plaster can be more crumbly.
You also have to take into account that this method of fixing may not be as secure as the others, and there’s more of a risk that the plasterboard will fail and your TV will fall out. I’ve mounted 32-inch (around 11kg) and 55-inch (around 18kg) TVs in this way and not had problems. If you’ve got a very large TV or aren’t confident, then call a professional to do the job for you.
For hollow walls, I use hollow wall anchors and a setting tool (you can buy a set as listed above). These have a metal anchor that goes into the wall. You then lightly screw the bolt into place and use the setting tool to pull the screw forwards, expanding the anchor behind the plasterboard to create a secure connection.
I used a set where each one can hold 15kg of weight for my 32-inch TV. For a larger TV, you can buy heavier duty ones that hold more weight. It’s worth using wall anchors that take a much higher weight than your TV, particularly if you’re using an arm. With a bracket extended, the arm acts as a lever, so your TV puts more force on the brackets
For that reason, it’s also worth slightly over-specifying the bracket that you buy, and going for a heavier-duty one that supports TVs larger than yours. These generally have more mounting screws, to spread the support.Step
7Line up the remaining screws
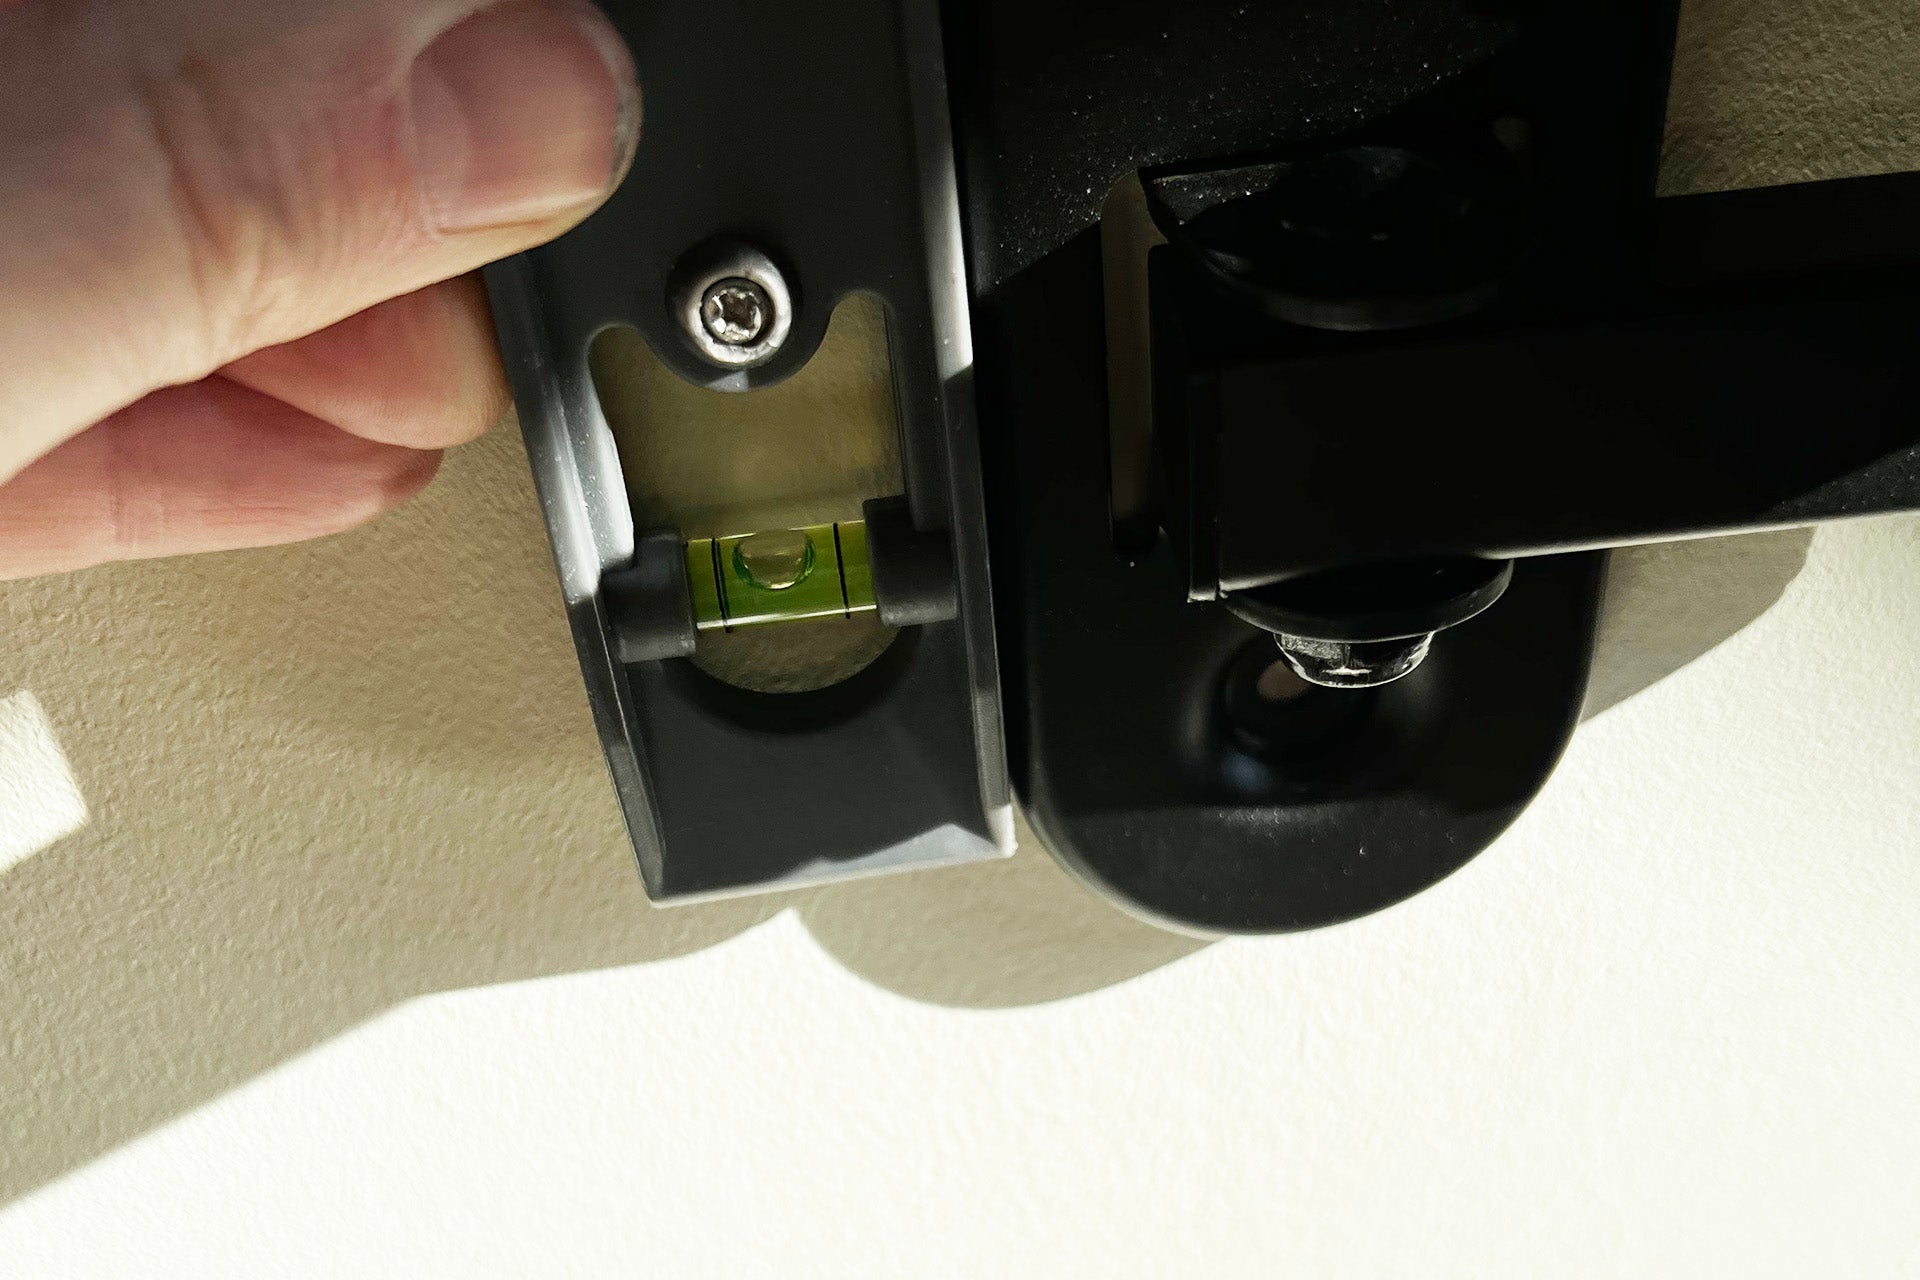
With your first screw hole done, attach the bracket to the wall, so that it’s flush but can still move. Use a spirit level (unless your mount has one built-in), on the side or top to get the mount level. Then mark the remaining screw holes.
Remove the mount from the wall, and follow the steps above to drill the remaining screw holes. Fit the mount to the wall.Step
8Attach your TV

Now, you can drop your TV onto the mount. If it’s a flat or angle-mount you’ve got, you should attach cables now; those with an arm mount can do this later.
You will probably need two people to do this job, to line up the TV’s bracket with the wall mount. Once it’s in place, you’ll need to screw in the retaining screws, which prevents the TV from being pulled off.
If your mount has a tilt option, you may find that it’s too loose, so you can tighten any of the screws you need. Finally, attach any blanking plates or caps that came with the mount to hide the mounting screws. And that’s it. Sit back, make yourself a cuppa and enjoy your hard work.
Editorial independence
Editorial independence means being able to give an unbiased verdict about a product or company, with the avoidance of conflicts of interest. To ensure this is possible, every member of the editorial staff follows a clear code of conduct.
Professional conduct
We also expect our journalists to follow clear ethical standards in their work. Our staff members must strive for honesty and accuracy in everything they do. We follow the IPSO Editors’ code of practice to underpin these standards.