The spot healing brush is one of the fastest and easiest ways to remove small marks and blemishes from your photos. Here’s how to use it.
The spot healing brush is an essential Photoshop tool for anyone who likes to retouch their images.
Much like the larger healing brush tool, the spot healing brush works by sampling the pixels next to the area you select and matching the texture, lighting, transparency and shading to remove the spot seamlessly. However, where the healing brush requires you to pick an area to sample from, the spot healing brush will automatically take a sample from the surrounding area.
This makes it ideal for healing small imperfections on more uniform backgrounds, like skin, clothes and plain walls.
Read on to discover where you can find the spot healing brush in Photoshop, along with how to use it to remove marks from your images.
What you’ll need:
- Adobe Photoshop
- A Creative Cloud subscription
The Short Version
- Open your image in Photoshop
- Select the spot healing brush
- Adjust the size, hardness and spacing of the brush
- Click or drag over the mark on your image
How to use the spot healing brush in Photoshop
Step
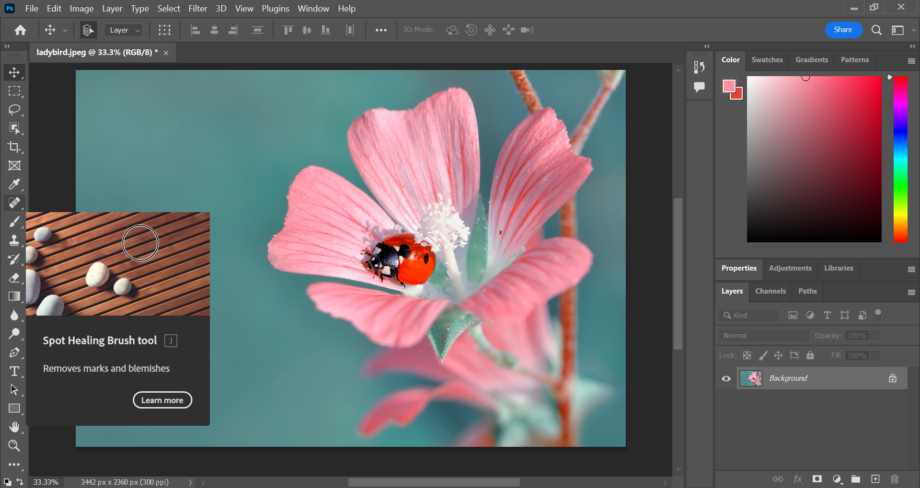
1Open your image in Photoshop
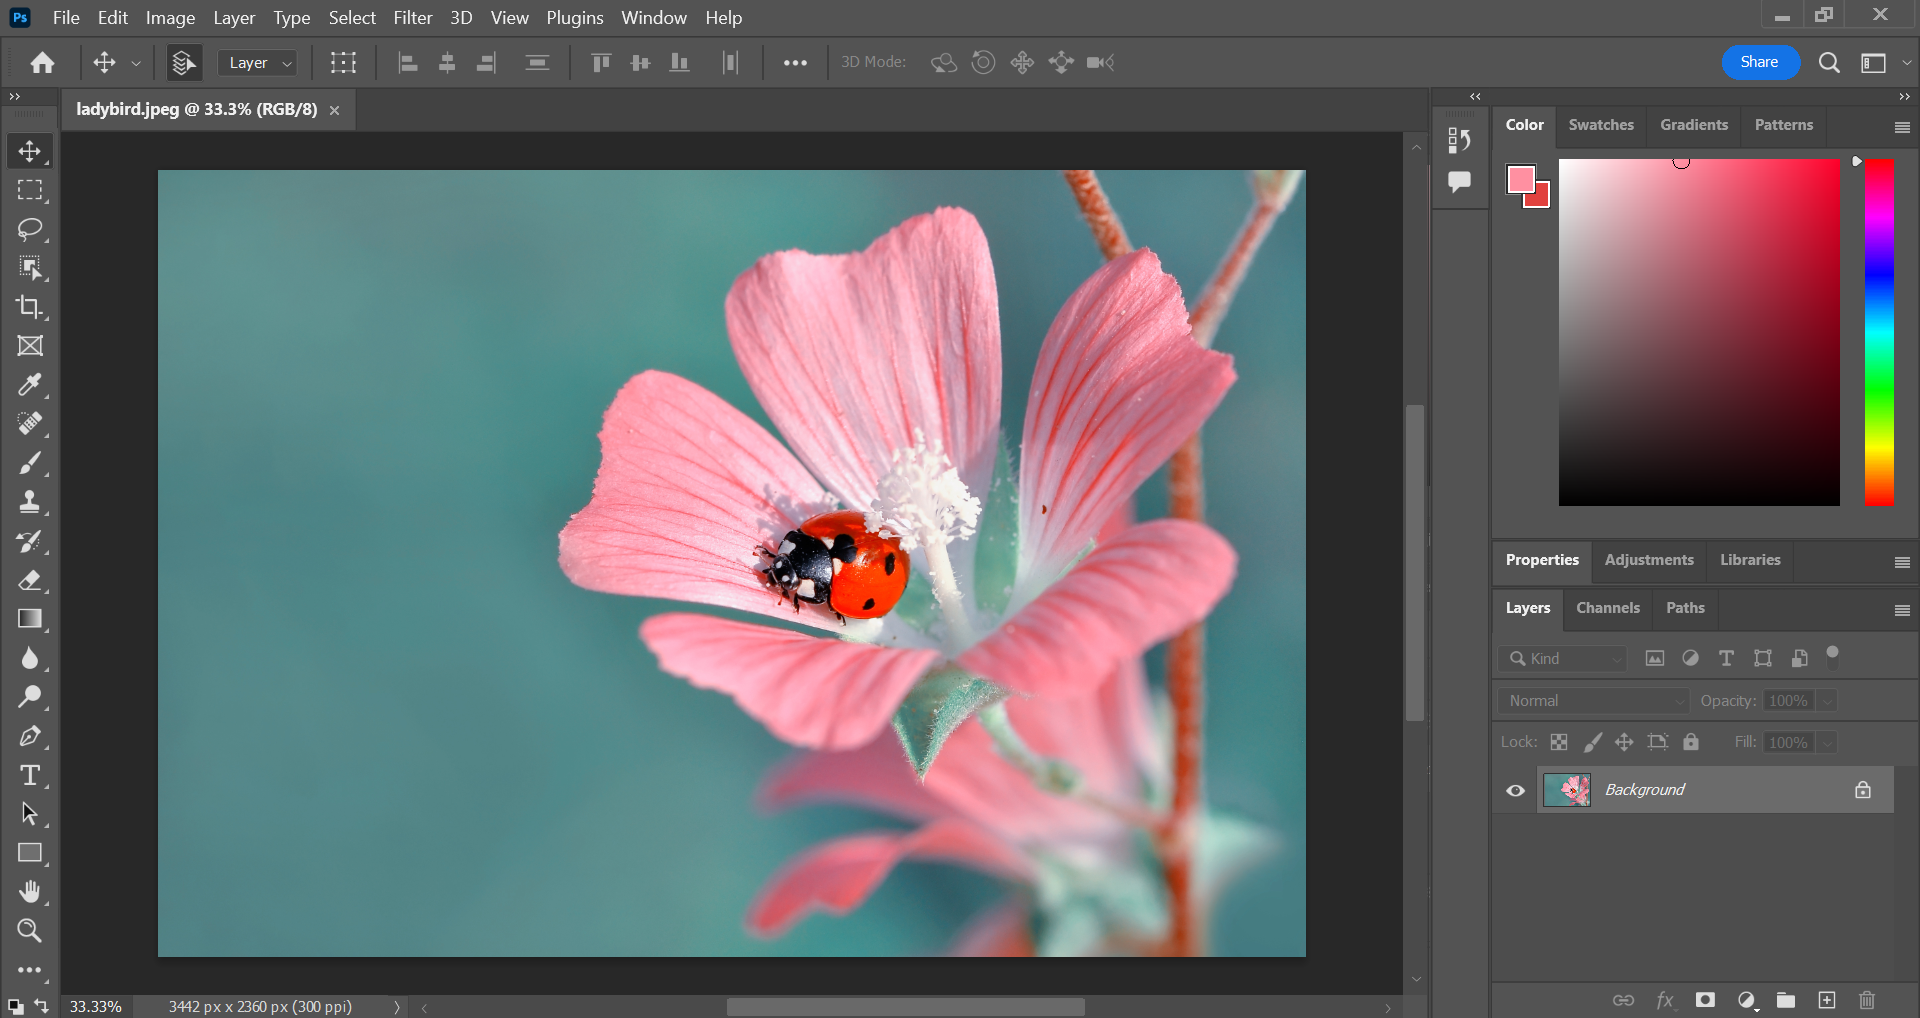
This can be any photo with a mark you want to remove. For larger objects, try using the regular healing brush.
Step
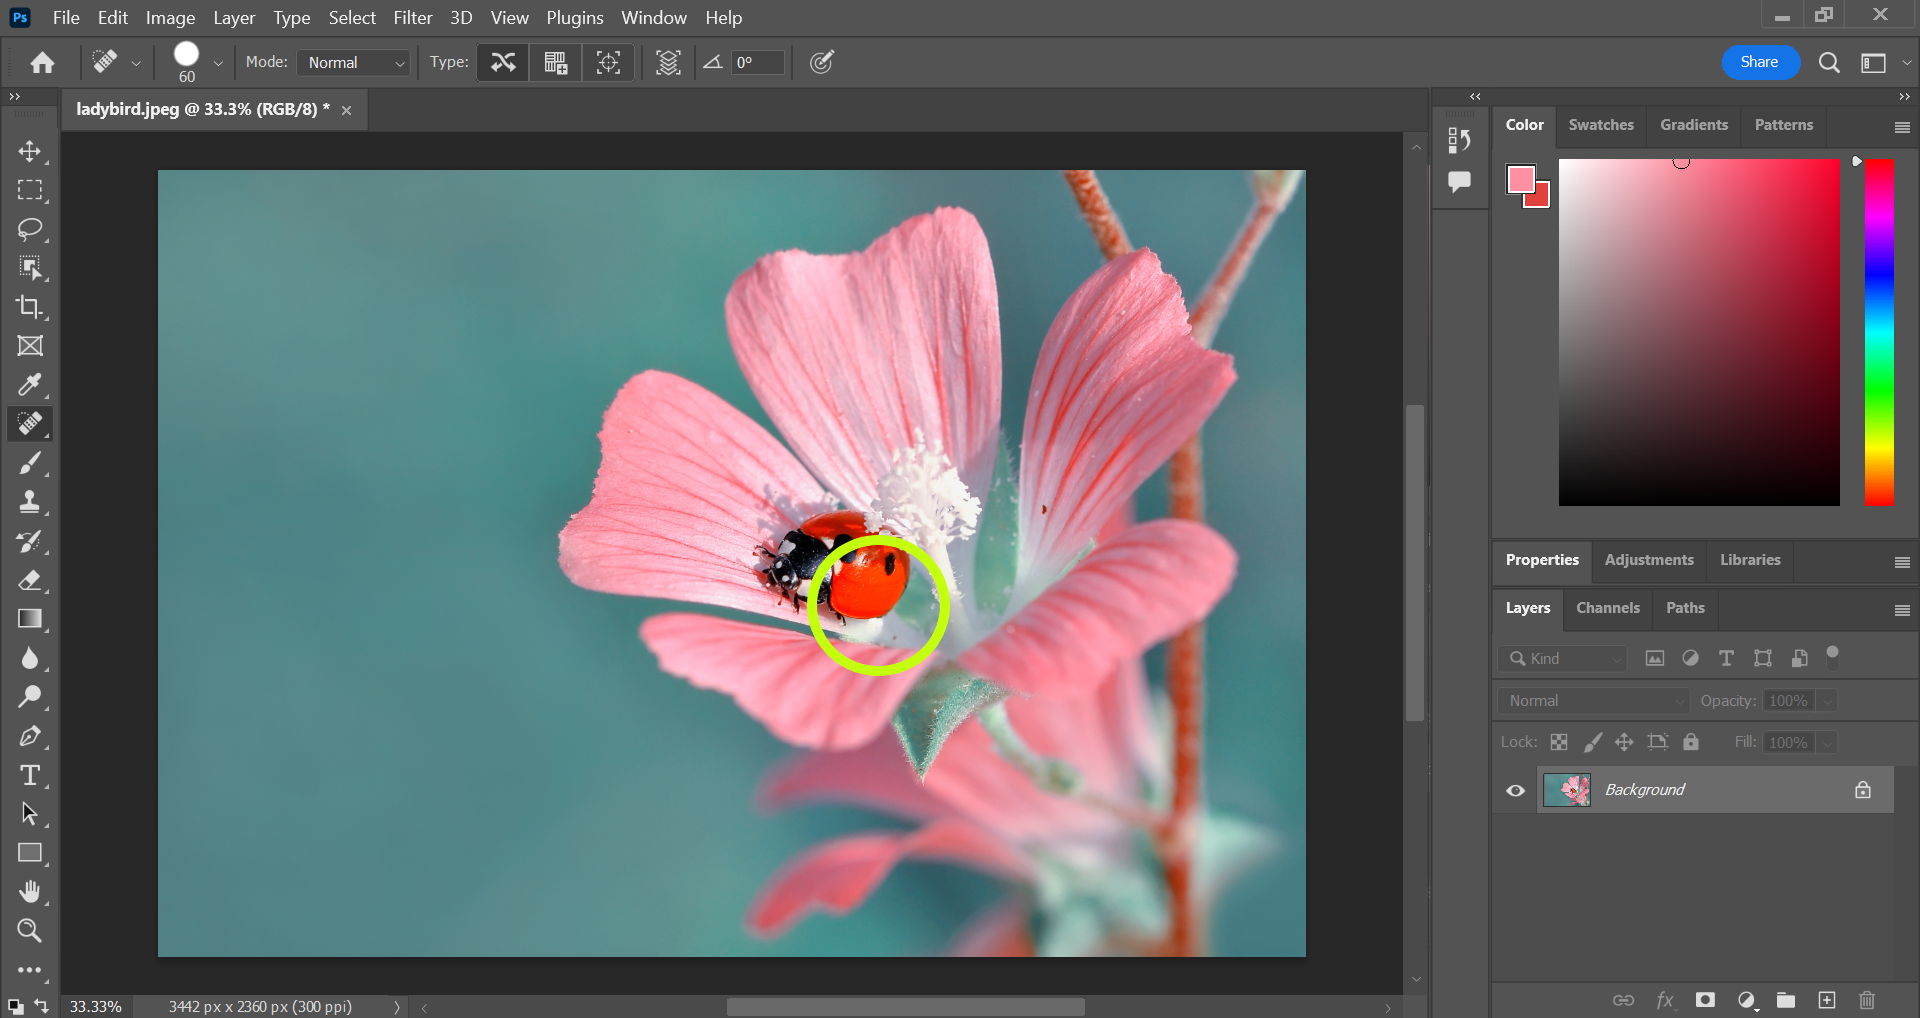
2Click the spot healing brush
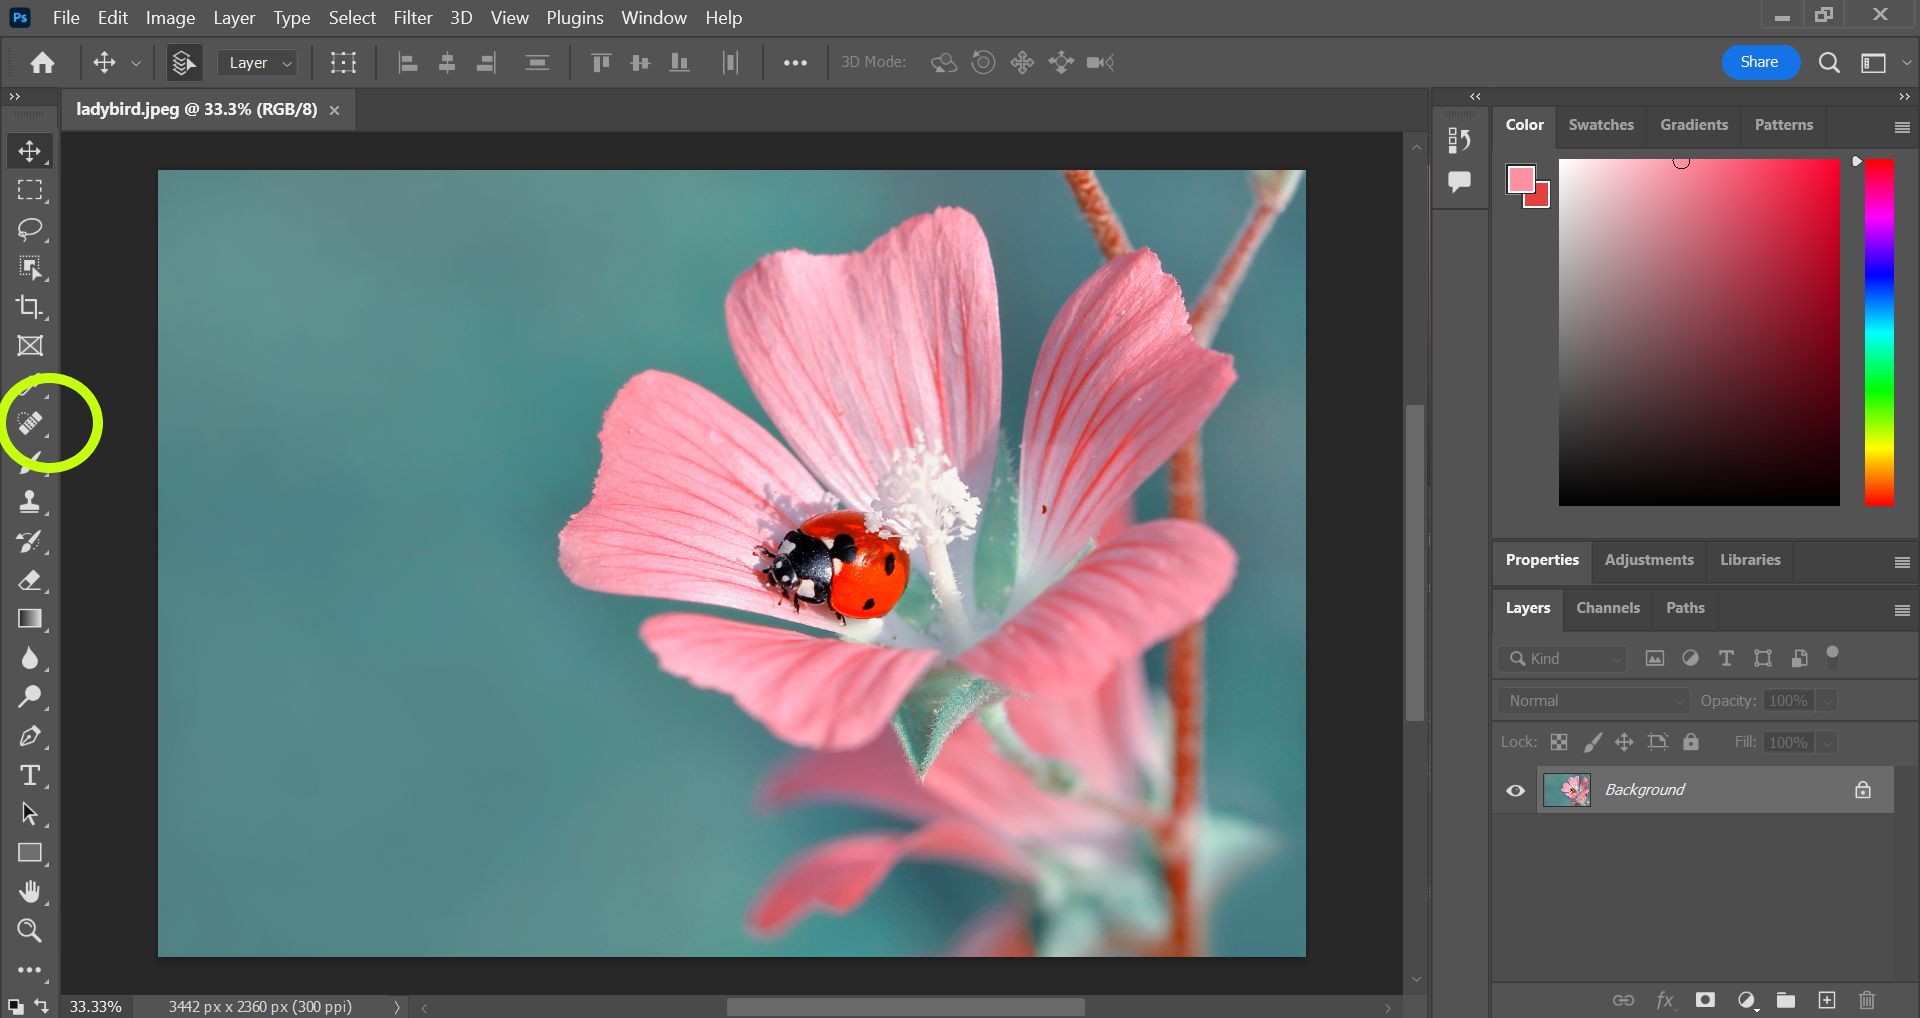
If you can’t see it, right click in this spot in the tool bar and you should see it listed as an option. You can also use the search icon in the top right corner to look for the tool if you can’t find it anywhere.
Step
3Click the size of the brush to open the brush settings
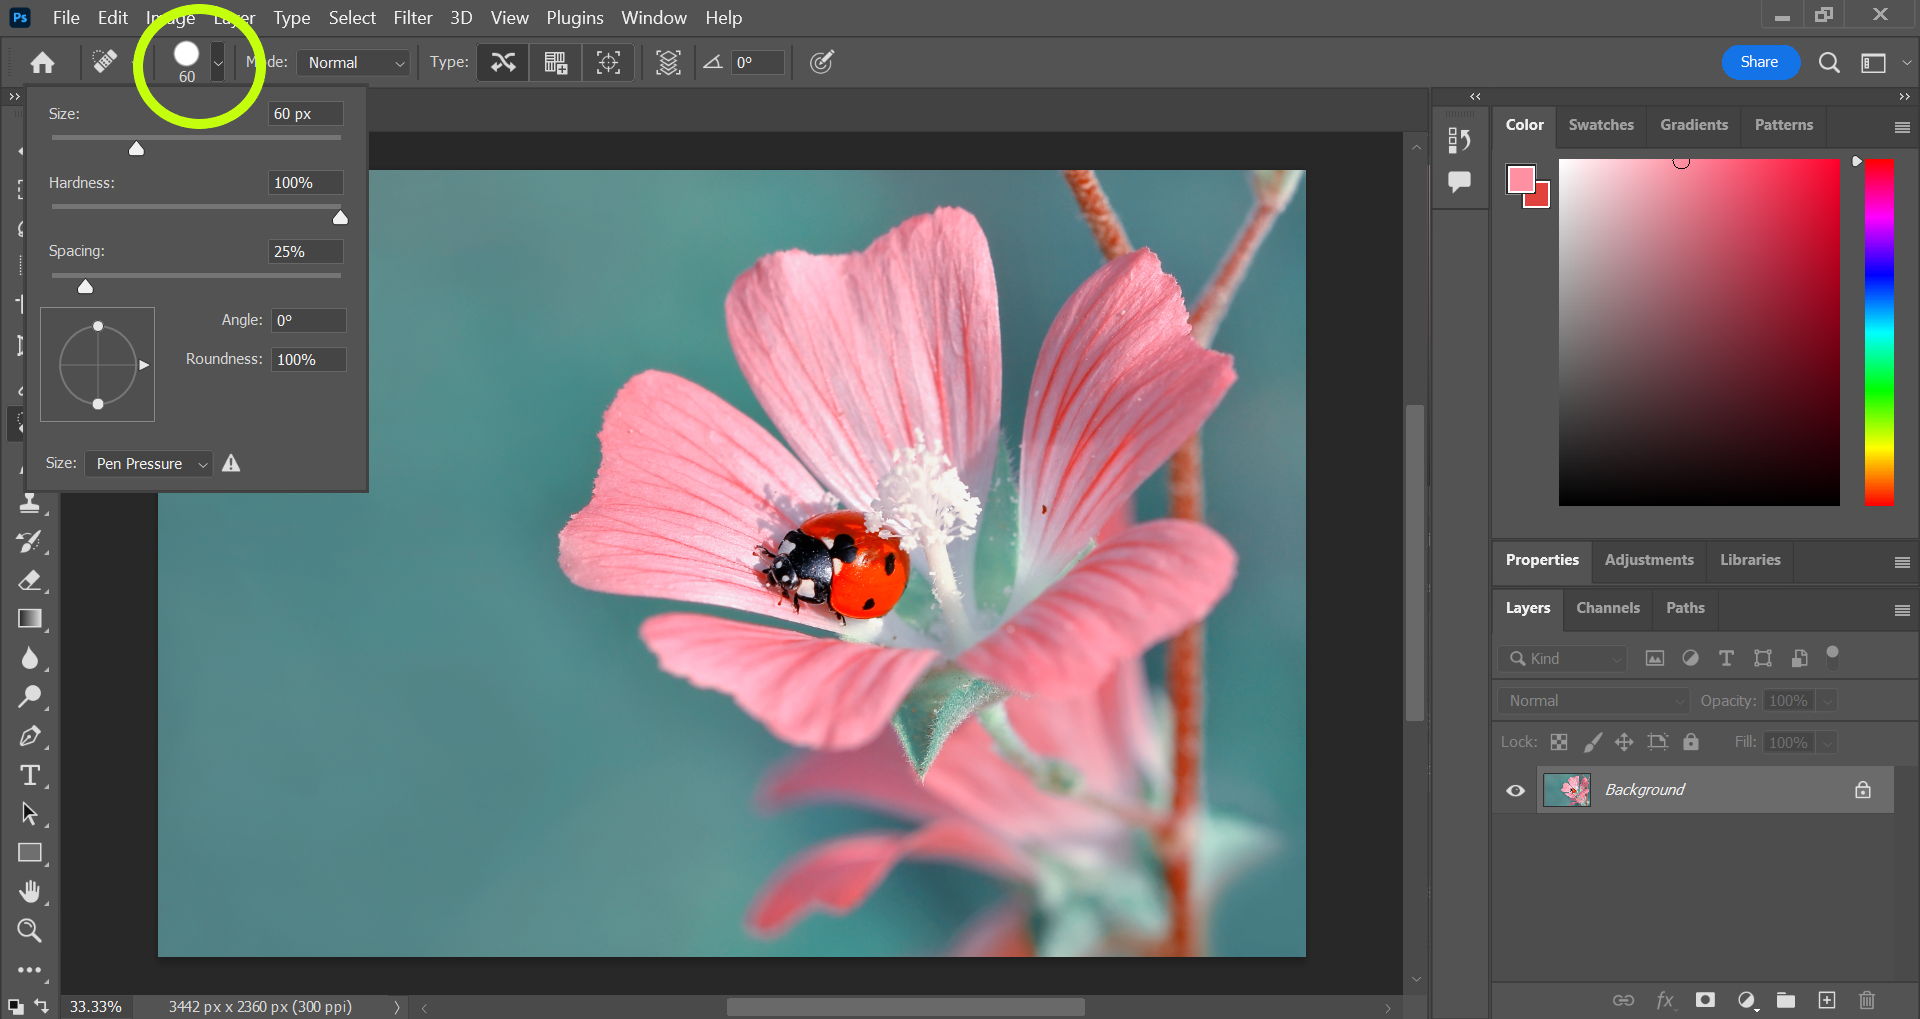
Here you can adjust the size, hardness and spacing of the brush to fit your area you want to heal.
Step
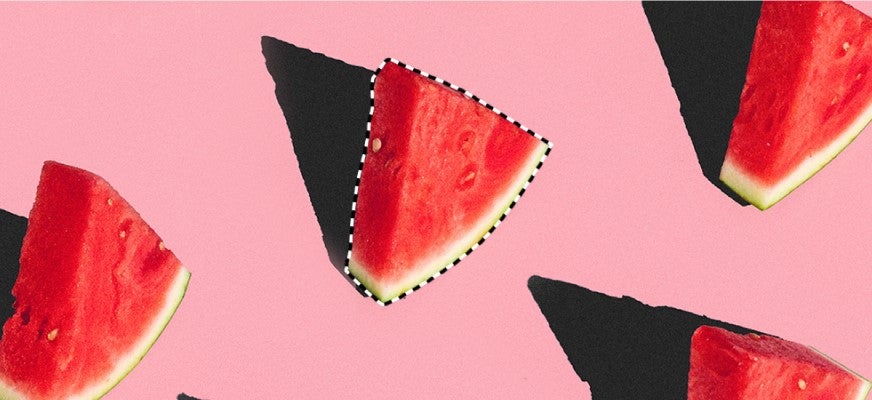
4Click on the mark to heal it
You can also click and drag to heal larger spots.
Troubleshooting
You can adjust the size, hardness and spacing of the spot healing brush by clicking the down arrow in the menu bar circled in step 3 and dragging the sliders.
You can remove larger marks using the spot healing brush by increasing the size of the brush or simply by clicking and dragging to cover a larger area.
However, you’ll generally see more seamless results on smaller areas, like freckles and tiny paint splatters, than you will removing entire objects with the spot healing brush. For very large areas, the regular healing brush is a better option as you can choose exactly which area gets sampled to fill the space where the mark was.
You might like…

Editorial independence
Editorial independence means being able to give an unbiased verdict about a product or company, with the avoidance of conflicts of interest. To ensure this is possible, every member of the editorial staff follows a clear code of conduct.
Professional conduct
We also expect our journalists to follow clear ethical standards in their work. Our staff members must strive for honesty and accuracy in everything they do. We follow the IPSO Editors’ code of practice to underpin these standards.