Ovens can be like washing machines in that we find our favourite setting and pretty much stick to that one for everything. Which is understandable – who has the time to go rooting through the instruction booklets every time you want to make dinner? However, all those different icons offer something a bit different. If you make use of them, they can transform your cooking, offering richer flavours in dishes that are cooked more gently, or limiting the chance of burning or drying out your food.
This is why getting to grips with what each setting offers and how they work can be invaluable. Not only will you know which one to choose for a dish at a glance, but you may also even discover a new passion for cooking or baking.
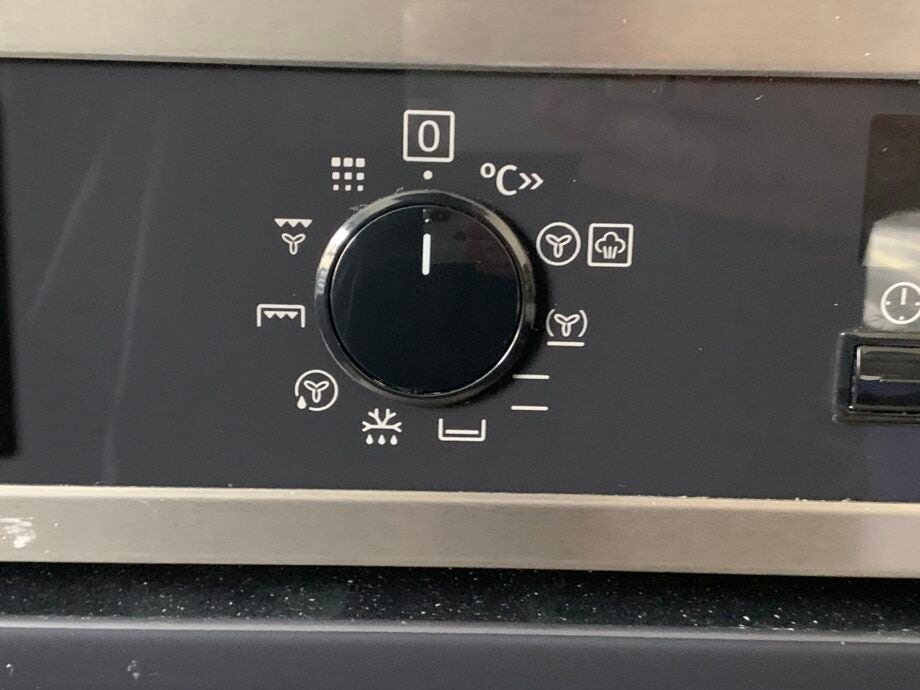
While symbols can vary between manufacturers, below is a rough guide to what to look for and how each type of heat differs, making it more suitable for some foods or types of cooking than others. Not every oven will have them all, but top and bottom, bottom heat only and grill should be standard options on even the most basic models. Read on to discover which oven settings you should be using for pizzas, pies, roasts and more.
NB: the settings at the top of the dial not mentioned are a fast heat-up (to the right of the centre, marked C) and pyrolytic cleaning (left of centre). The setting with a fan and a drip is for moist fan baking.
Equipment used
- Oven
The short version
- Fan oven
- Top and bottom heat (conventional)
- Bottom heat only
- Grill/part grill
- Grill with bottom heat/Fan with bottom heat
- Grill with fan
- Defrost
Step
1Fan oven
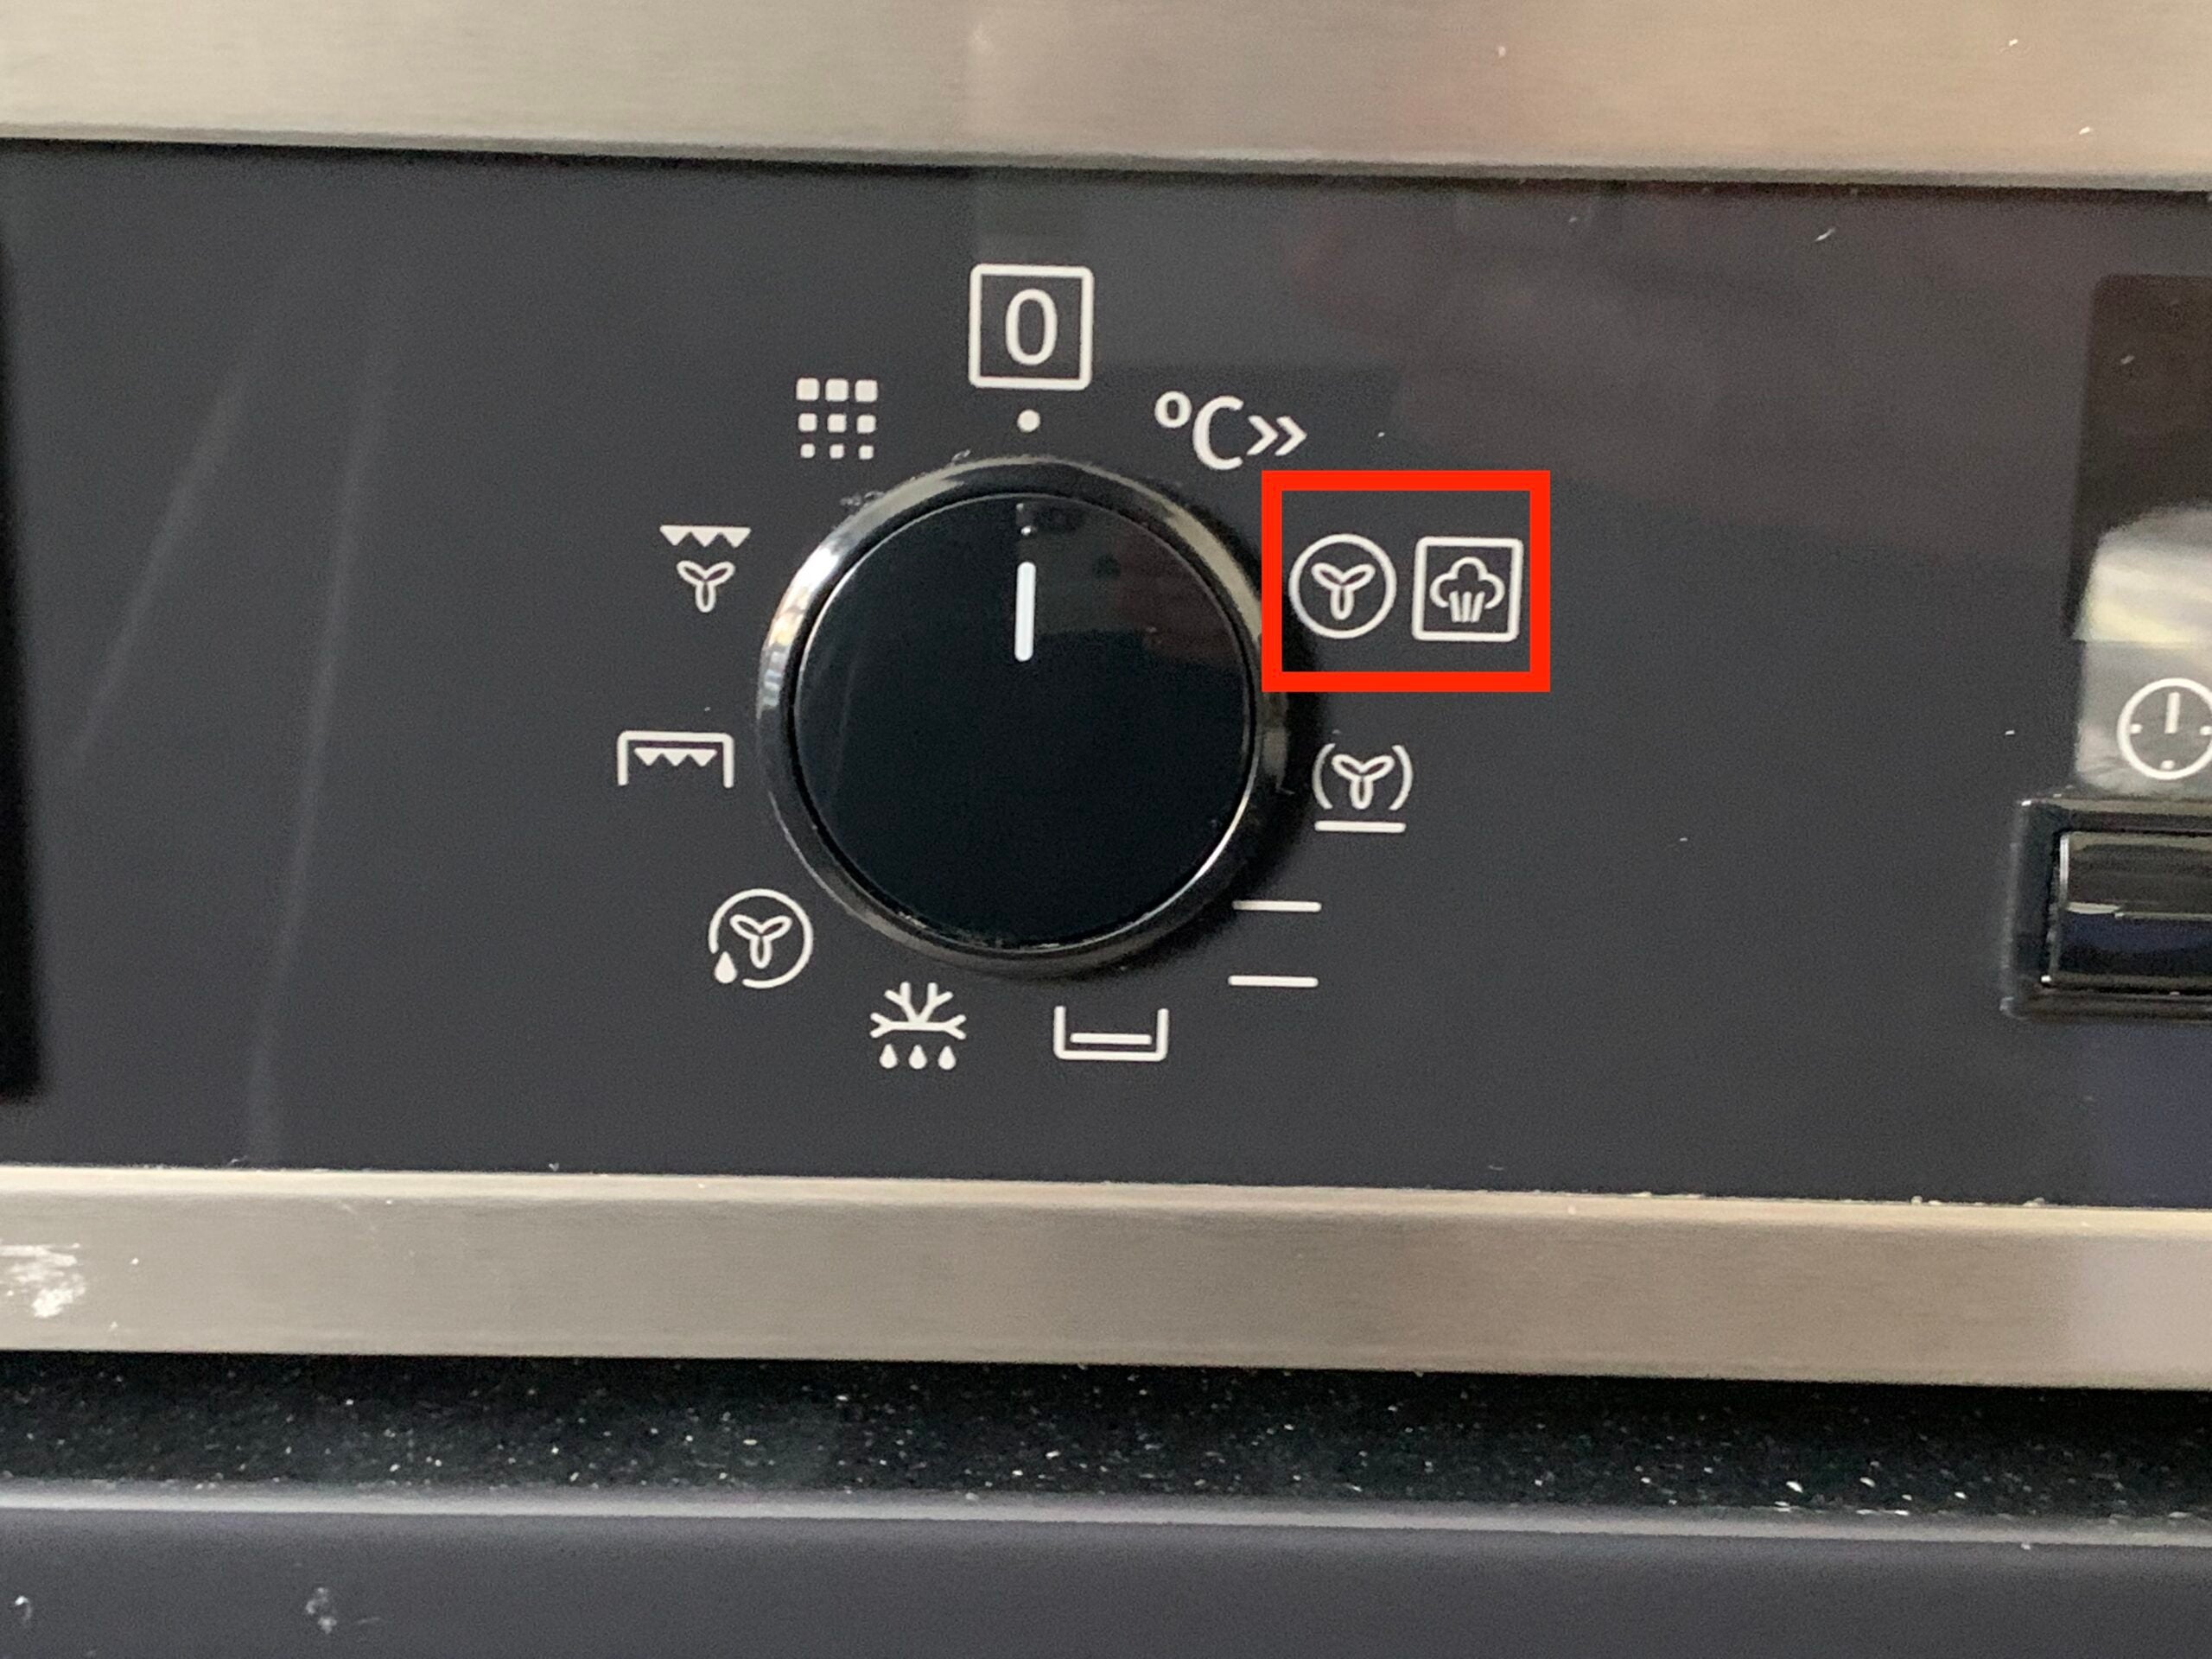
If your oven is one with a fan and its own heating element, it’ll have this icon or one that’s similar: most often it’s a fan inside a circle. This means that the element at the back of the oven will heat up and the fan will circulate the heat, spreading it evenly inside the cavity. Fanned heat ensures that you won’t get any cooler or hotter spots, meaning that whether you place a dish at the top or bottom, front or back, the results should be fairly consistent. Because of this, you can lower the oven temperature by 20C compared to the recommended top and bottom heat temperature.
This even heat is good for most types of cooking and means that you won’t have to keep moving trays around to get the best results for different dishes. Foods that need a good distribution of heat suit fanned cooking, such as roast meats and chunky vegetables, as well as those that benefit from its crisping effect – think pasta bake, pastry and lasagna. You should also be able to cook different types of dishes at the same time without being concerned about flavour transfer.
Fanned heat cooks faster than conventional heat – reducing cooking times and potentially your energy bills – but it’s not foolproof. Overfill your oven and air can struggle to circulate properly, leading to unevenly cooked food. The constant airflow of the fan can also dry some food out, so keep an eye on cakes and bread. If they look like they’re starting to dry, switch to the top and bottom heat, nudge the heat up, and pop them in the middle of the oven.Step
2Top and bottom heat (conventional)
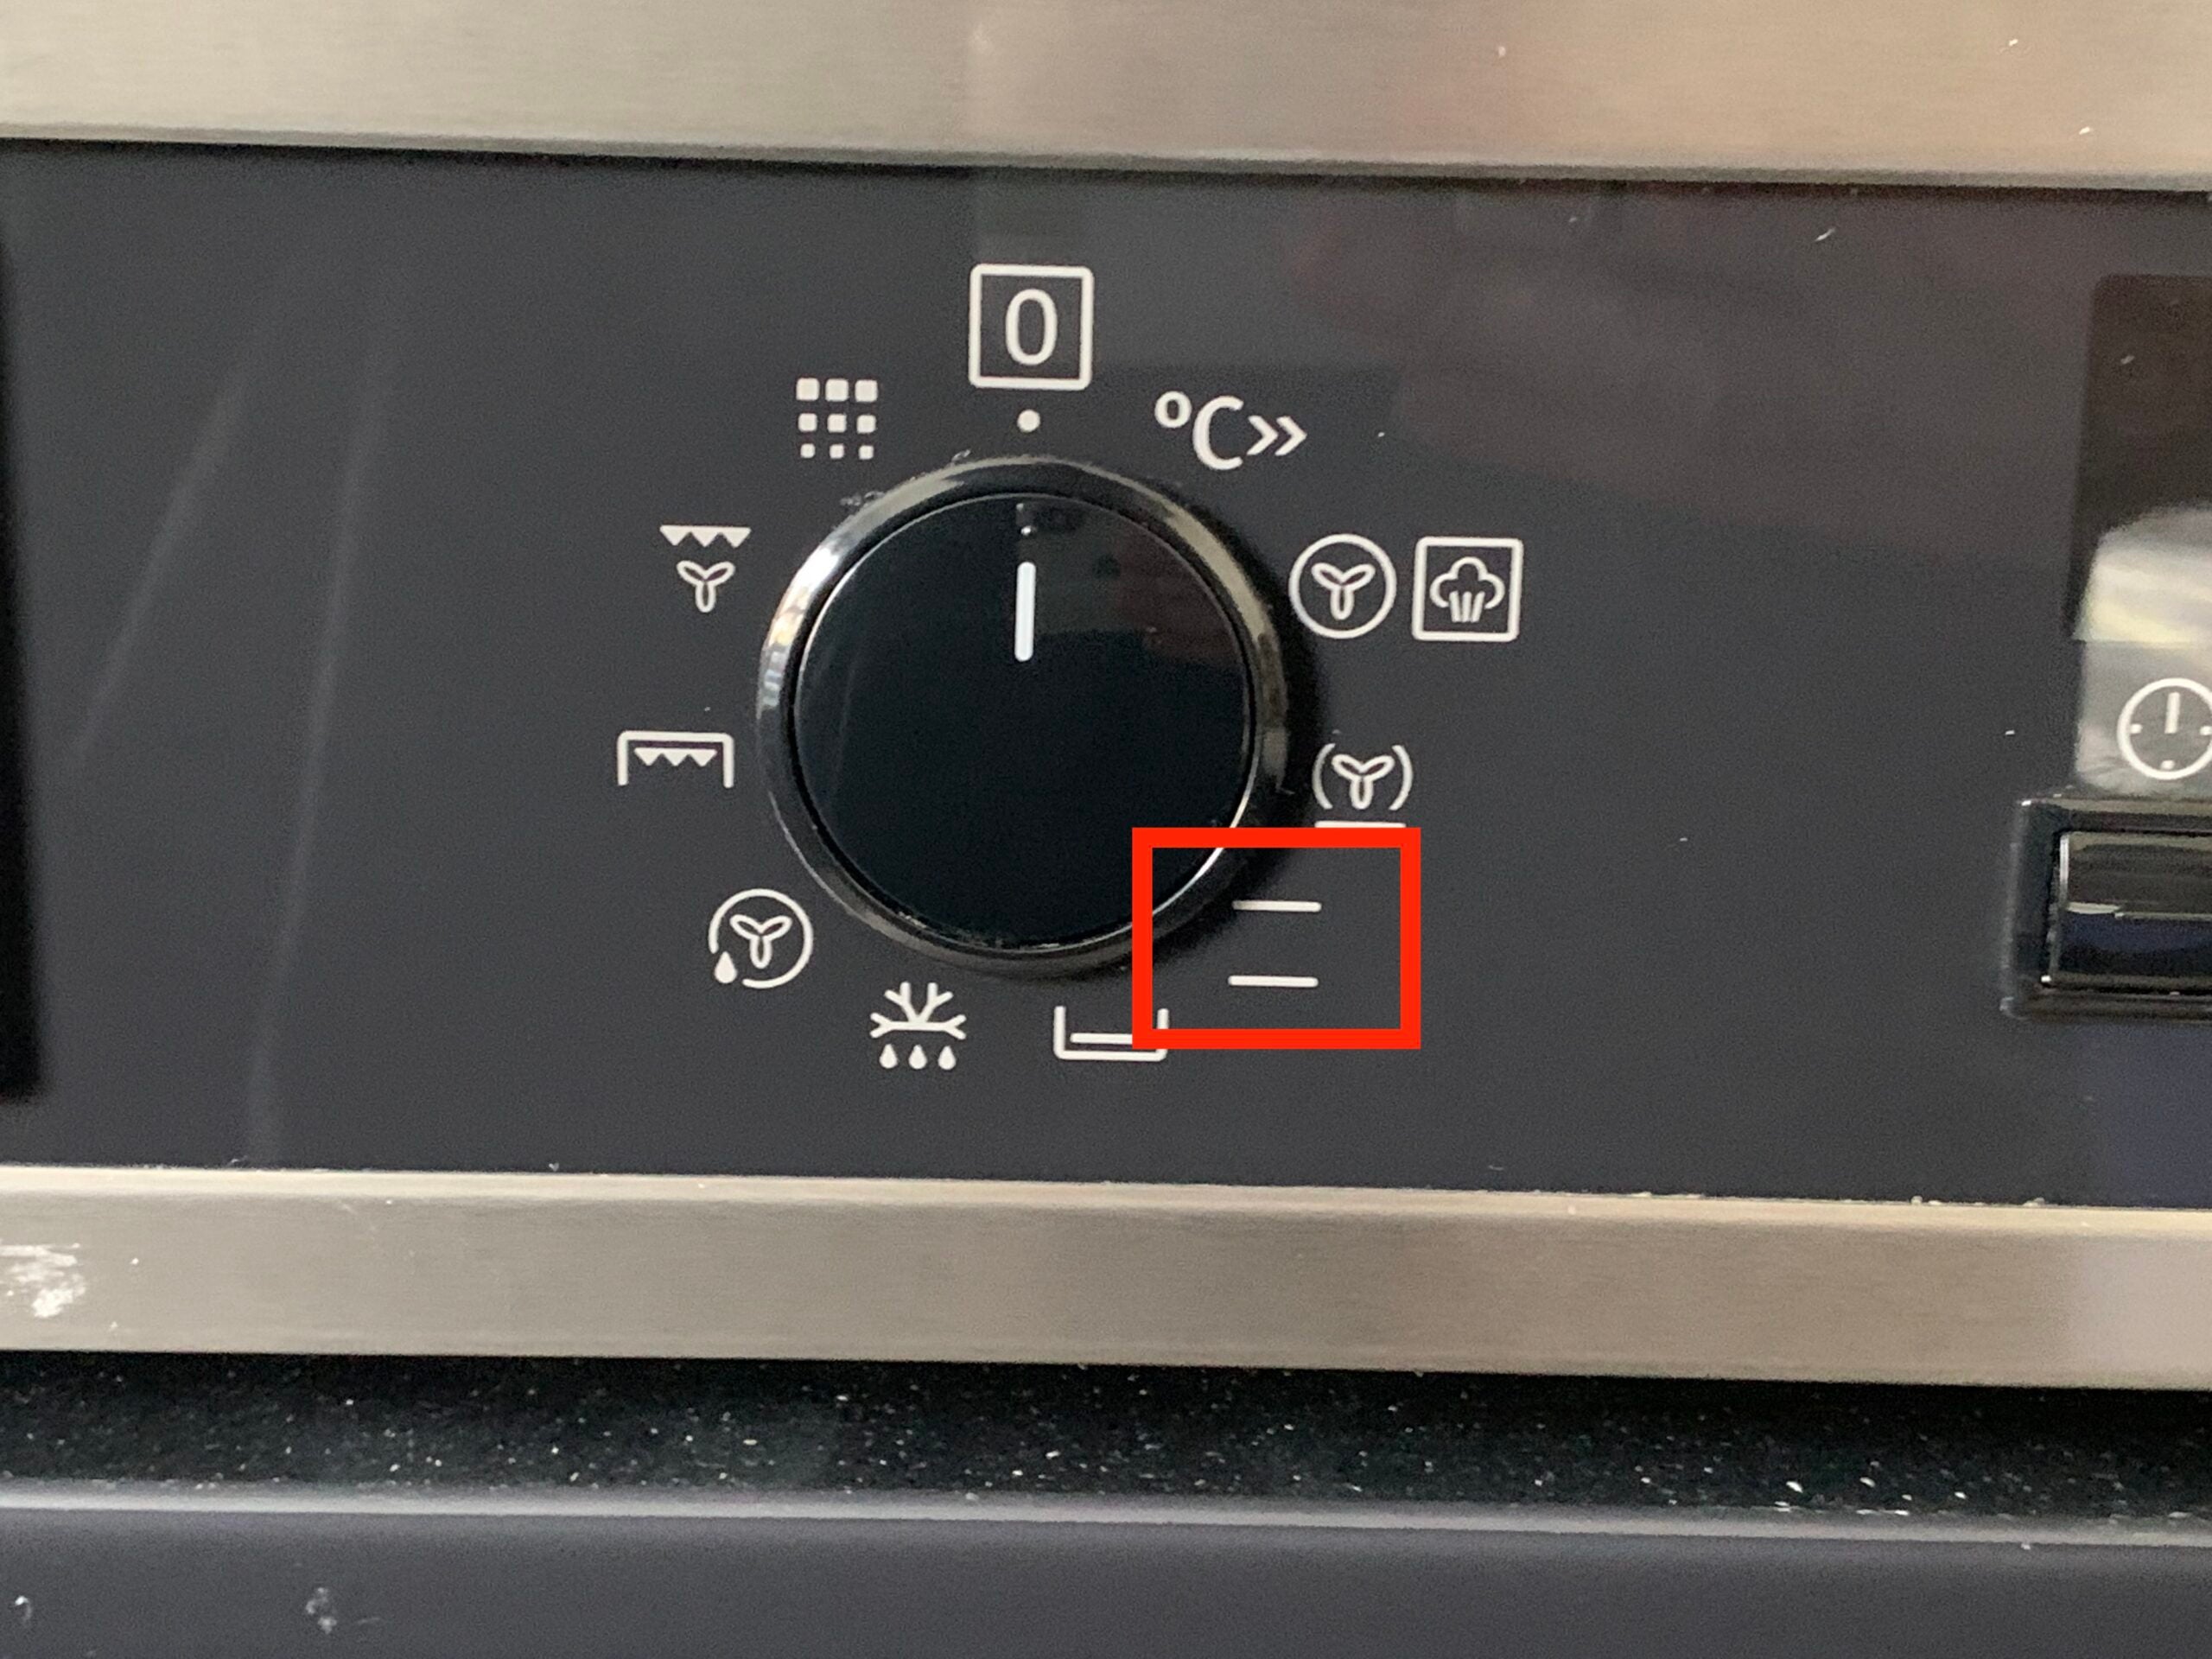
With the option of fast, even fanned cooking on offer, you might wonder why ovens still come with top and bottom heat. The answer lies in the potentially drying effects of the fan. As mentioned above, cakes and bakes can suffer by losing moisture as they cook.
The conventional oven setting is shown by two lines that refer to where the elements are – one at the top, one at the bottom – and works without a fan circulating the heat. Instead, the heat spreads by natural convection, making it suitable for baked goods that are prone to drying out, such as biscuits, scones, pastries and fruit cake. It can also be used for roasting meat. As the heat isn’t fanned around the cavity, it’s best to stick to single-shelf cooking.Step
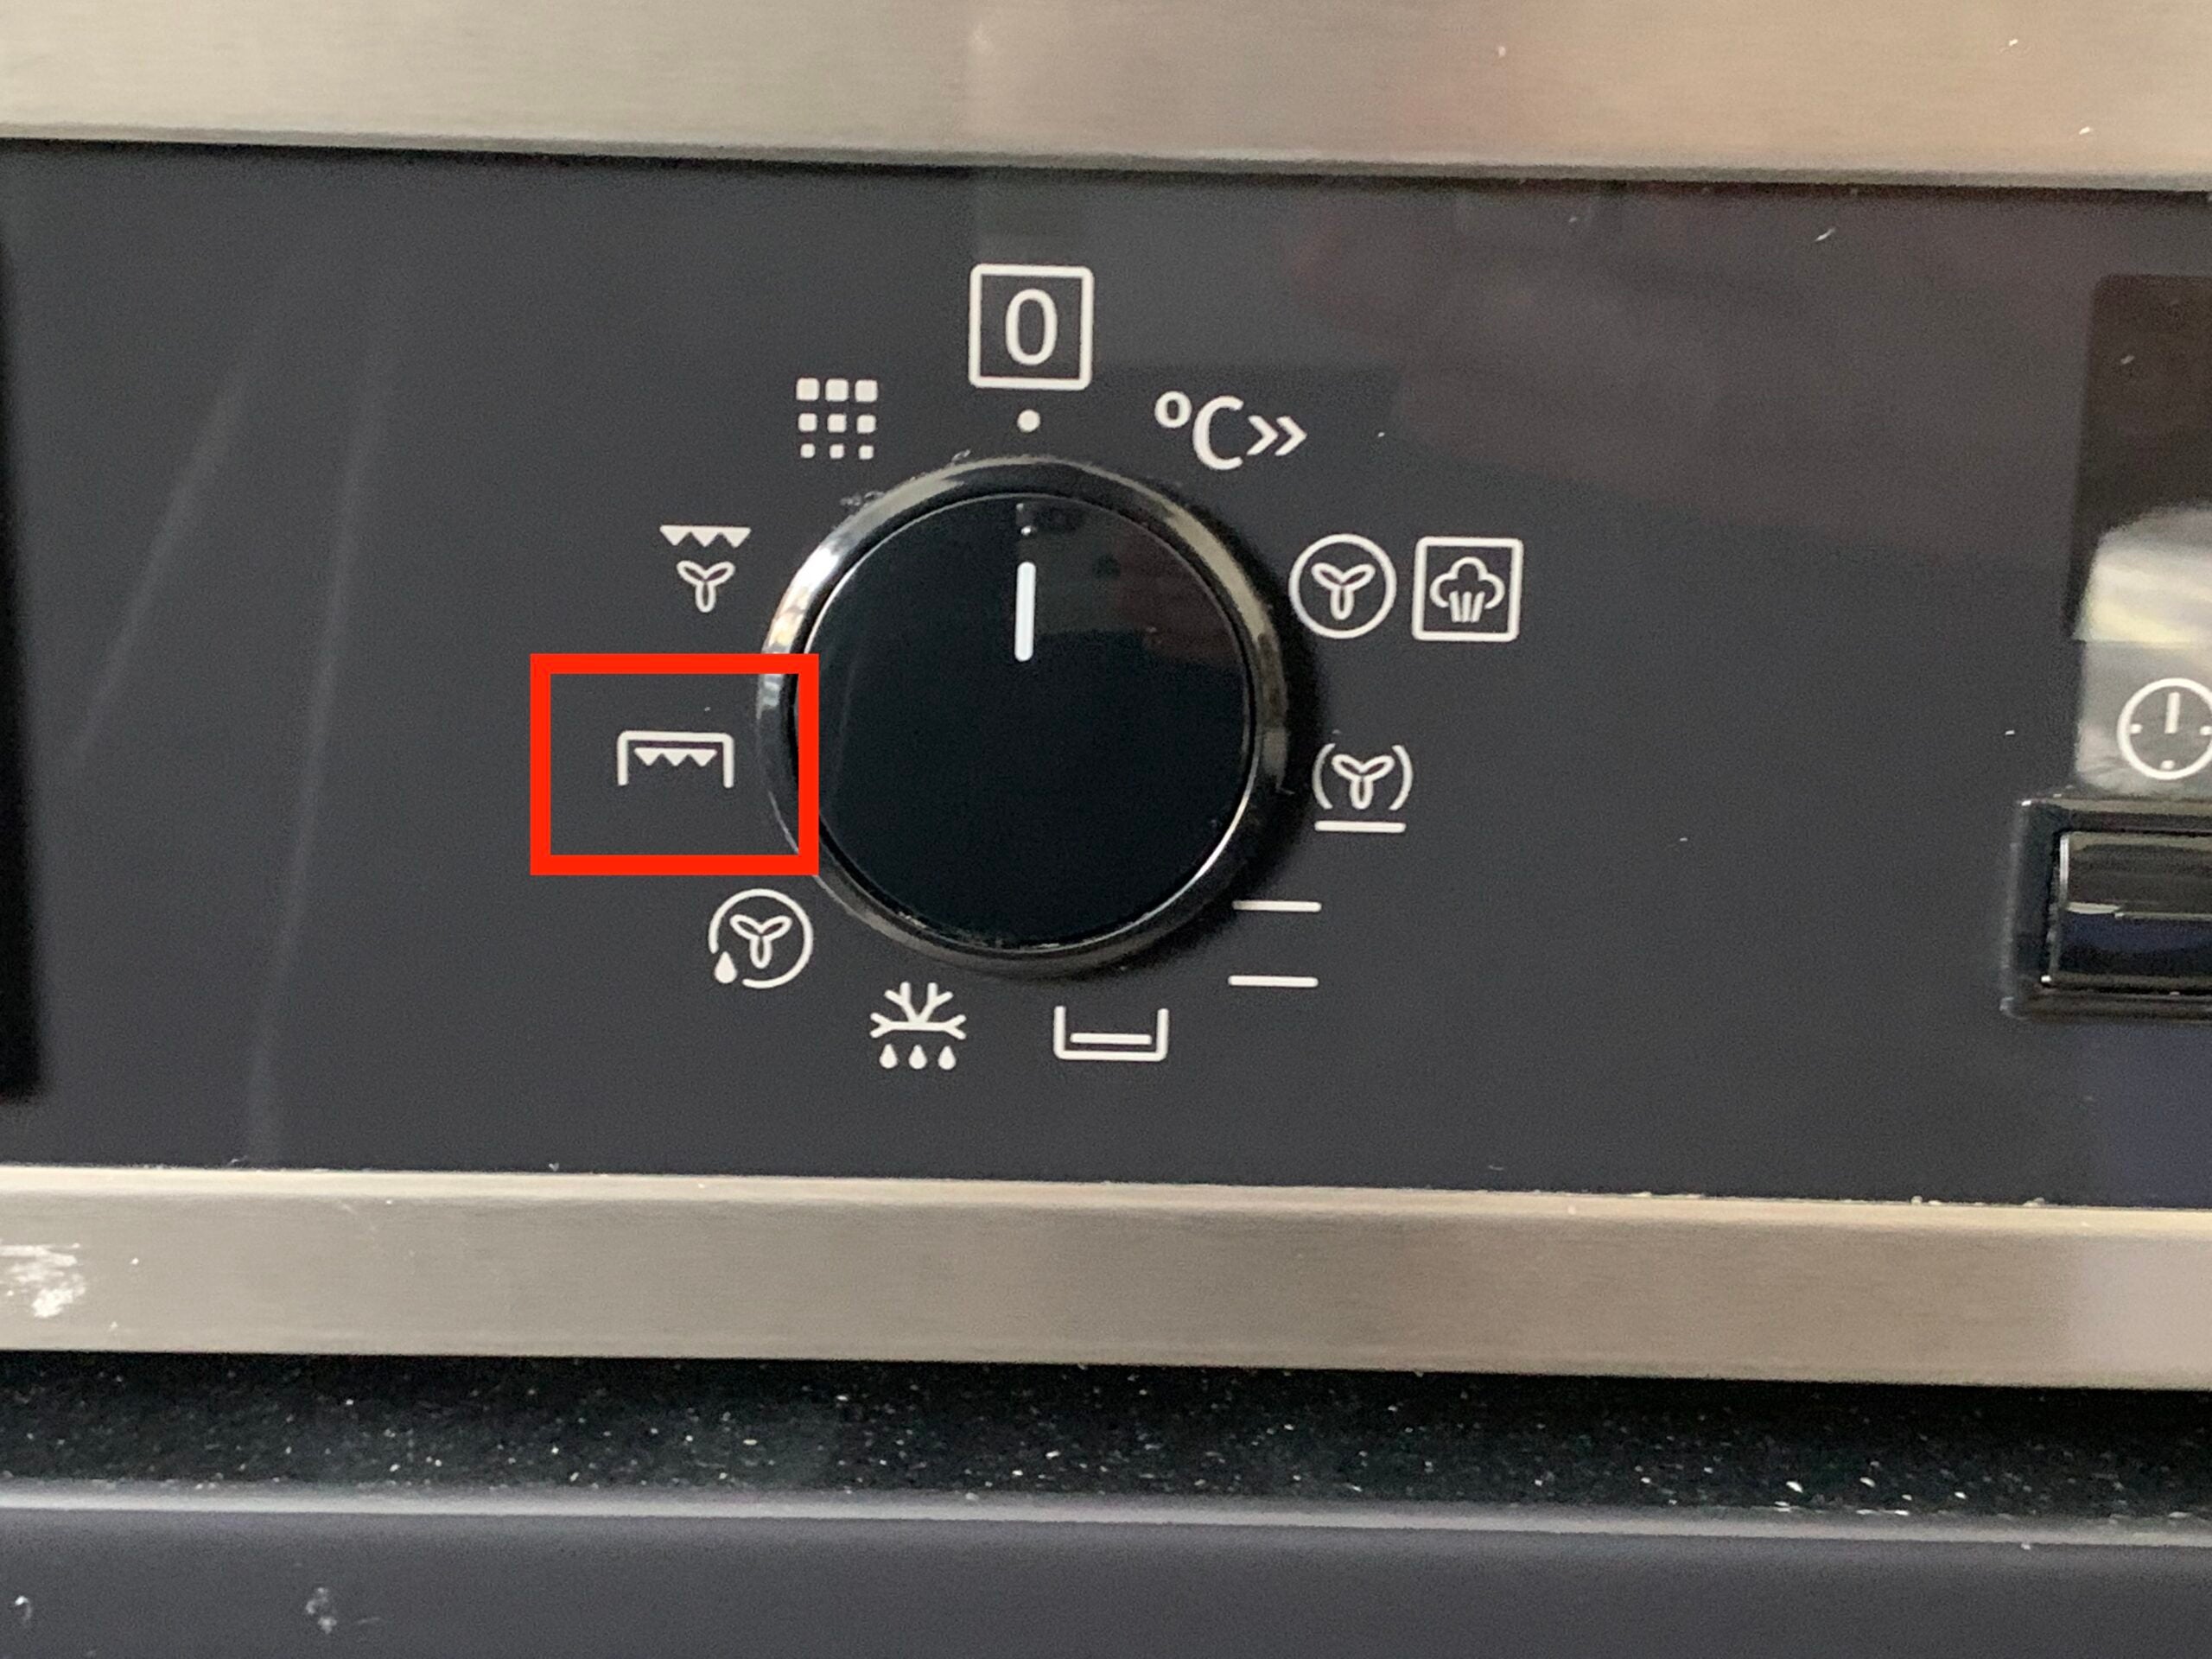
3Bottom heat only
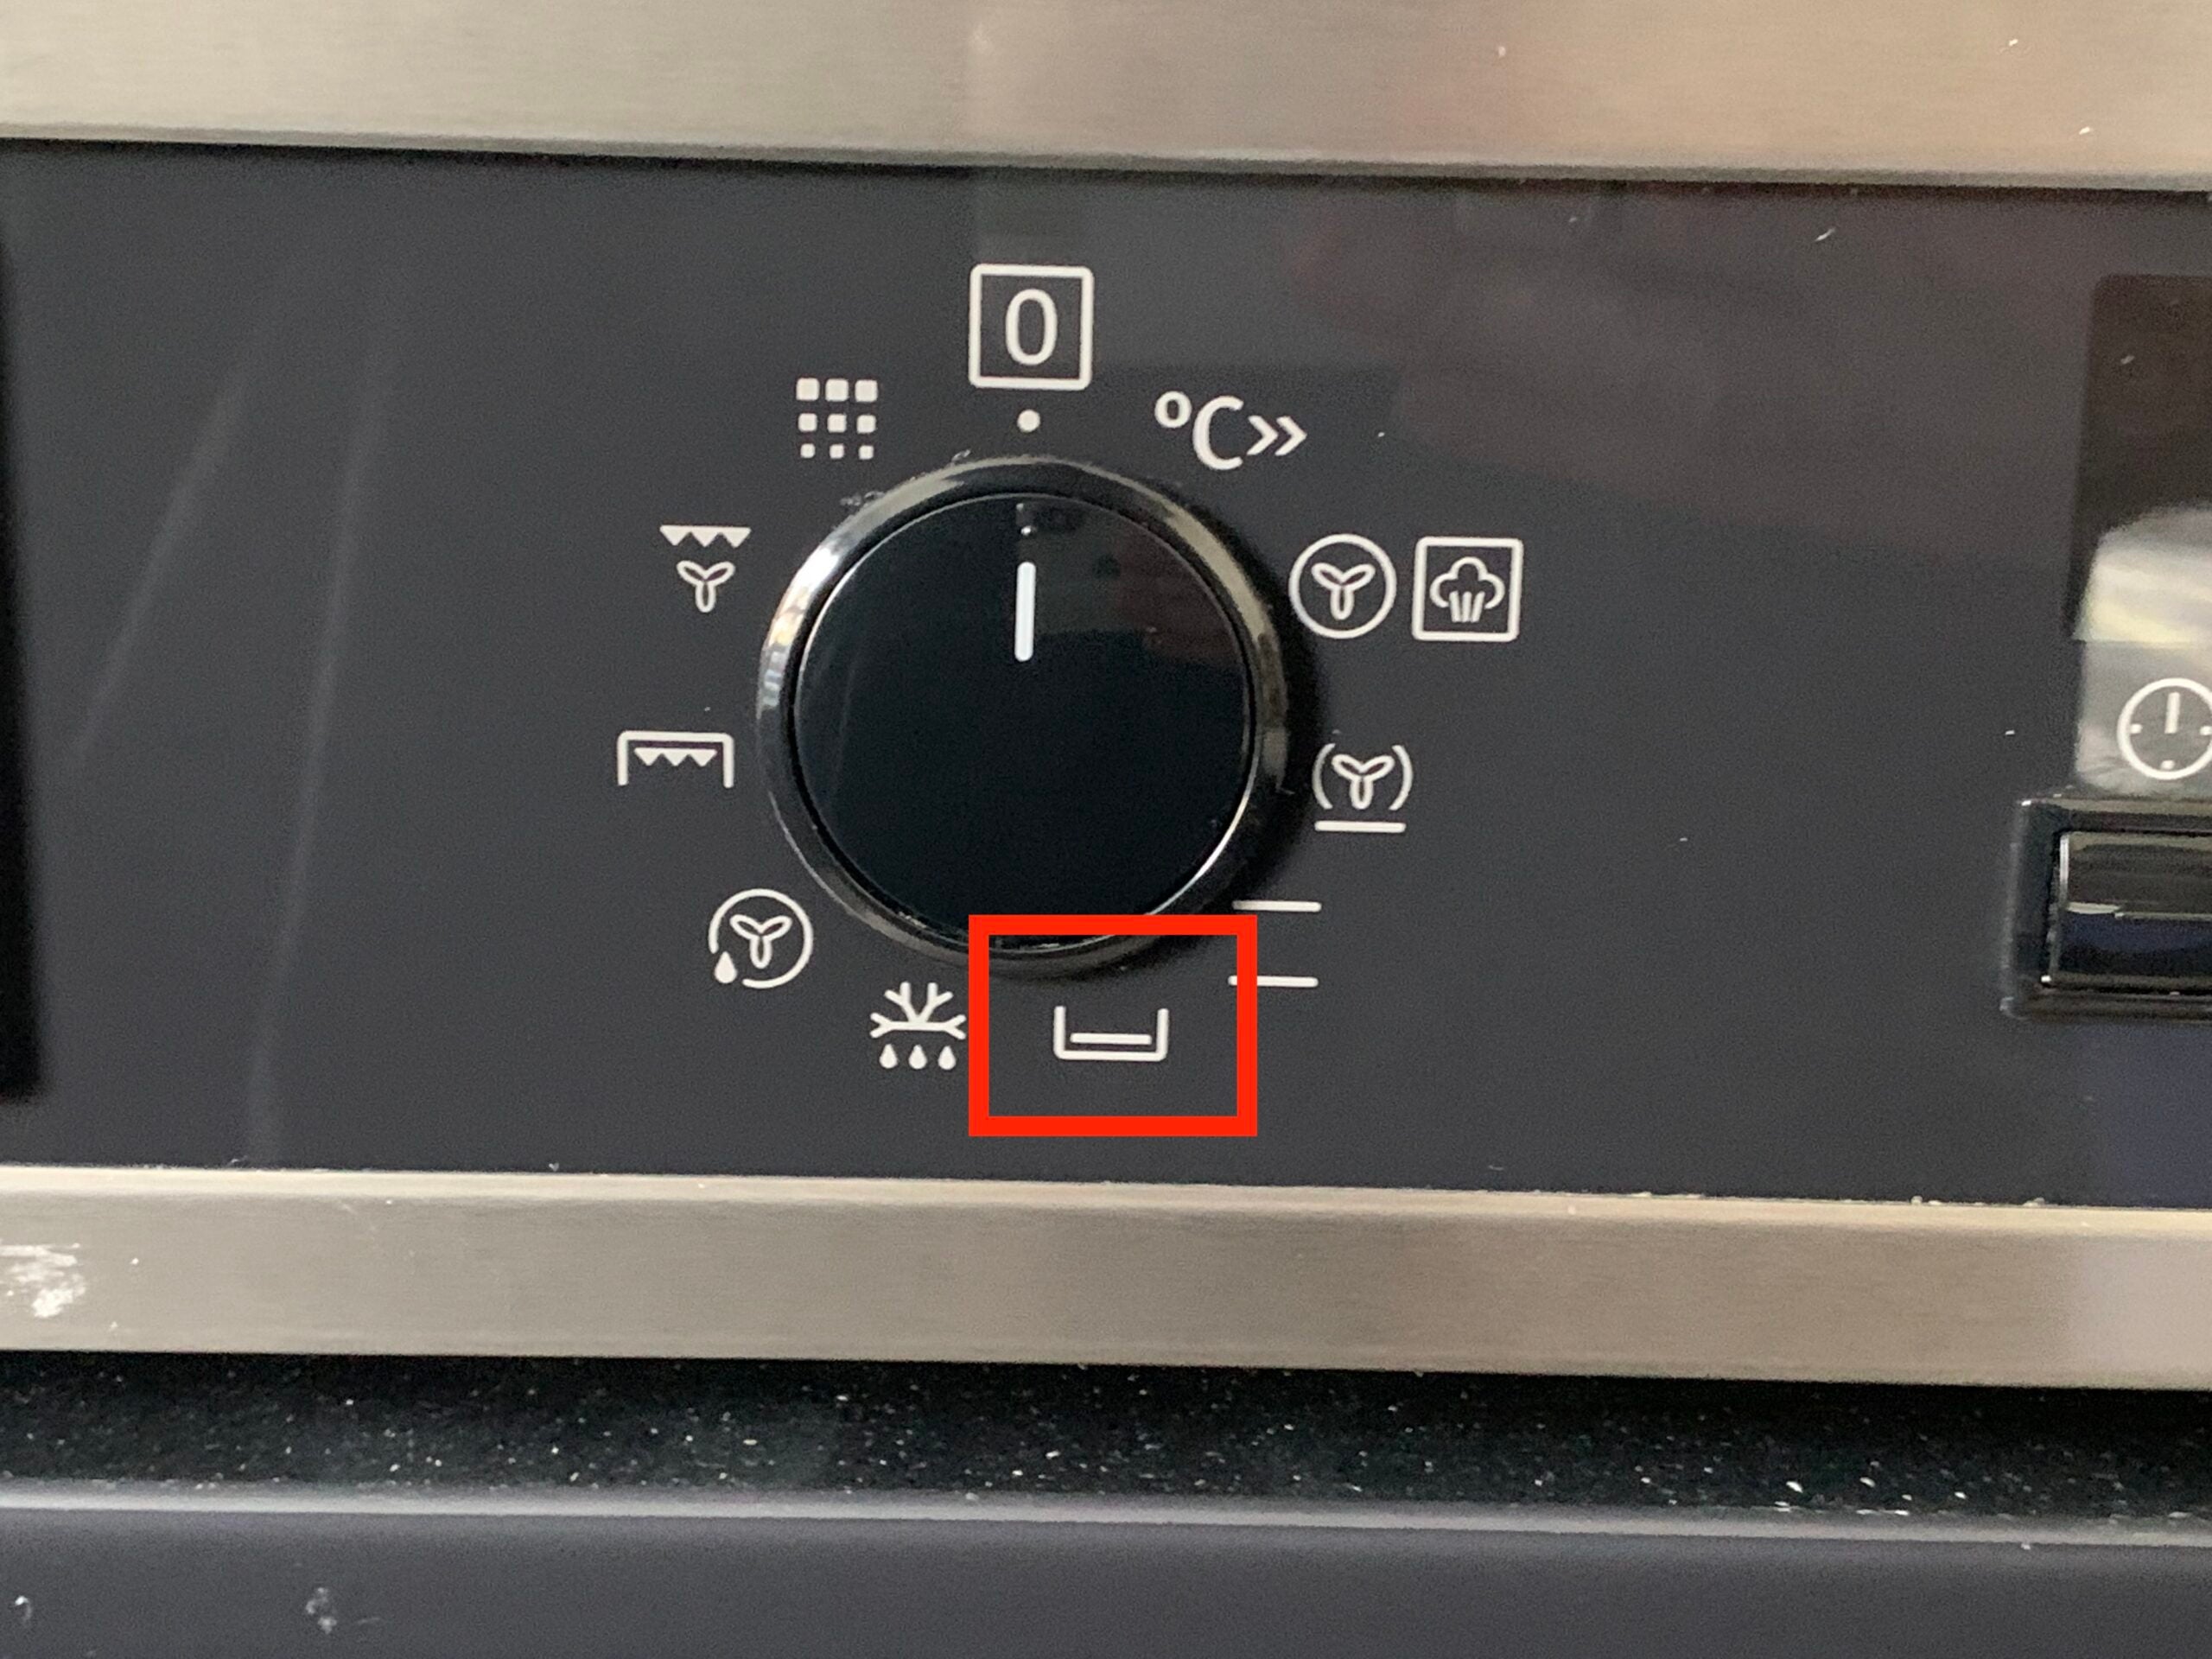
Got a casserole or a stew? This is the setting to choose. It’s represented by a single line at the bottom of a box and refers to the oven using the bottom element only, without a fan. By using this element by itself, the oven fills with a gentle heat that’s great for slow cooking and mingling all of the flavours in your casserole. Bottom heat only lends itself well to crisping the base of a pizza or a pastry case or firming the bottom of a cake too. It can also double up for any function where you need gentle heat, such as reheating dishes.
Step
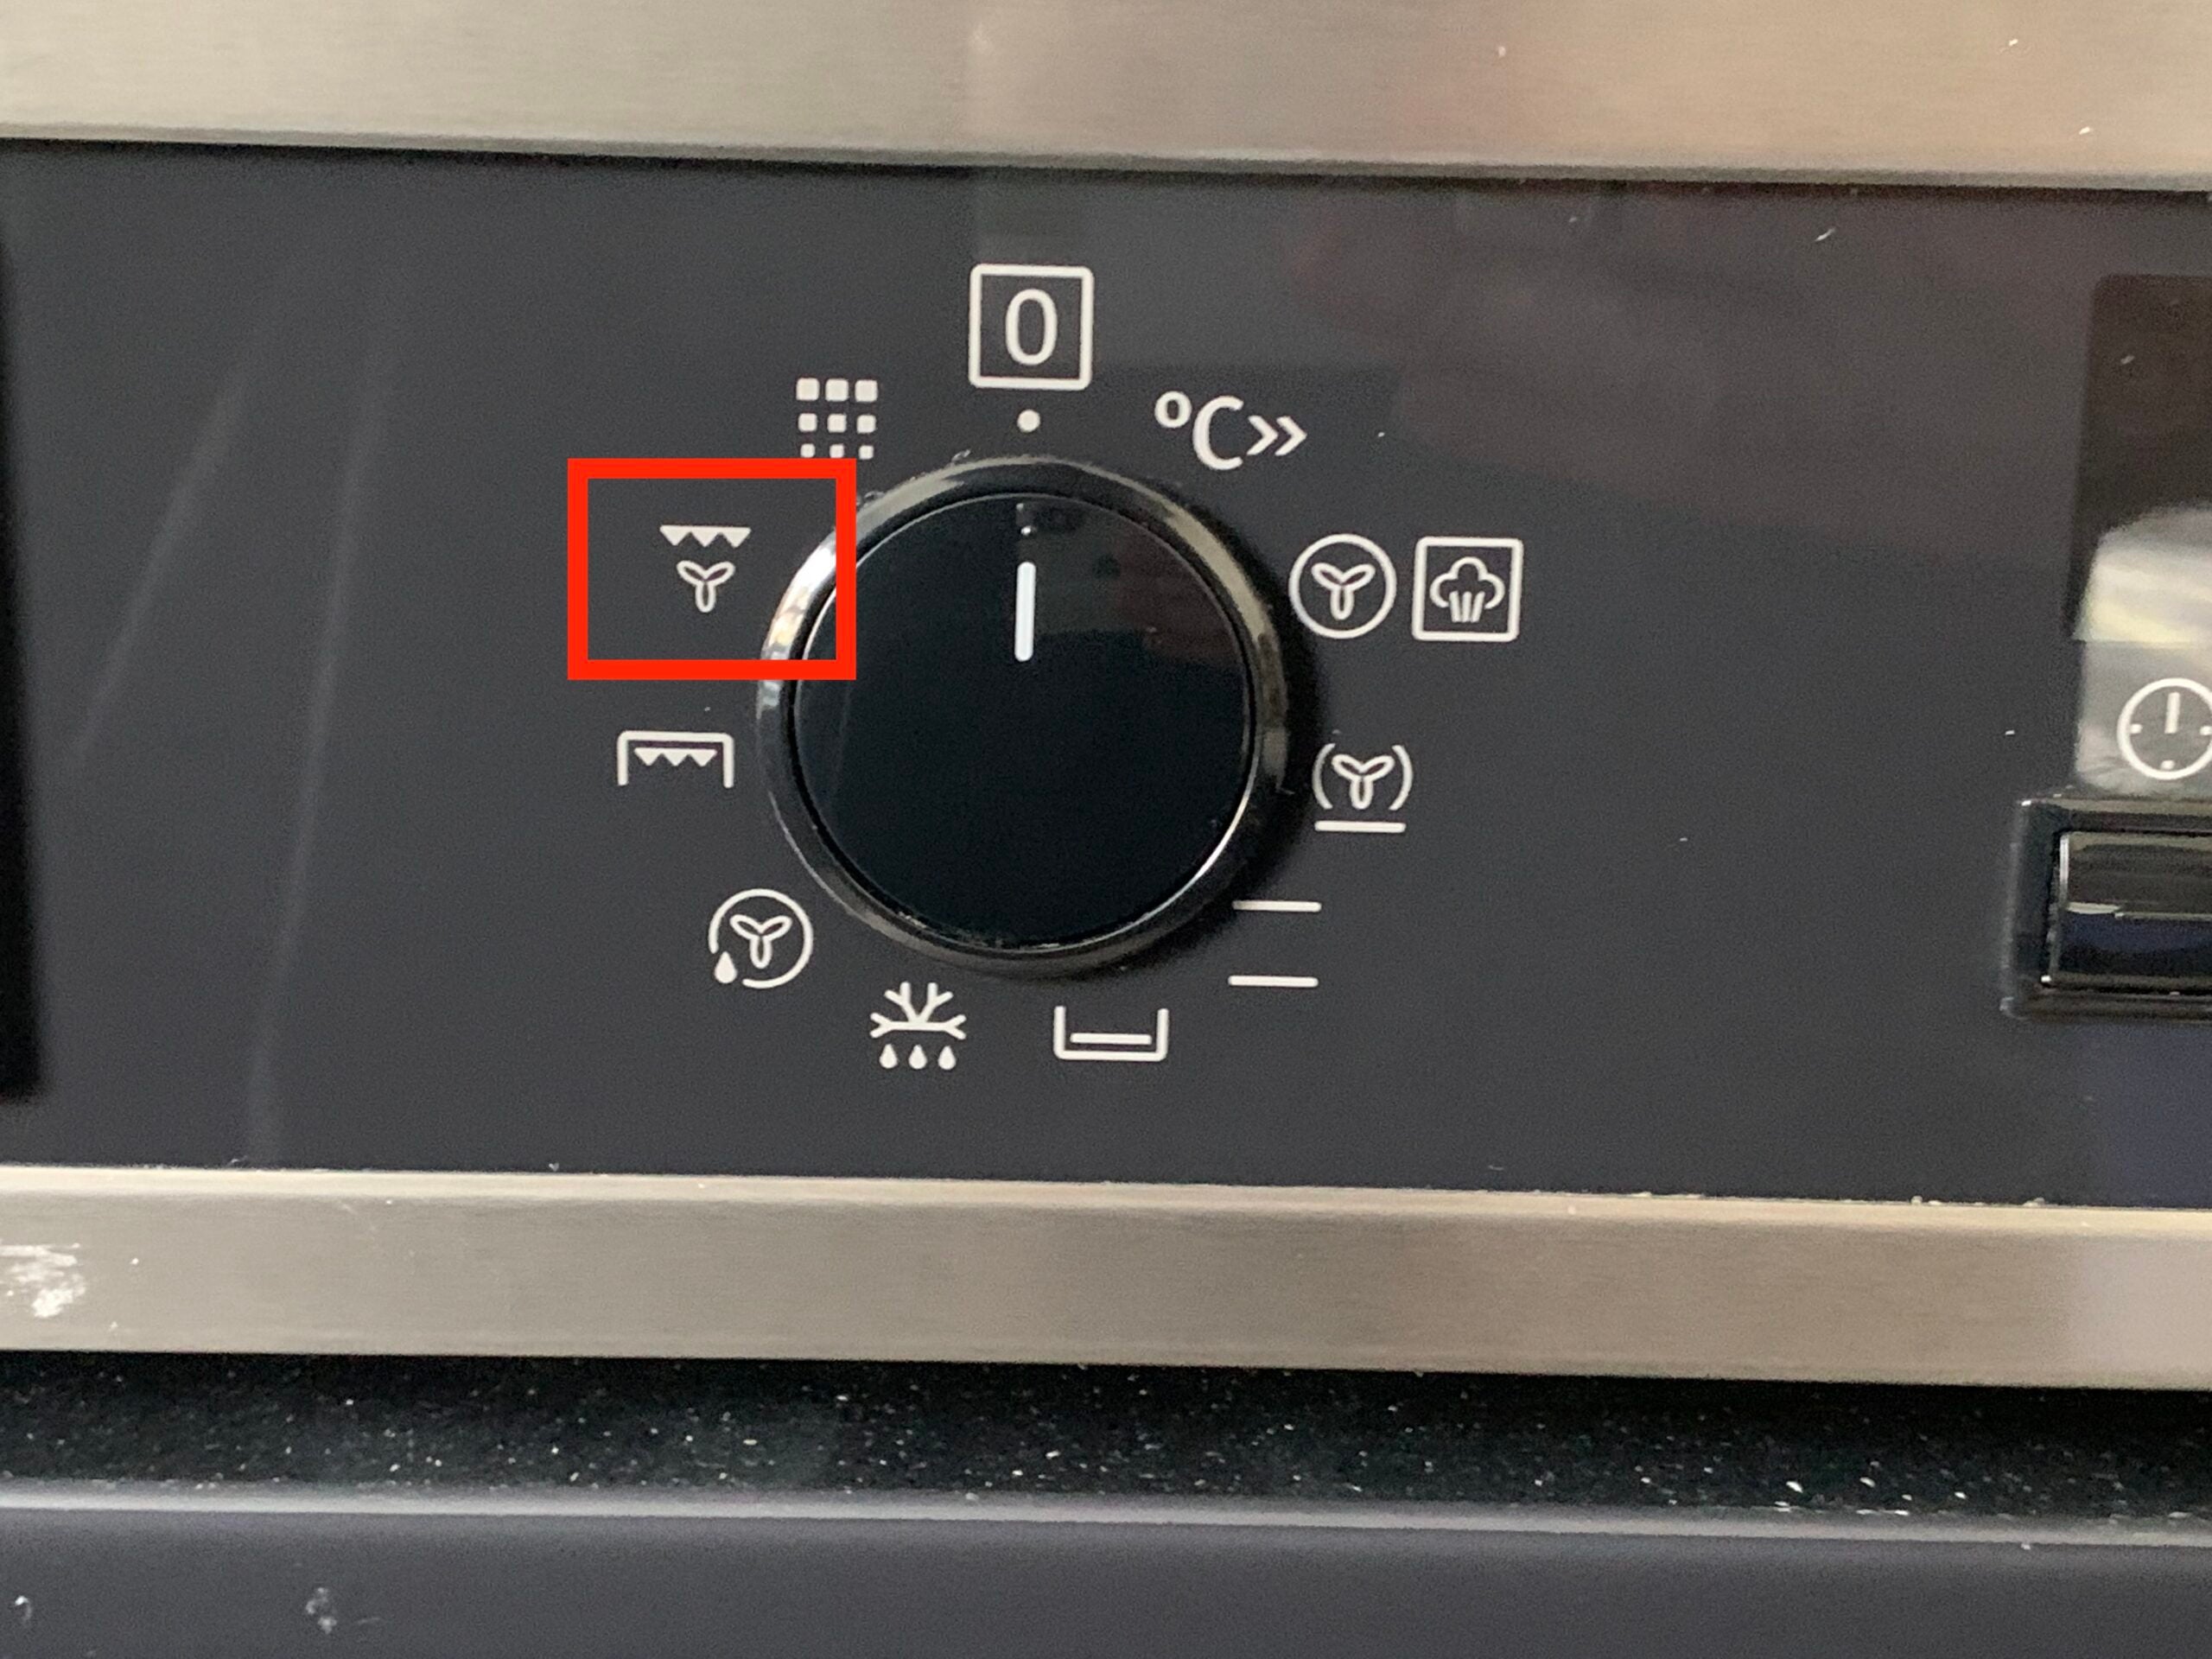
4Grill / part grill
Sausages, steaks, bacon, and anything you might cook on a barbecue, suits the grill setting – represented by a zigzag line or triangles. You may have the option of only using part of the grill, in which case a full grill is usually shown as a double zigzag and the part grill as a single zigzag. The grill is also a good choice for browning the top of lasagna, making speedy kebabs, browning meat or toasting bread – though be aware that the latter can burn easily, so choose a low setting.
Step
5Grill with bottom heat / Fan with bottom heat
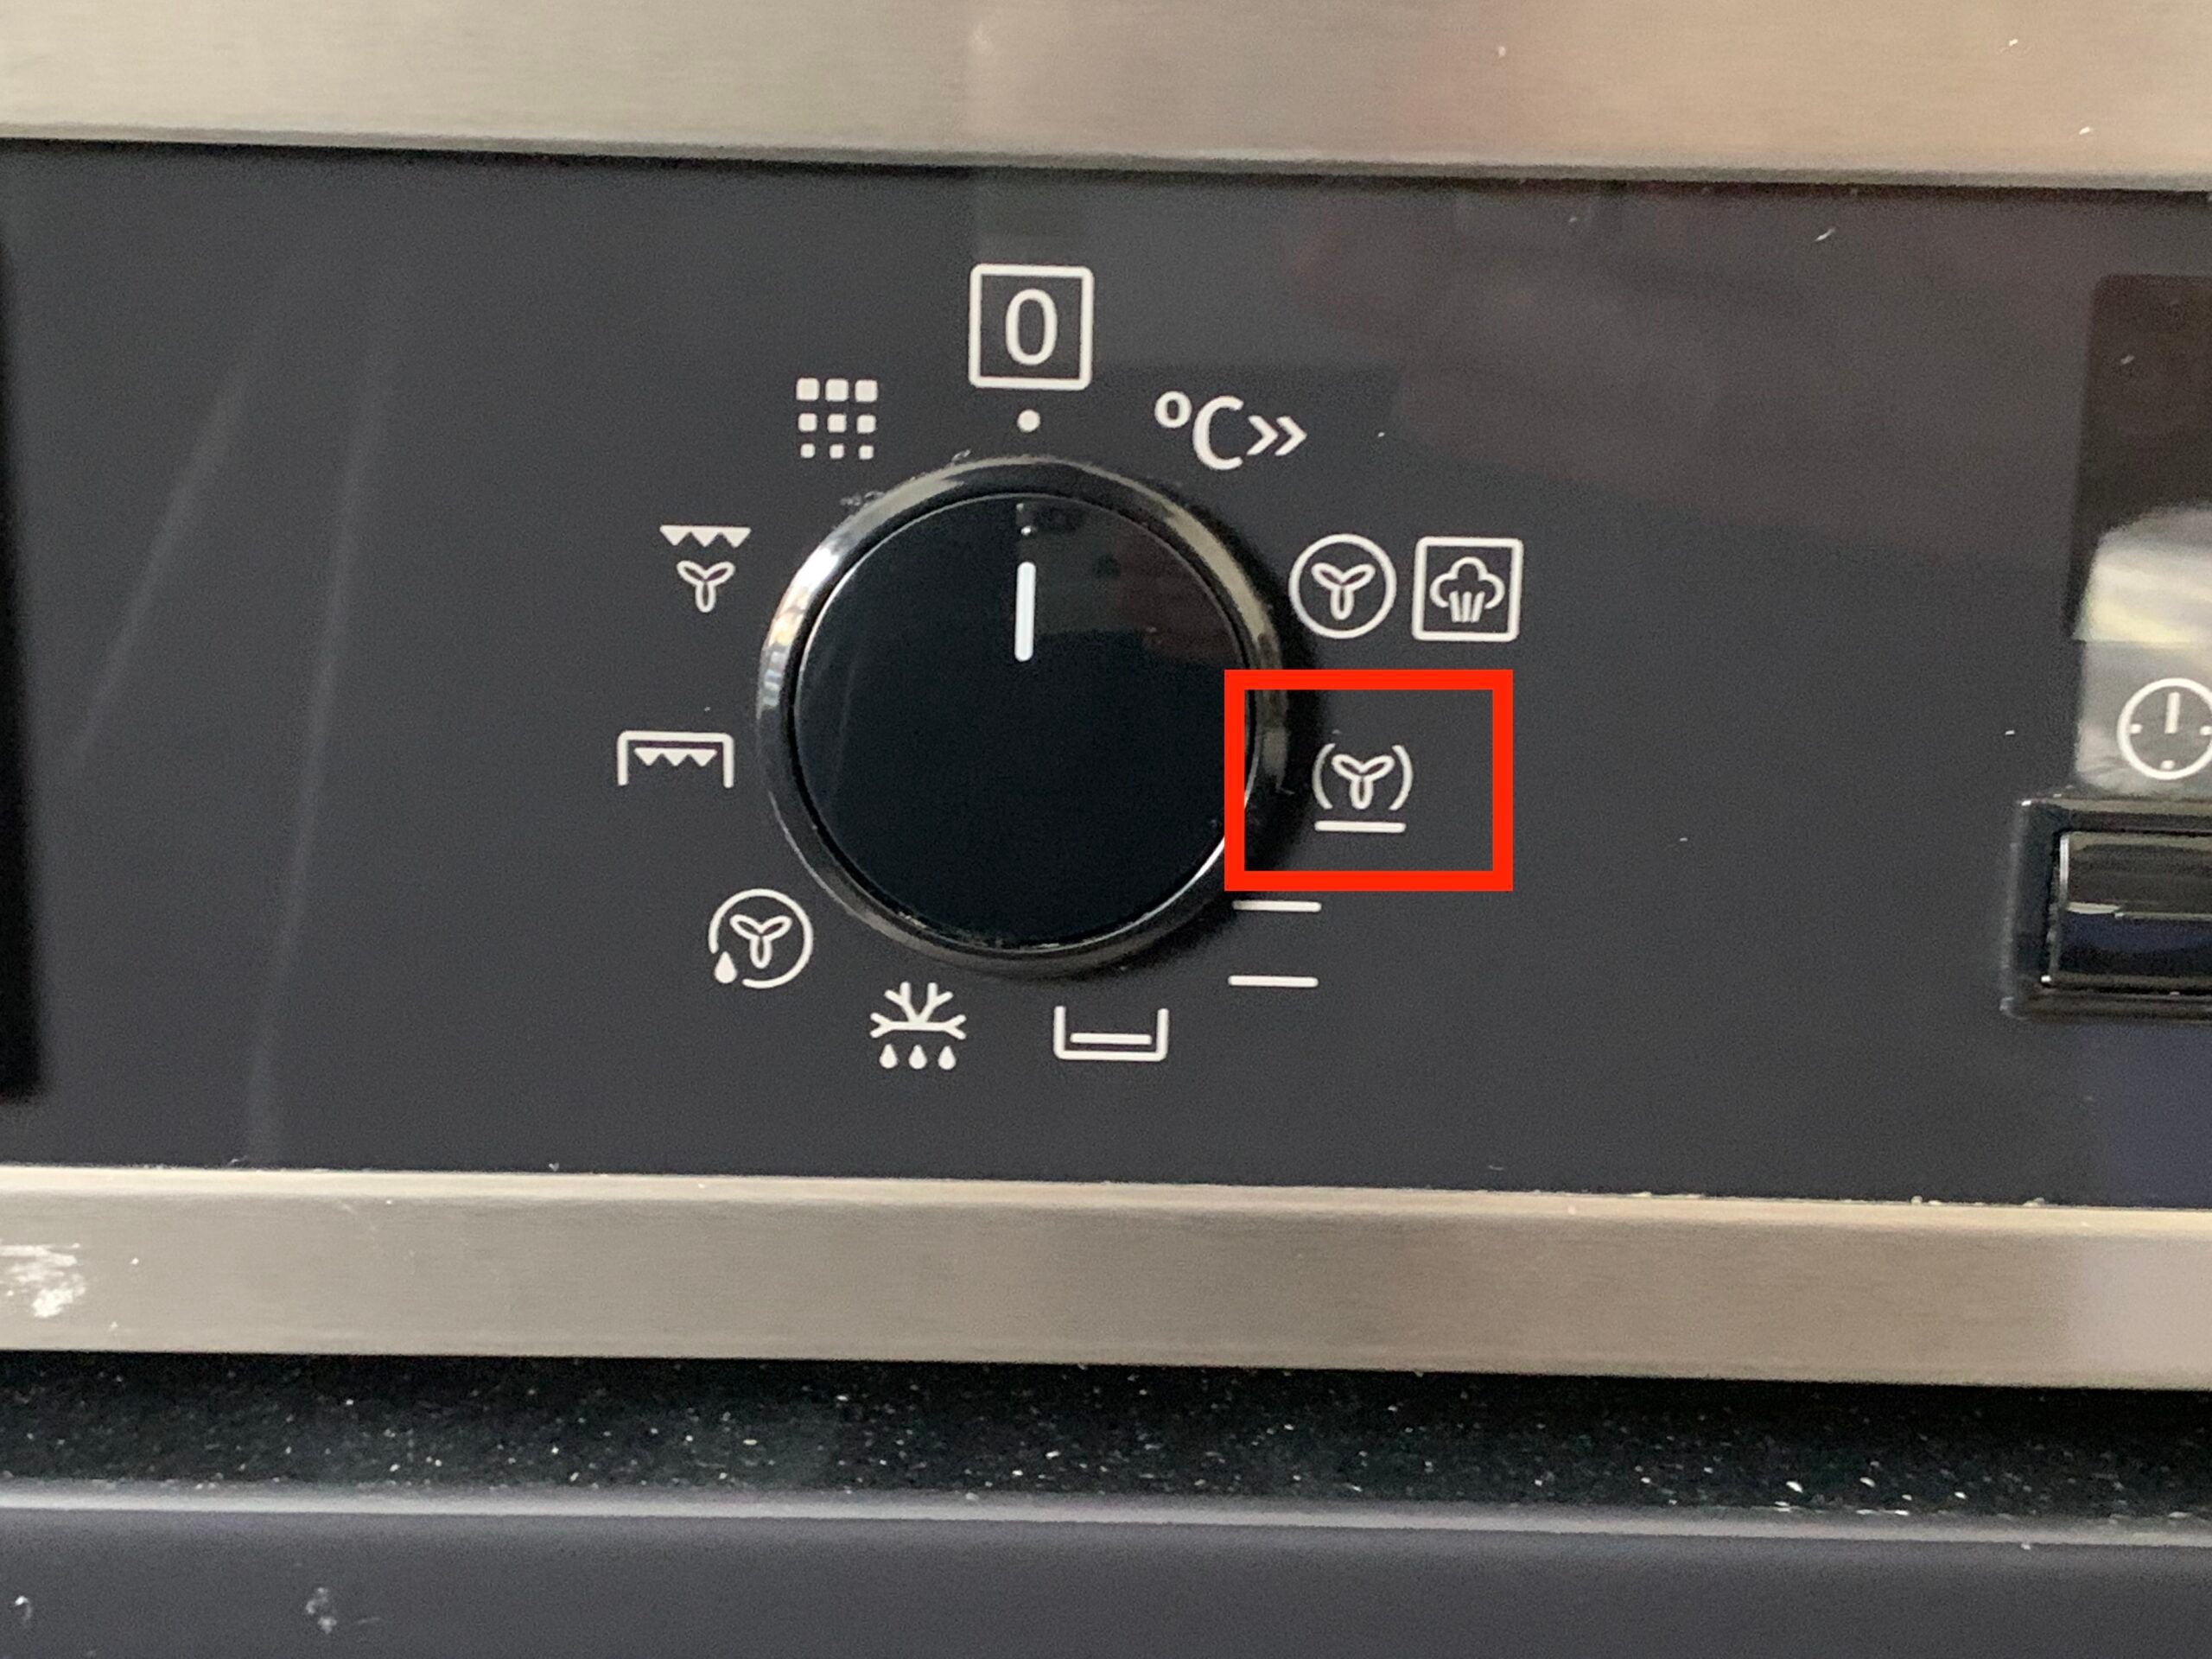
Depending on your oven model, you may have the option of combining functions. Grill with bottom heat, for example, unites gentle heat from below with direct heat on top – making it good for tarts, pizza or pies where the aim is a crispy base and a browned top. Fan with bottom heat offers a similar benefit, which is ideal for crispy pizza bases, quiches and pies without the blind baking.
Step
6Grill with fan
Adding the fan to the grill helps to spread out its fierce heat. This means it’s better at grilling large quantities of flat food, and provides a more even heat for toasting bread, so breakfast doesn’t get burnt as easily. It’s also handy for roasting without heating up the whole oven, meaning you can use it for cooking thicker pieces of fish or meat. The fanned heat shouldn’t burn the top or dry out the food like the grill might when used alone.
Step
7Defrost
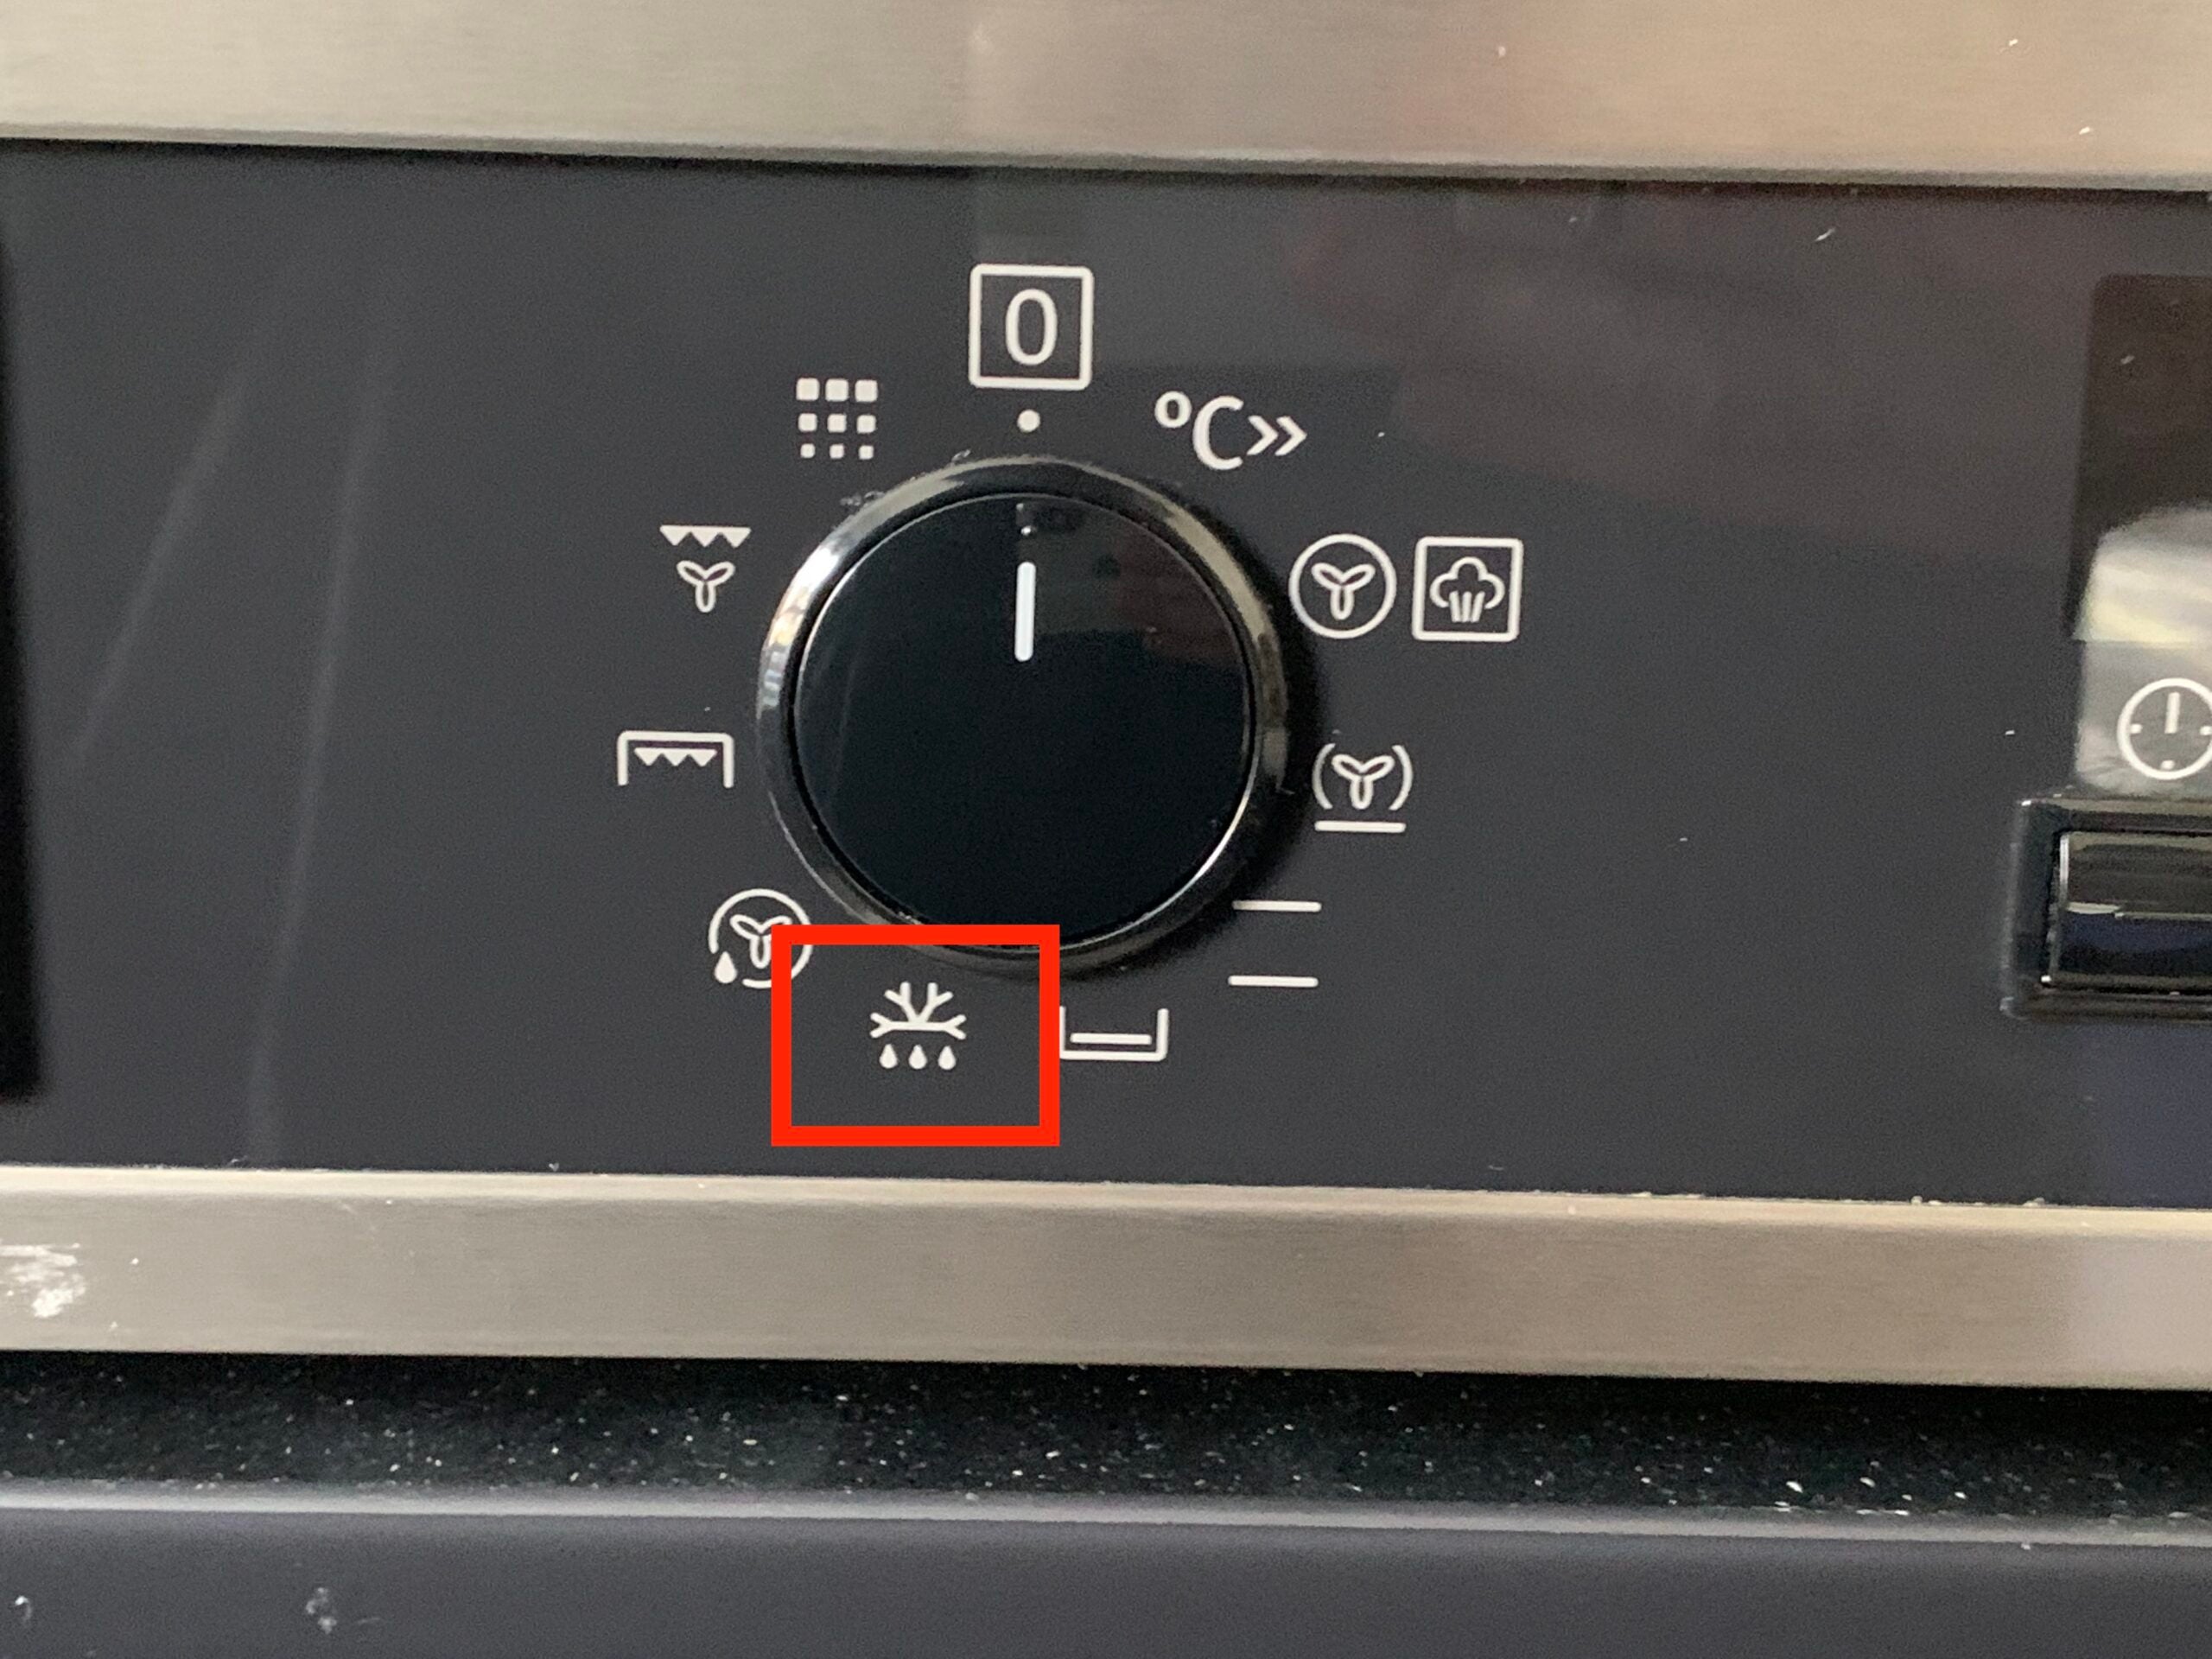
A no-heat setting that’s shown by a snowflake and droplet, the defrost setting uses the fan by itself. Rather than just leaving the food on the worktop, circulating air around it helps to reduce the defrosting time. It’s ideal for foods where the defrost setting on a microwave could start to cook, such as frozen cakes, fish and poultry, as well as when you’re in a rush to defrost dinner.
You might like…
FAQs
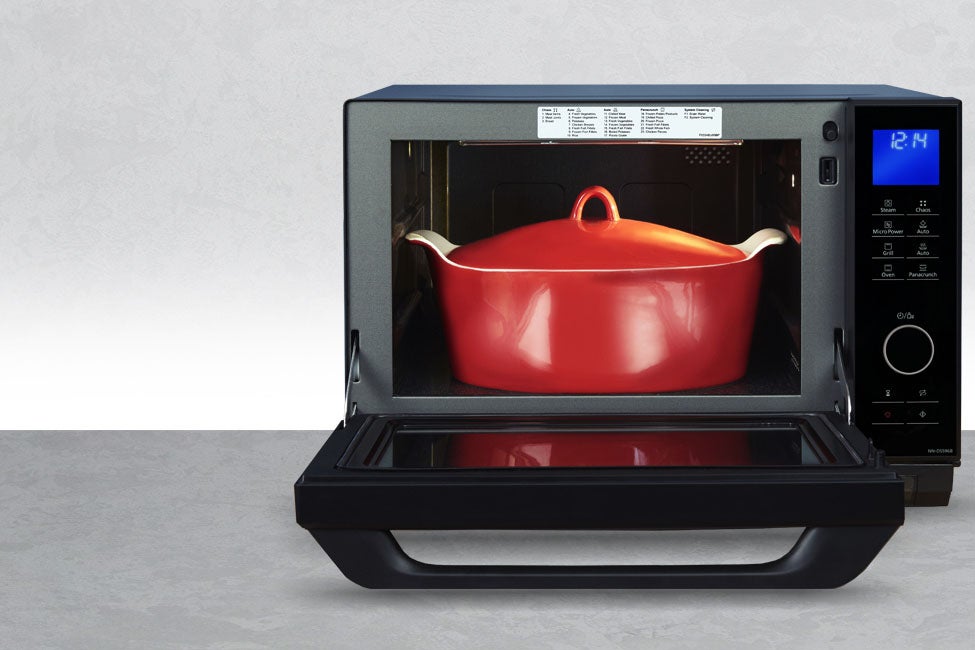
If your microwave can act as a conventional oven, then you’ll find many of the same modes on it.

Editorial independence
Editorial independence means being able to give an unbiased verdict about a product or company, with the avoidance of conflicts of interest. To ensure this is possible, every member of the editorial staff follows a clear code of conduct.
Professional conduct
We also expect our journalists to follow clear ethical standards in their work. Our staff members must strive for honesty and accuracy in everything they do. We follow the IPSO Editors’ code of practice to underpin these standards.