How to update the software on a Garmin watch
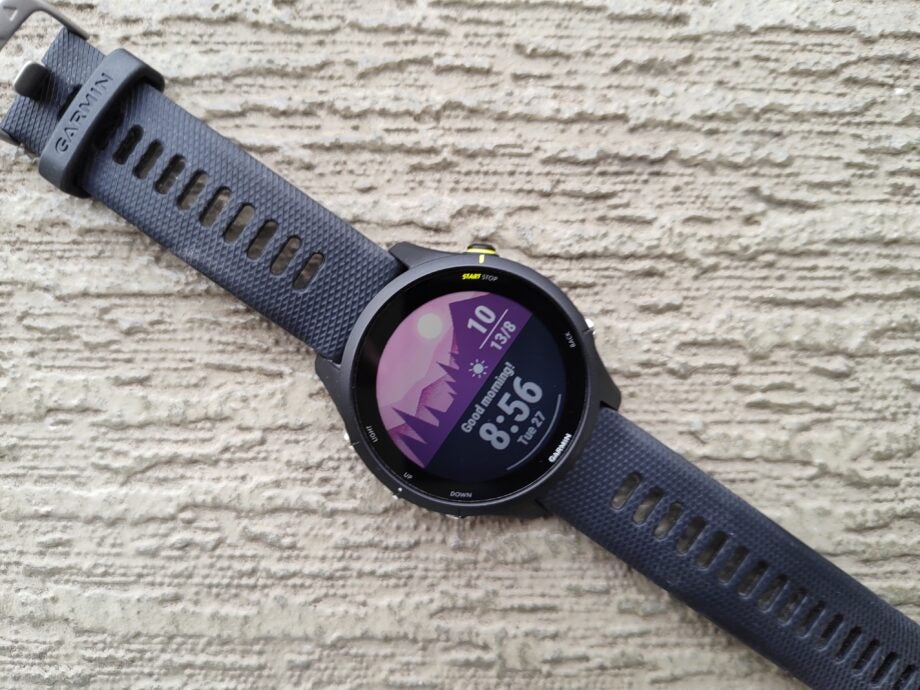
If you want to make sure that your Garmin watch is running the latest software version, then just follow the easy steps of this guide.
Regardless of the devices you happen to be using, it’s often good practice to make sure that they’re running the latest software, as this may give you access to new features, improve security, or fix bothersome bugs.
Software updates are automatically rolled out to Garmin watches by default, but this guide will help you check that yours is receiving the automatic updates as it should.
What you’ll need:
- We used a Garmin Forerunner 255; other Garmin watches should follow a similar process to check for auto updates
The Short Version
- Open Settings
- Scroll down to System
- Select Software Update
- Make sure that Auto Update is set to On
Step
1Open Settings
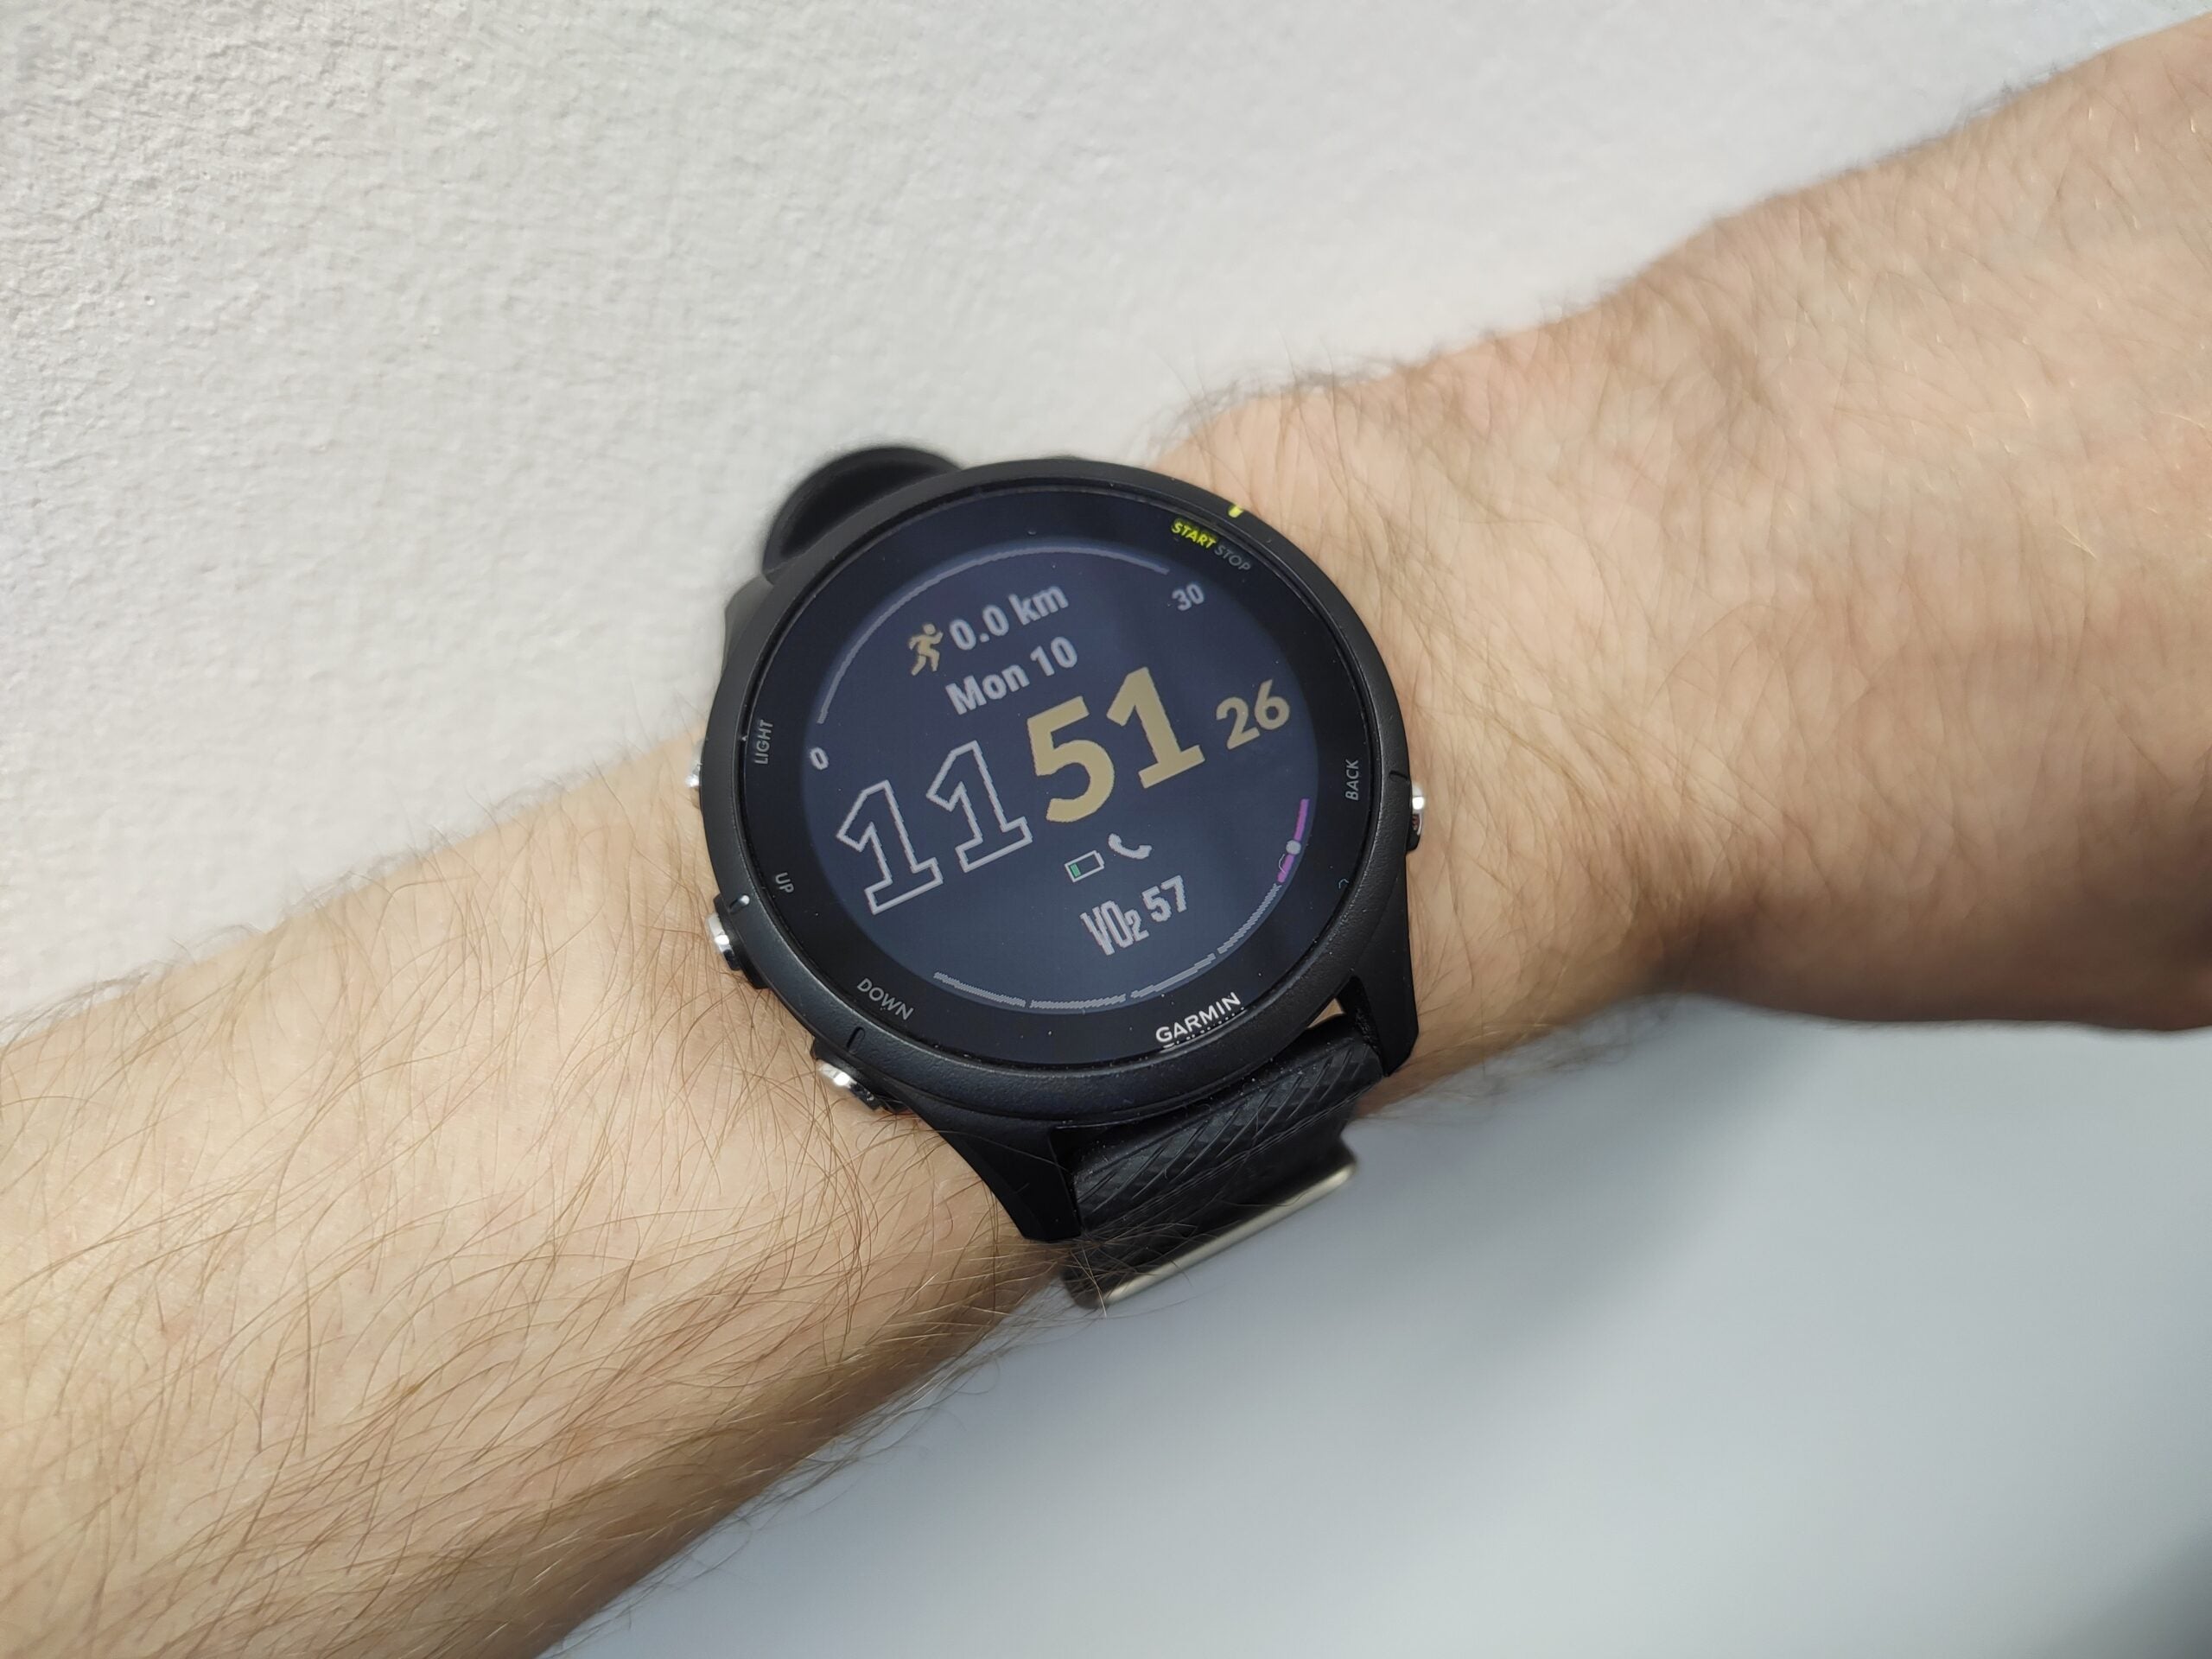
First of all, you’ll need to delve into the watch’s Settings menu. On the Forerunner 255 you can do this by long-pressing on the Up button from the home screen, but this method may differ depending on your Garmin watch.

Step
2Scroll down to System
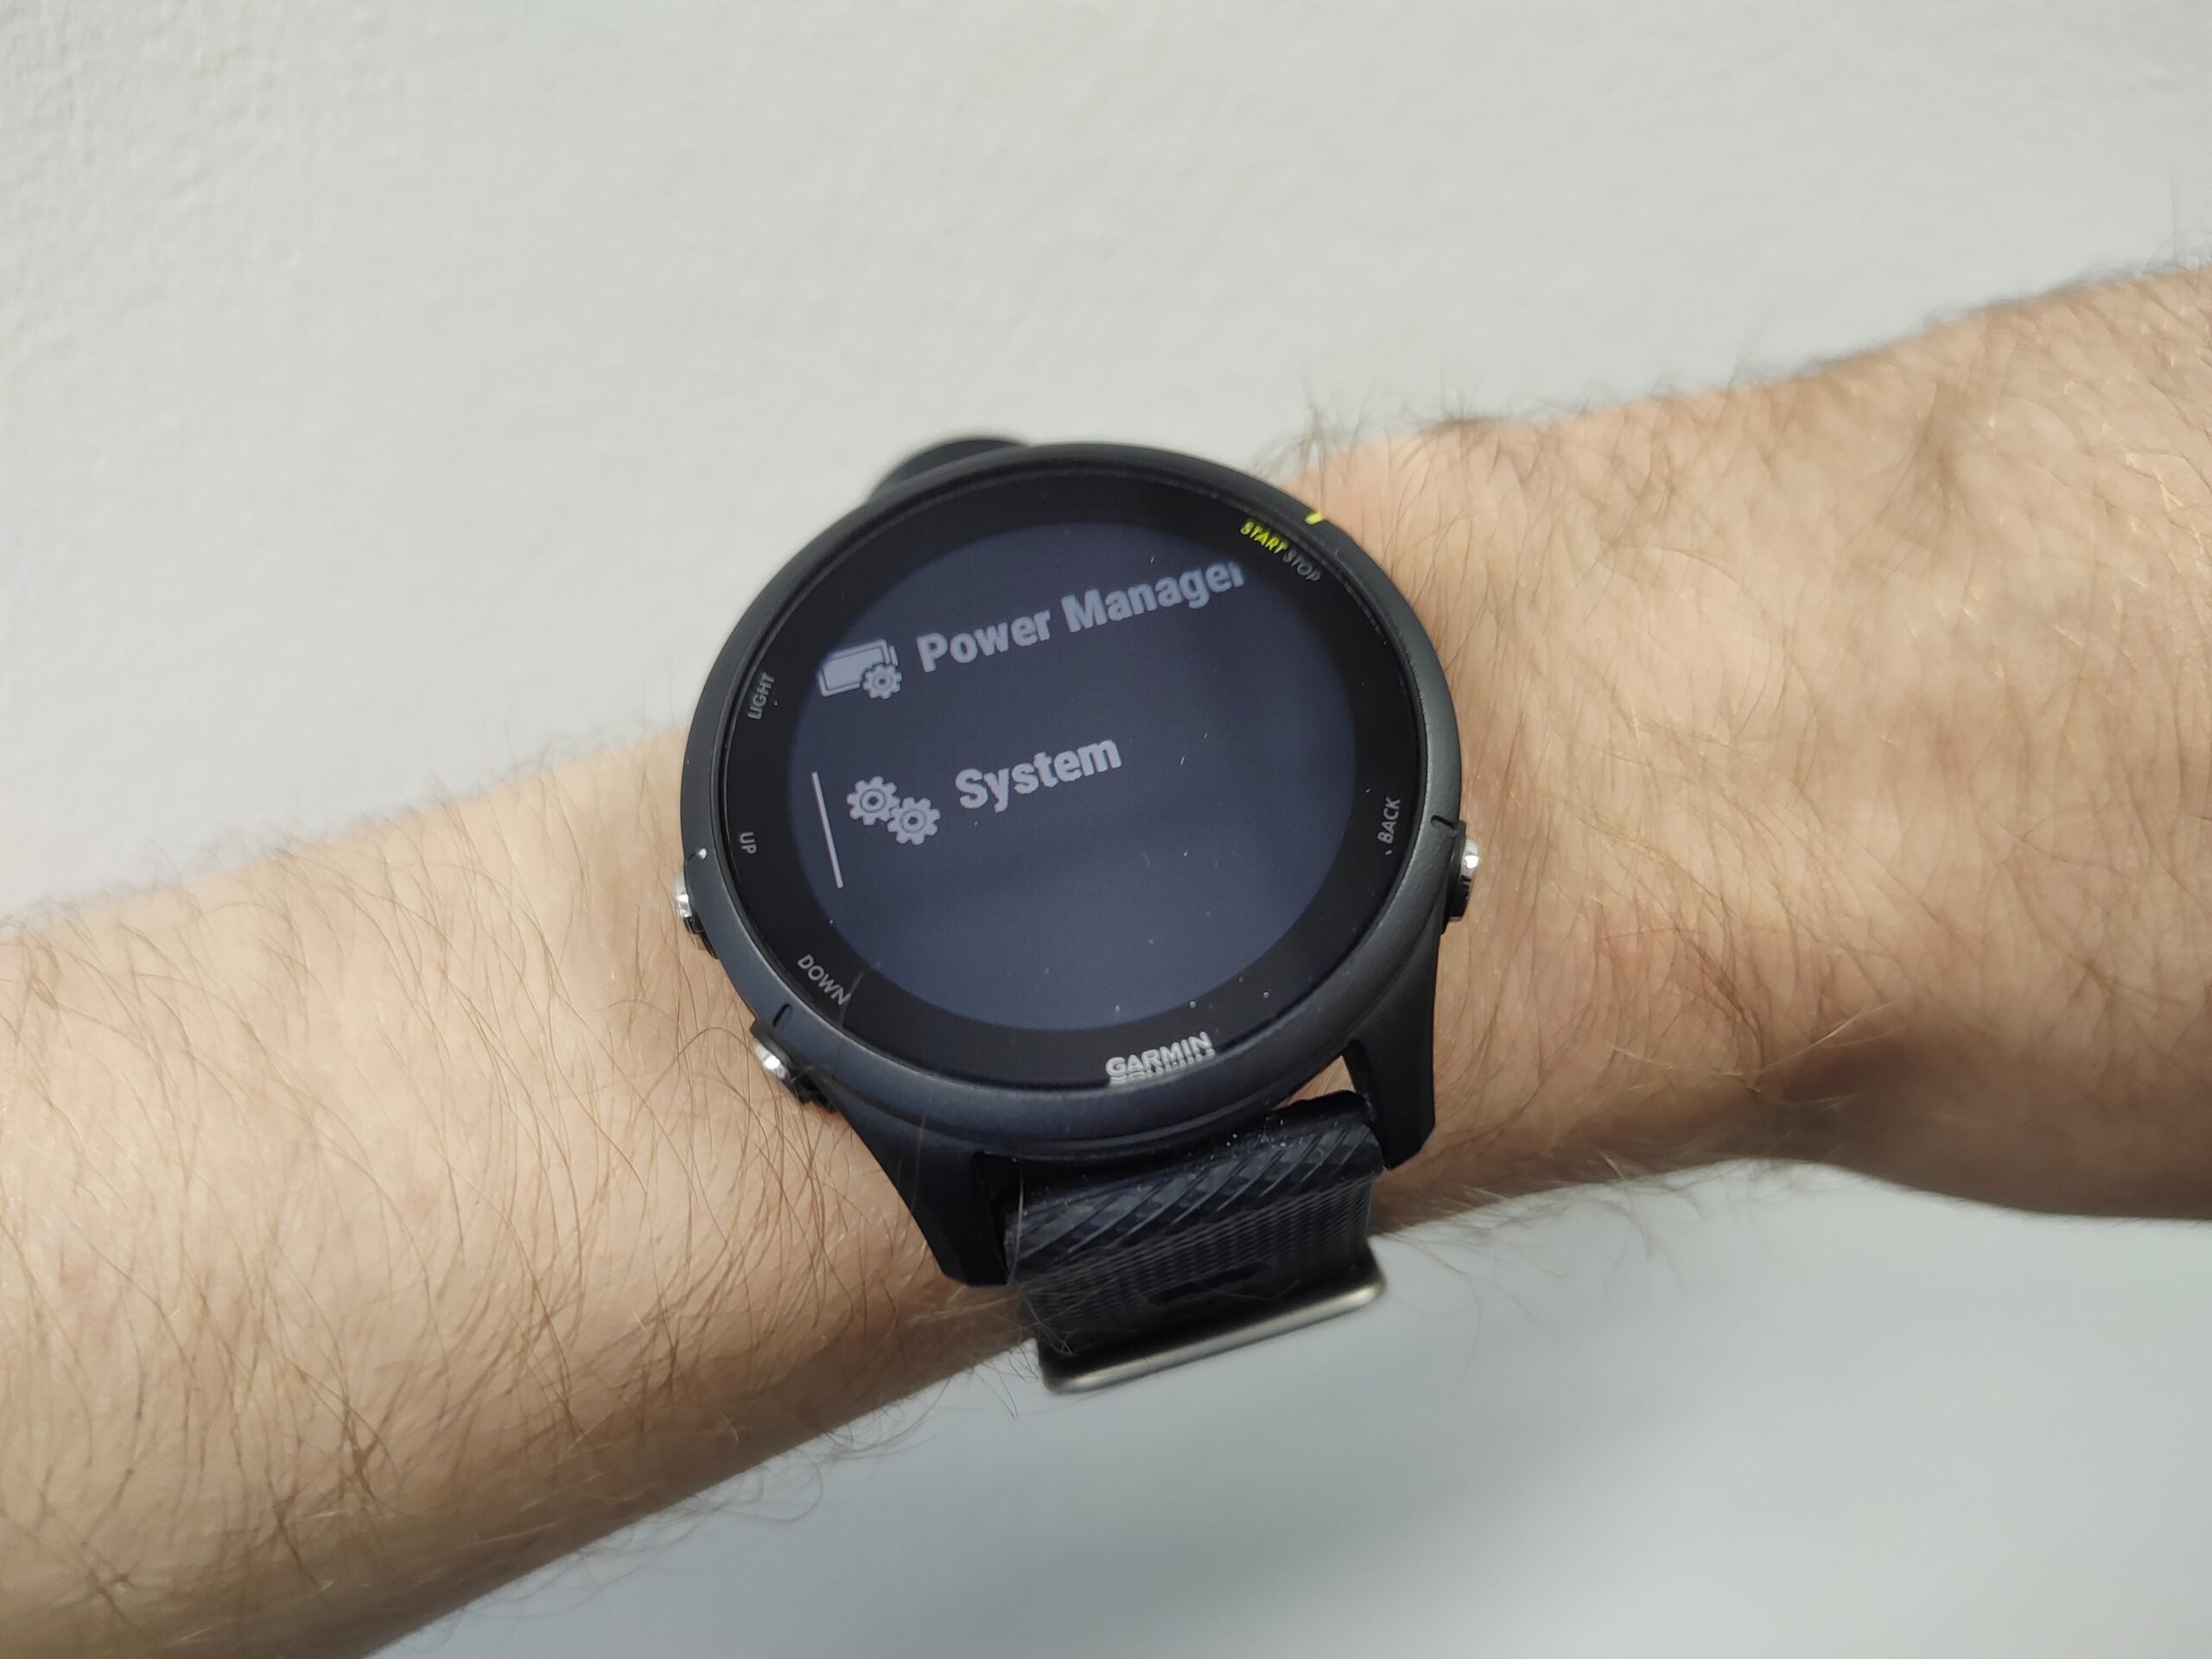
Once you’re in Settings, scroll down until you see System, and select this option.

Step
3Select Software Update
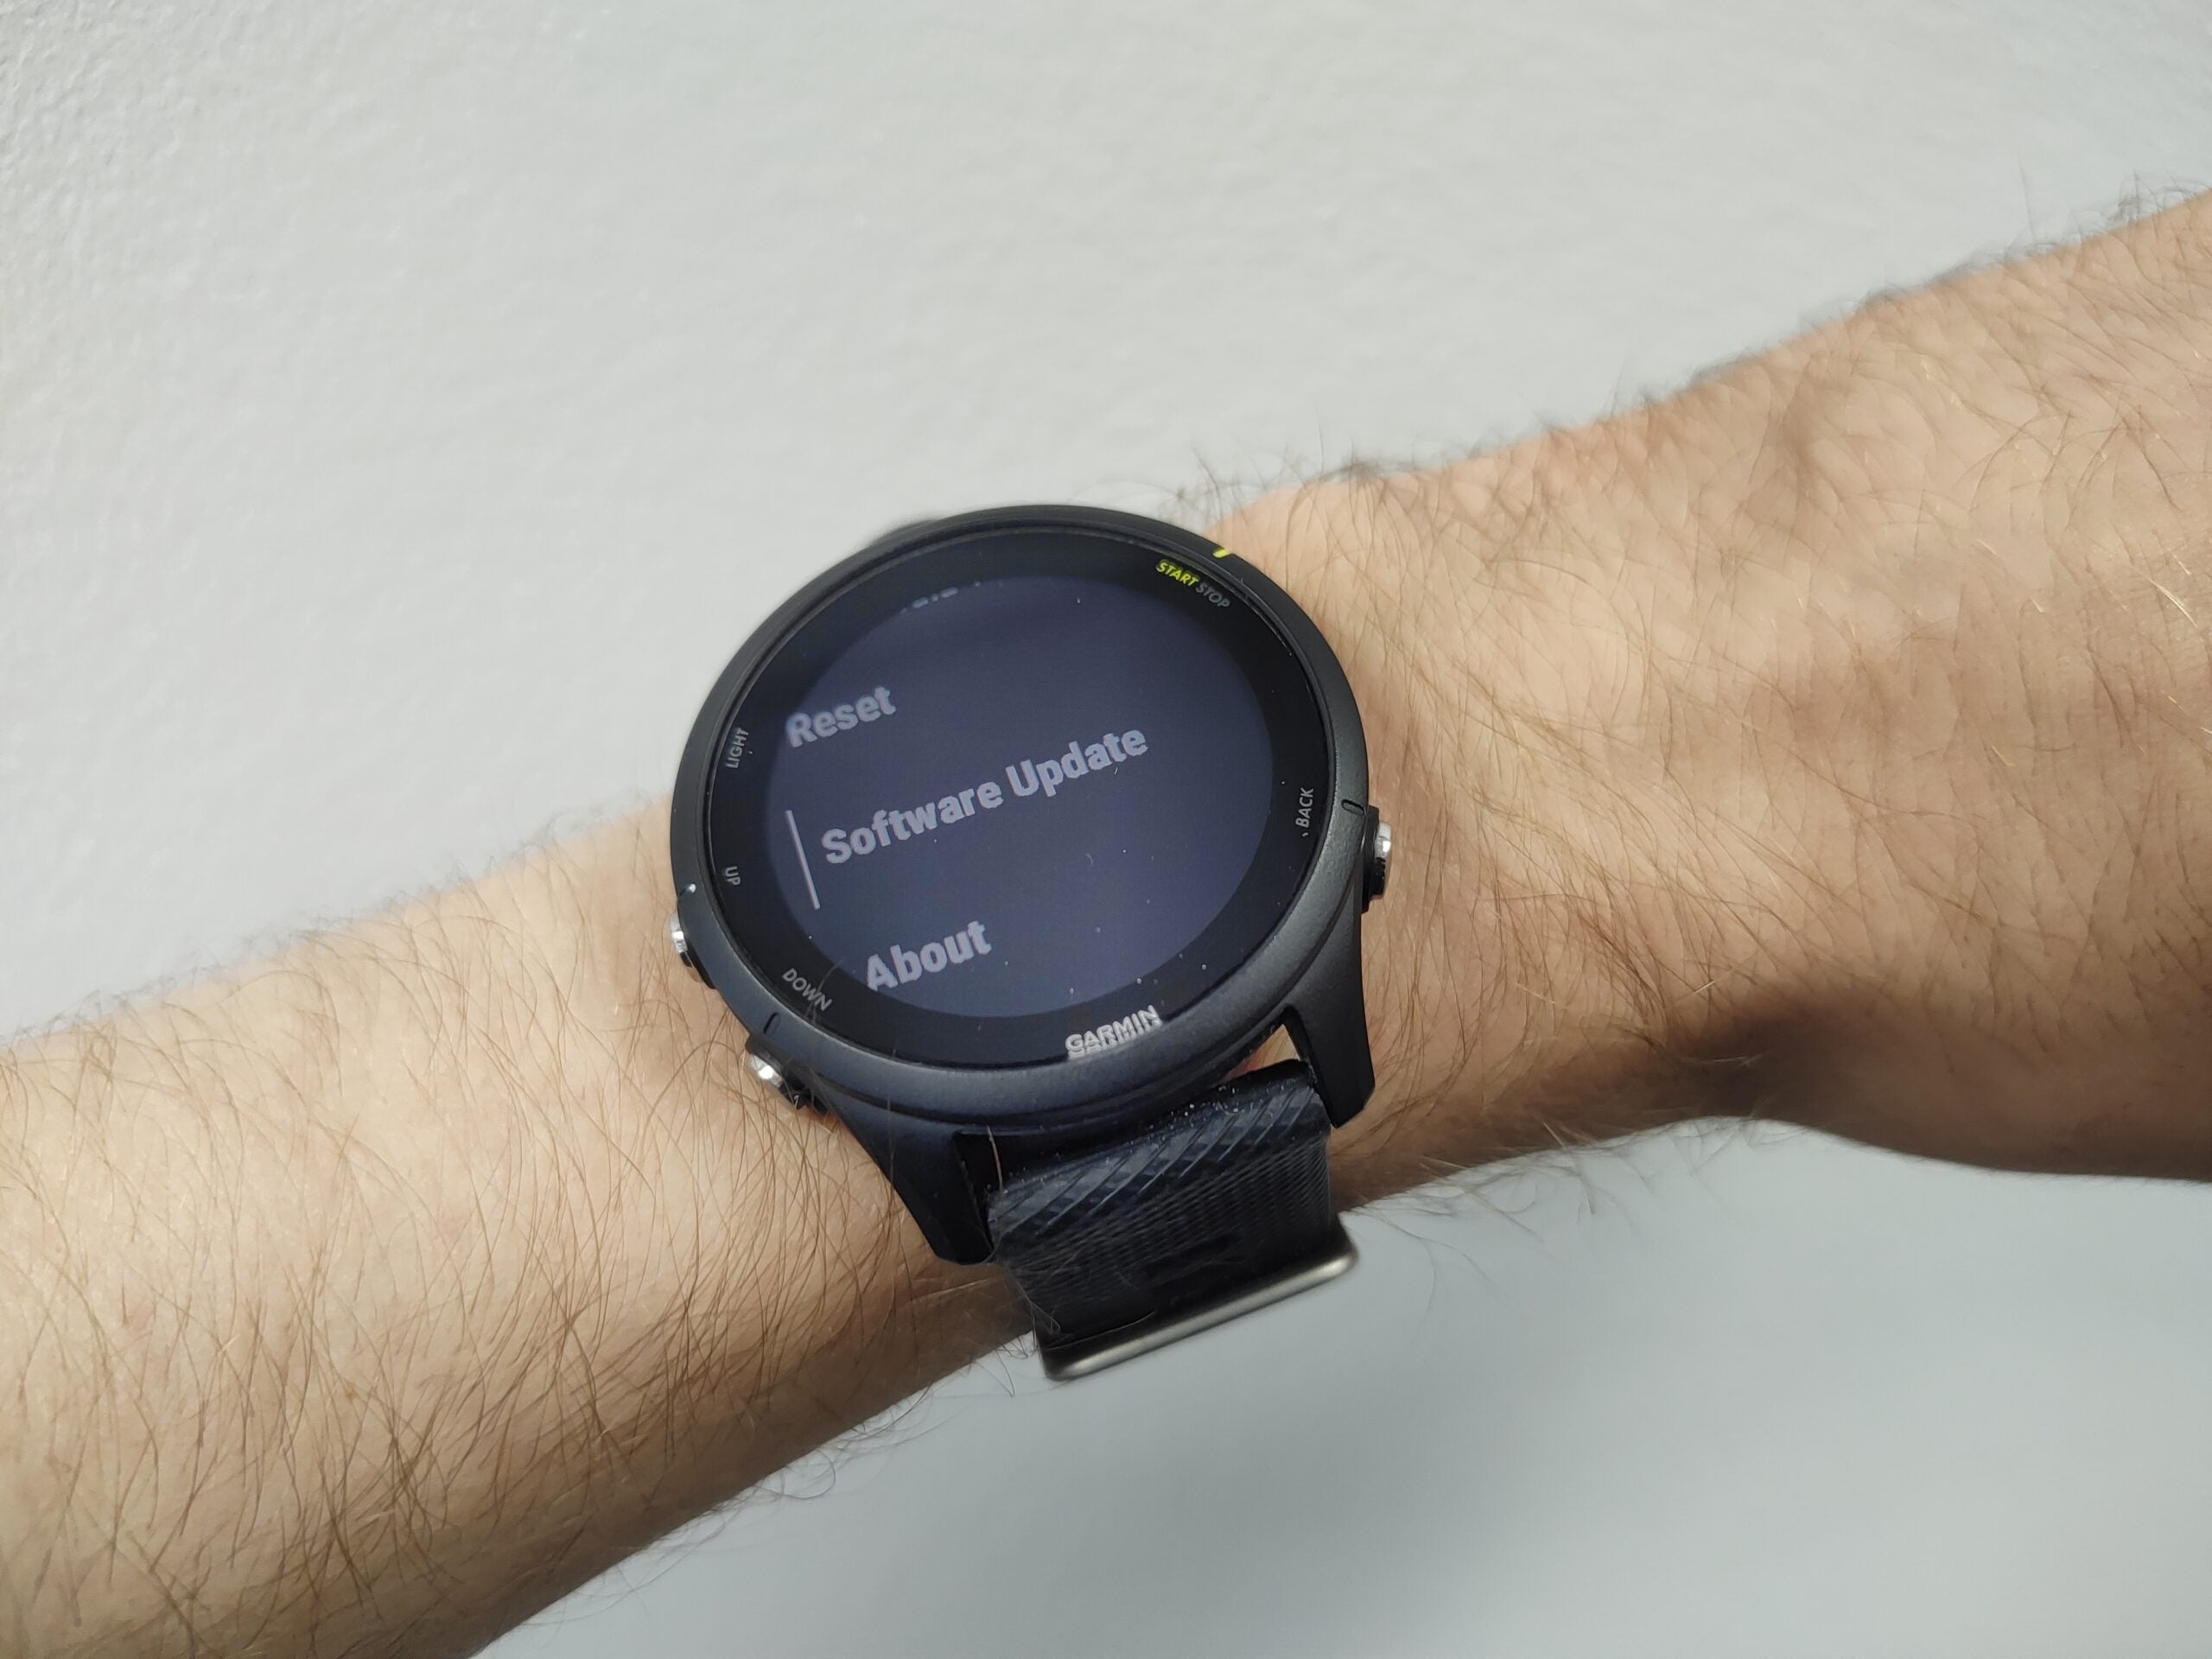
Now scroll down to Software Update, and select this.

Step
4Make sure that Auto Update is set to On
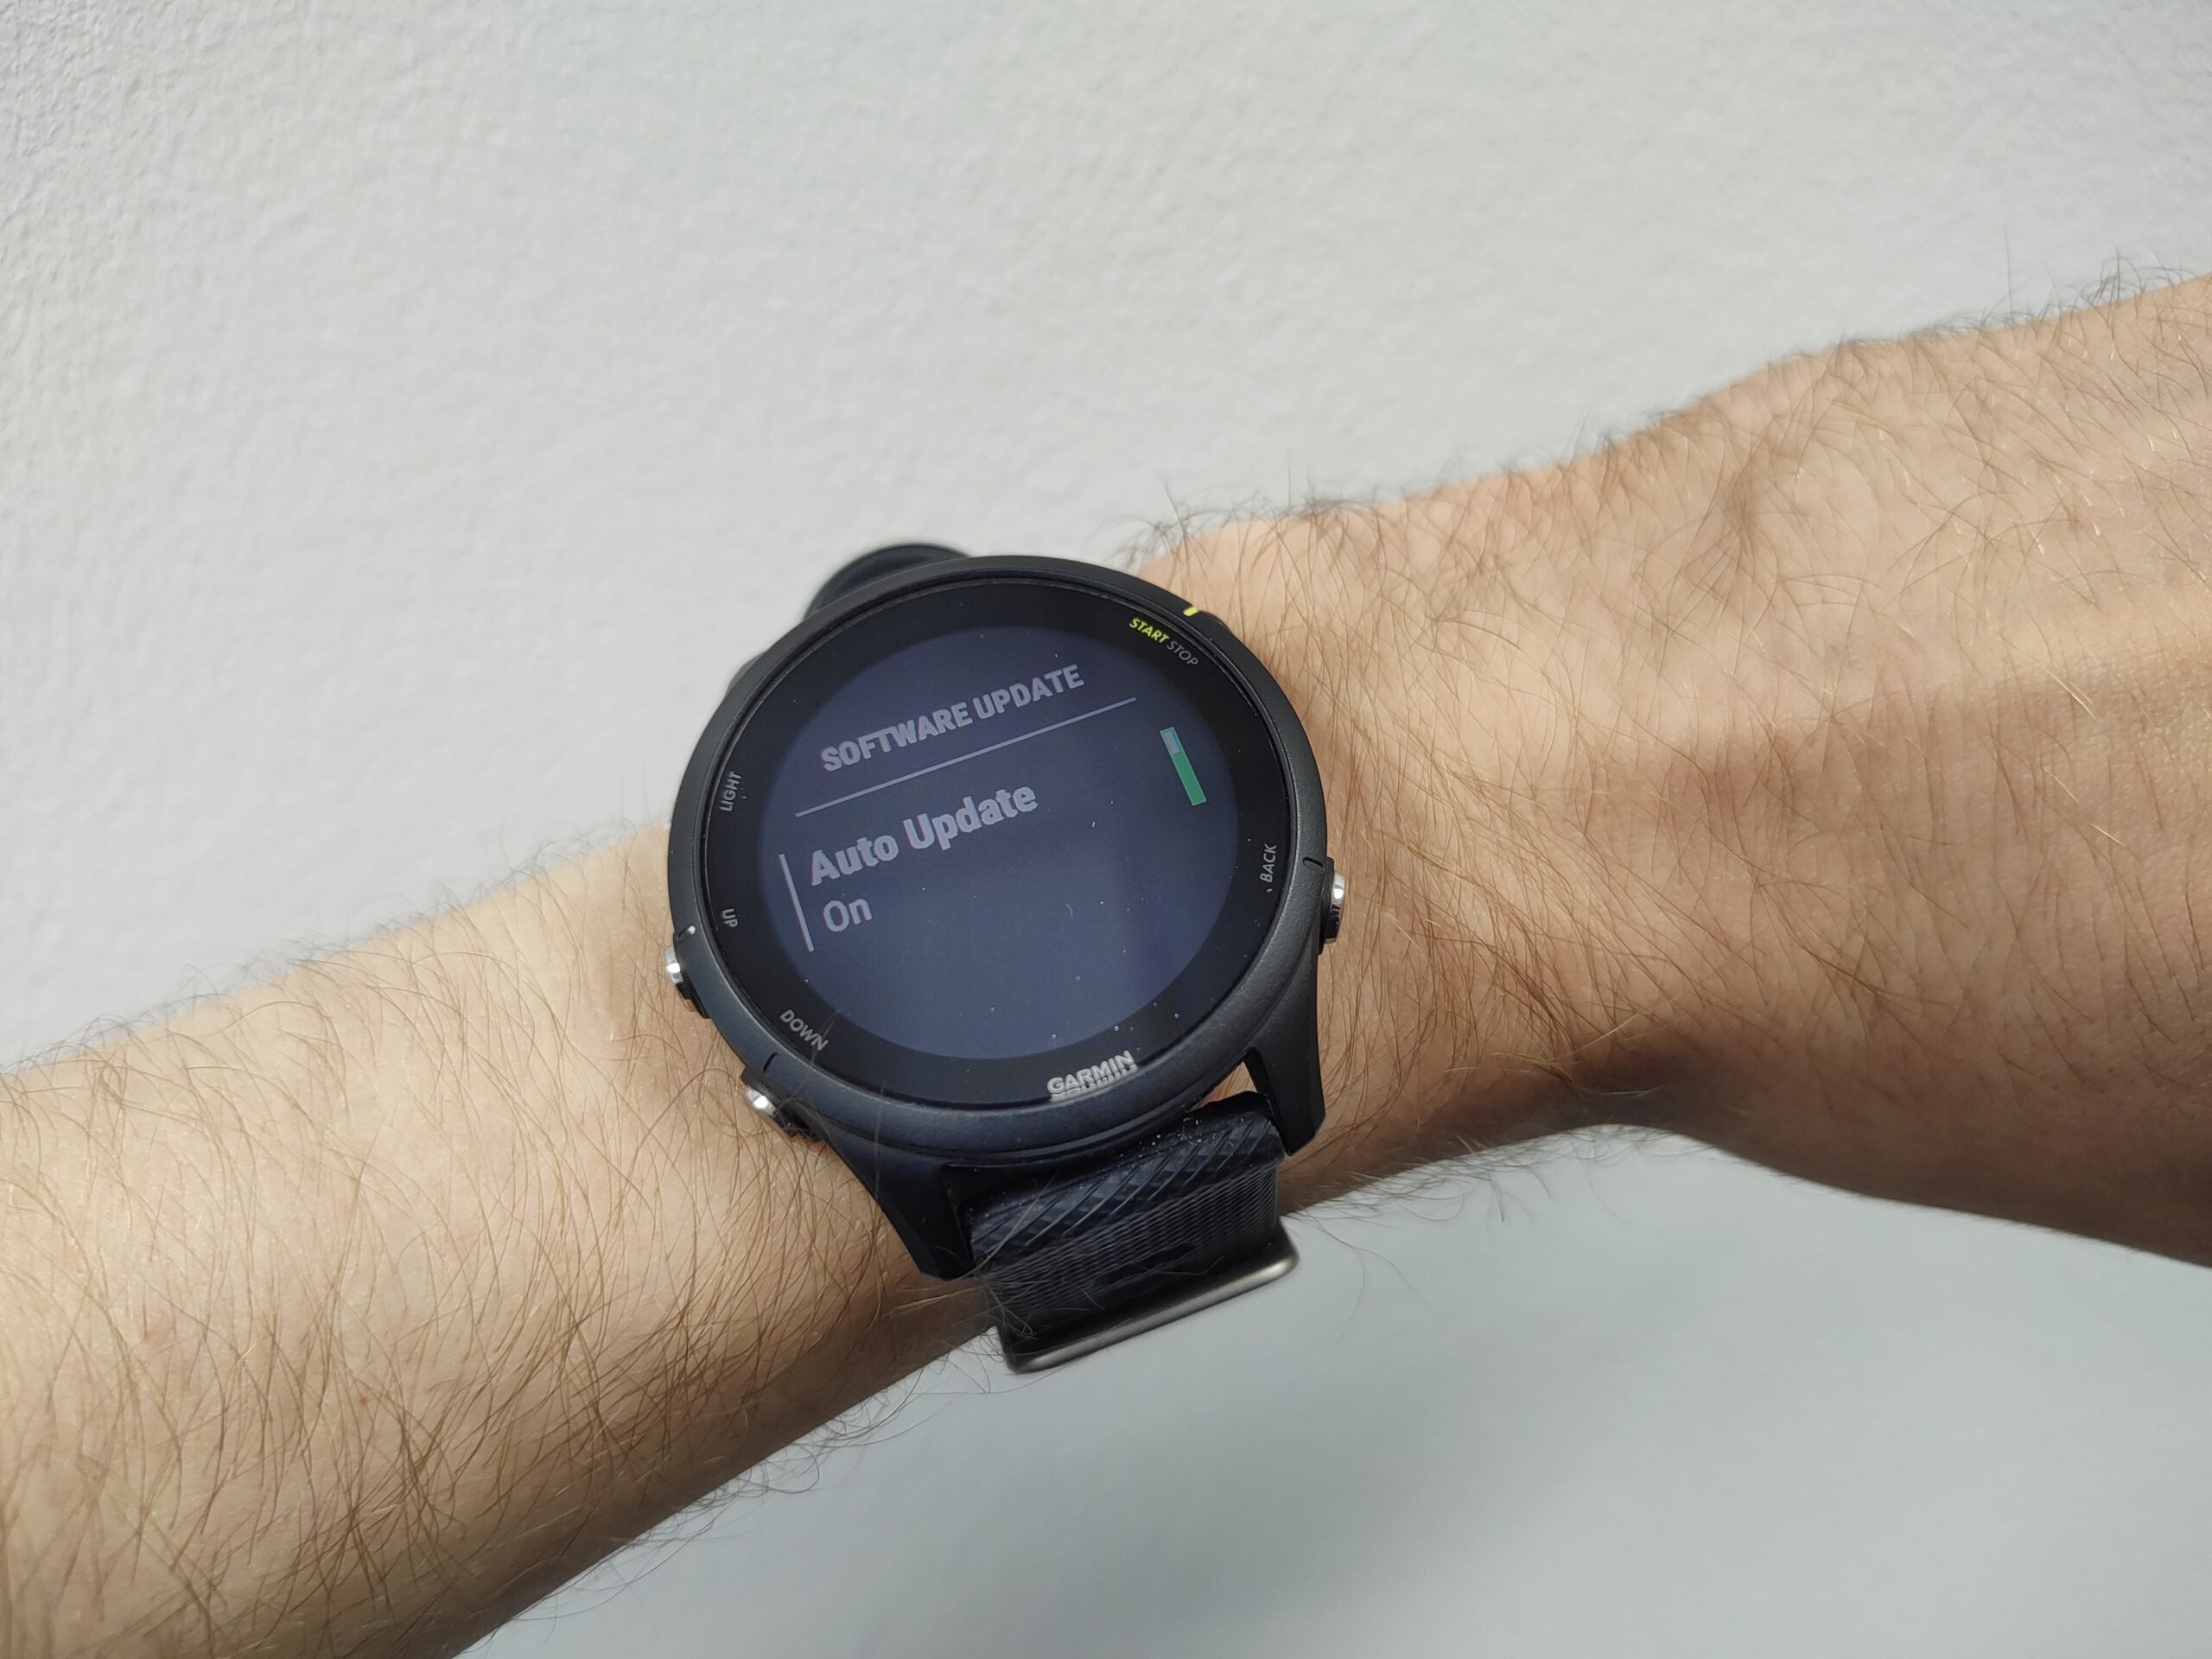
In this menu you will see ‘Auto Update’; if this is set to On, as shown below then your watch should automatically receive software updates, though these may take days to come through.

Troubleshooting
Garmin states the following on its website: “Generally, updates will take up to a few days to download to your device. Once downloaded, updates will install automatically or prompt you to install them on your device.”
It can be important to keep up with software updates as these can help to keep your devices secure, solve known bugs, and sometimes add new software features.


