How to transfer photos from an iPhone to a Mac

While you don’t need to physically connect your iPhone to your Mac to transfer photos, it might be preferable that you do so.
If you’re in an area with a poor or non-existent internet connection, or you simply have a whole lot of images to transfer, then plugging your iPhone in an old-fashioned way may be the better way to go.
Here’s how to transfer photos from an iPhone to a Mac.
What we used
- We used the iPhone 13 Pro, but this method will work on any iPhone
- We used a MacBook Pro 16-inch (2019), but any Mac will do
- We used a Lightning-to-USB-C cable, as bundled in with our iPhone
The Short Version
- Connect your iPhone to your Mac
- Open Photos
- Click on iPhone
- Select photos and import
Step
1Connect your iPhone to your Mac
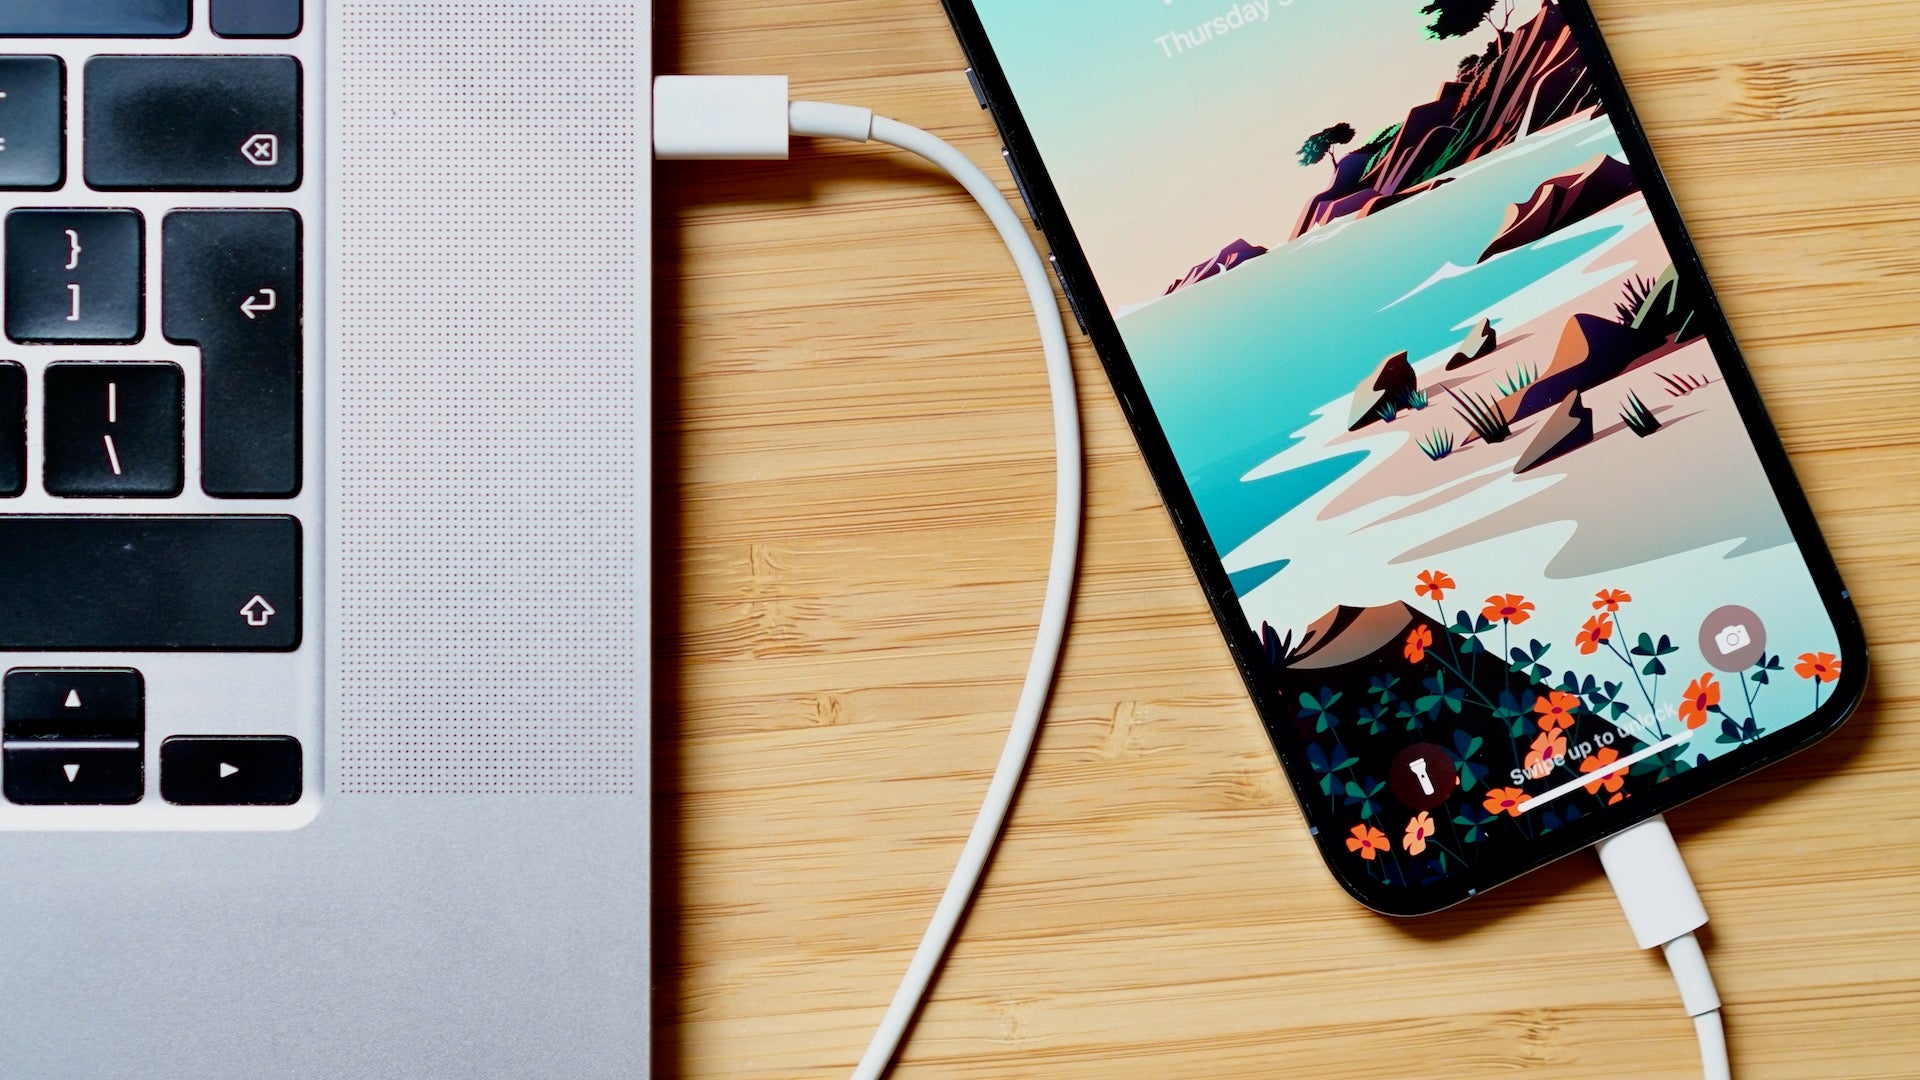
Connect your iPhone to your Mac using a Lightning-to-USB cable. The one that came with your iPhone should suffice, but any USB cable with Apple’s proprietary Lightning connector on one end will work.

Step
2Open the Photos app
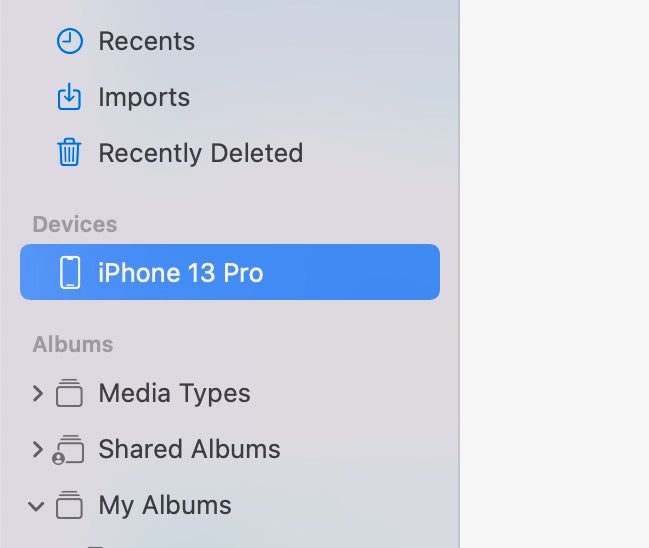
Open the Photos app on your Mac. You should see your iPhone listed in the left-hand menu, under Devices. Click on it.

Step
3Trust your Mac

Photos will now request that you unlock your iPhone, and your iPhone (when unlocked) will ask you if you trust your computer. Agree to trust it and enter your passcode to authenticate.

Step
4Import photos

Photos will now show you all of the apps that are available to import. Select the photos you wish to import followed by the Import Selected button, or hit the Import New Photo button in the top right corner to only import fresh images that aren’t already in Photos.

Step
5Disconnect your iPhone
Once your photos have been imported, unplug your iPhone
FAQs
There’s a slightly different process if you own a Windows PC rather than a Mac, but it’s similarly easy
There are two types of USB port you might encounter on your Mac: the smaller USB-A and the larger USB-C. If your cable doesn’t fit, you’ll need to invest in an appropriate USB dongle.


