How to take a screenshot on an iPad
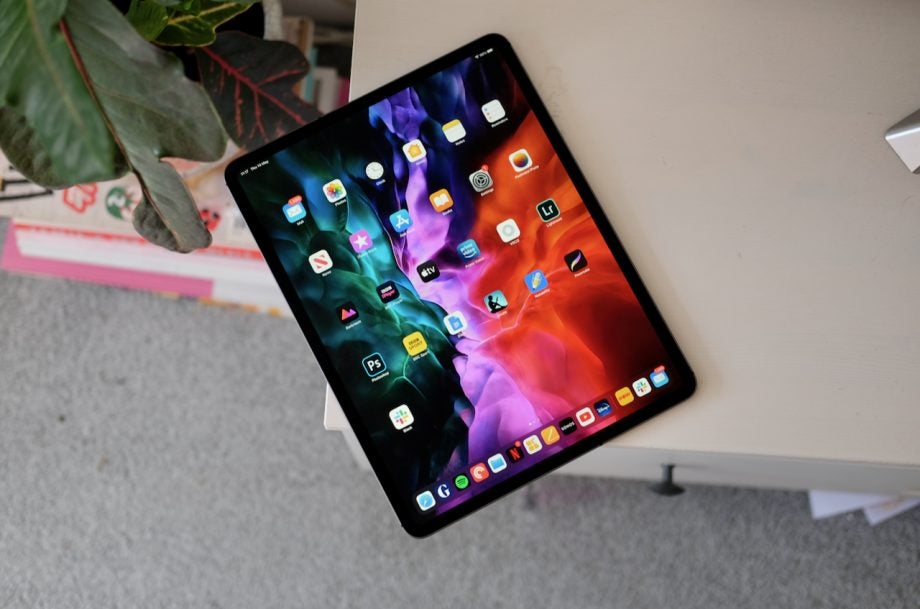
Taking a screenshot on your iPad can be an excellent way to quickly note down a piece of information, whether from a website, an email, or an app.
There’s simply no speedier way to committing what you’re looking at on your tablet to record. And even better than that, taking a screenshot on your iPad is extremely easy to do.
Here’s how to capture, edit, and share a screenshot on your iPad, regardless of the model. Stick around at the end while we run through some frequently asked questions on the topic.
What we used
- We used the iPad Pro (2018), but we’ll go through the methods for taking a screenshot on any iPad
The Short Version
- On an iPad without a Home button
- On an iPad with a Home button
- Edit and share your screenshot
Step
1On an iPad without a Home button
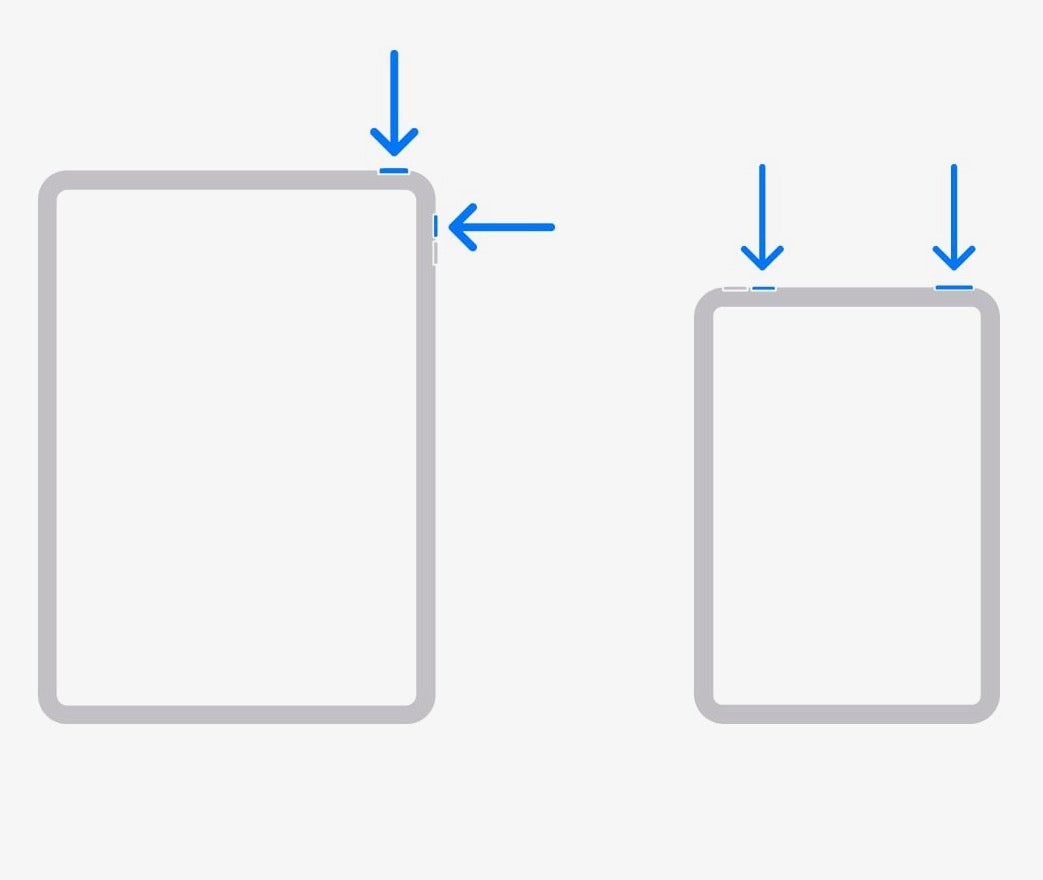
When you come across something you want to capture, simply take hold of your iPad and press the top button and either of the volume buttons together. Quickly release them, and the screen will flash while a camera shutter sound plays.

Step
2On an iPad with a Home button
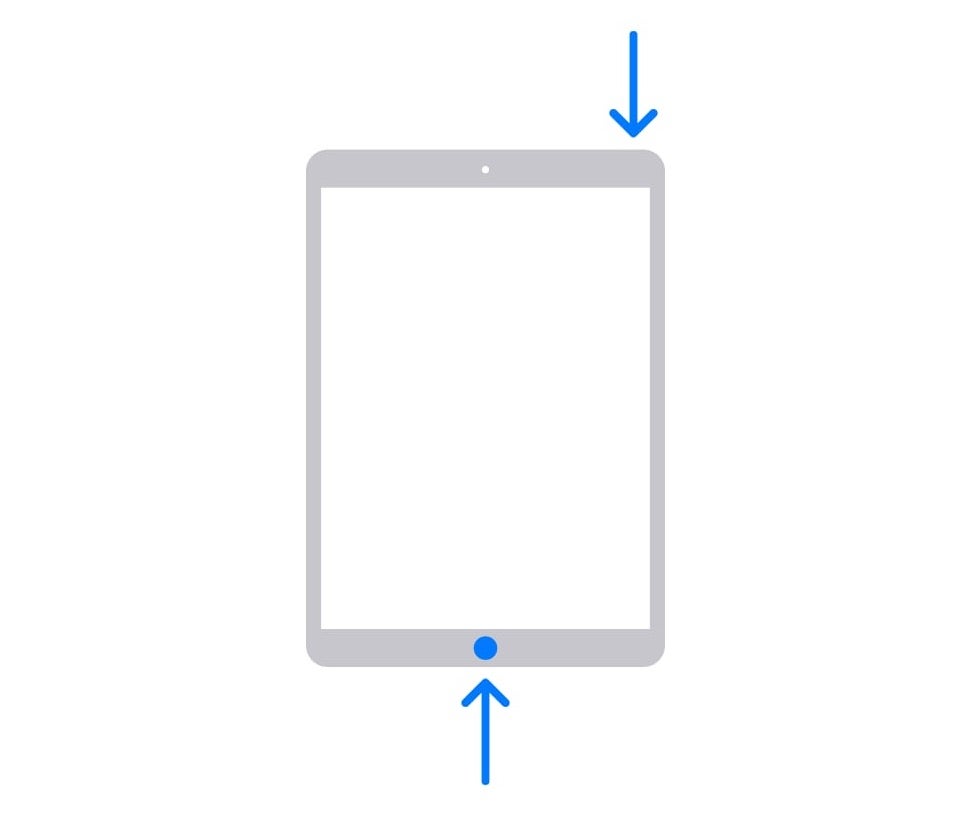
If you’re using an older iPad with a physical Home button, press the top button and the Home button simultaneously. Release them quickly, and the screen will flash while a camera shutter sound plays.

Step
3Edit and share your screenshot
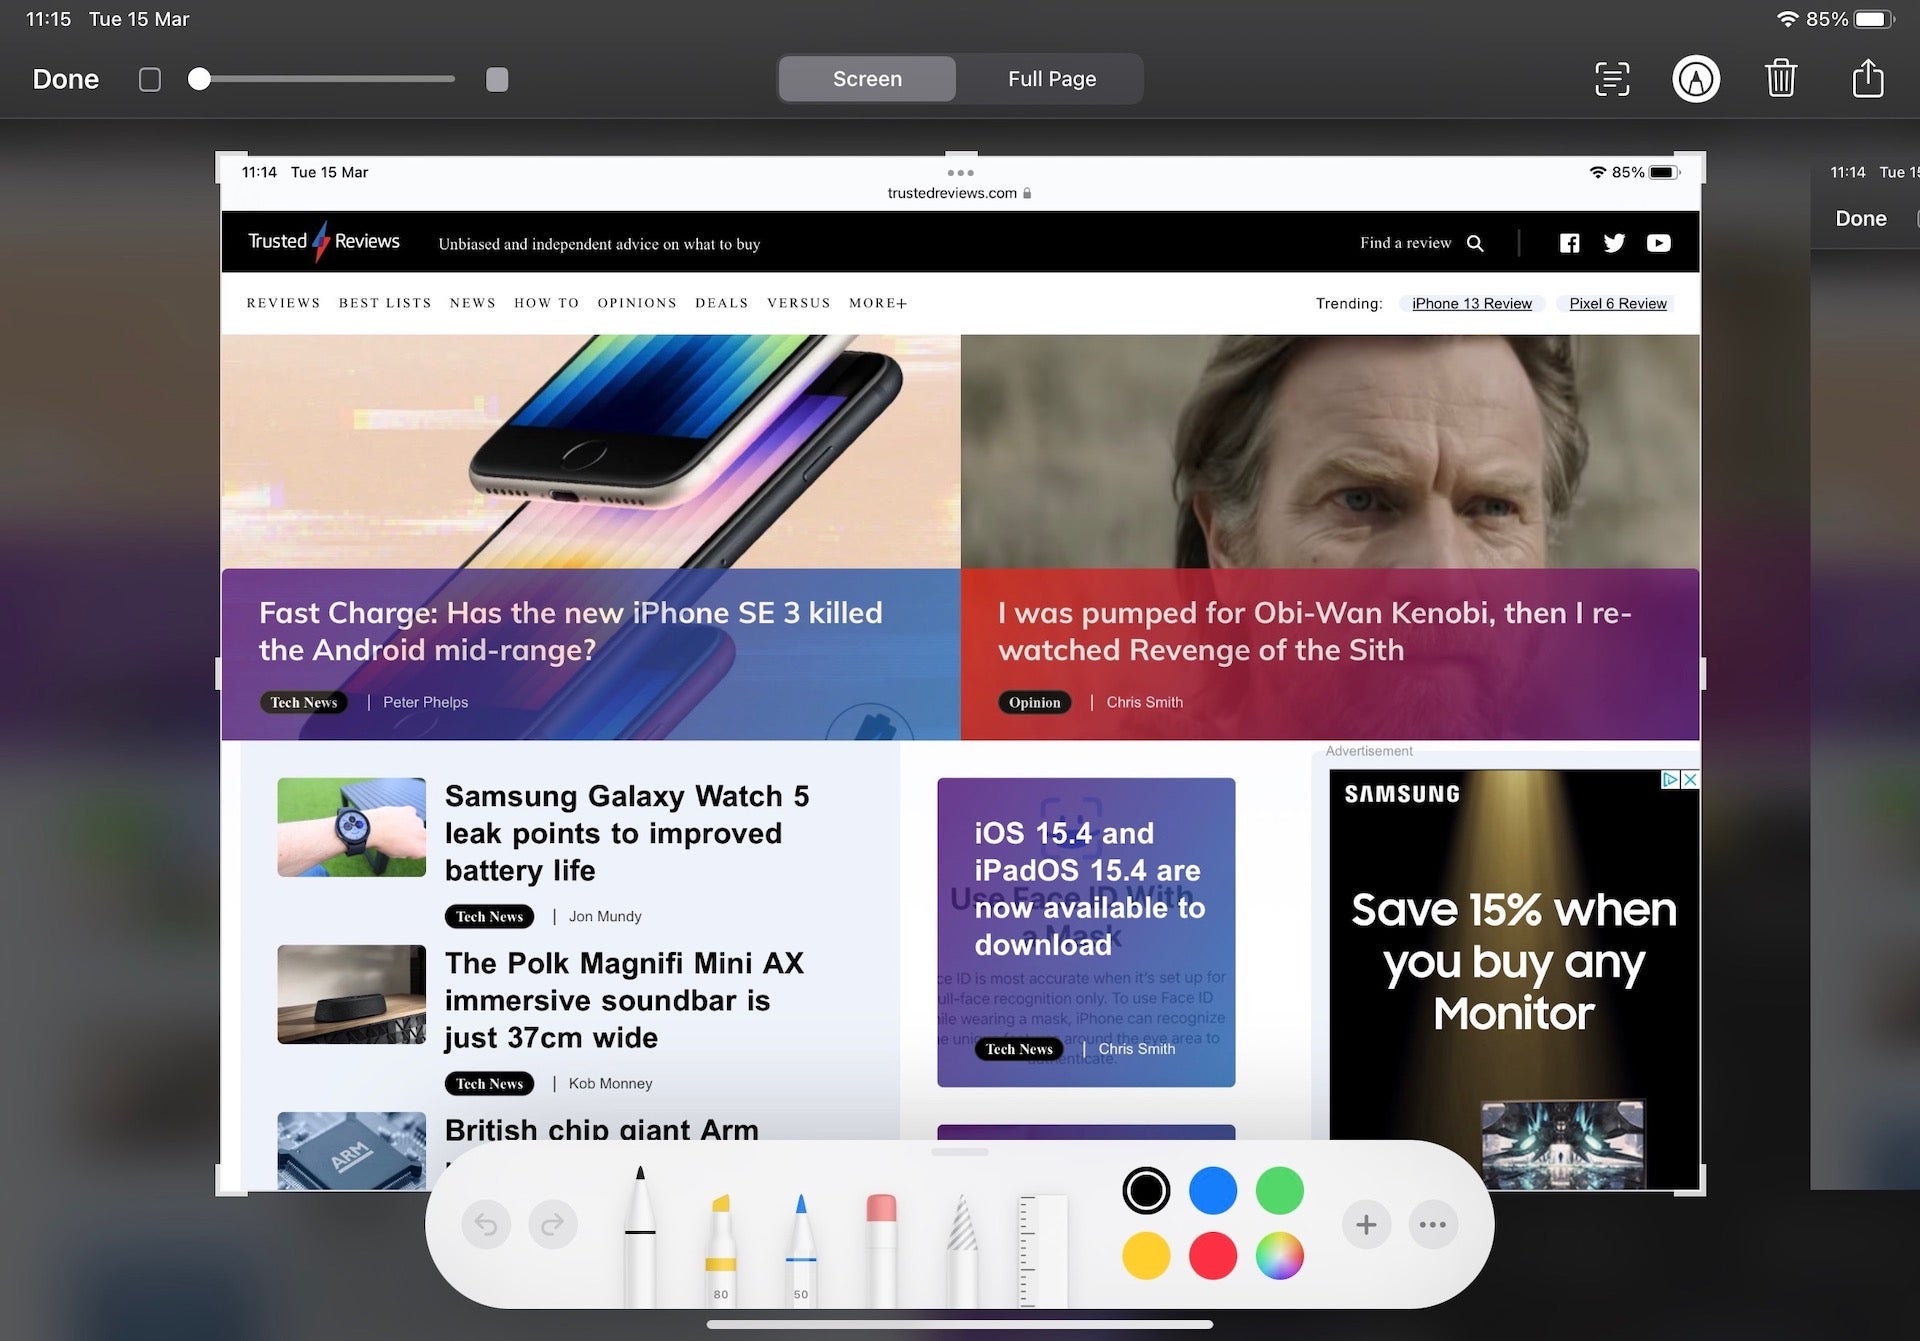
Tap the thumbnail that appears in the bottom left corner when you take a screenshot. Now you can tap the pen icon to annotate and edit the image, the text icon to copy any text that appears in the screenshot, and the share icon to share your screenshot with someone.

FAQs
If you have no intention of editing or sharing your screenshot straight away, simply swipe the thumbnail away.
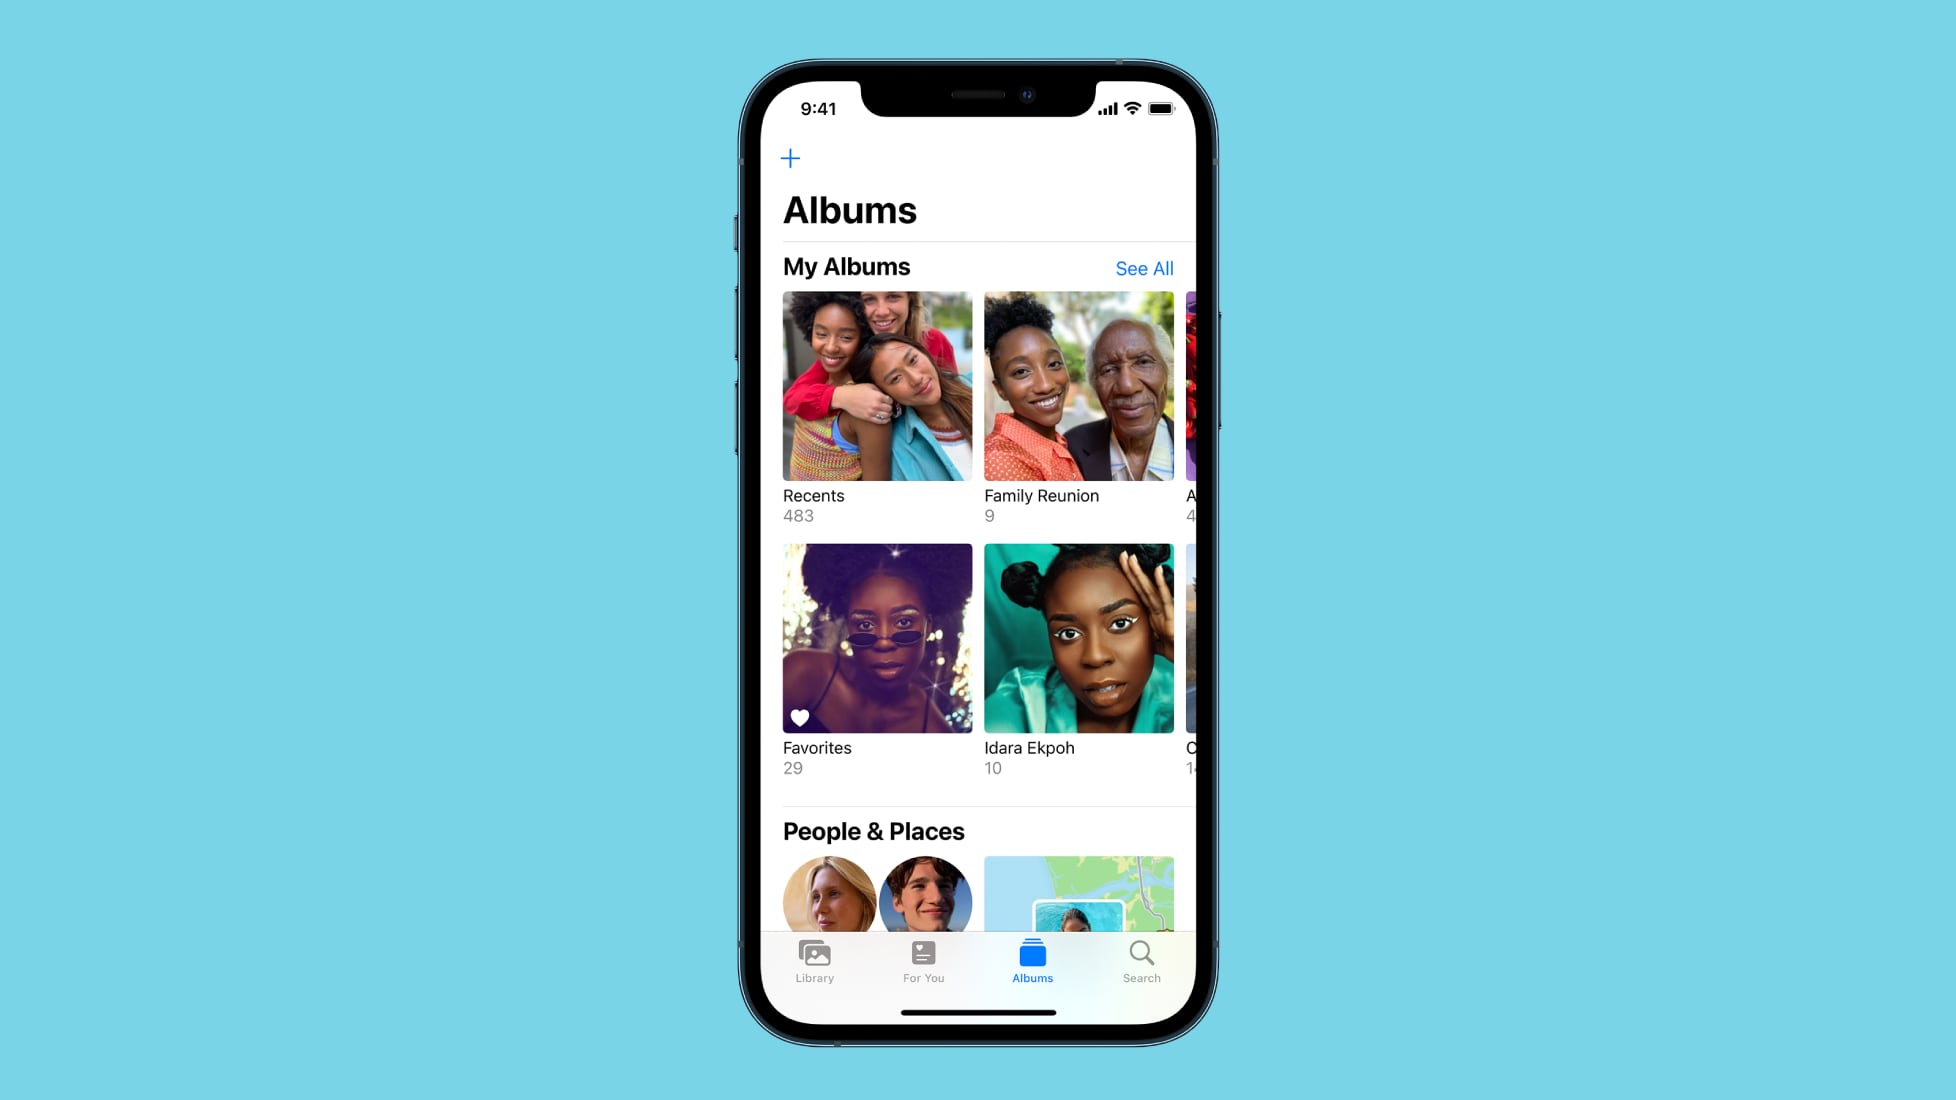
If your screenshot has been lost among a bunch of real photos in the Photos app, simply enter the app and head to Albums > Media Types > Screenshots.


