
Spotlight makes it incredibly easy to search for any app or content you want to find on your iPhone, but how do you stop an app from showing up?
Spotlight is Apple’s built-in search bar. The feature allows you to locate apps, along with the content inside those apps such as mail, messages and photos, all in one place.
Beyond the apps on your phone, you can use Spotlight to convert units, do maths equations and check stock and currency information. You can even search for results on the web, including details about musicians, actors, TV shows and sports teams.
In iOS 16, Spotlight has gotten smarter, with more image results from apps like Messages, Notes and Files, and the ability to start a timer or run a shortcut directly from the search bar.
However, there are probably some apps you’re tired of seeing fill your results, such as apps you use less or ones with far too much irrelevant content. Keep reading to learn how to stop a specific app from appearing in Spotlight search on your iPhone.
What you’ll need:
- An iPhone (we used one running iOS 16)
The Short Version
- Open your settings
- Choose an app
- Tap Siri & Search
- Toggle Show App In Search off
How to stop an app showing in Spotlight search on an iPhone
Step
1Open your settings
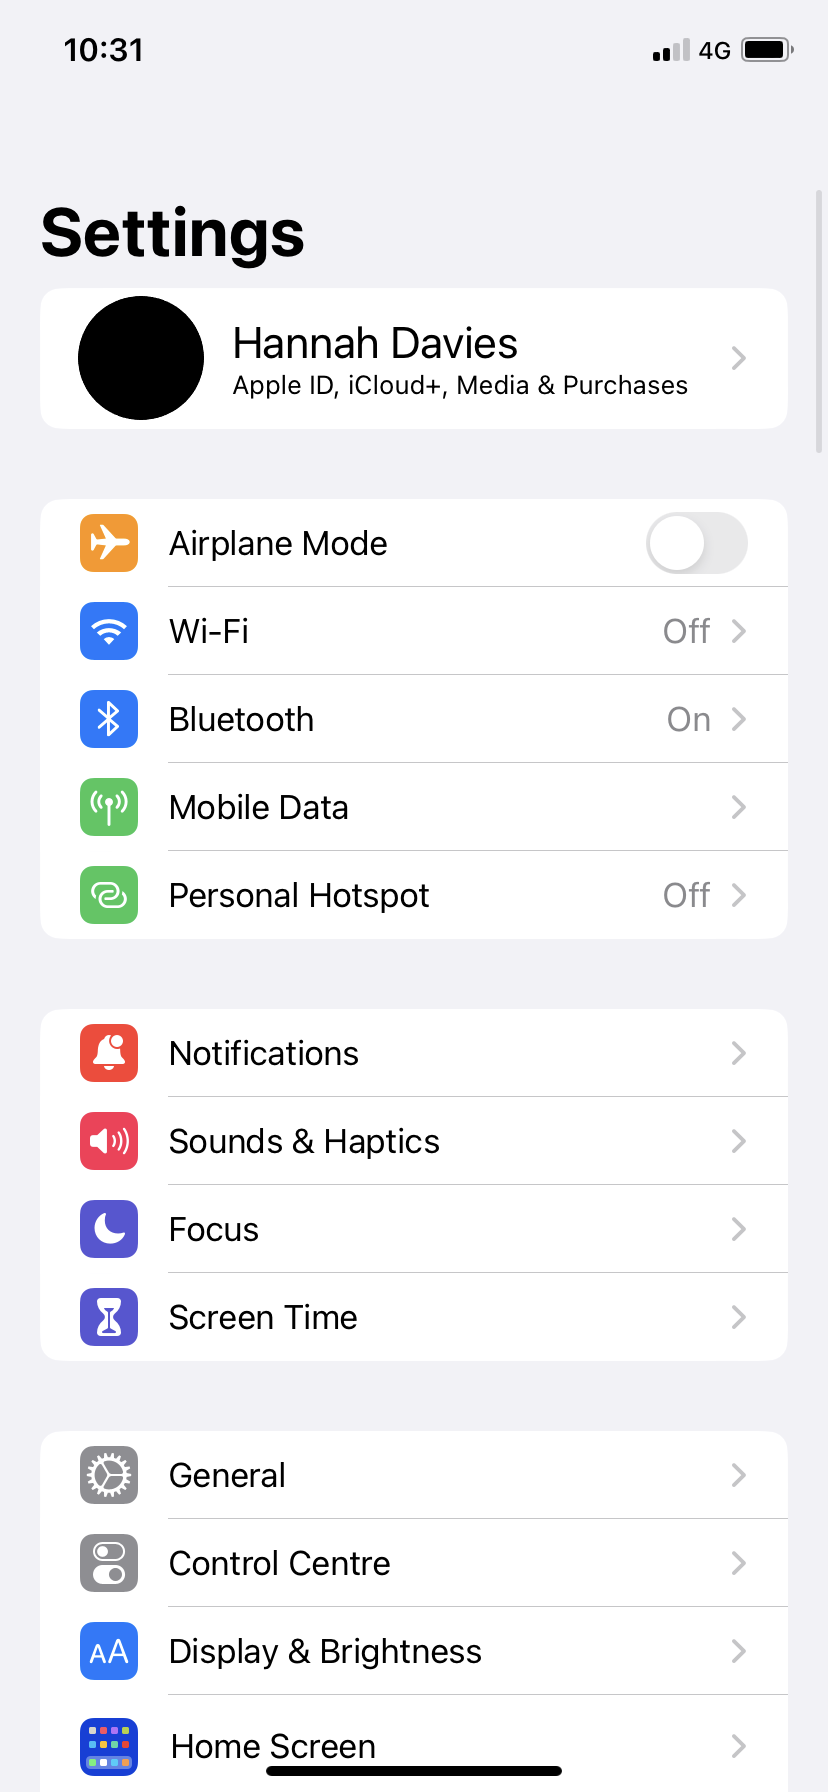
We’ll be using iOS 16, but this should work in iOS 15 too.
Step
2Choose an app
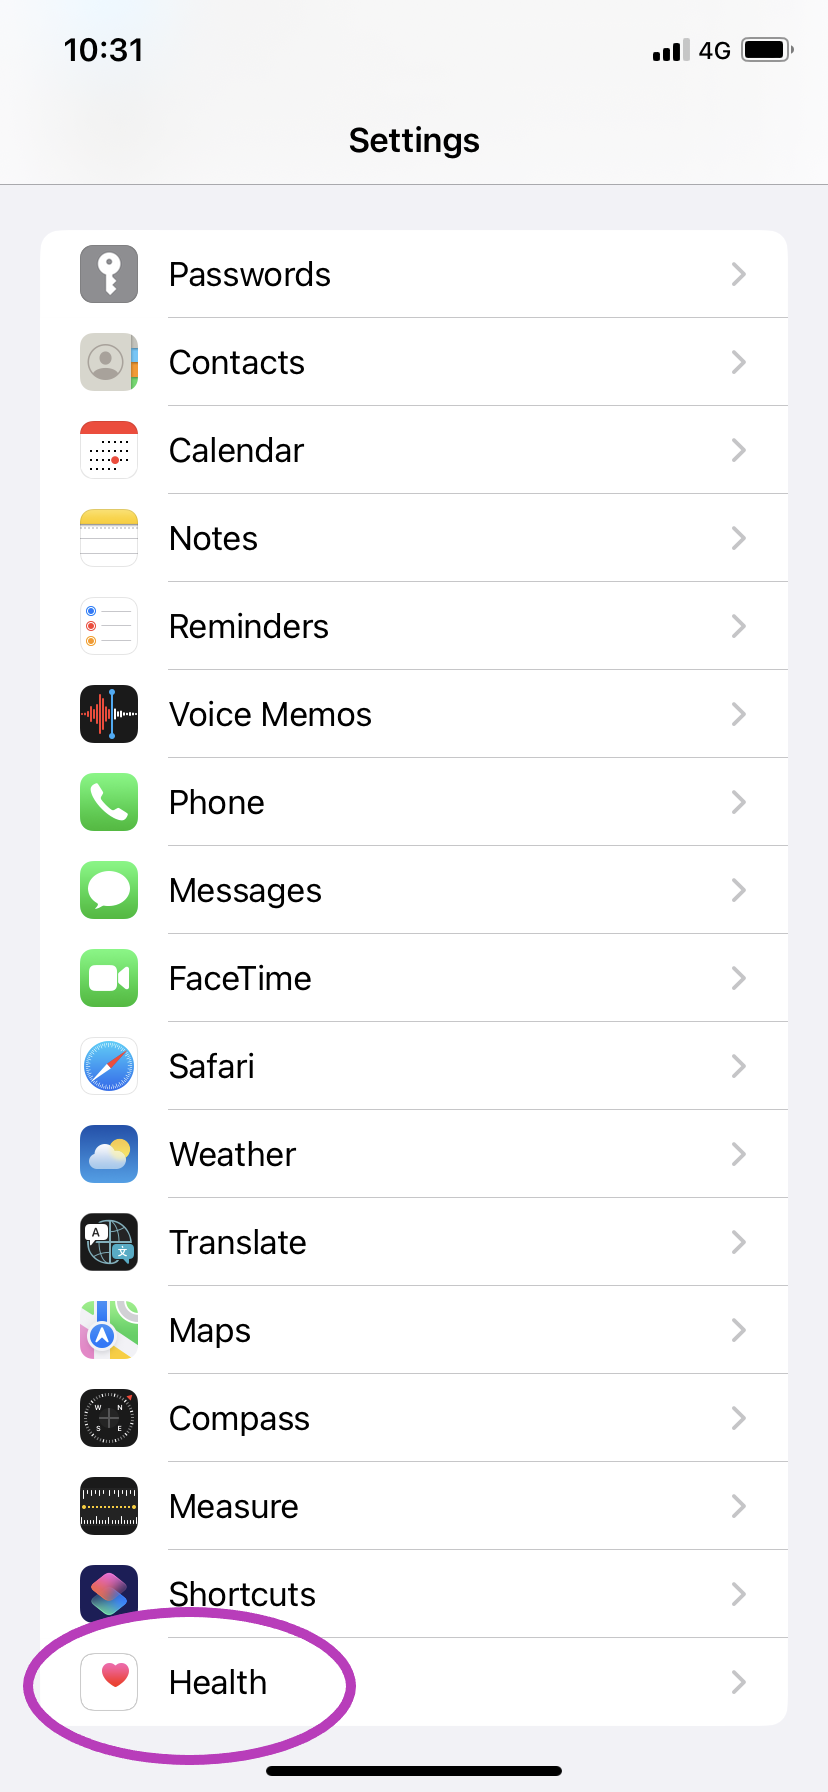
This can be any app you don’t want to see in Spotlight search.
Step
3Tap Siri & Search
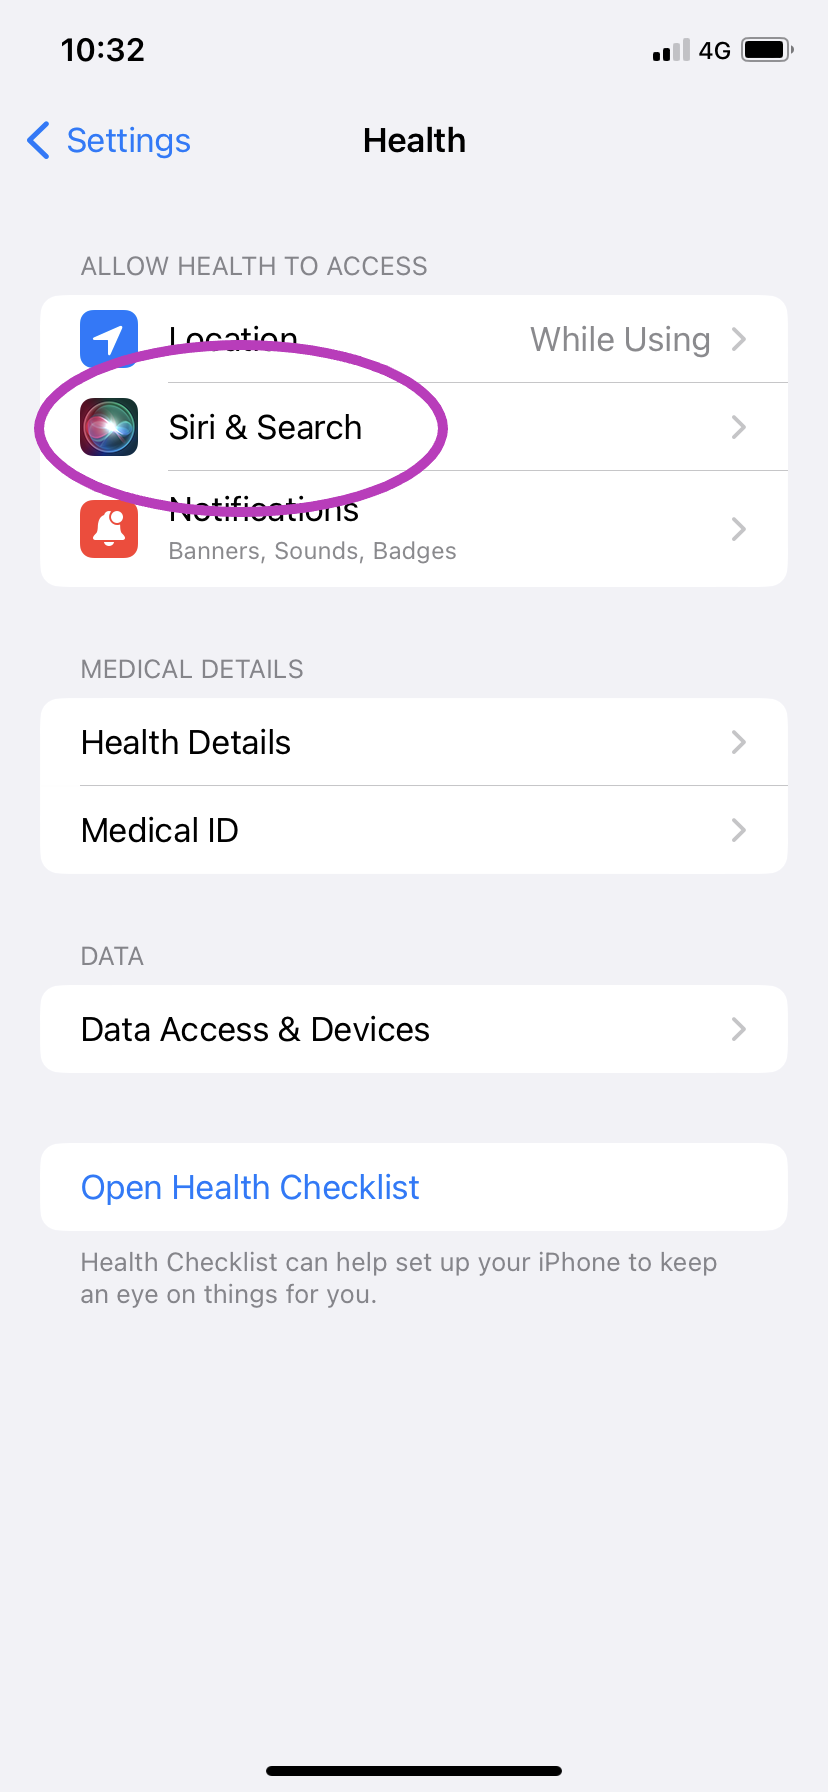
The icon is the Siri icon.
Step
4Toggle Show App In Search off
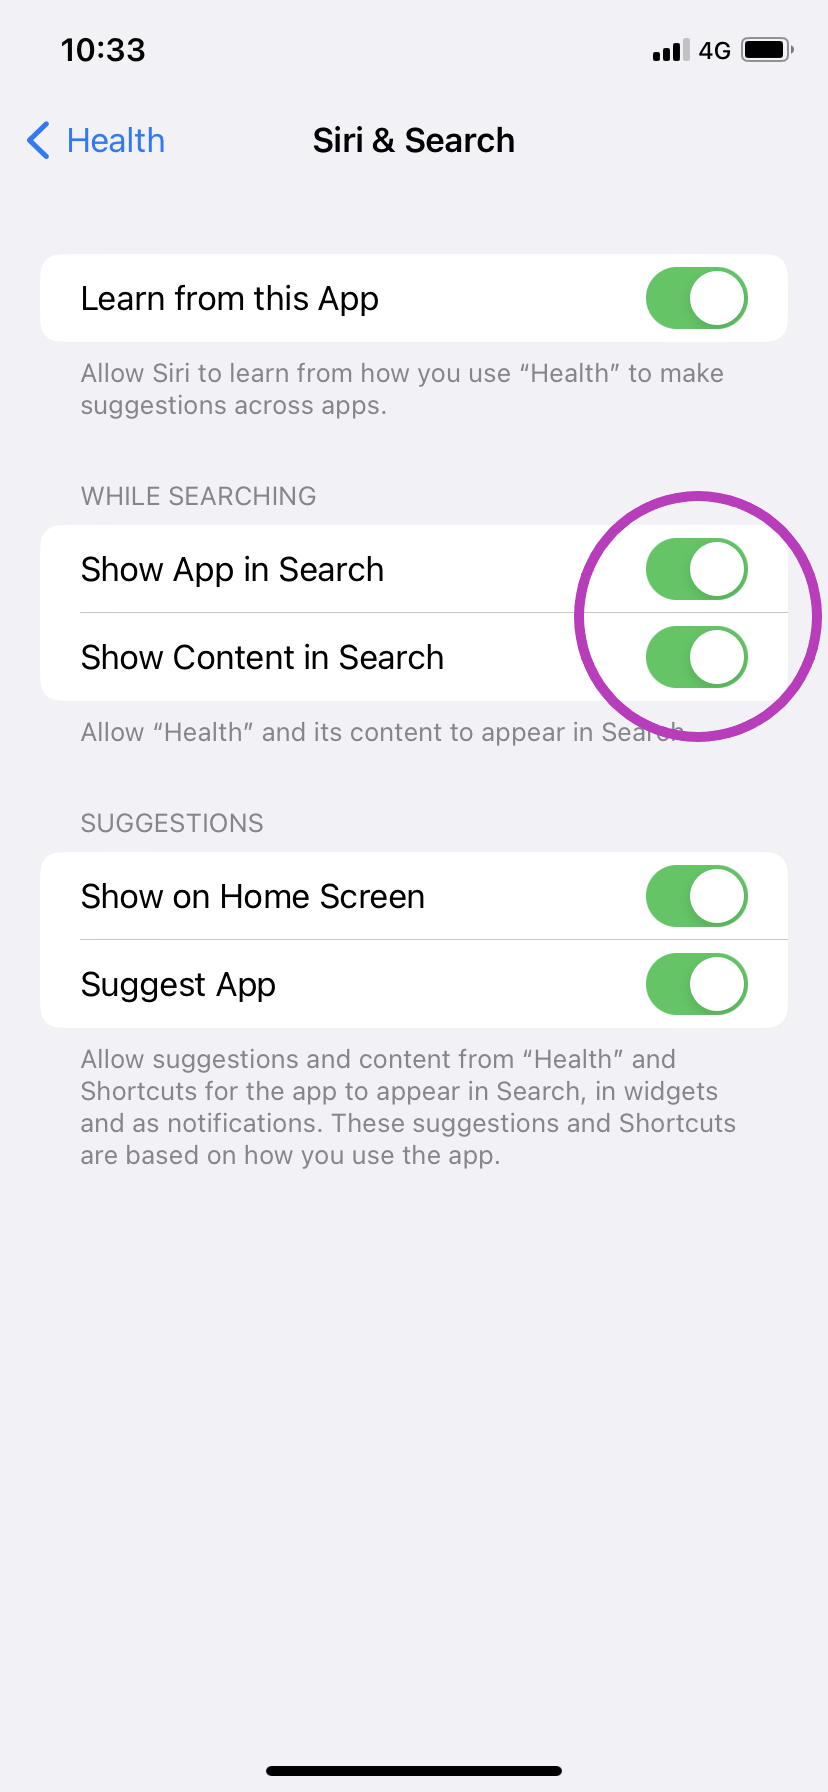
This should automatically switch Show Content In Search off as well. You can also toggle Show Content In Search off alone if you want to see the app in Spotlight but not any content from that app.
Troubleshooting
To search for apps and content with Spotlight, simply swipe down from the middle of your phone’s home screen and tap on the search field to type. Then, choose the correct result.
If you’ve removed an app from Spotlight search and want to undo this, just follow all of the steps in this guide again, but toggle the options on instead of off in step 4.
You might like…


Editorial independence
Editorial independence means being able to give an unbiased verdict about a product or company, with the avoidance of conflicts of interest. To ensure this is possible, every member of the editorial staff follows a clear code of conduct.
Professional conduct
We also expect our journalists to follow clear ethical standards in their work. Our staff members must strive for honesty and accuracy in everything they do. We follow the IPSO Editors’ code of practice to underpin these standards.