How to shoot 4K video on your iPhone
Do you want to learn how to shoot Ultra High Definition video on your iPhone? This guide will show you exactly how to do that.
If you want to use the maximum capabilities of your iPhone camera to shoot crisp 4K footage, then there’s a very simple way to do that by changing your handset’s settings. Simply follow our guide below, and you’ll be filming like a pro in just a minute or less.
What we used
The Short Version
- Open your Settings app
- Tap on ‘Camera’
- Tap on record video
- Select one of the options to shoot in 4K definition
- Open your camera app, and get filming!
How to record 4K footage on your iPhone: Step-By-Step
Step
1Open your Settings app
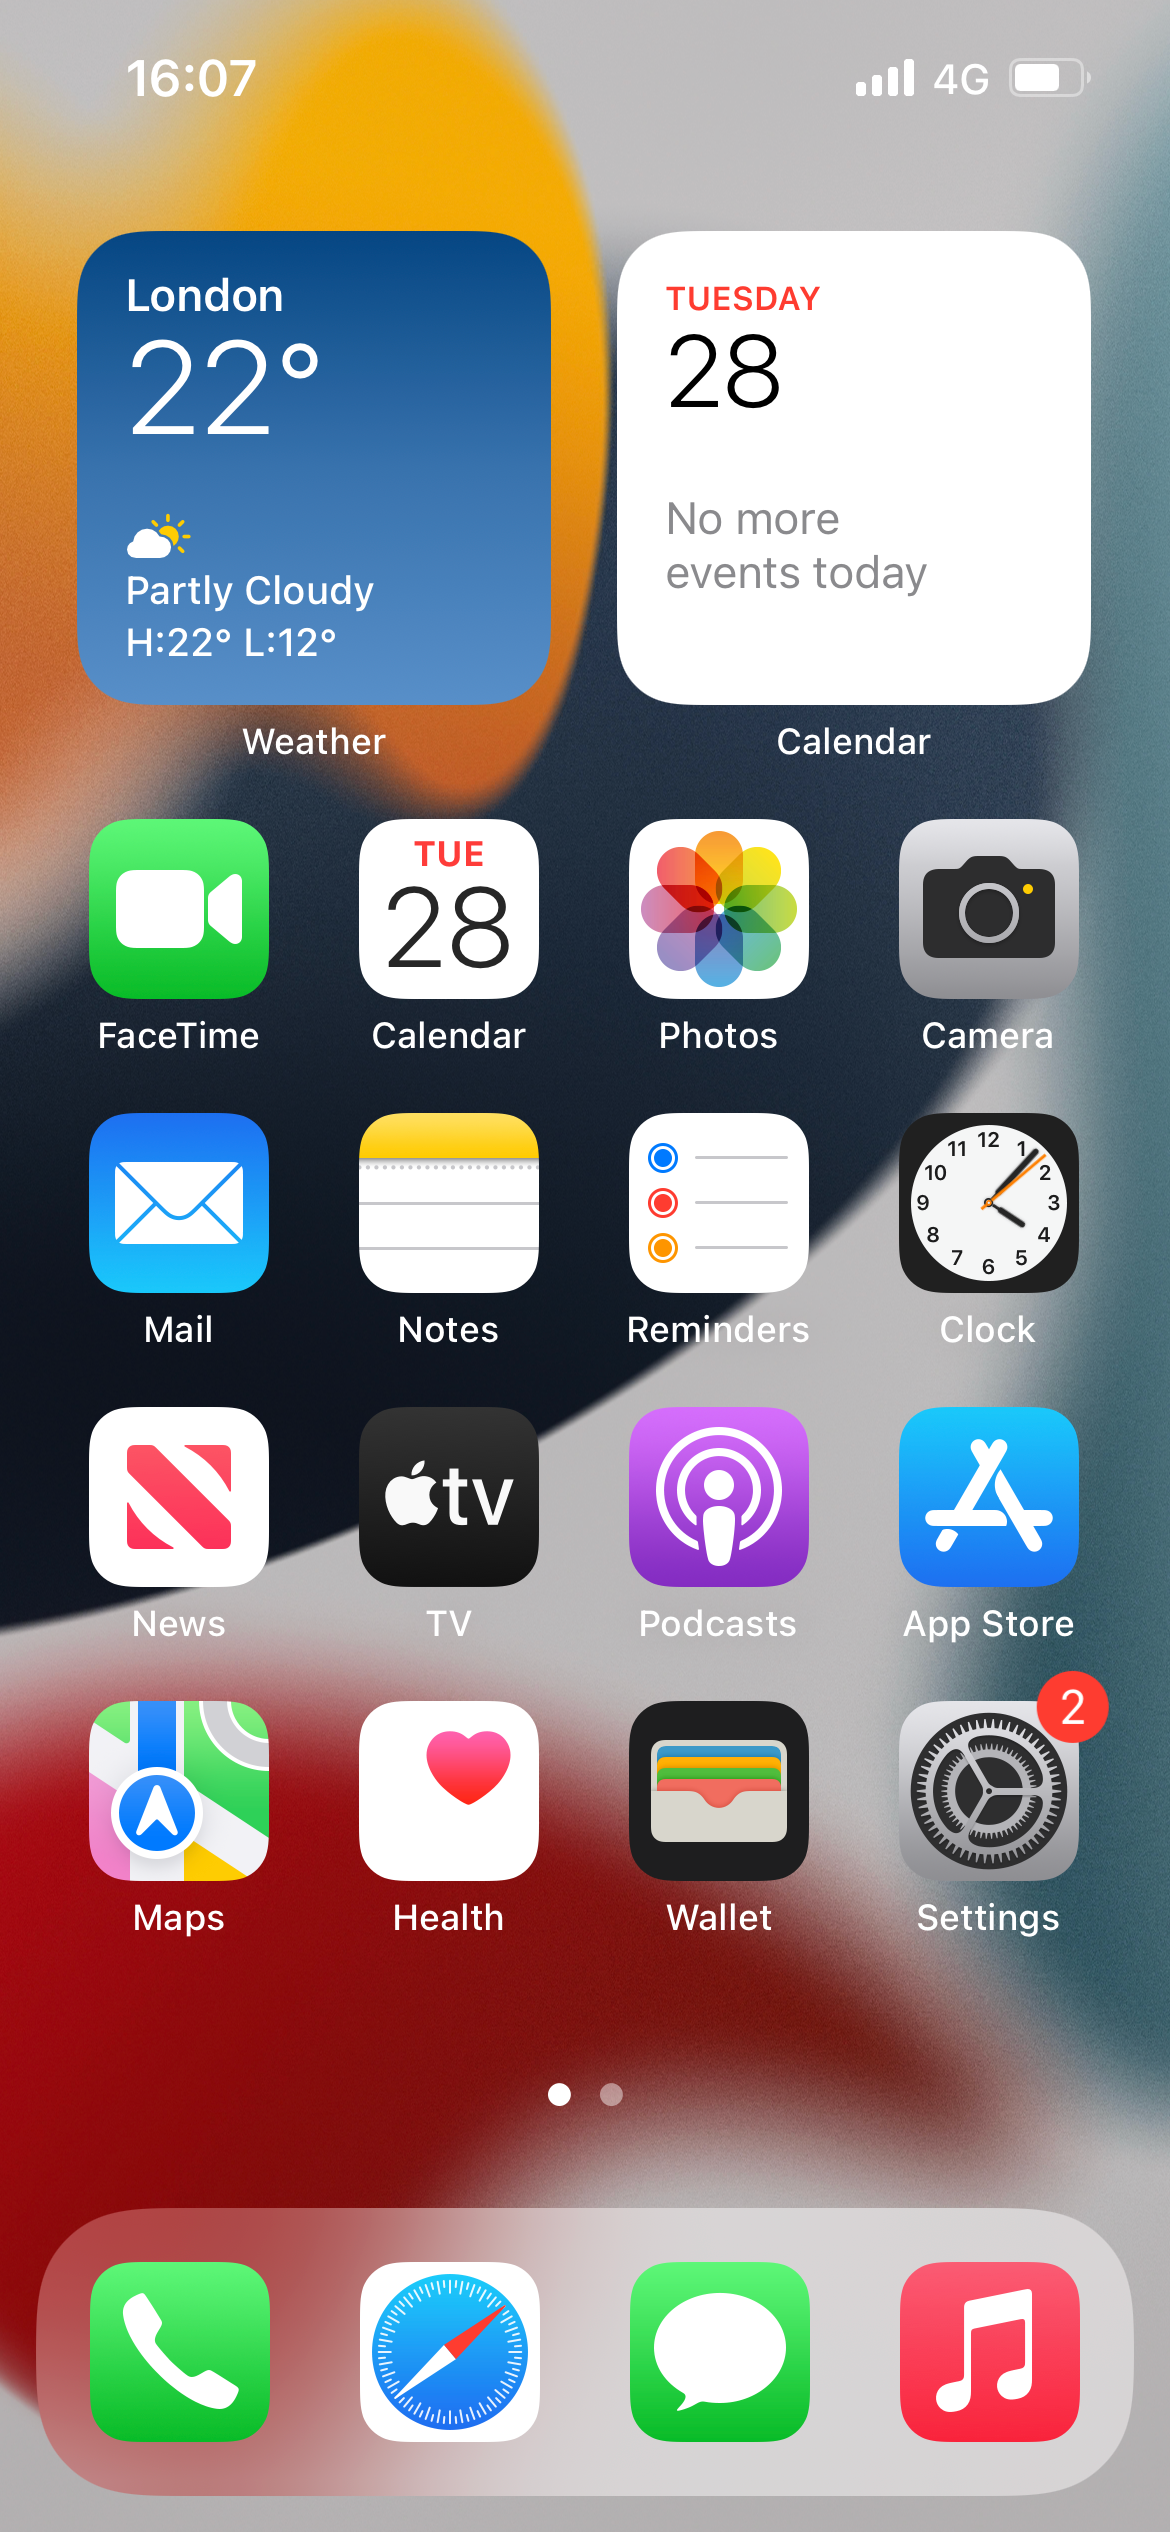
To start, open the Settings app on your iPhone’s home screen. It’s the one that looks like a mechanical cog.

Step
2Tap on ‘Camera’
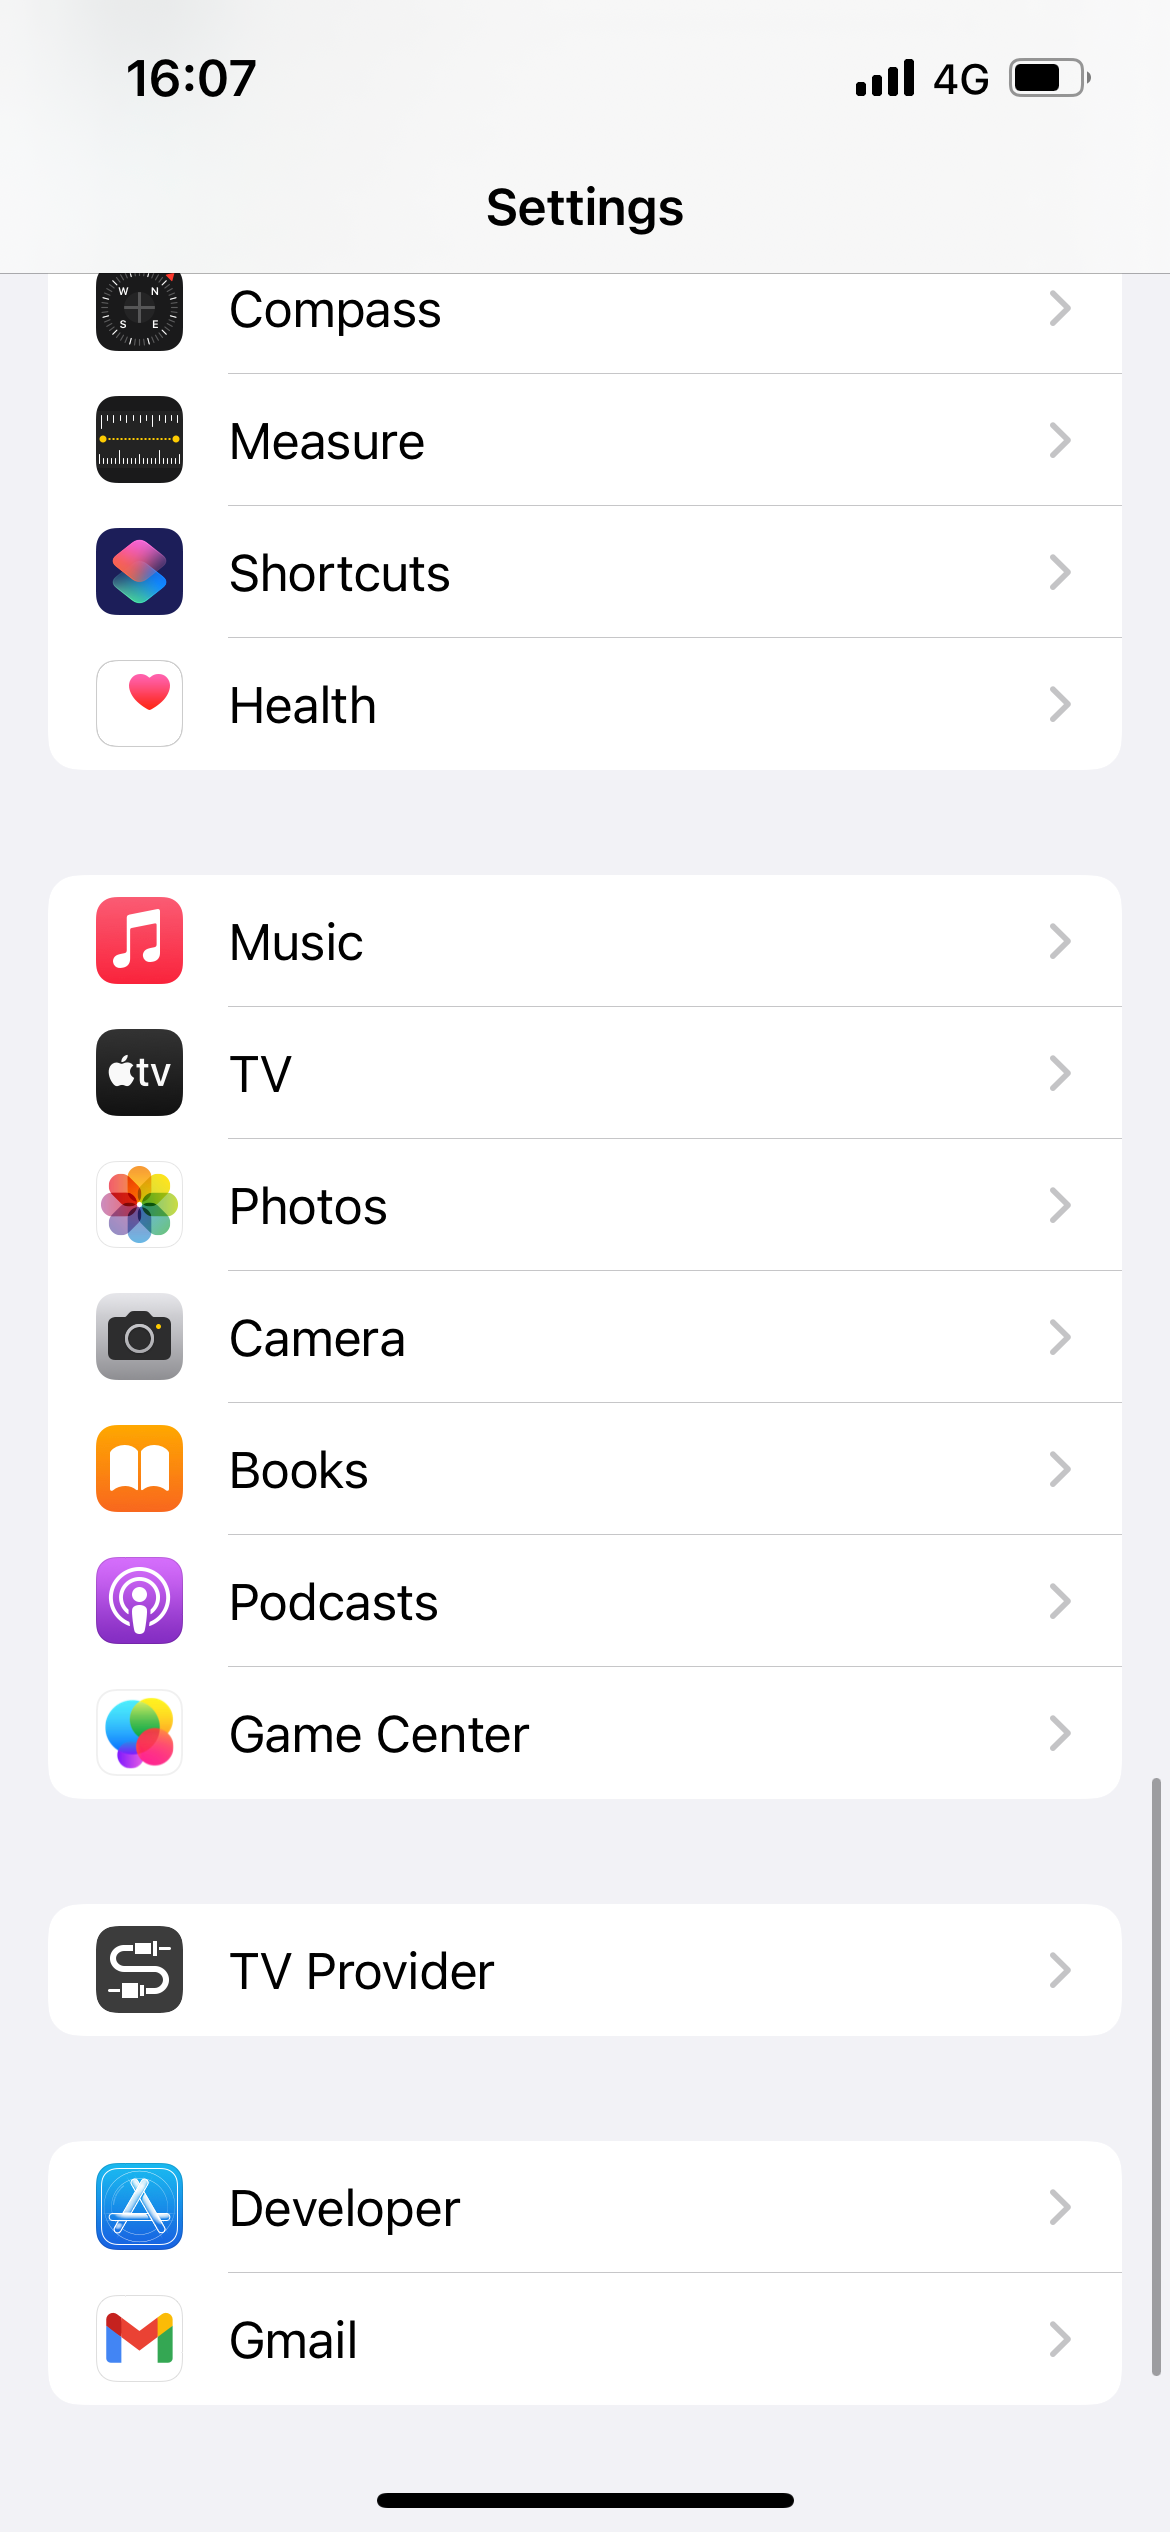
Scroll down the menu until you see the option ‘Camera’, with its accompanying icon. Tap on this.

Step
3Tap on ‘Record Video’
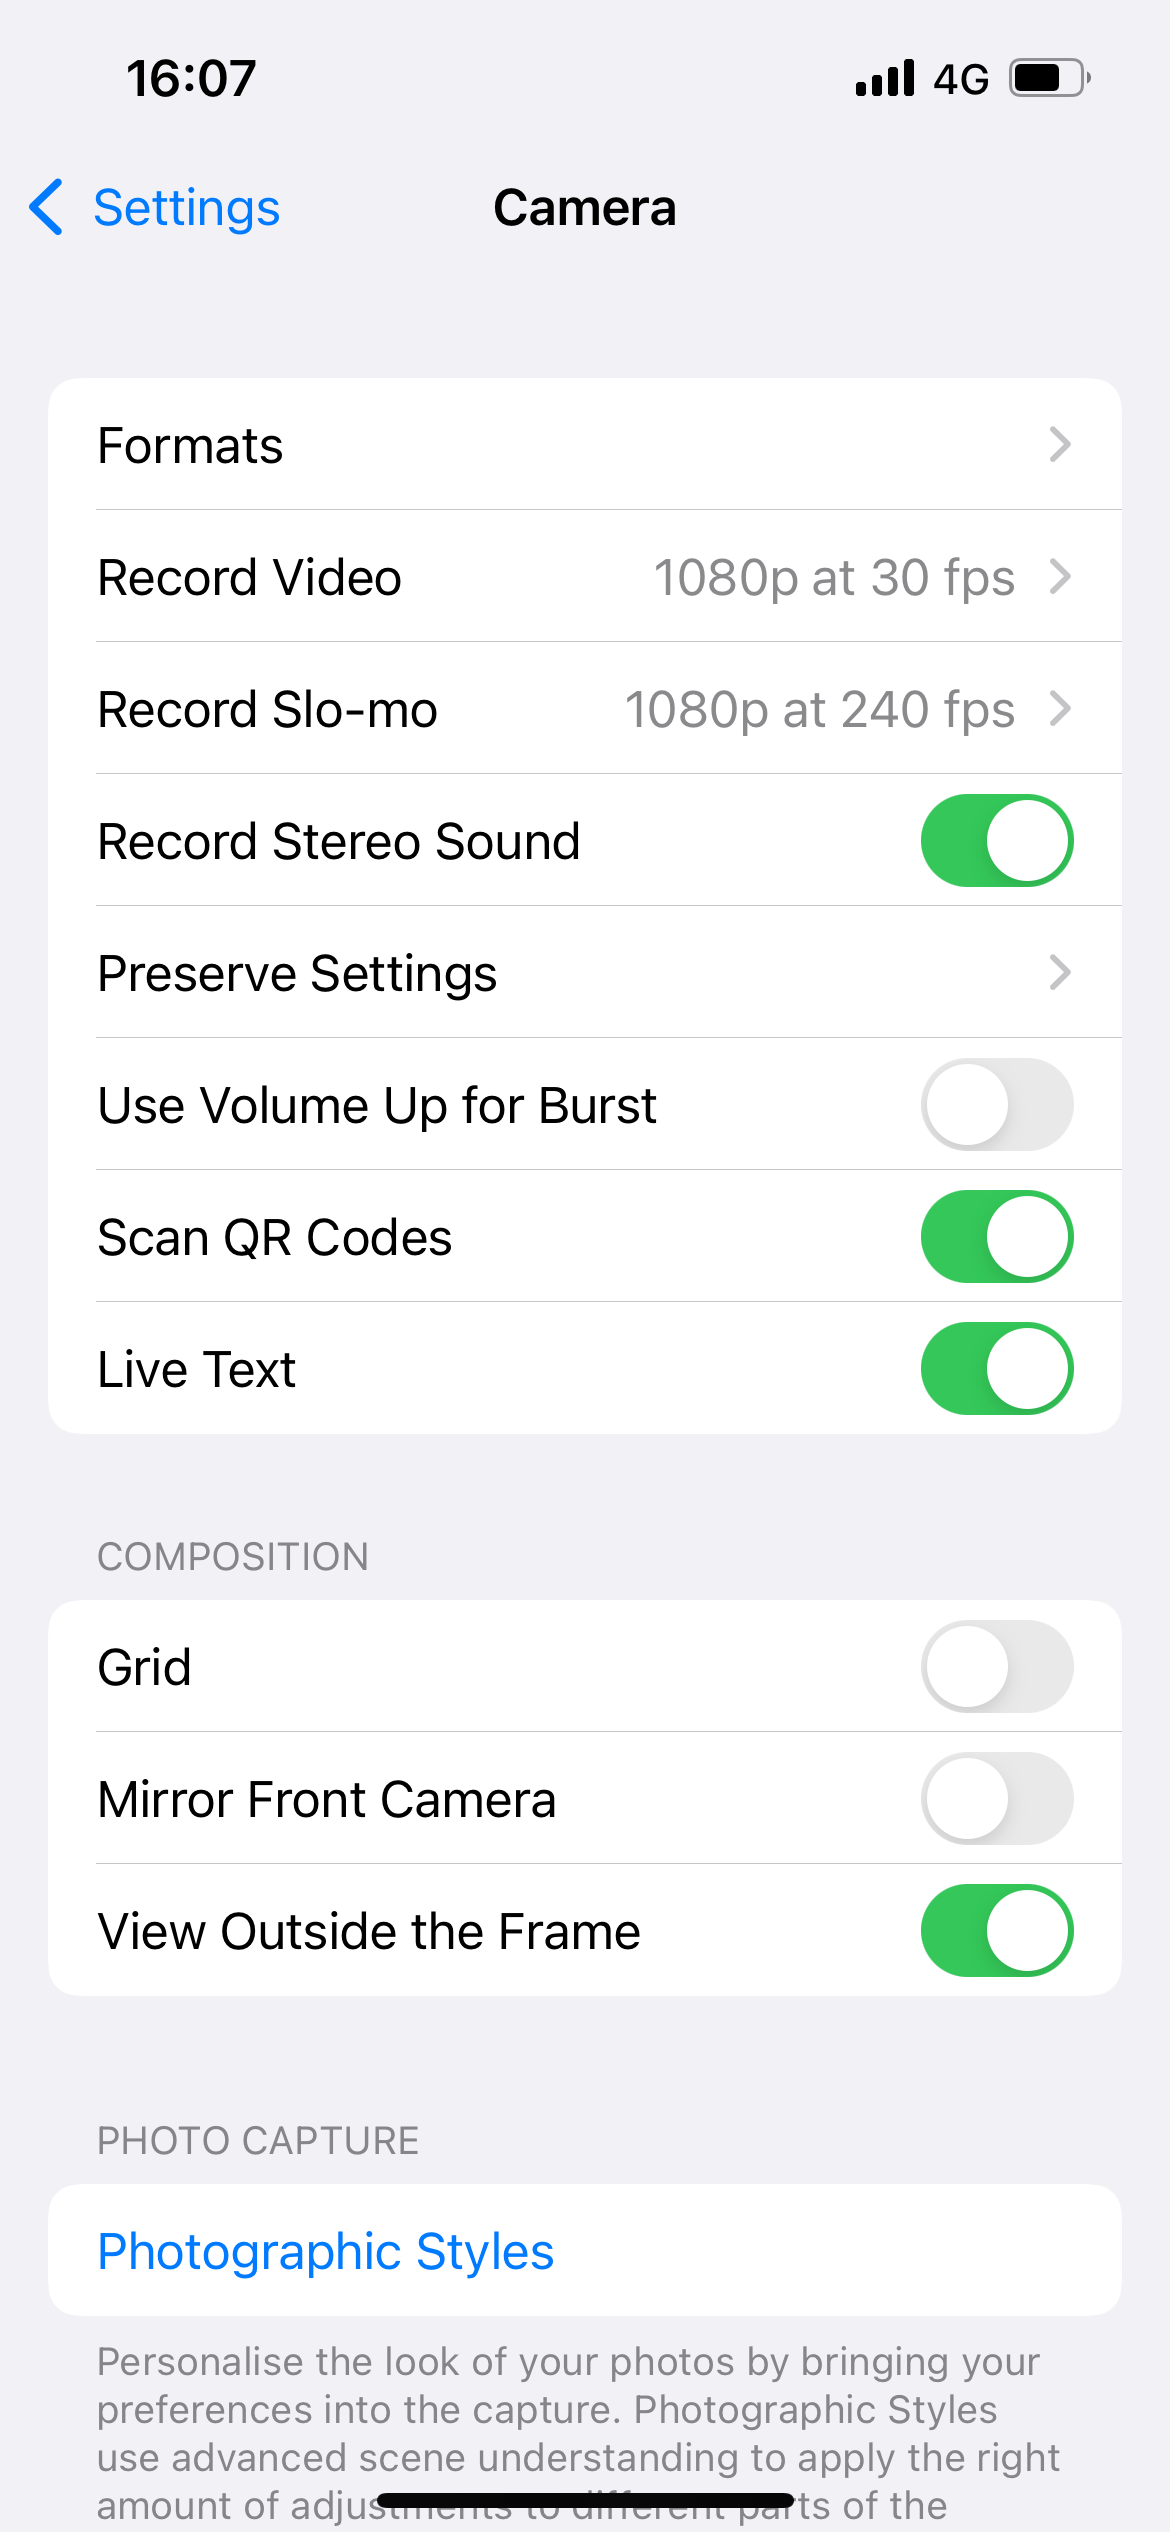
Now that you’ve opened up your camera’s setting, click on the ‘Record Video’ option that’s near the top of the display

Step
4Select one of the options to shoot in 4K definition
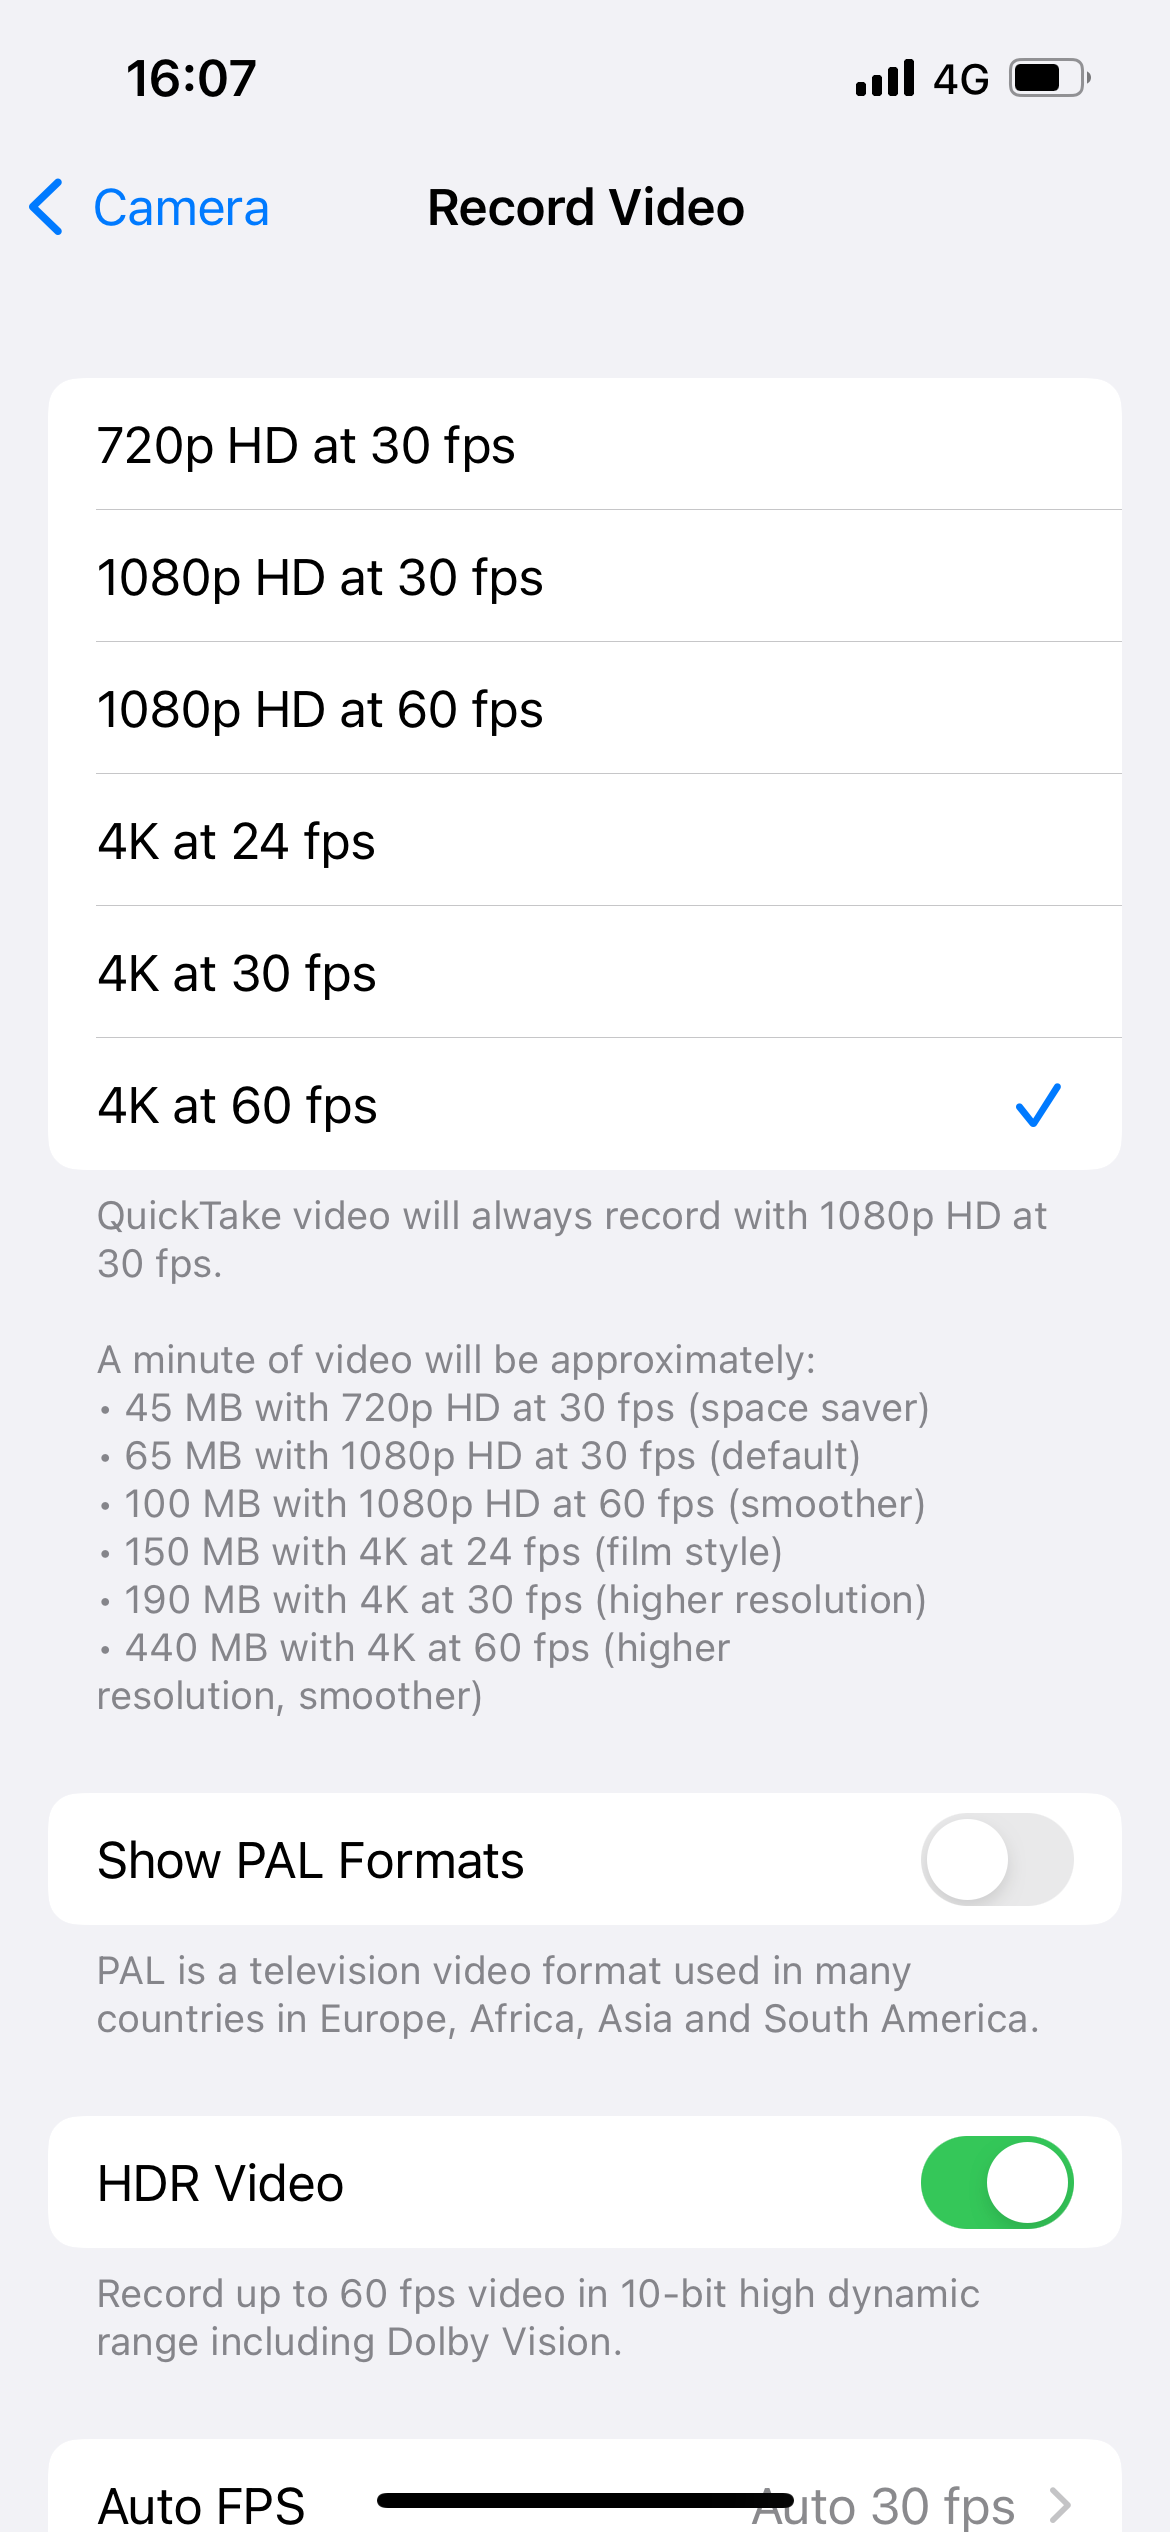
From the menu of options, tap on one which states ‘4K’. The accompanying ‘fps’ initialism stands for frames per second, and the higher this number is the smoother your recording will be (though it will also take up more storage space).

Step
5Open your camera app, and get filming!
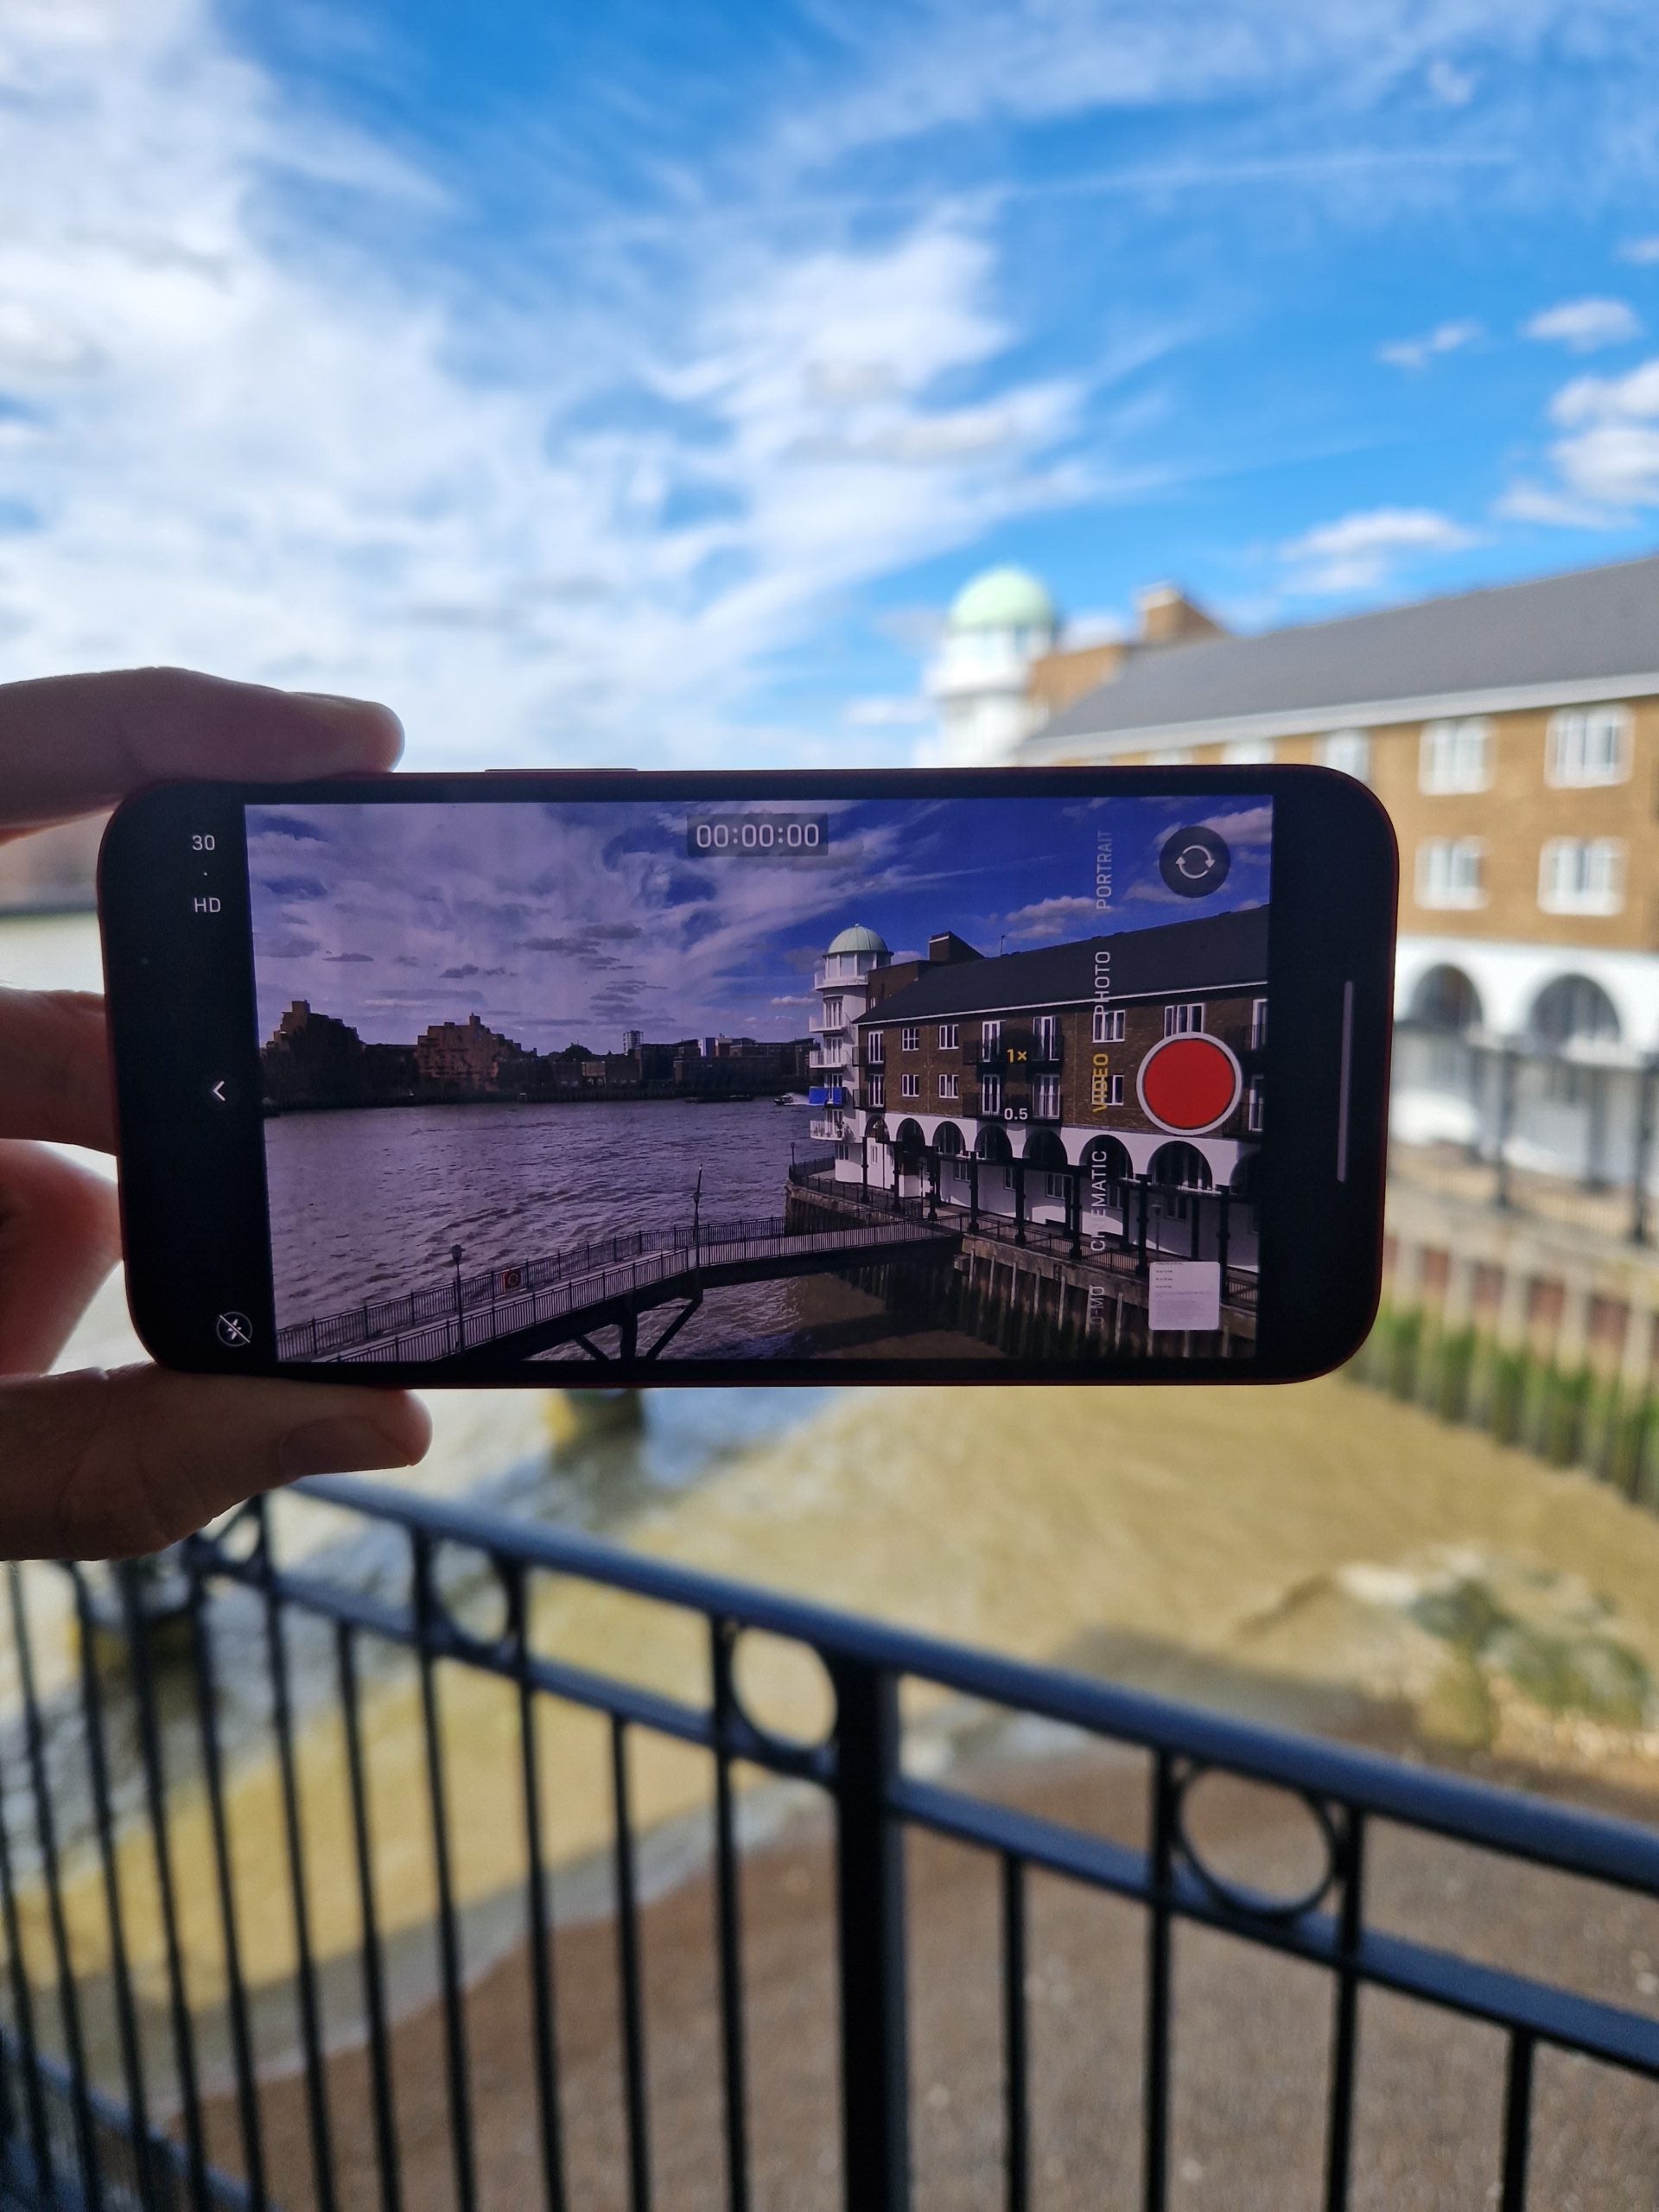
Now that your camera is set to shoot at 4K definition, simply open up the camera app, select Video from the options at the side, and tap the red button to start capturing in 4K

Troubleshooting
No; for example, my iPhone 13 was set to recording 1080p footage at 30fps by default
Earlier models of the iPhone don’t have this capability, but all models from the iPhone 6s and later can do it
4K footage measures 3840 x 2160 pixels


