
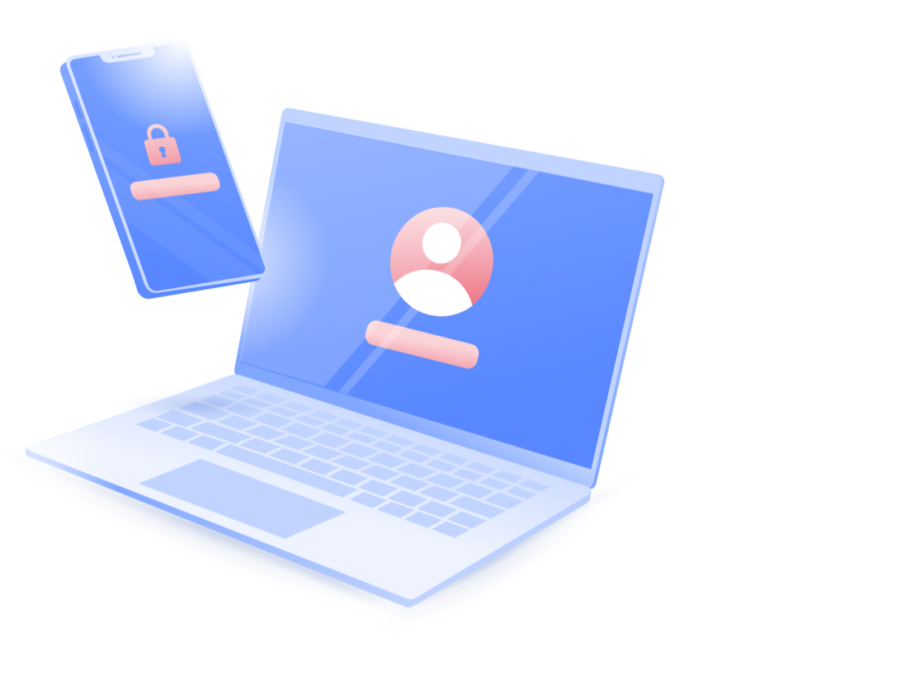
One of the biggest benefits of subscribing to NordVPN is having the peace of mind that your data isn’t being snooped on. But such benefits become null and void if hackers are easily able to access your Nord account.
Fortunately, NordVPN offers the option to set up multi-factor authentication. This makes your NordVPN account significantly more secure.
This security feature is buried away in the settings though, so isn’t immediately obvious for NordVPN subscribers. So we’ve decided to help out by creating this guide to show how you can set it up within a matter of minutes.
And if you haven’t already got a subscription to NordVPN, or you fancy upgrading to unlock more features, we recommend taking advantage of the latest deal. By using the ‘TrustedReviews’ code at checkout, you’ll only have to pay £2.56 per month for NordVPN, which is packaged with numerous other features.

Save 81% on a VPN with SurfShark
Surfshark has dropped the price of its VPN to £1.94 a month. Head over to Surfshark now to pay a one time price of £46.44 for 24 months of Surfshark and save 81%.
- Surfshark
- 81% off
- £1.94 a month
What you’ll need:
- A Nord VPN account
- A computer or tablet
- A smartphone with an Authenticator app
The Short version
- Log into your NordVPN account on a web browser
- Click on Manage Account
- Select the Multi-Factor Authentication tab
- Press Manage MFA
- Click Set Up next to the Authenticator App option
- Scan the QR code with your phone
- Choose your preferred Authenticator app on phone
- Save your backup codes
Step
1Log into your NordVPN account on a web browser

It’s also possible to use your NordVPN app, although this will just direct you to a web browser later on in the process.
Step
2Click on Manage Account
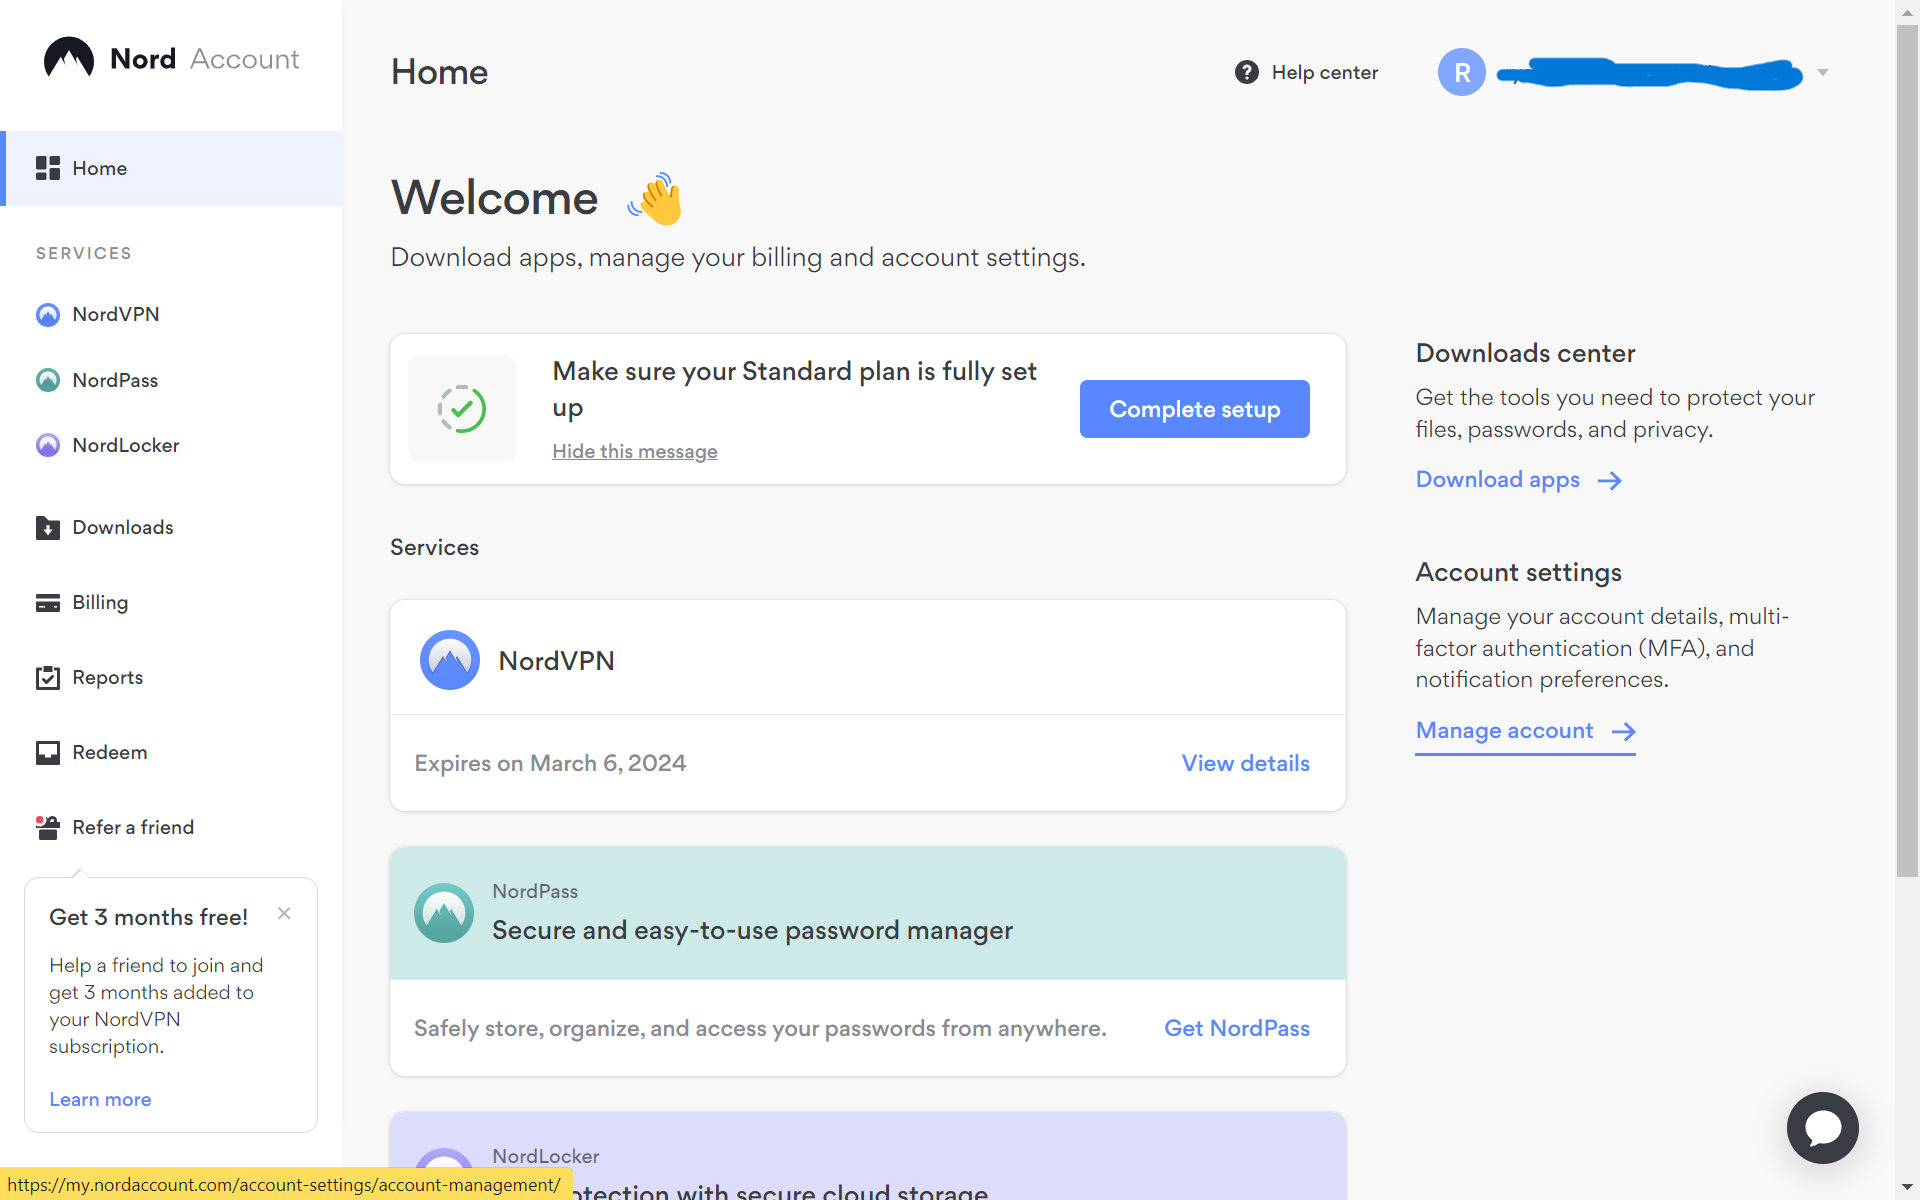
On the right-hand side, you’ll find the option to dive into your account’s settings.
Step
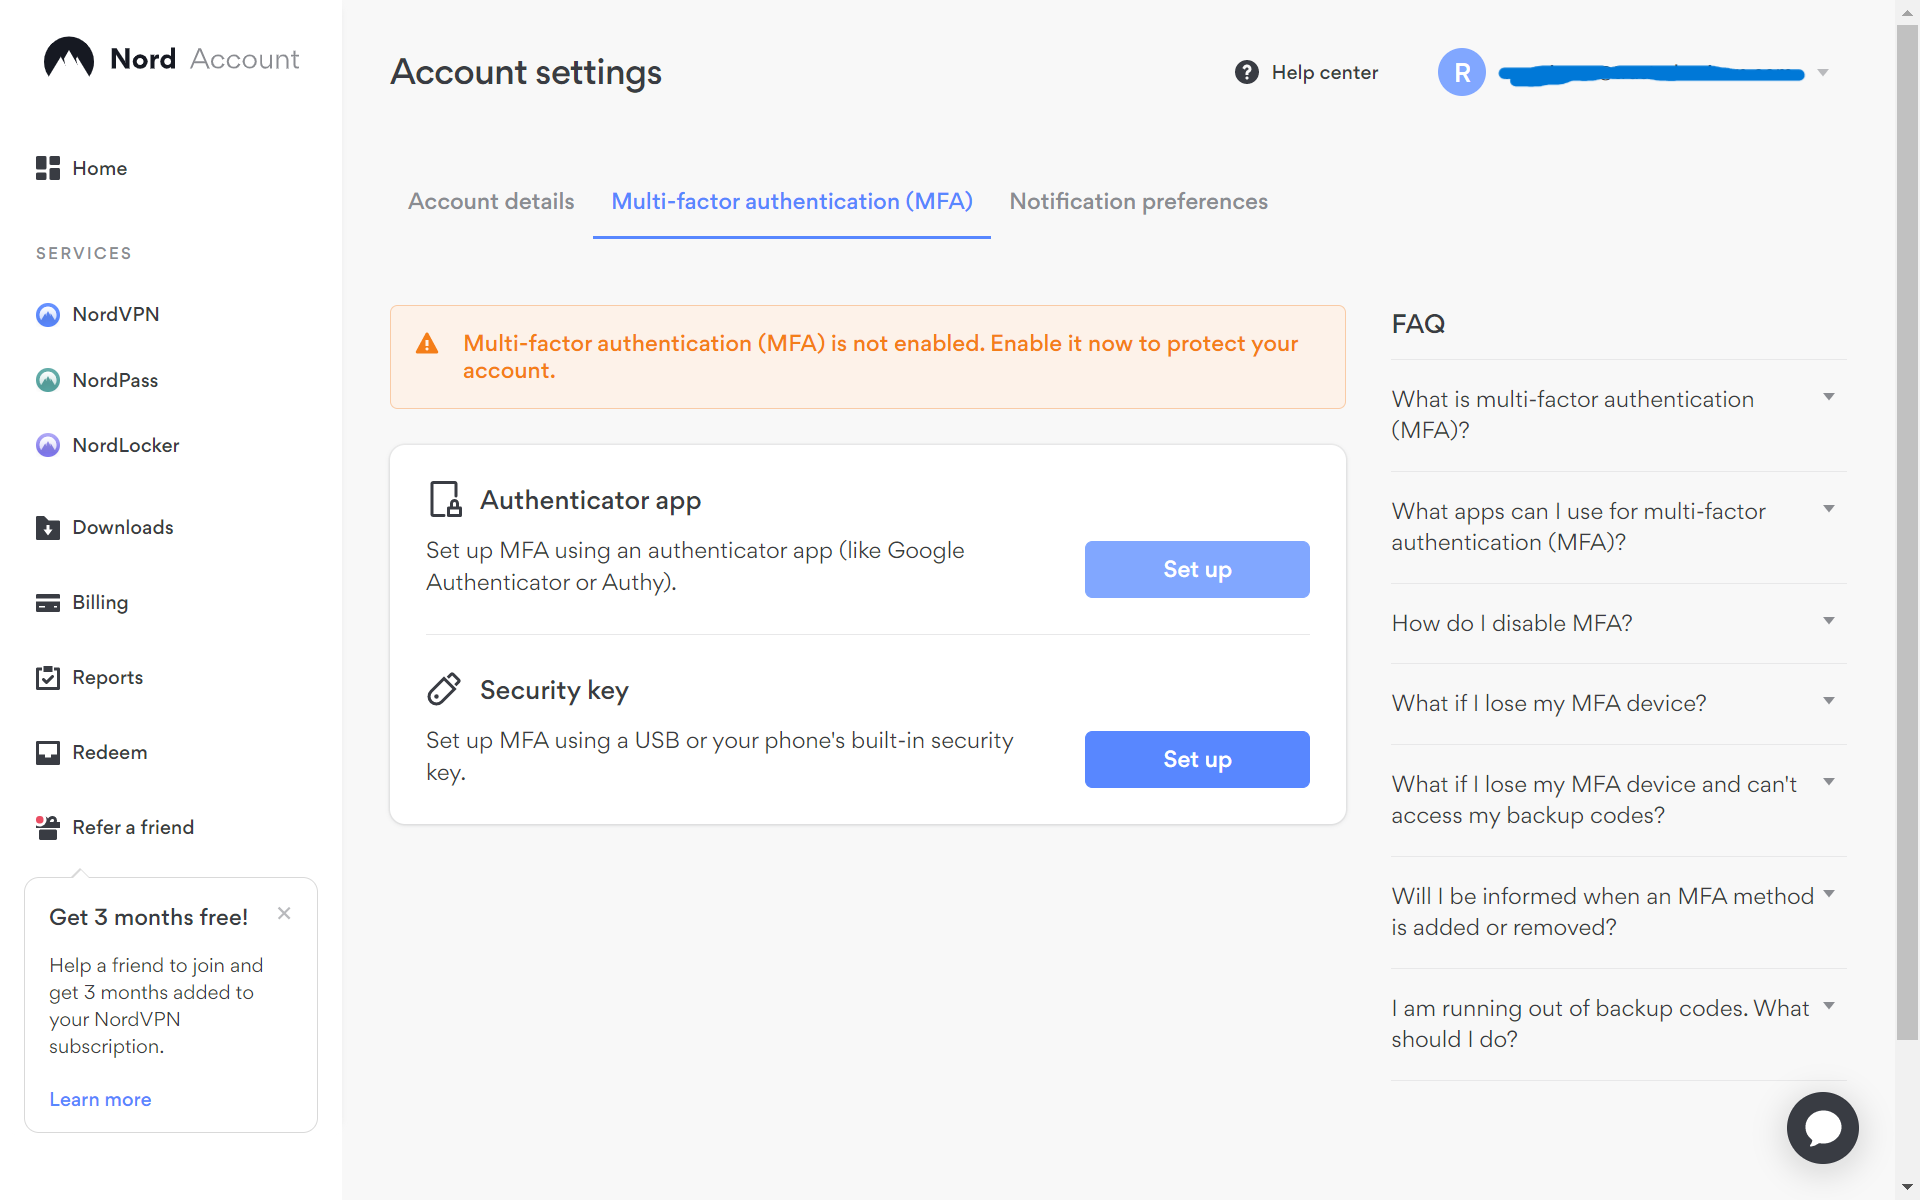
3Select the Multi-Factor Authentication tab
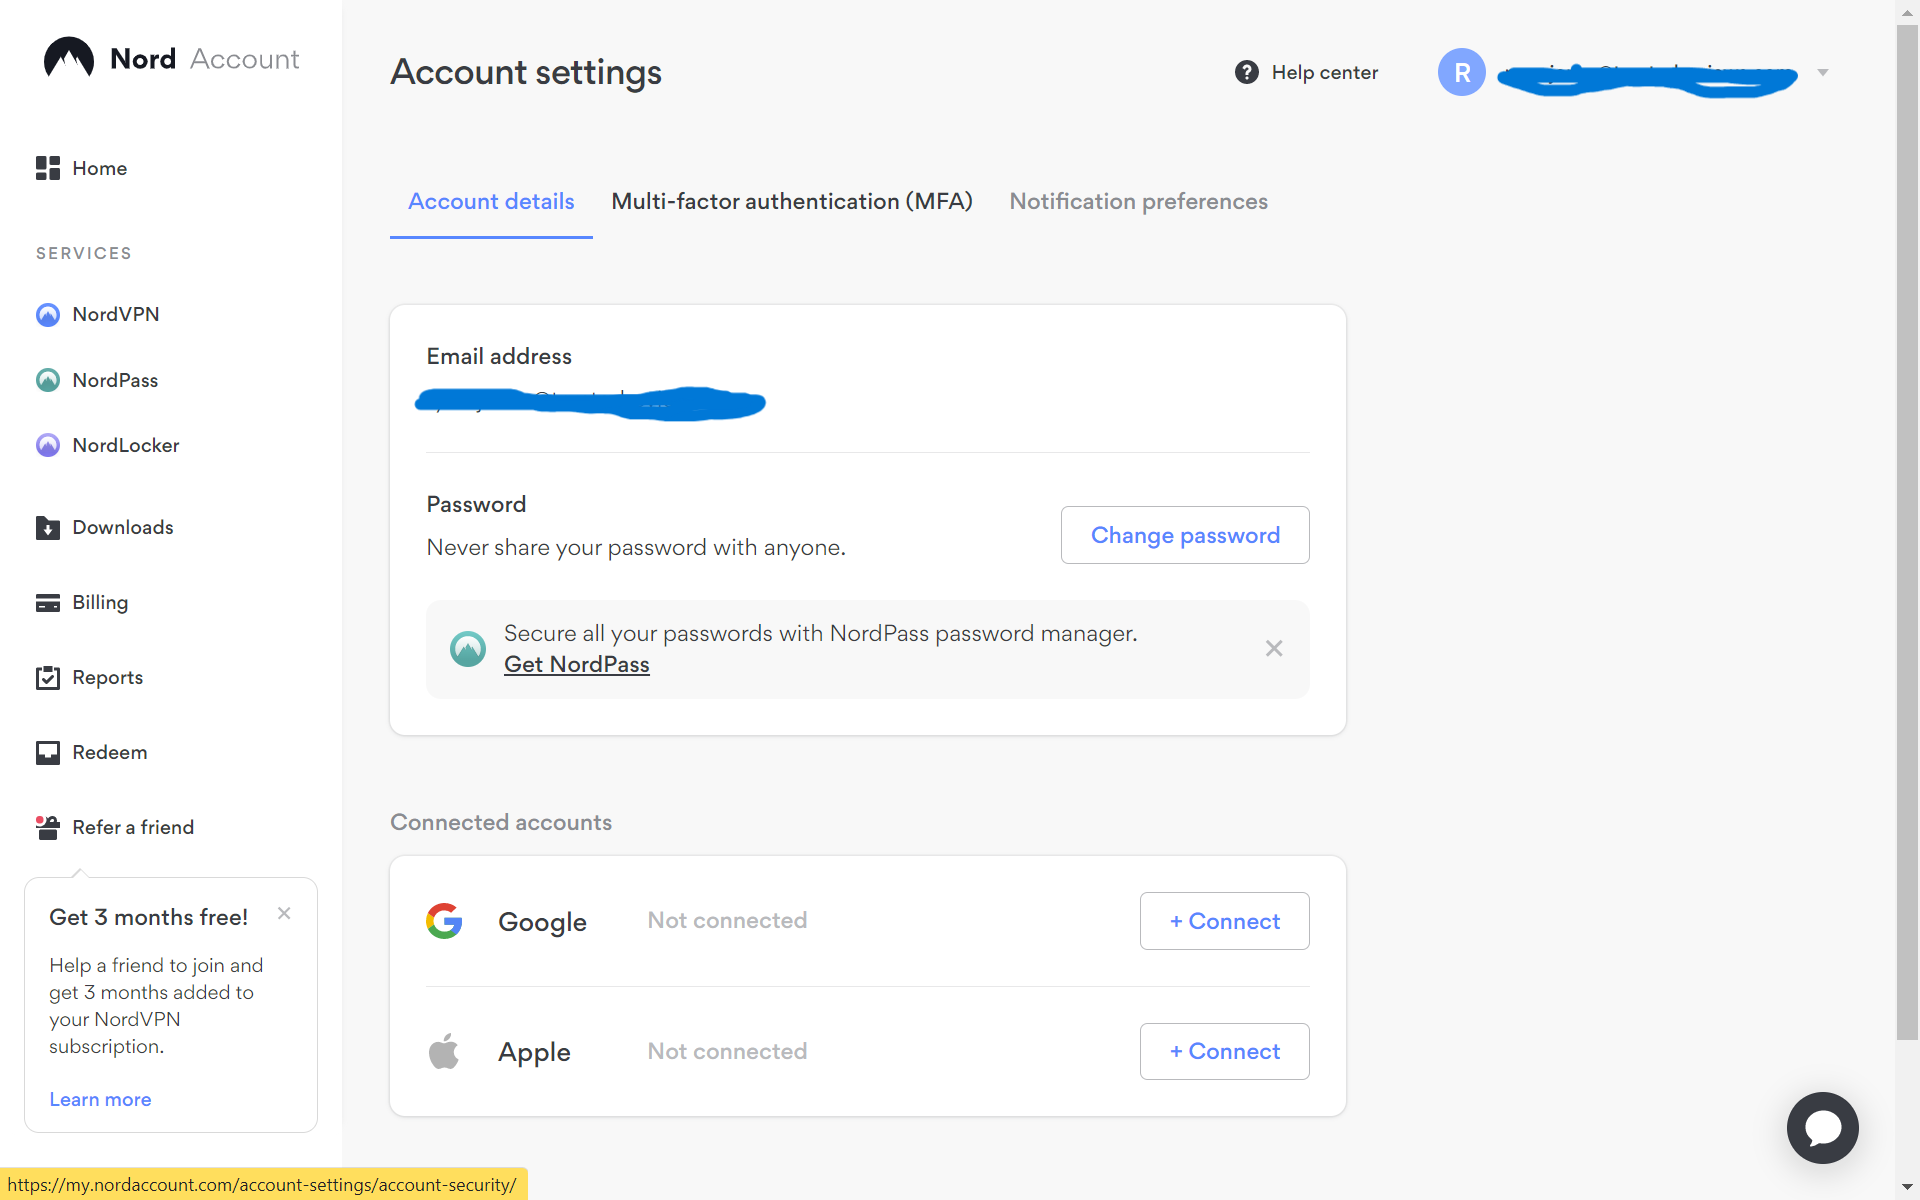
You’ll find this option right at the top, to the right-hand side of Account Details, which should be highlighted in blue.
Step
4Press Manage MFA
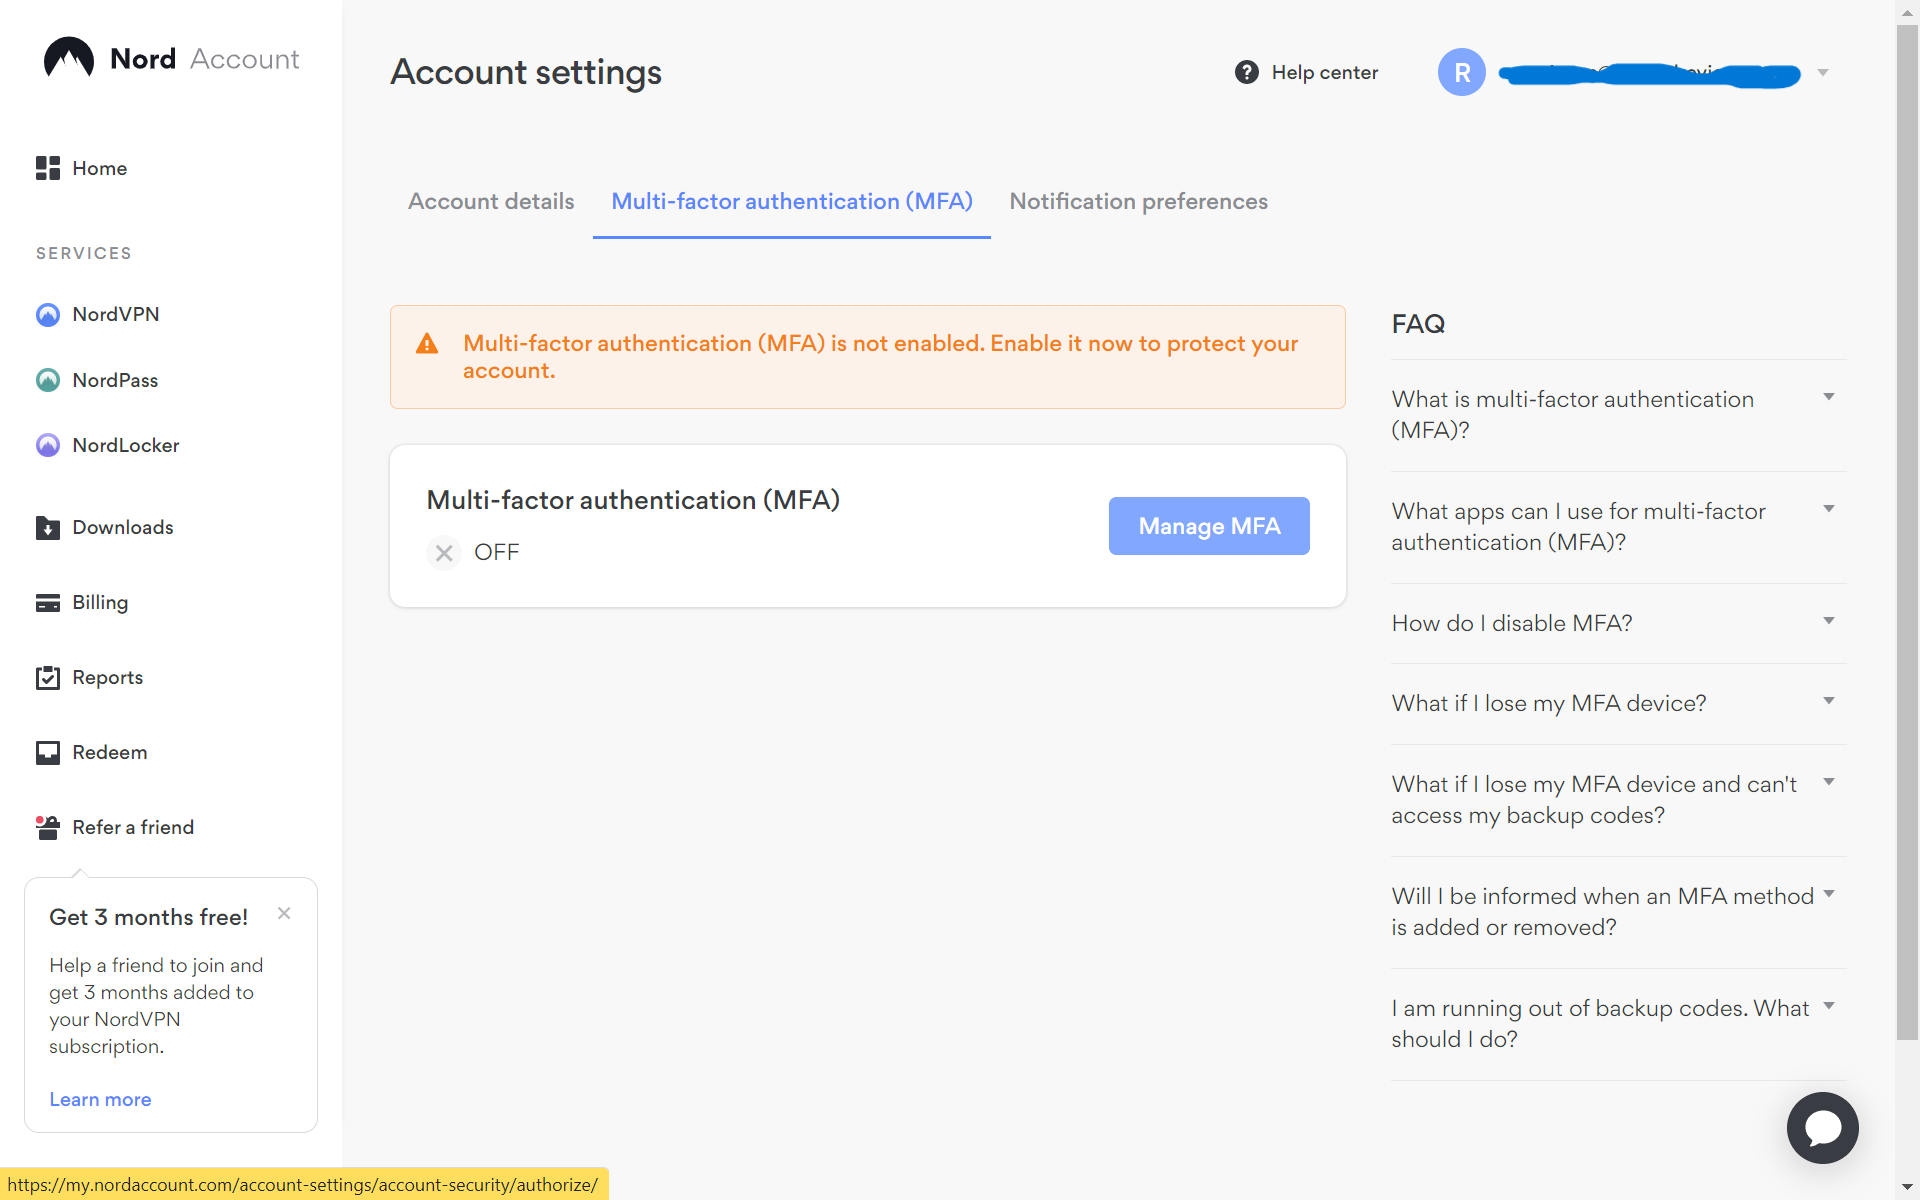
You should find this on a blue button.
Step
5Click Set Up next to the Authenticator App option
You’ll be presented with two options for multi-factor authentication. We used the Authenticator App option.
Step
6Scan the QR code with your phone
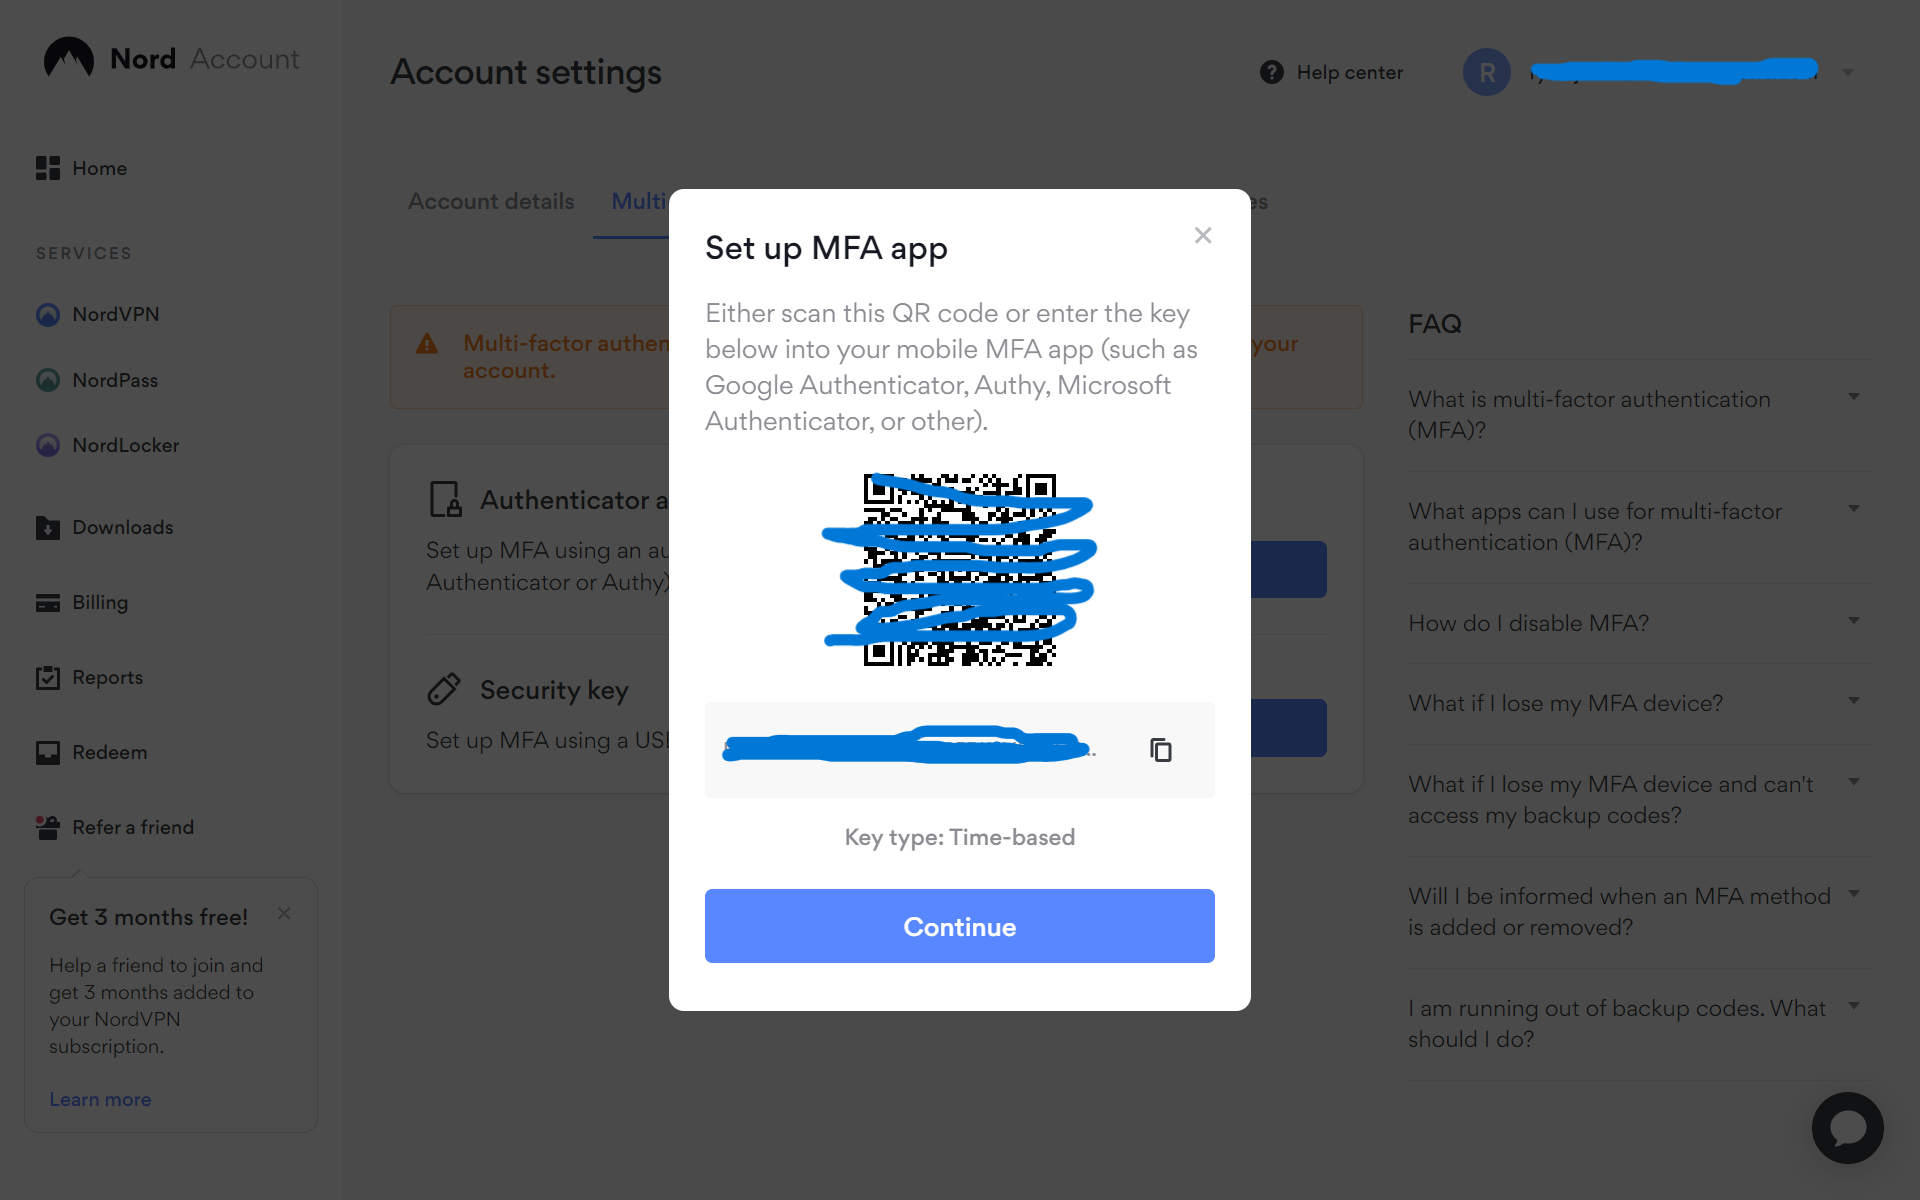
A QR code will then flash up on your computer screen. Open up the camera app on your phone, scan the code, and then a link should pop up.
And if you don’t want to use the QR code, you’ve also the option to paste a key code into your authentication app of choice.Step
7Choose your preferred Authenticator app on phone
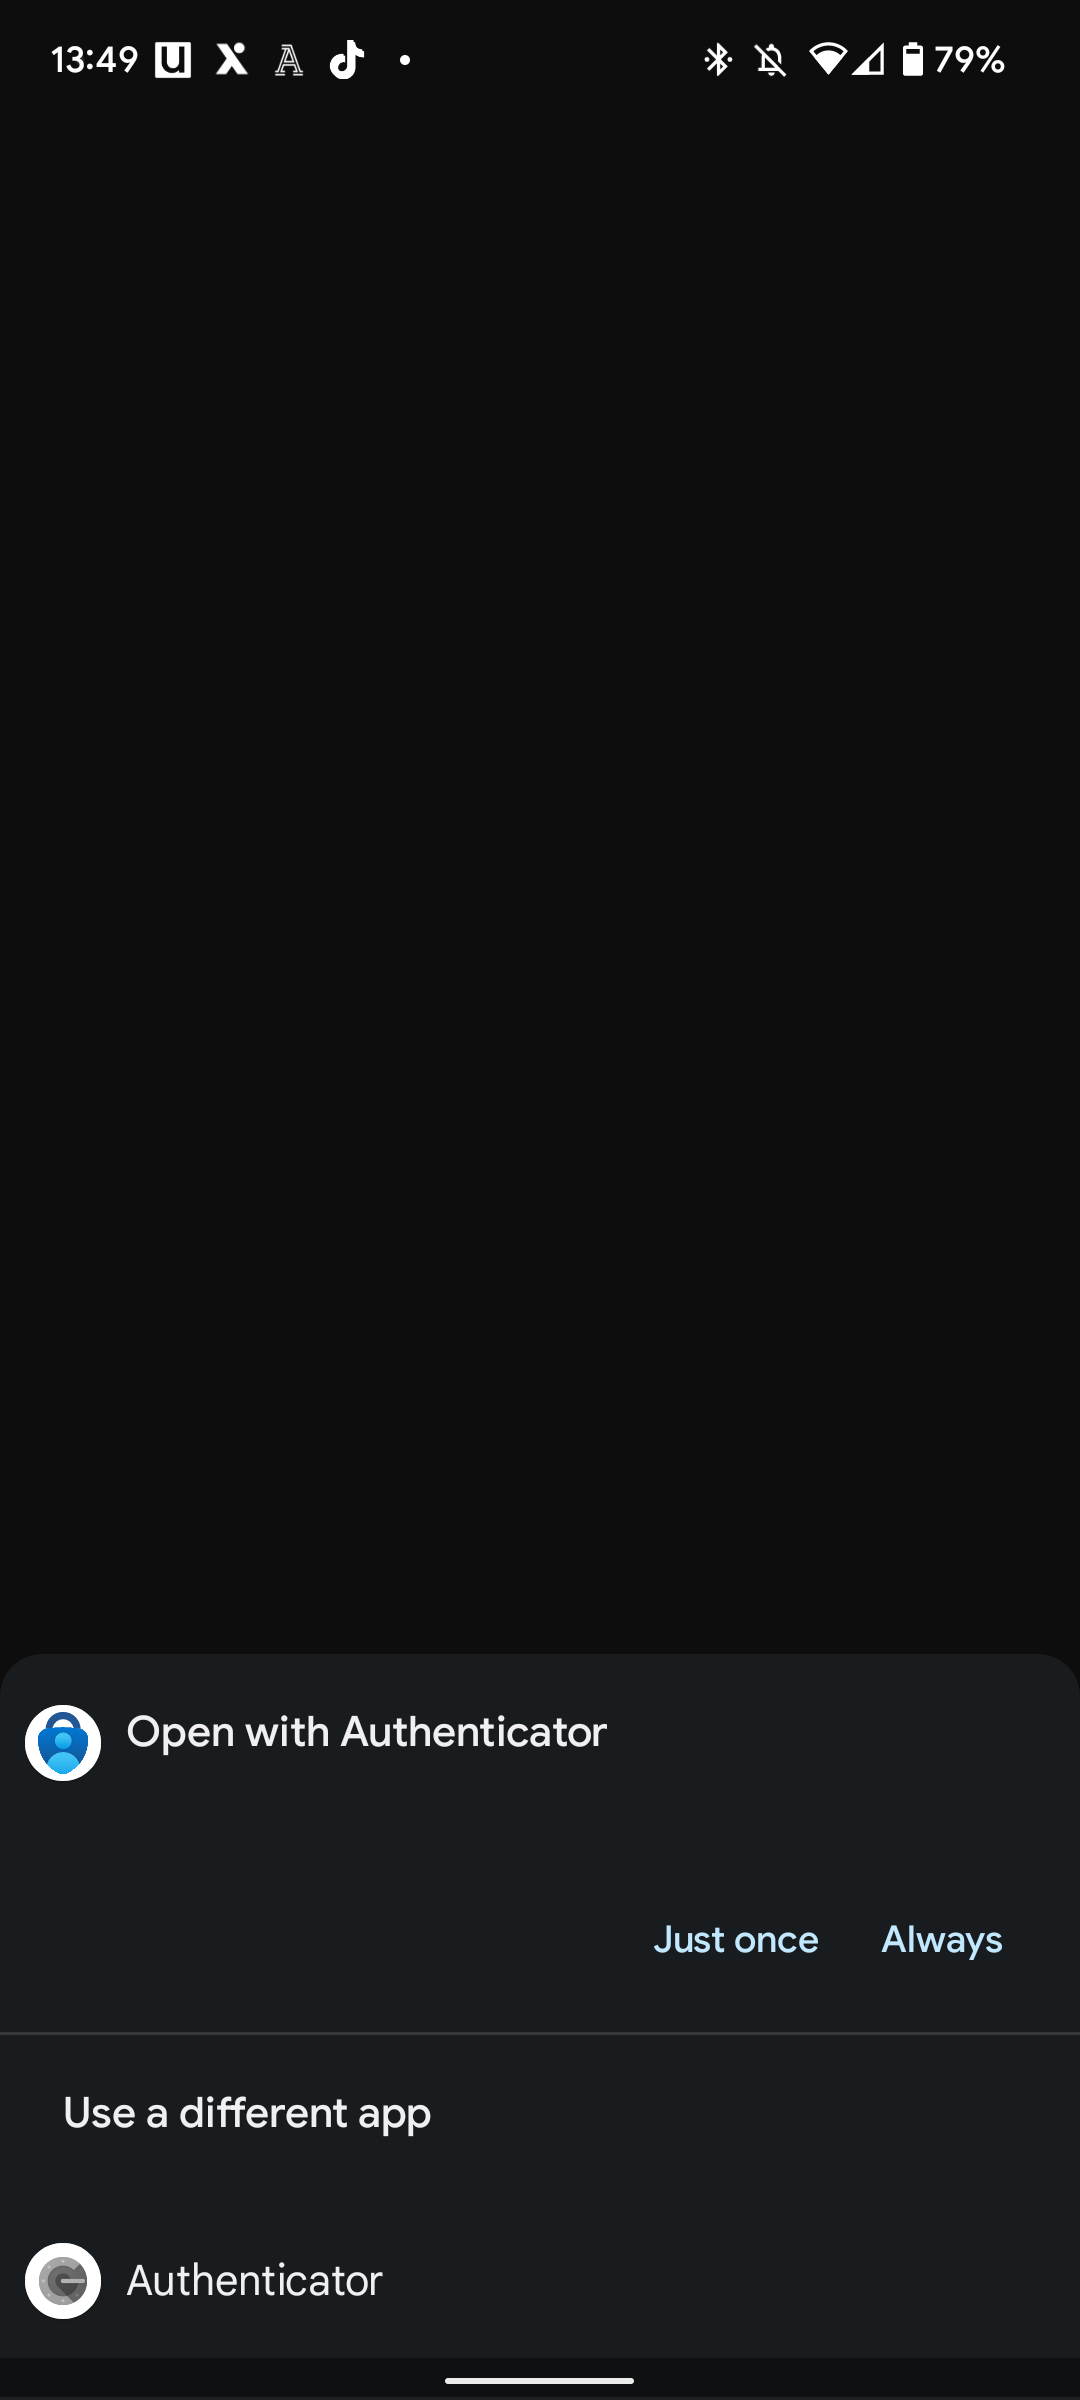
After scanning the QR code on your smartphone, you should get the option to choose any of your installed authentication apps. If you haven’t already got an authenticator app, you can get the likes of Google Authenticator and Microsoft Authenticator from your app store.
Step
8Save your backup codes
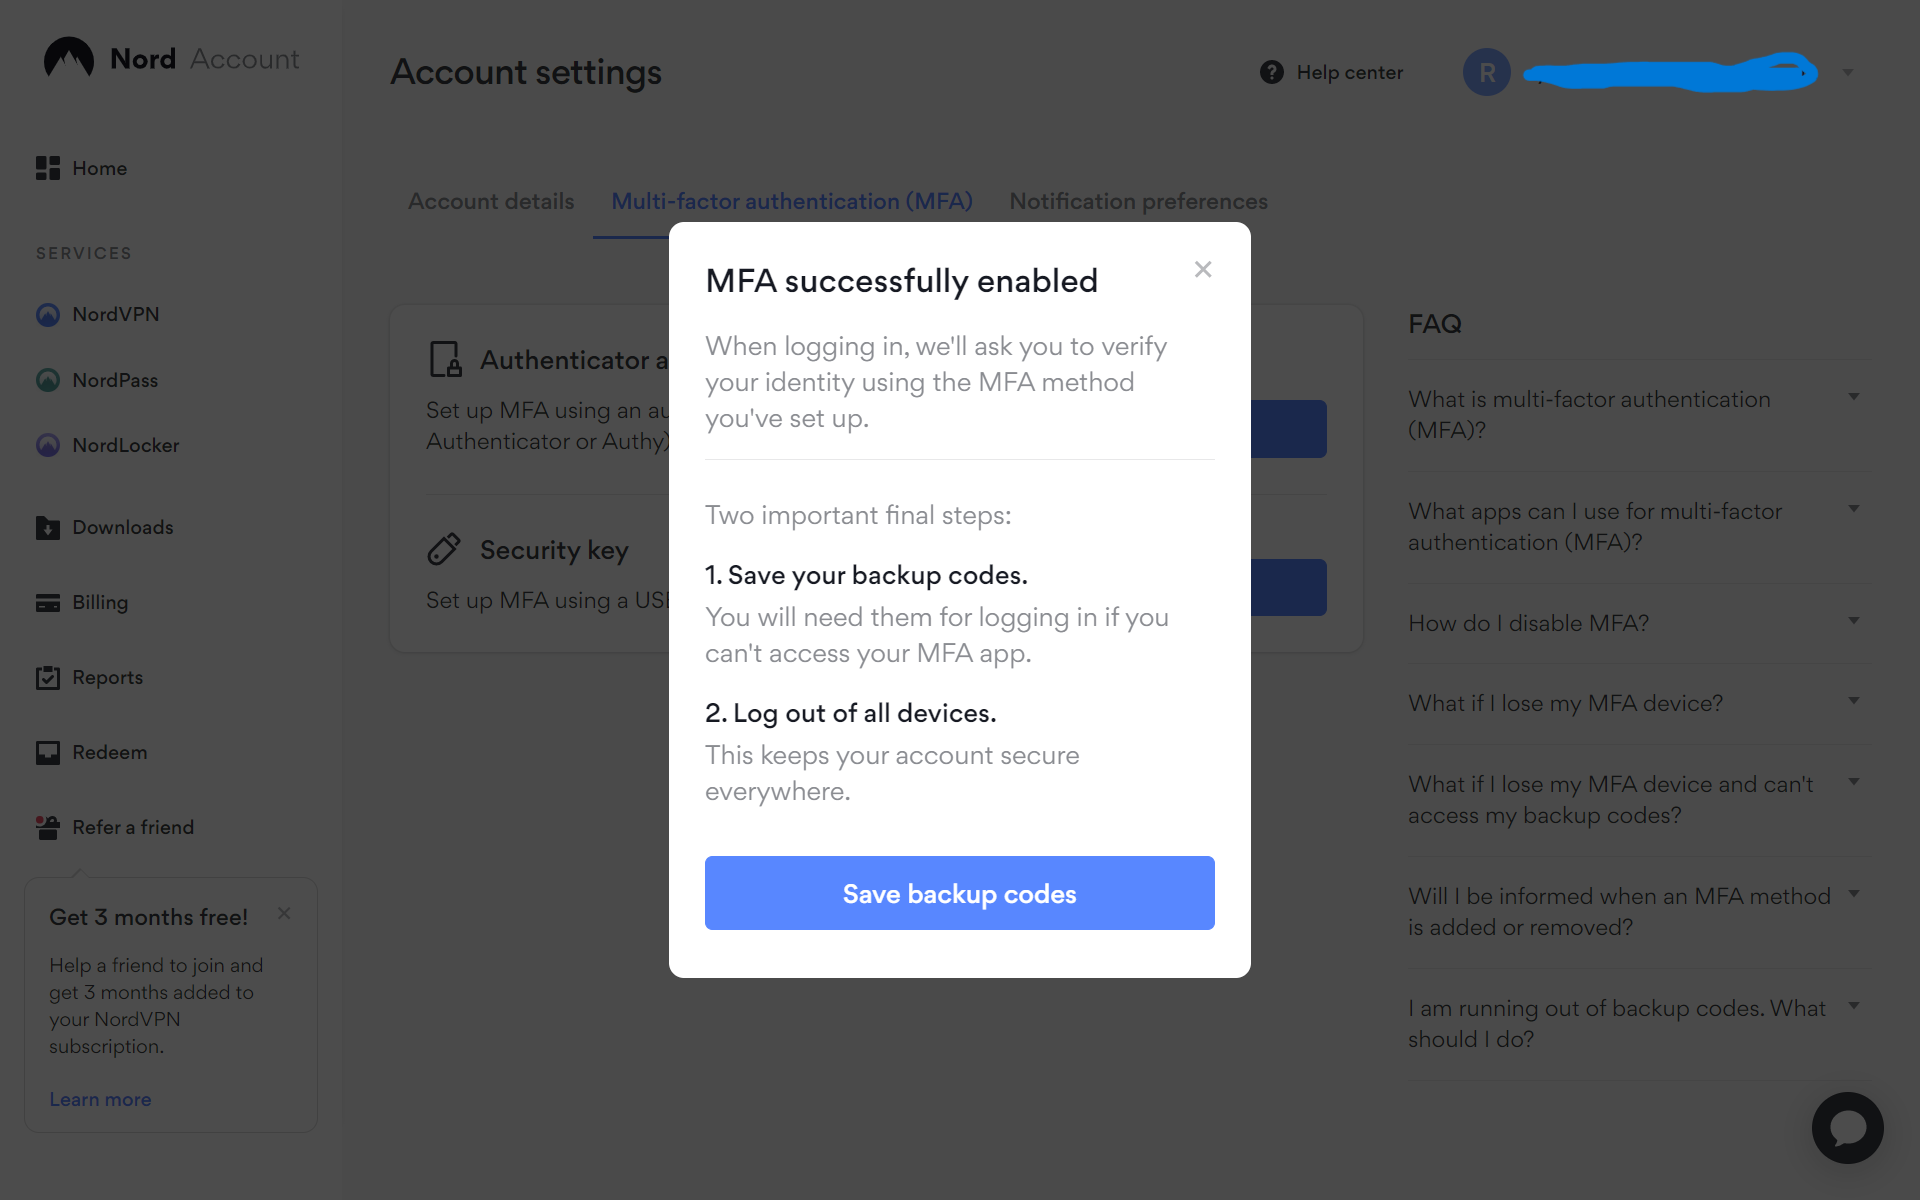
Multi-factor authentication should now be complete! It’s important to note the provided backup codes from Nord though, as they will allow you to access your account if your phone is ever broken, stolen or simply out of charge.
FAQs
Nord supports a range of MFA options, including the likes of Google Authenticator, Microsoft Authenticator and Authy.
Yes, the QR code is not mandatory, which may please those who’s smartphone camera is no longer working. Nord also provides a key code, which you can enter directly into your authenticator app to link it to your Nord account.
You might like…


Editorial independence
Editorial independence means being able to give an unbiased verdict about a product or company, with the avoidance of conflicts of interest. To ensure this is possible, every member of the editorial staff follows a clear code of conduct.
Professional conduct
We also expect our journalists to follow clear ethical standards in their work. Our staff members must strive for honesty and accuracy in everything they do. We follow the IPSO Editors’ code of practice to underpin these standards.