
Apple Pay is a very handy service, allowing you to make contactless payments with your phone without the need for a separate card. Apple’s payment service can also be used on an Apple Watch, and here’s how to get it set up.
In the UK, Apple Pay works wherever contactless payments are taken and on other services too, like the London Underground. While other countries have slightly different compatibility, it remains pretty handy. The handiness is taken to the next level when the Apple Watch is added to the equation, as it means you can pay for your morning coffee with a tap of the wrist.
Before you get started on the below, you’ll want to already have your desired card added to your Apple Wallet on your iPhone. Our how to use Apple Pay is a great starting point for that.
What you’ll need:
- An iPhone
- An Apple Watch with a passcode enabled
- A debit/credit card already added to your iPhone’s Wallet
The Short Version
- Unlock iPhone
- Open the Watch app
- Tap Wallet and Apple Pay
- Choose a card
- Set up Passcode (if required)
- Add in security code
- Agree to the T&Cs
- Make a payment
Step
1Unlock your iPhone
Start off by unlocking your iPhone and navigating to the homescreen.
Step
2Open the Watch app
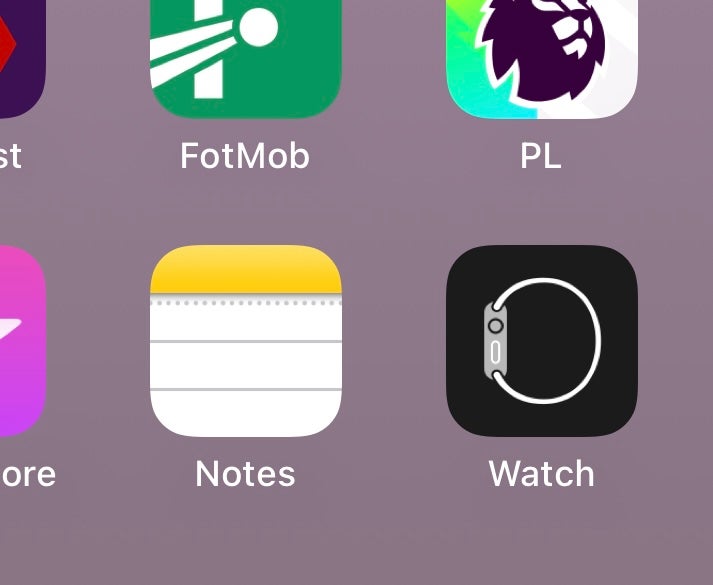
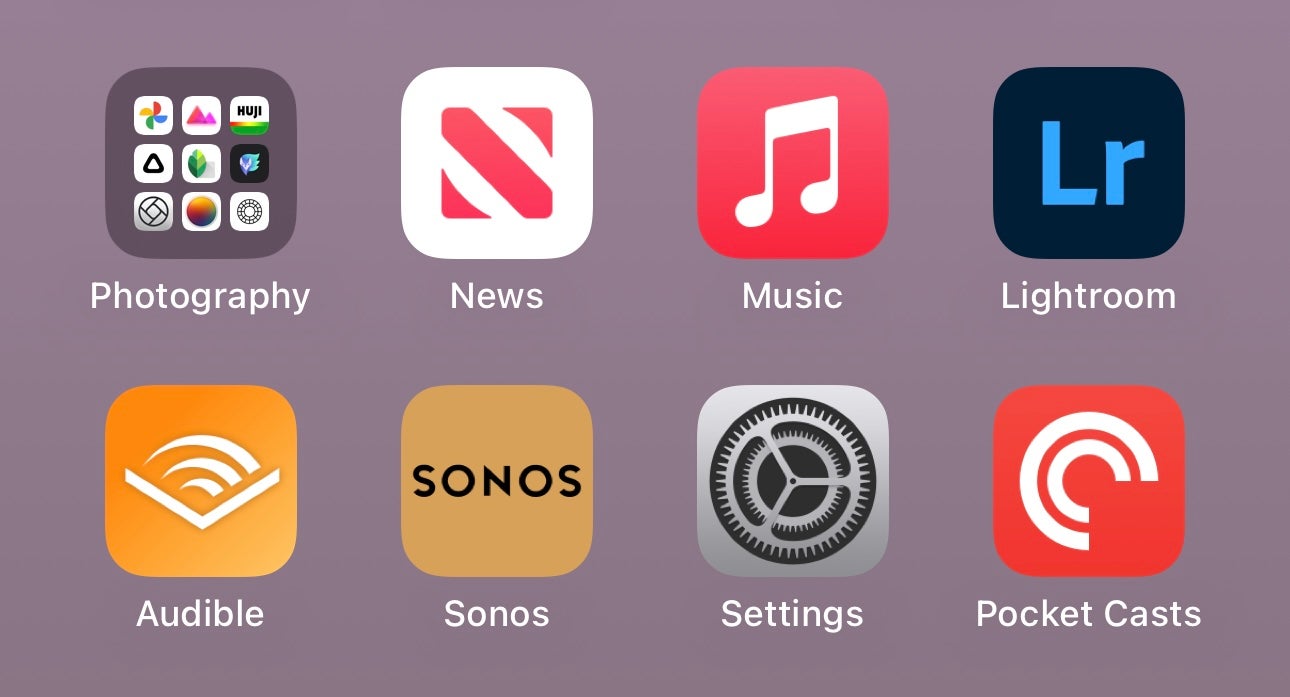
Next up, find the Watch app. If you don’t have the icon on your home screen, swipe down to use Spotlight and search for the Watch app here.
Step
3Tap Wallet and Apple Pay
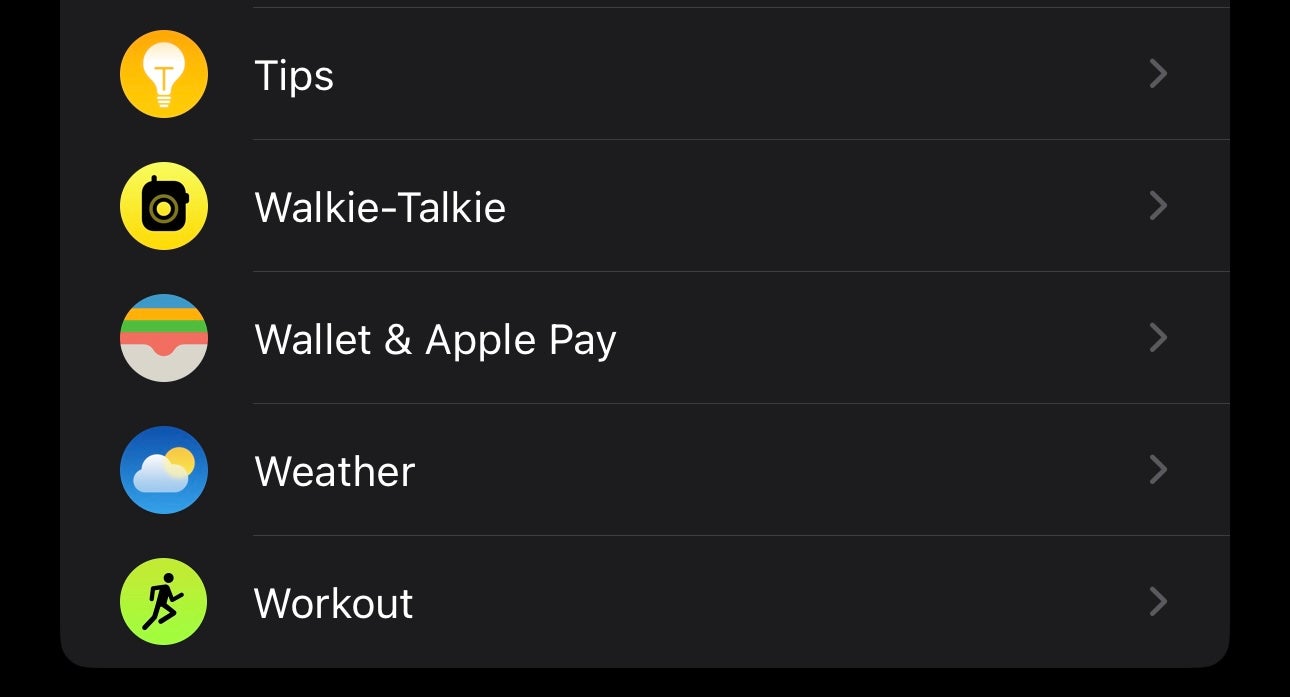
Once in the Watch app, scroll down until you spot the Wallet and Apple Pay option. Tap it.
Step
4Choose from the cards

You’ll now see all the cards loaded into your Apple Pay Wallet. Find the one you want and tap ADD. If you want to add a new card, select the Add Card option at the top.
Step
5Set up Passcode if required
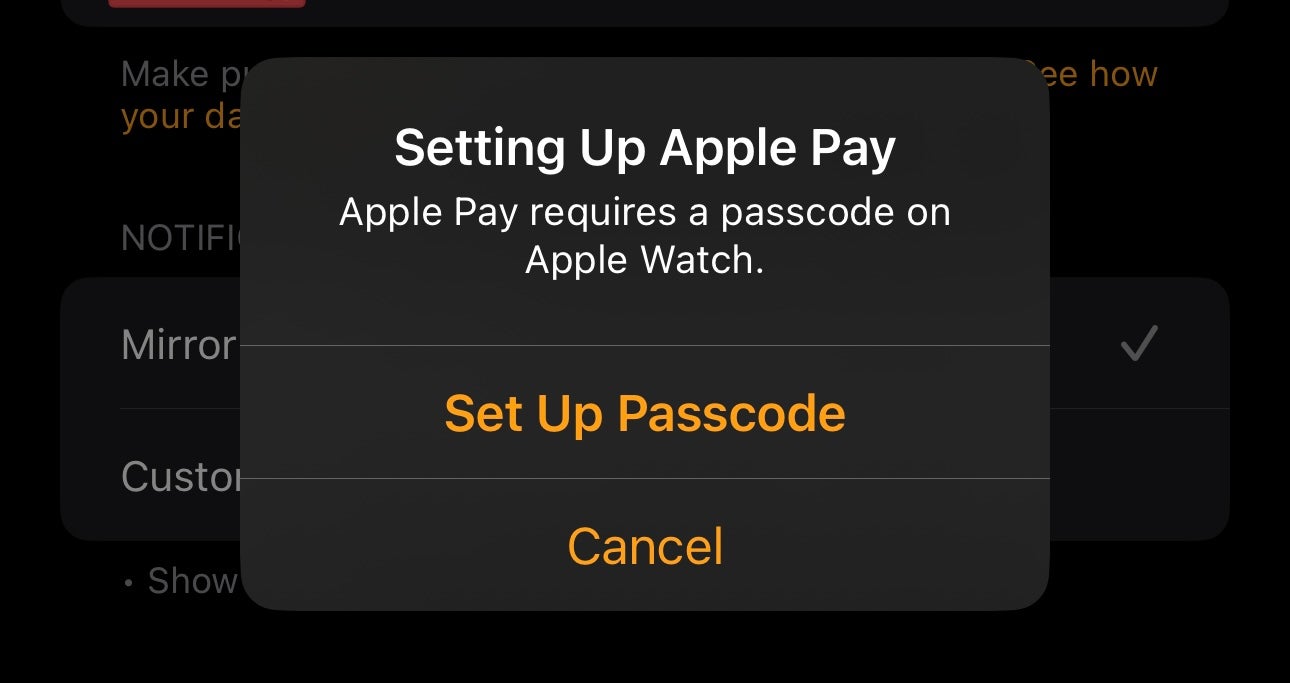
If you don’t have a passcode set up on your Apple Watch, a prompt will appear when you tap Add. You need a passcode enabled to use Apple Pay on your watch. If you already have a passcode set, you’ll be able to skip this step.
Step
6Type in your security code
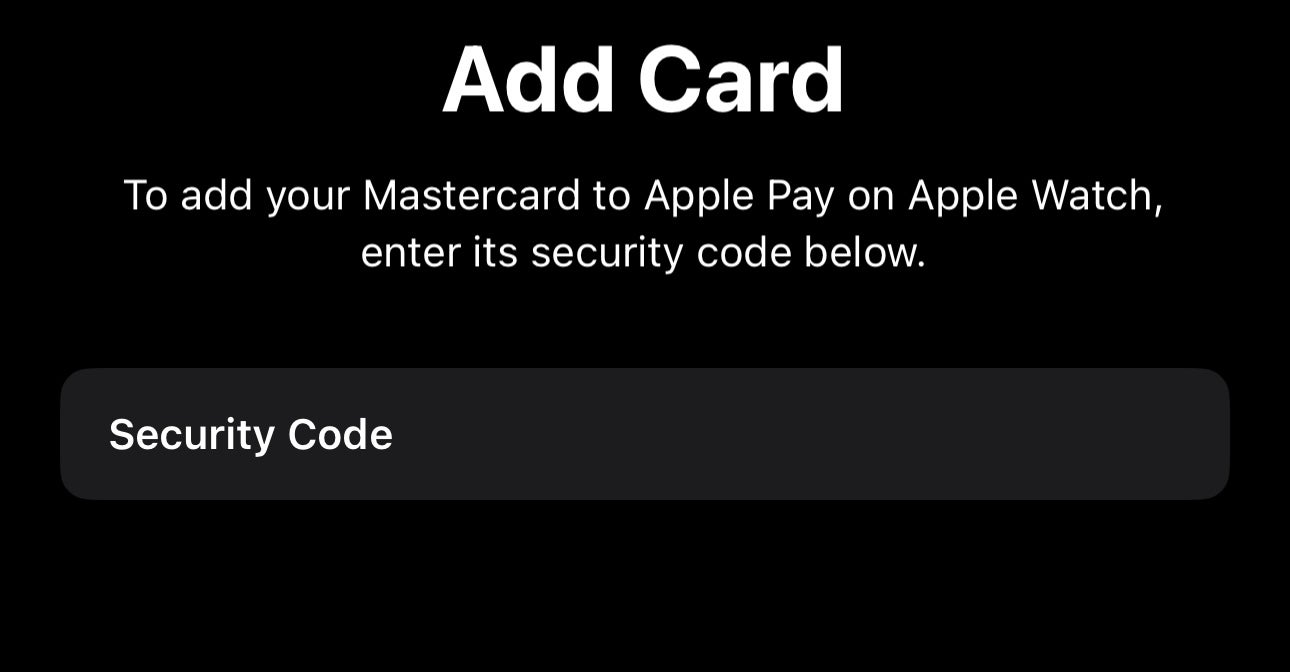
Type in the CVC number from your card and then tap Next.
Step
7Agree to the Terms and Conditions
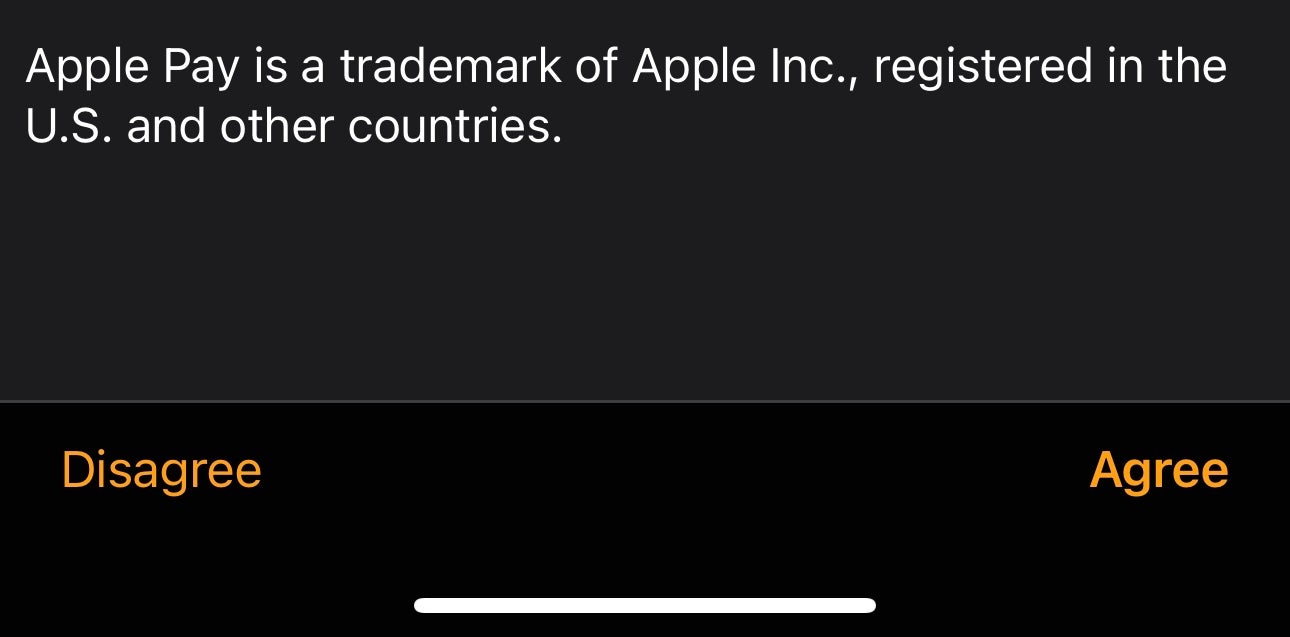
Next you’ll have to agree with your bank’s T&Cs. If you’re happy, press Agree. You might also have to authorise your card through either a text message, phone call or through a dedicated app. This will all vary depending on your bank and card.
Step
8Make a payment
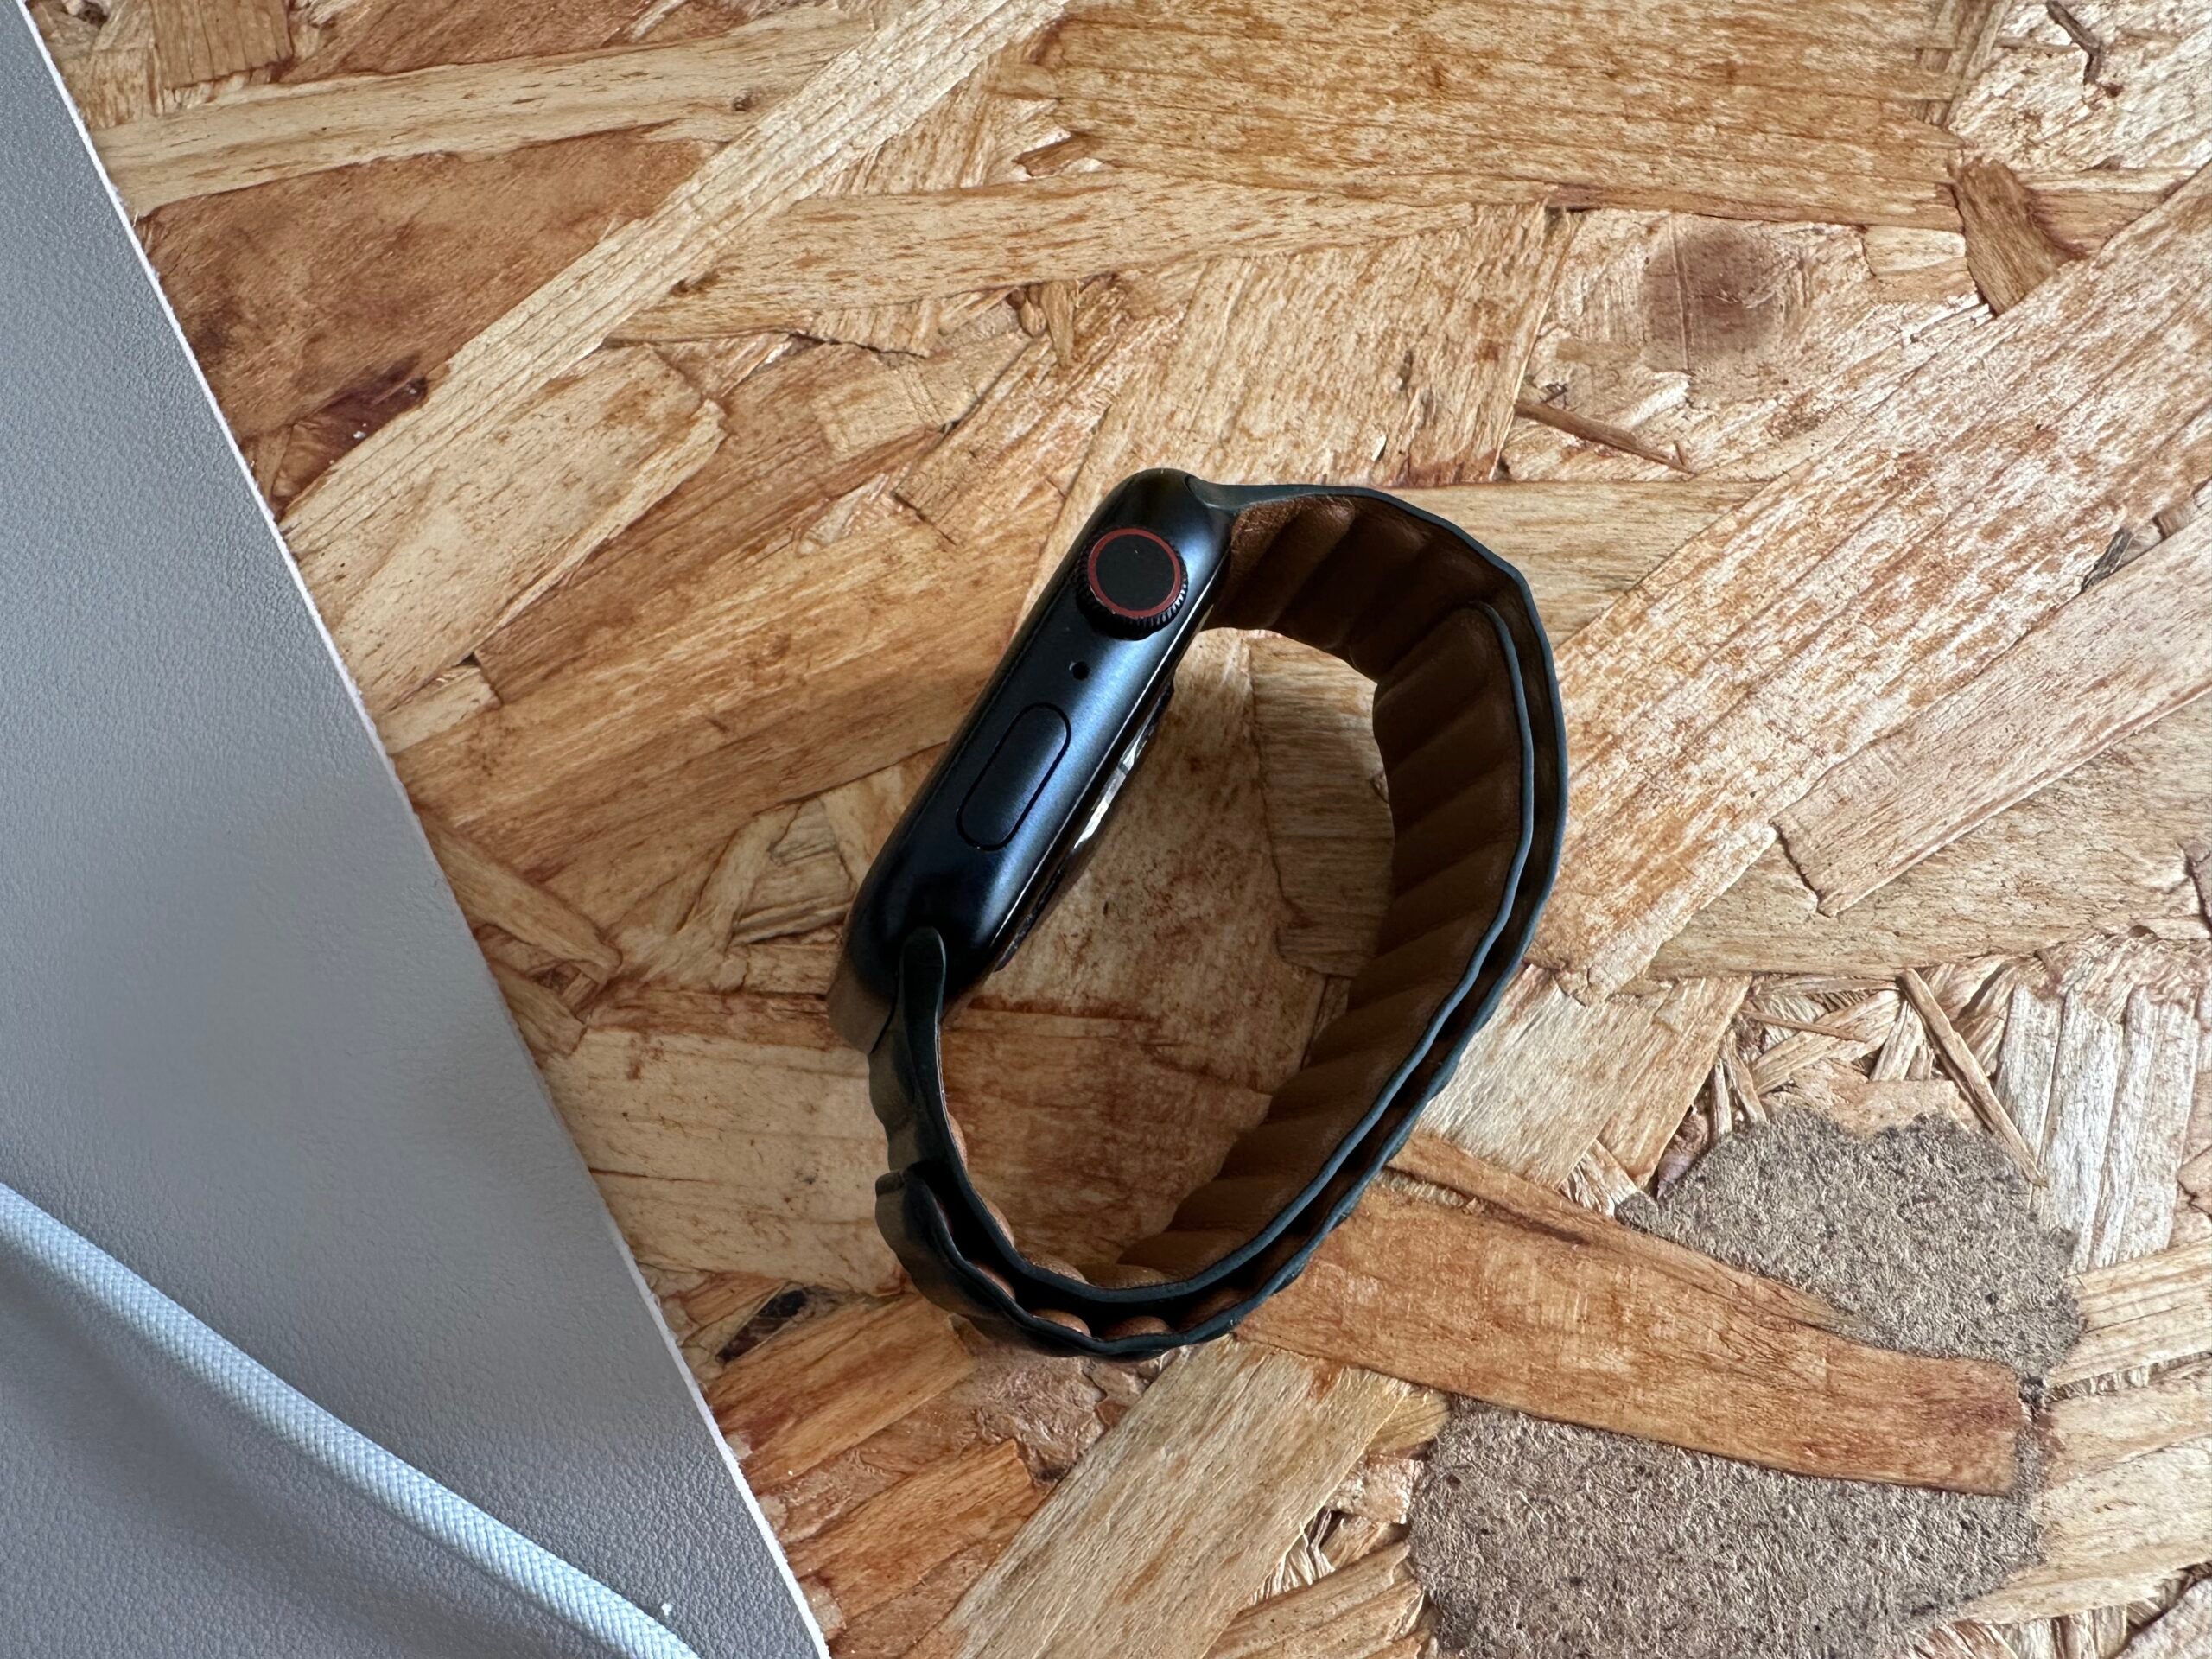
Once the card has been added, move over to the Apple Watch and double-tap the oblong button on the side to bring up your newly added card. You’re now ready to make a payment by tapping your watch on a supported terminal.
Troubleshooting
Nope, you’ll need the connected iPhone to add the card as most of the steps are done there.
You might like…


Editorial independence
Editorial independence means being able to give an unbiased verdict about a product or company, with the avoidance of conflicts of interest. To ensure this is possible, every member of the editorial staff follows a clear code of conduct.
Professional conduct
We also expect our journalists to follow clear ethical standards in their work. Our staff members must strive for honesty and accuracy in everything they do. We follow the IPSO Editors’ code of practice to underpin these standards.