
The Nintendo Switch offers the ability to take screenshots of a game, so you can capture your stunning action set piece in Zelda, or somersaulting leap in Super Mario Odyssey. However, transferring those screenshots from the Nintendo Switch isn’t so easy.
While Nintendo provides the option to send screenshots to a smart device (such as a smartphone) wirelessly, it’s not so obvious how to transfer pictures directly to a PC.
Fortunately, there is an available method tucked away in the settings, and we’re going to guide you through the process. Keep reading on to find out how to send Nintendo Switch screenshots to your laptop.
What you’ll need:
- Nintendo Switch
- PC with available USB ports
- USB-C to USB-A cable or USB-C to USB-C cable
The Short Version
- Click System Settings on Nintendo Switch
- Scroll down to Data Management
- Click on Manage Screenshots and Videos
- Press on Copy to PC via USB Connection
- Connect your Switch to your PC via USB cable
- Open File Explorer on your Windows PC
- Click on This PC
- Click on Nintendo Switch
- Click on Album
- Select your chosen game
- Locate your screenshots and copy to your PC
Step
1Click System Settings on Nintendo Switch
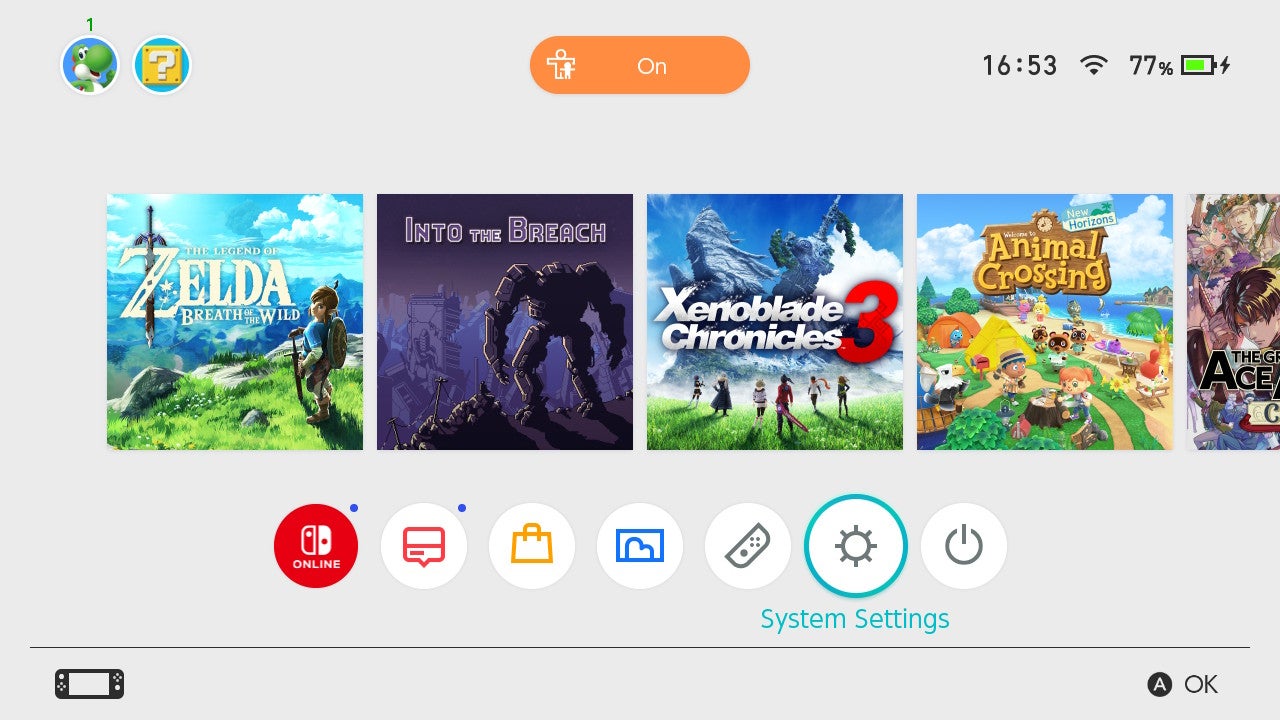
You’ll find this in the bottom row on the Nintendo Switch home screen. It has a cog icon, and is situated to the left of Sleep Mode.
Step
2Scroll down to Data Management
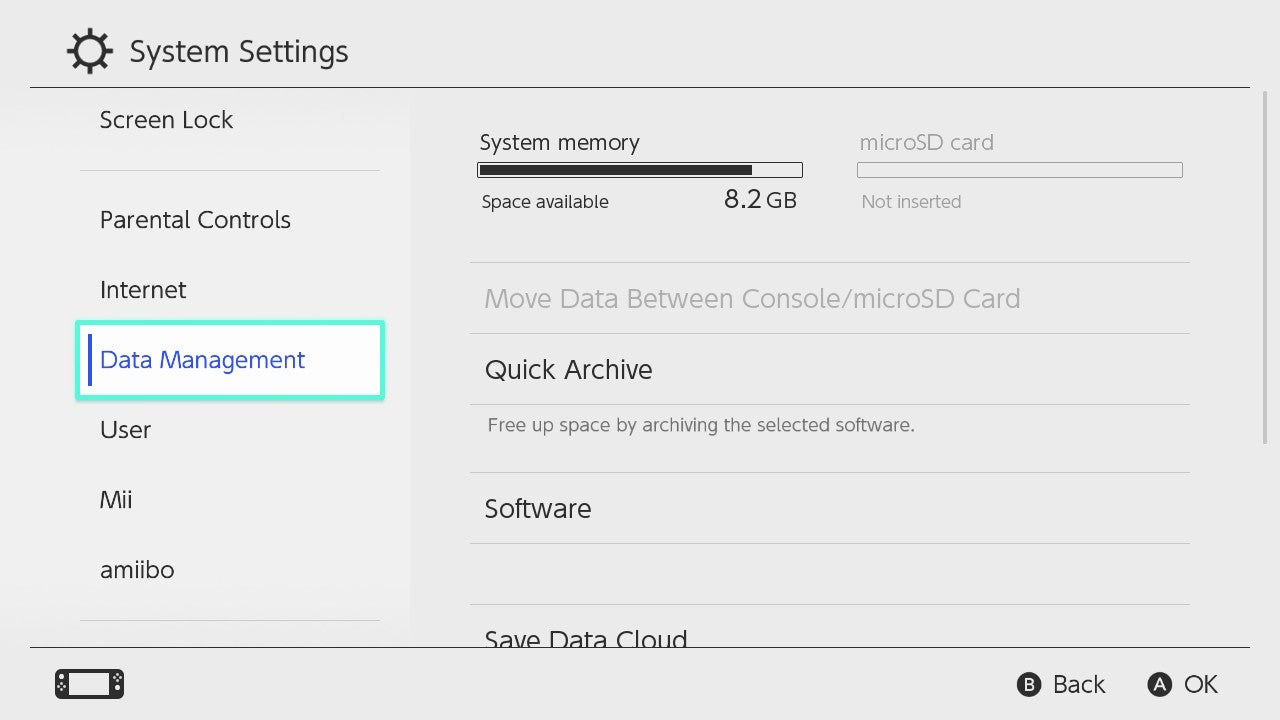
You’ll find it six rows down, directly underneath the Internet settings.
Step
3Click on Manage Screenshots and Videos
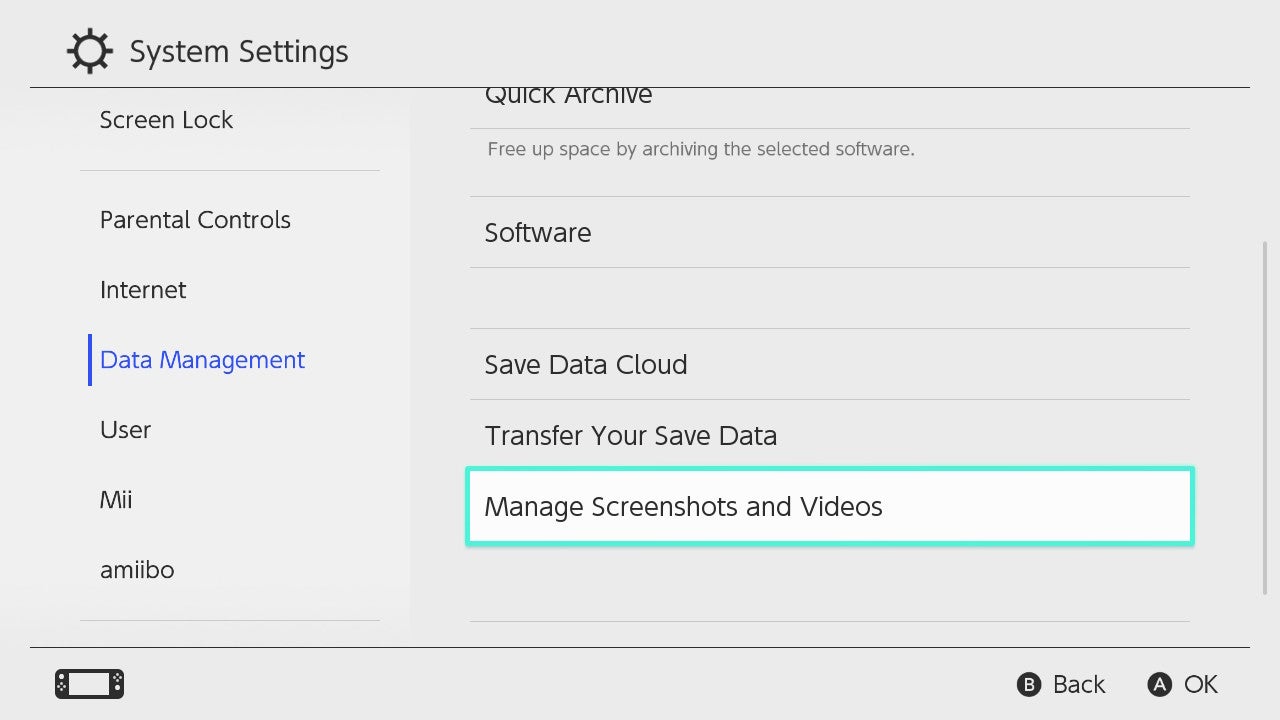
Switch over to the right-sided menu, and then scroll down until you find Manage Screenshots and Videos. You’ll find it right above Delete Save Data.
Step
4Press on Copy to PC via USB Connection
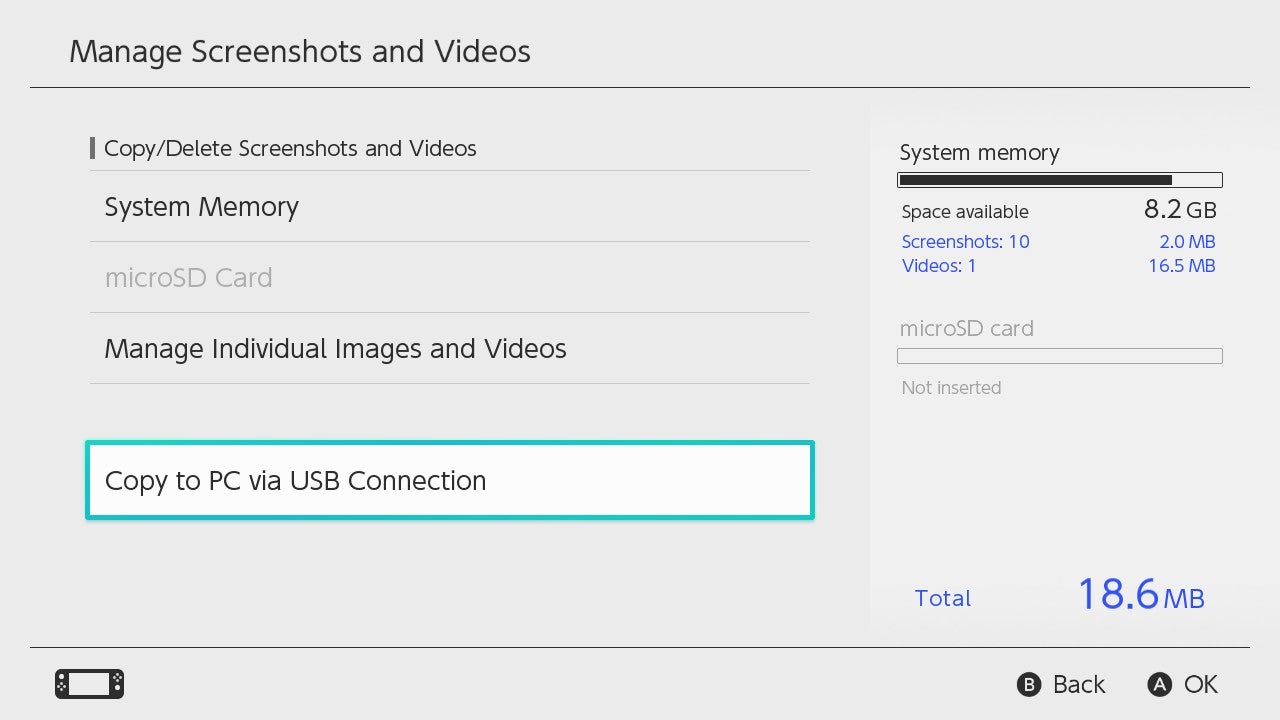
Scroll down right to the bottom, until you land on Copy to PC via USB Connection. Select it.
Step
5Connect your Switch to your PC via USB cable
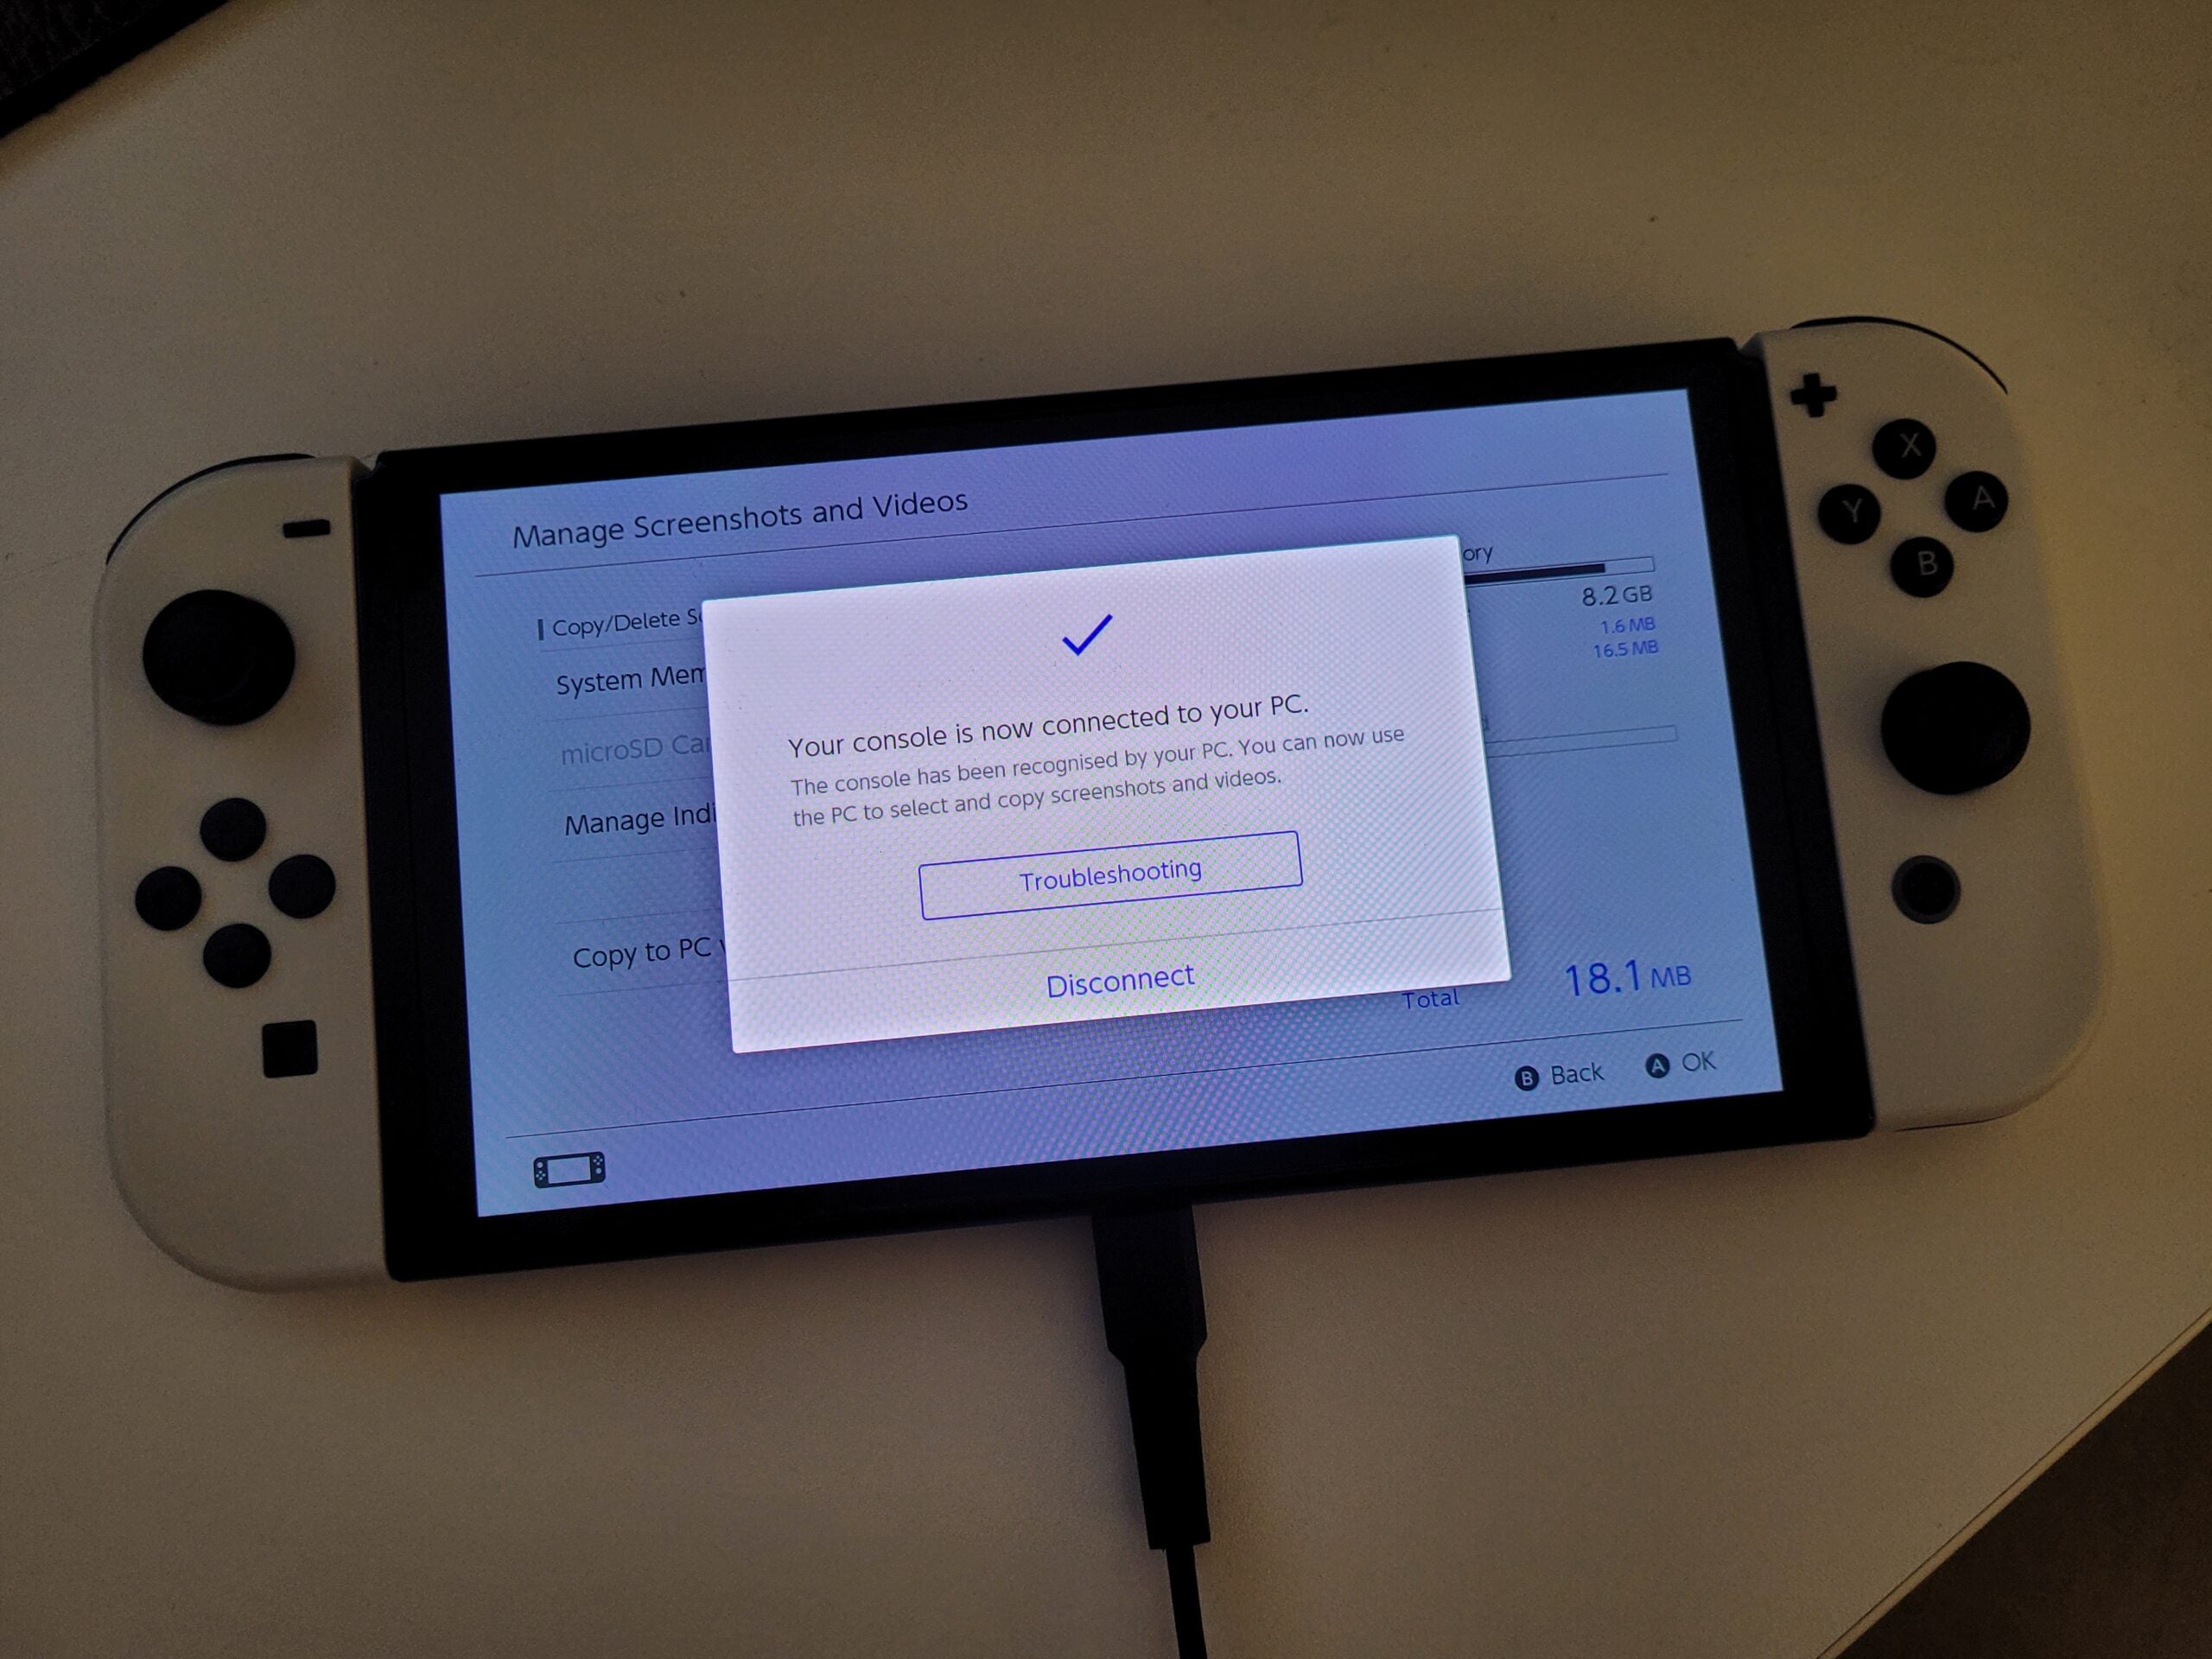
A pop-up message will then instruct you to connect your Nintendo Switch to your PC via USB cable.
We used a USB-C to USB-A cable, but you may need to use a USB-C to USB-C cable instead, depending on the available ports on your PC or laptop.
Once plugged in successfully, you’ll see a blue tick appear on your Switch screen.Step
6Open File Explorer on your Windows PC
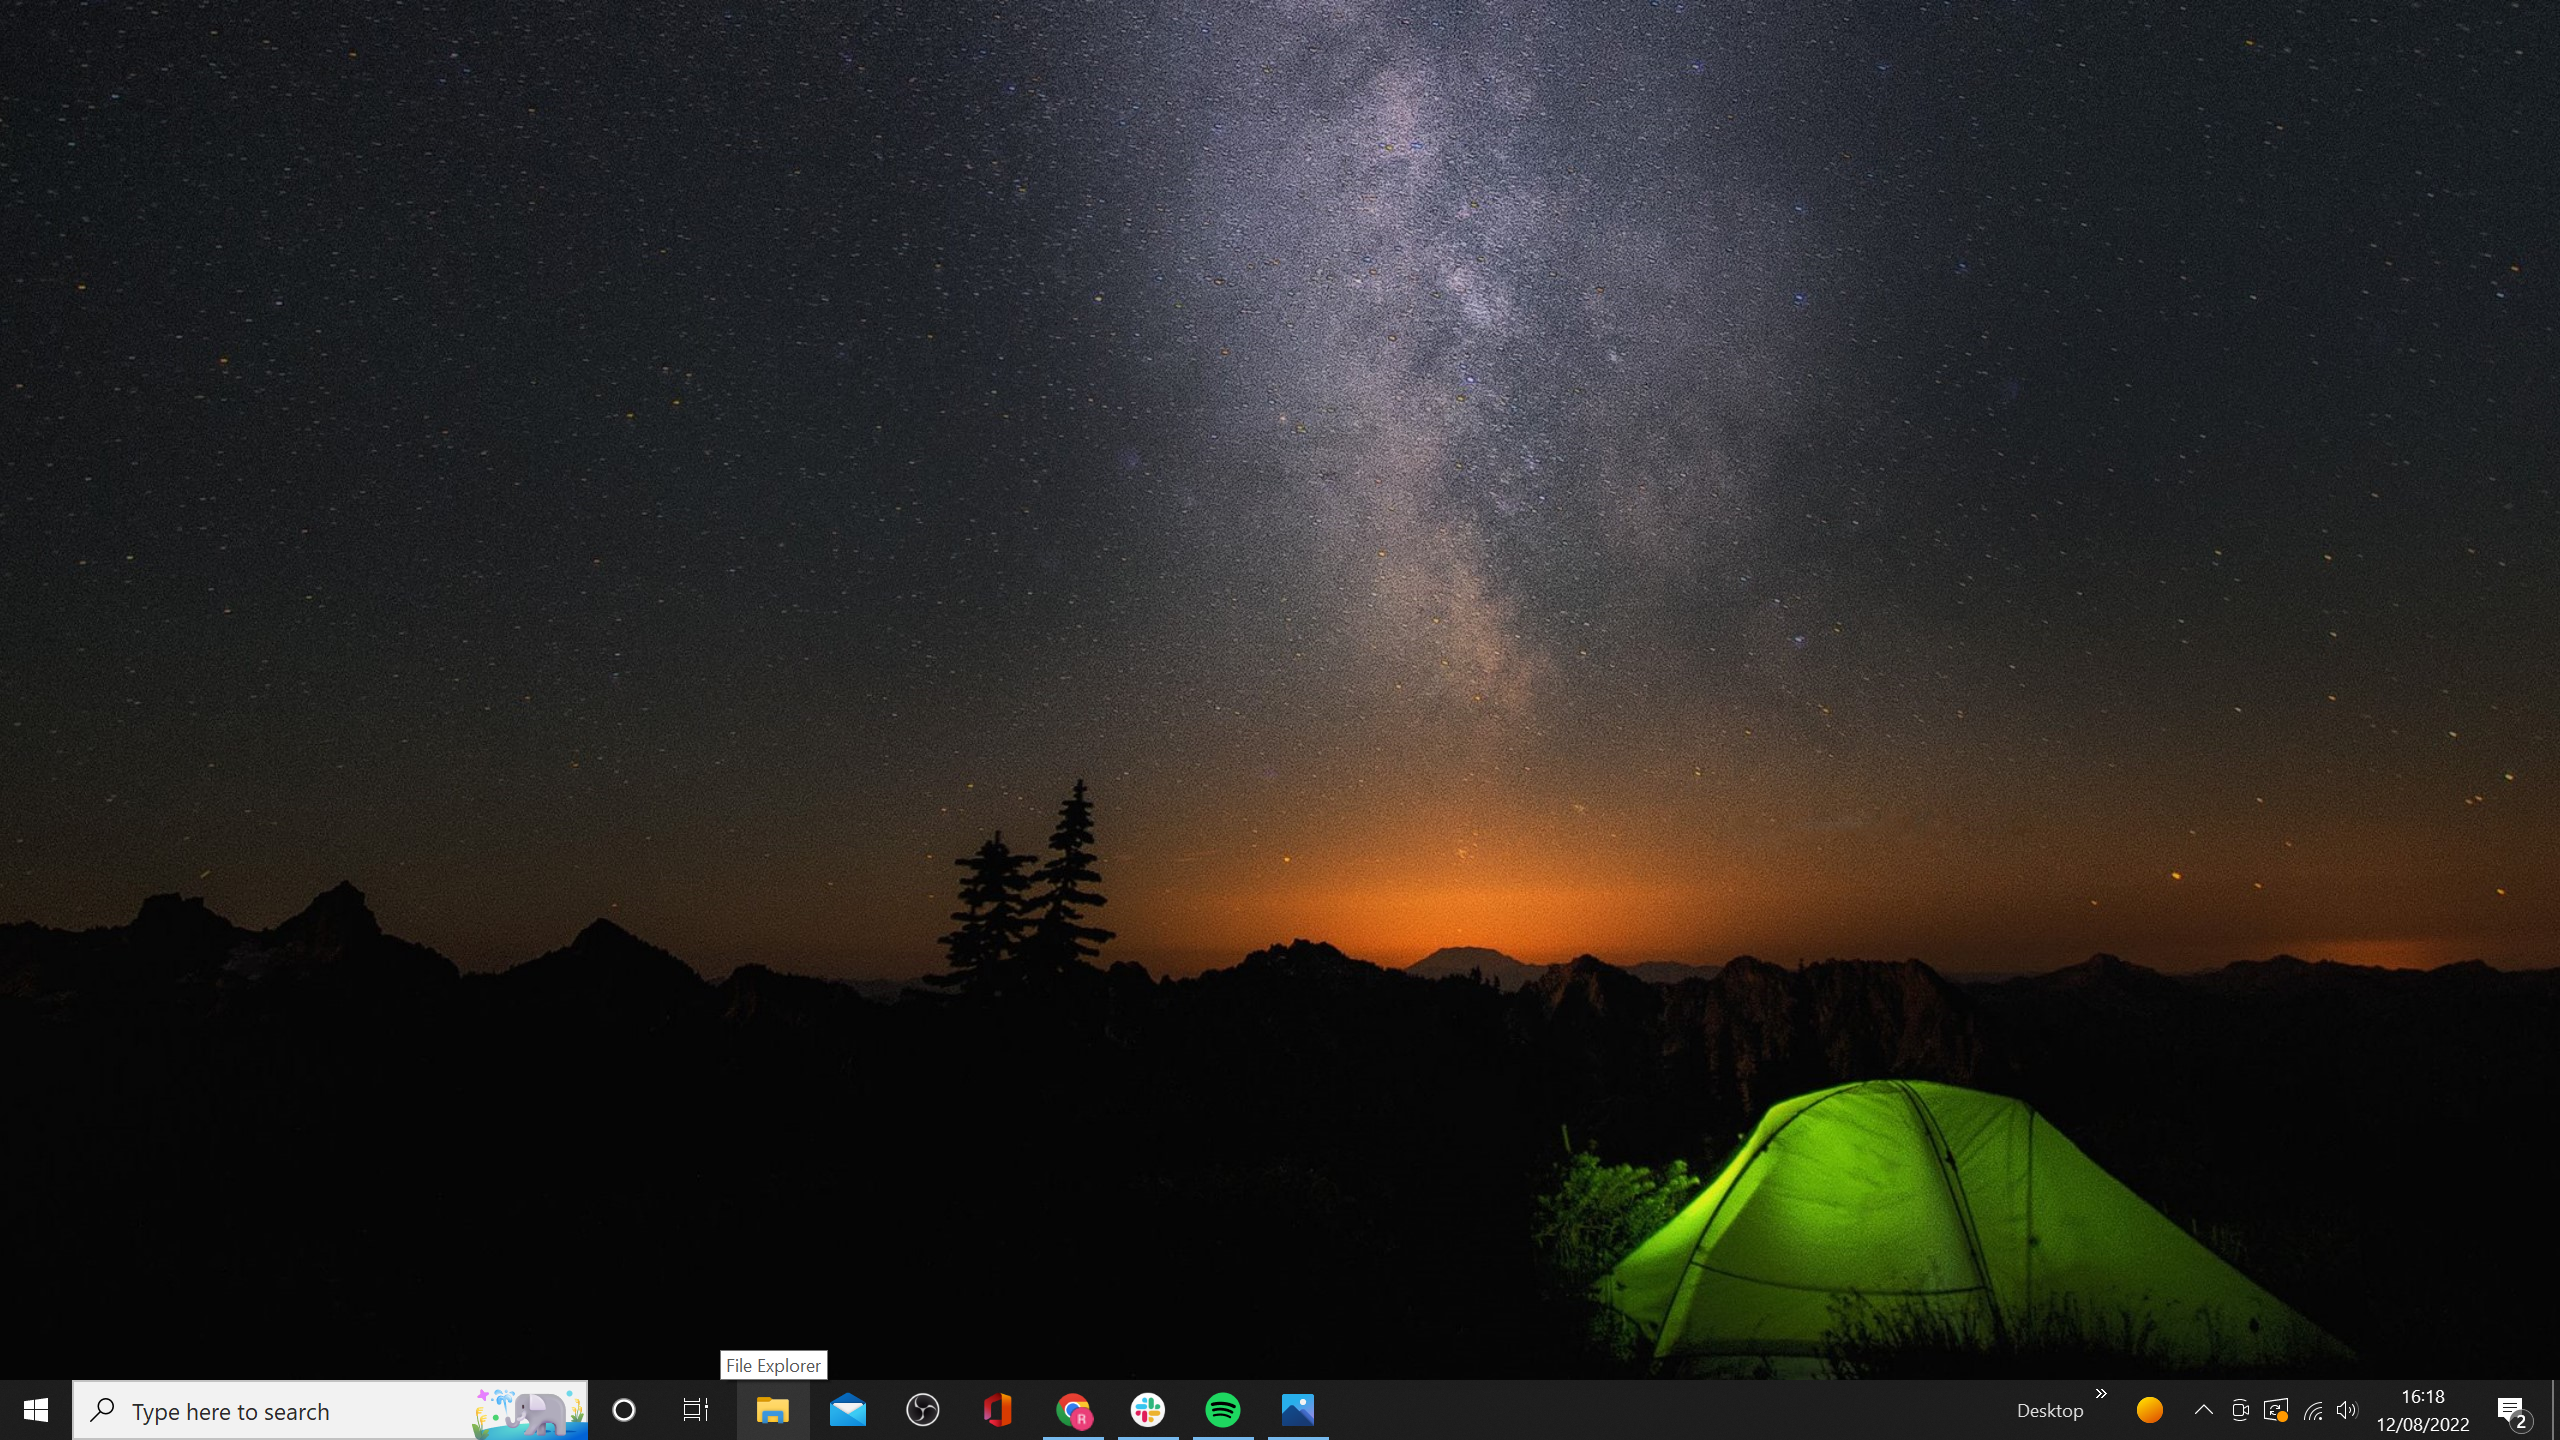
This should appear as a folder on your task bar.
Step
7Click on This PC
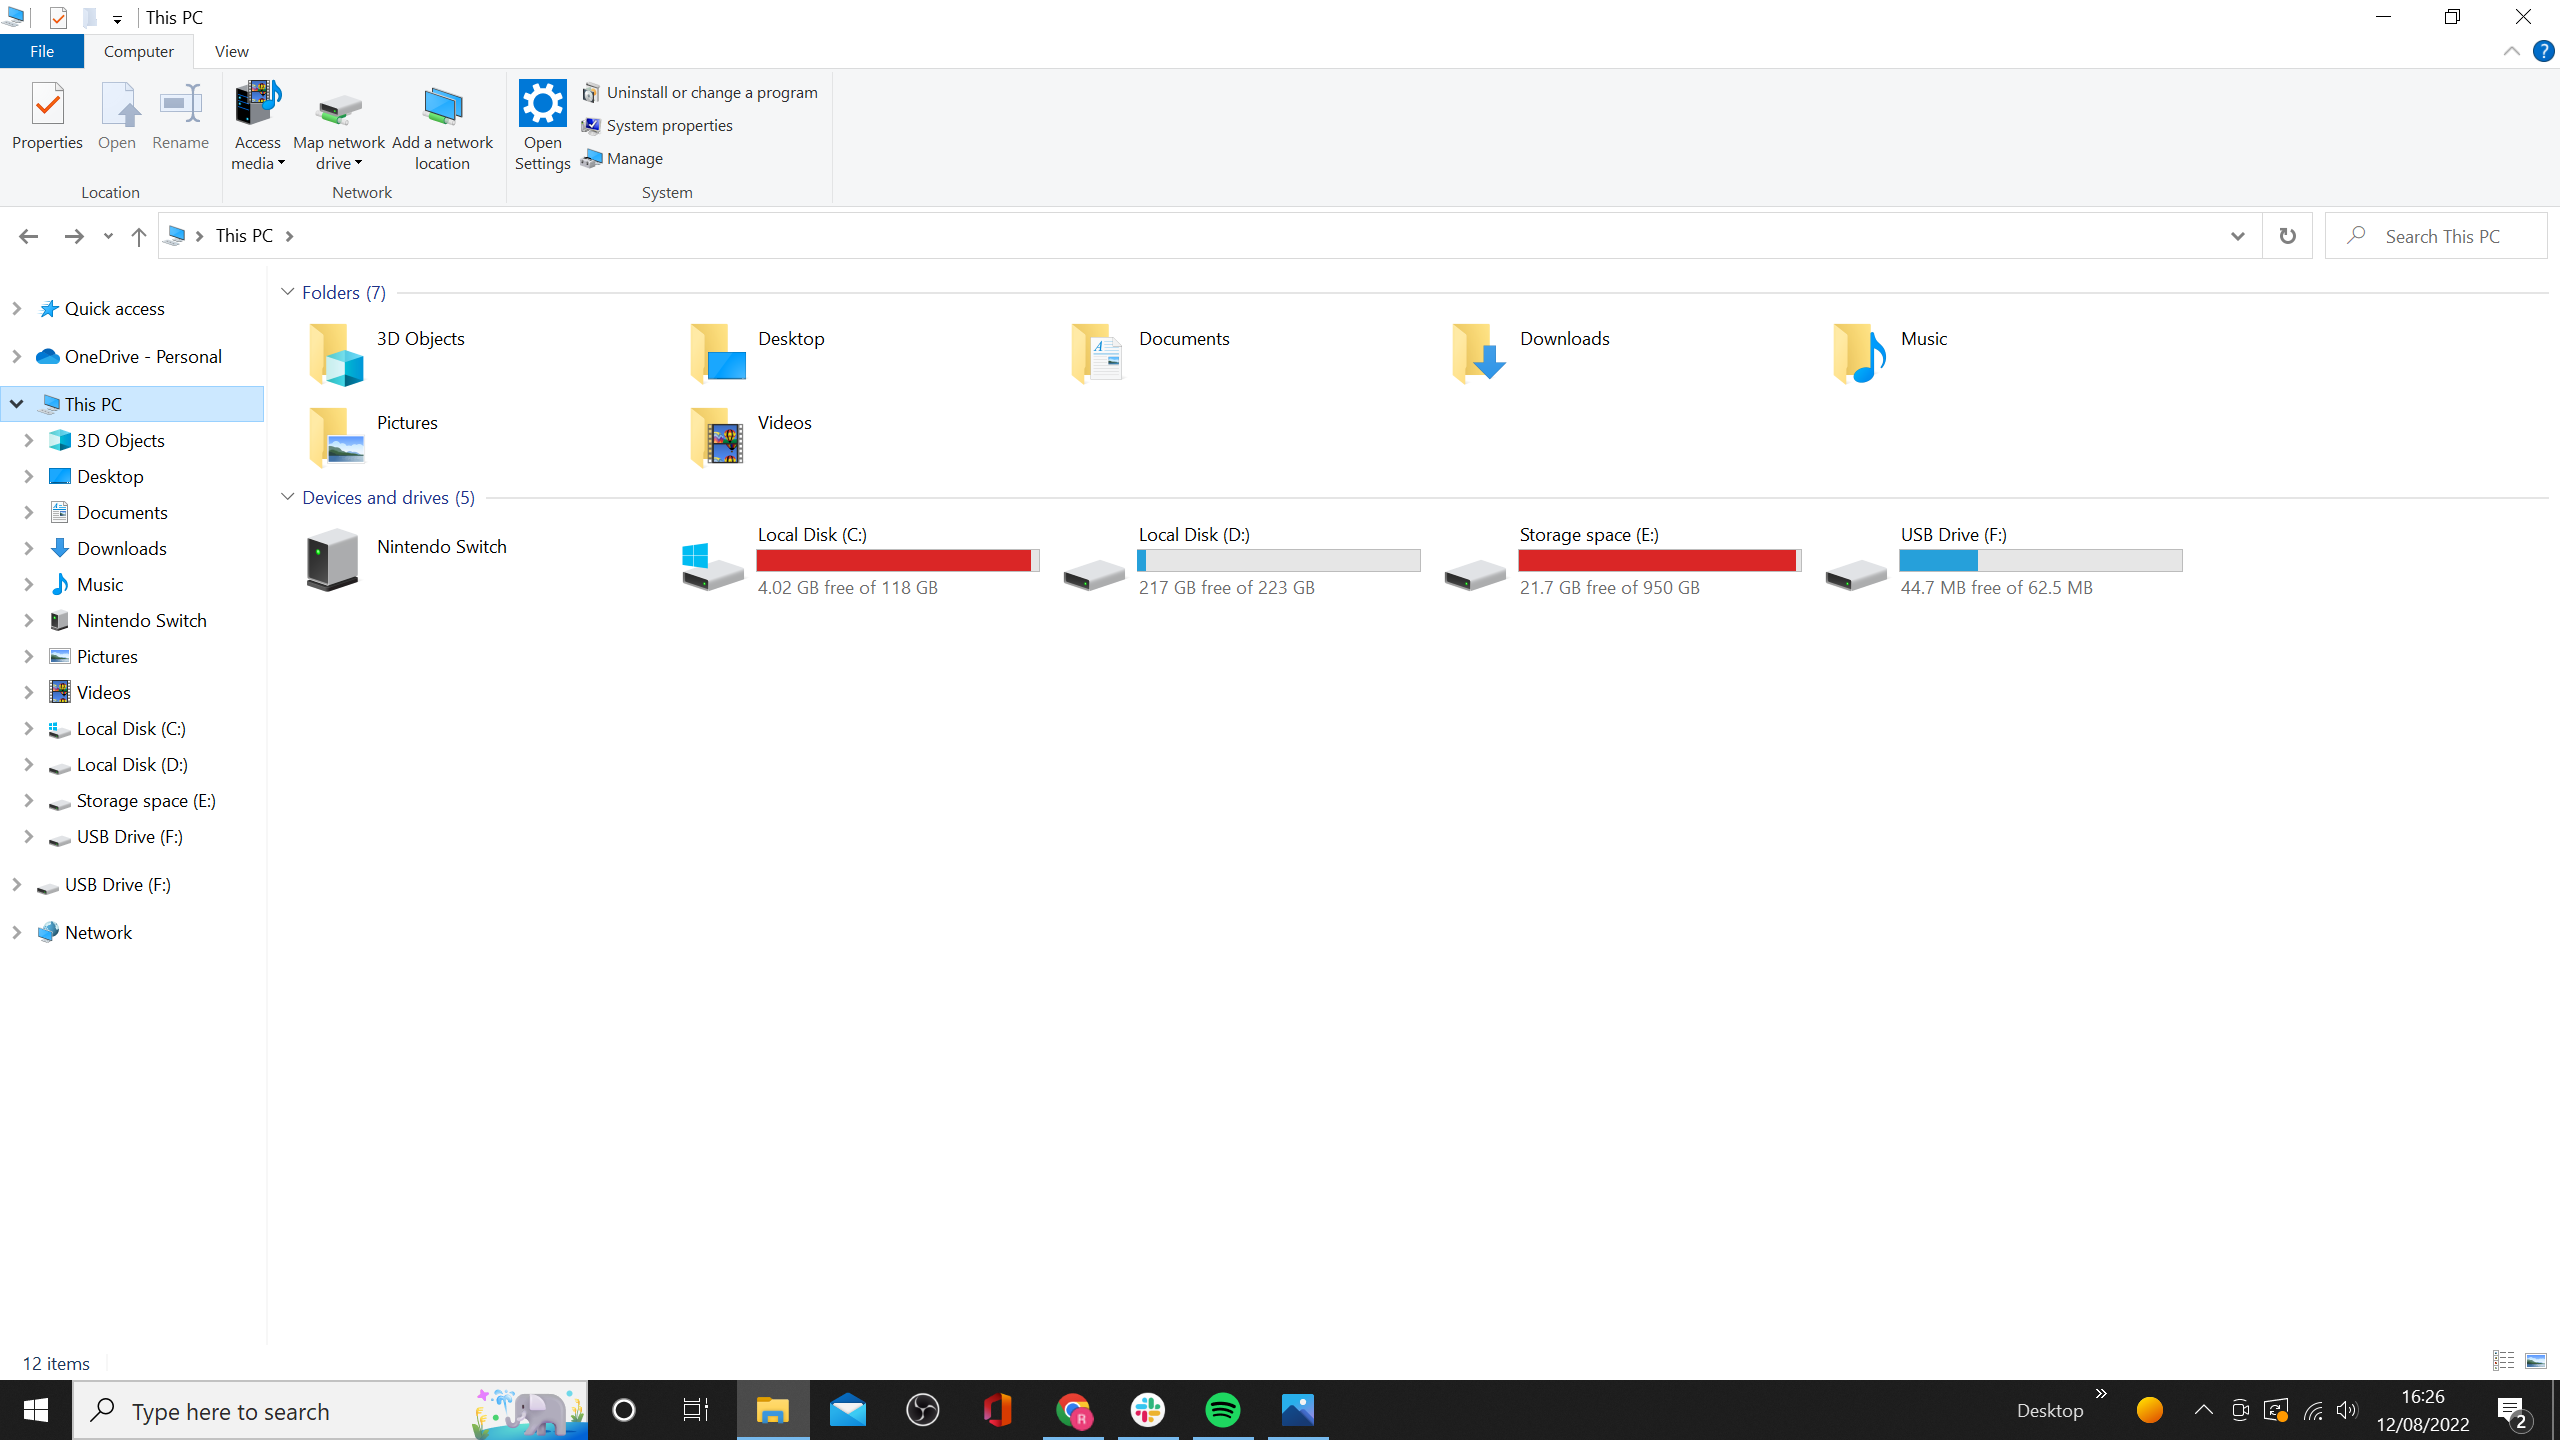
In the left-sided menu, you should see the option for This PC. Click it. You can alternatively type ‘This PC’ into the search bar right at the top.
Step
8Click on Nintendo Switch

You should see the option for Nintendo Switch, right underneath the subheading ‘Devices and Drives’.
Step
9Click on Album
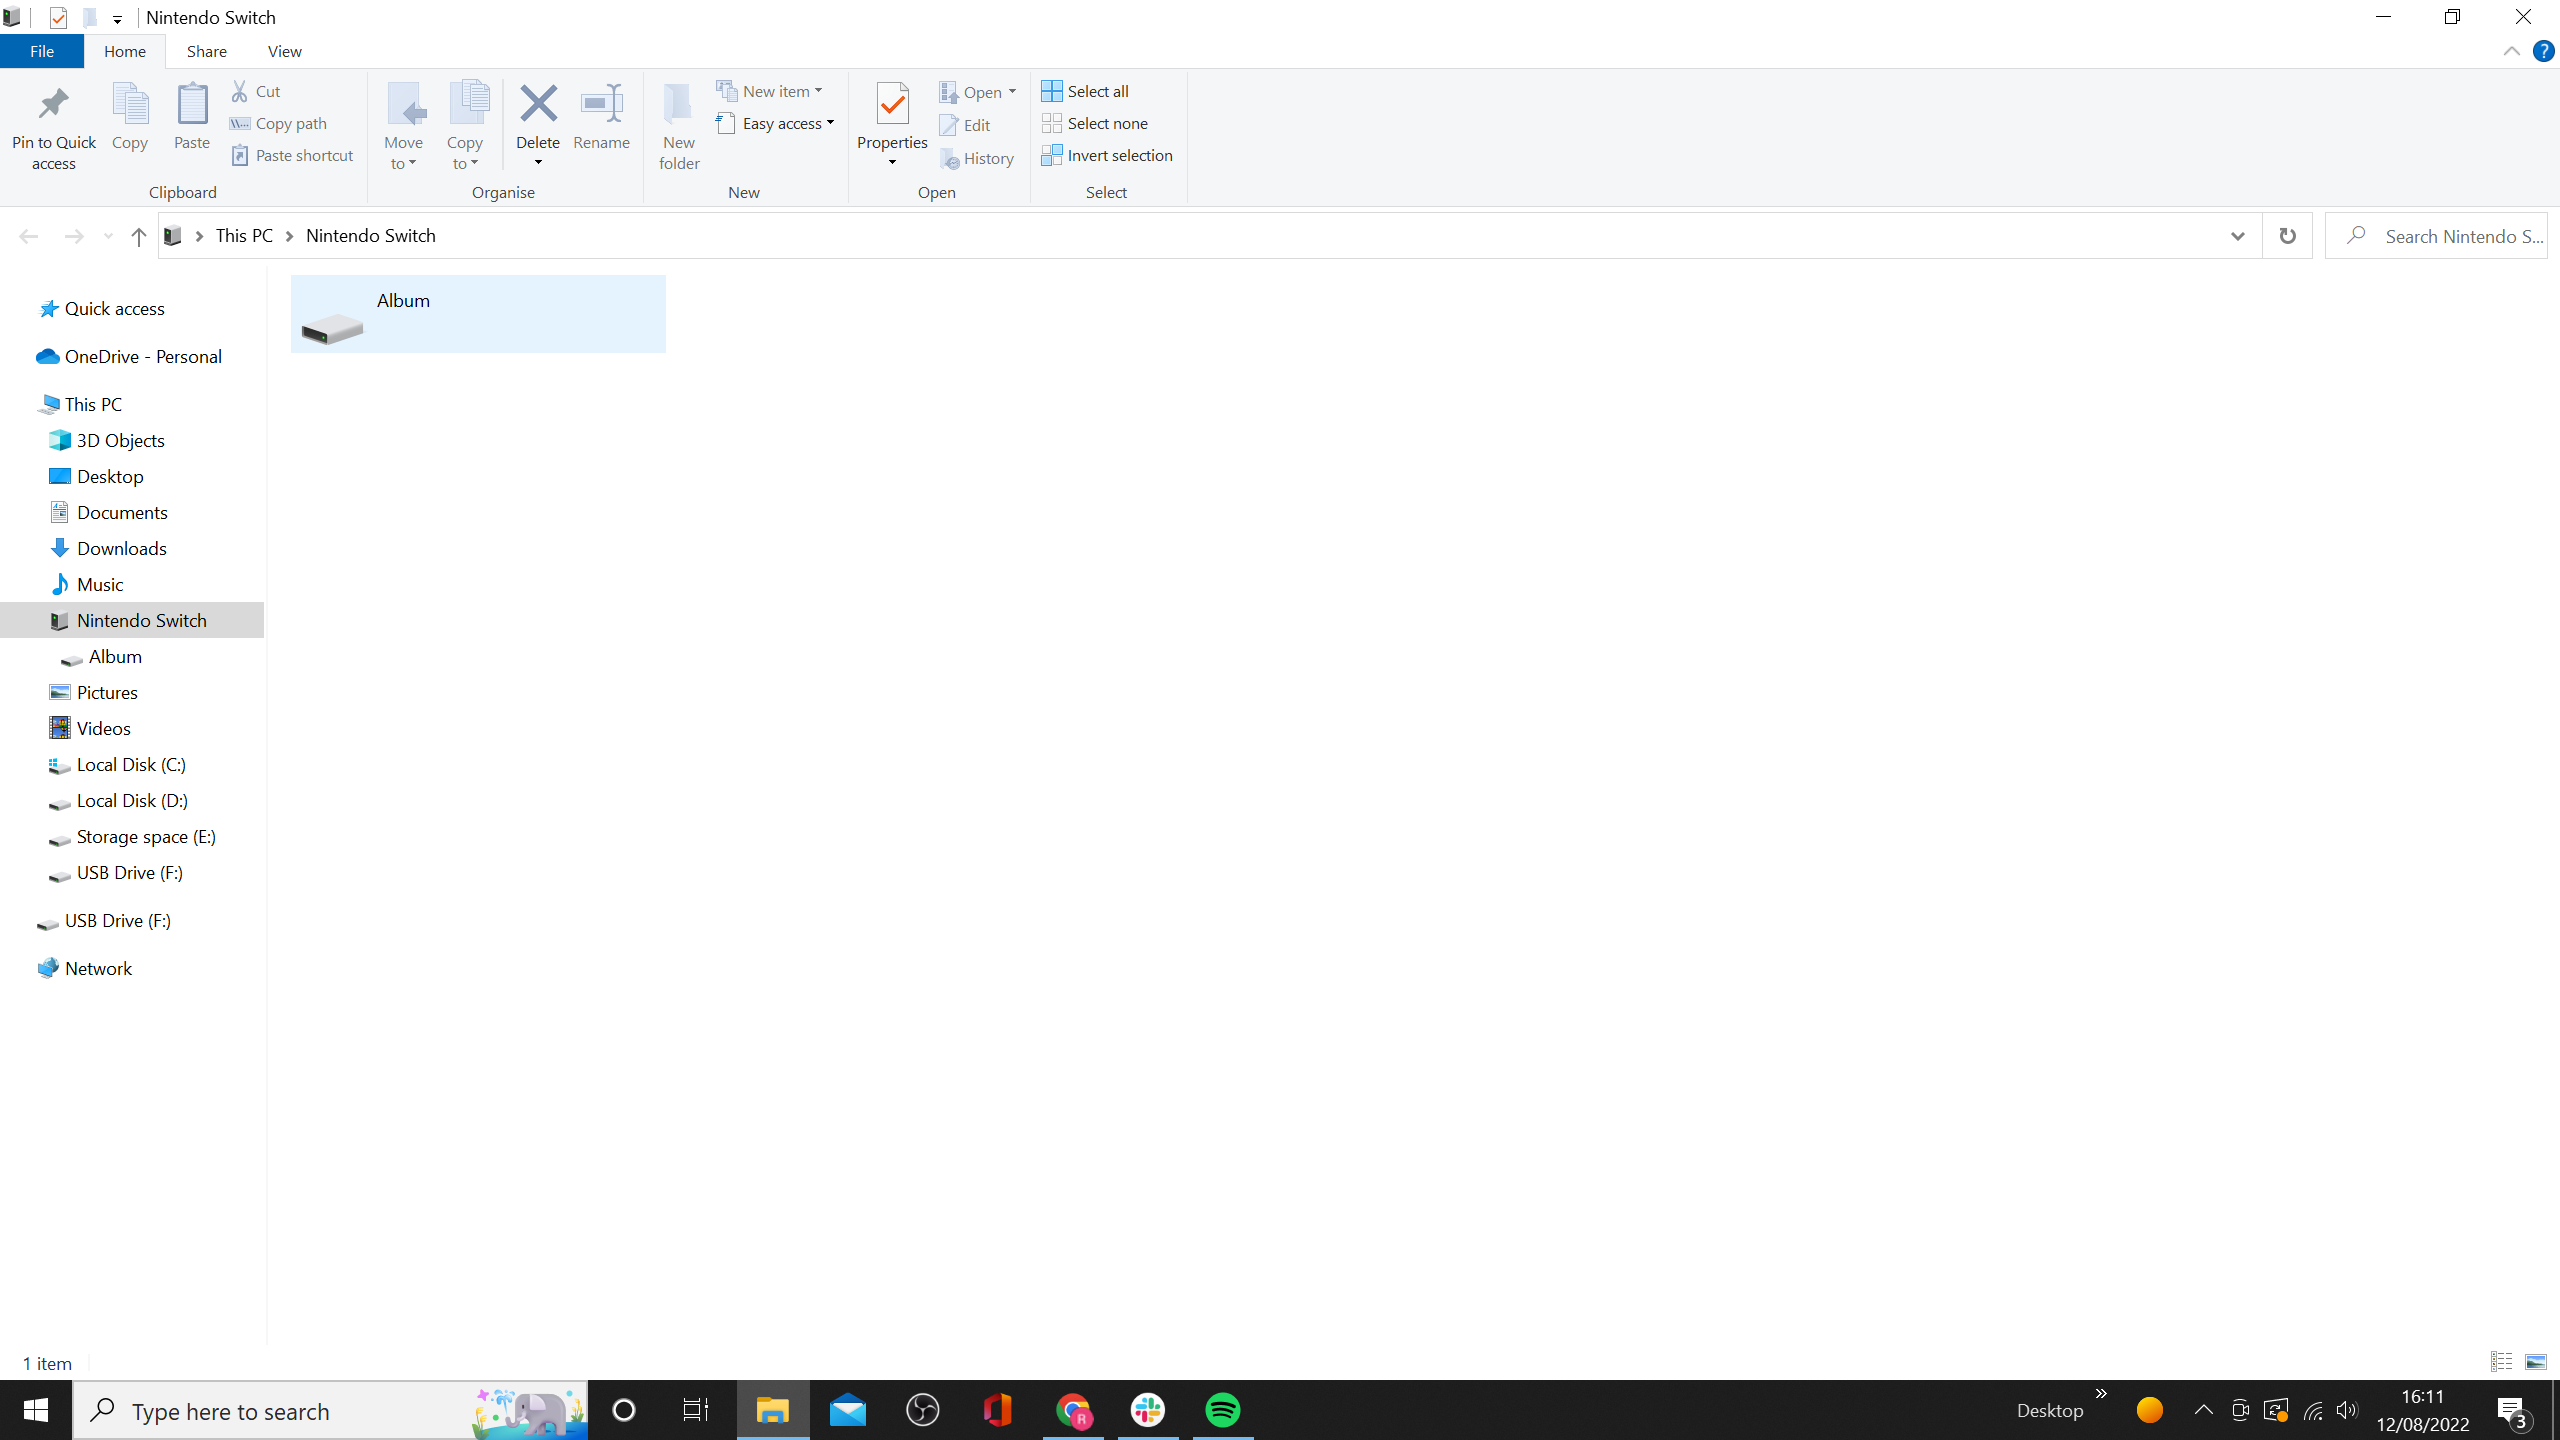
If you’ve taken screenshots on the Switch, you should see the option for Album. Select it.
Step
10Select your chosen game
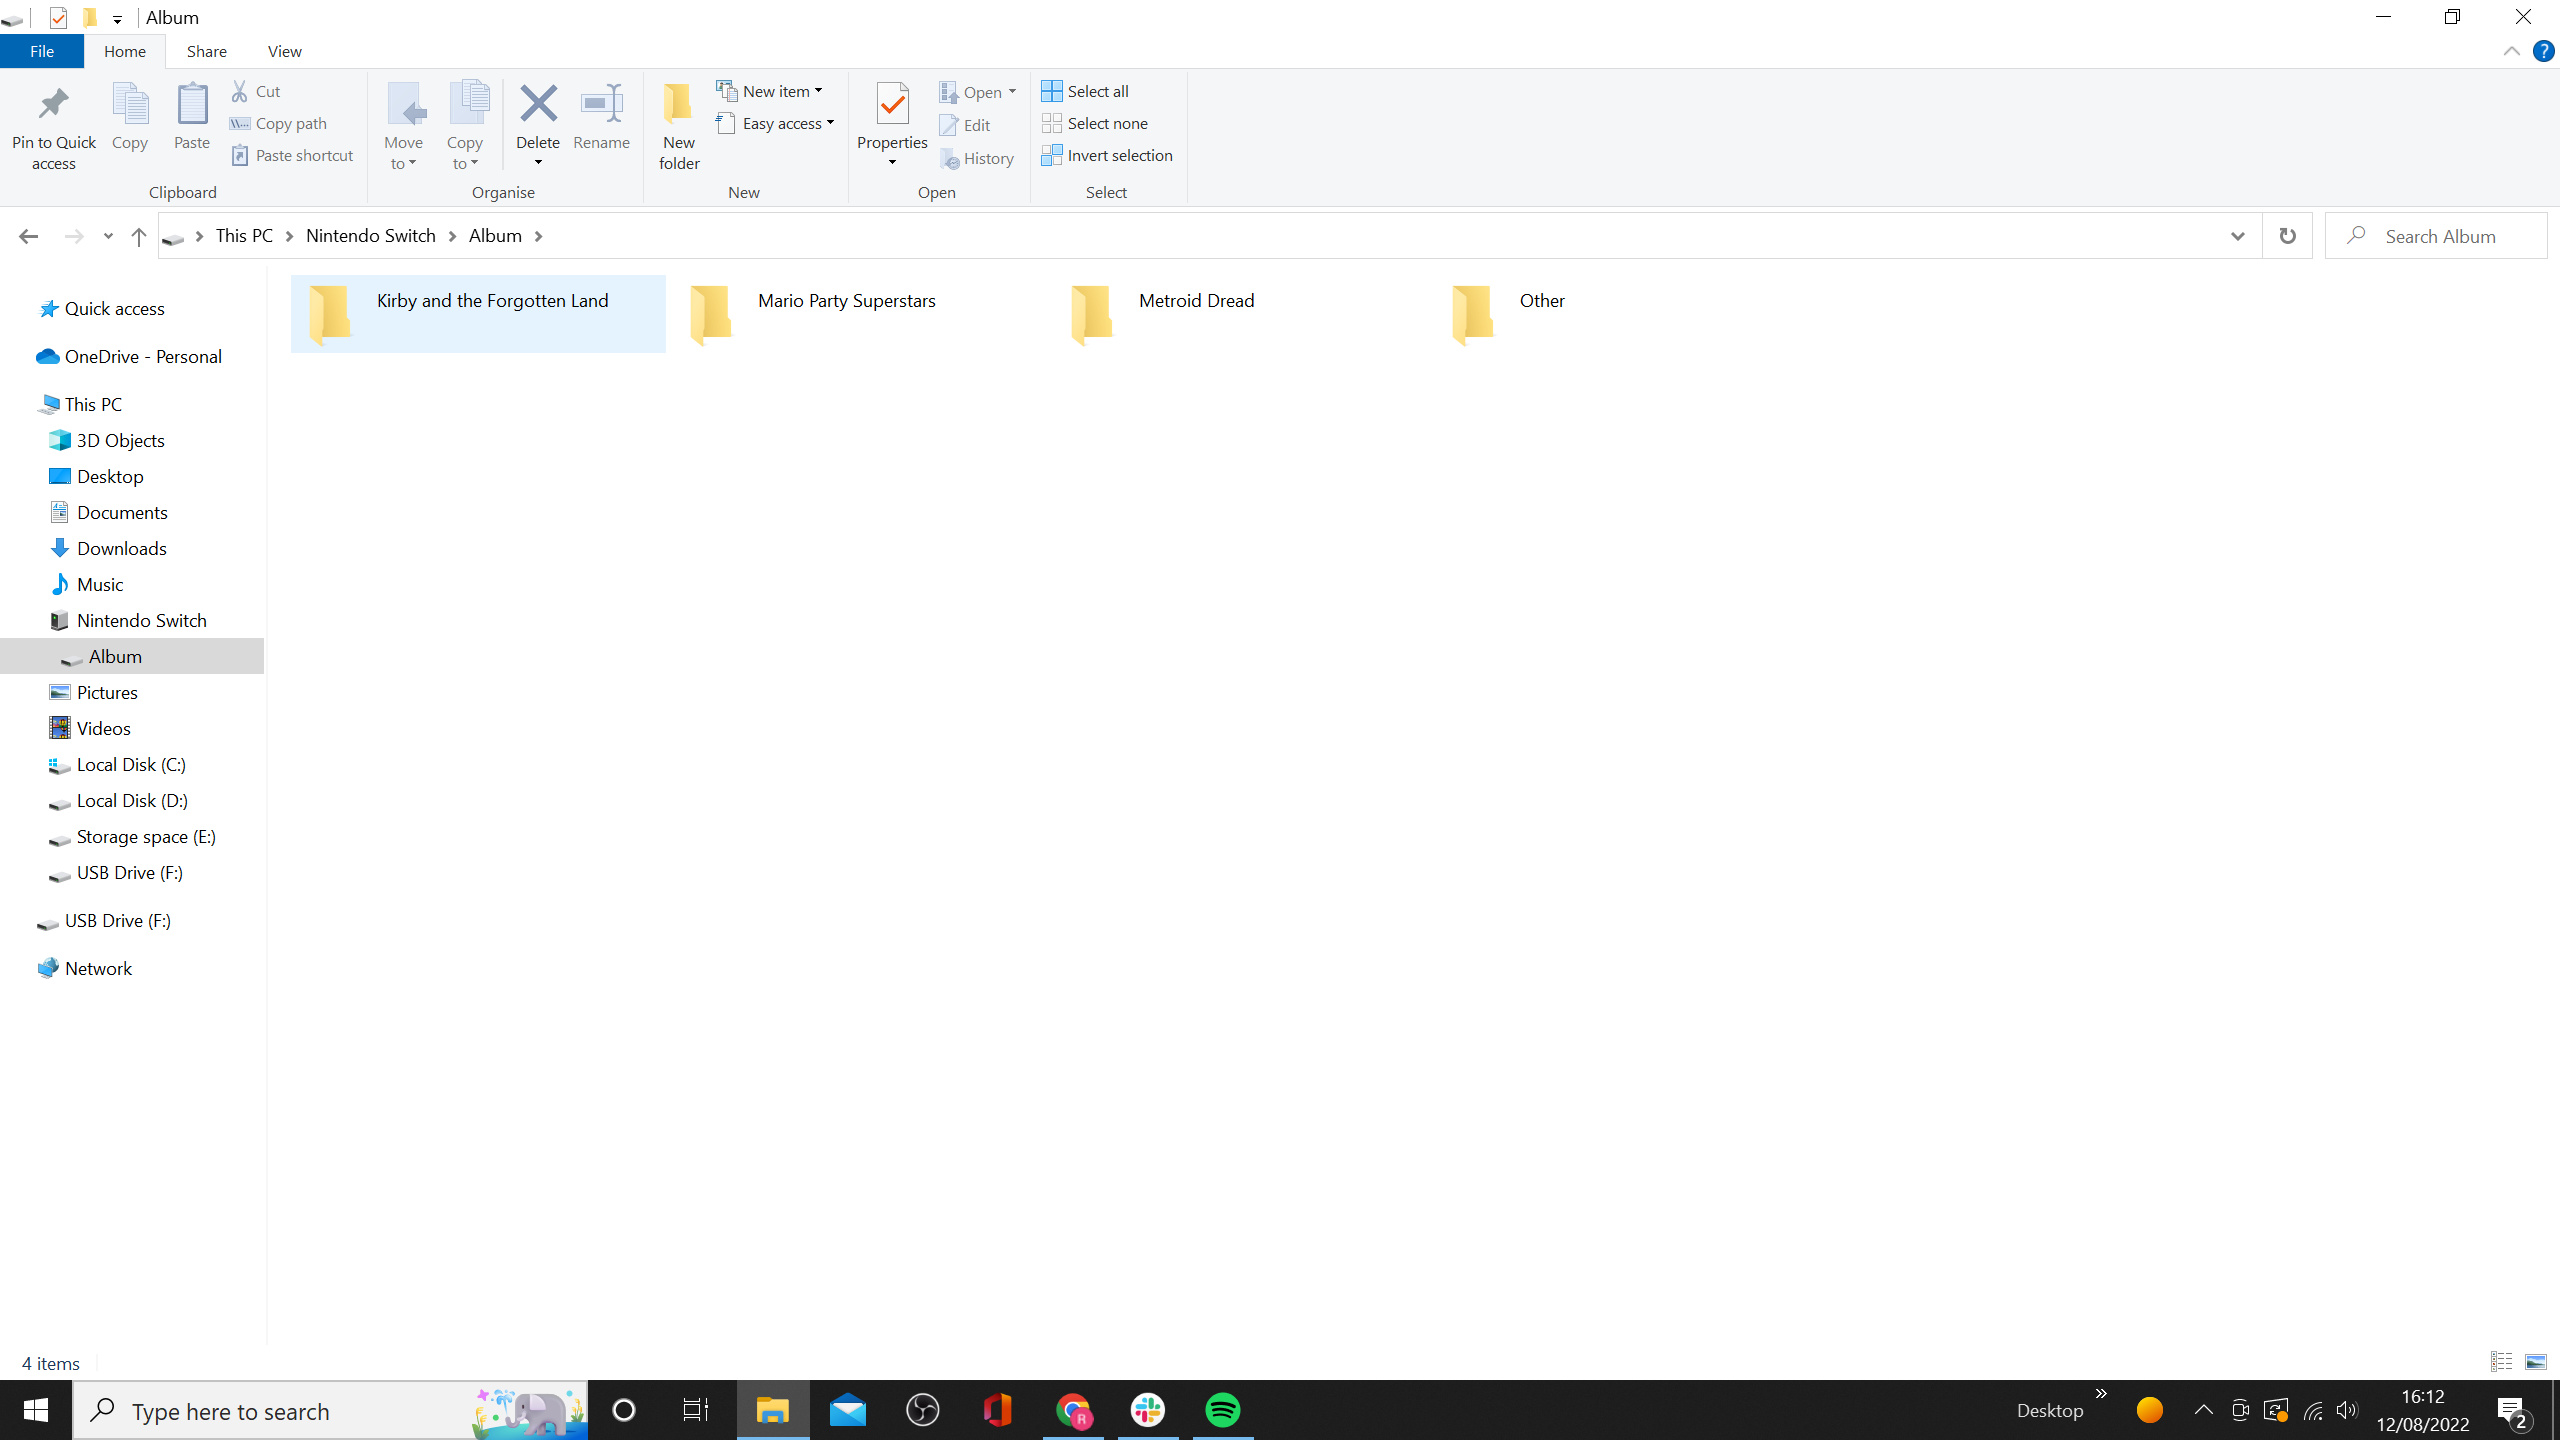
The Nintendo Switch sorts all of the screenshots into folders for the games that they were taken in. Pick the game you want (we picked Kirby and the Forgotten Land).
If you want to transfer an image of the Switch’s home screen or settings, the screenshots should be located in an ‘Other’ folder.Step
11Locate your screenshots and copy to your PC
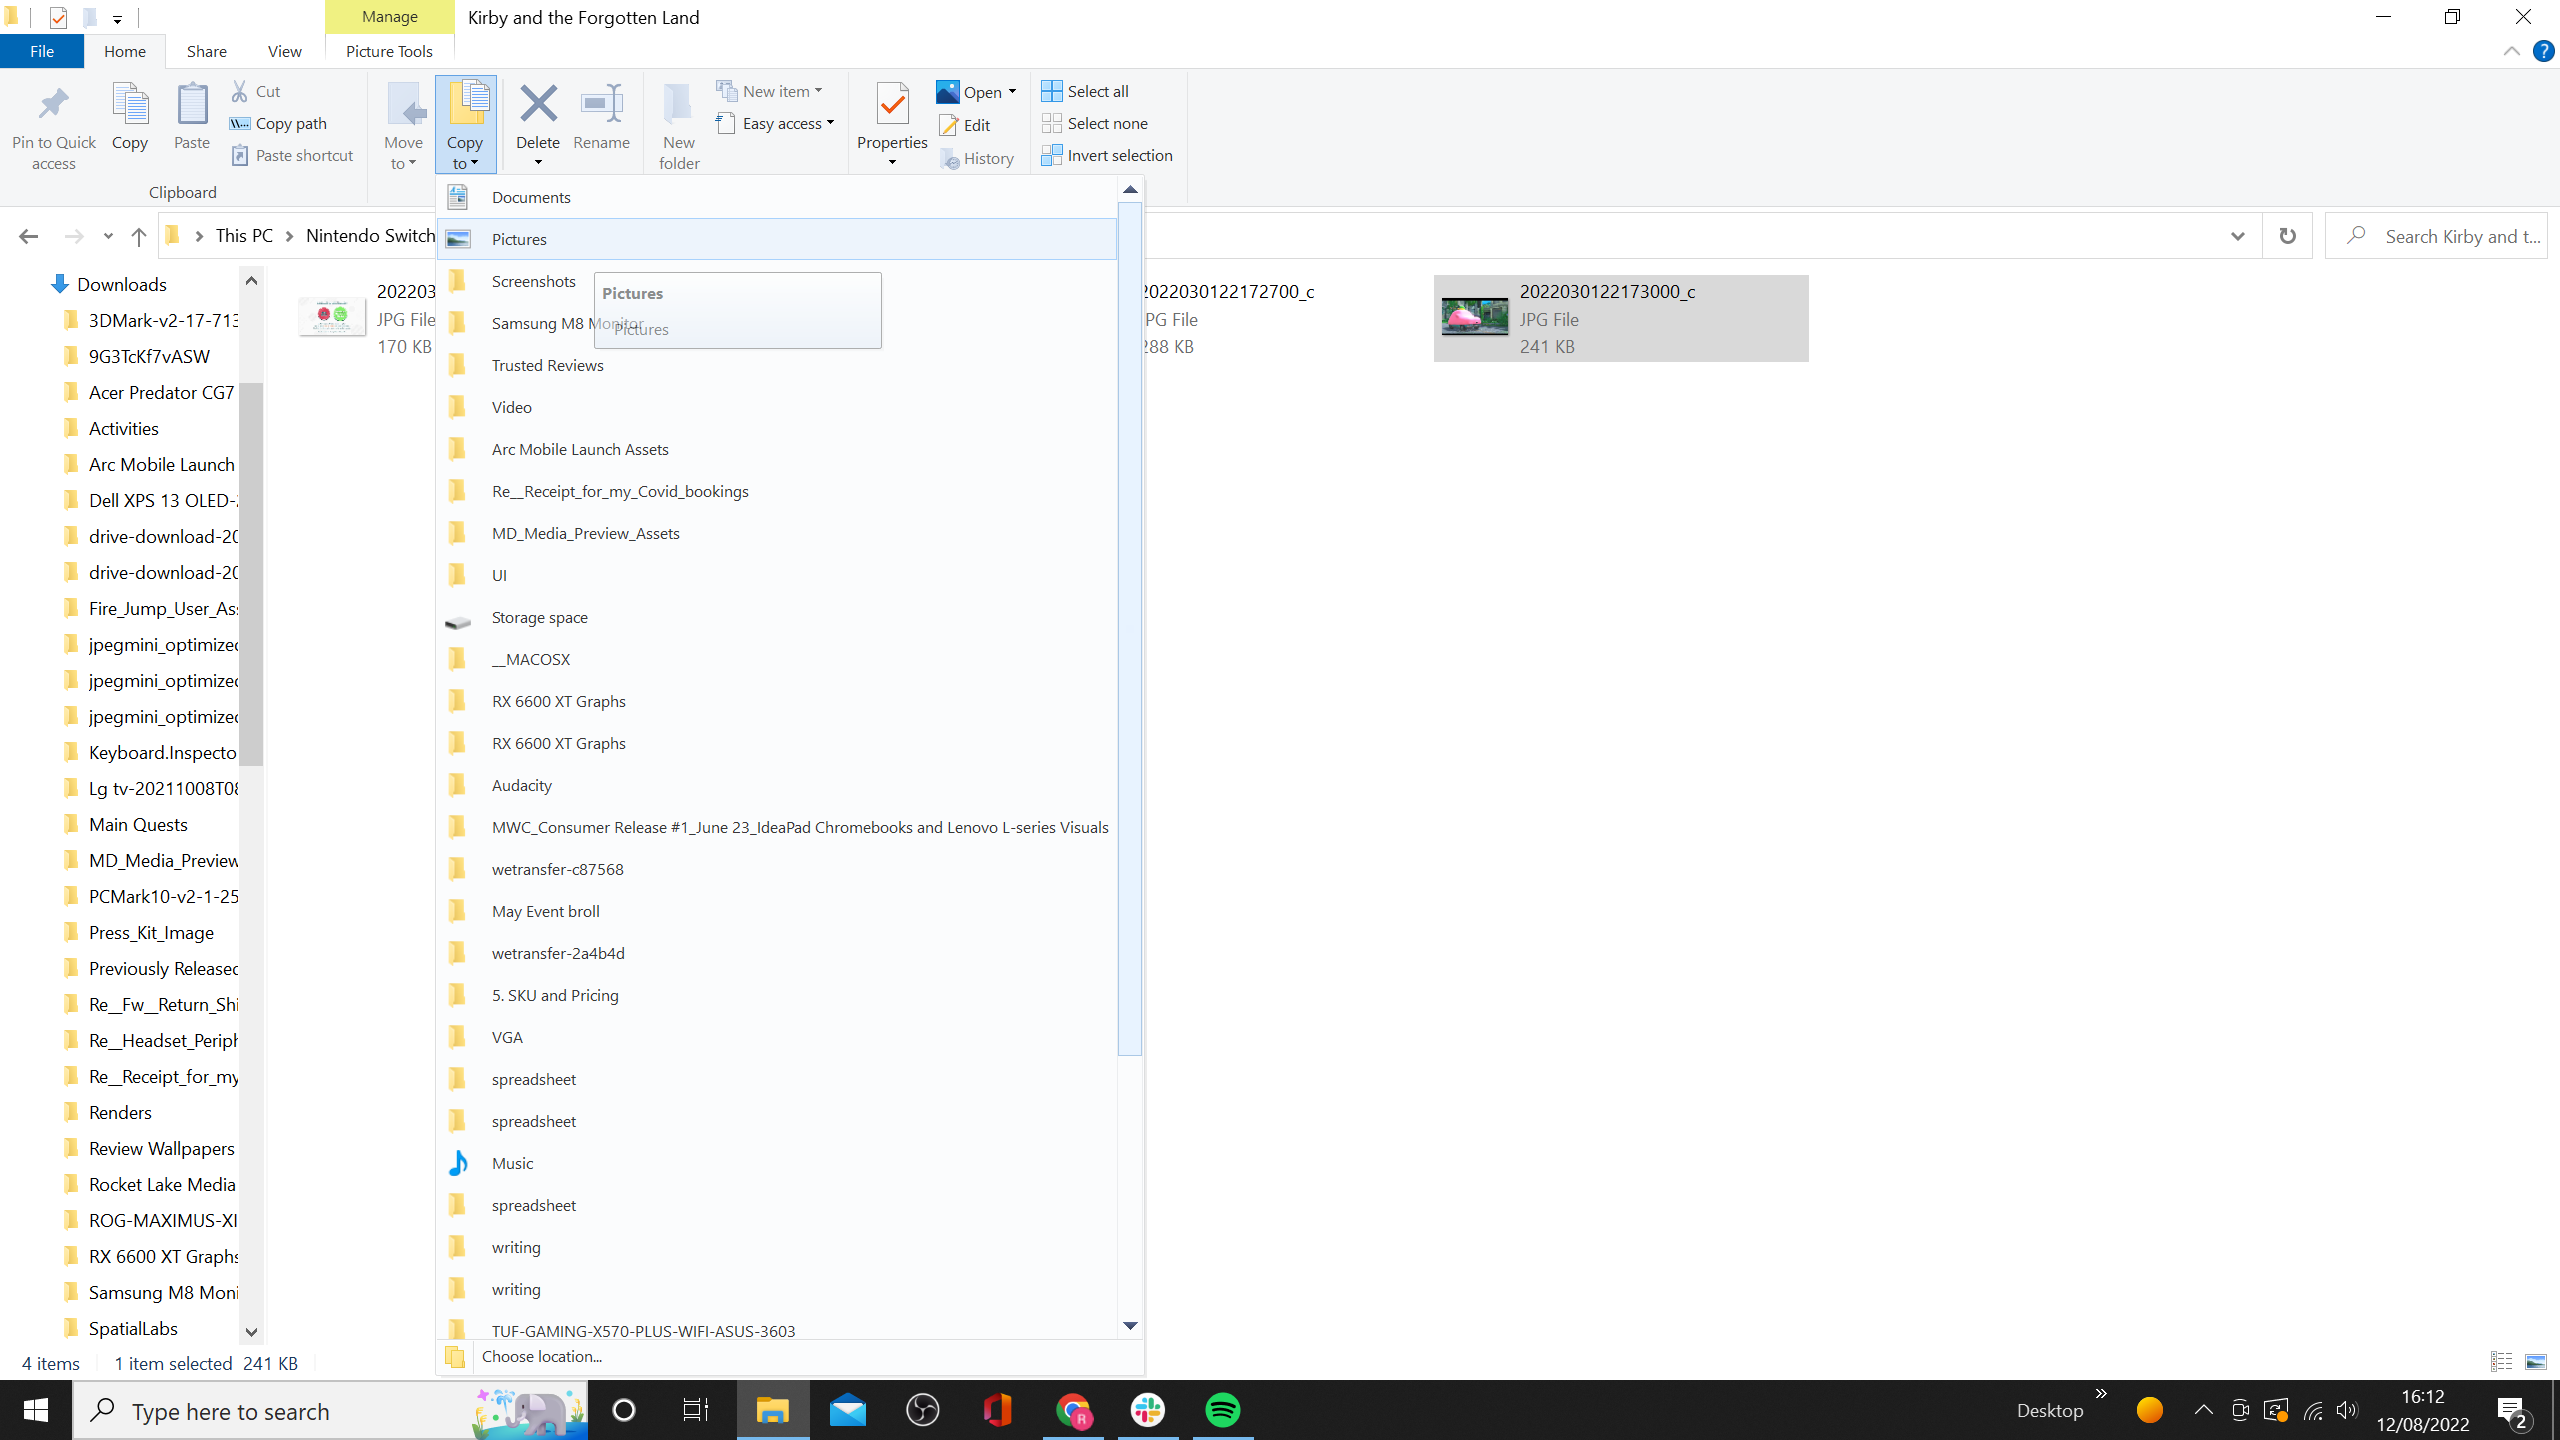
All of your Nintendo Switch screenshots for your chosen game should be stored here.
To store it on your PC, highlight your chosen screenshot, press the Copy To shortcut on the top tool bar, and then pick the location on your PC you want it to be stored. You can also drag and drop the image to your desired location if you prefer. Once that’s done, you can disconnect your Switch.
Troubleshooting
Yes you can. Make sure the screenshots are stored on the microSD card, and then you can take it out of the Switch and plug it into your PC to transfer over the files. In the likely case that your PC doesn’t have a microSD card reader, you’ll need to purchase an adaptor. As a result, we think the above method is better for most.
Yes, and it’s arguably an easier process. On the Switch, go Album > click screenshot > press the A button > Send to Smart Device > Send Individually.
The you can use the QR code to wirelessly connect your phone, and transfer over the images. Both your Switch and phone will need to be connected to the same Wi-Fi network.
You might like…


Editorial independence
Editorial independence means being able to give an unbiased verdict about a product or company, with the avoidance of conflicts of interest. To ensure this is possible, every member of the editorial staff follows a clear code of conduct.
Professional conduct
We also expect our journalists to follow clear ethical standards in their work. Our staff members must strive for honesty and accuracy in everything they do. We follow the IPSO Editors’ code of practice to underpin these standards.