
Knowing how to screenshot on a Chromebook is a useful skill to have, and is one that’s sure to come in handy during your time using Google’s lightweight operating system.
Whether you need to take a quick snap of your screen for a presentation or you want to capture a specific portion, our handy guide should have you covered.
Luckily, the process for screenshotting is nice and simple, and can be achieved in a couple of way, which we’re going to get into below.
Hardware Used
- Acer Chromebook 514 + Lenovo Chromebook Duet
- ChromeOS
The Short Version
- Press Shift+Ctrl+Show Windows
- Use the menu in the bottom-right corner
Step
1Press Shift+Ctrl+Show Windows
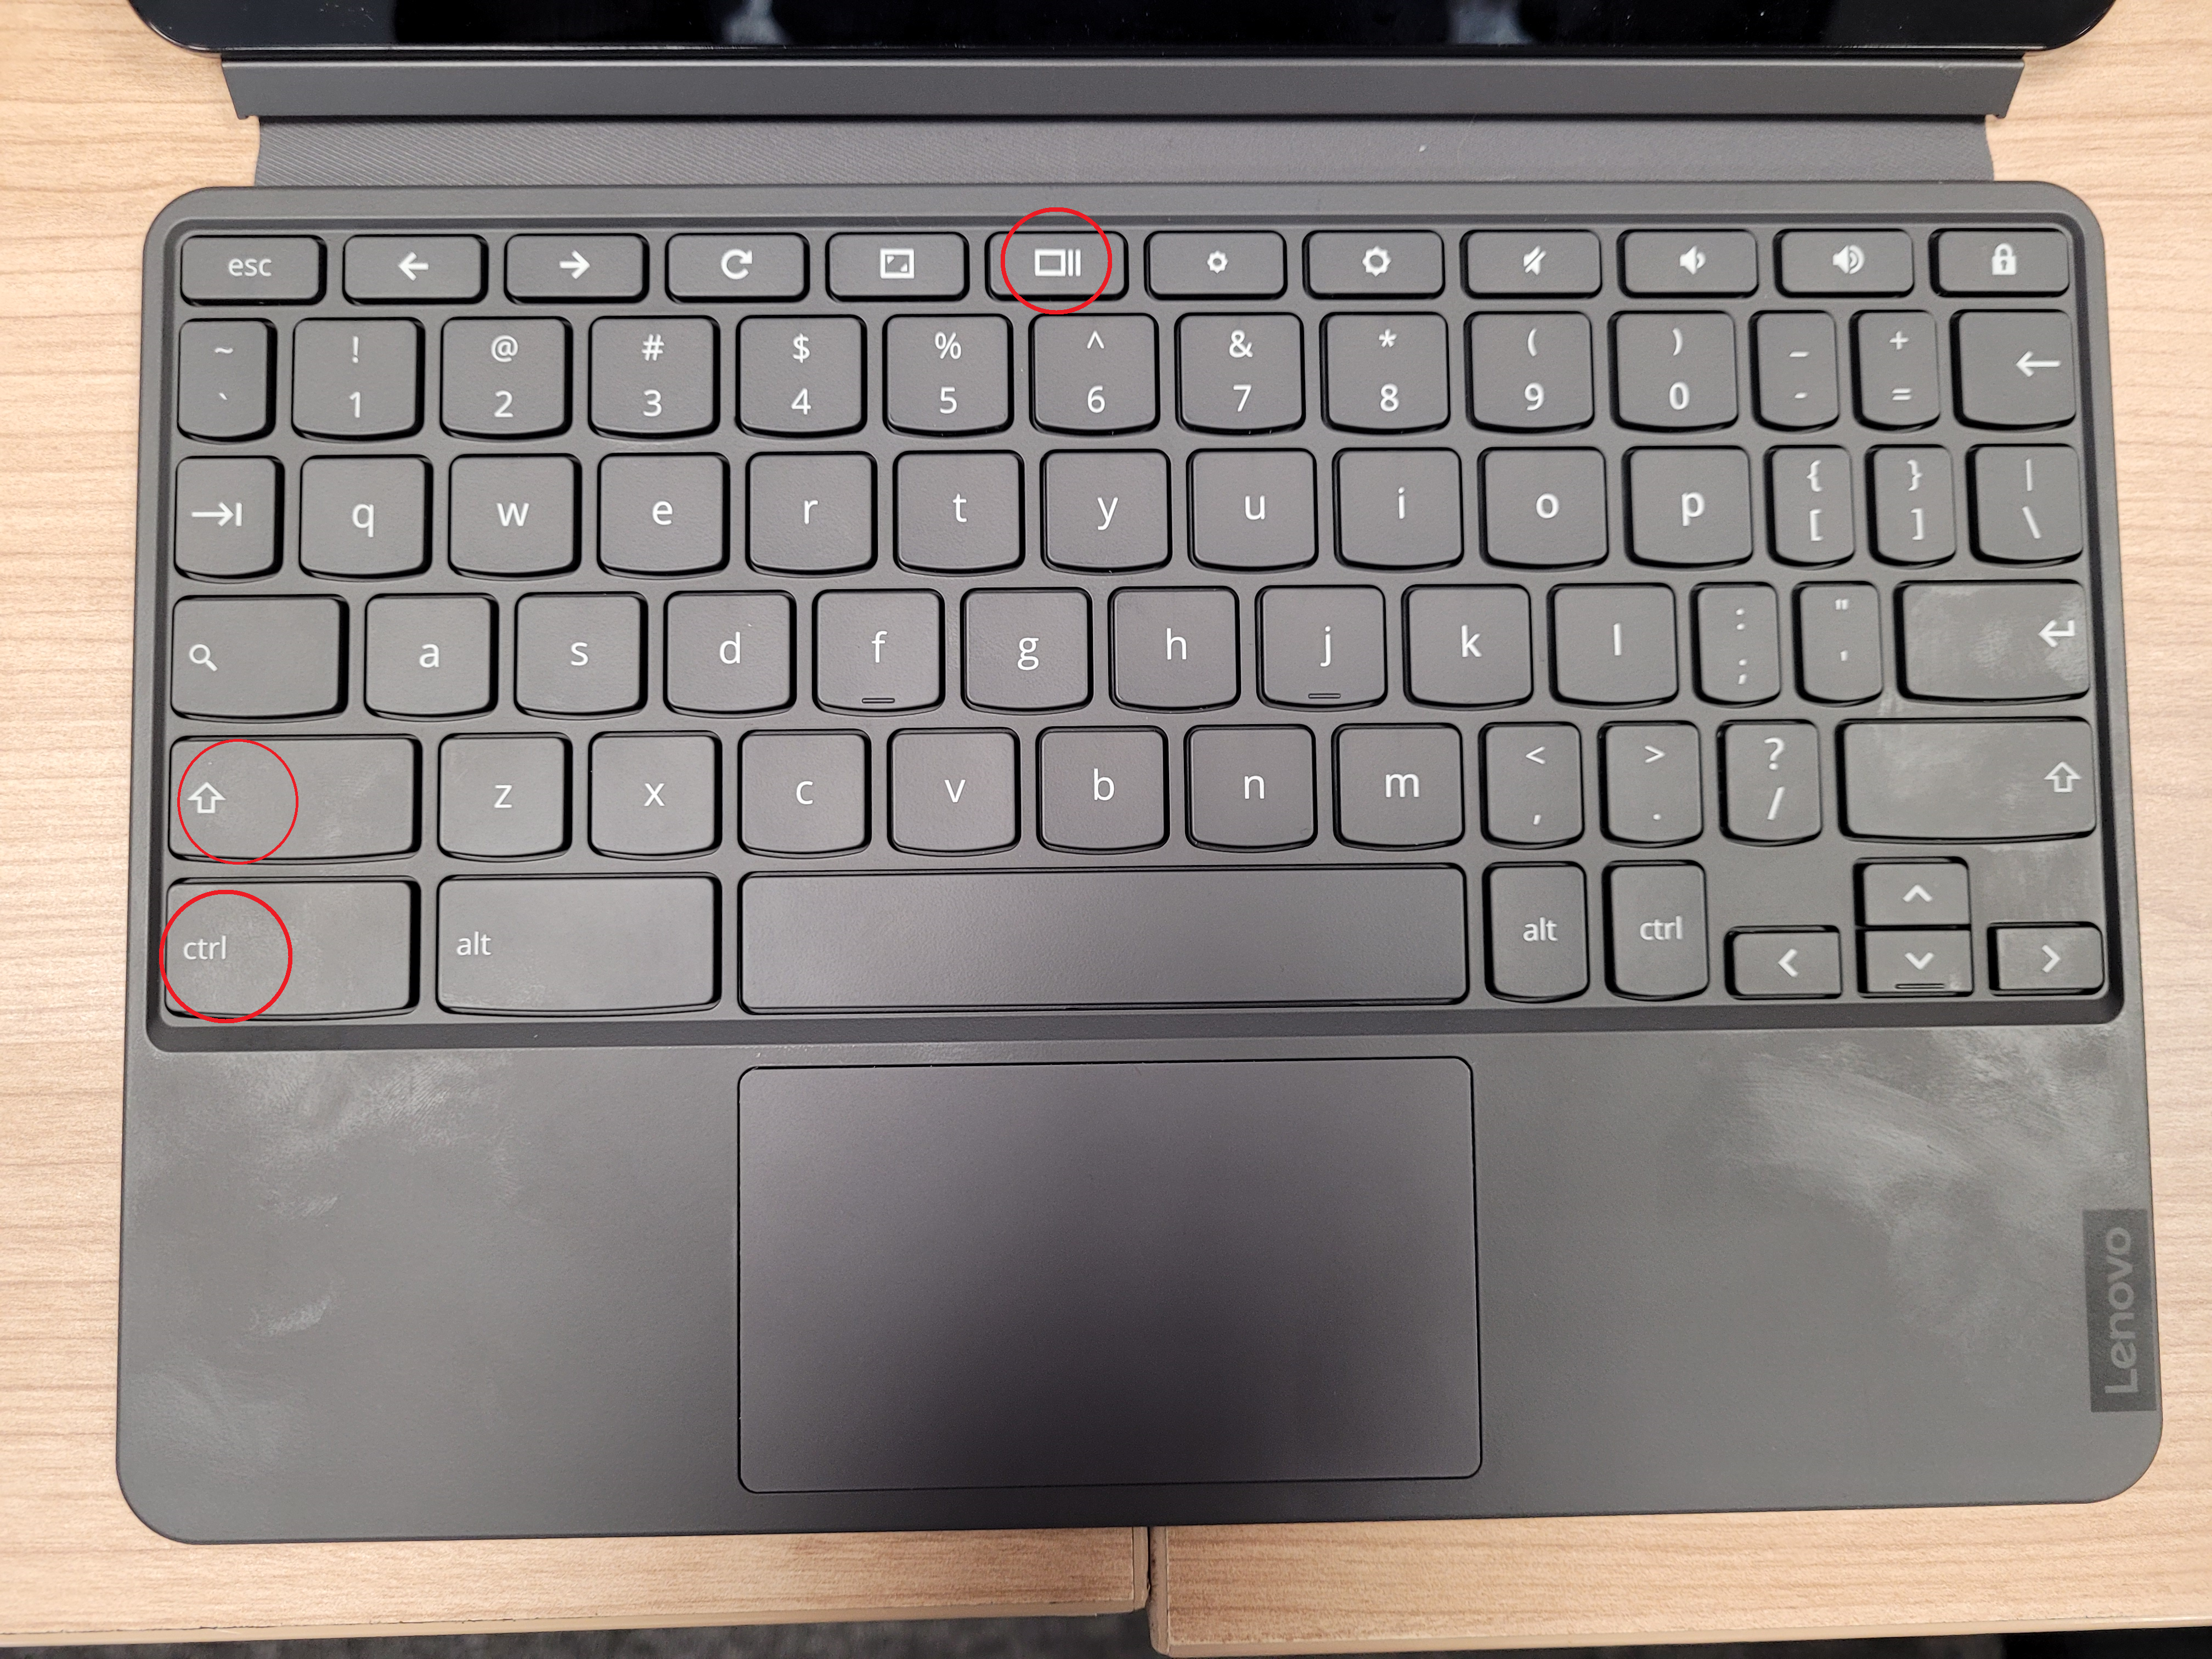
The quickest way to access a Chromebook’s screenshot menu is to simply hit the keyboard shortcut Shift, Control and the ‘Show Windows’ key – this can be found just above the 5 key, but looks like a square with three vertical lines to the right.
Pressing these keys down will bring up the ChromeOS screenshot menu, from which you can choose to either capture the entire screen or a select portion of your screen.
To take a screenshot, hold down the keys and when it’s done, you’ll get a convenient pop-up in the bottom-right corner to let you know you’ve snapped your screen.Step
2Use the menu in the bottom-right corner

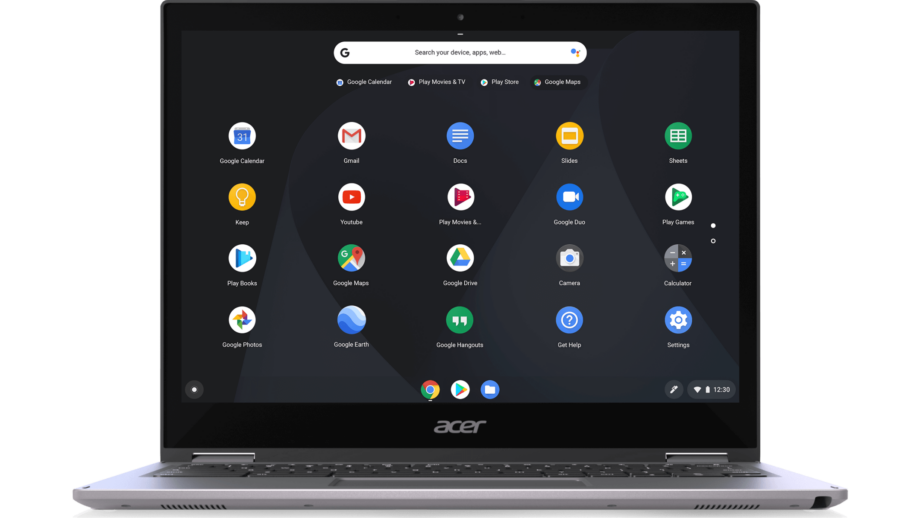
If keyboard shortcuts aren’t for you, you can also access the screenshot tool by using the convenient menu ChromeOS has in the bottom-right corner of the screen where the clock is.
To access it, simply press on the clock to bring up the utilities menu and press ‘Screen Capture’. From there, you should be able to access the screenshot toolbar.
FAQs
By default, ChromeOS saves your screenshots into the system’s Downloads folder and will tag them with a date and time, so you know when it was that you took the screenshot.
In addition, any screenshots you take will automatically be saved to your clipboard, so you can paste them anywhere you need to, be it on an email, or in a document, or simply into an images folder.
You might like…


Editorial independence
Editorial independence means being able to give an unbiased verdict about a product or company, with the avoidance of conflicts of interest. To ensure this is possible, every member of the editorial staff follows a clear code of conduct.
Professional conduct
We also expect our journalists to follow clear ethical standards in their work. Our staff members must strive for honesty and accuracy in everything they do. We follow the IPSO Editors’ code of practice to underpin these standards.