

Knowing how to screen record on Mac is a a useful skill that can help you in both your personal and work life.
Whether you need to snap your screen to show someone a quick tutorial, or you fancy recording some Apple Arcade antics on your new MacBook, we’ve you got covered.
The process for it is pretty simple, whether you’re running macOS Monterey, Big Sur or Mojave, and even some further back operating systems. With a couple of different methods of execution also, you’ve got a choice of which way you’d like to start recording.
Hardware used
- 2020 13-Inch MacBook Pro
- MacOS Big Sur
- MacOS’ Built-In Screenshot Tool
- QuickTime Player
The Short Version
- Use the Screenshot toolbar (Cmd+Shift+5)
- Use Quicktime Player
Step
1Use the Screenshot Toolbar – (Cmd+Shift+5)

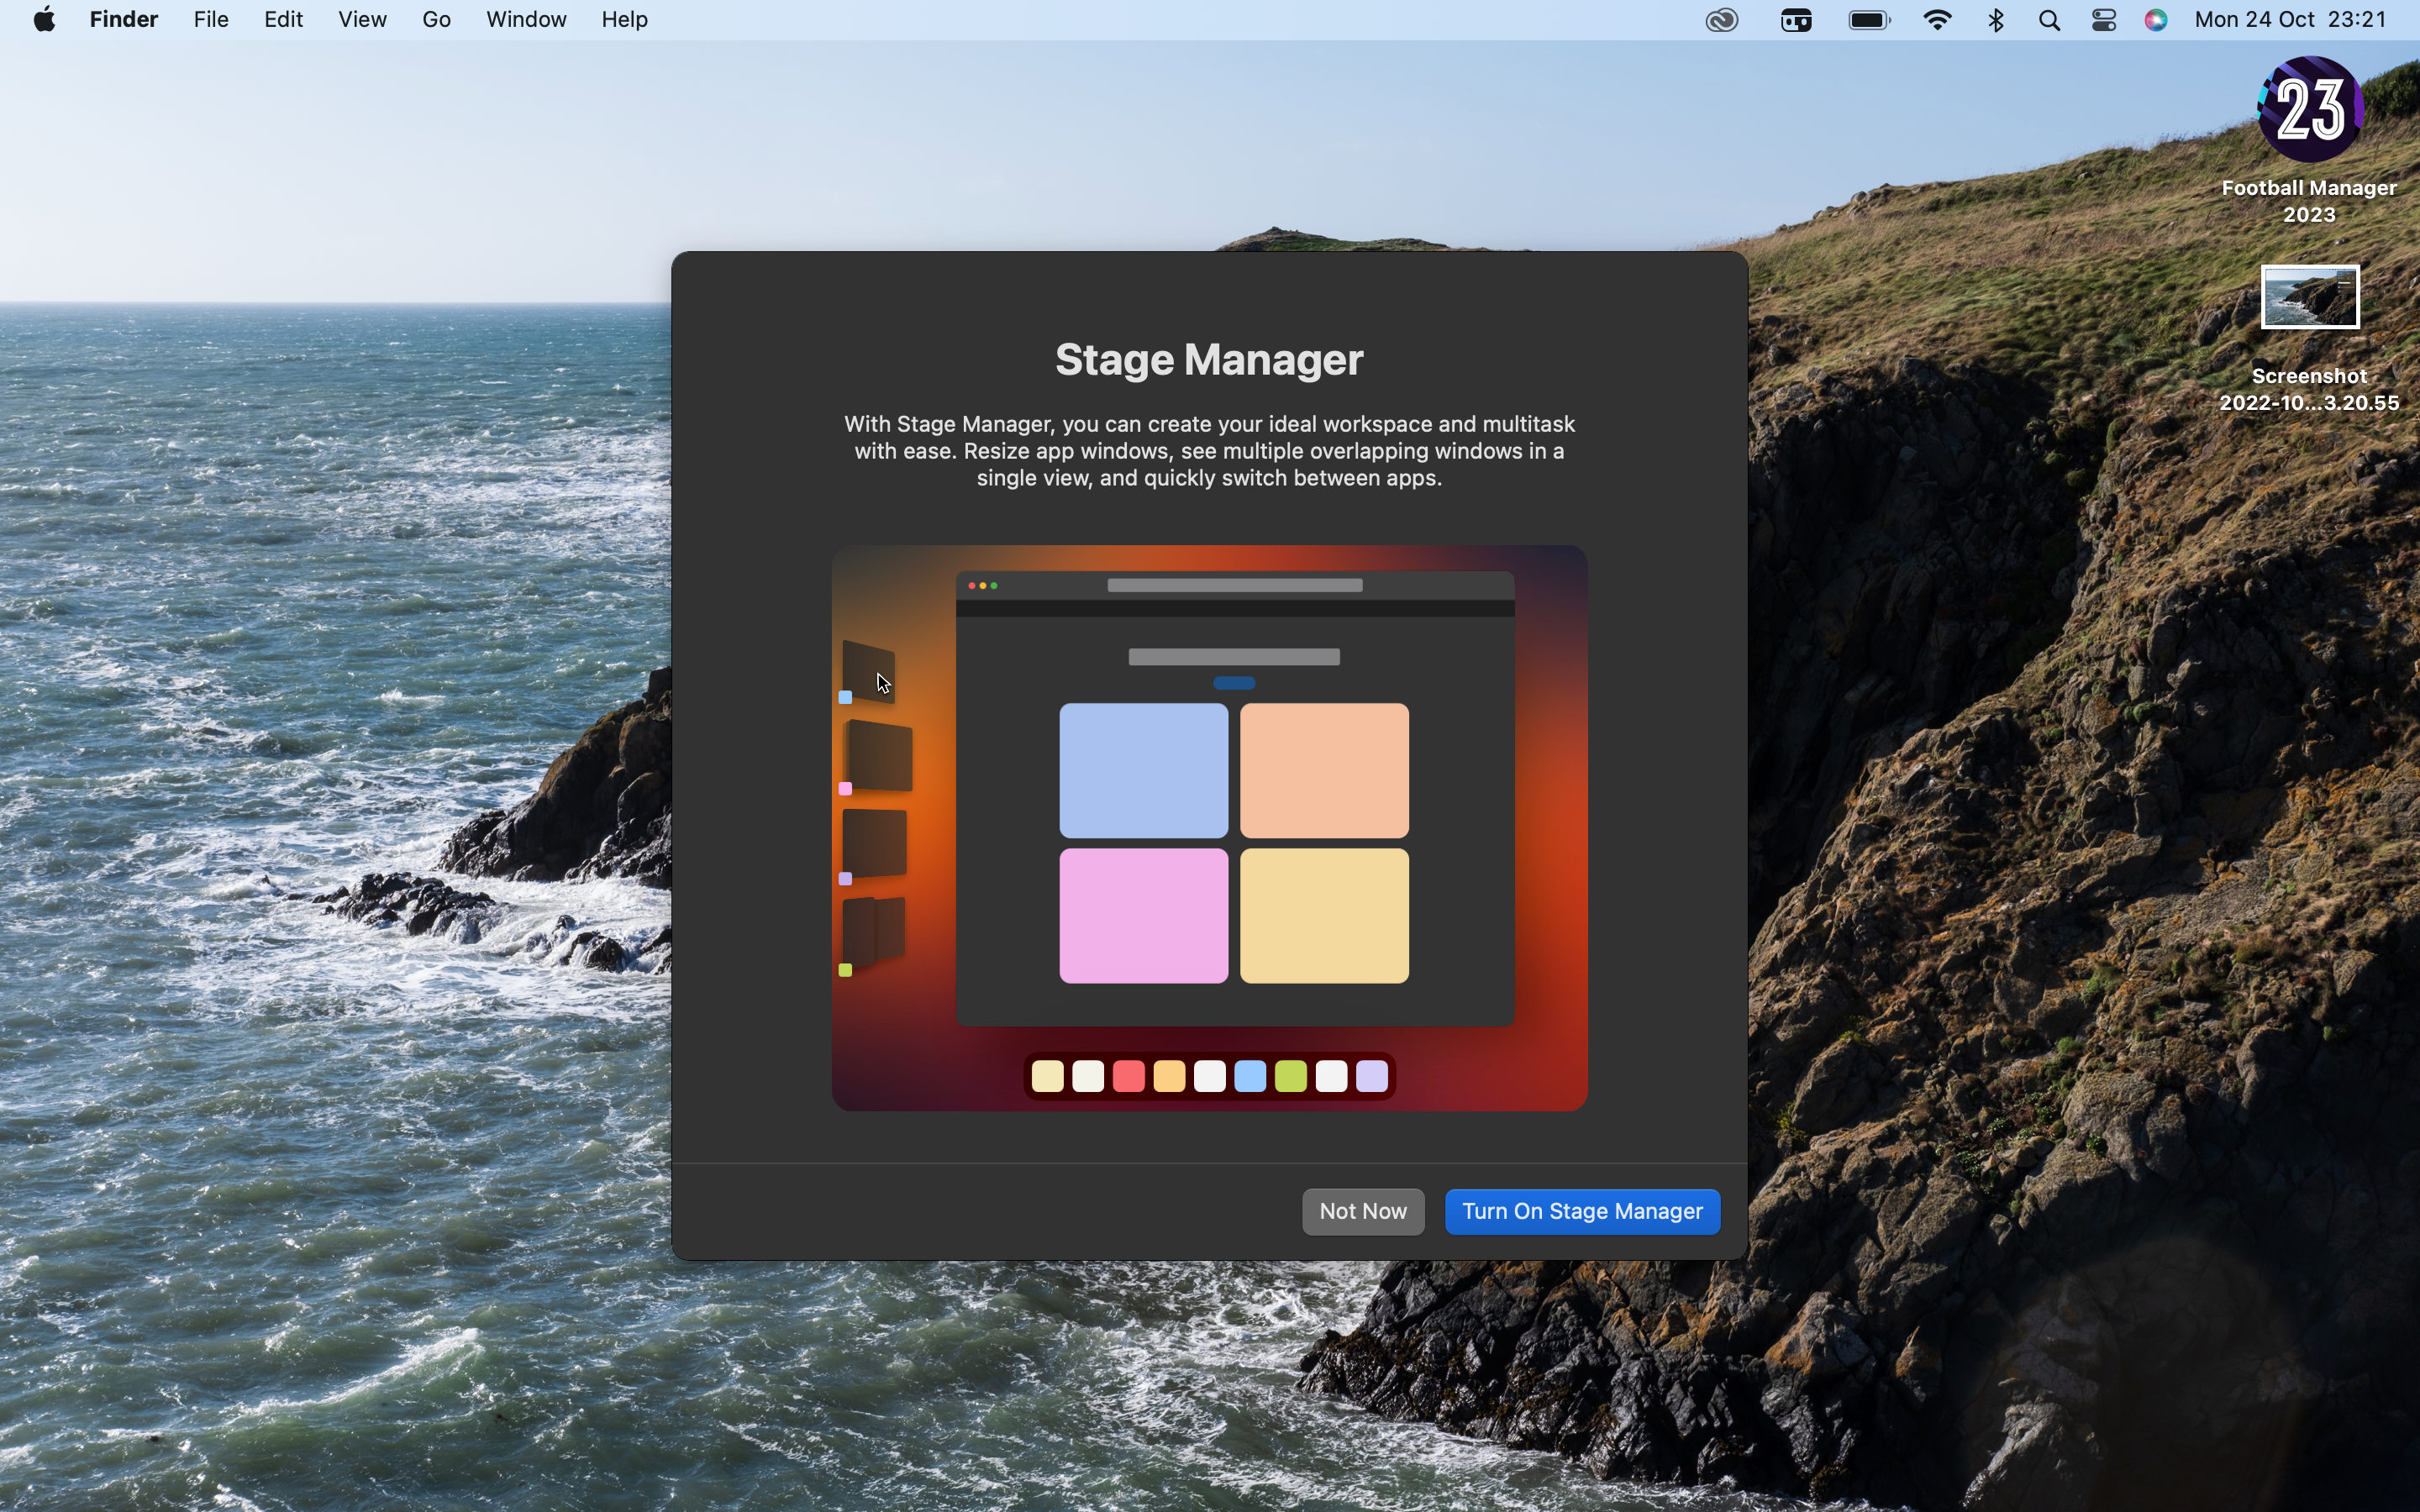
MacOS’ Screenshot Toolbar (as present on MacOS Mojave and later) is a versatile tool. It not only allows you to screenshot, but also to record your screen at the touch of a button.
To access the toolbar, simply utilise the keyboard shortcut ‘Cmd+Shift+5’, or if you own MacBook with a Touch Bar, then you also choose to access it from there. Doing so will bring up the general Screenshot menu, and on the right-hand side of this, there’s the option to either record the entire screen or record a select portion. To record a select portion, simply pull your cursor across the screen to create a boundary.
To start recording, simply press the Record button once you’ve selected your option, and if you’ve got a MacBook with a Touch Bar, you’ll see that it will change to show the duration of the recording, total file size, and also gives you the option to stop the recording when you need to. You can also use the keyboard shortcut ‘Control+Esc’ to stop recording.Step
2Use QuickTime Player – (Control+Command+N)

If using the Screenshot Toolbar isn’t your jam, then Apple also allow you to utilise the old-reliable QuickTime Player to screen record, too.
To do so, open QuickTime Player, head to ‘File’ and hover over it to bring up the drop-down menu. In the top three selections, you should see an option for ‘New Screen Recording’, which can also be accessed via the shortcut of Control+Command+N.
Doing so will bring up the Screenshot Toolbar, and then it’s a case of hitting Record to start, and the Stop button to stop (or you can use the keyboard shortcut Control+Esc).
Once you’ve stopped recording, QuickTime will automatically open up the newly created video file and it should be tagged with the title ‘Screen Recording date at time.mov’. You can then choose to save them and decided where they should be stored.
FAQs
By default, MacOS saves the screen recordings to your Mac’s desktop with a tagged name, although within the Screenshot Toolbar you can choose the default save location so you can keep an eye on all your screen recording antics.
You might like…


Editorial independence
Editorial independence means being able to give an unbiased verdict about a product or company, with the avoidance of conflicts of interest. To ensure this is possible, every member of the editorial staff follows a clear code of conduct.
Professional conduct
We also expect our journalists to follow clear ethical standards in their work. Our staff members must strive for honesty and accuracy in everything they do. We follow the IPSO Editors’ code of practice to underpin these standards.